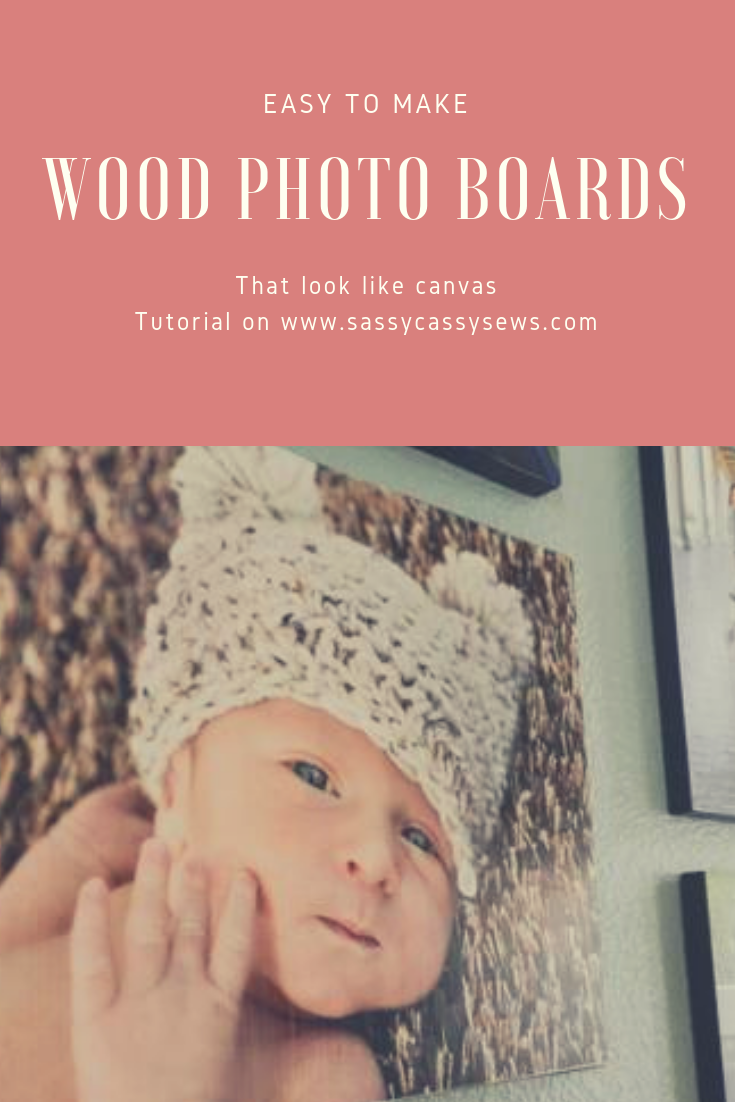
Wood Photo Boards
Disclaimer: This post contains affiliate links
I love the look of canvas photos, but I don’t love the price! They are super expensive! A few years ago, I discovered a way to create a beautiful photo that looks like canvas but it’s actually a wooden board! I created a gallery wall with my wood photo boards and I can’t tell you how many compliments I have received on this wall. Nearly every person who walks through my door admires and compliments my wall and they always think it’s canvas! They are amazed when I tell them it is actually wood and that I made it myself! Several of these same people have asked how to do these, so I’ve created a tutorial to show how it’s done.
You will be amazed at how simple and how quick these photo boards are to make. I’ve made these for myself as well as gifts for other people! I will walk you through the 5 simple steps to create your own photo board and I’ve also created a video tutorial for those of you who are more visual learners! I also linked the supplies you will need to get started at the end of this post, just for convenience purposes!
To start with, you will need a few supplies:
- Wood board, 5/8″ thick- this will need to match the size of your photo. I always print my photo in standard photo sizes (11×14, 5×7, etc). You can buy wood at Home Depot at this thickness or you can buy it precut online (link included). It’s tricky to find 5/8″ thickness online, but I found 3/4″ thick. This will work, but you want to make sure your ribbon is the same thickness as your board (we’ll talk about that some more under ribbon). Whatever thickness you get, keep it close to 5/8″; I wouldn’t go thinner than this because you will lose that canvas effect.
- Photo- any size will work, just make sure it matches your wood size or adjust them to be the same size
- Satin ribbon- 5/8″ thick OR whatever thickness you buy for your wood
- Mod Podge
- Foam brush
- Tacky glue
- Paper cutter (or scissors)
Step 1:
Trim your picture to photo to be exactly the same size as your board. I missed getting a picture of this step, but you don’t really need a picture of that anyway. Just put your paper in your paper cutter and trim away.
Step 2:
Pour some Mod Podge on the front of your board. Cover the wood completely with the Mod Podge. Don’t be skimpy; you want your photo to hold.

Step 3:
Place your photo on top of the Mod Podged board. Smooth it down and then cover it with some more Mod Podge. Brush it across the top of the picture, taking even strokes from one end of the board to the other. Again, you want to make sure that the entire photo has a good layer of Mod Podge on it.
Let your photo dry; about 20 minutes.


Step 4:
Measure your ribbon around the edges of the board, leaving an extra inch of length.

Step 5:
Apply tacky glue around the edges of the board. Then, place the ribbon on top of the glue, overlapping the edge when you get to the end. I always start from the underside of the board to help hide the seam.


That’s it! You are done! I told you it was super easy. It takes very little time to do but saves you lots of money in the end. Plus, you will get tons of compliments! I have done this as gifts and they are always a big hit!


During Christmas time, I replace my everyday gallery with a special Christmas gallery. I’ve taken our favorite Christmas pictures and put them onto wooden boards. I’ve also wrapped wooden boards in high quality wrapping paper with ribbons and bows to look like gifts hanging on the wall. I get so many compliments on my Christmas gallery wall and it’s one of my favorite decoration pieces! Now, I am working on one for Christmas (hence, the “Incredibles” costume picture that I used for my demo!)

Pin this idea to pinterest!
Grab your supplies here:


