
Disclaimer: This post contains affiliate links.
It’s back-to-school season for me! Last week, my classes started back in full-swing for the homeschool program that I am a vendor for. I spend Mondays at a learning center where I teach a beginning as well as an intermediate sewing class. The first couple of weeks are spent reviewing and doing fun little projects (it also gives my students some time to get their fabric for our semester projects).
I had some technique samples that I wanted to work on this week with my intermediate class, but I knew that it wouldn’t take up the full hour of time, so I was trying to think of something quick and easy to fill in the extra minutes until class was over. While browsing ideas I came across one for a bookmark that was super simple and cute. I knew my kids would love it! Sure enough, it was a hit. I promised them I would put this tutorial up on my blog in case they forgot a step or couldn’t remember the measurements we used. So, here we are 🙂
This project is a great way to use up scrap fabrics and it’s a fun homemade gift idea! You can make them any size you want; if you have a bigger book (or a smaller book), simply cut your fabric 1″ longer than the height of your book and your elastic 1″ smaller than the book. For this tutorial, I cut 10″ x 3″ strips of fabric.
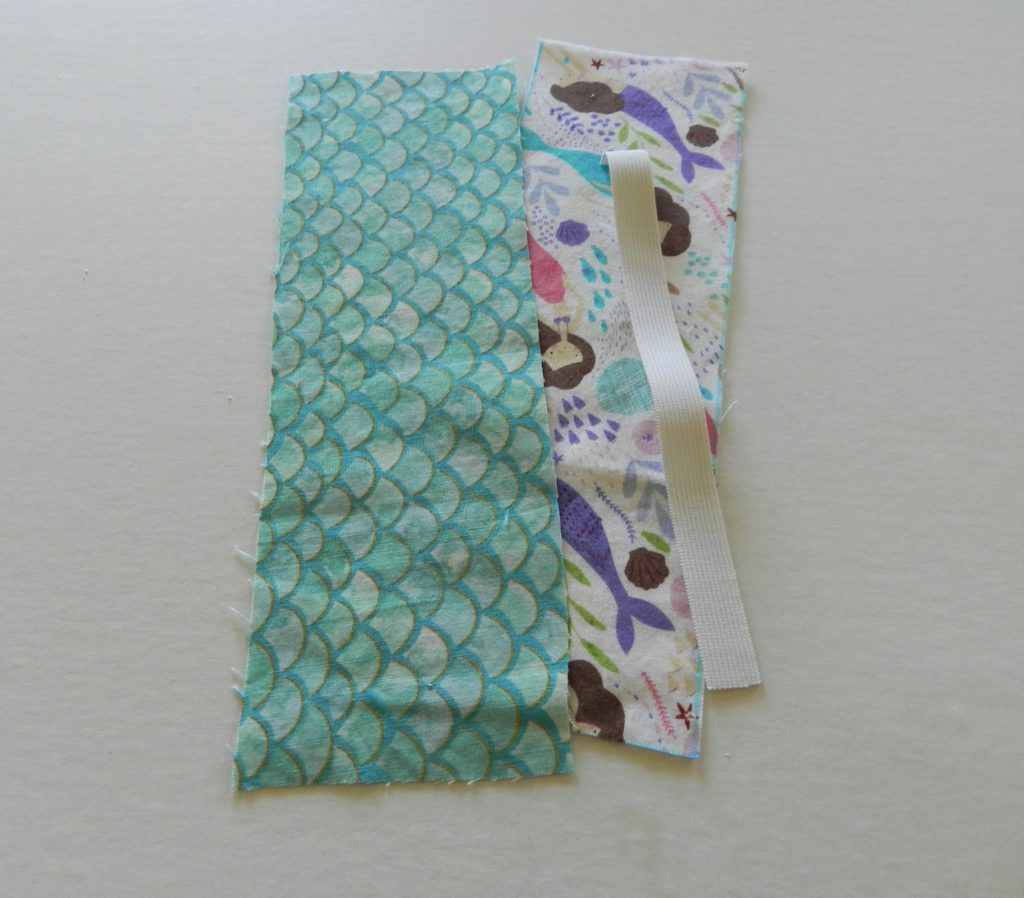
Here’s what you need:
- Two 10″ x 3″ strips of fabric (you can use different fabrics to make it reversible!)
- One 8″ piece of elastic (the width of elastic really doesn’t matter, but I used 1/2″)

Directions:
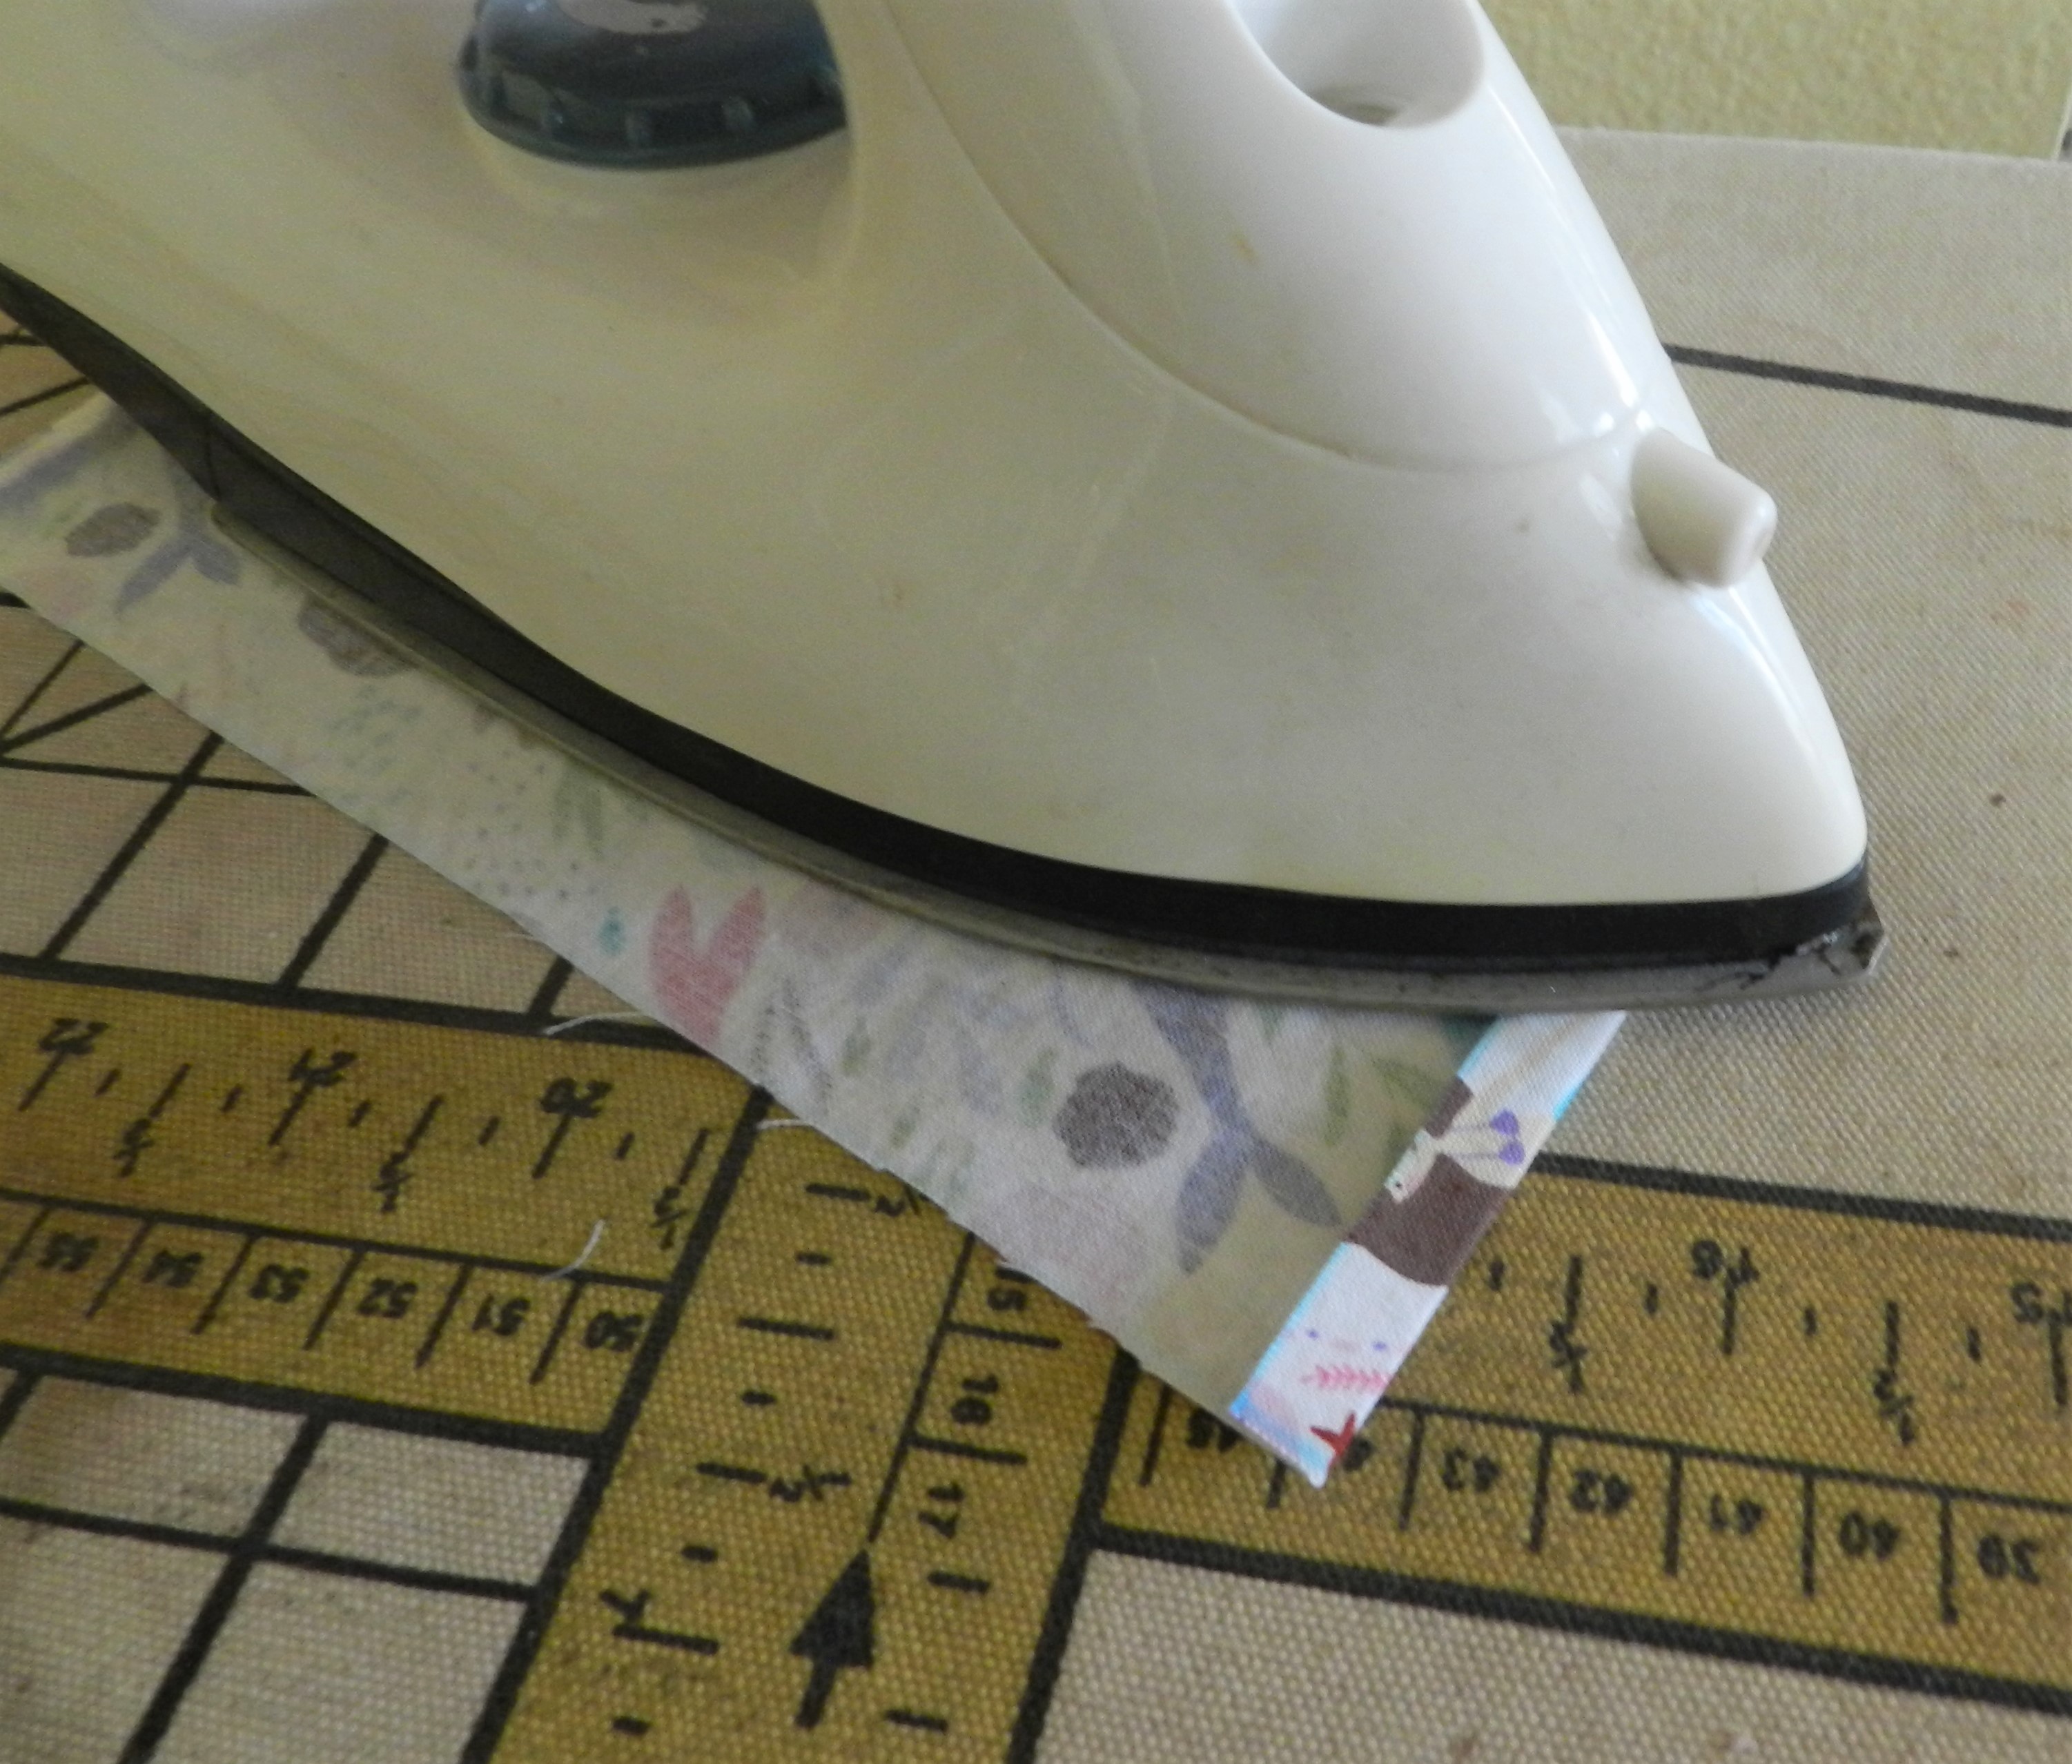
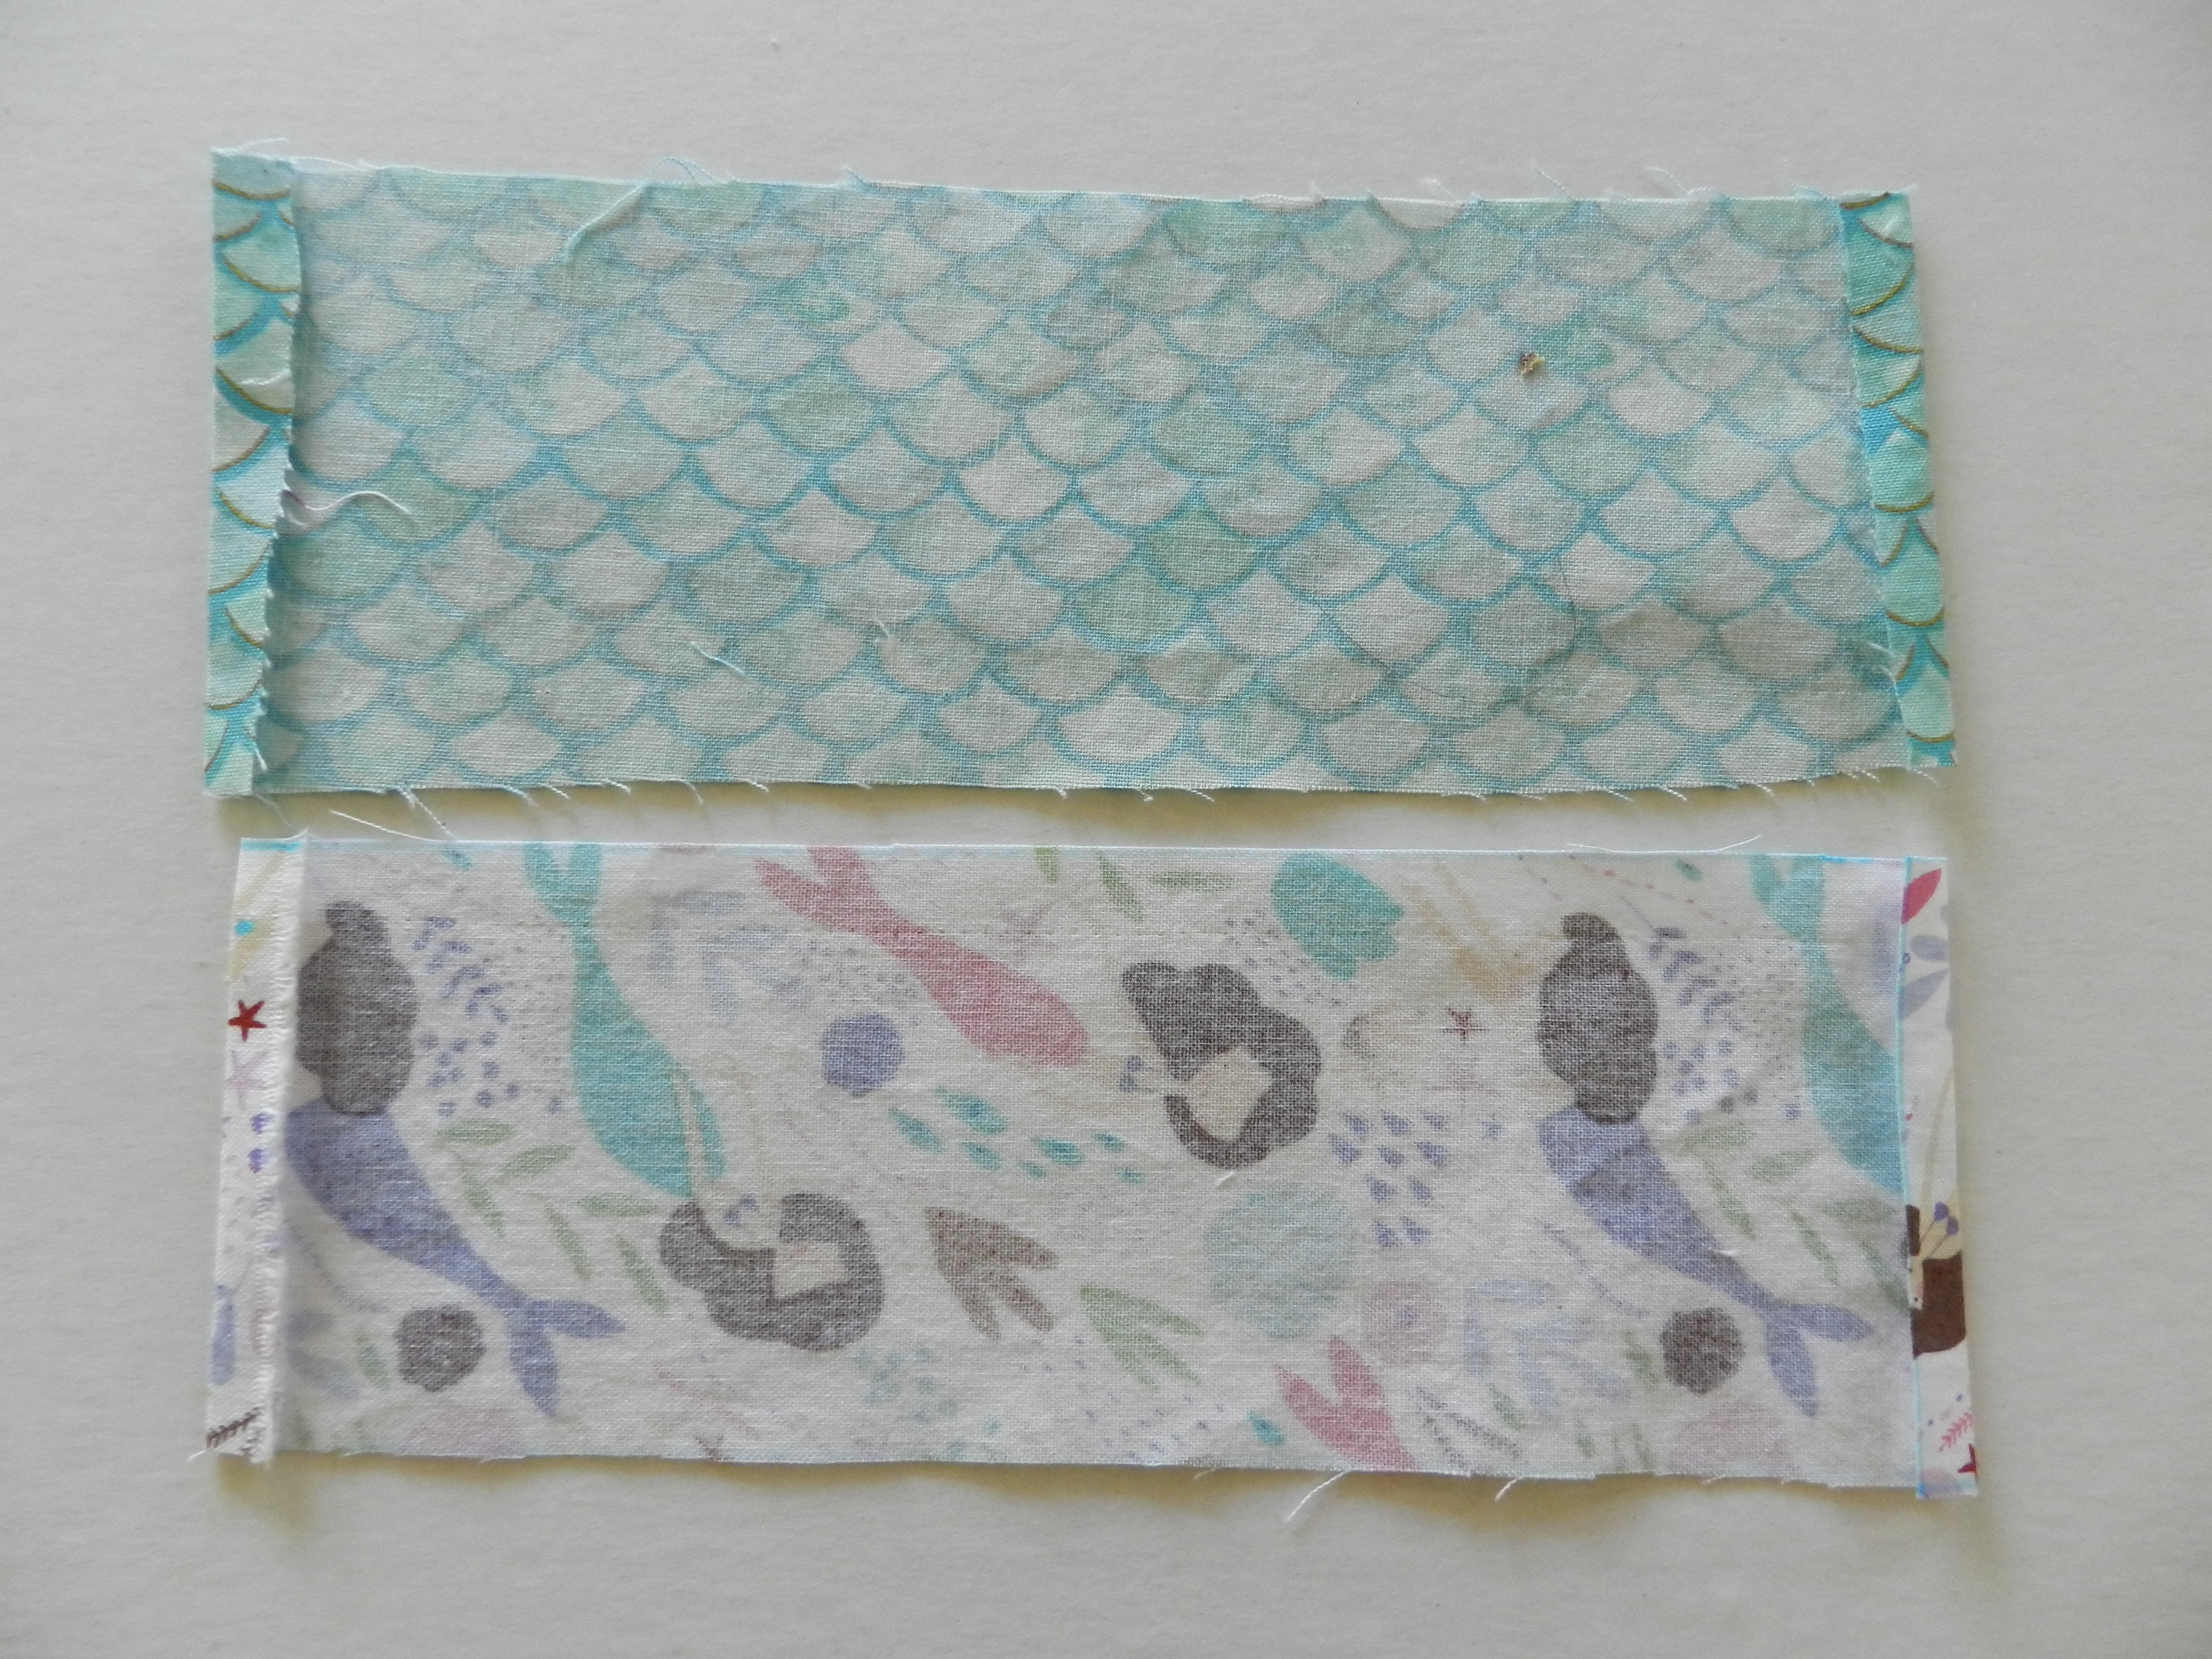
After your pieces are cut, fold the short ends of each piece 1/2″ (folding to the inside). Press with your iron.
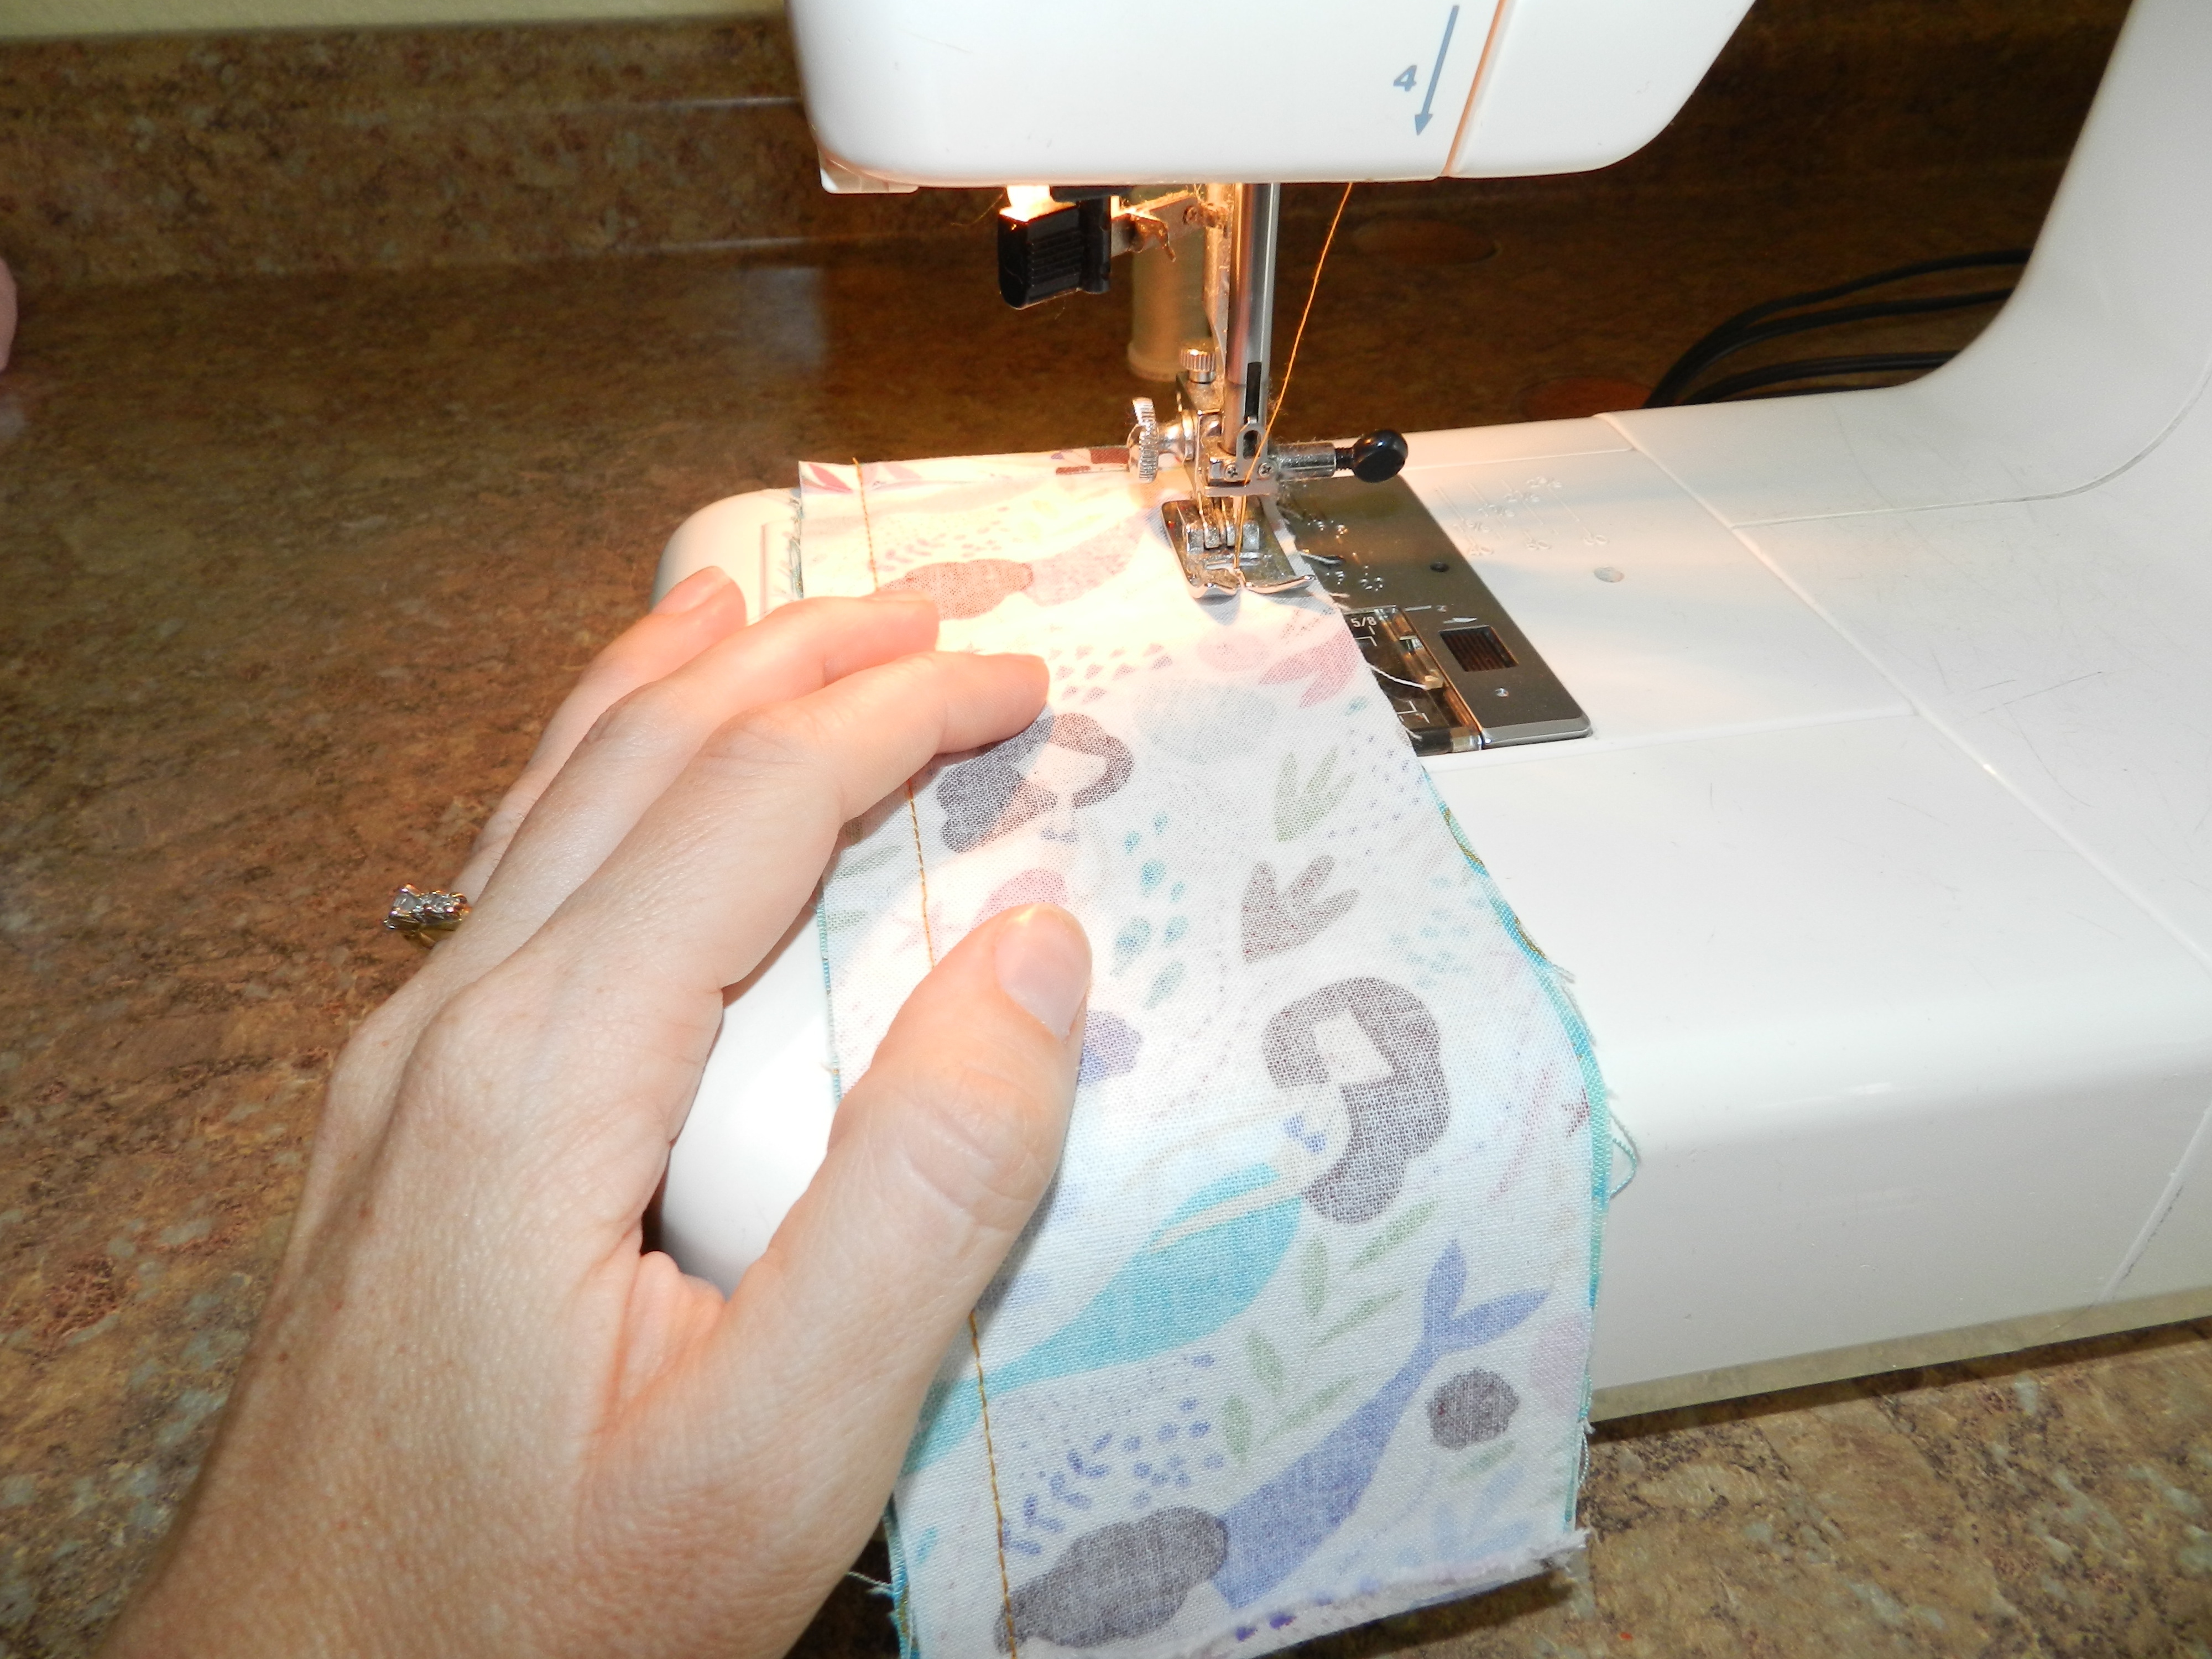
Put the fabric strips right sides together and pin along the long edges. Sew both sides of the strips, using a 1/2″ seam allowance. Make sure to leave your short ends open!
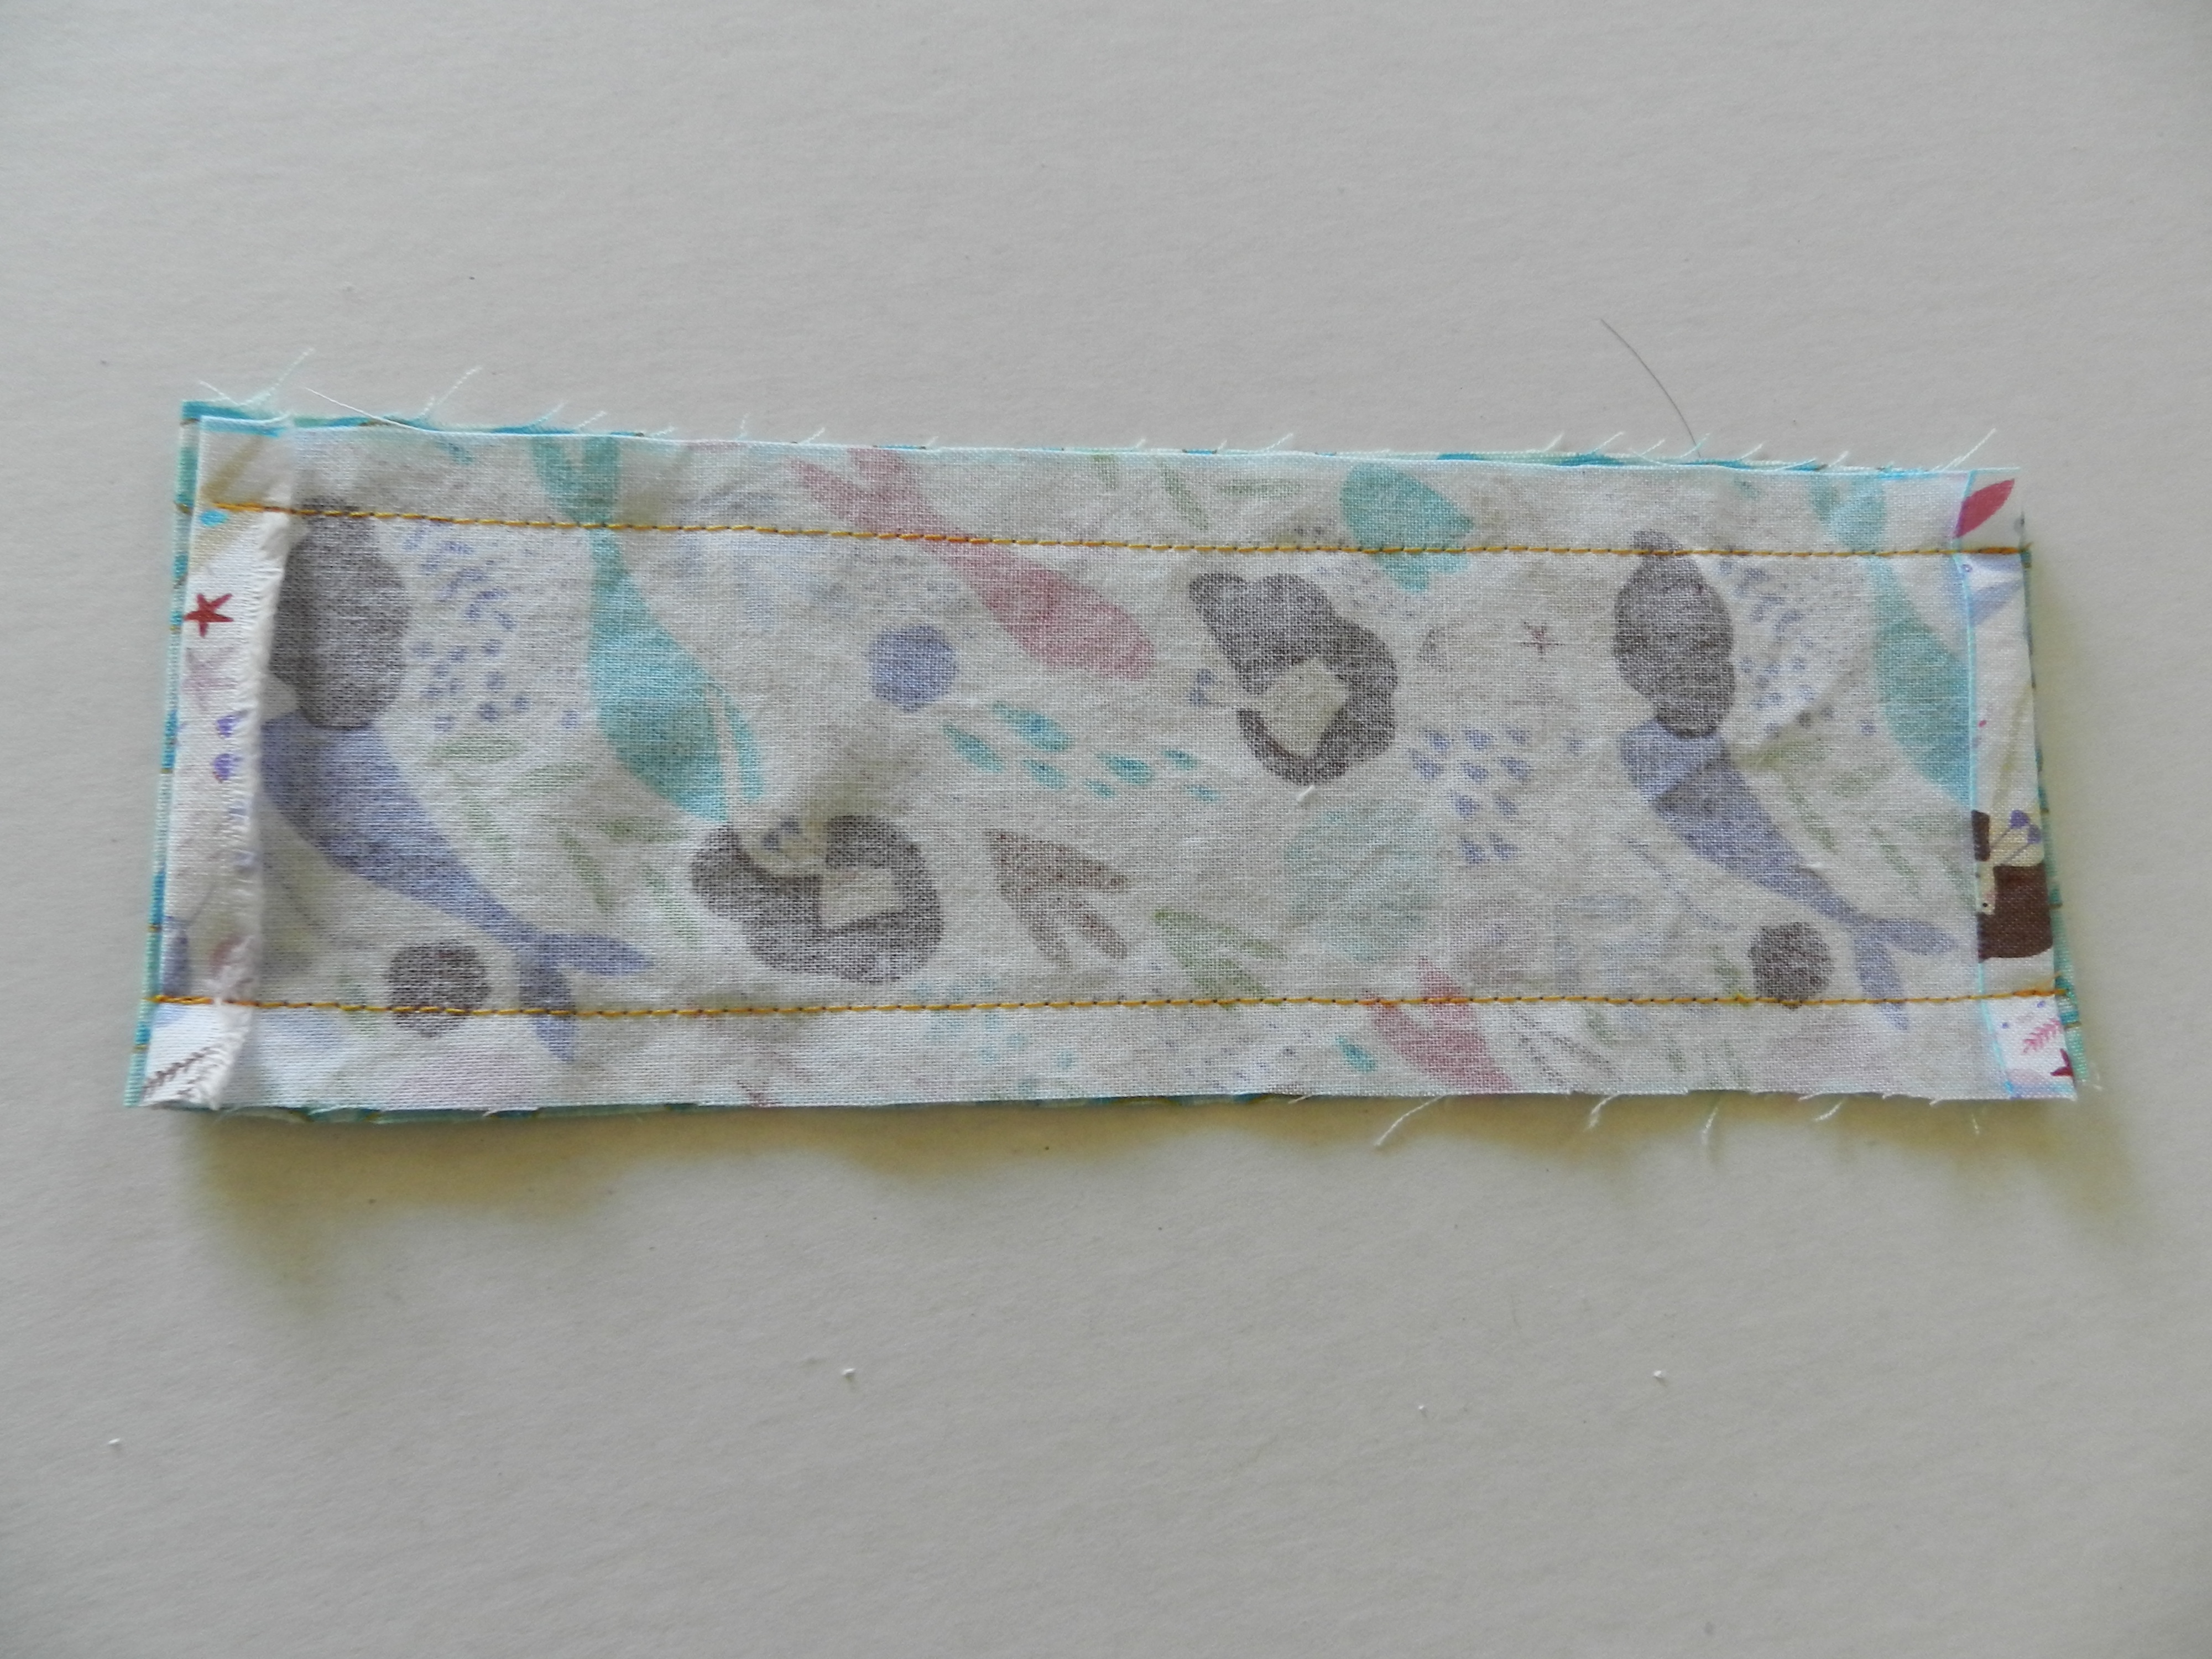
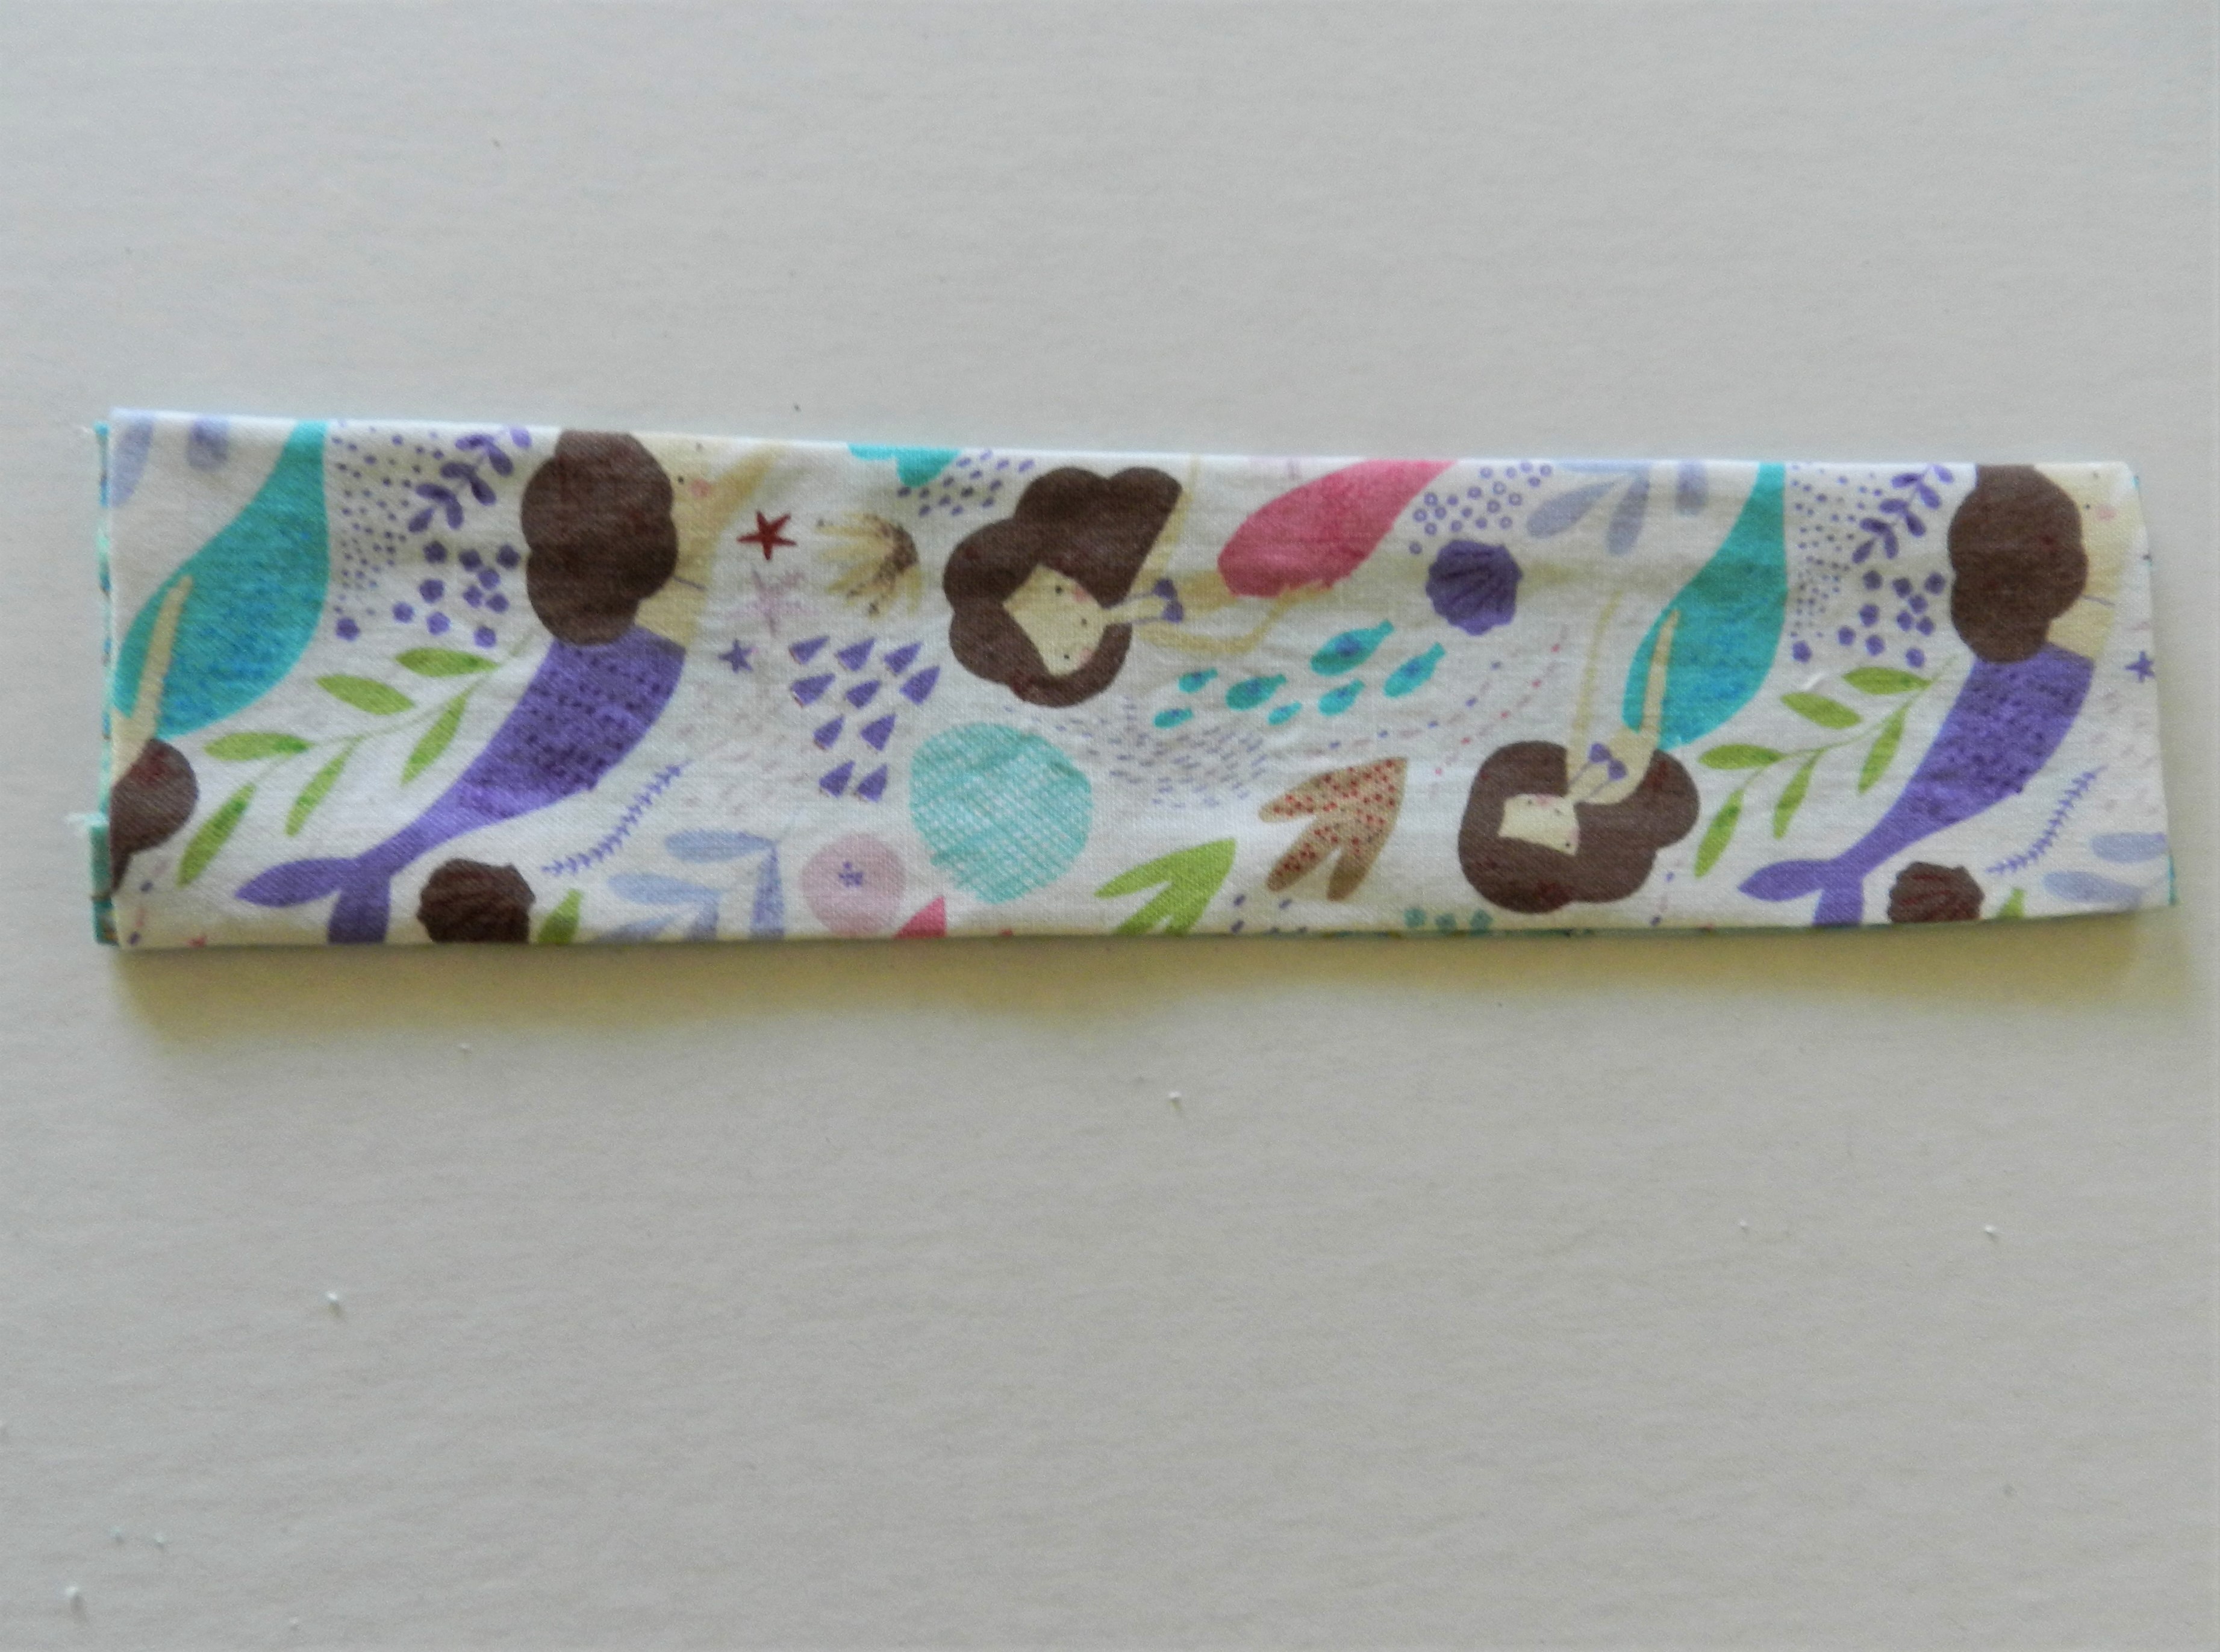
Flip the bookmark right side out and press.
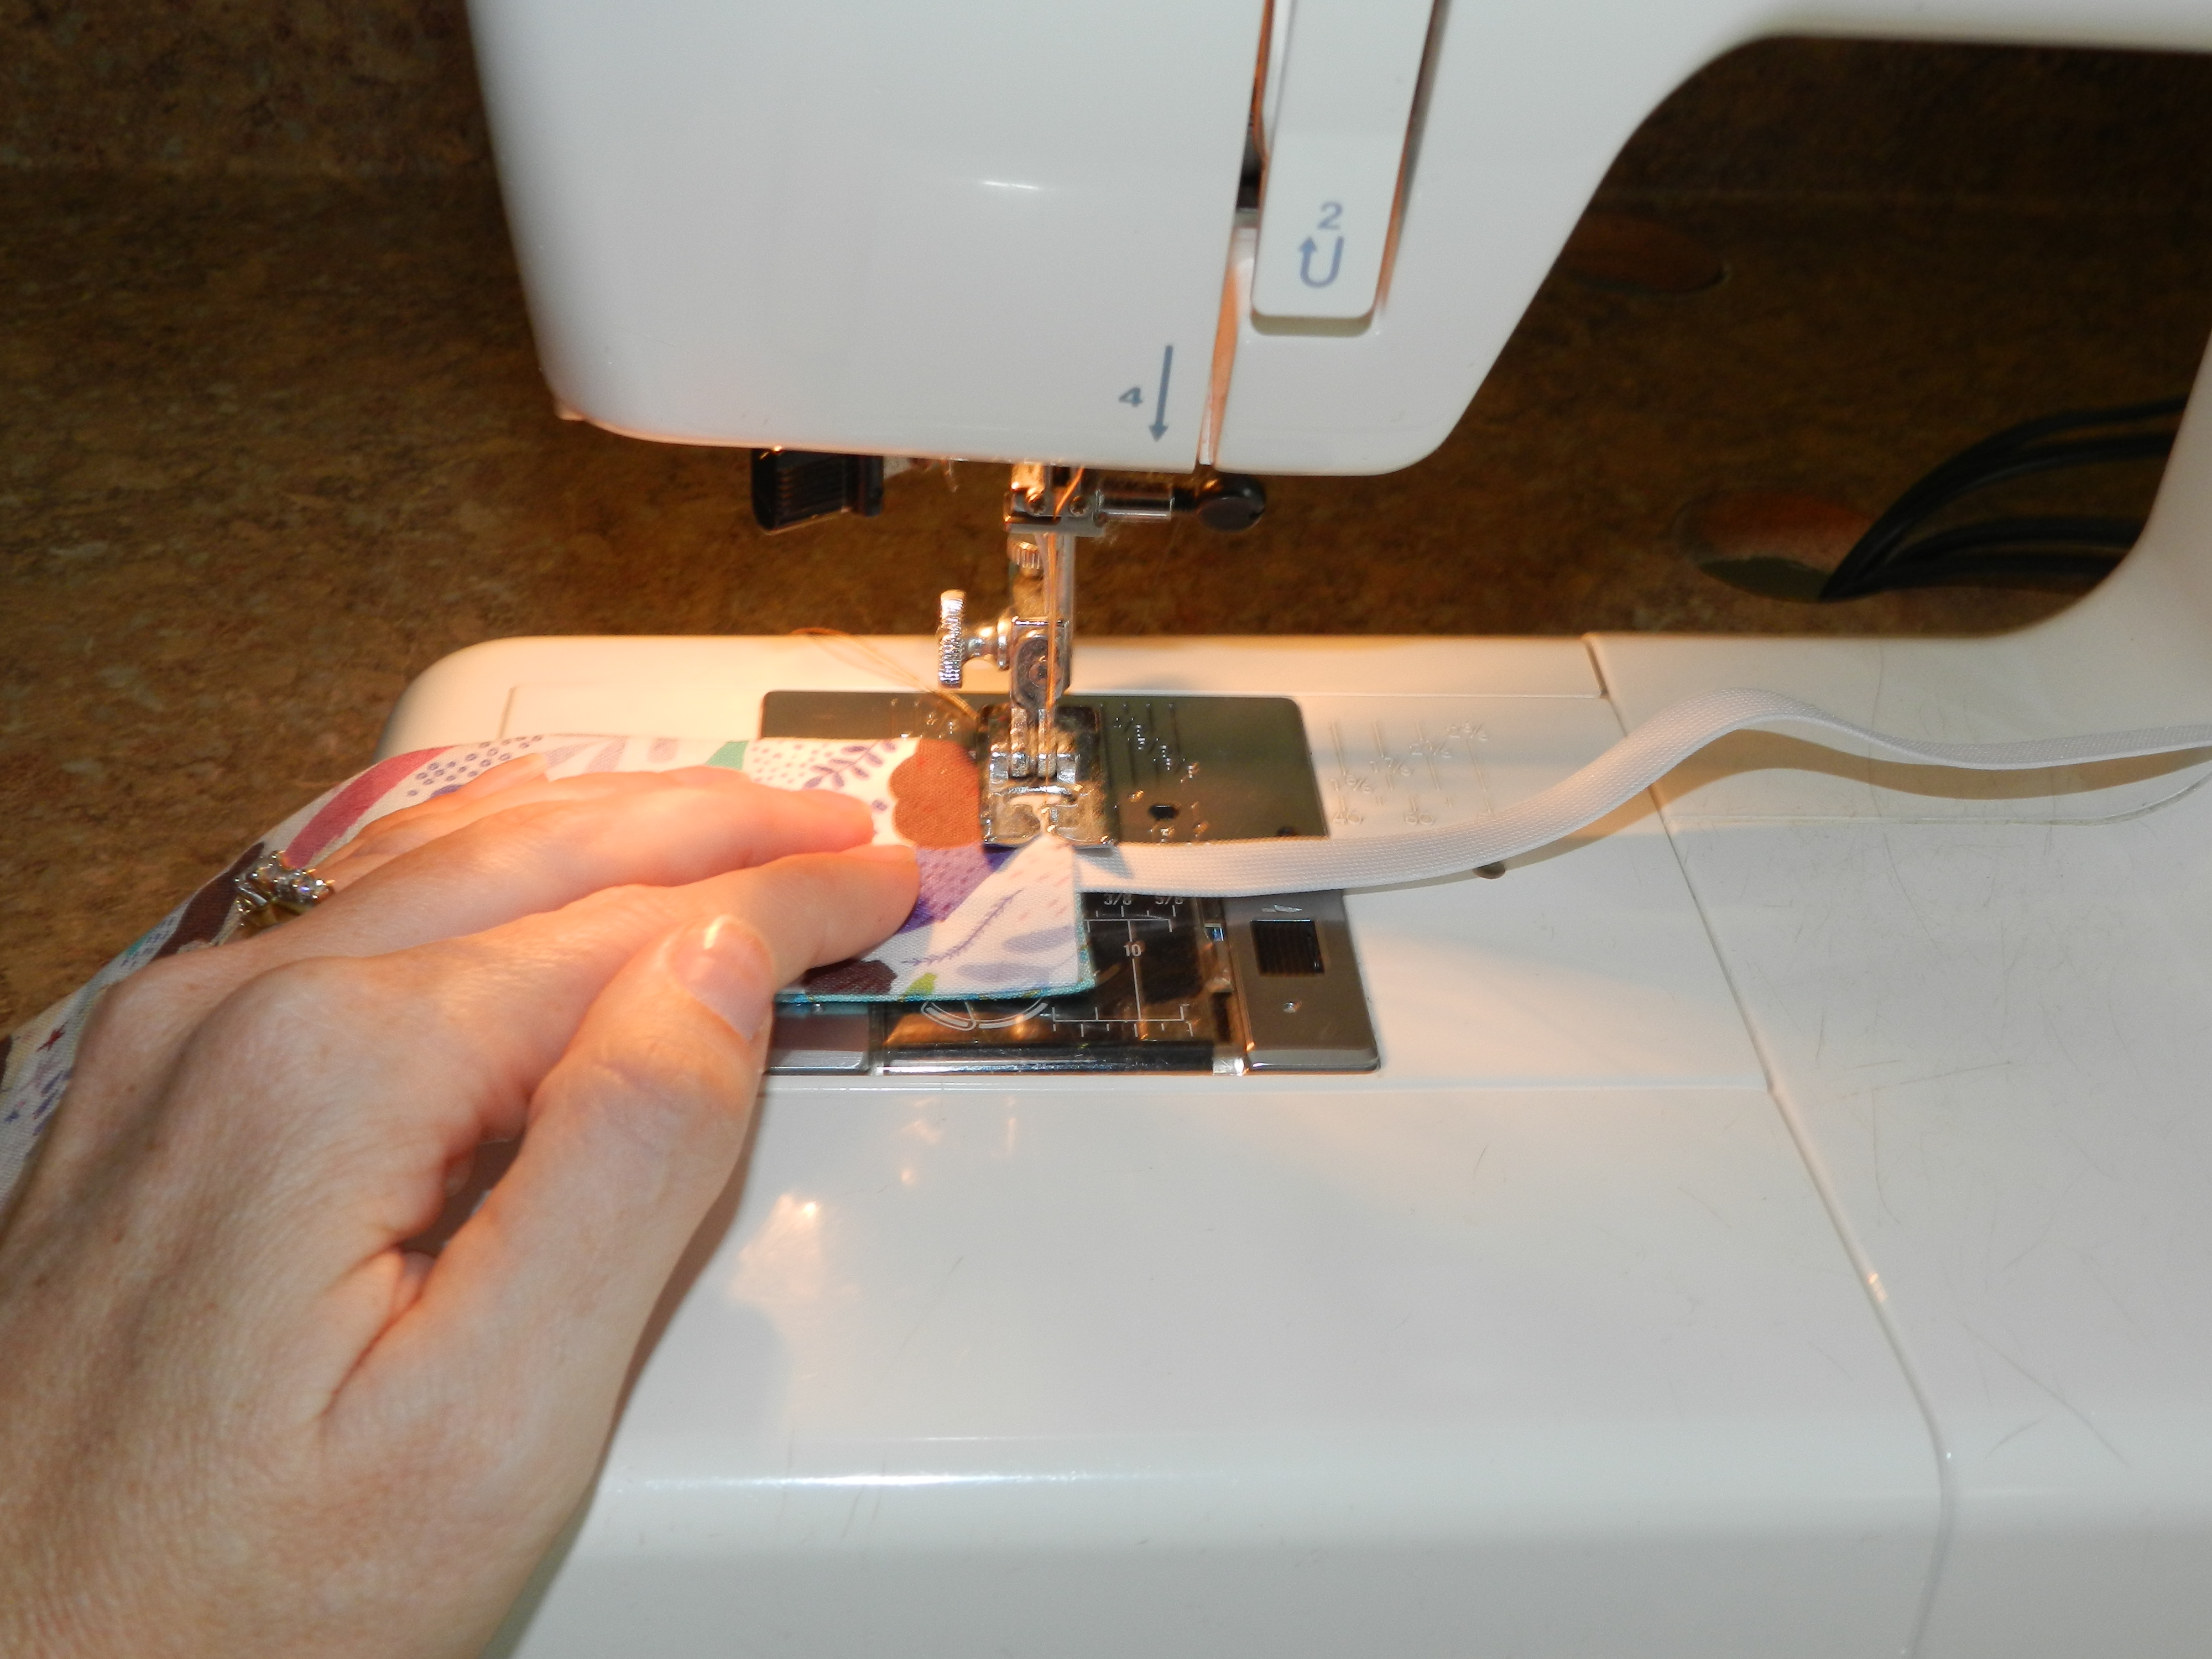
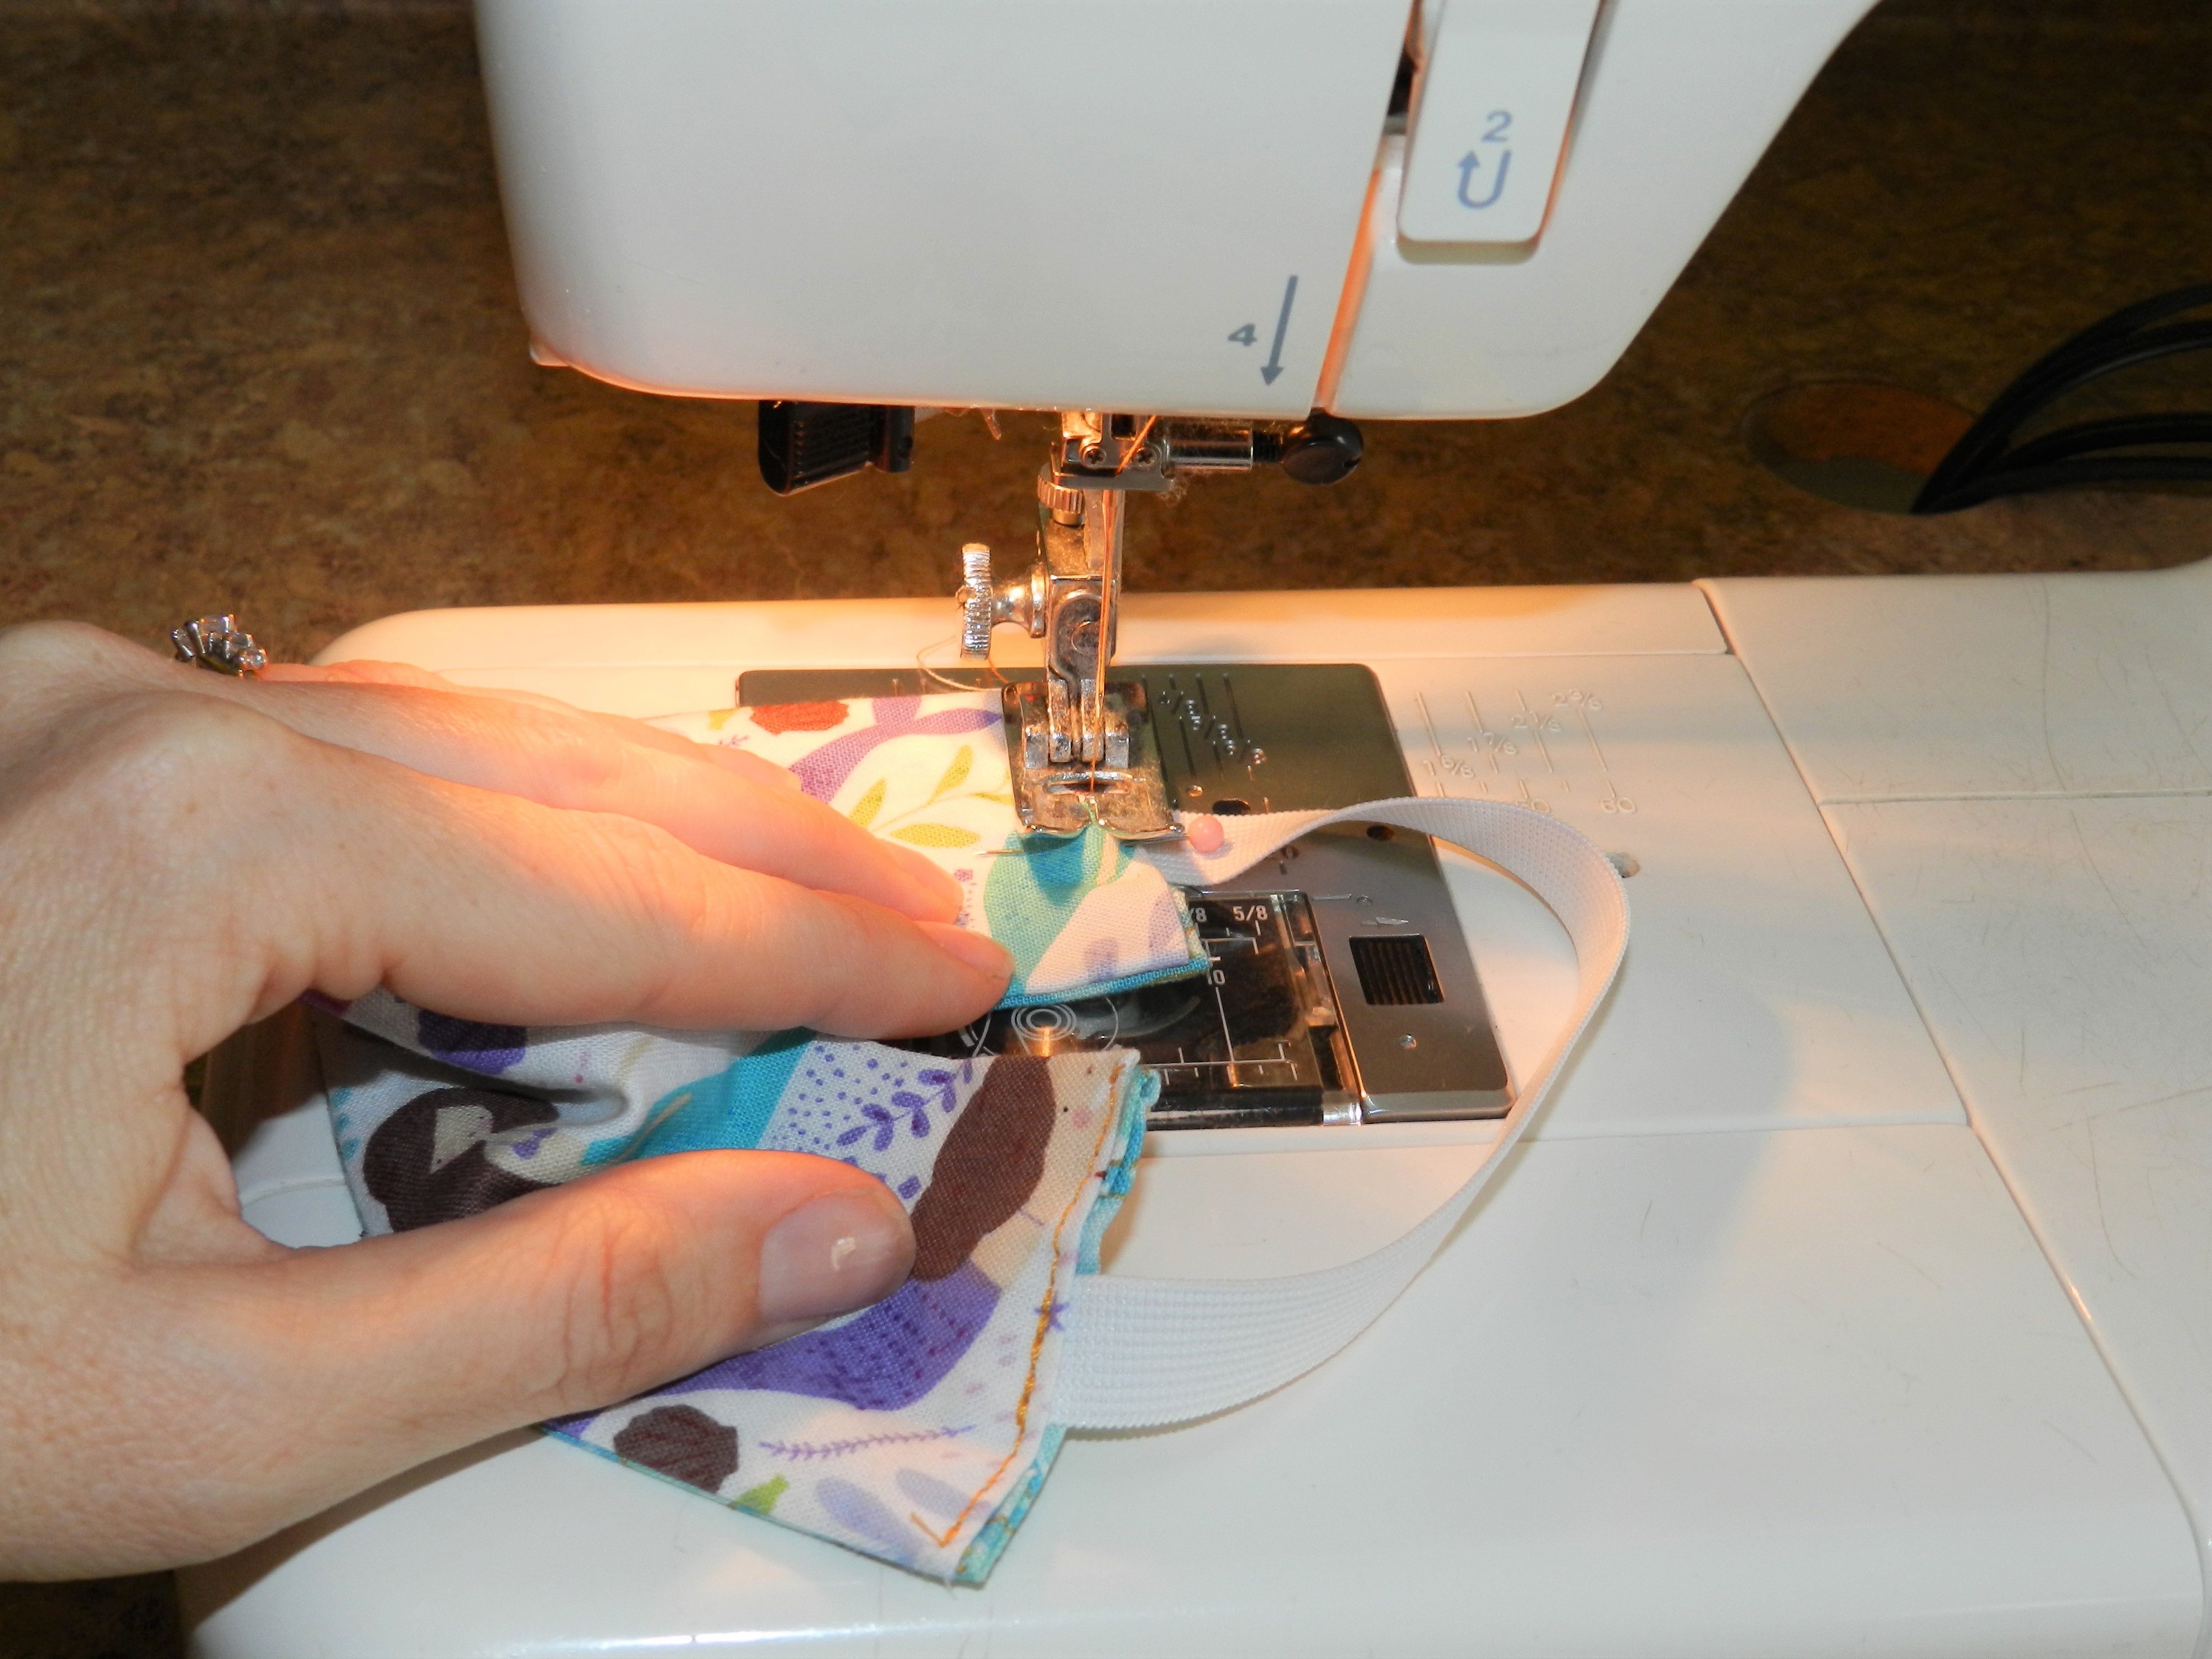
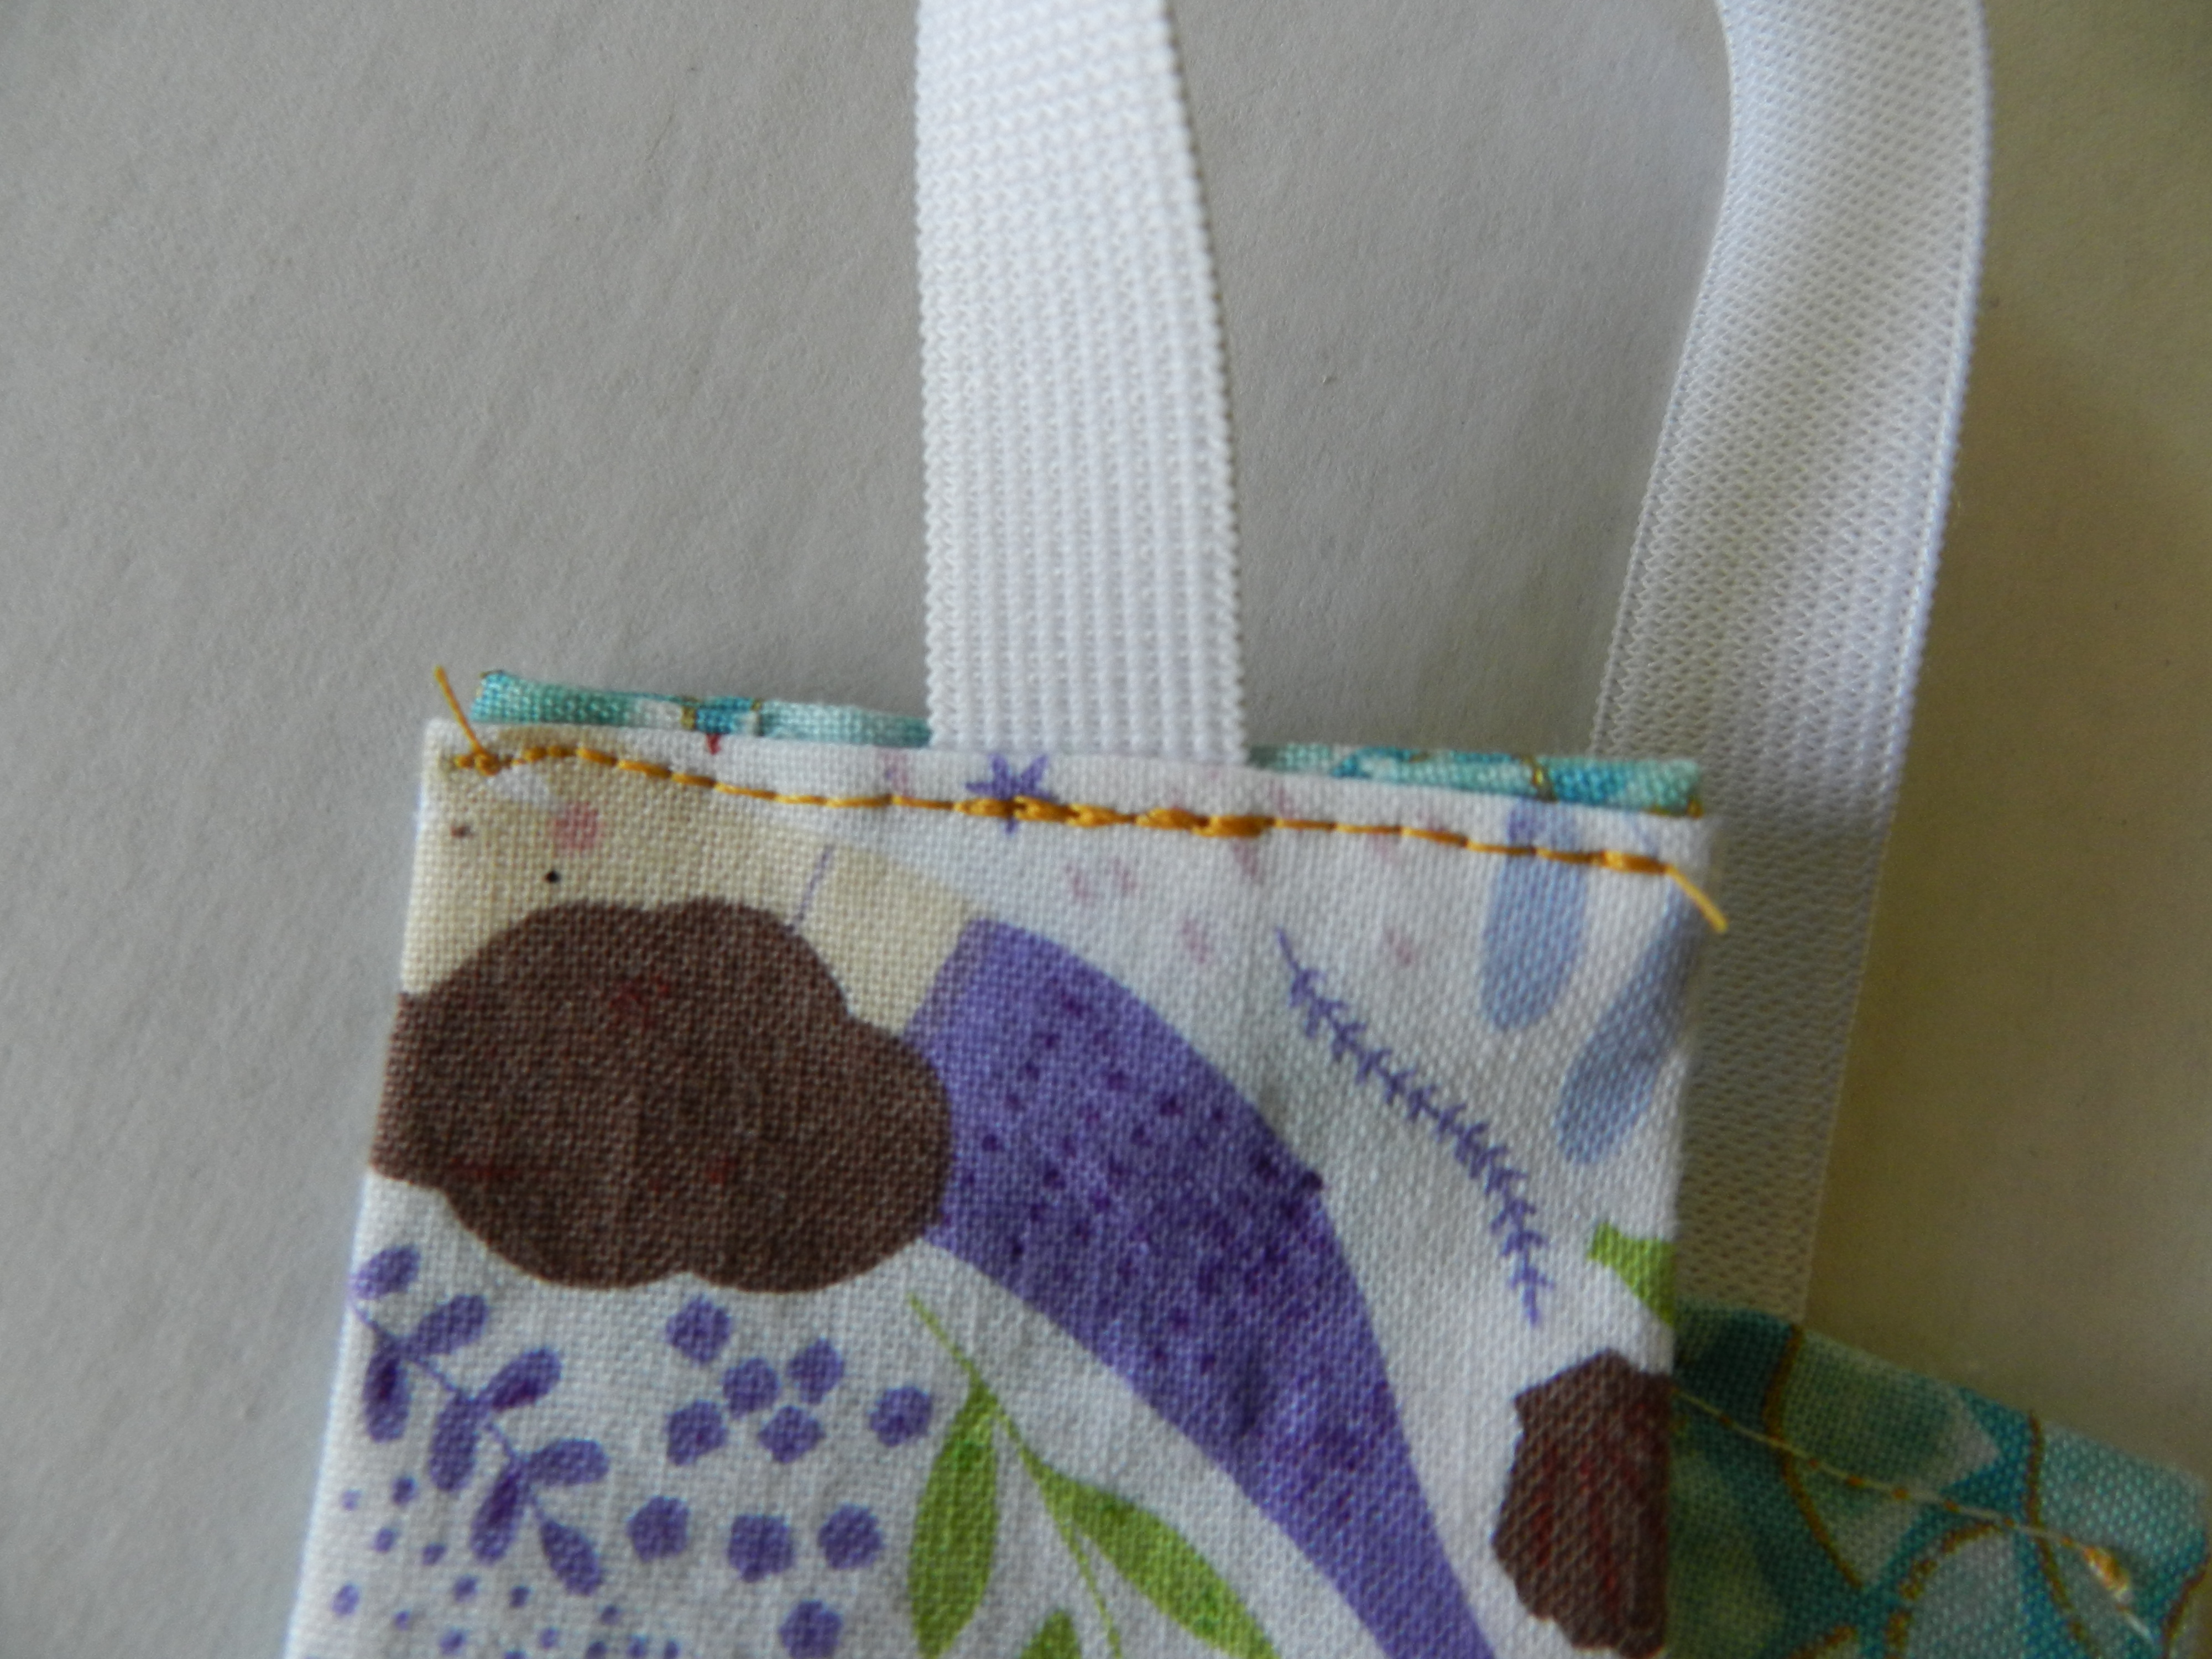
Tuck the end of your elastic into one end of the bookmark, about 1/2″-1″ down (it doesn’t have to be exact). Stitch that short end close, sewing over the elastic. I backstitched over the part where the elastic was, just to give it extra reinforcement.
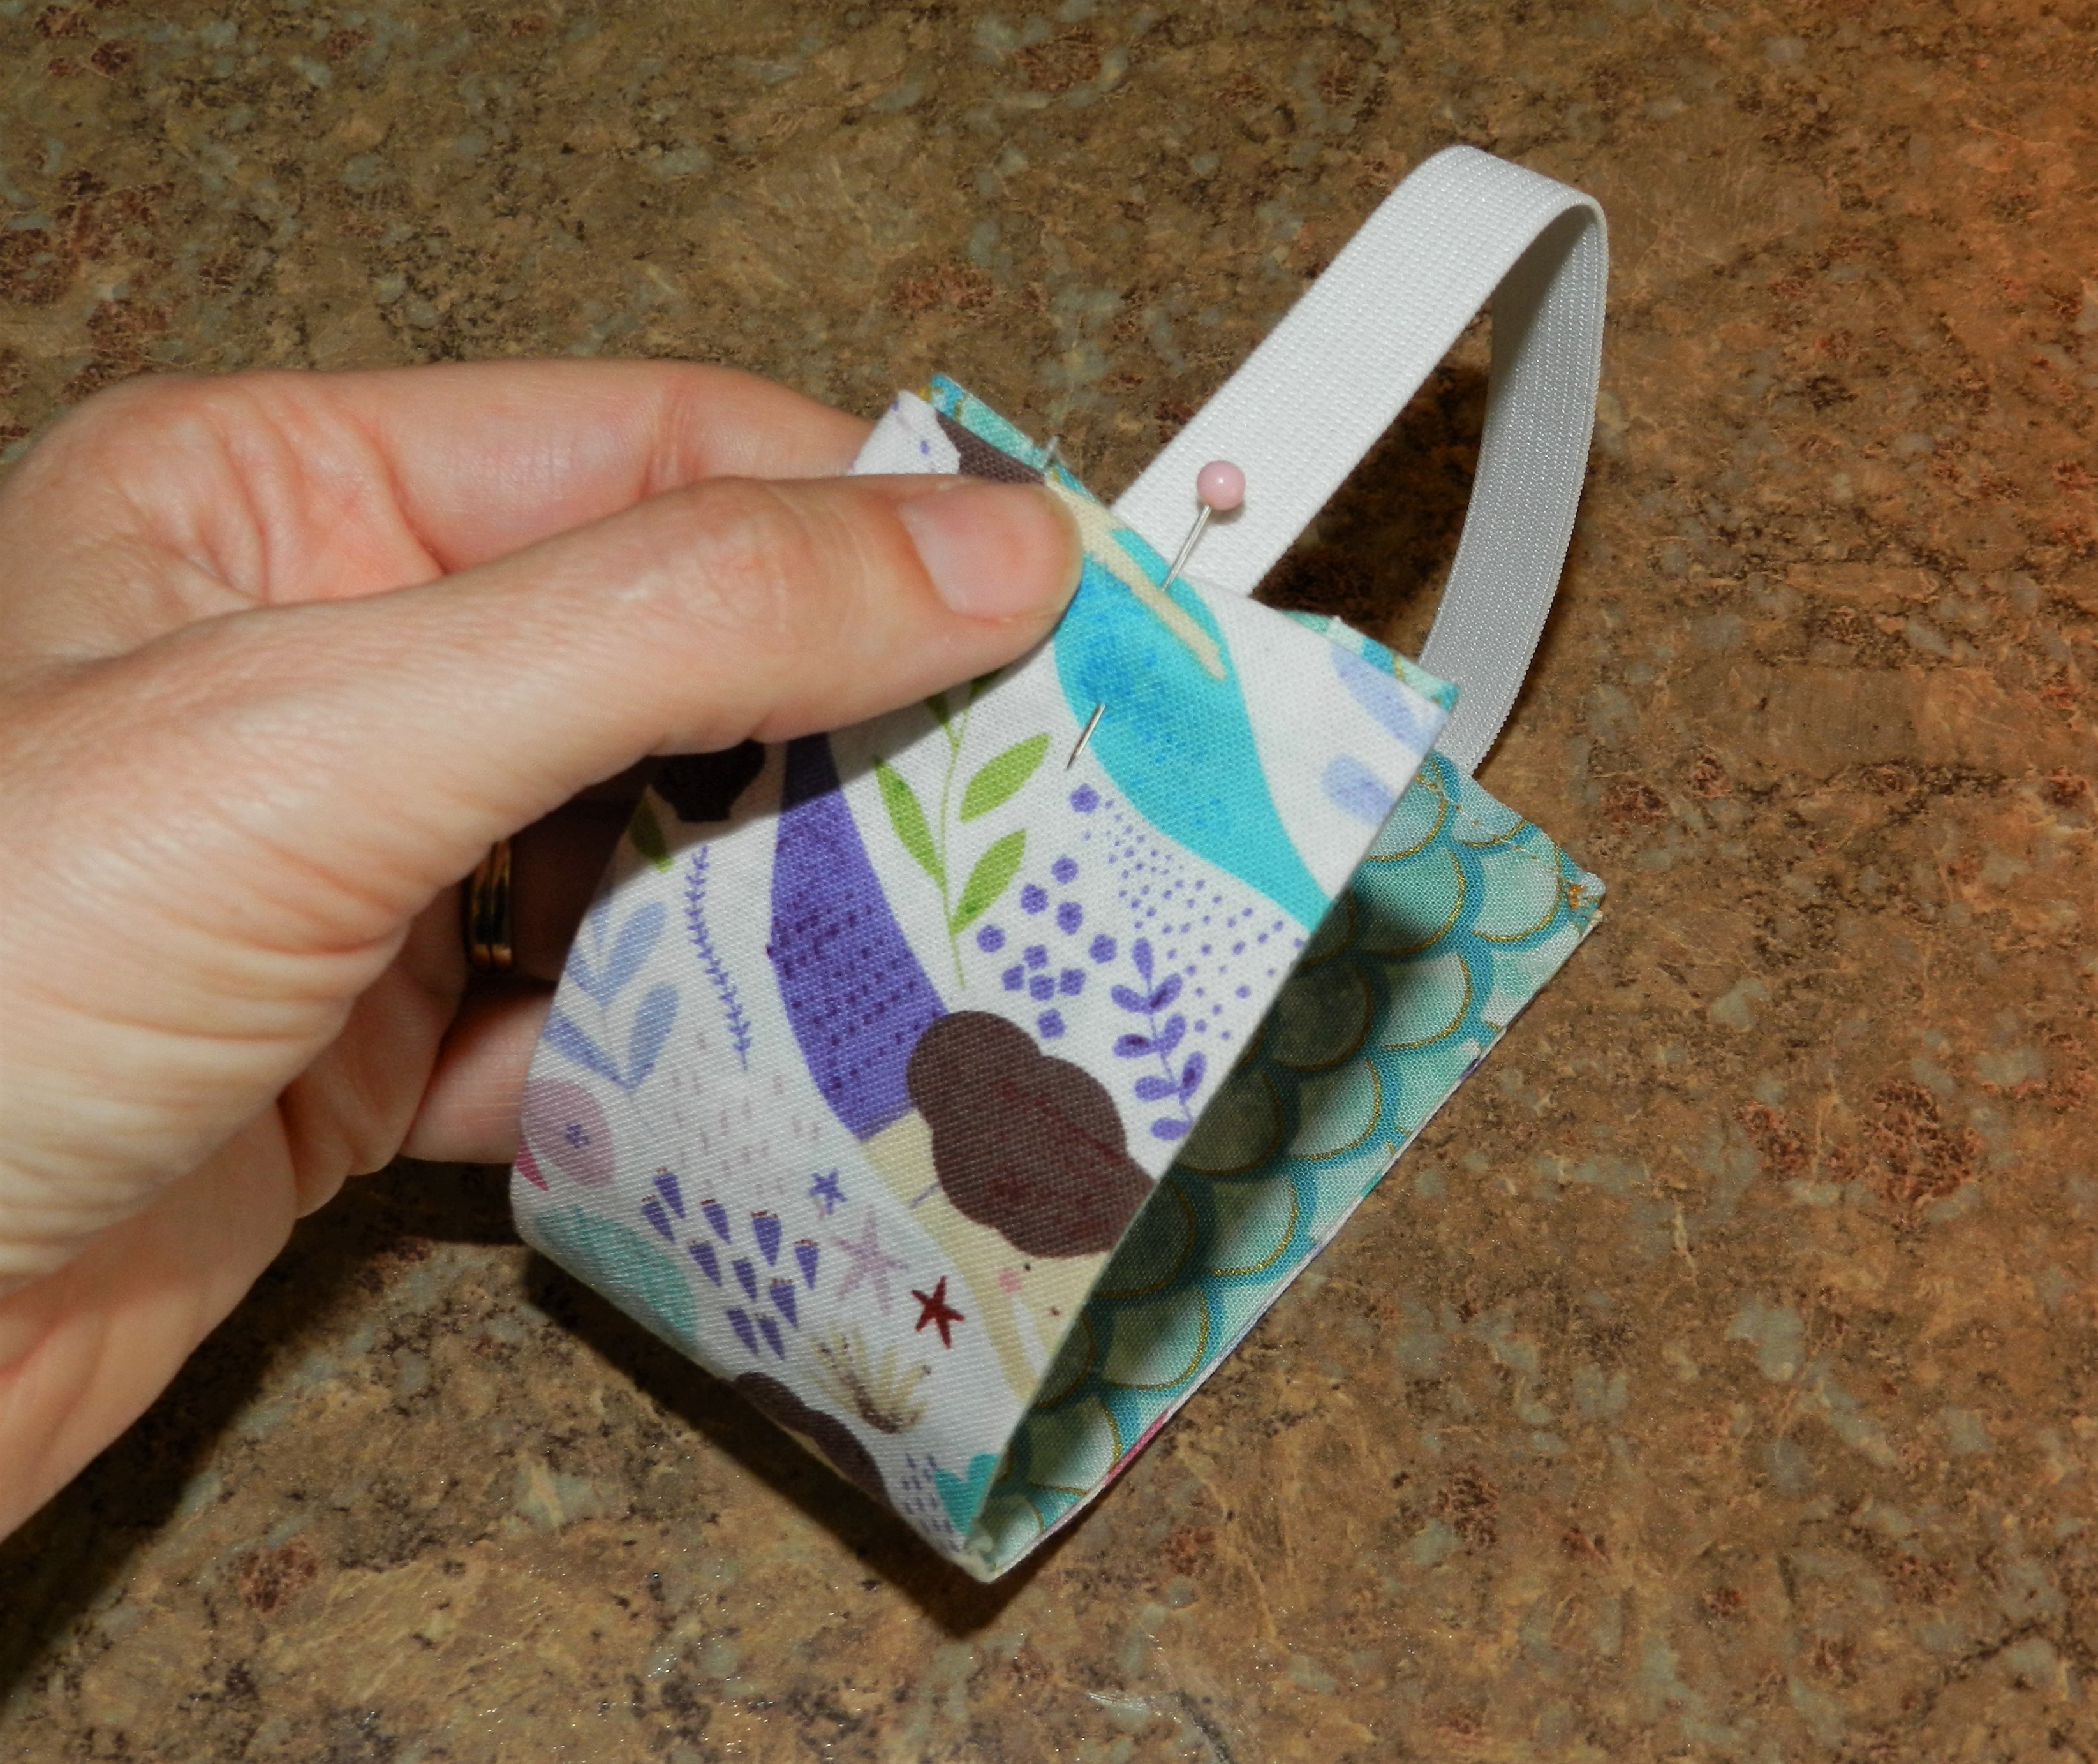
Now, wrap the free end of the elastic around to the other short end of the bookmark and repeat the last step, tucking the elastic in and sewing across the end.
That’s it! I told you it’s super simple!
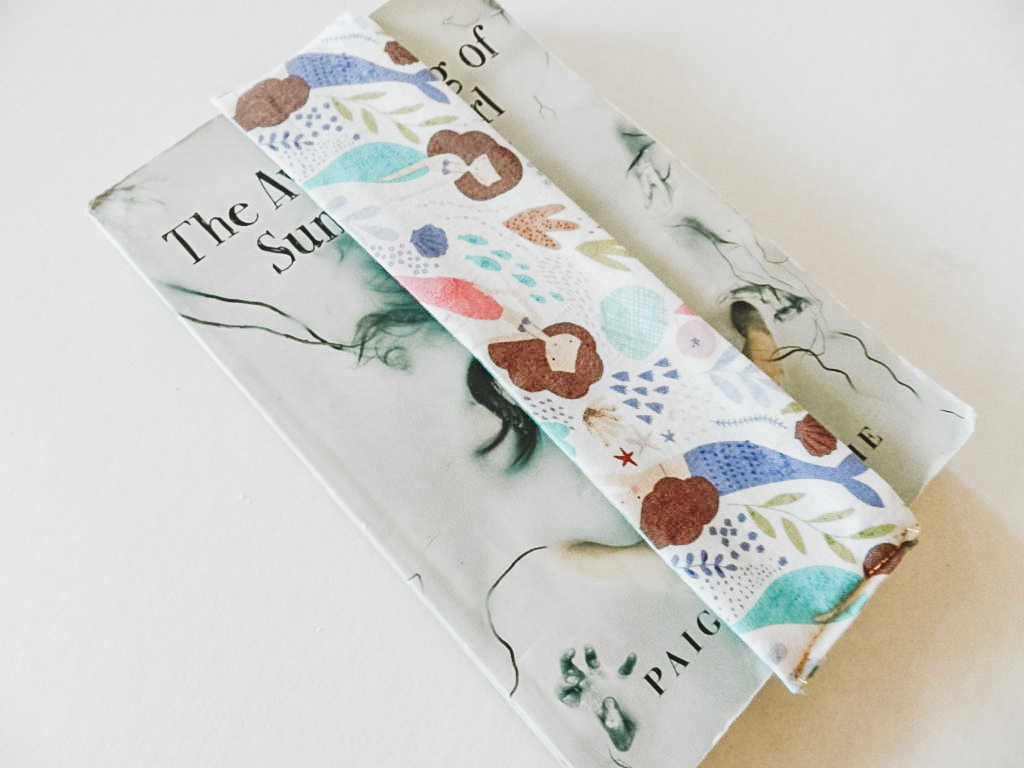
And how cute that it’s reversible!
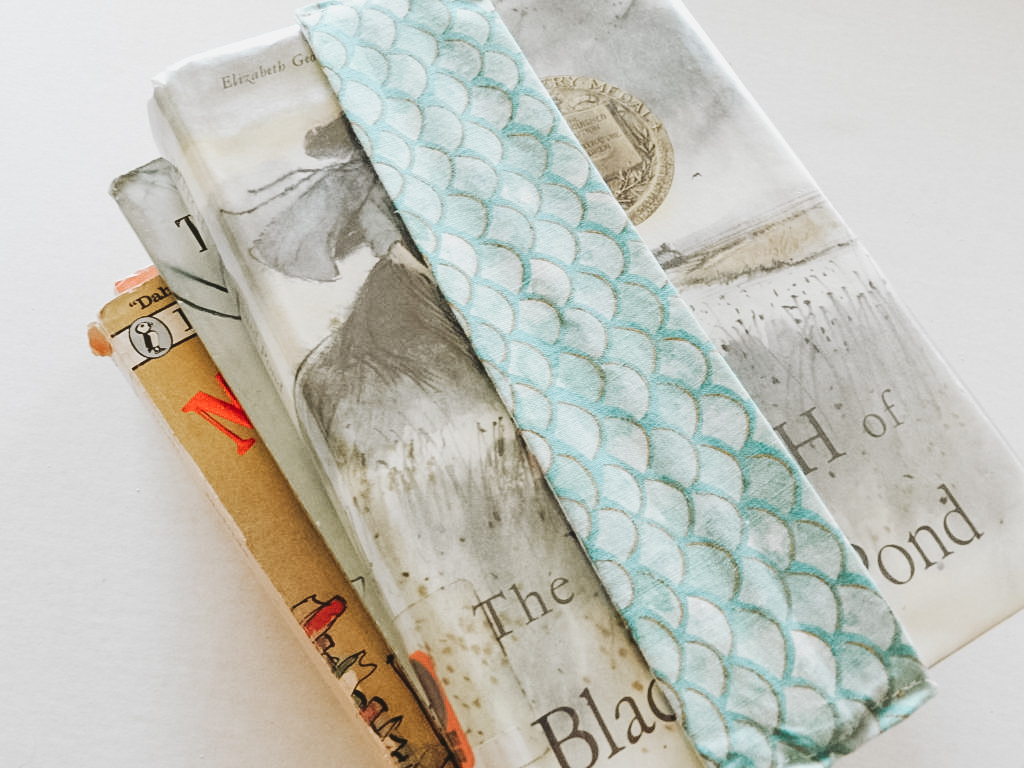
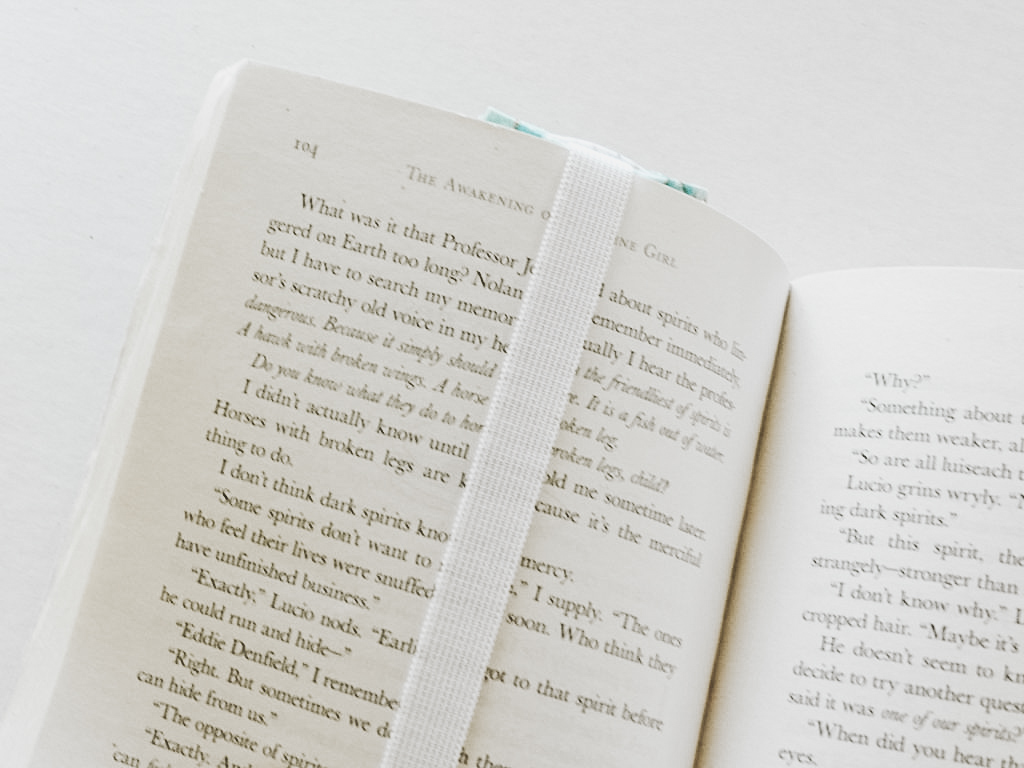
The elastic marks the spot!
My students had fun picking out their fabrics and were excited to go home and do it again!
Need some elastic? Pick it up here!
