
Disclaimer: This post contains affiliate links.
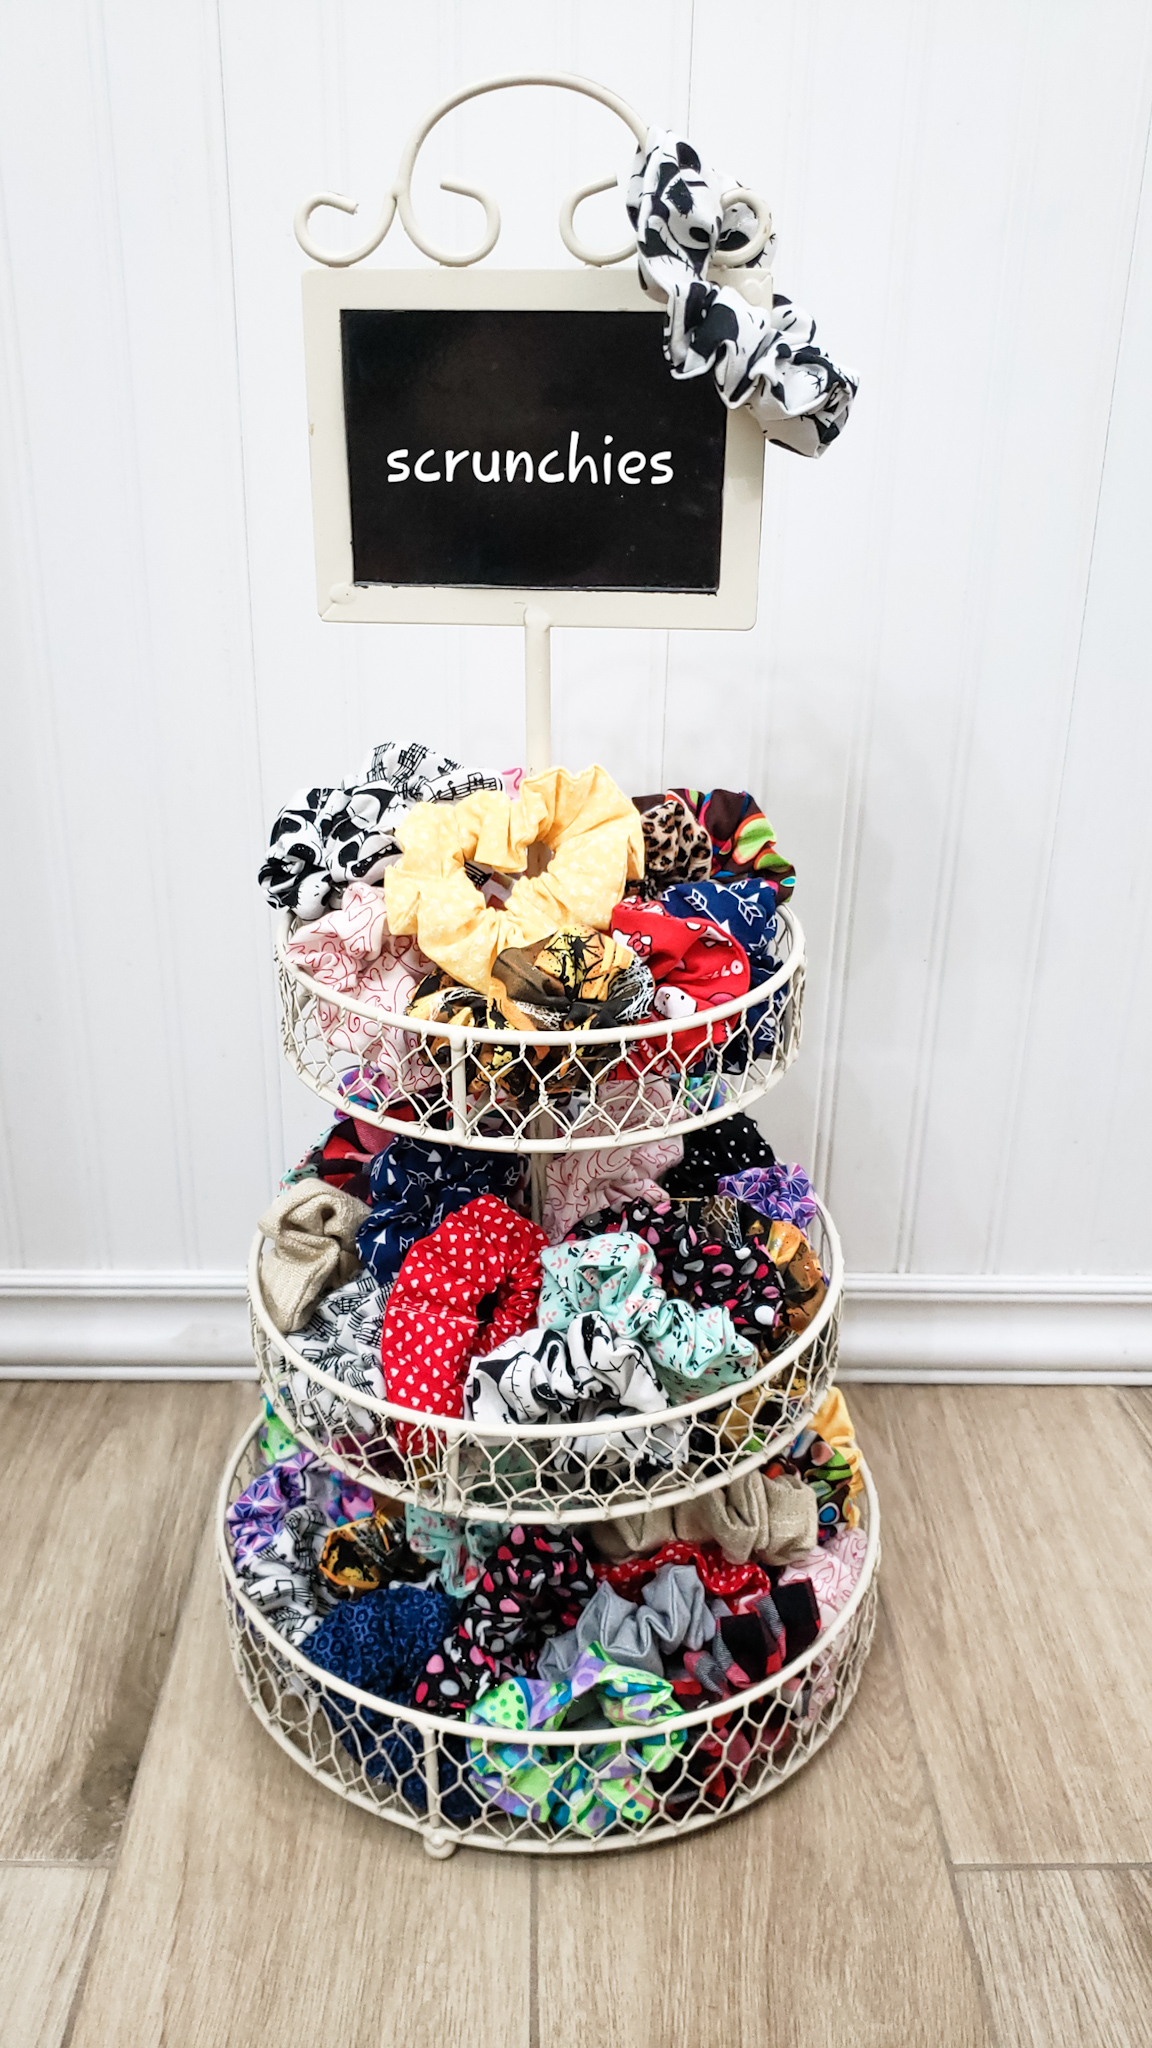
The 80’s are back!! I actually don’t know if that’s a good thing. There are some fashion eras that I don’t think should ever be repeated and as much as I love the 80’s, I think their clothing styles are best left for Halloween. One thing I am excited to make a comeback, though, is scrunchies. I love scrunchies!
My sewing students love scrunchies, too. Whenever we have a break between projects, they always suggest to make scrunchies. They are super easy and quick to make, and some of them have been asking for a tutorial. I’ve been meaning to get around to this for quite some time, but you know how it goes…life gets busy!
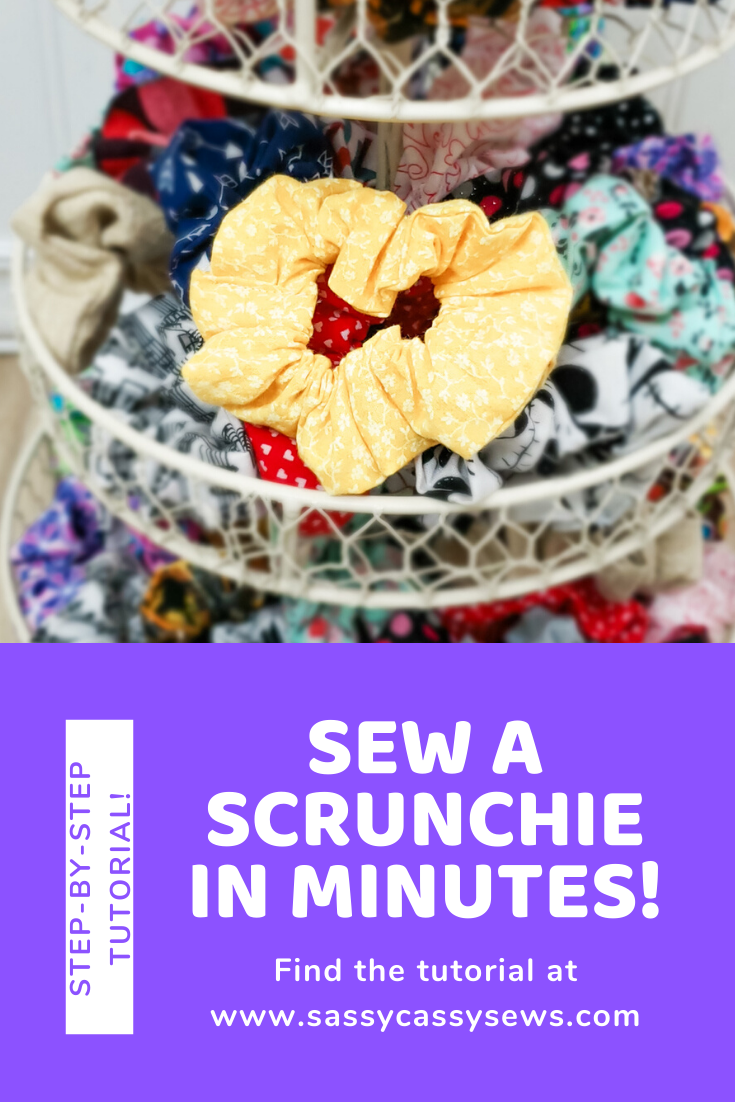
My daughter, Aubrey, had actually been wanting to make scrunchies, and she’s really not much of a sewer. So when she came to me and asked to make scrunchies with me, I had to jump on the opportunity to spend time with her in my sewing room. My boys recently had a fall picnic at their school, so Aubrey and I decided to set up a craft booth and make up a bunch of scrunchies to sell. We spent a few days working on them and in the end we had made up about 60 scrunchies! We ended up selling more than half (and kept a few for ourselves, of course). She made good money for her little business venture. Hopefully she’ll keep going!
I am sharing a written out tutorial for you here today, but I also made a fun video showing you step-by-step directions on how to make your scrunchies! Sometimes it helps to see things “live”.
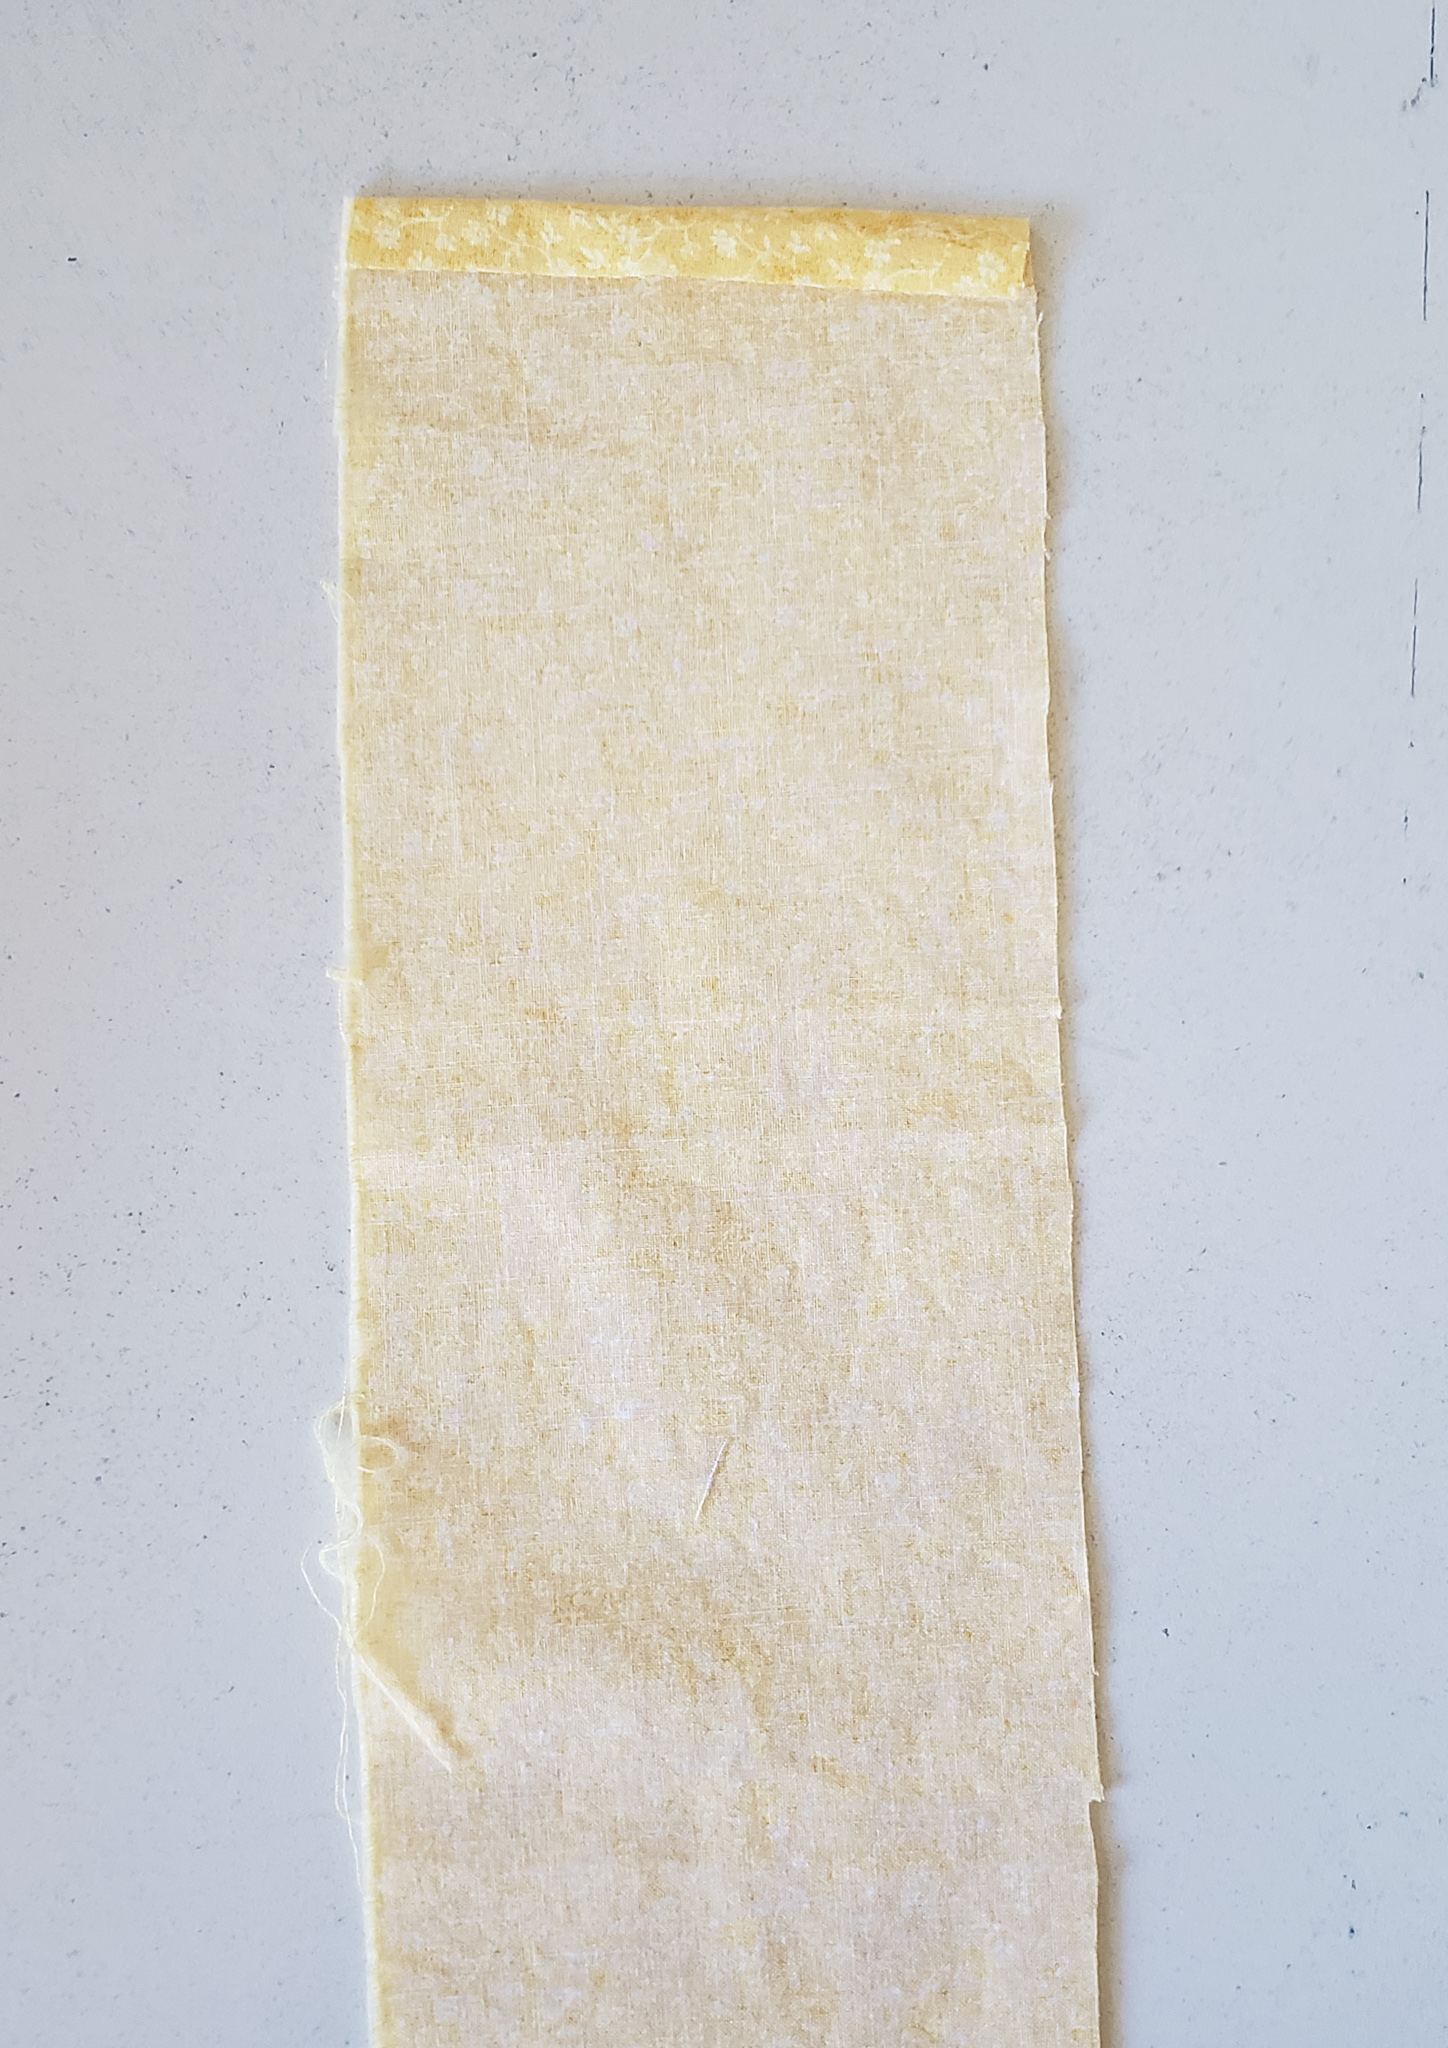
To prep for your scrunchies, cut long strips of fabric. I cut mine between 18″-20″ long (doesn’t have to be exact) and 3 1/2″ wide. You can use a rotary cutter and mat, or scissors. Also, cut a piece of elastic 6″ long. I have found that the best width of elastic to use is 1/2″ wide. When I was out shopping for elastic before this tutorial, they happened to be out of 1/2″ elastic so I used 1/4″ instead. It worked, but it’s harder to sew under the presser foot than the 1/2″.

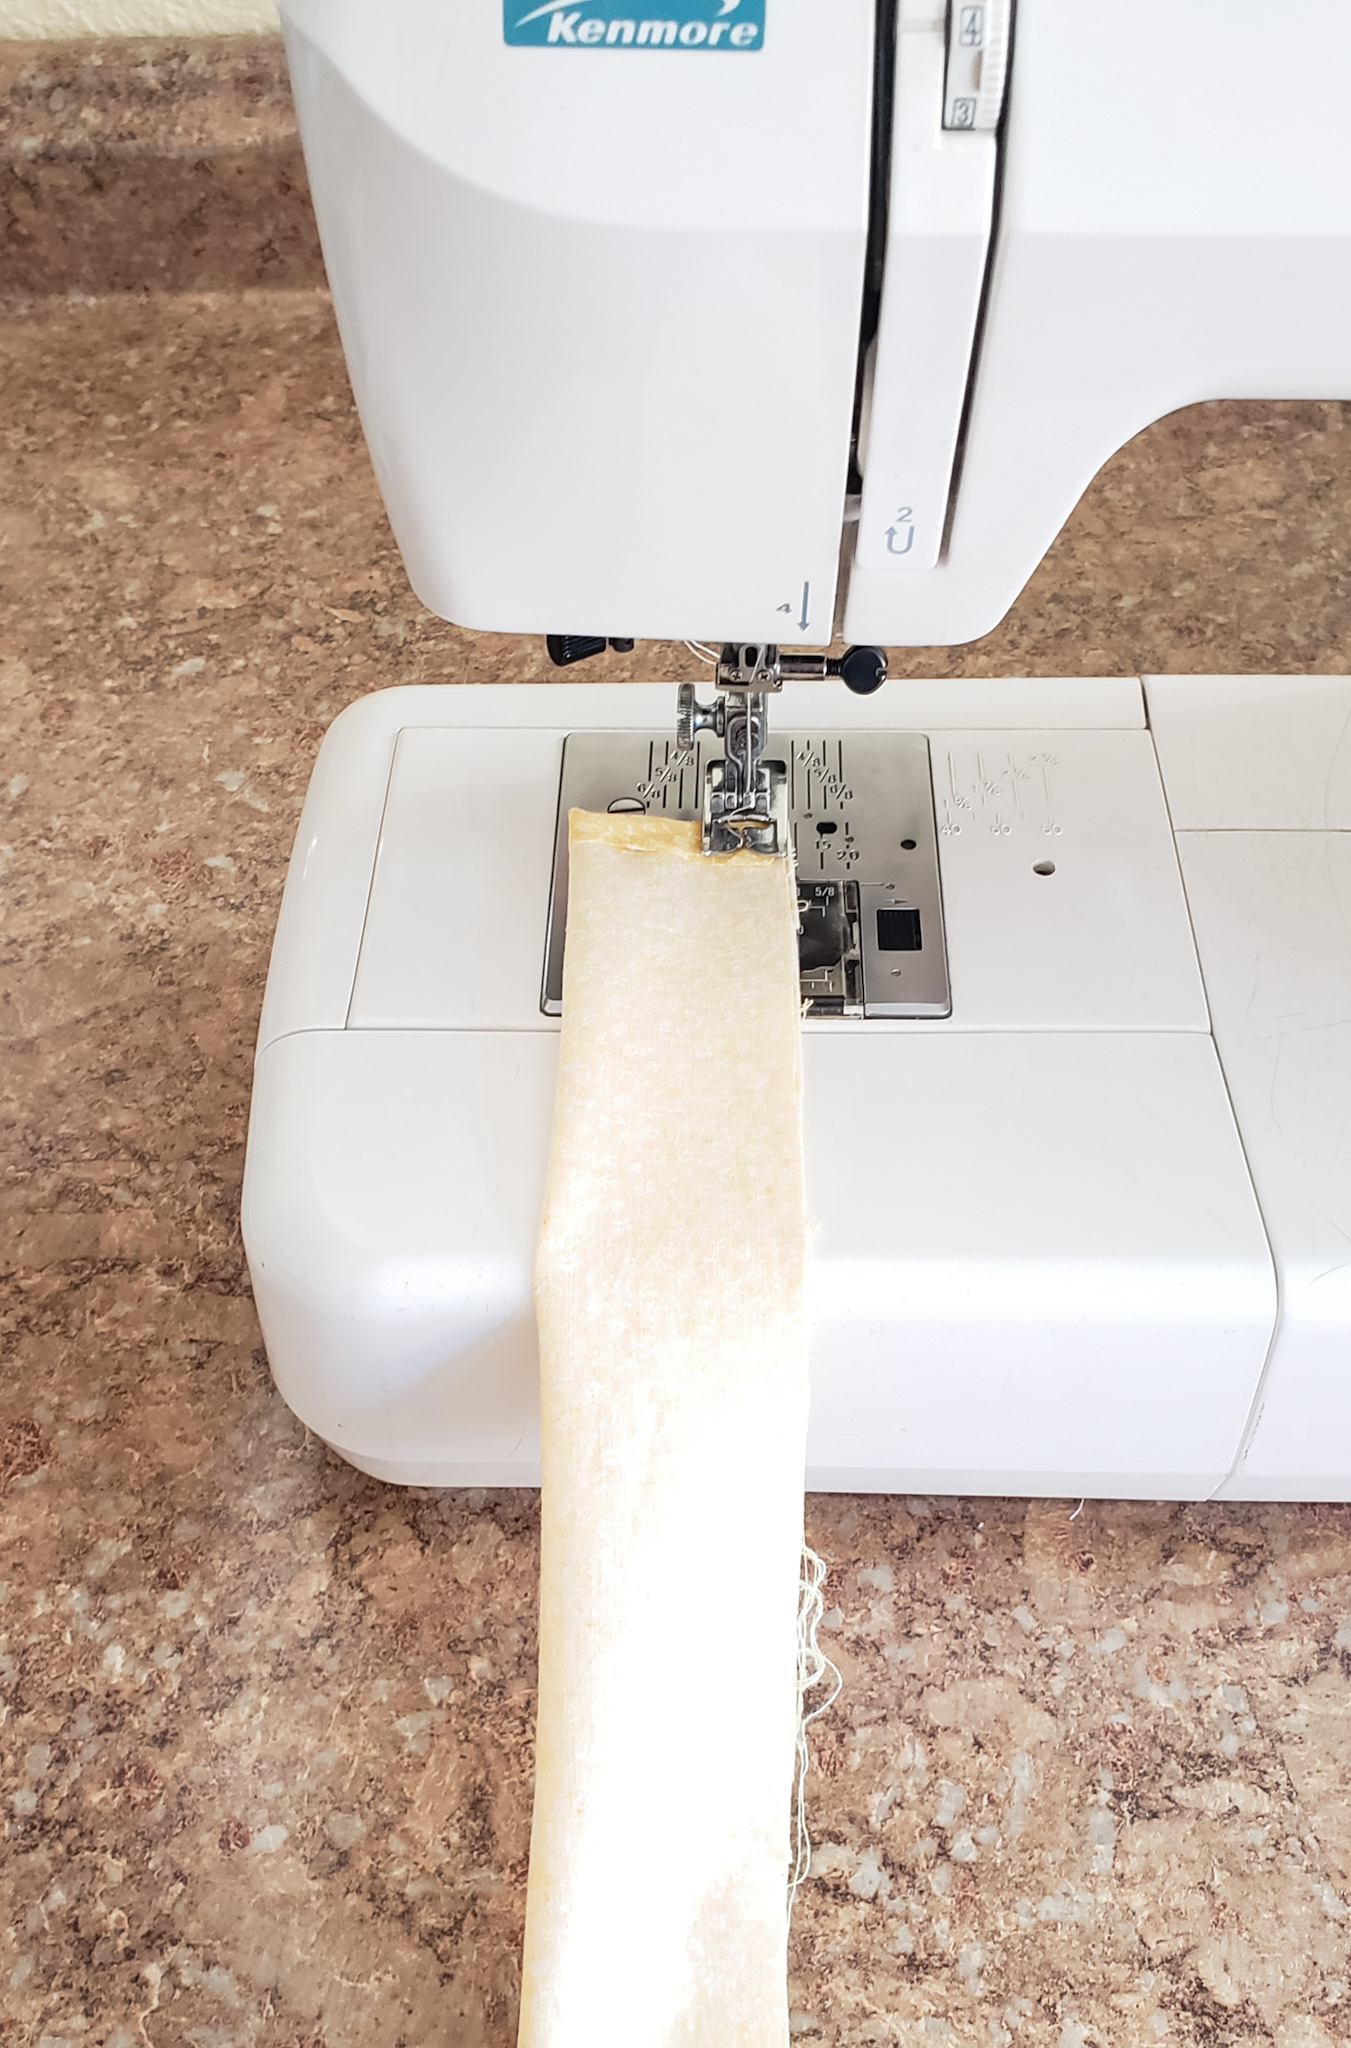
Fold one short end of your fabric to the inside, 1/2″, and press.
Fold your fabric in half lengthwise, right side together and sew on the long edge of the fabric using a 3/8″ seam allowance. Make sure you leave both short ends open!
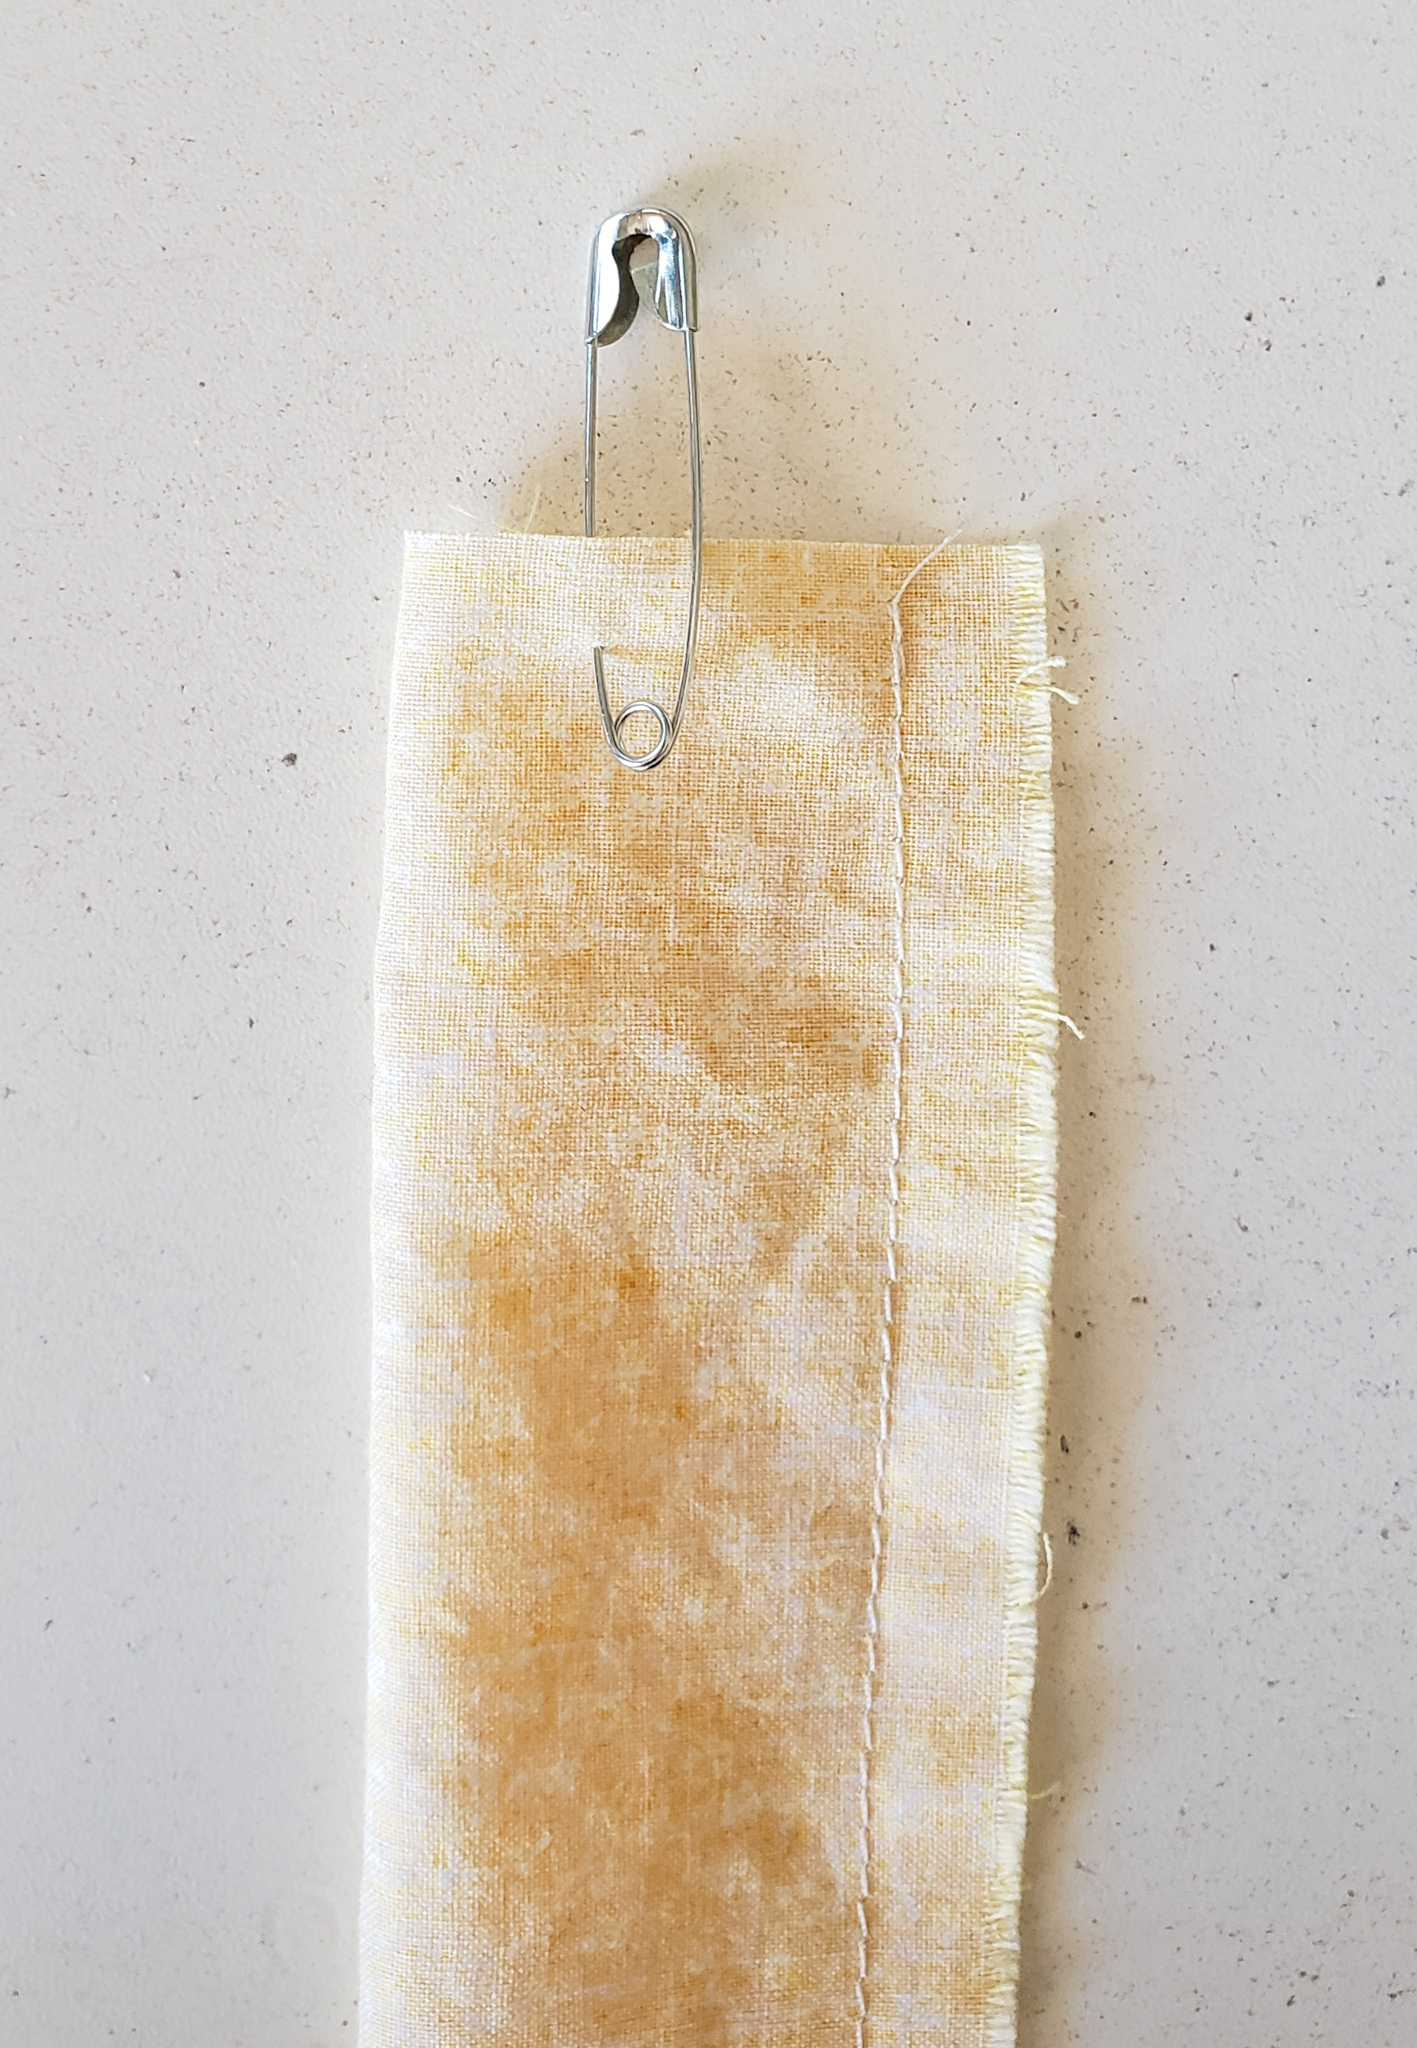
Turn your scrunchie right side out. I use a safety pin and stuff it through from one end to the other.
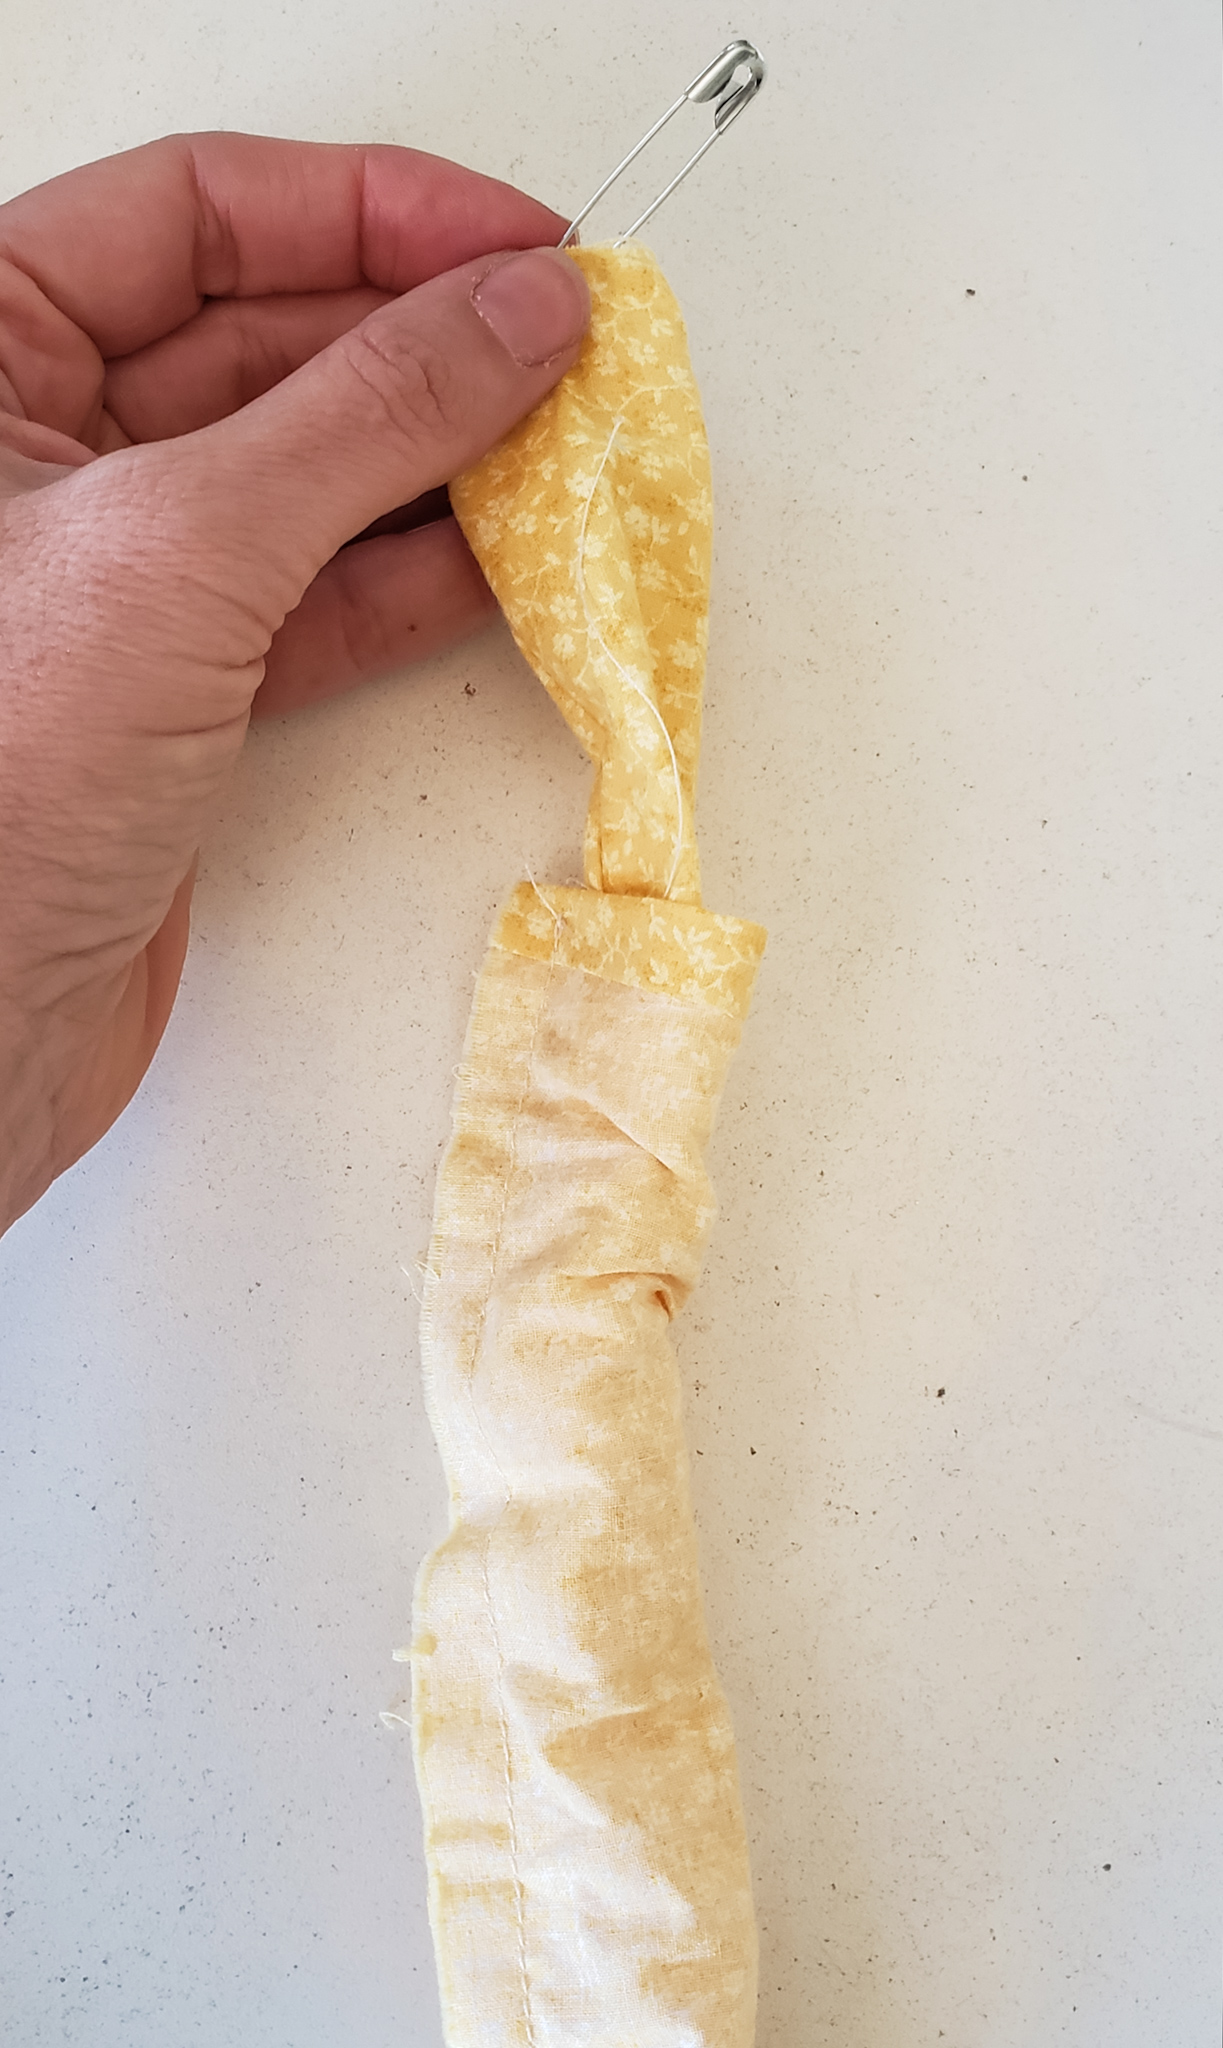
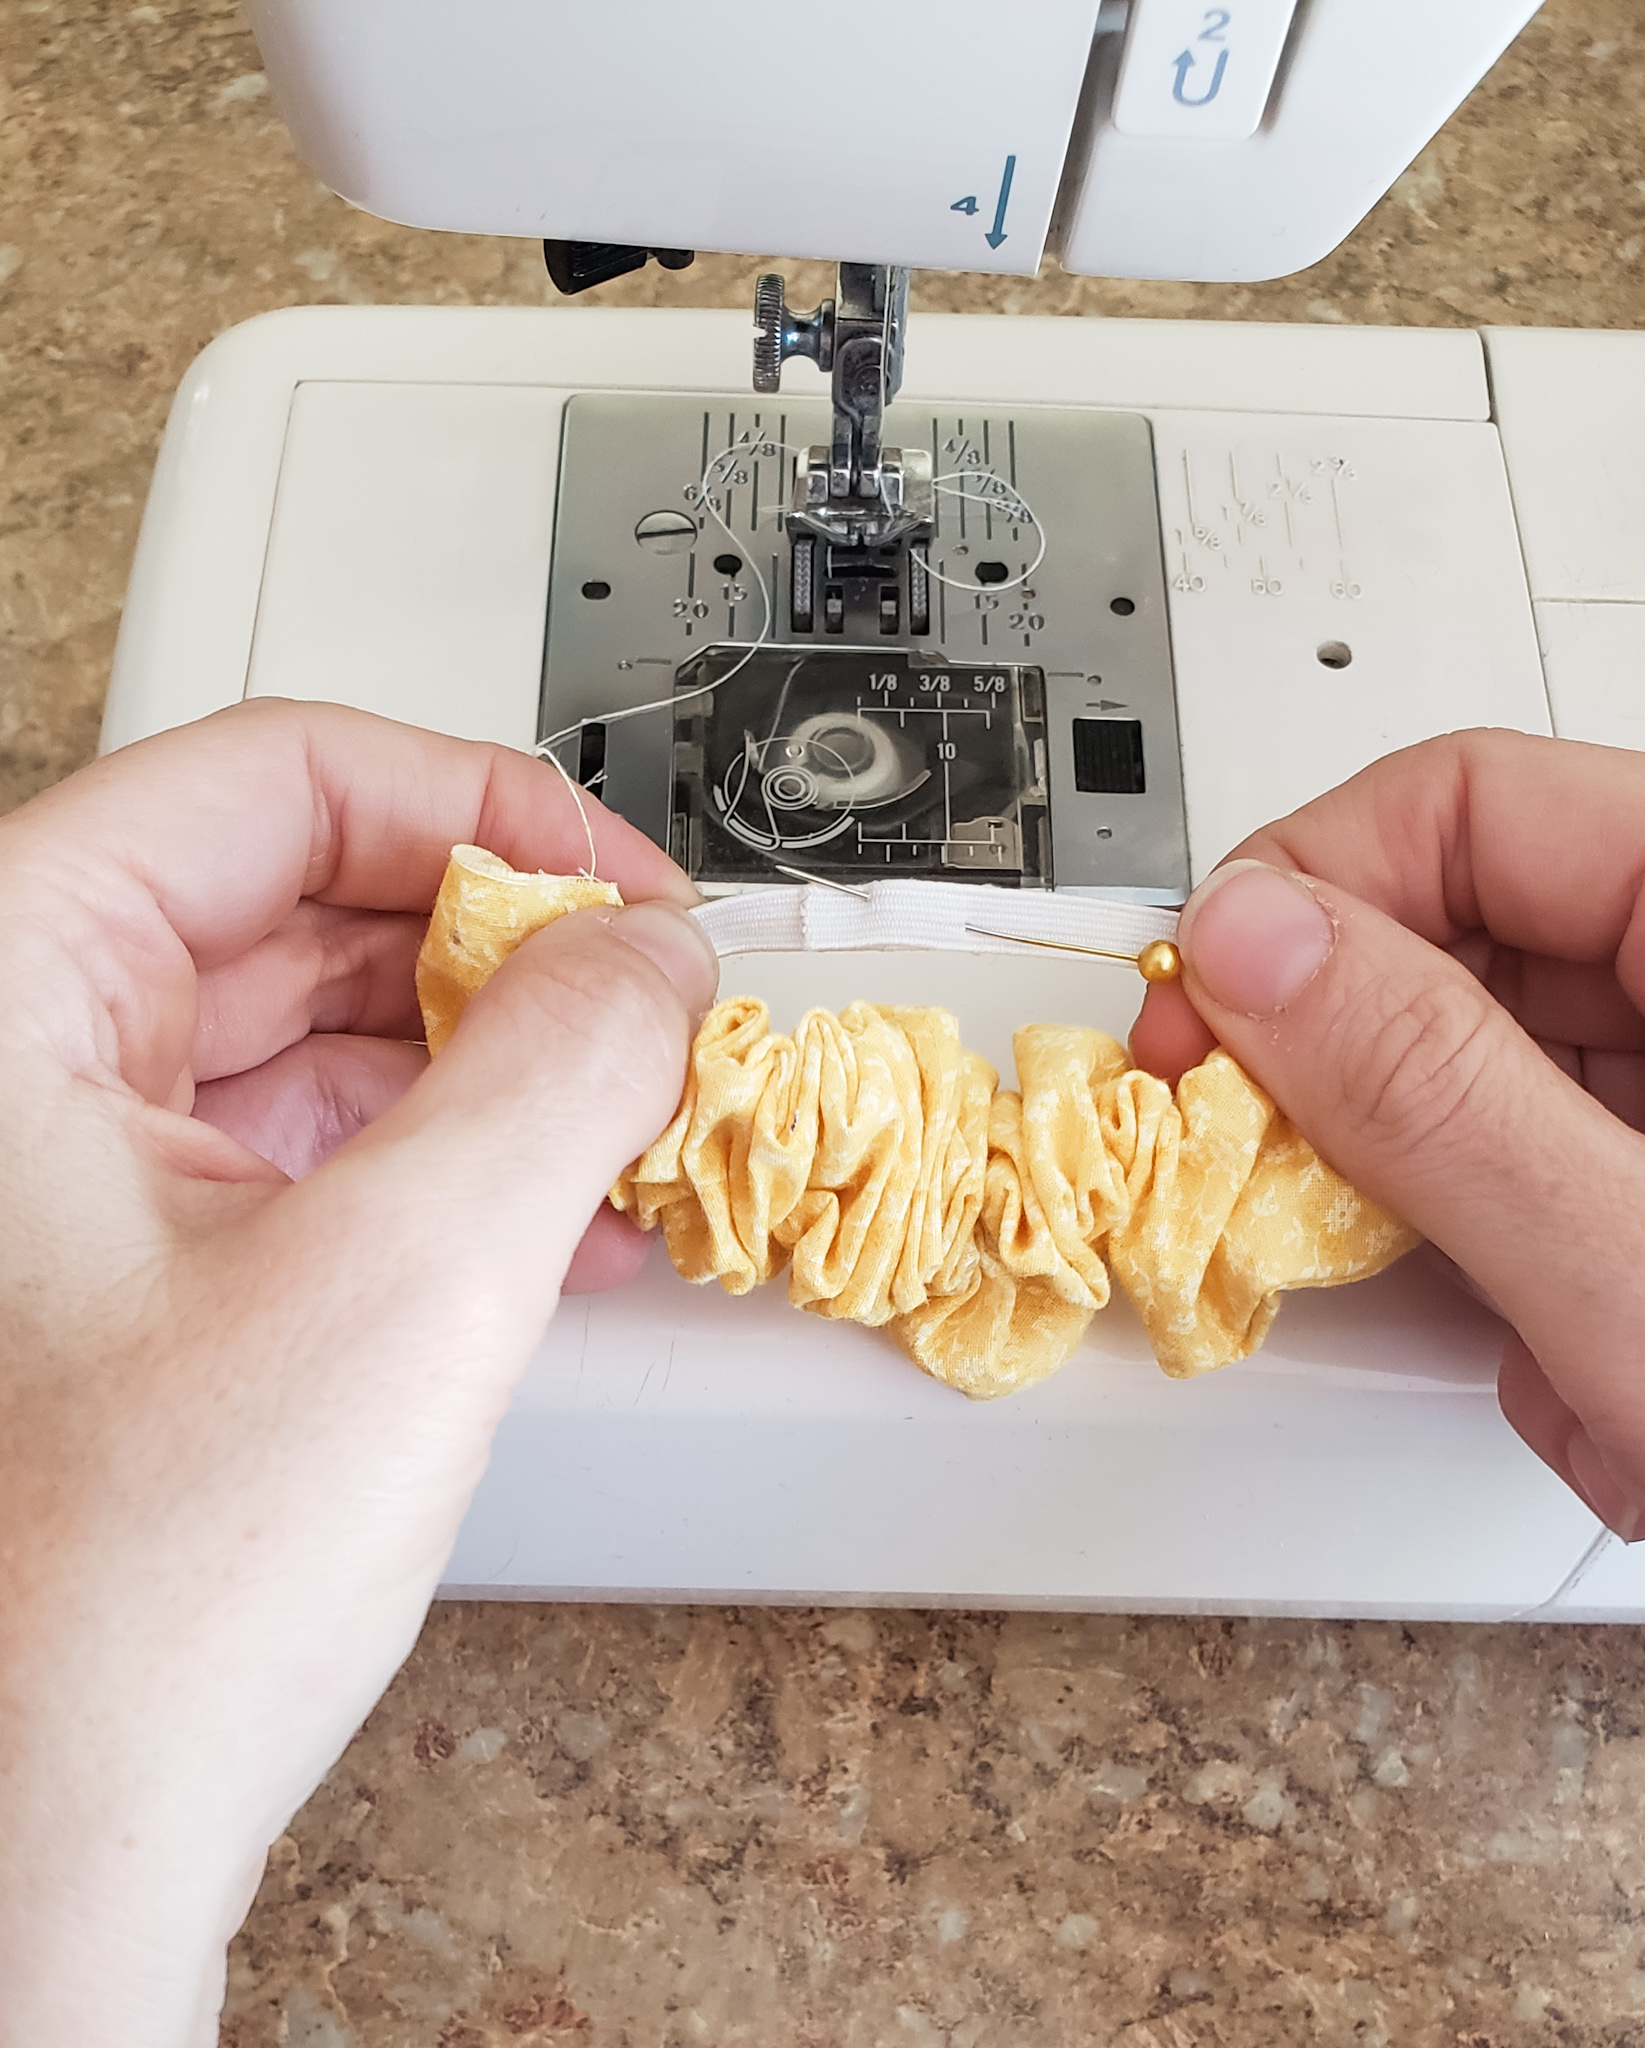
Take your piece of elastic and put a safety pin on one end. Put the safety pin end through your scrunchie, making sure not to lose the end without the safety pin as you pull it through.
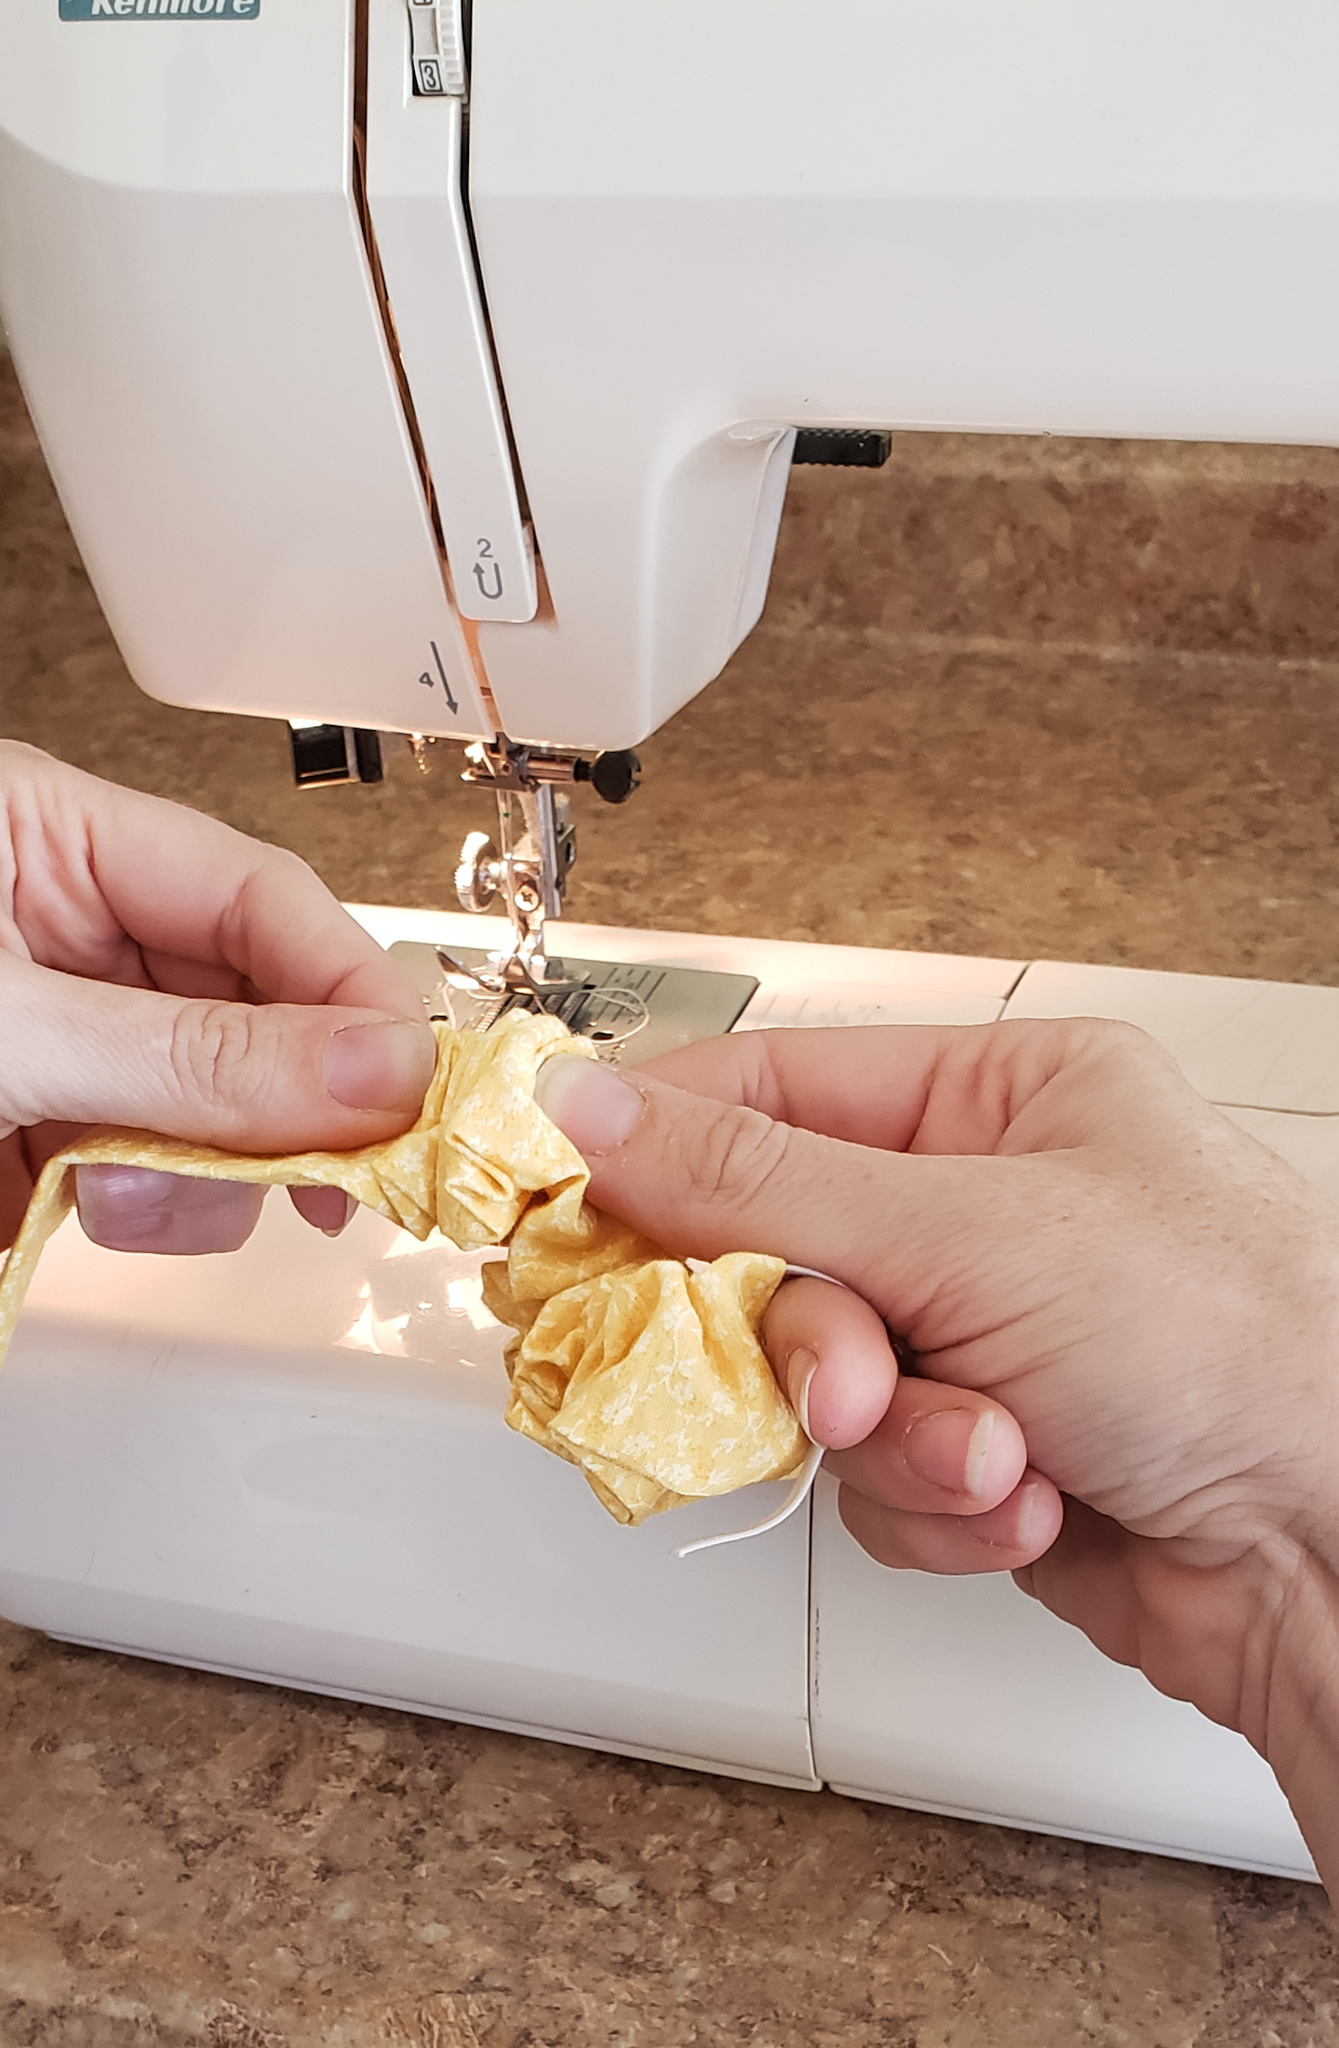
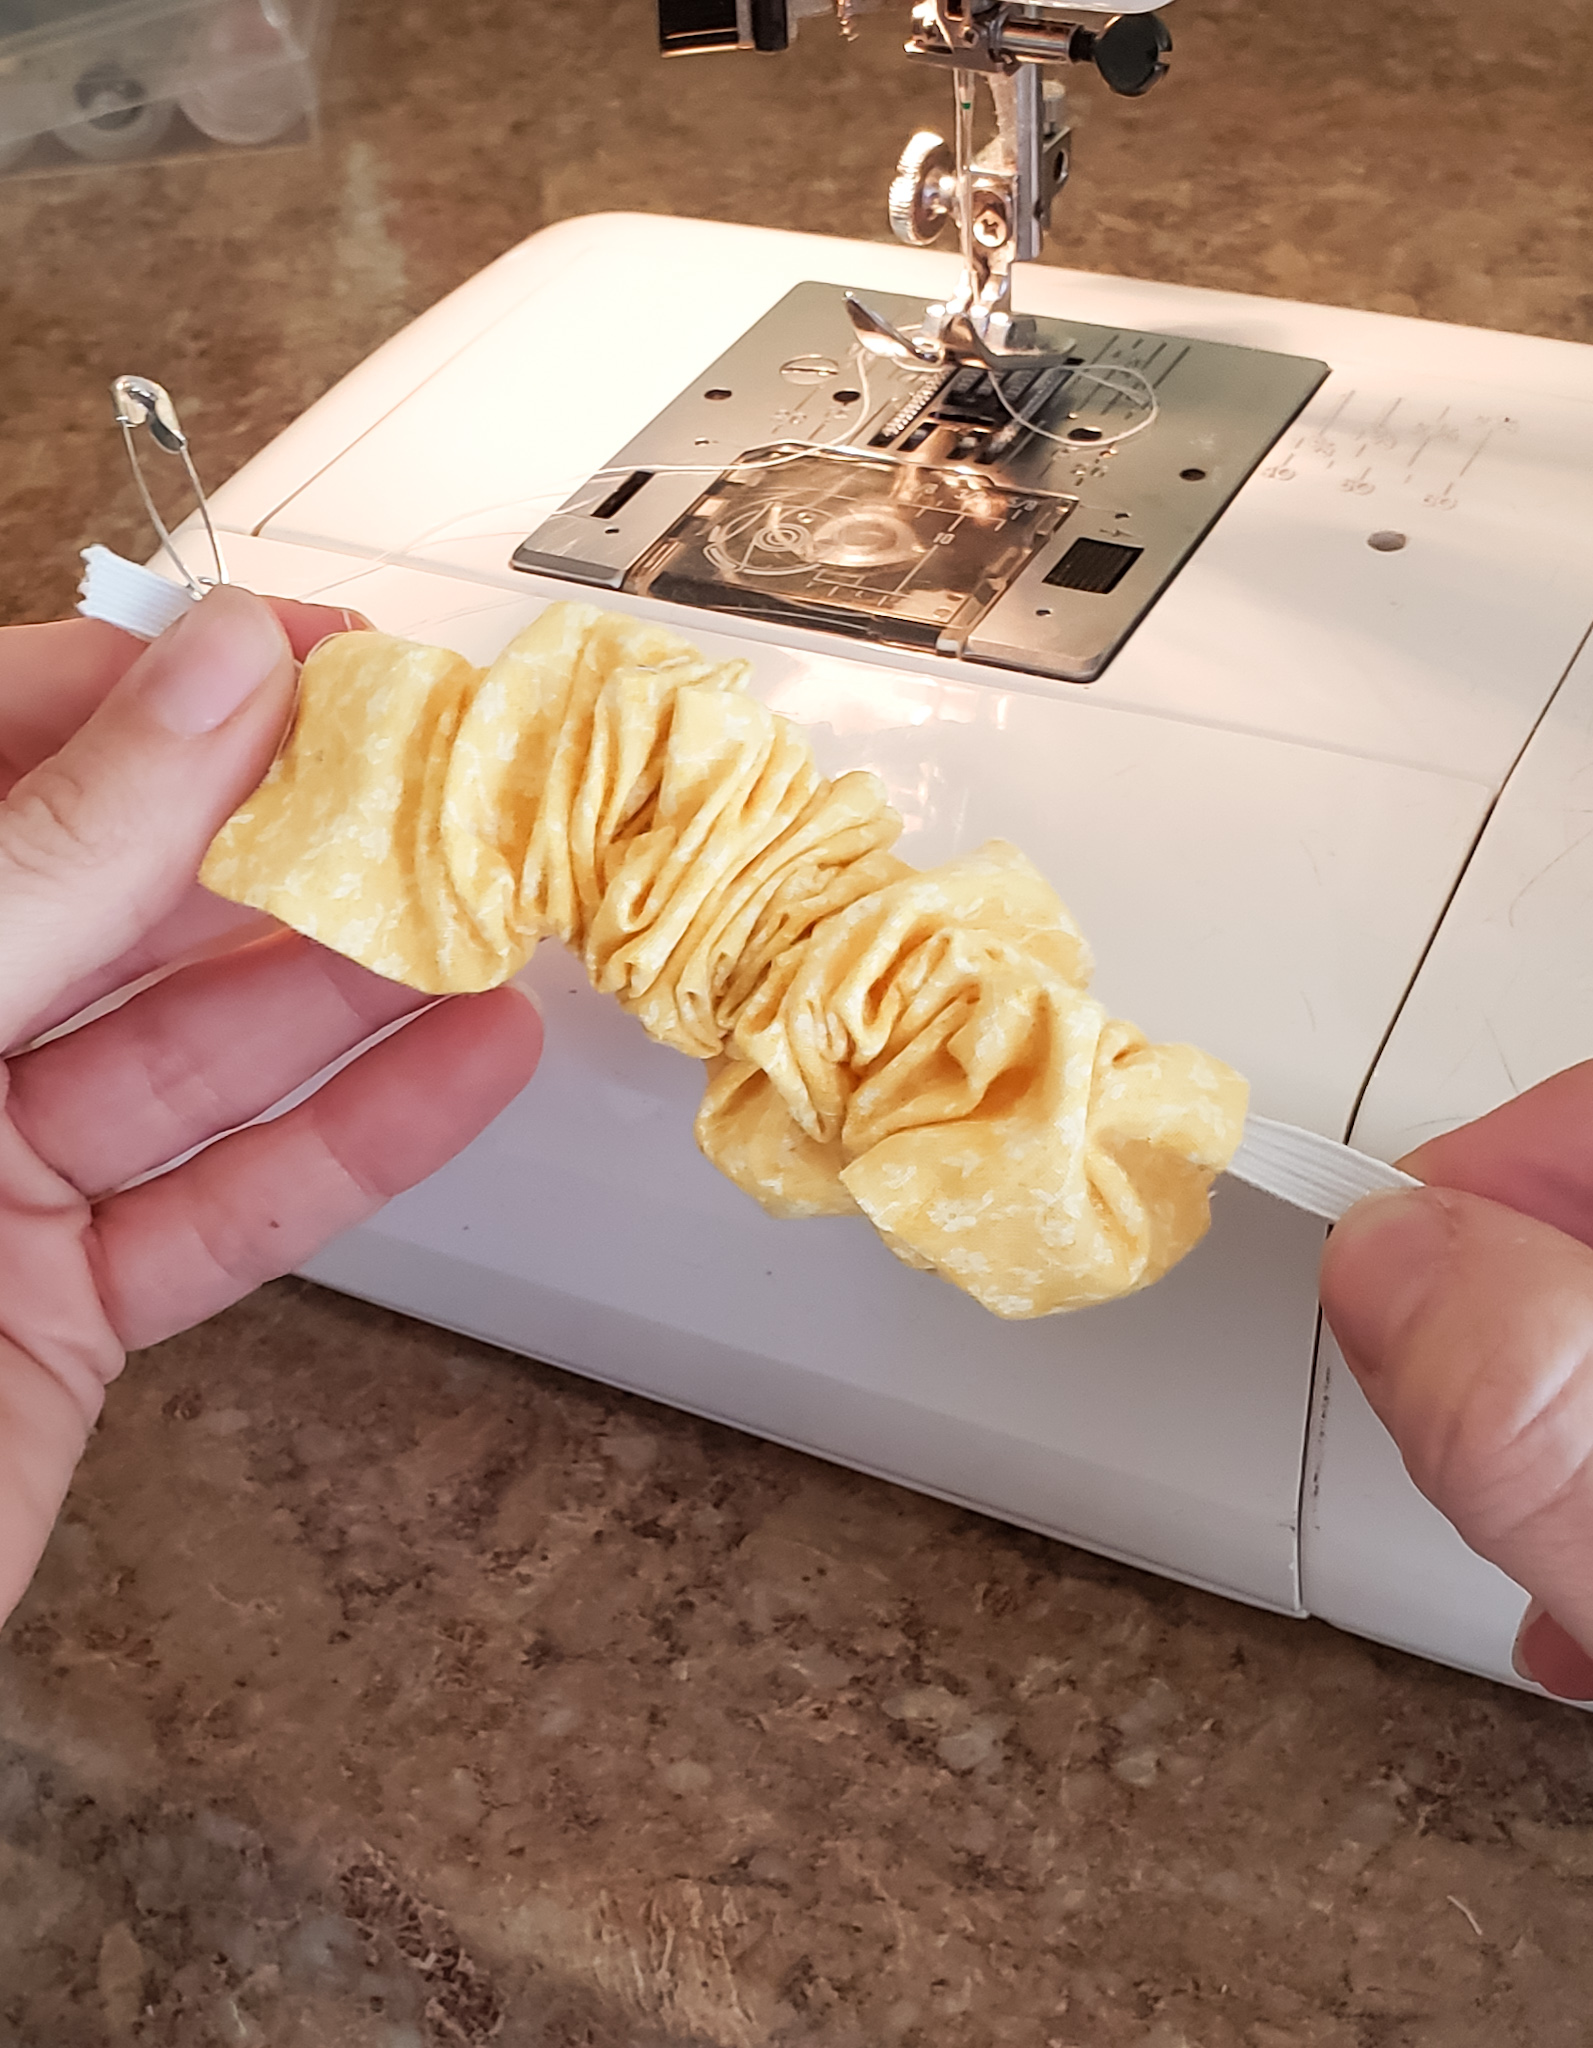
Once your elastic is through, overlap your elastic ends and put a pin in it to hold it in place as you position it under the presser foot. I sewed a zig-zag stitch over the elastic with a short stitch length so that the threads are close together and won’t come undone. Don’t forget to take your pin out before you start sewing!!
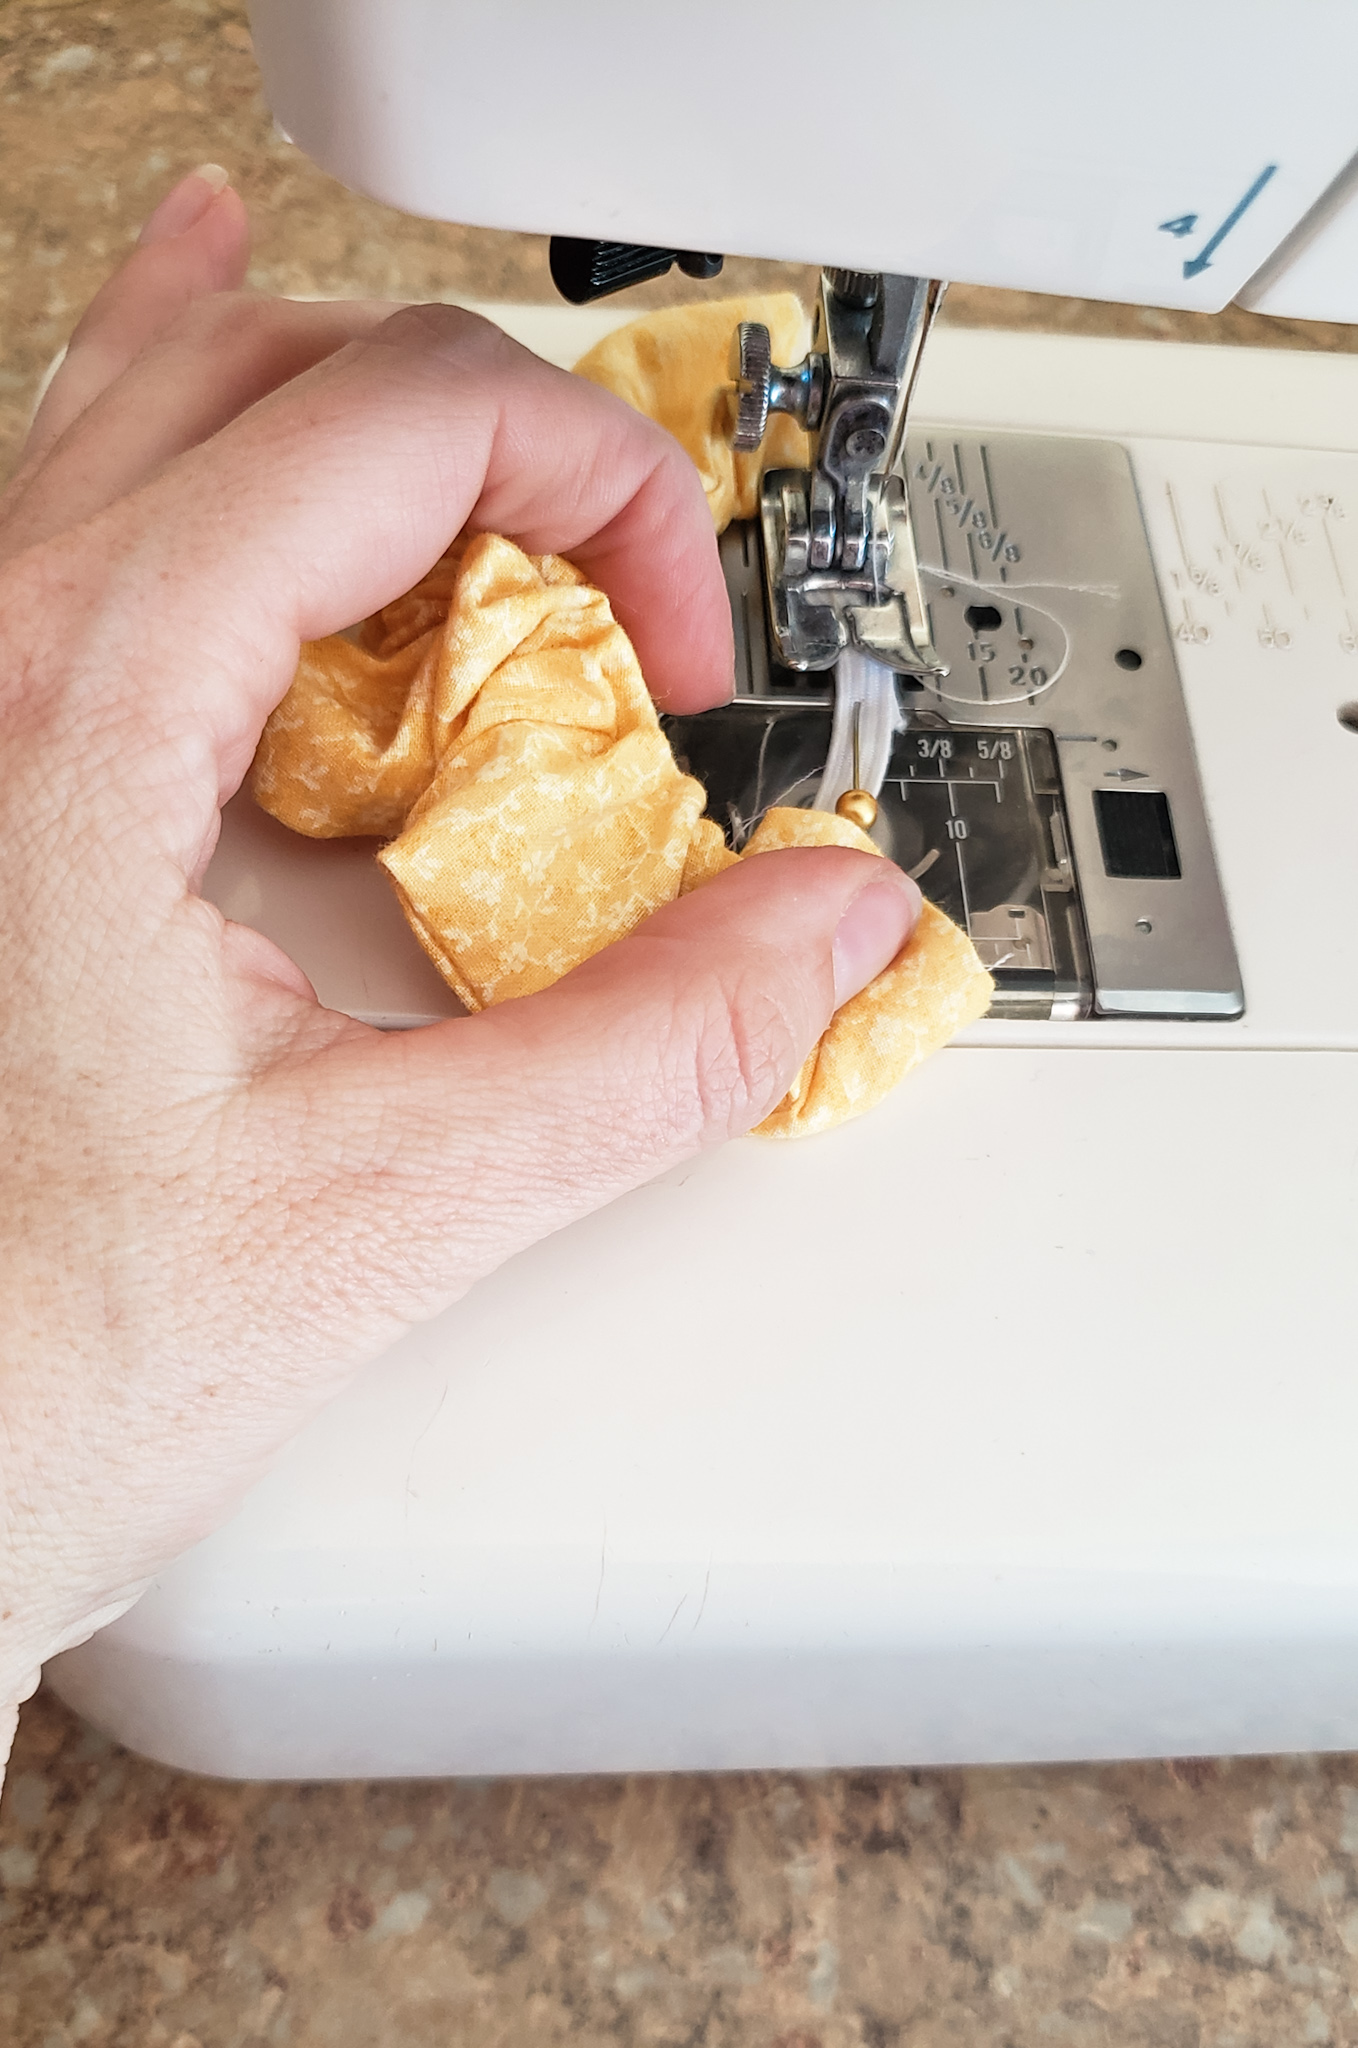
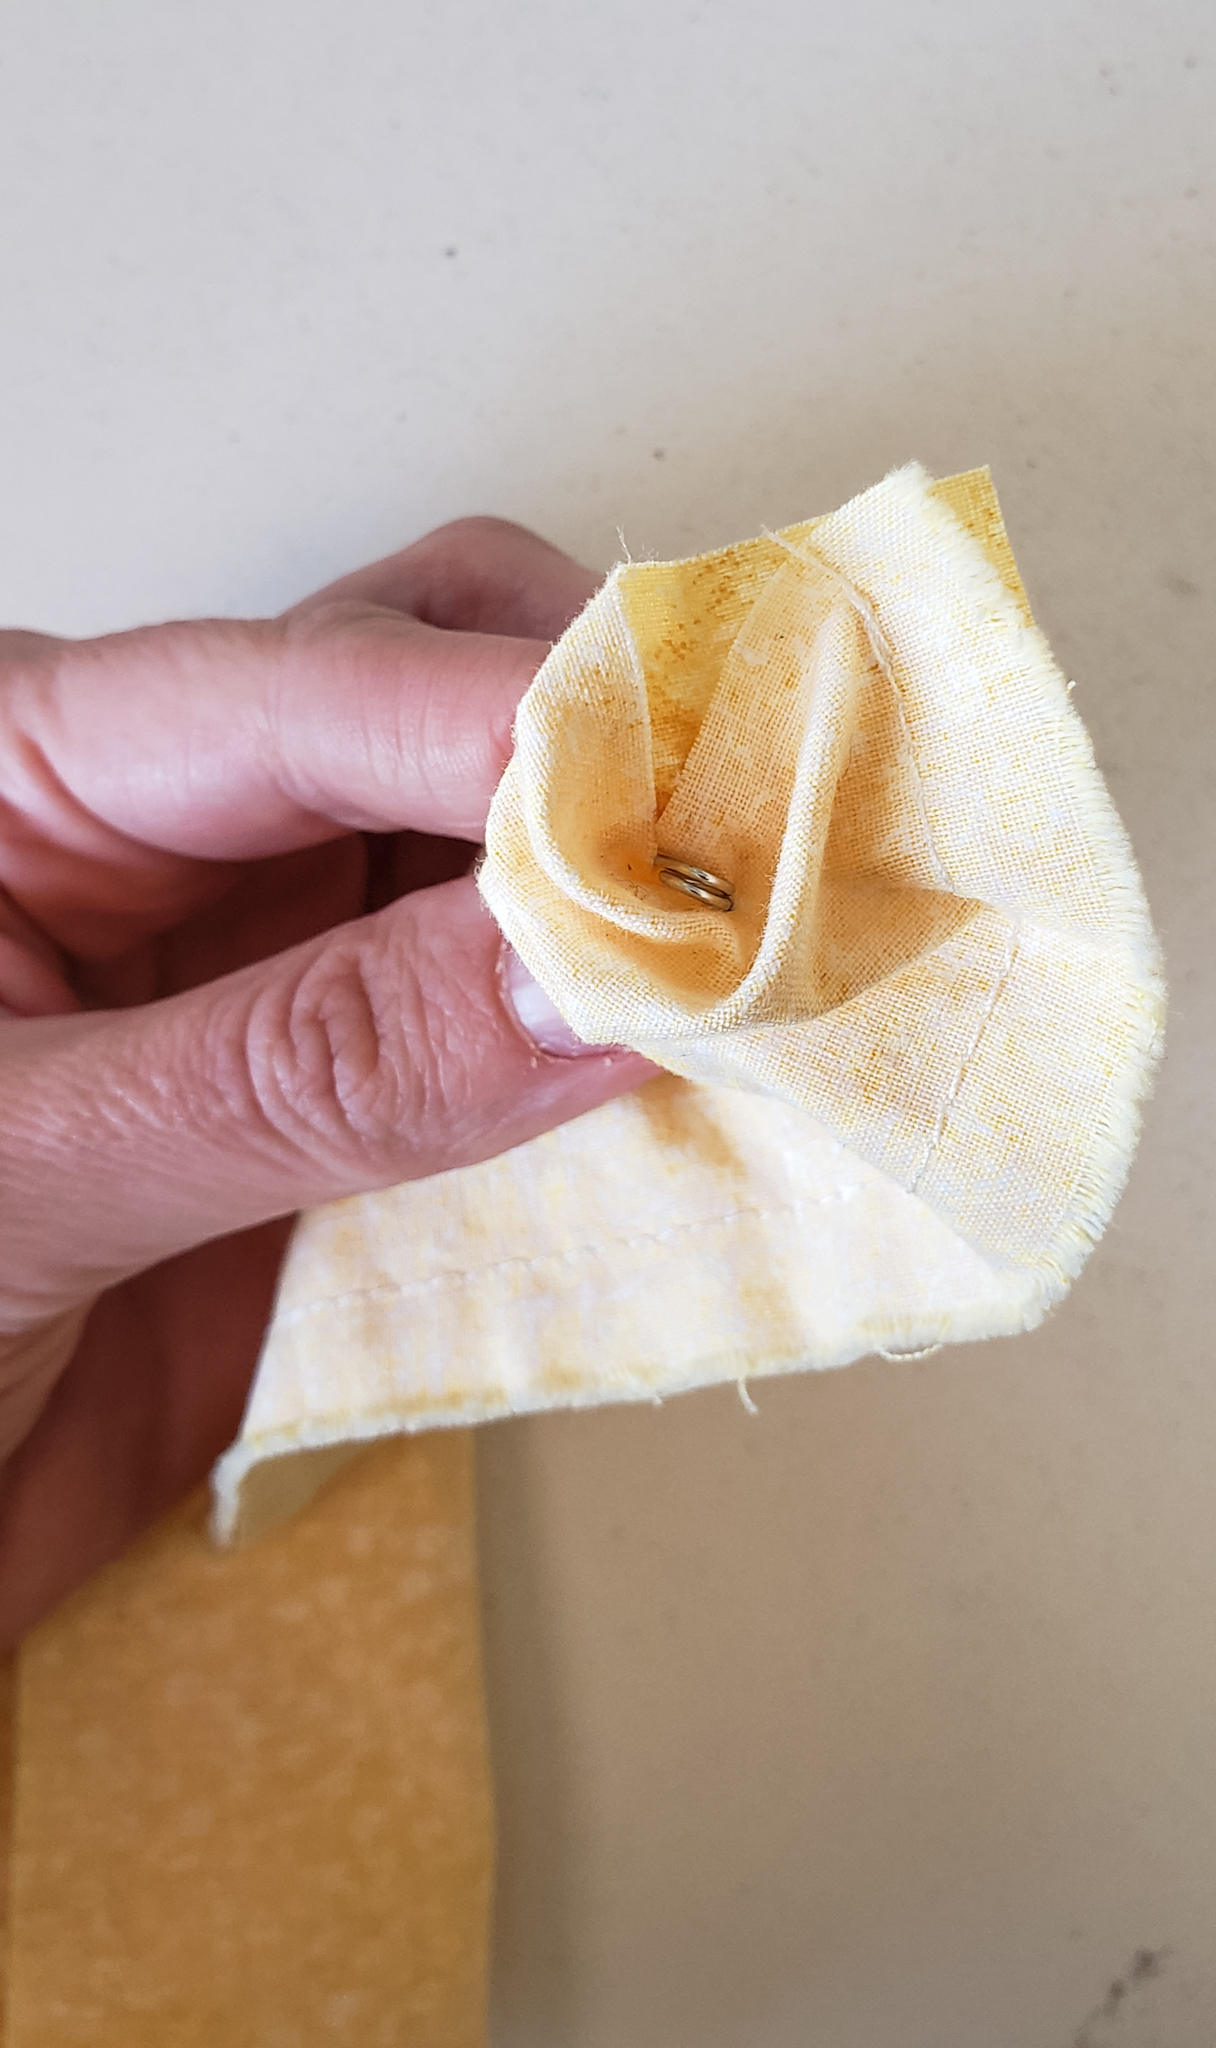
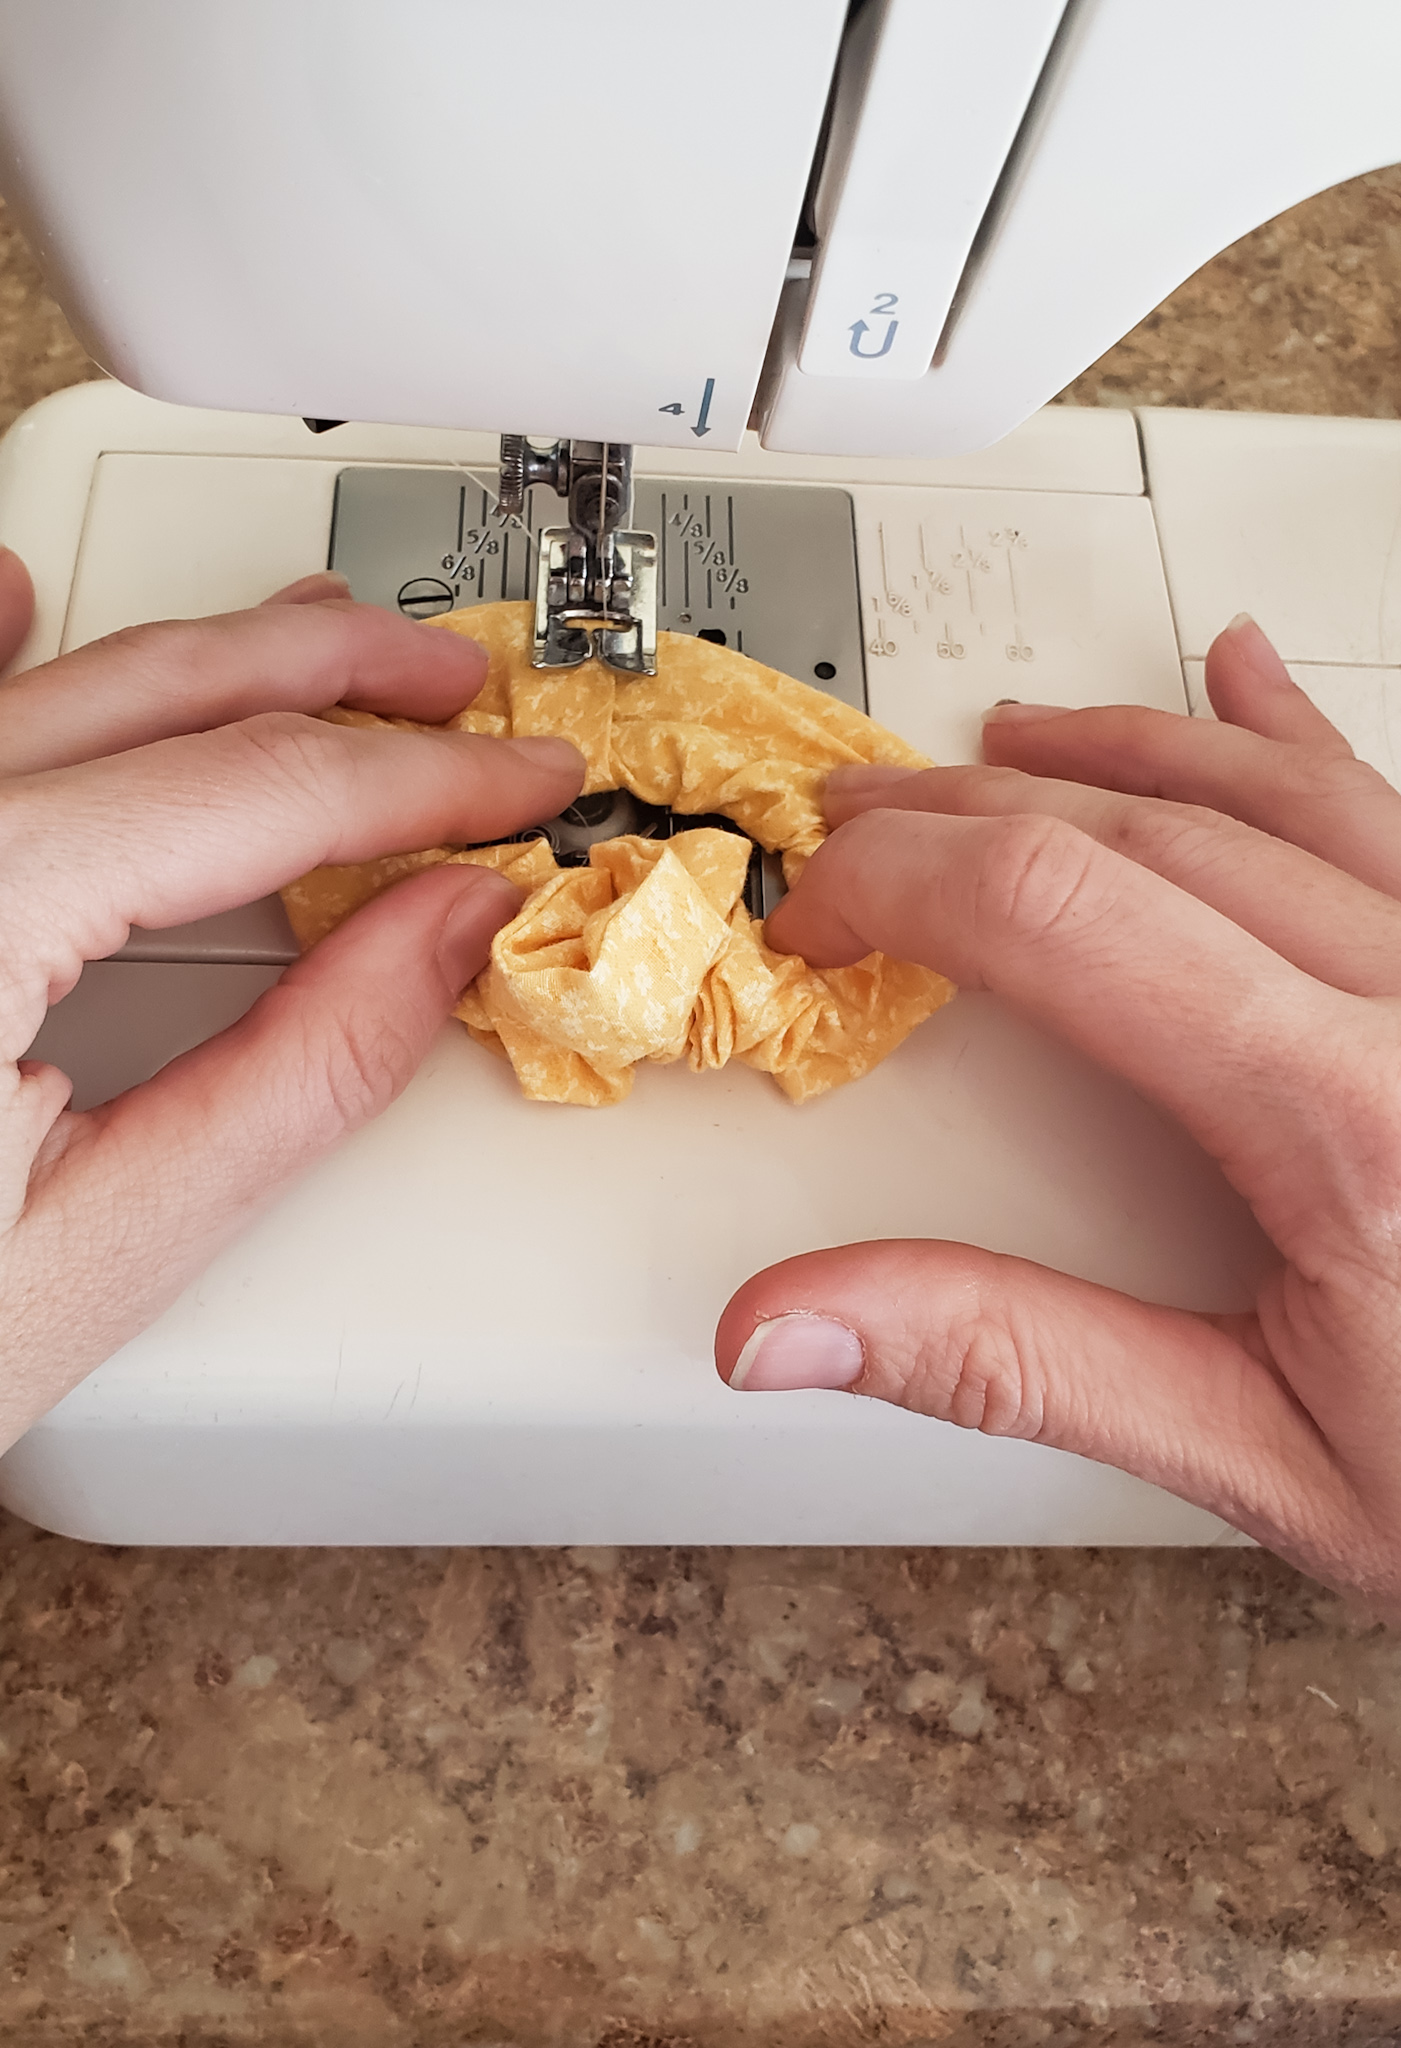
Now, take the raw edge of the scrunchie and tuck it into the folded edge of the scrunchie about 1/2″. Make sure that the seams line up and that the scrunchie hasn’t twisted.
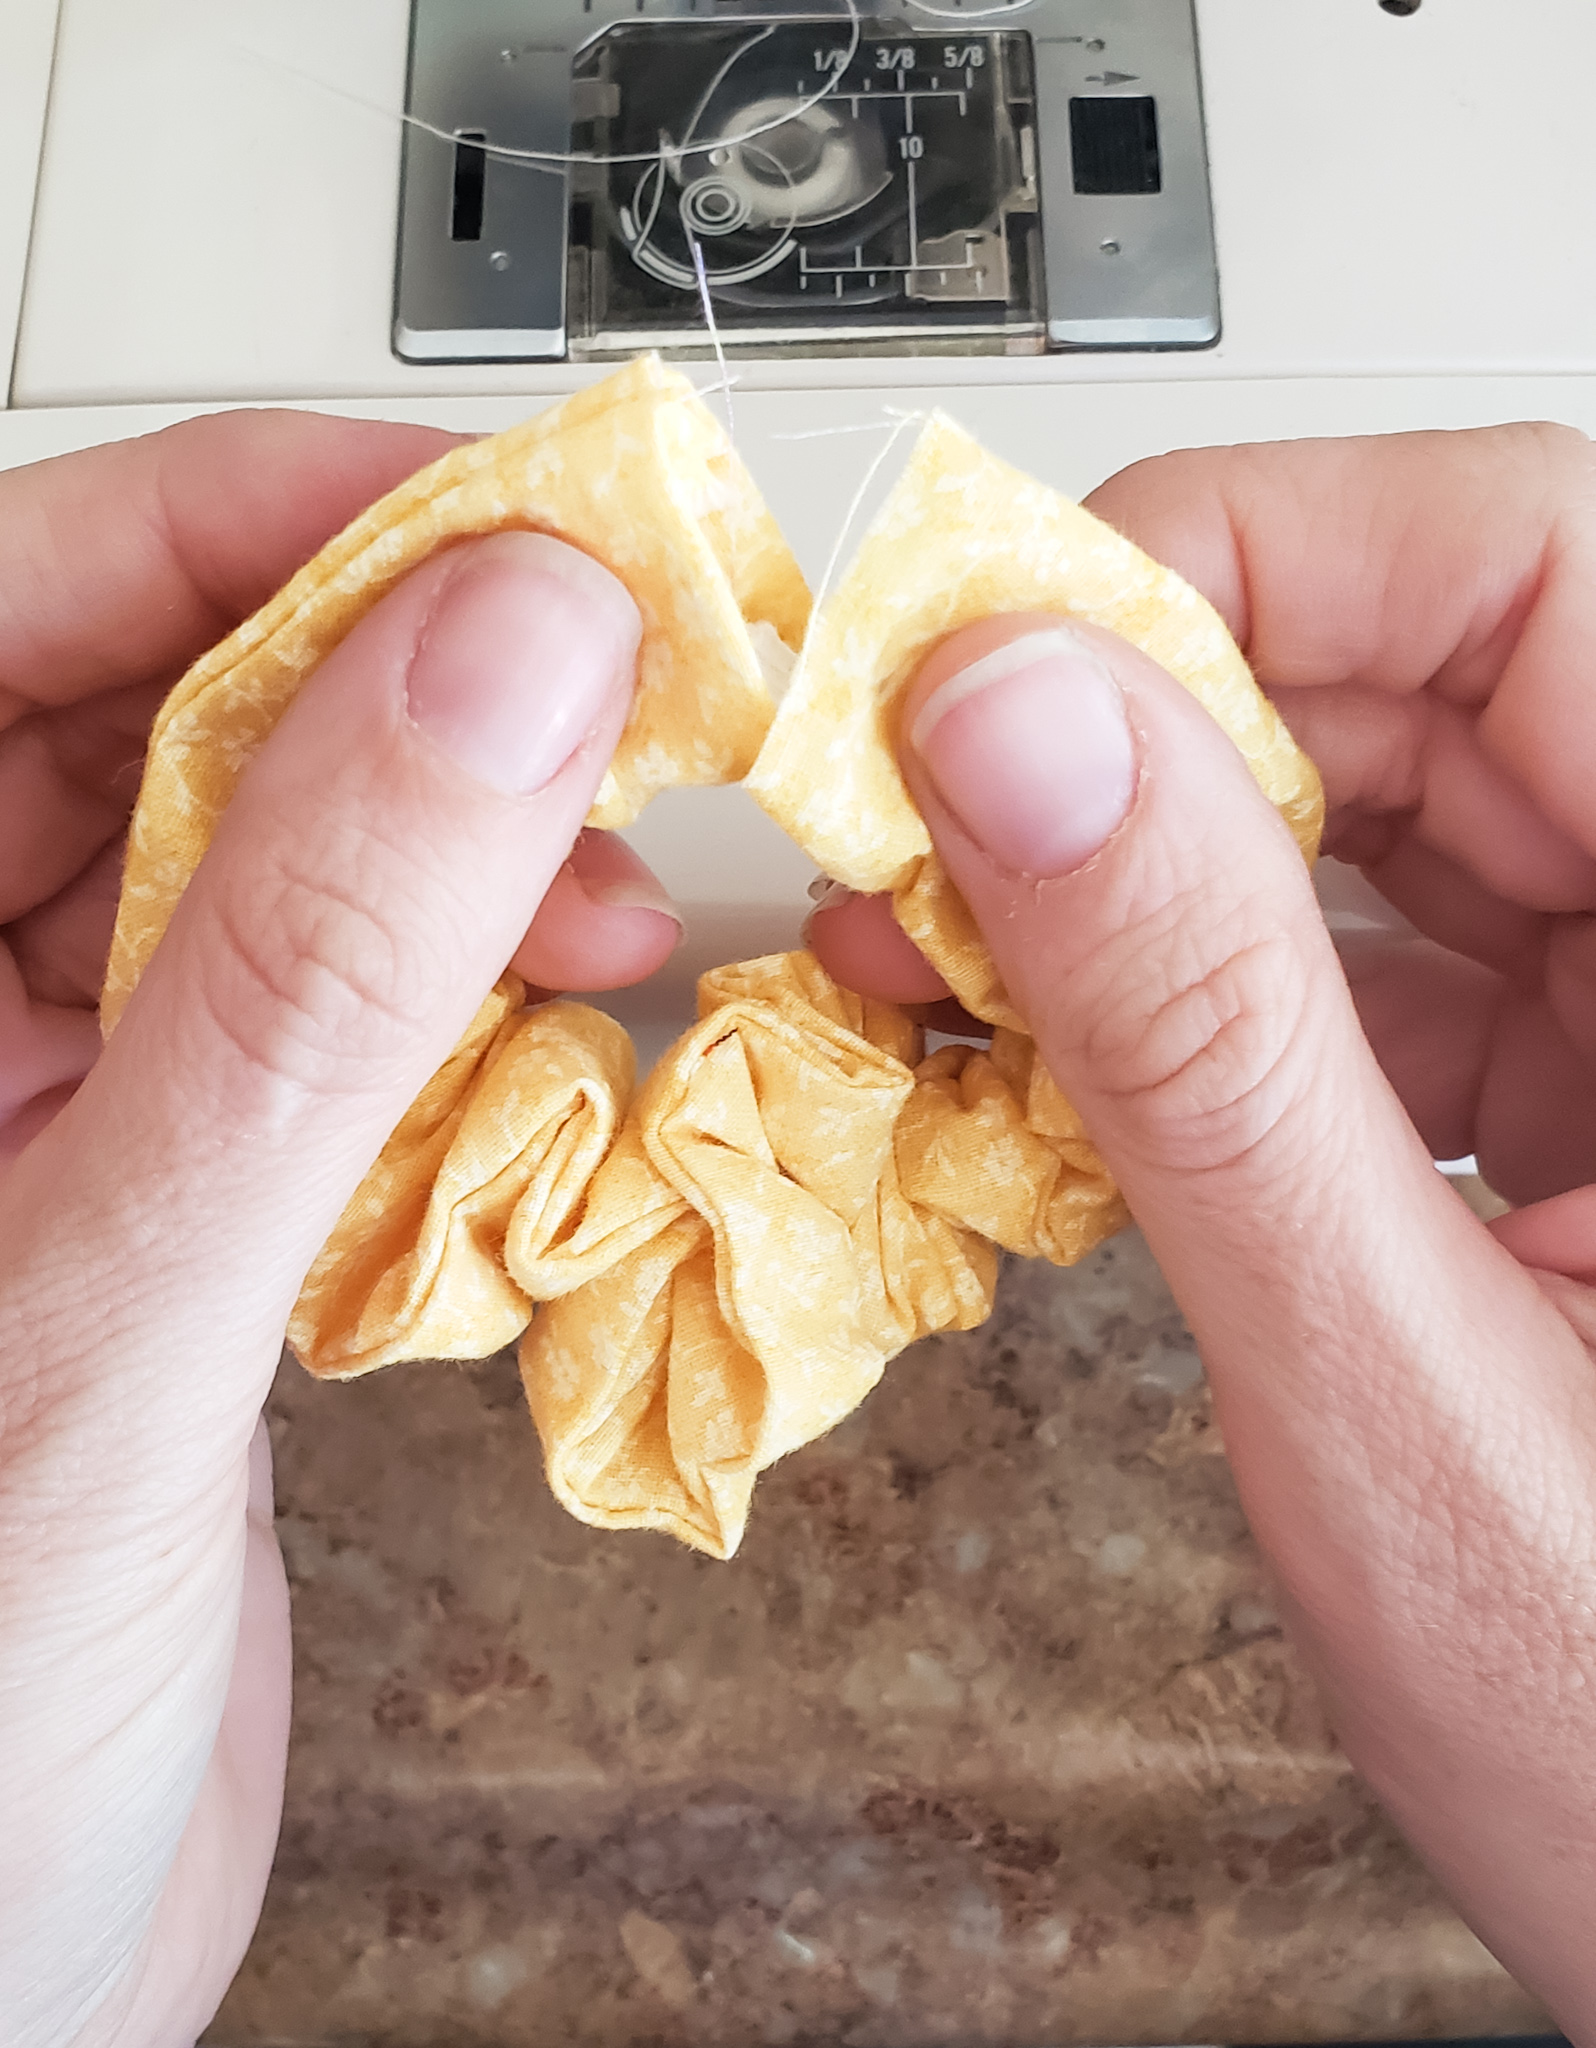
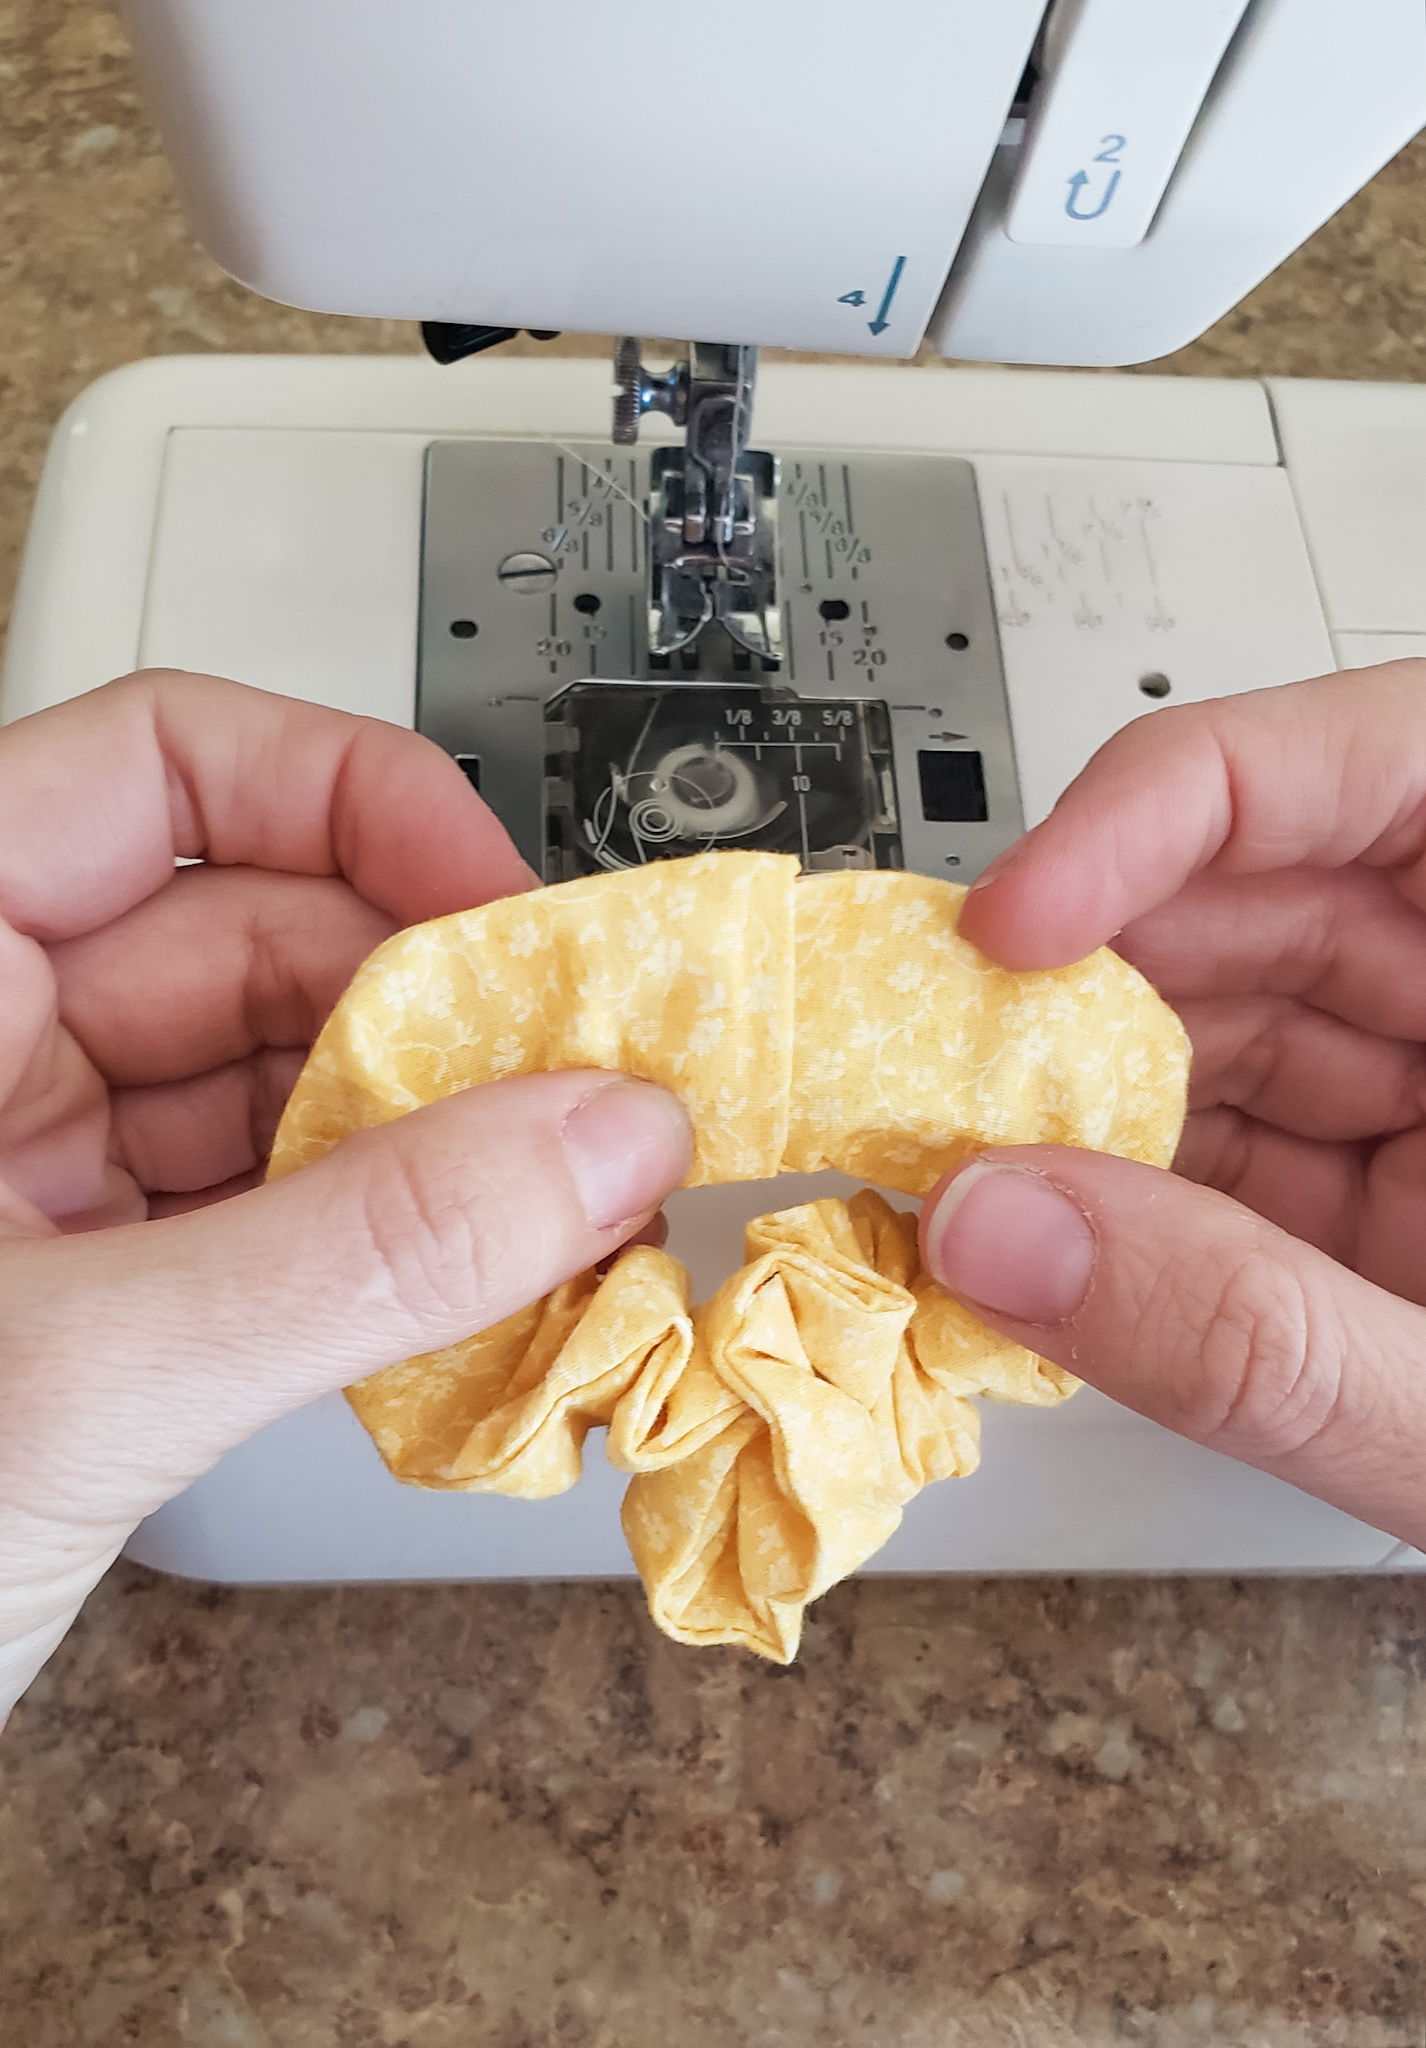
Stitch across the end of the scrunchie, stitching close to the folded edge.
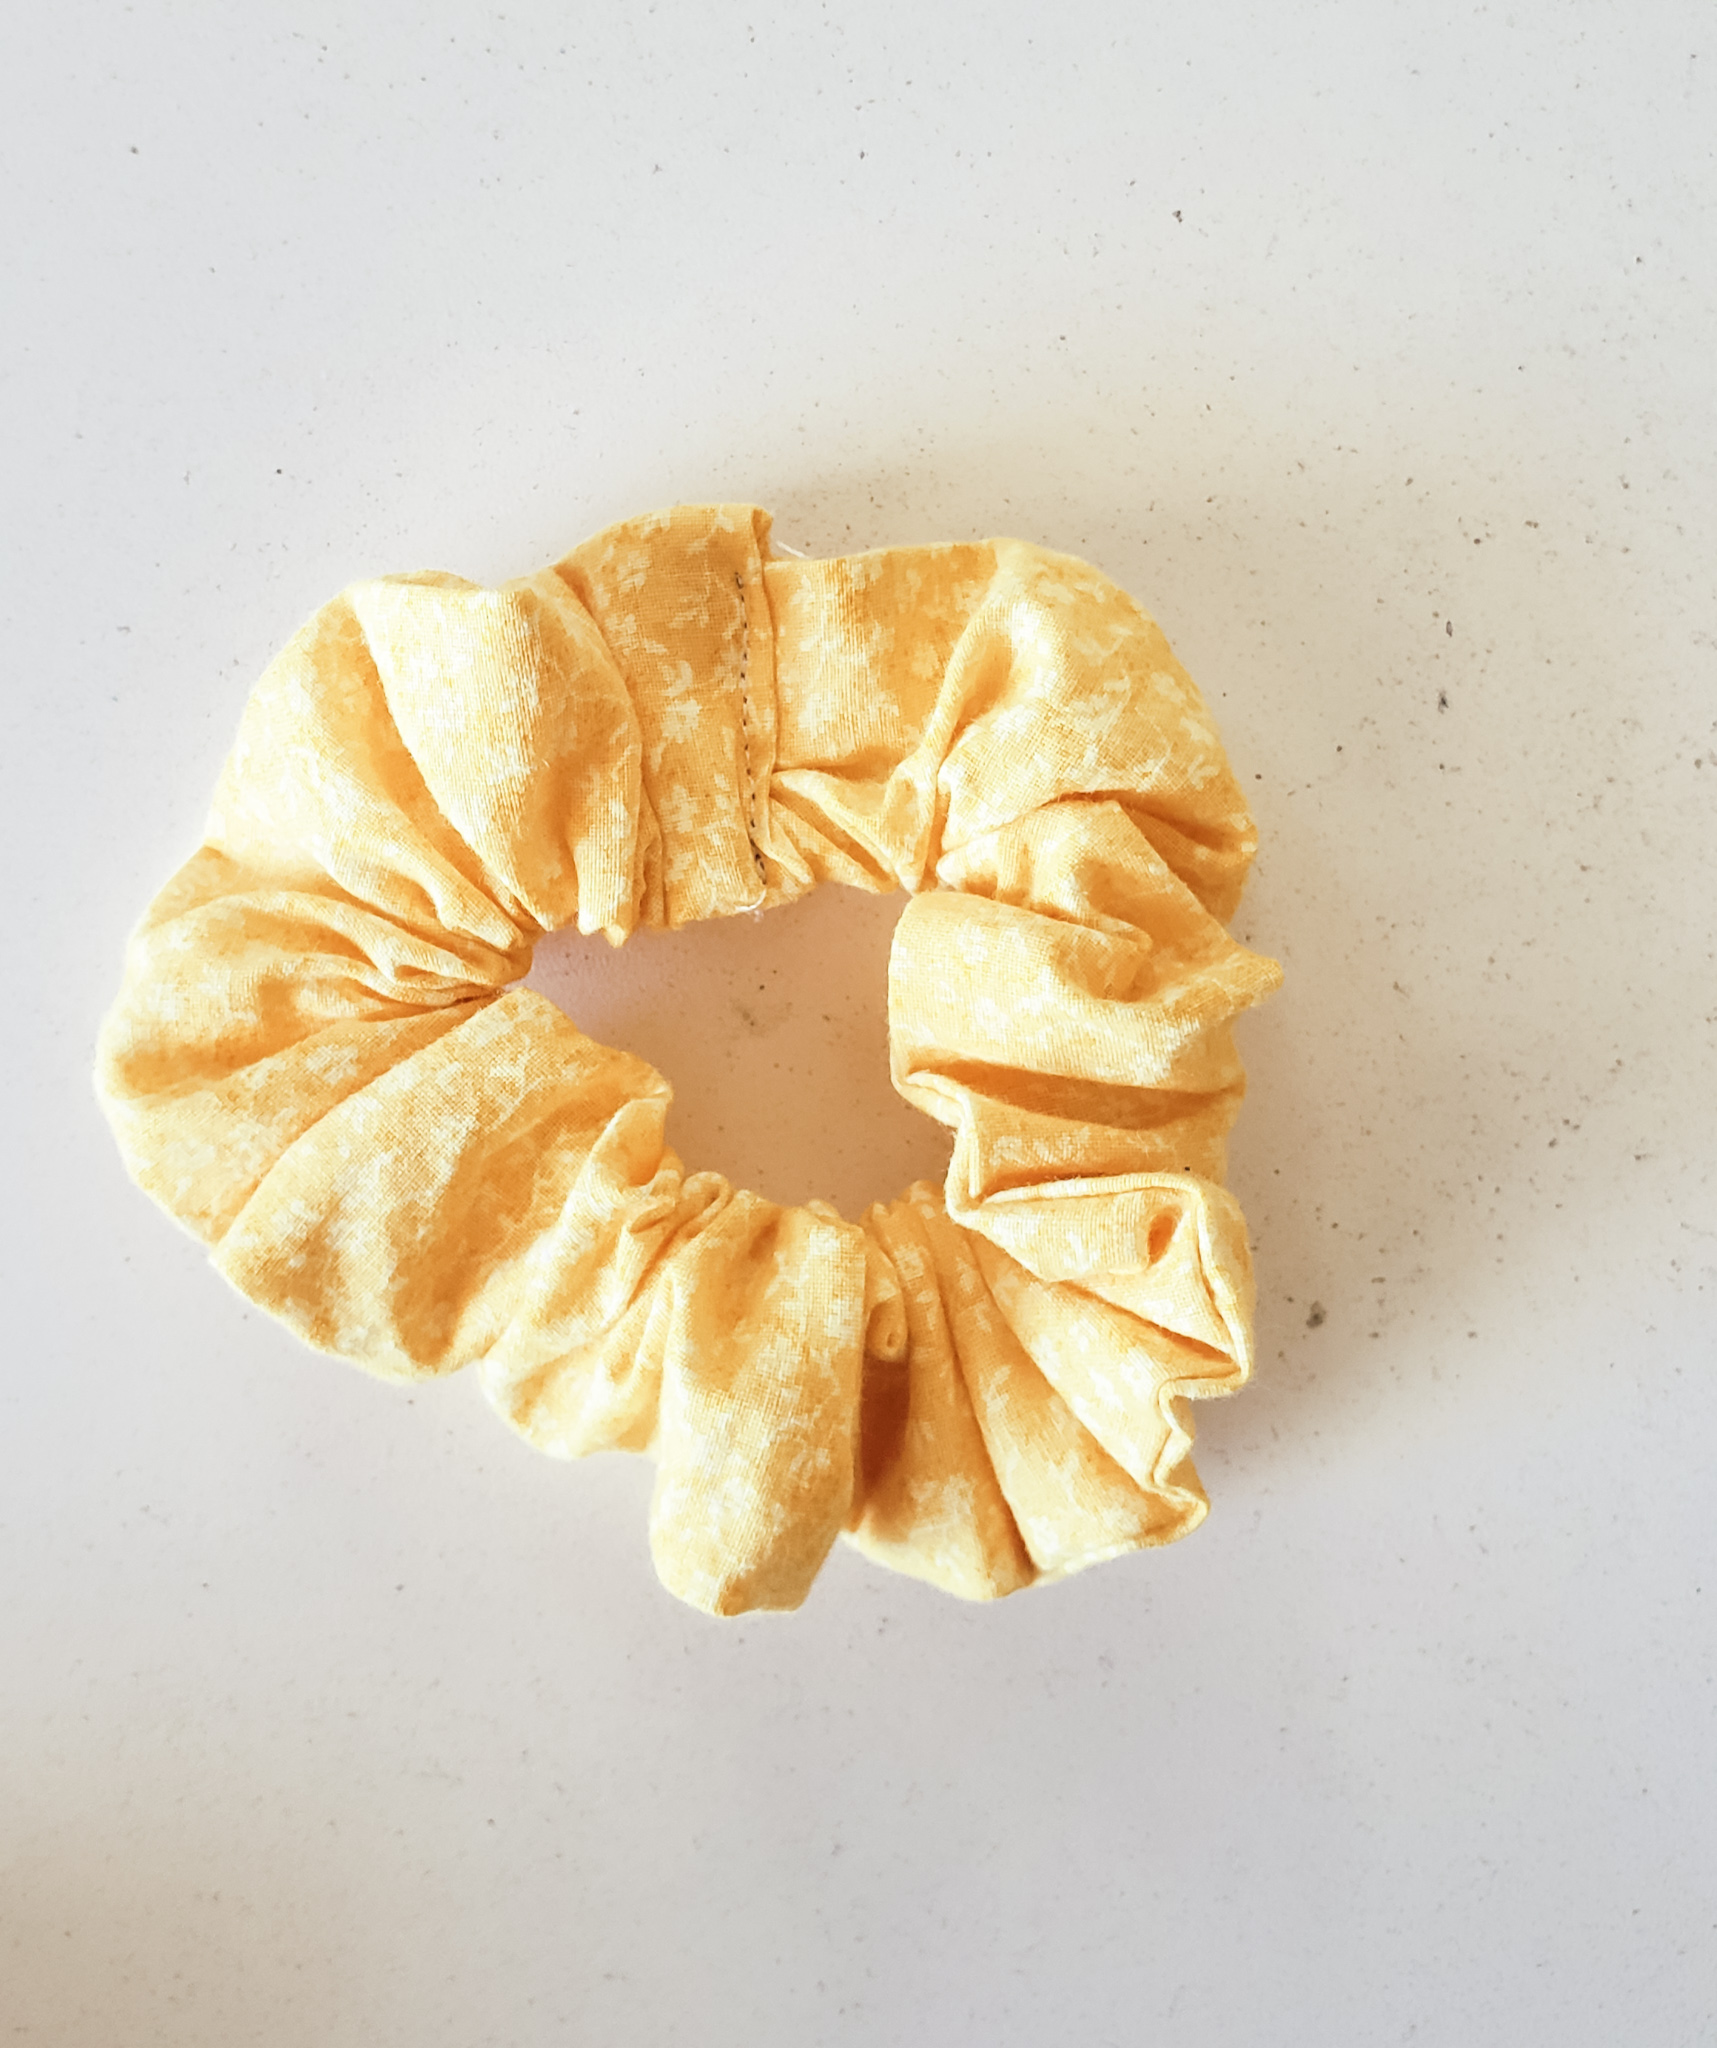
That’s all there is to it!
And now this tutorial is up right before the holidays, so you can make a bunch for friends as gifts! Make them now, or pin this tutorial for later. Happy sewing!
*Sassy Cassy’s is part of the Amazon Affiliate Program, which means that if you purchase Amazon items from this website, a small commission will be earned, at no extra cost to you.
