
Hello there!
It’s been a while since I’ve posted a tutorial for you. To be honest, I’m really great at taking pictures and making the tutorials…and not so good at posting them here on my website!! I’ve been super busy with a gala for my non-profit, finishing classes for the school year, making samples for my kid’s sewing summer camp, and just being a wife and mom! You know how it gets. Too much to do, not enough time to do it all!! Sometimes I wish I could be like the vampires on Twilight…you know, never sleep and never get tired. How much could I accomplish if I never got tired and never needed to sleep??? The possibilities are endless!!
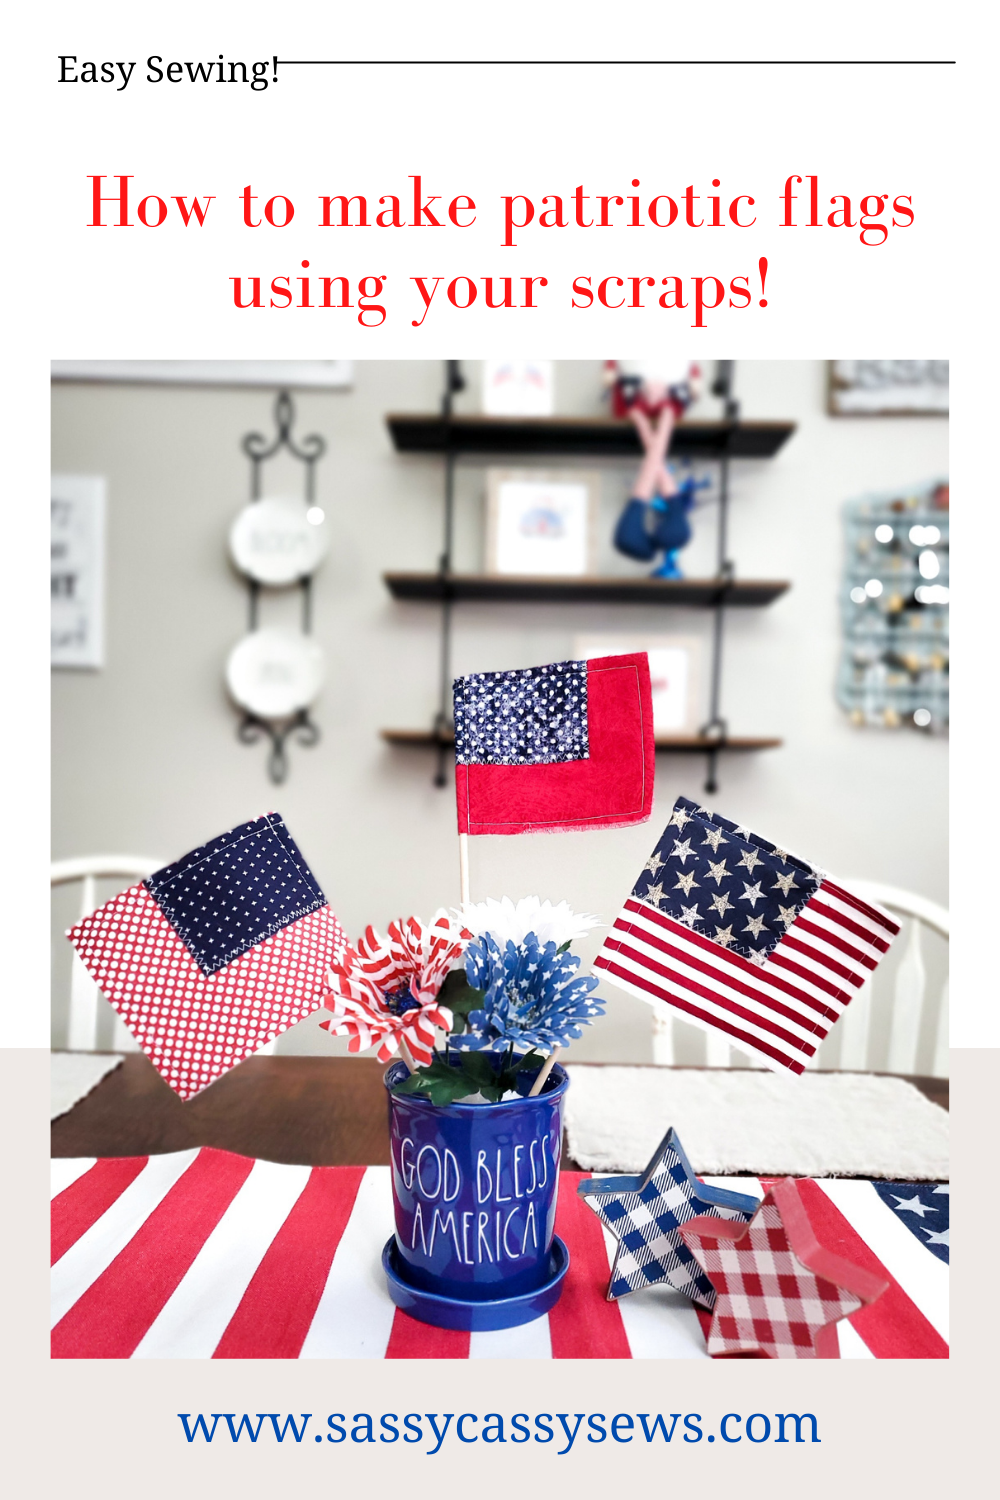
In honor of National Flag Day today, I am sharing a fun little tutorial with you on how to sew patriotic flags using fabric scraps. Or, if you don’t have huge bins of fabric scraps like I do, scroll to the end of this post to see some fun patriotic, fat quarters that you can buy! If you’ve followed me long enough, you know that I *kind of* hoard fabric. I mean there’s just no sense in being wasteful and throwing a perfectly good scrap of fabric out; it can always be used for something!
What I love about this project is that it doesn’t even necessarily have to be patriotic fabric. Chances are, if you sew a lot like I do, you have some sort of blue and red scraps in your bin. Anything will work. It’s a lot of fun pairing together different fabrics; I love it! So have fun with this and let your creativity flow!
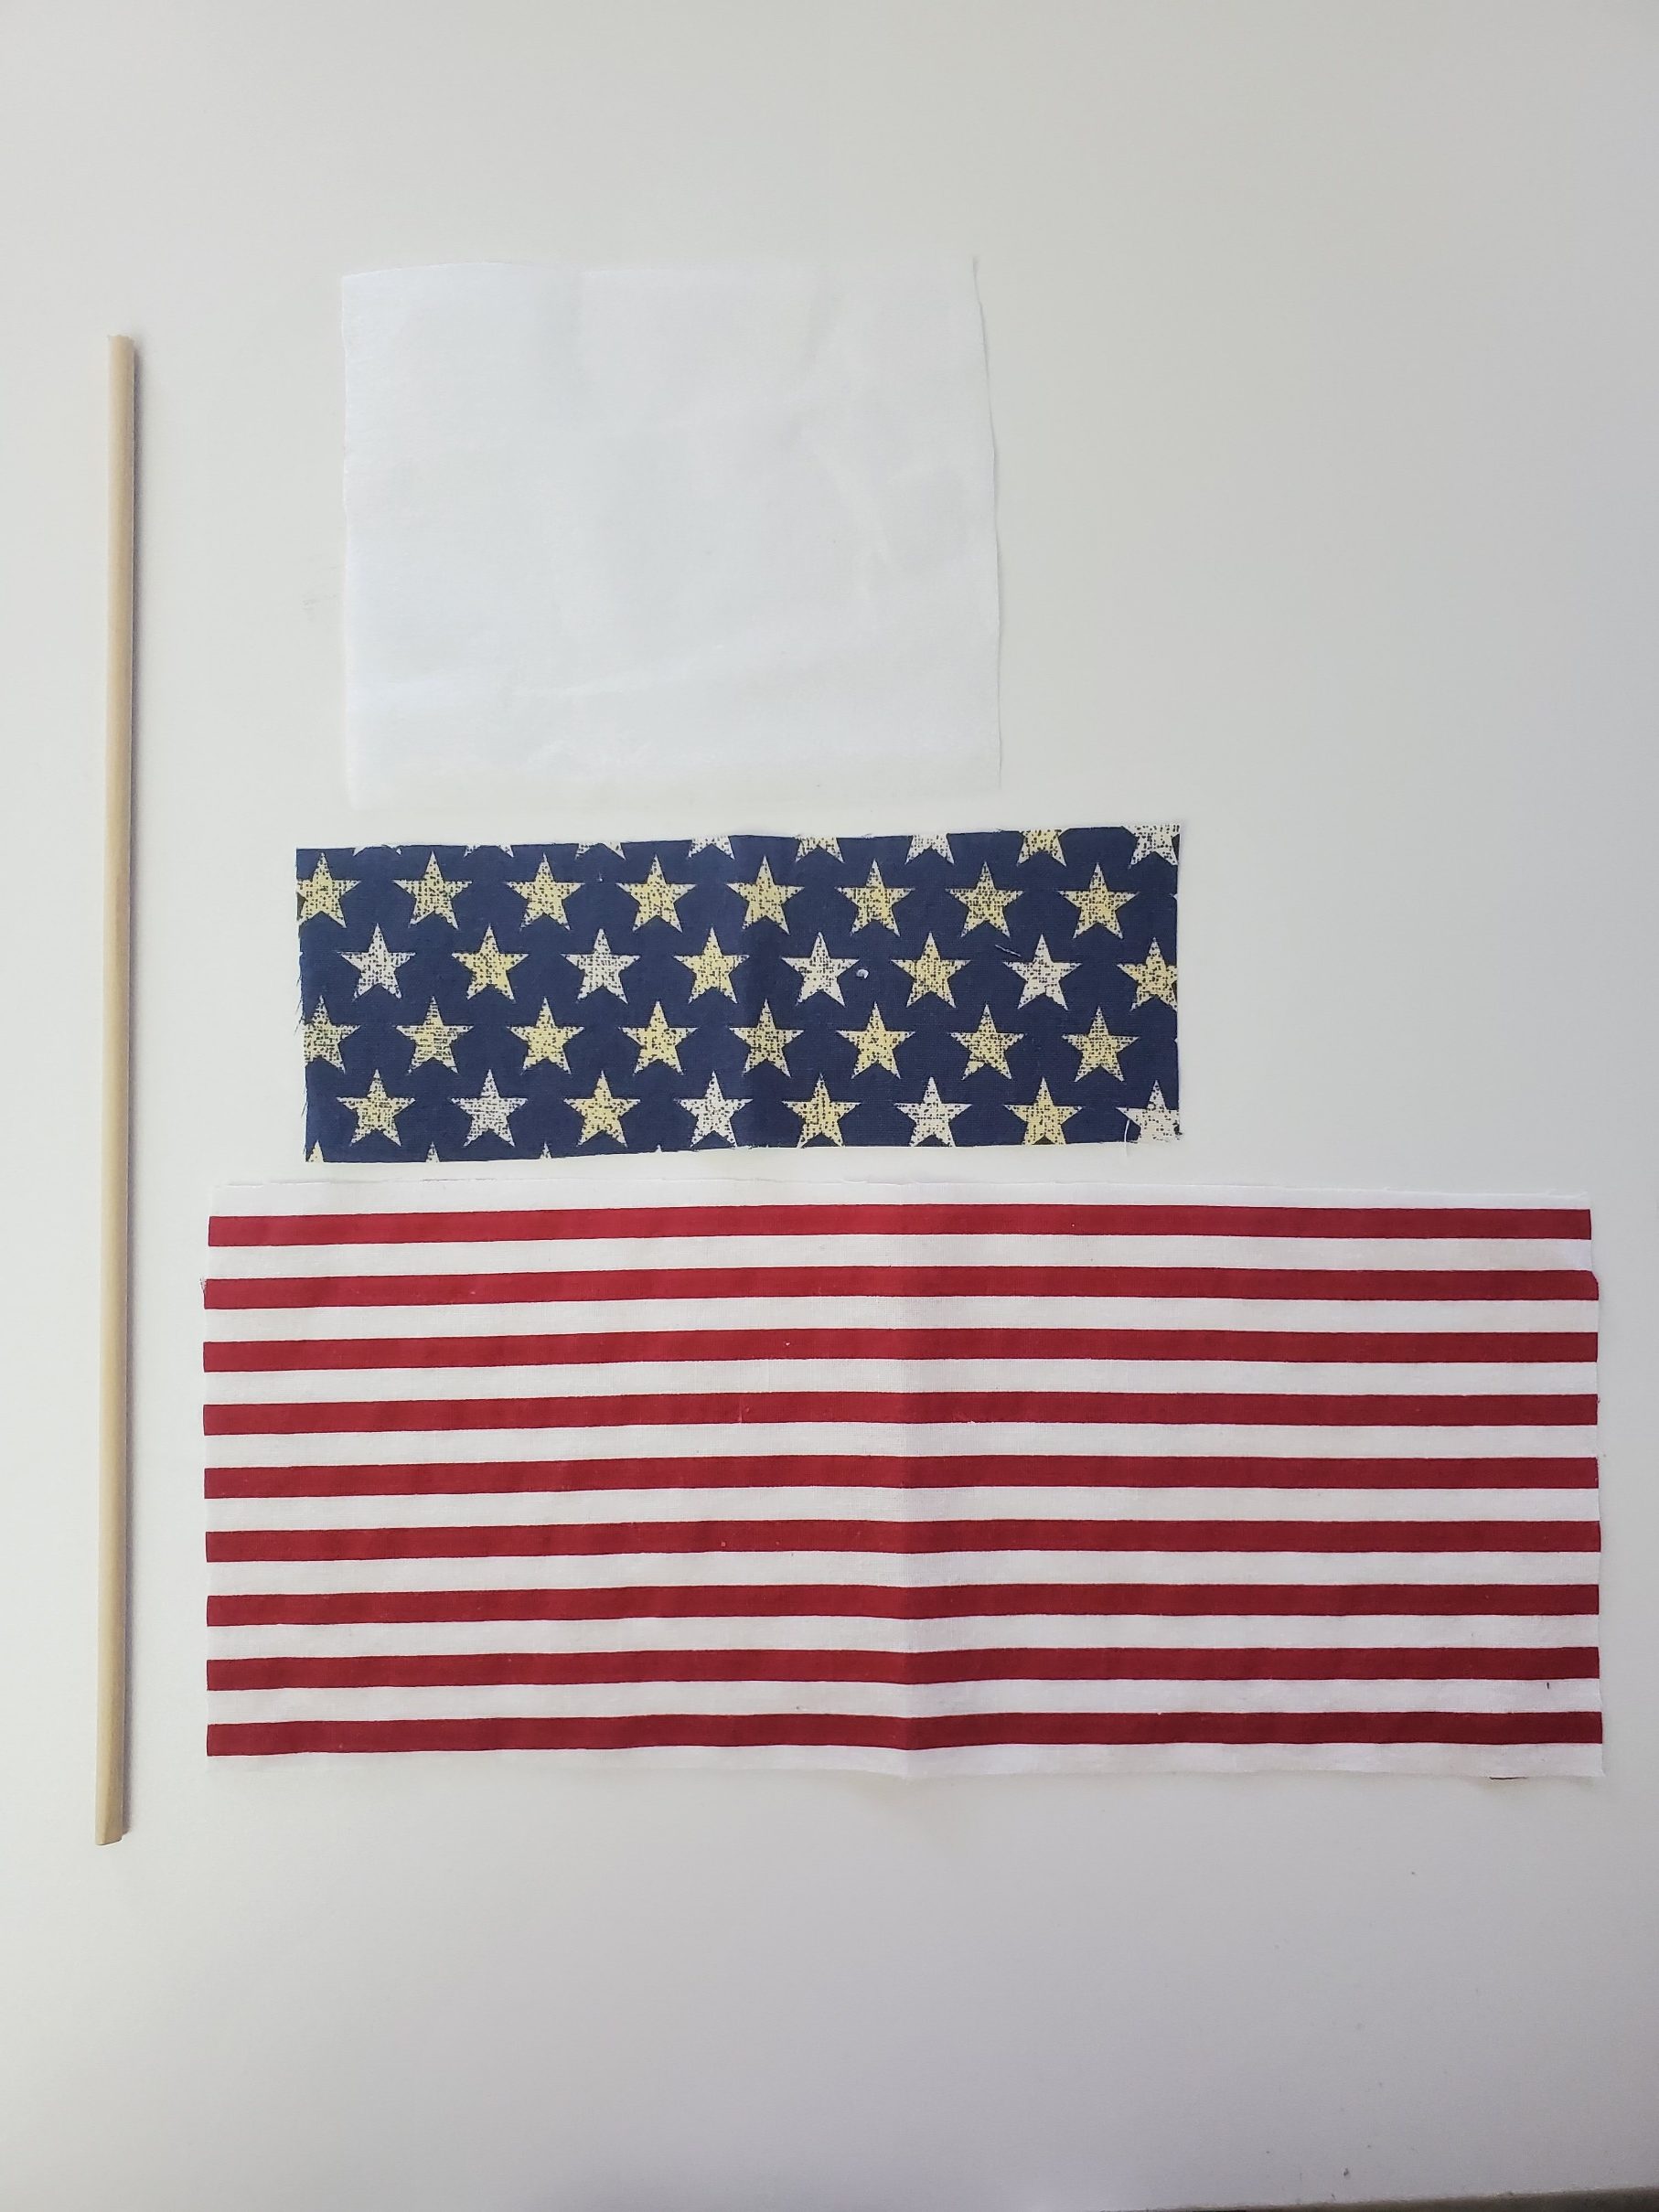
What you will need to sew scrappy patriotic flags:
- Red fabric scraps, cut to 11″ x 4 1/2″
- Blue fabric scraps, cut to 7″ x 2 1/2″
- Interfacing scraps, cut to 5 1/4″ x 4 1/4″
- 3/8″ wooden dowels, cut 12″ long
A couple of notes about your supplies:
- You can make your flags as big or as small as you’d like. These are the measurements I used, but you can really do whatever you want!! Keep in mind that you’ll be folding the rectangle in half, so the 11″ measurement will be 5 1/2″ once it’s done, which you’ll see in the tutorial.
- I bought 4 foot long dowels at Home Depot; they were cheap to purchase that way. But I found that when I cut them with my little saw, the ends weren’t super clean. You can either sand the ends, or just not stress about it because one end is going to be tucked into your flag and the other end will be in your pot (or wherever you decide to stick it). For convenience, I linked some pre-cut, finished dowels at the end of this post.
First, cut your flags to the size you want.
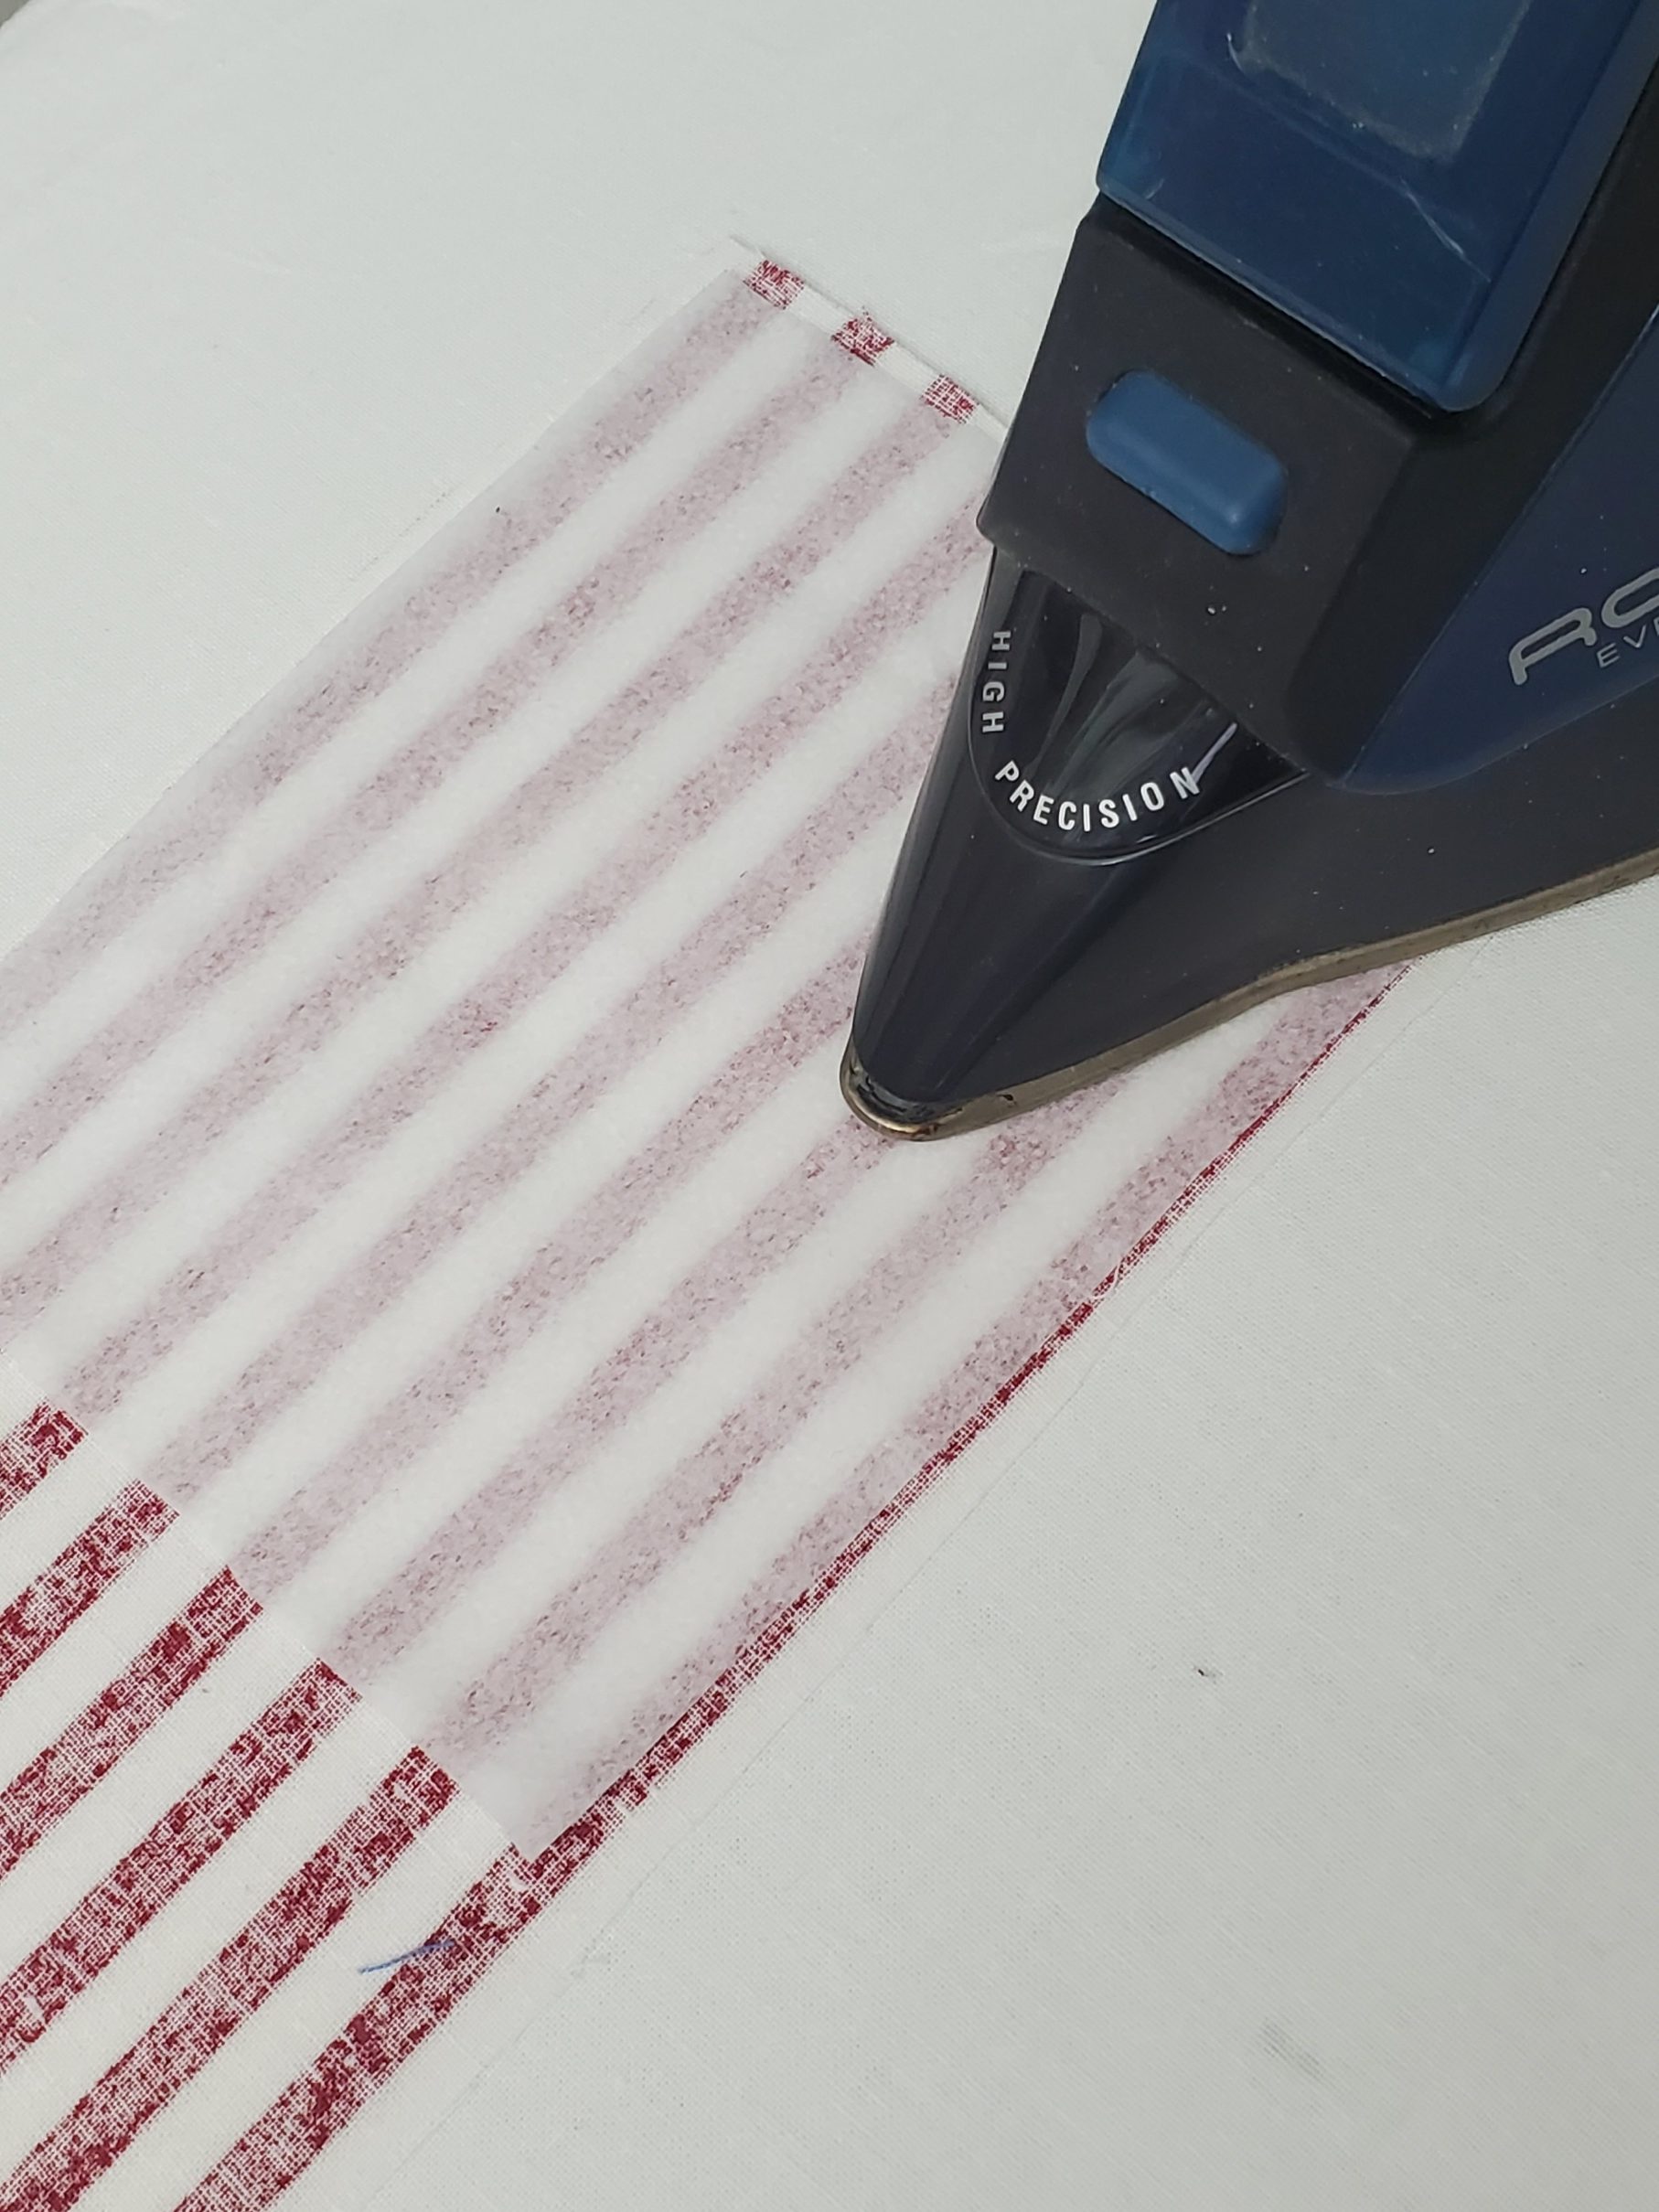
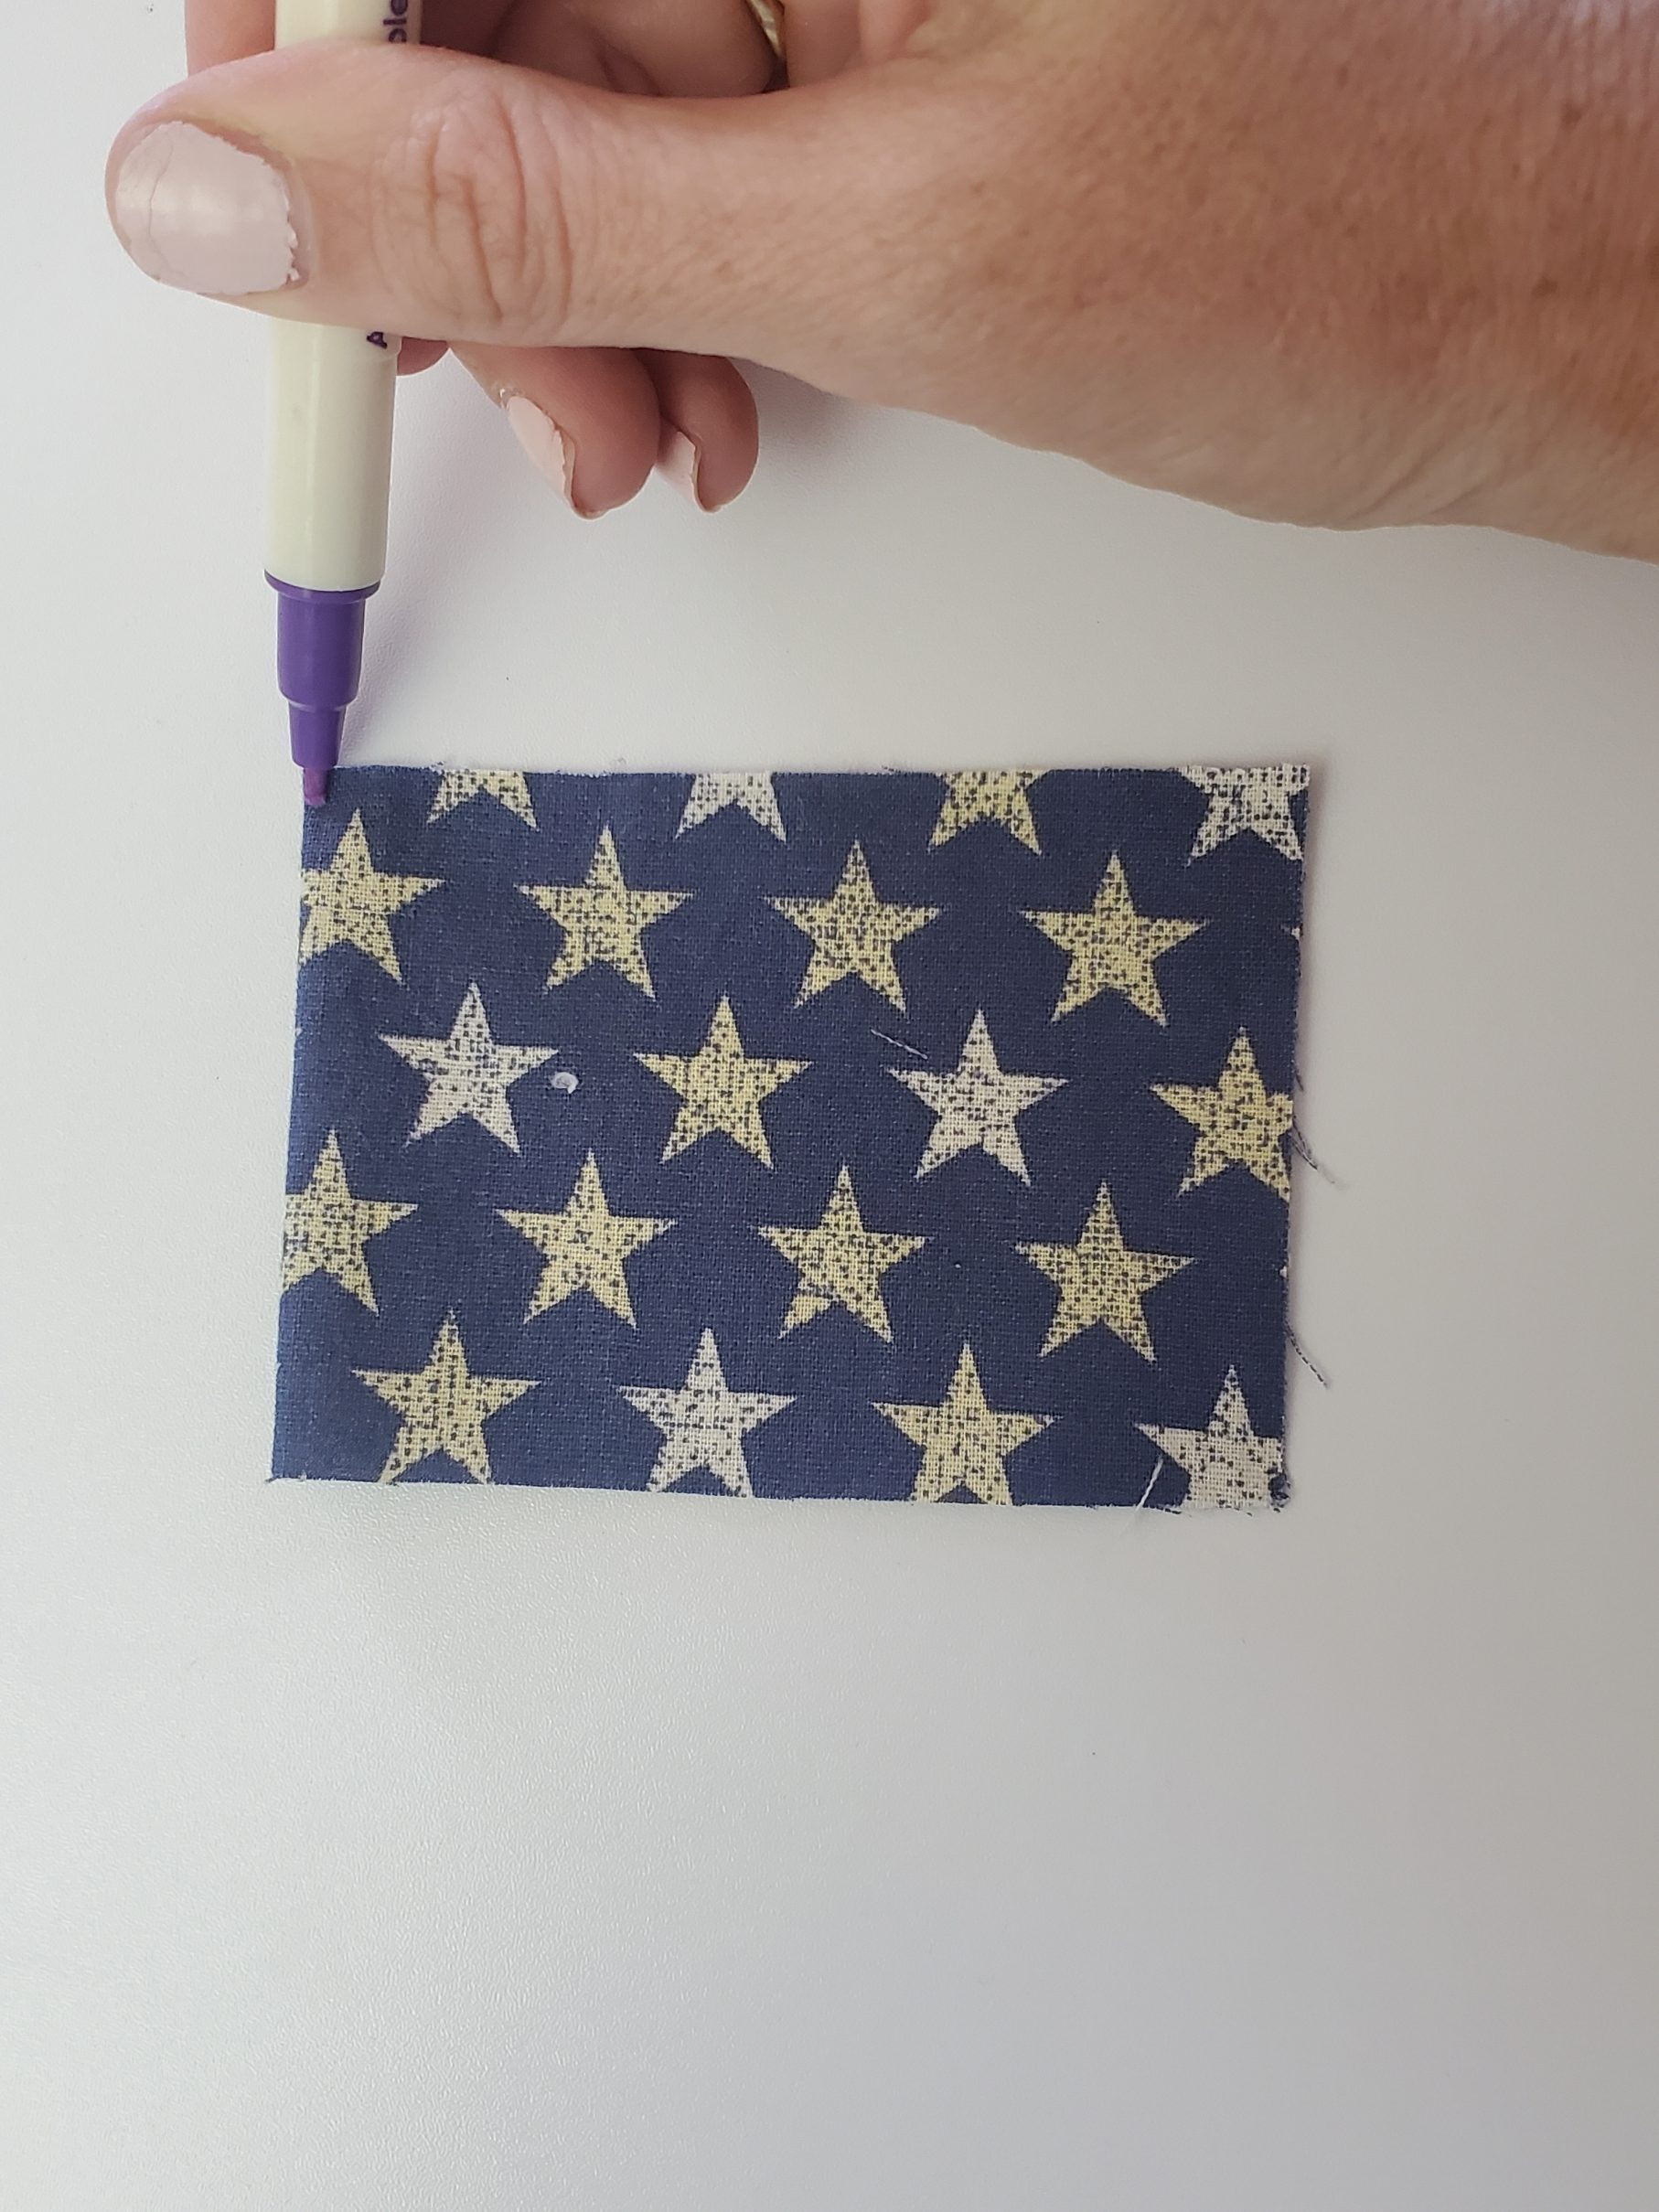
On the wrong side of your red rectangle scrap, place your piece of interfacing on one side of the flag. You can actually do an interfacing piece the full size of the fabric if you want, but I felt like half was enough to interface since it’s going to be folded together. Do whatever works for you. Iron down your interfacing onto the fabric.
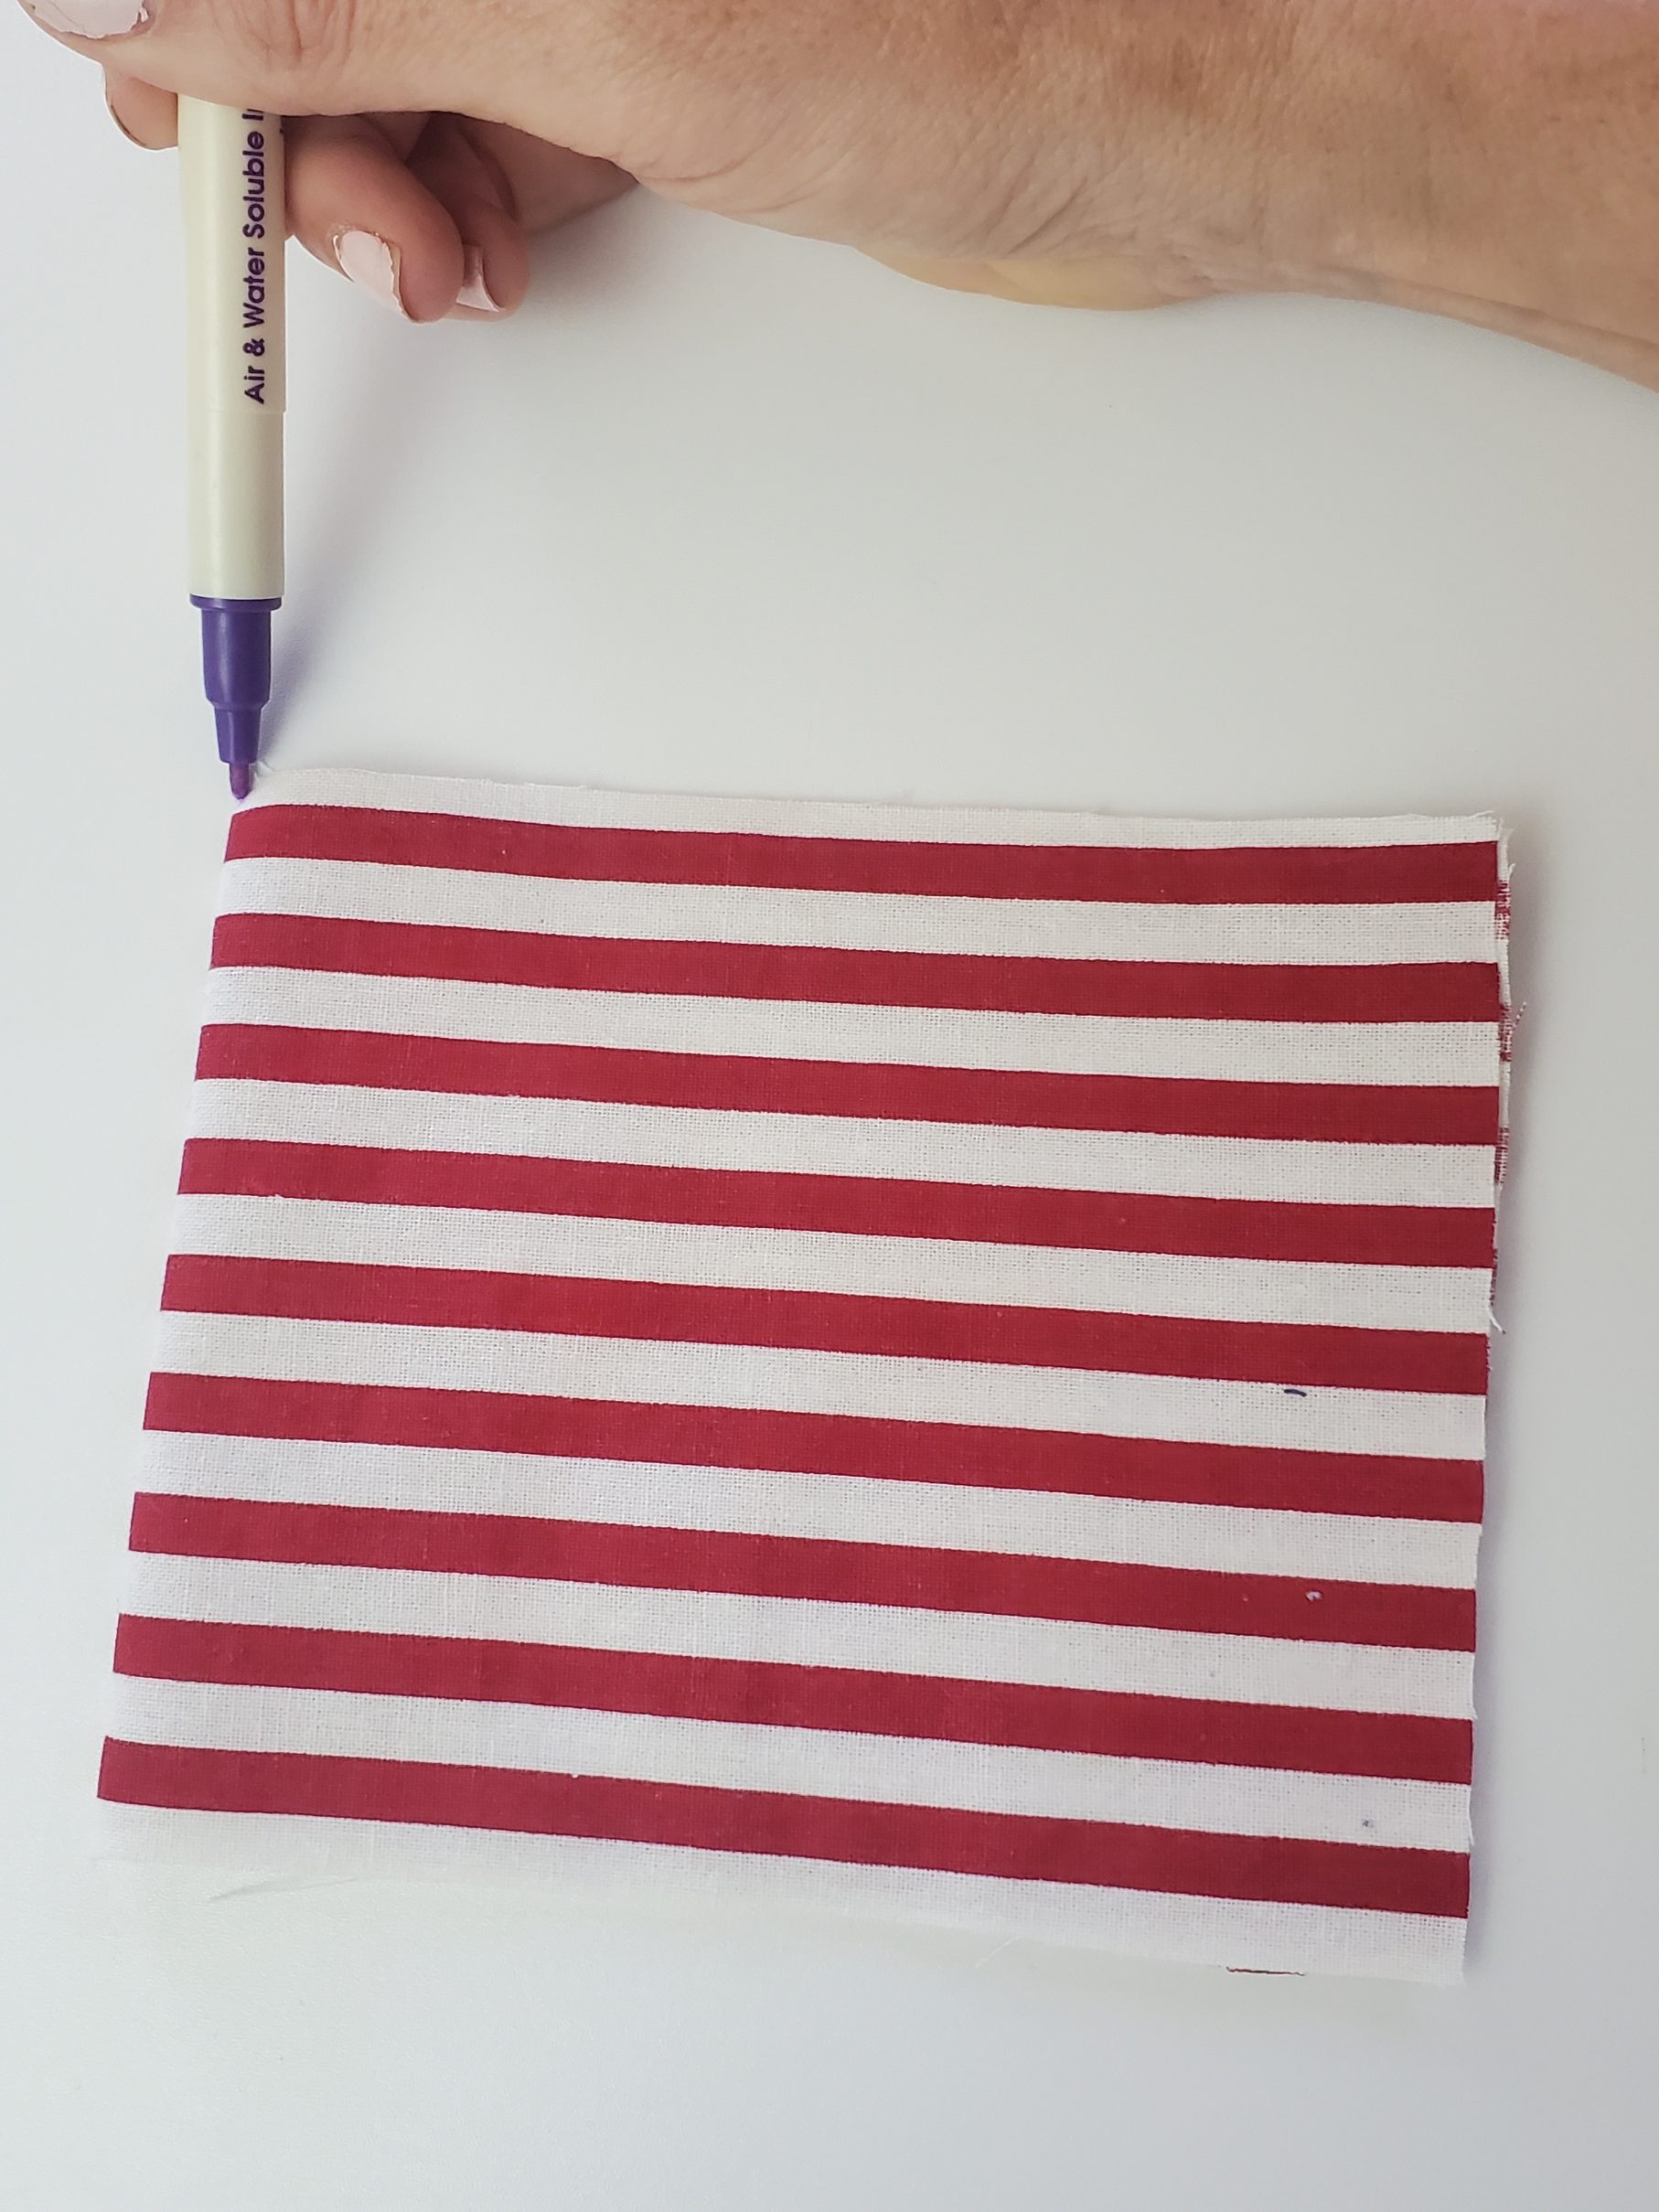
Fold your red scrap in half (width-wise) and mark the center of the fabric, on the top of the fabric piece only. Do the same thing with your blue scrap.
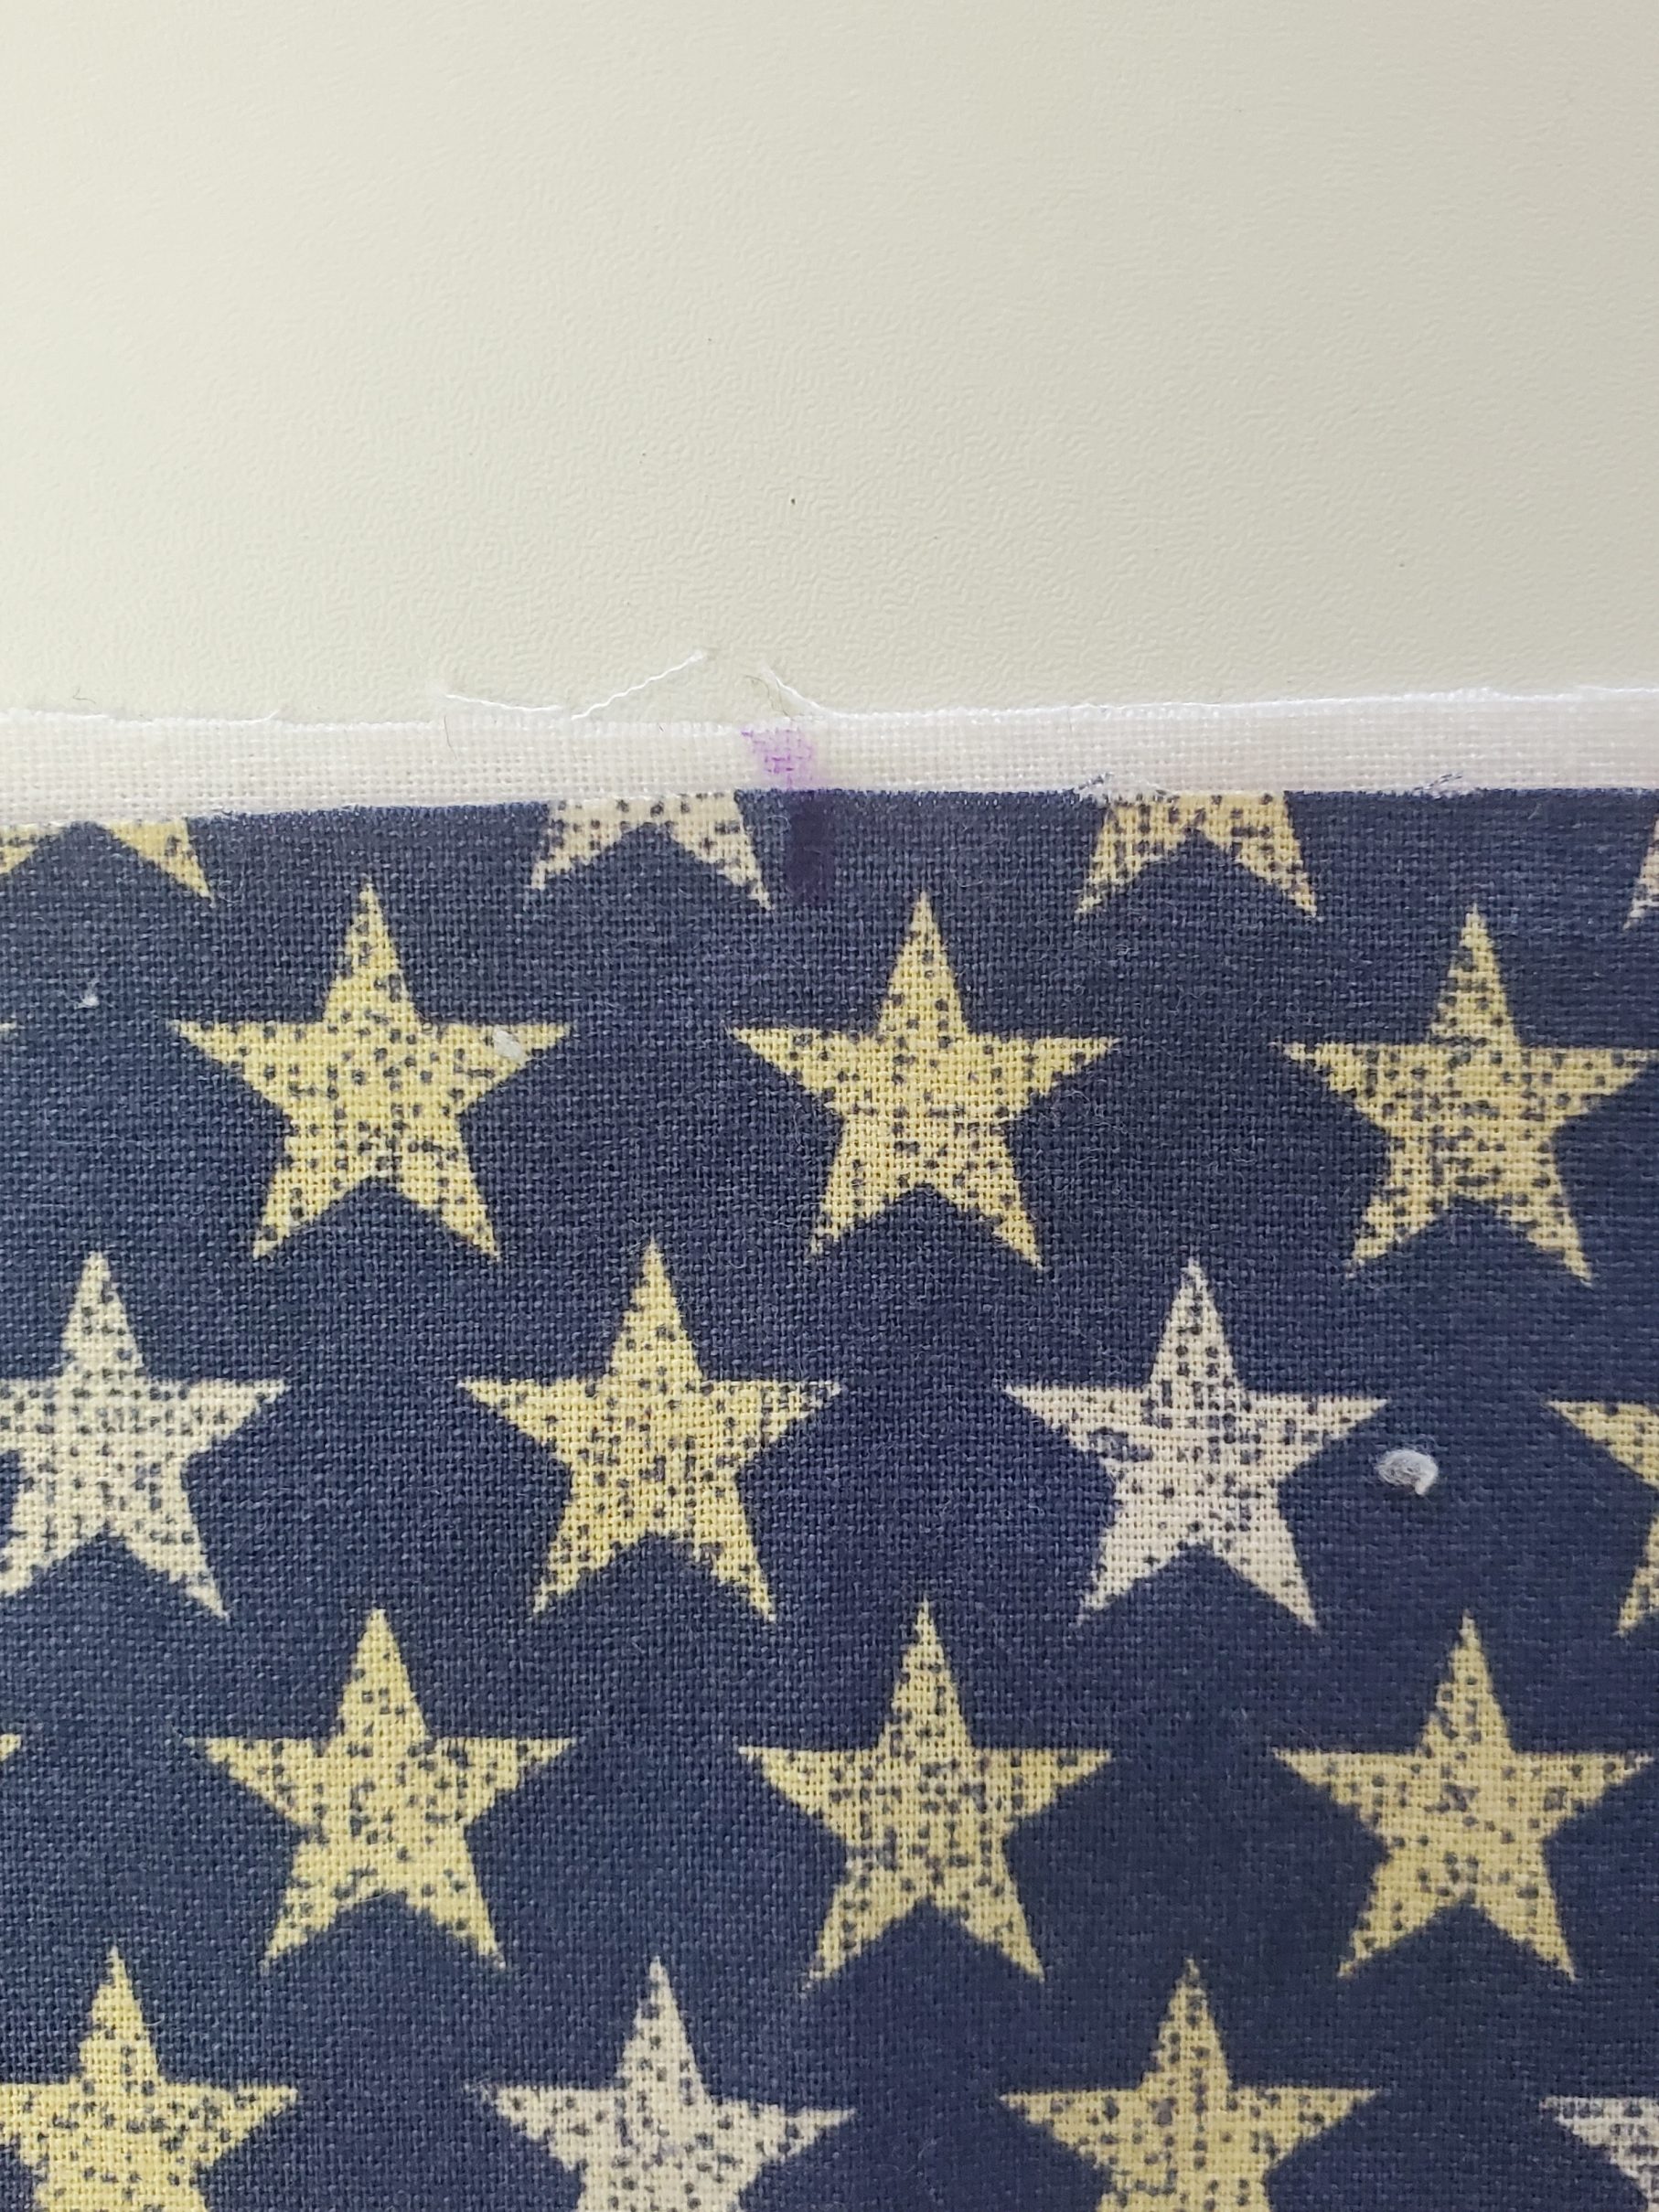
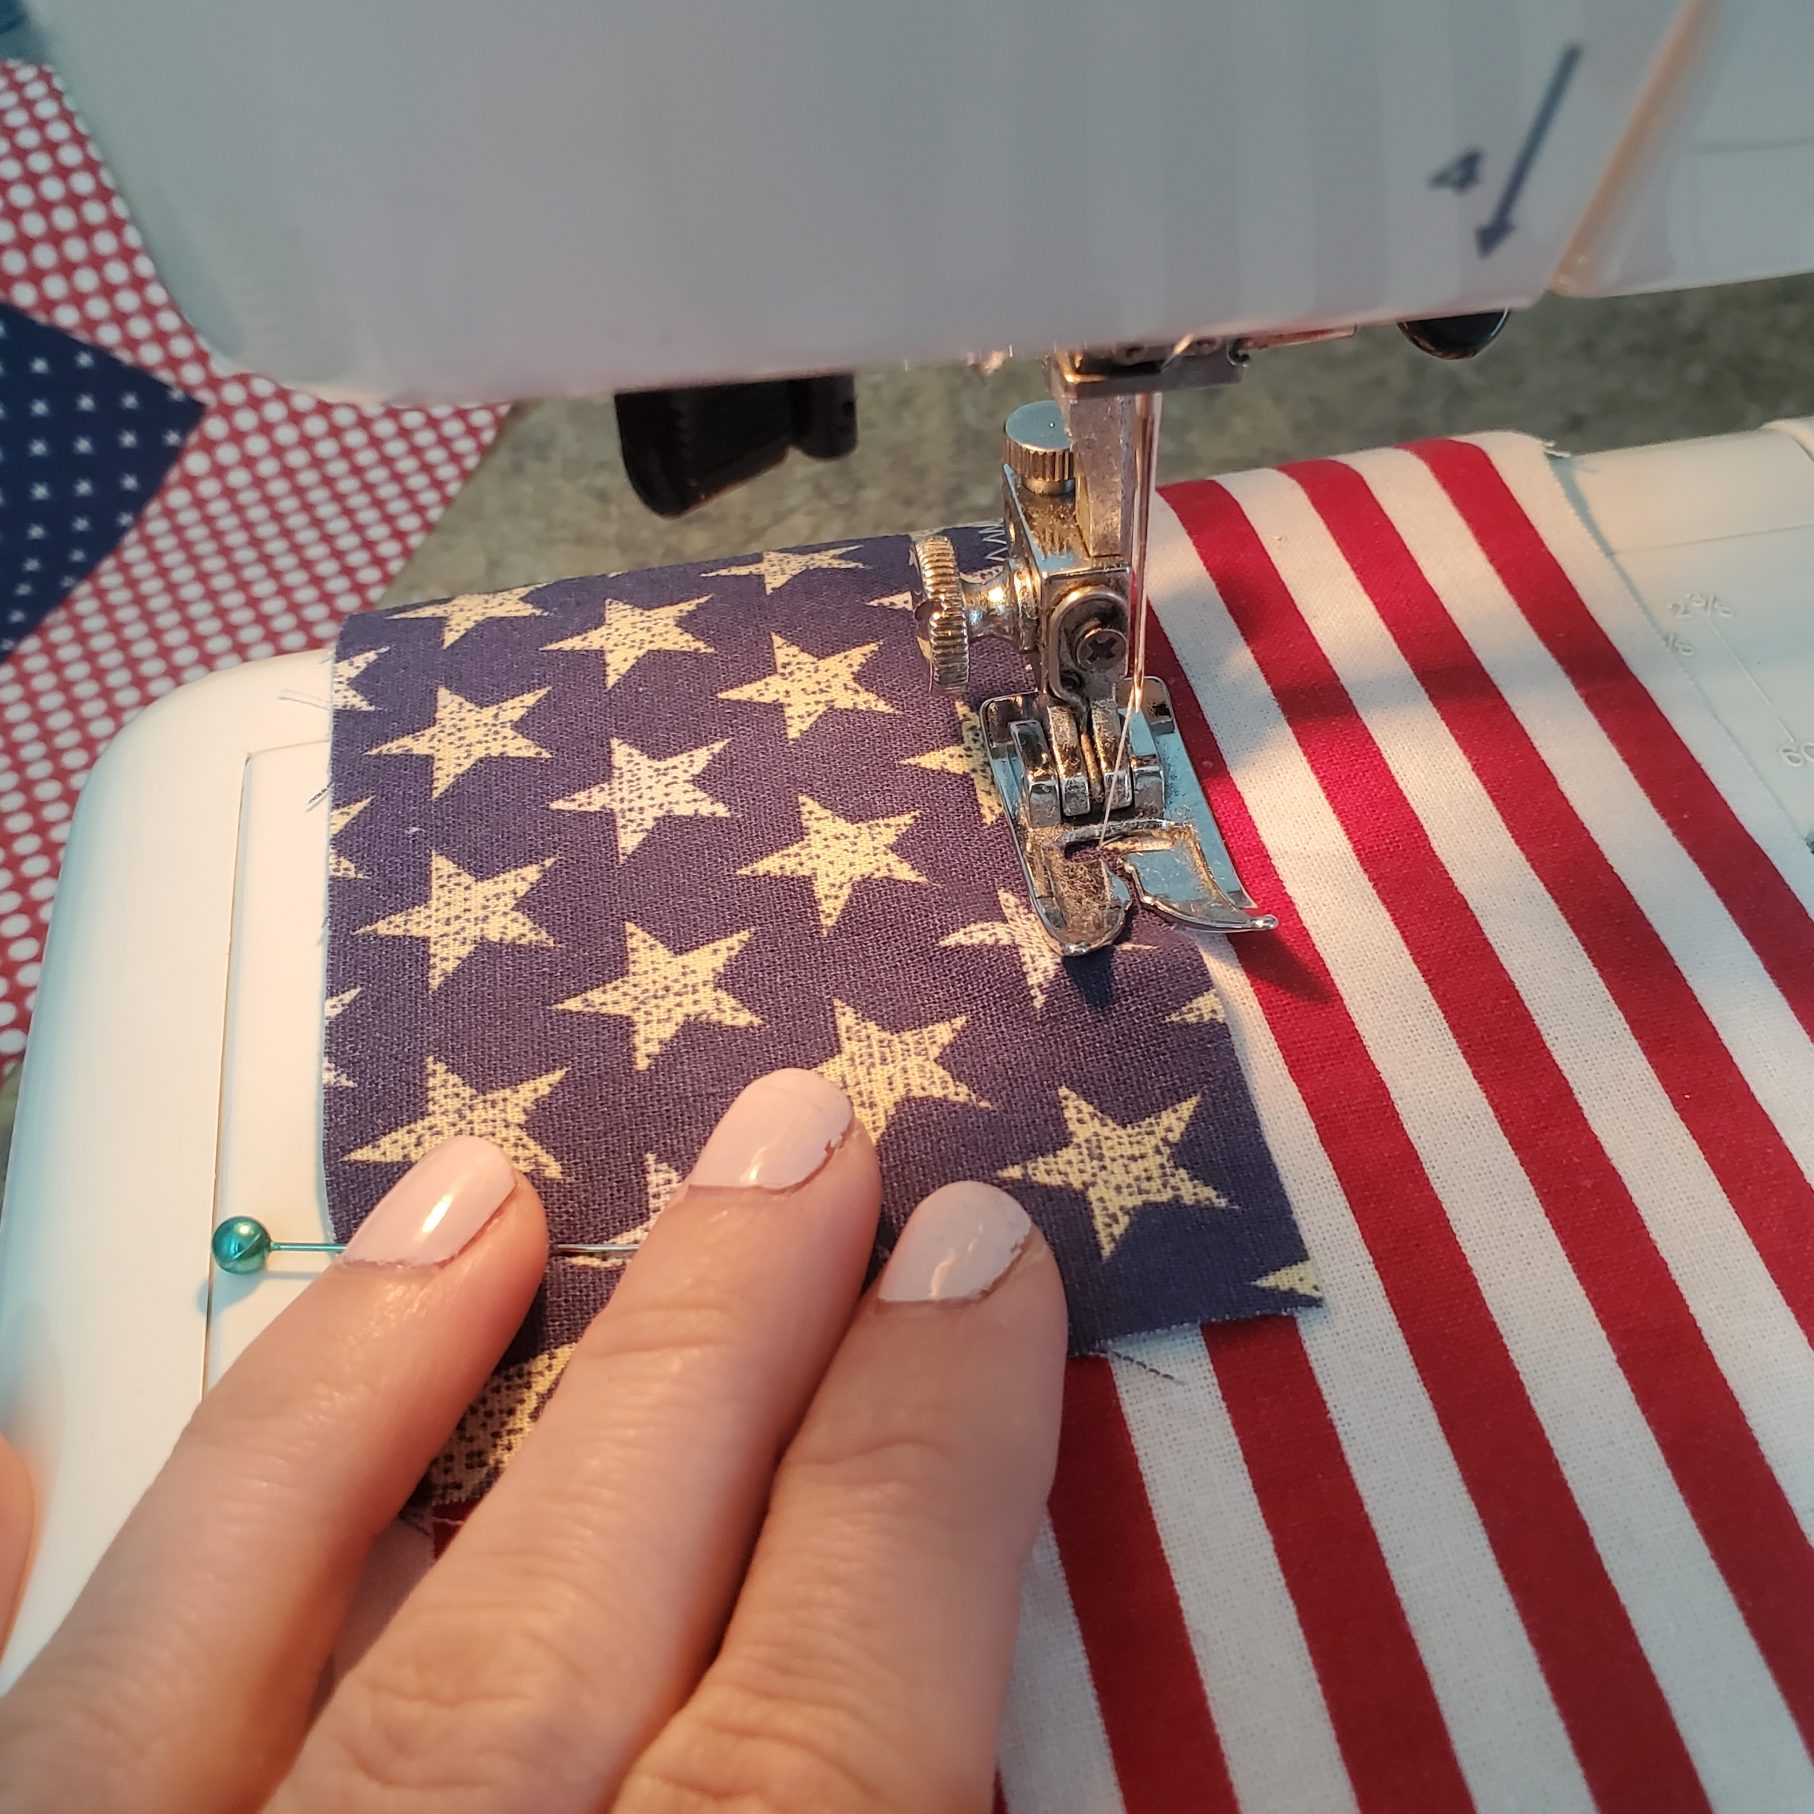
Open up both pieces of scraps and place the blue scrap on top of your red scrap, matching up your dots and aligning the top raw edge of your blue fabric to the top raw edge of your red fabric. Put a couple pins to hold it in place.
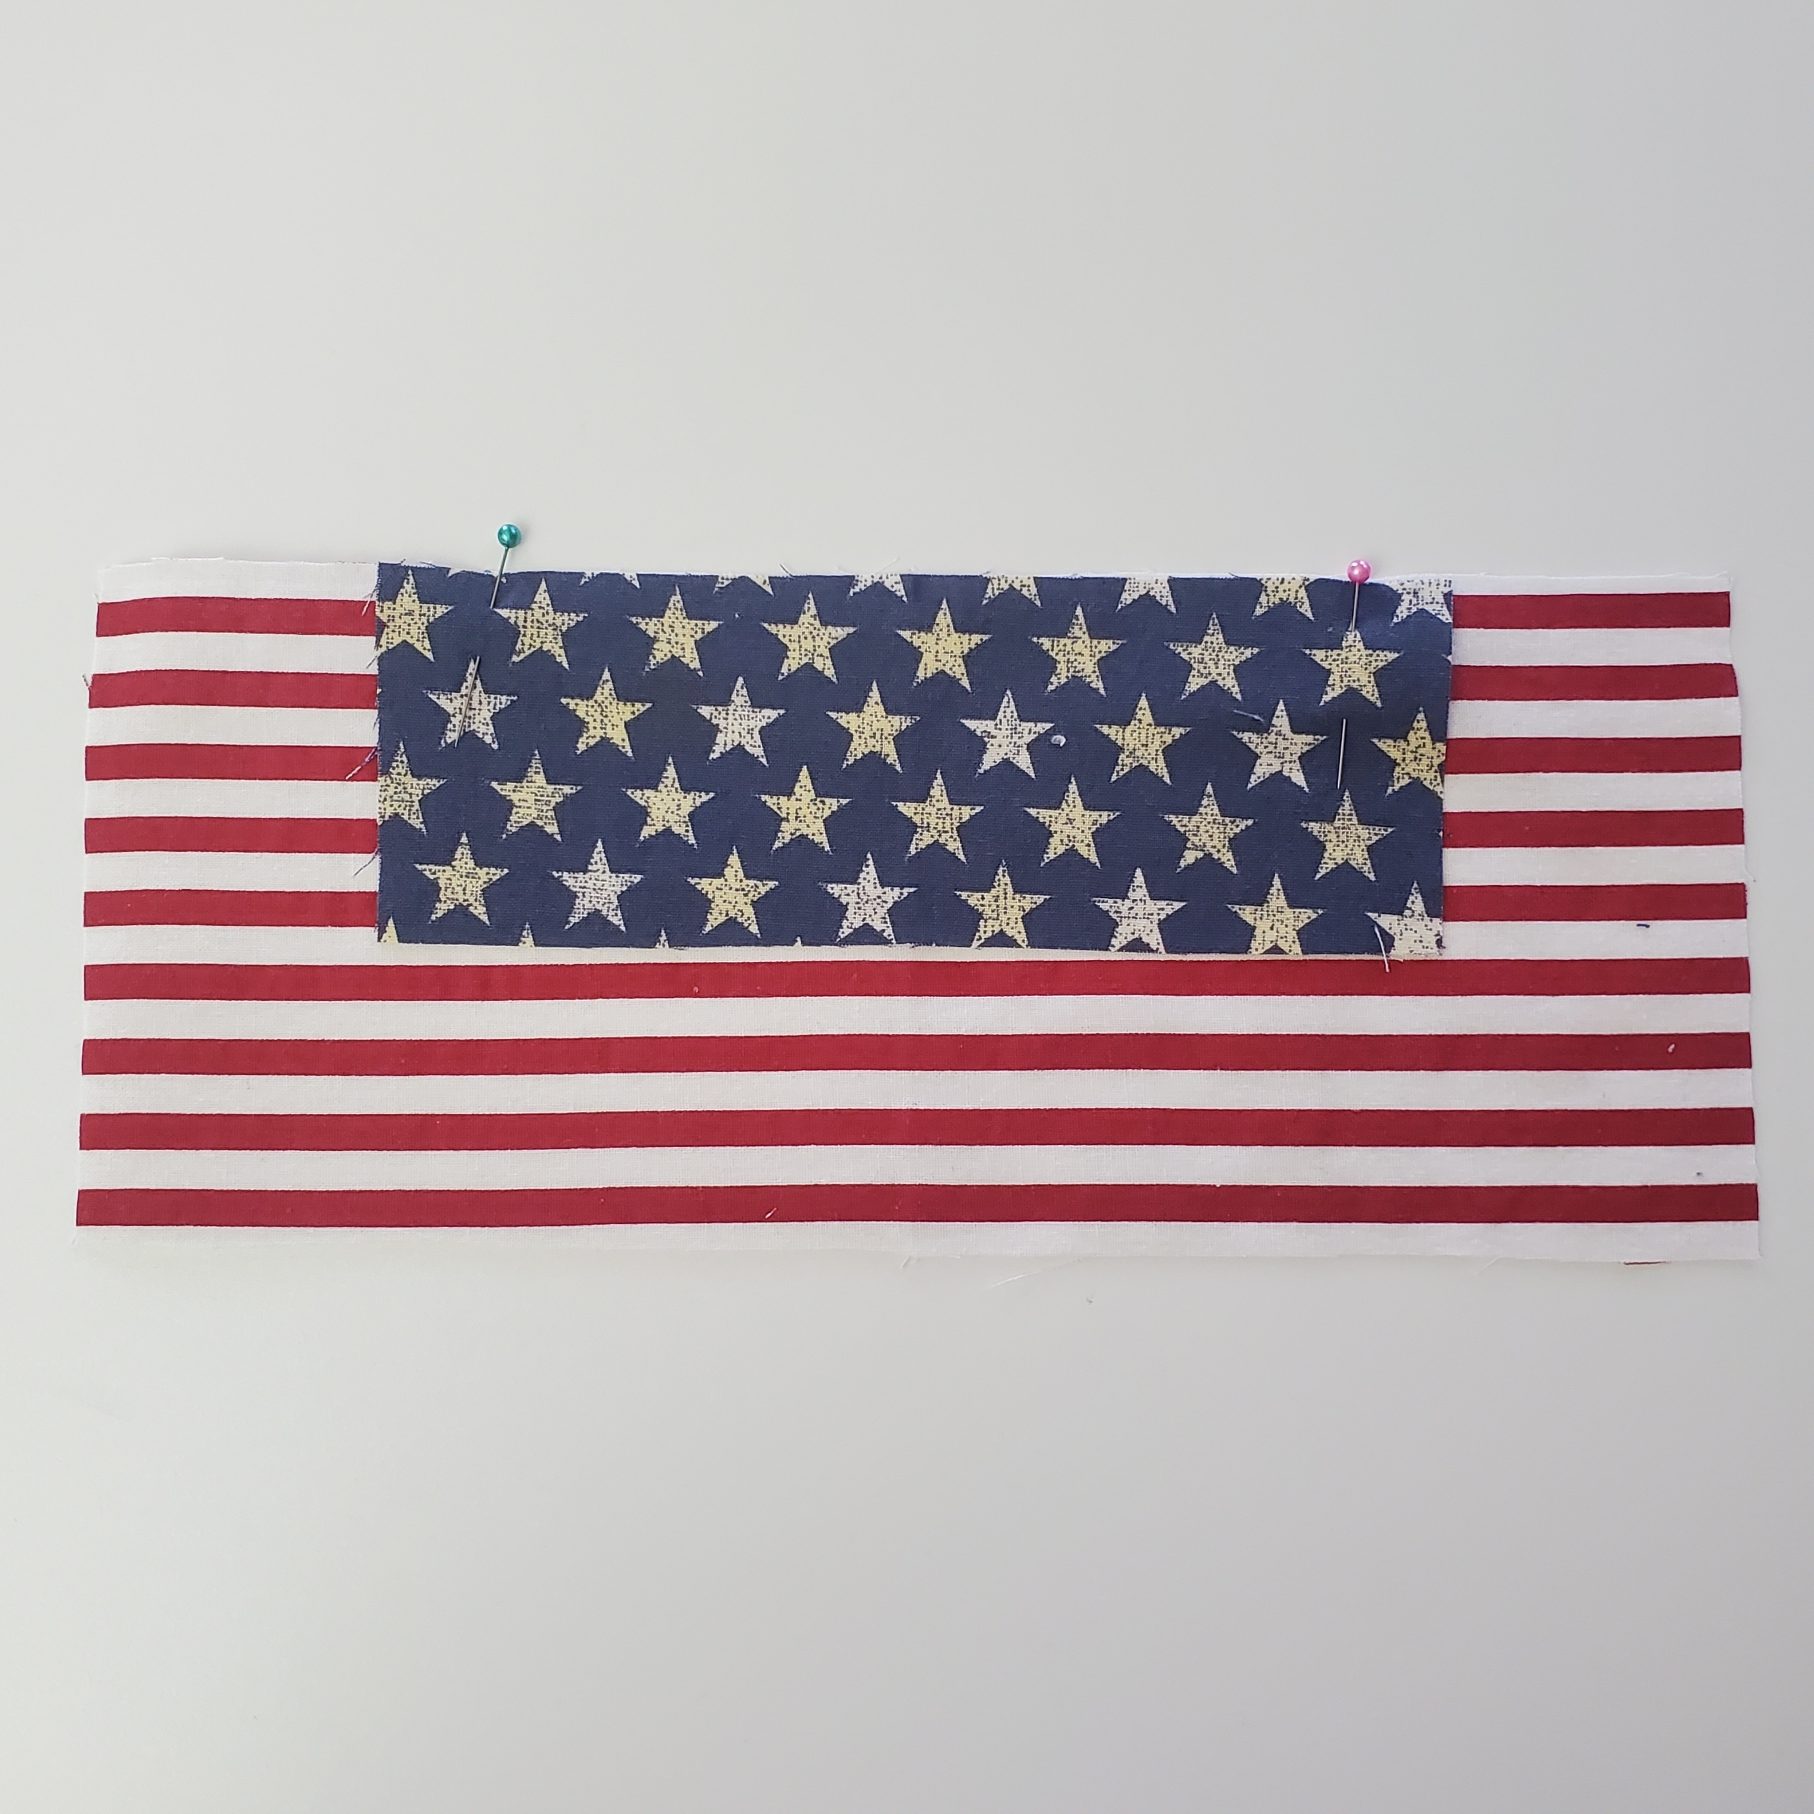
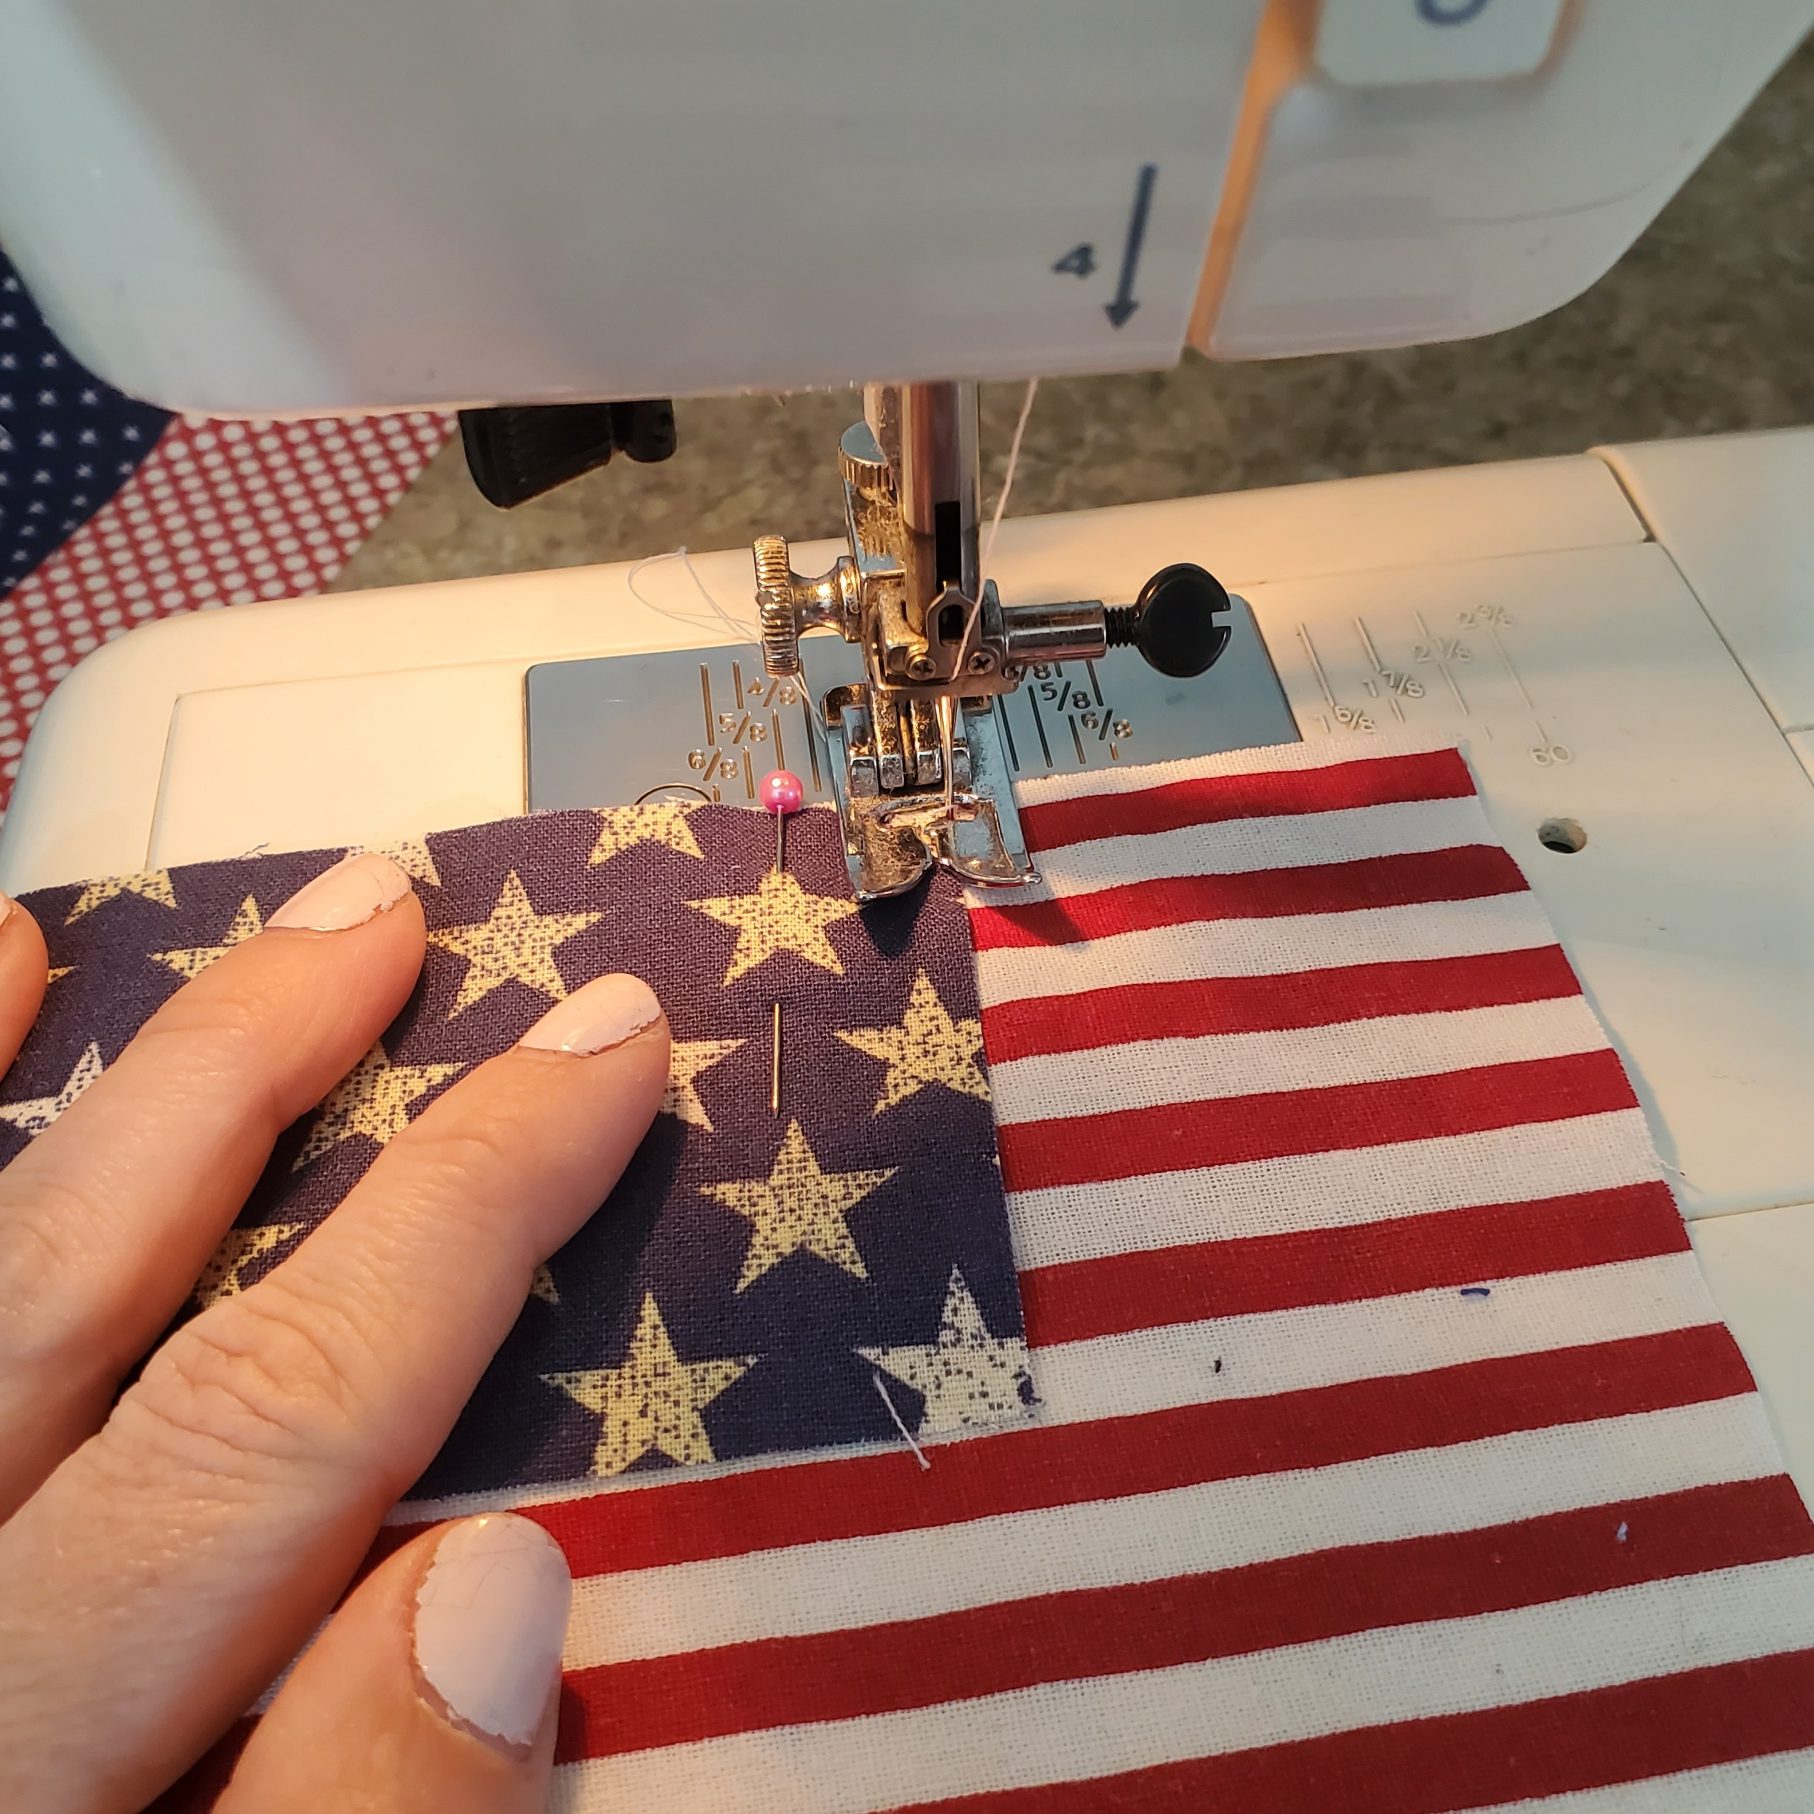
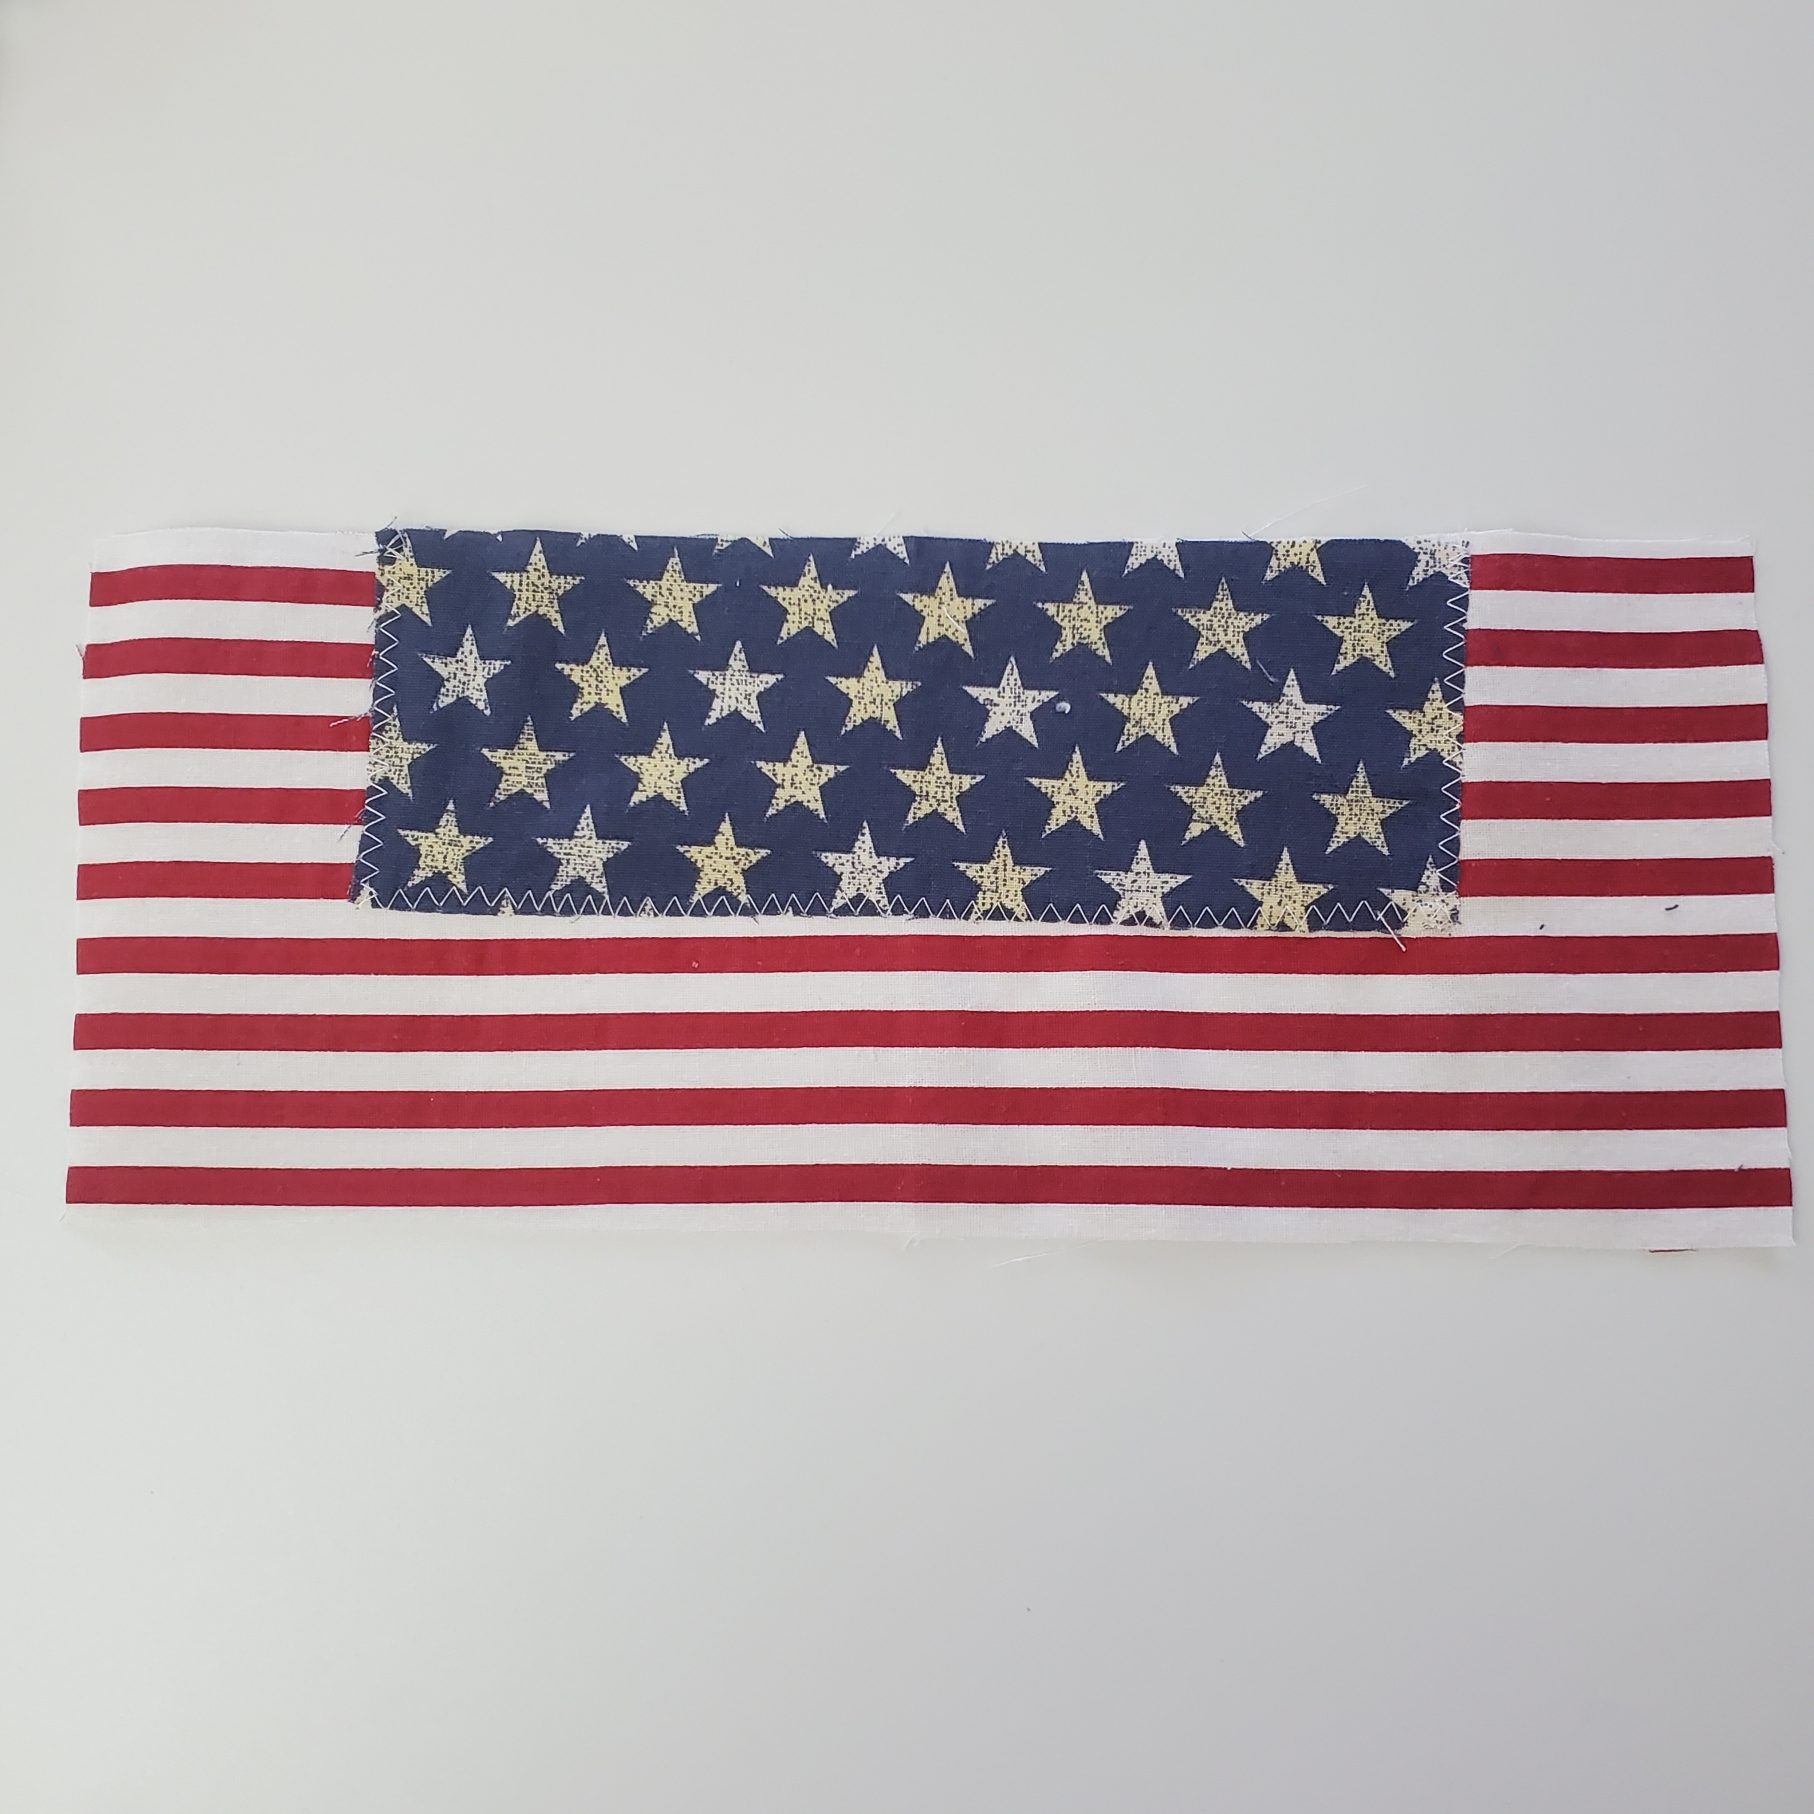
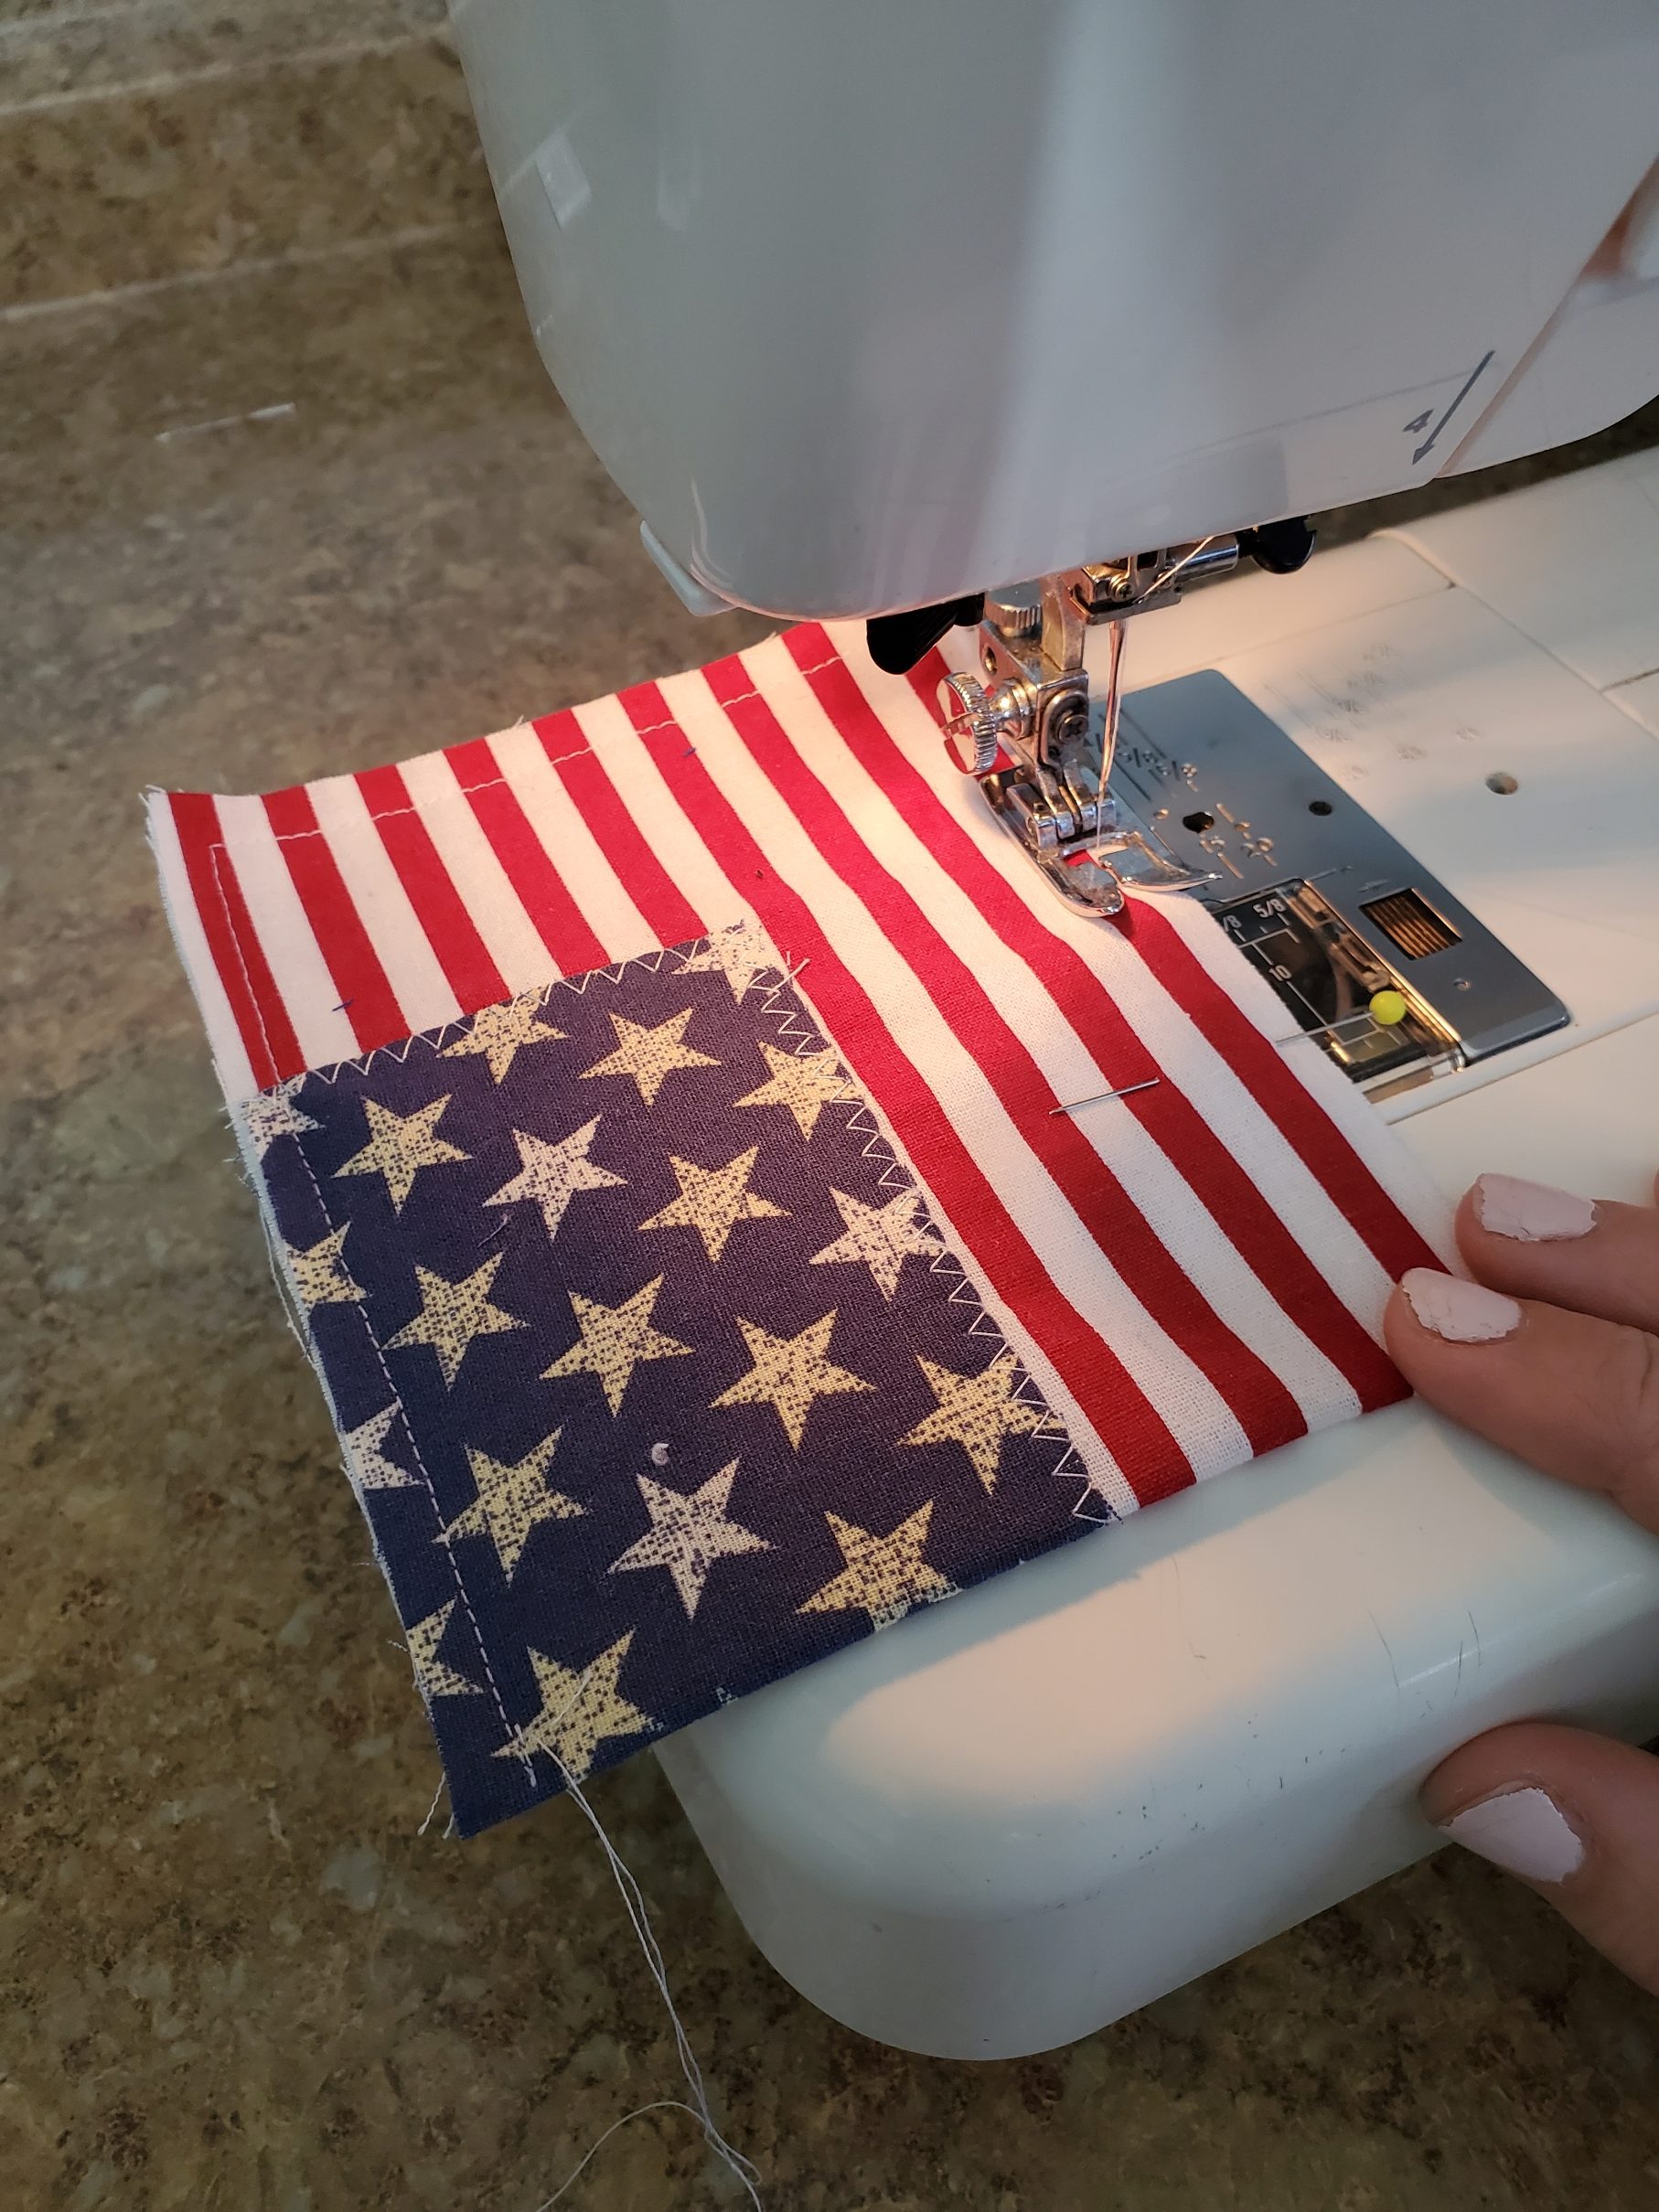
Sew the blue scrap down, starting on one side, pivoting at the corners and sewing along the bottom edge, and then back up the other side. You do not need to sew down the top edge at this point. Also, you can use whatever stitch you like! You can keep it straight or use a decorative stitch. I decided to use a zig-zag on mine. Do what you like!
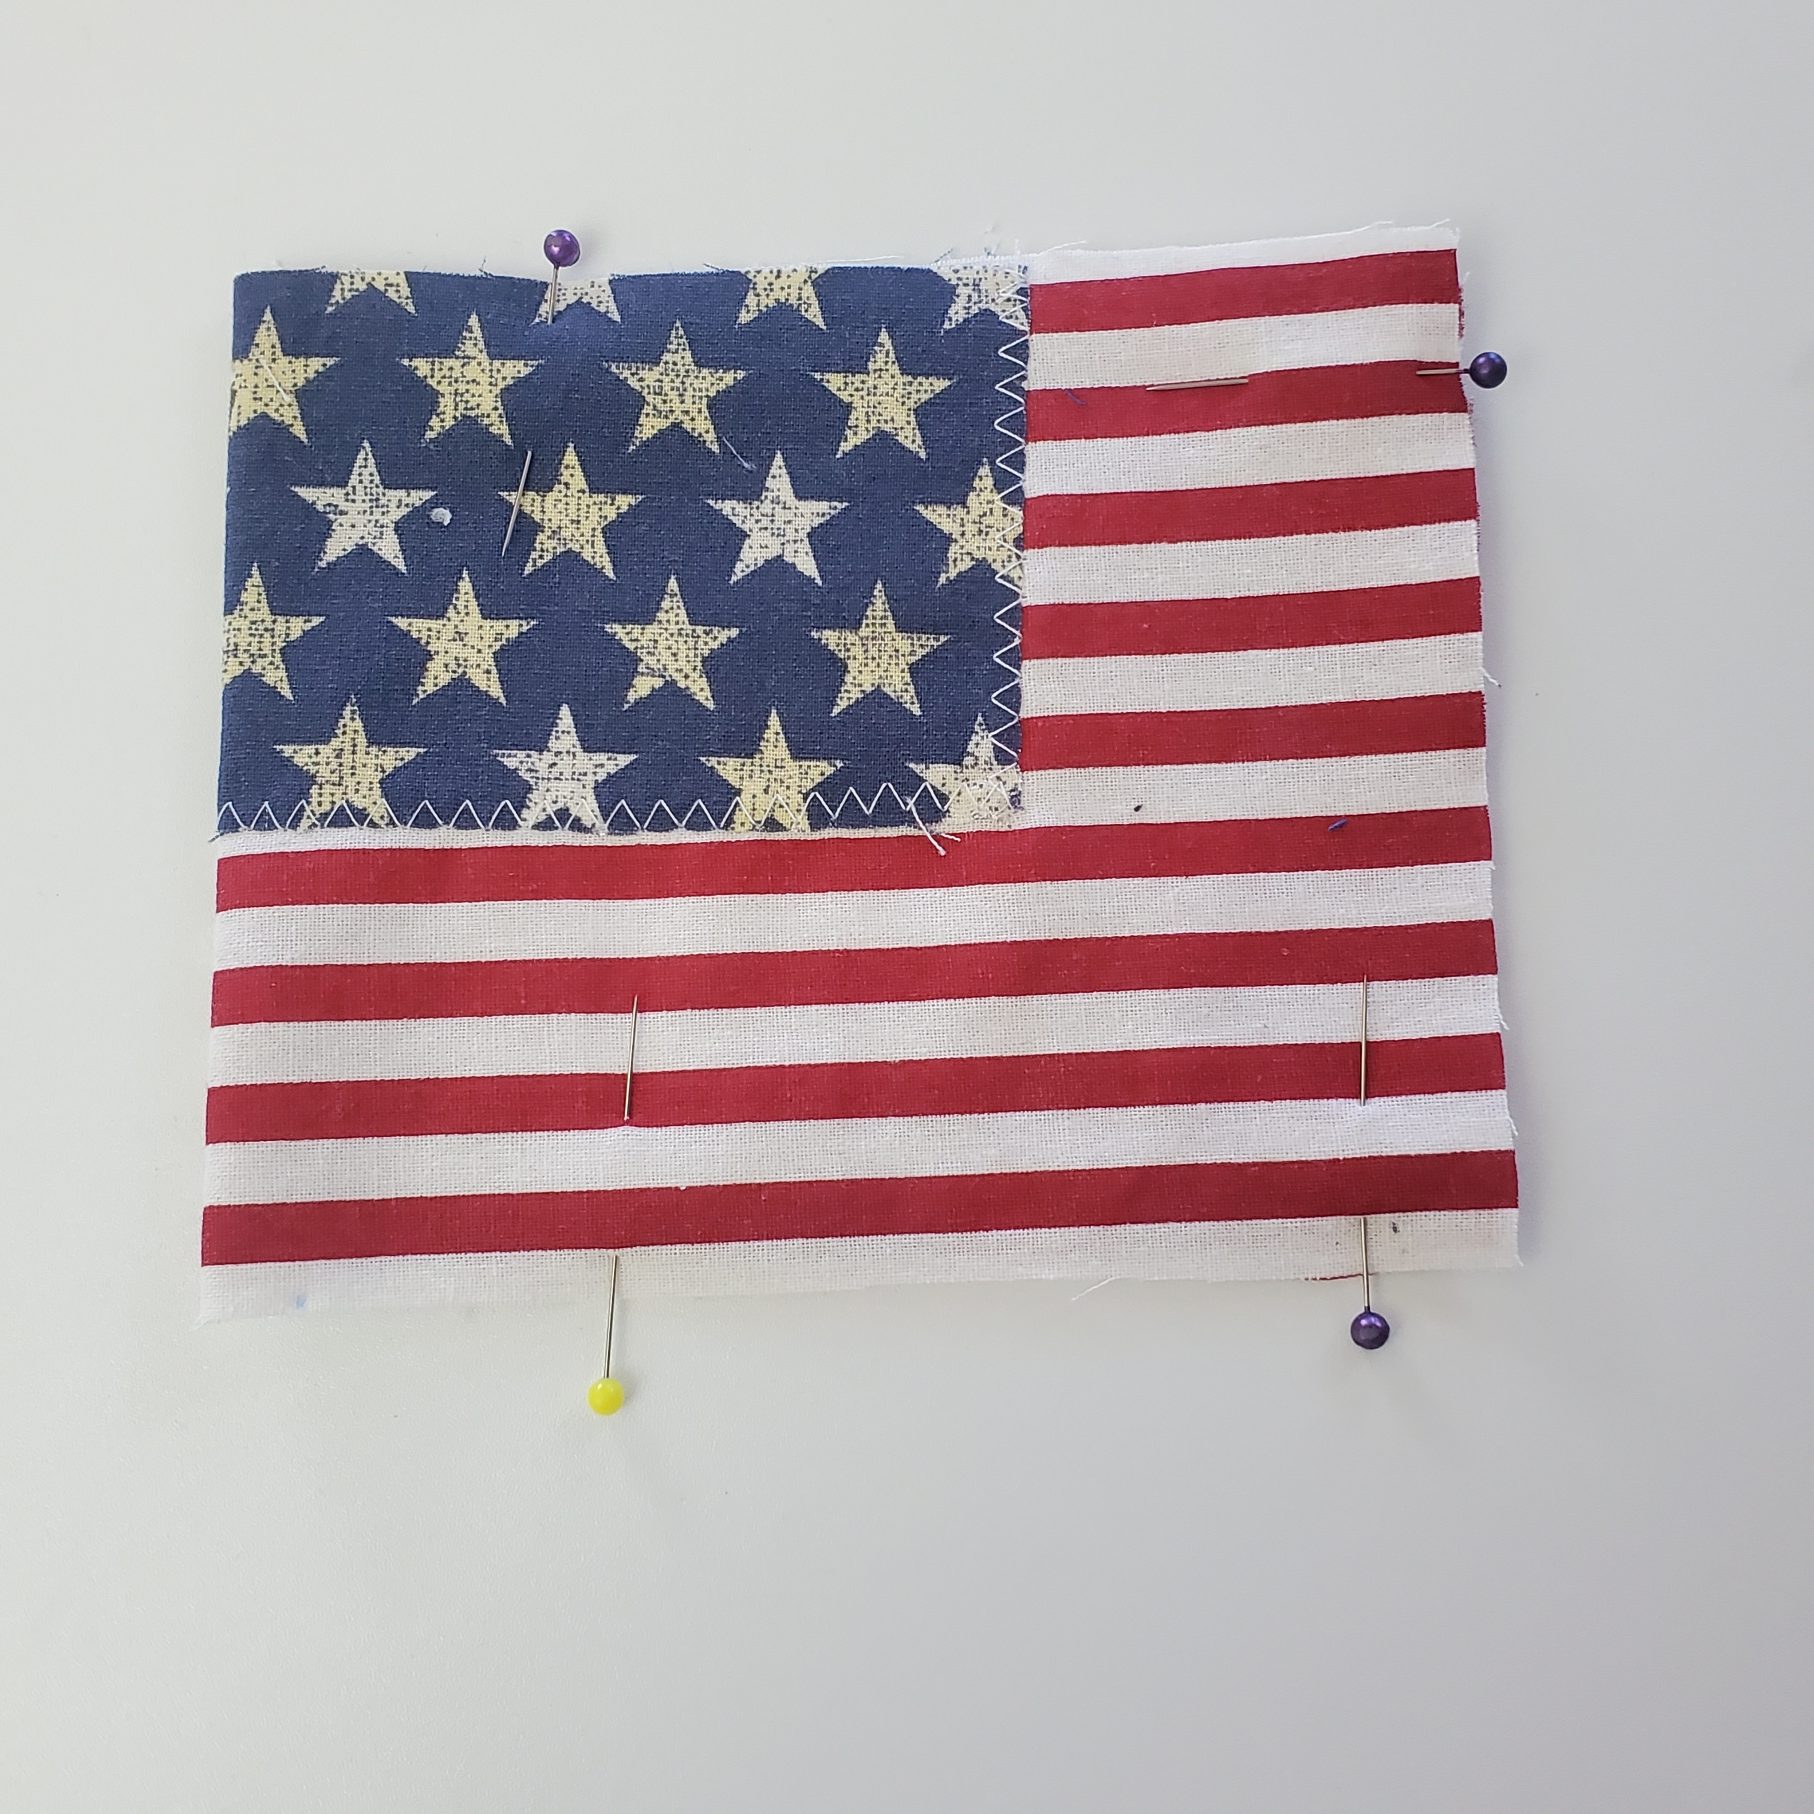
Next, fold your flag in half the width of the fabric, lining up your raw edges around the flag. Pin in place. On the bottom of the flag, mark a dot 1/2″ away from the fold. I’ll tell you what to do with that dot in a minute.
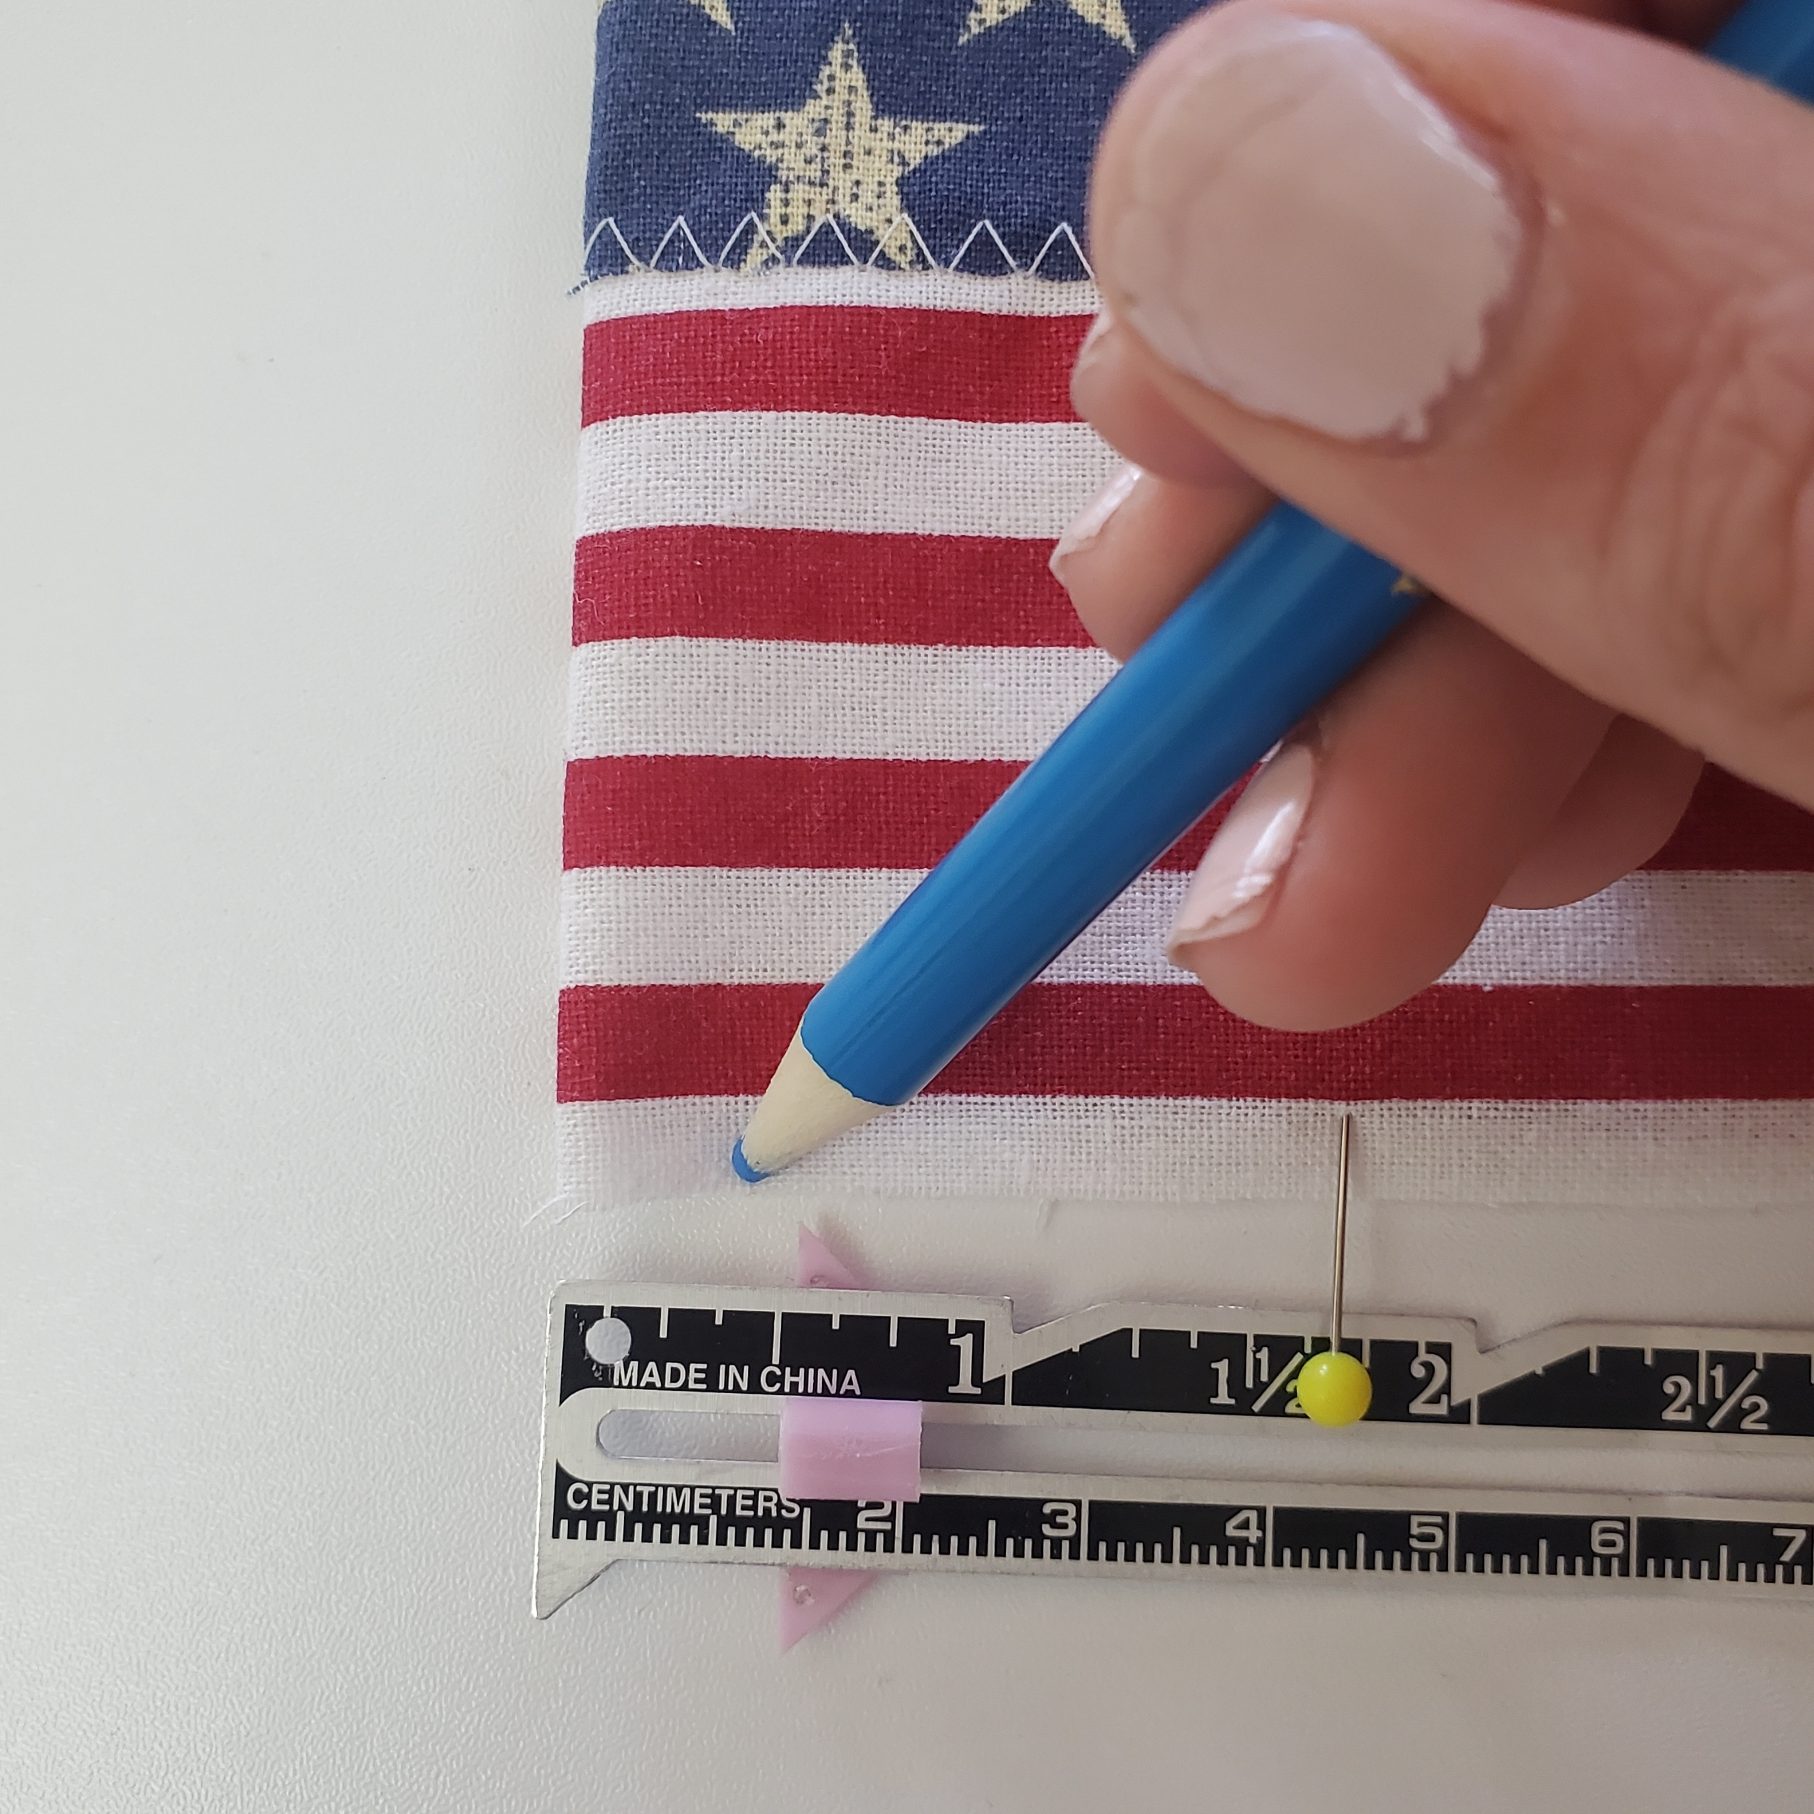
Starting at the top of the flag (near the folded edge), stitch around the perimeter of the flag, using a 3/8″ seam allowance, pivoting at the corners. When you reach the dot at the folded edge on the bottom of the flag, put your needle down in the fabric and pivot your flag to create your final stitch up the side of the flag. This is going to create the casing for the dowel to go inside.
With the folded edge of your flag now on the 3/8″ seamline, run a stitch from the bottom of the flag all the way up to the top of the flag. Backstitch at the top.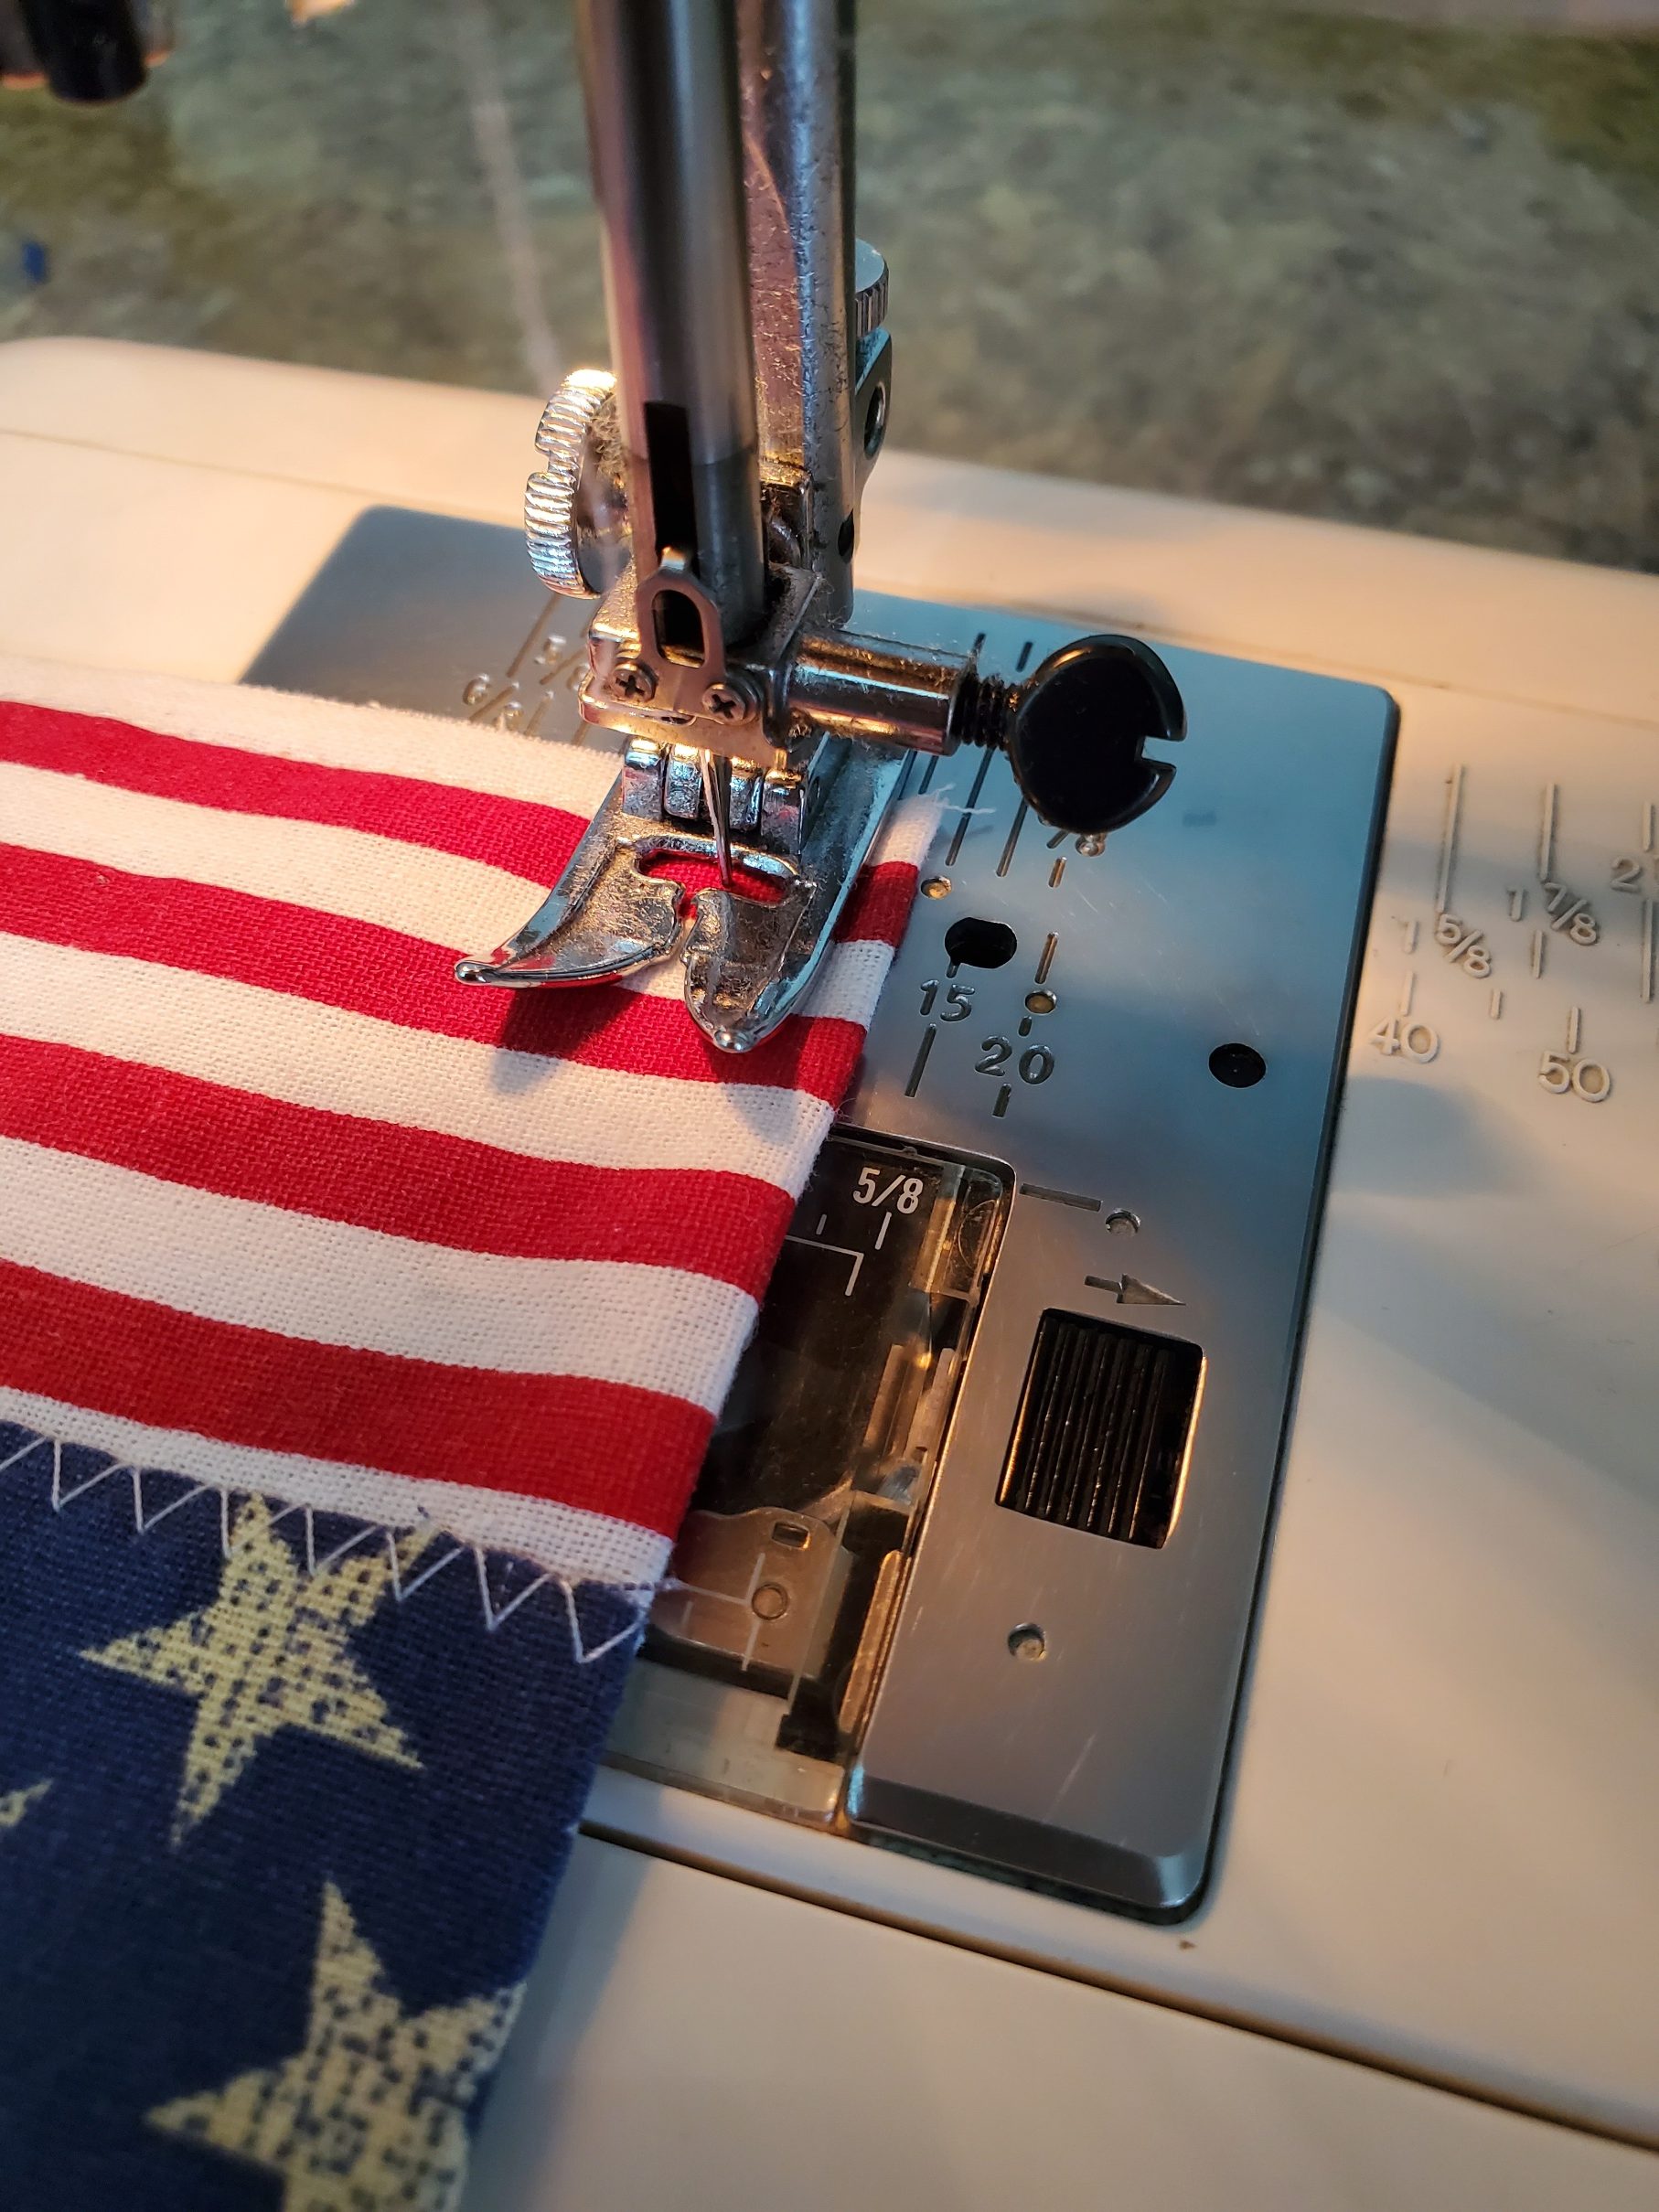
That is all there is to sewing your scrappy patriotic flag!!
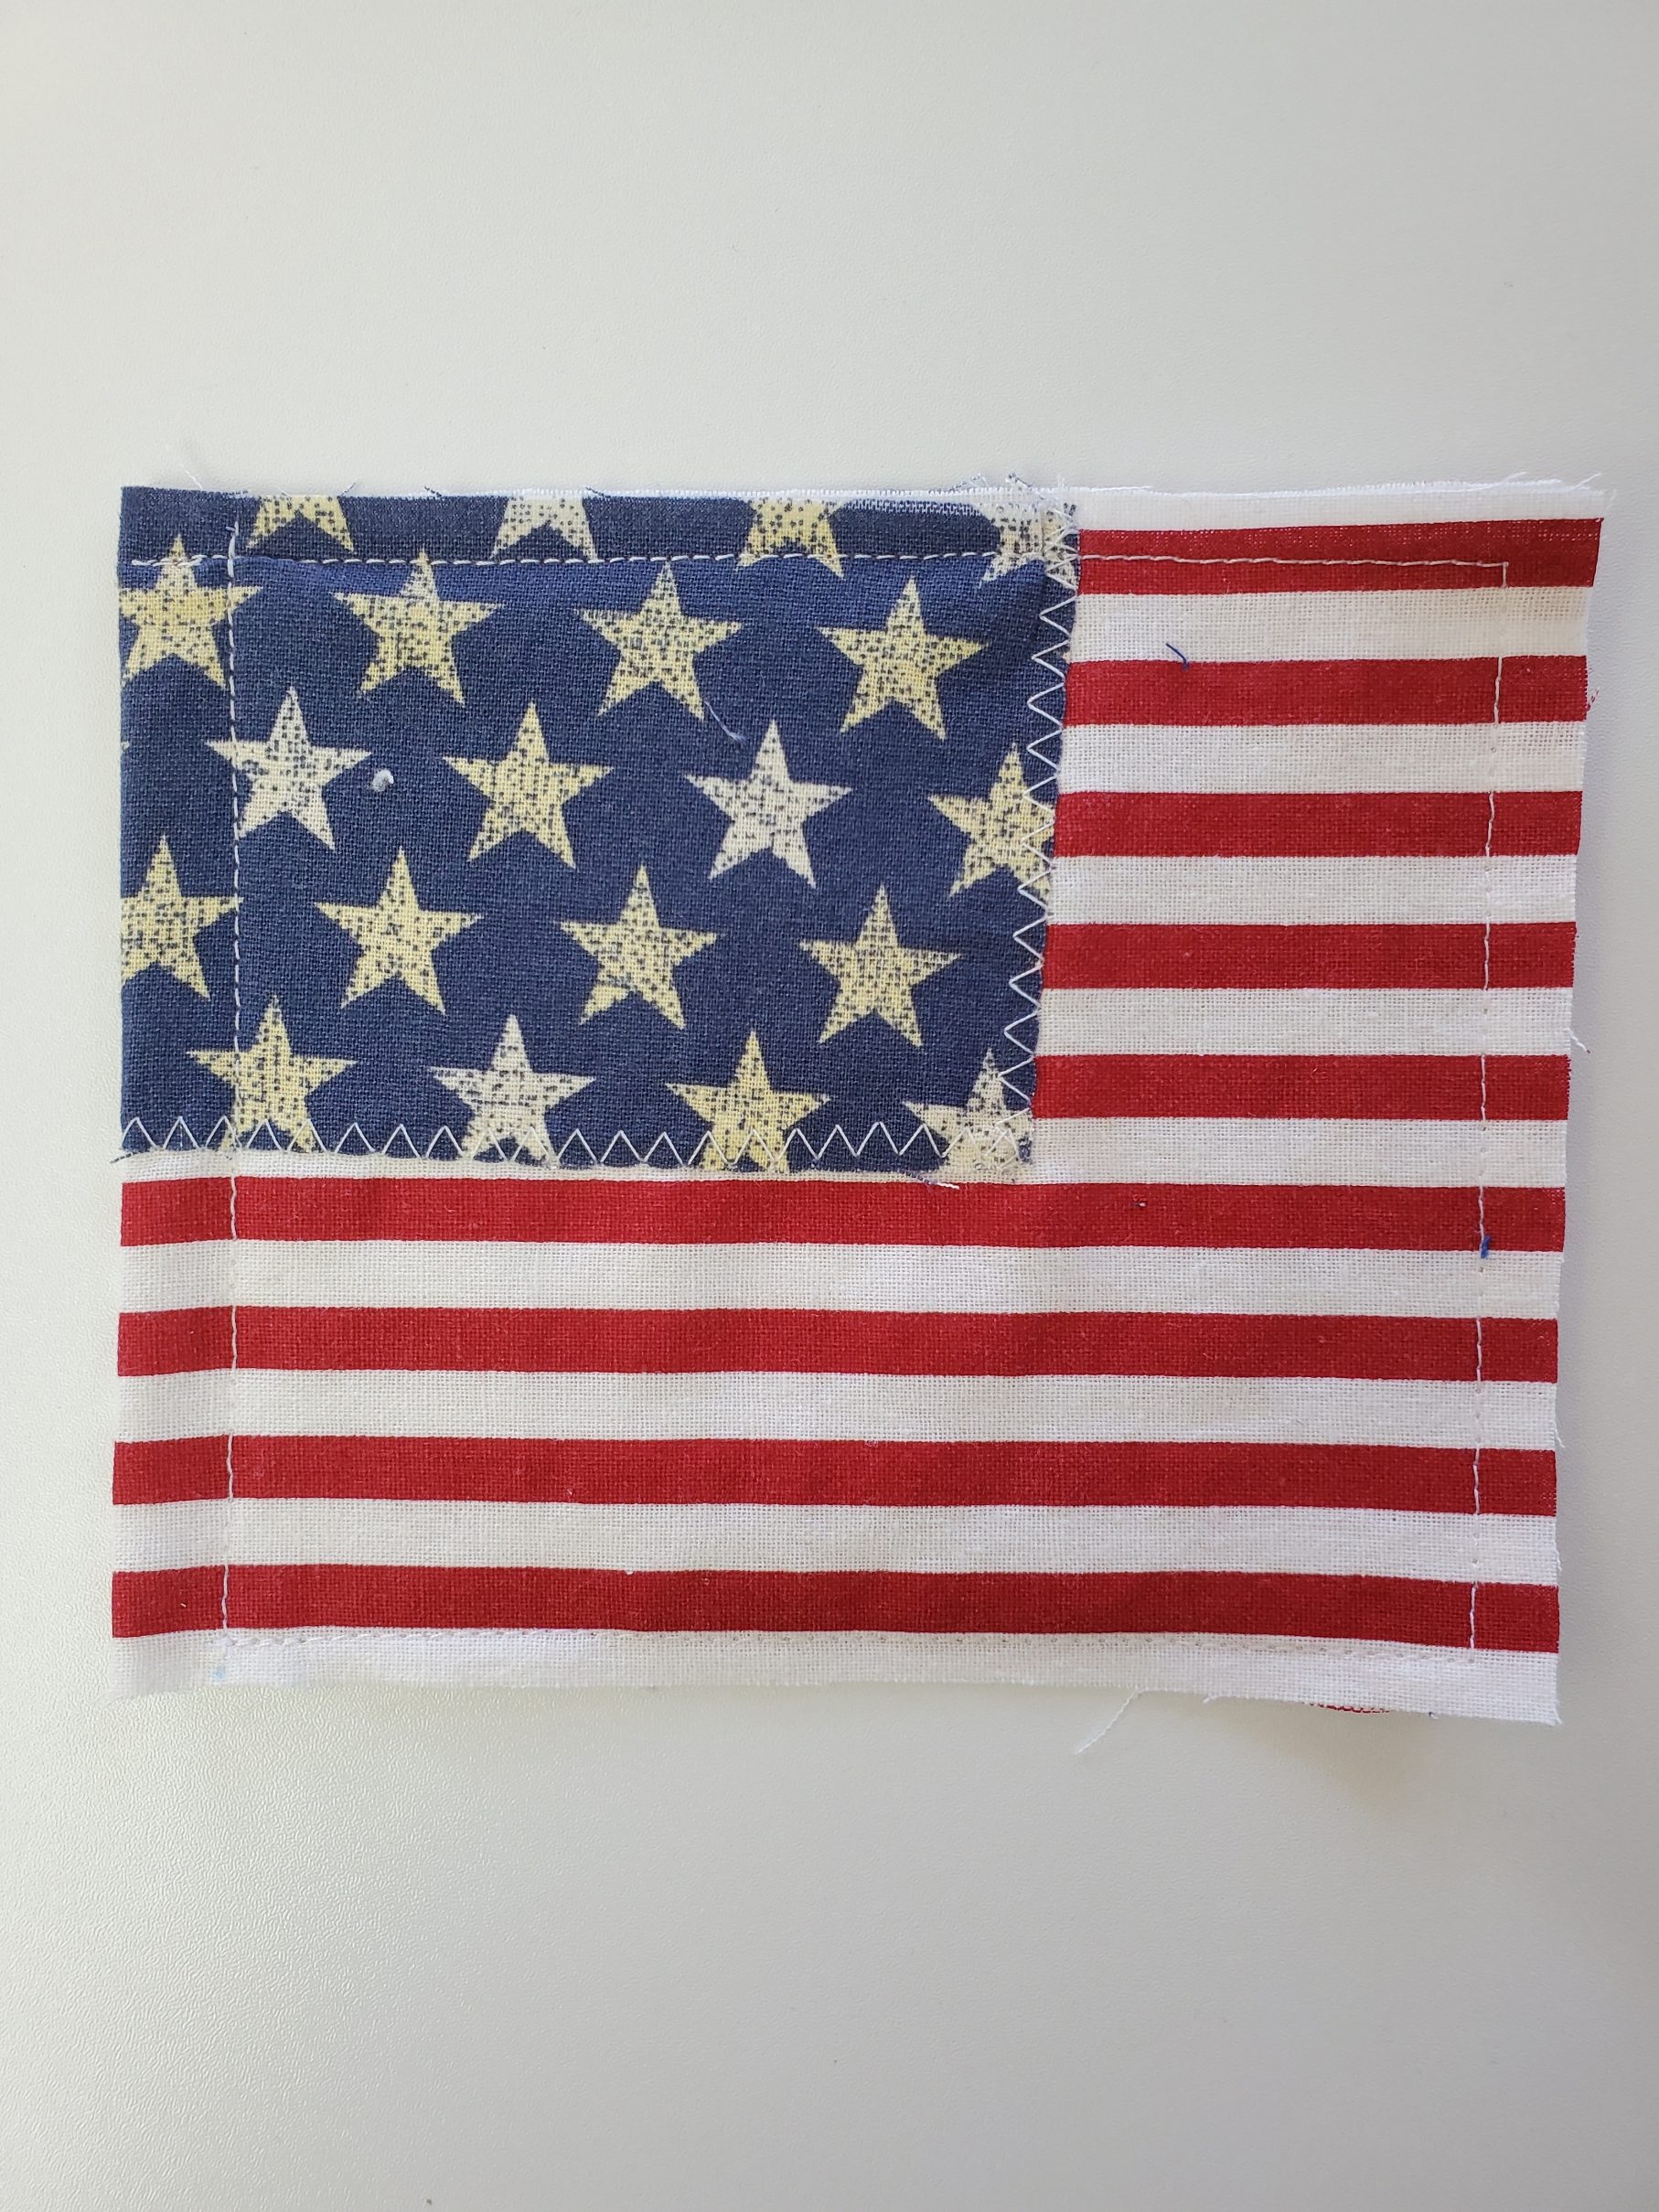
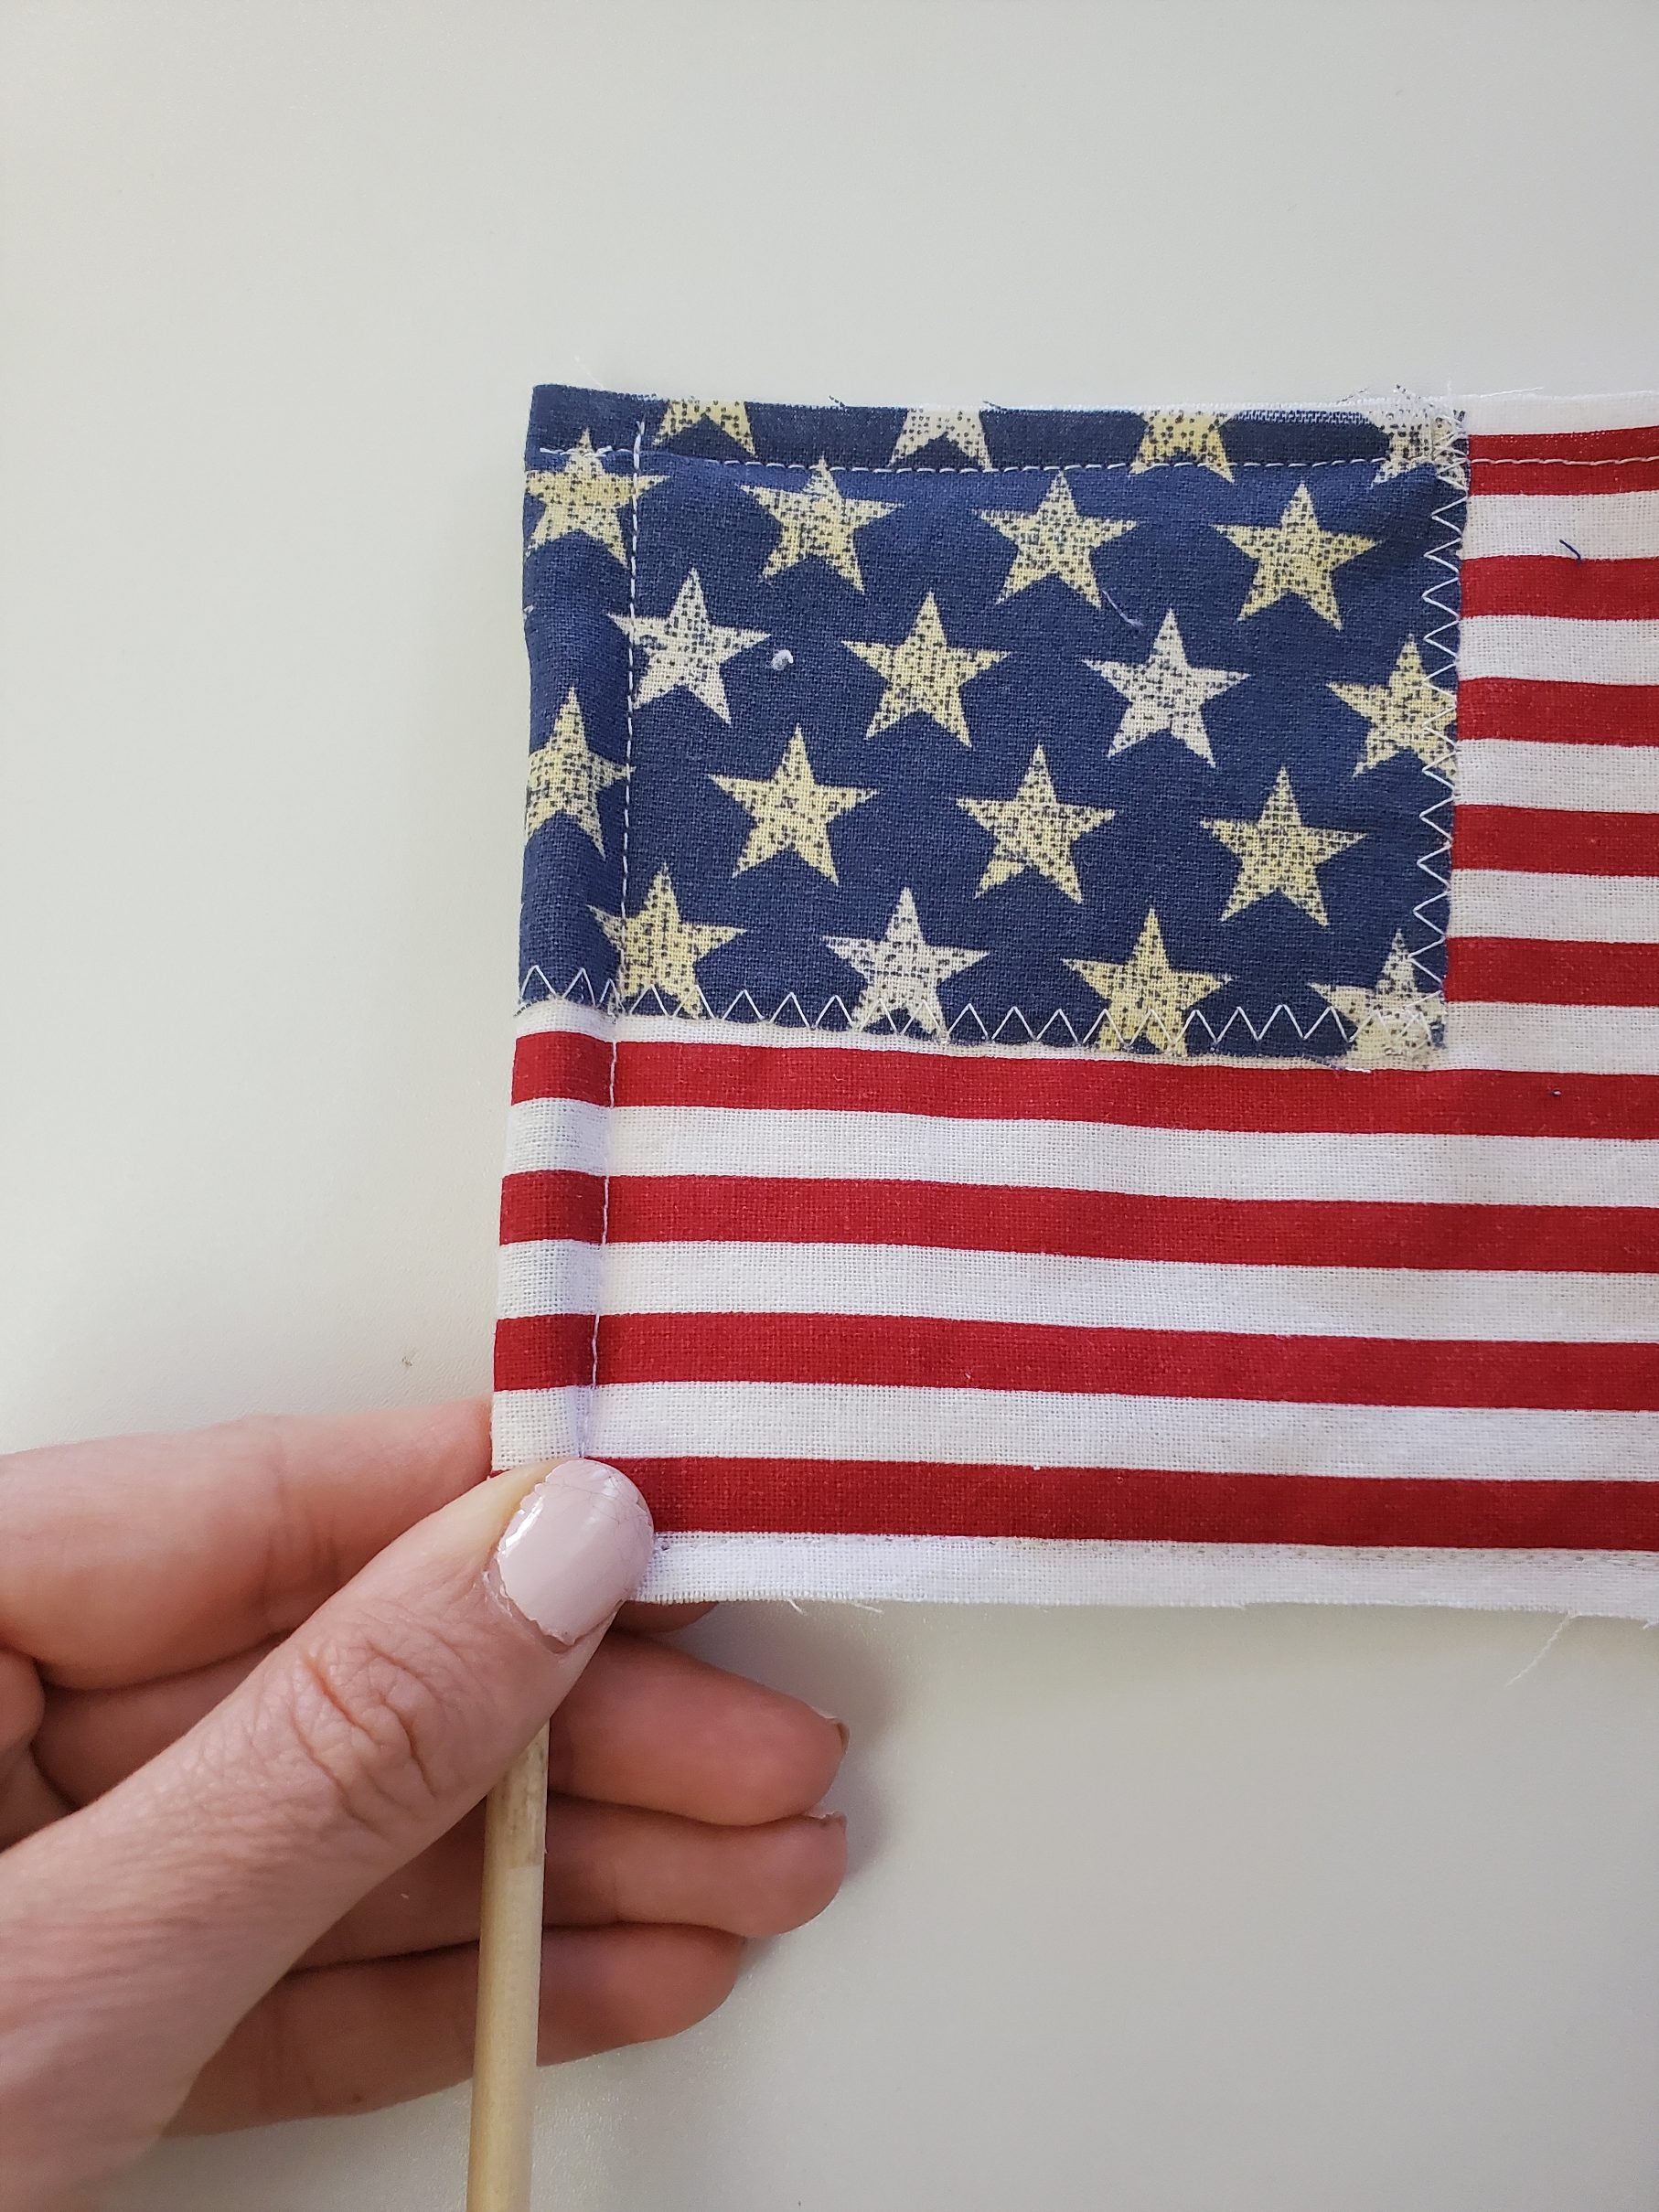
Wasn’t that super easy? All you need to do now is insert your dowel in the casing of the flag. And that’s it!
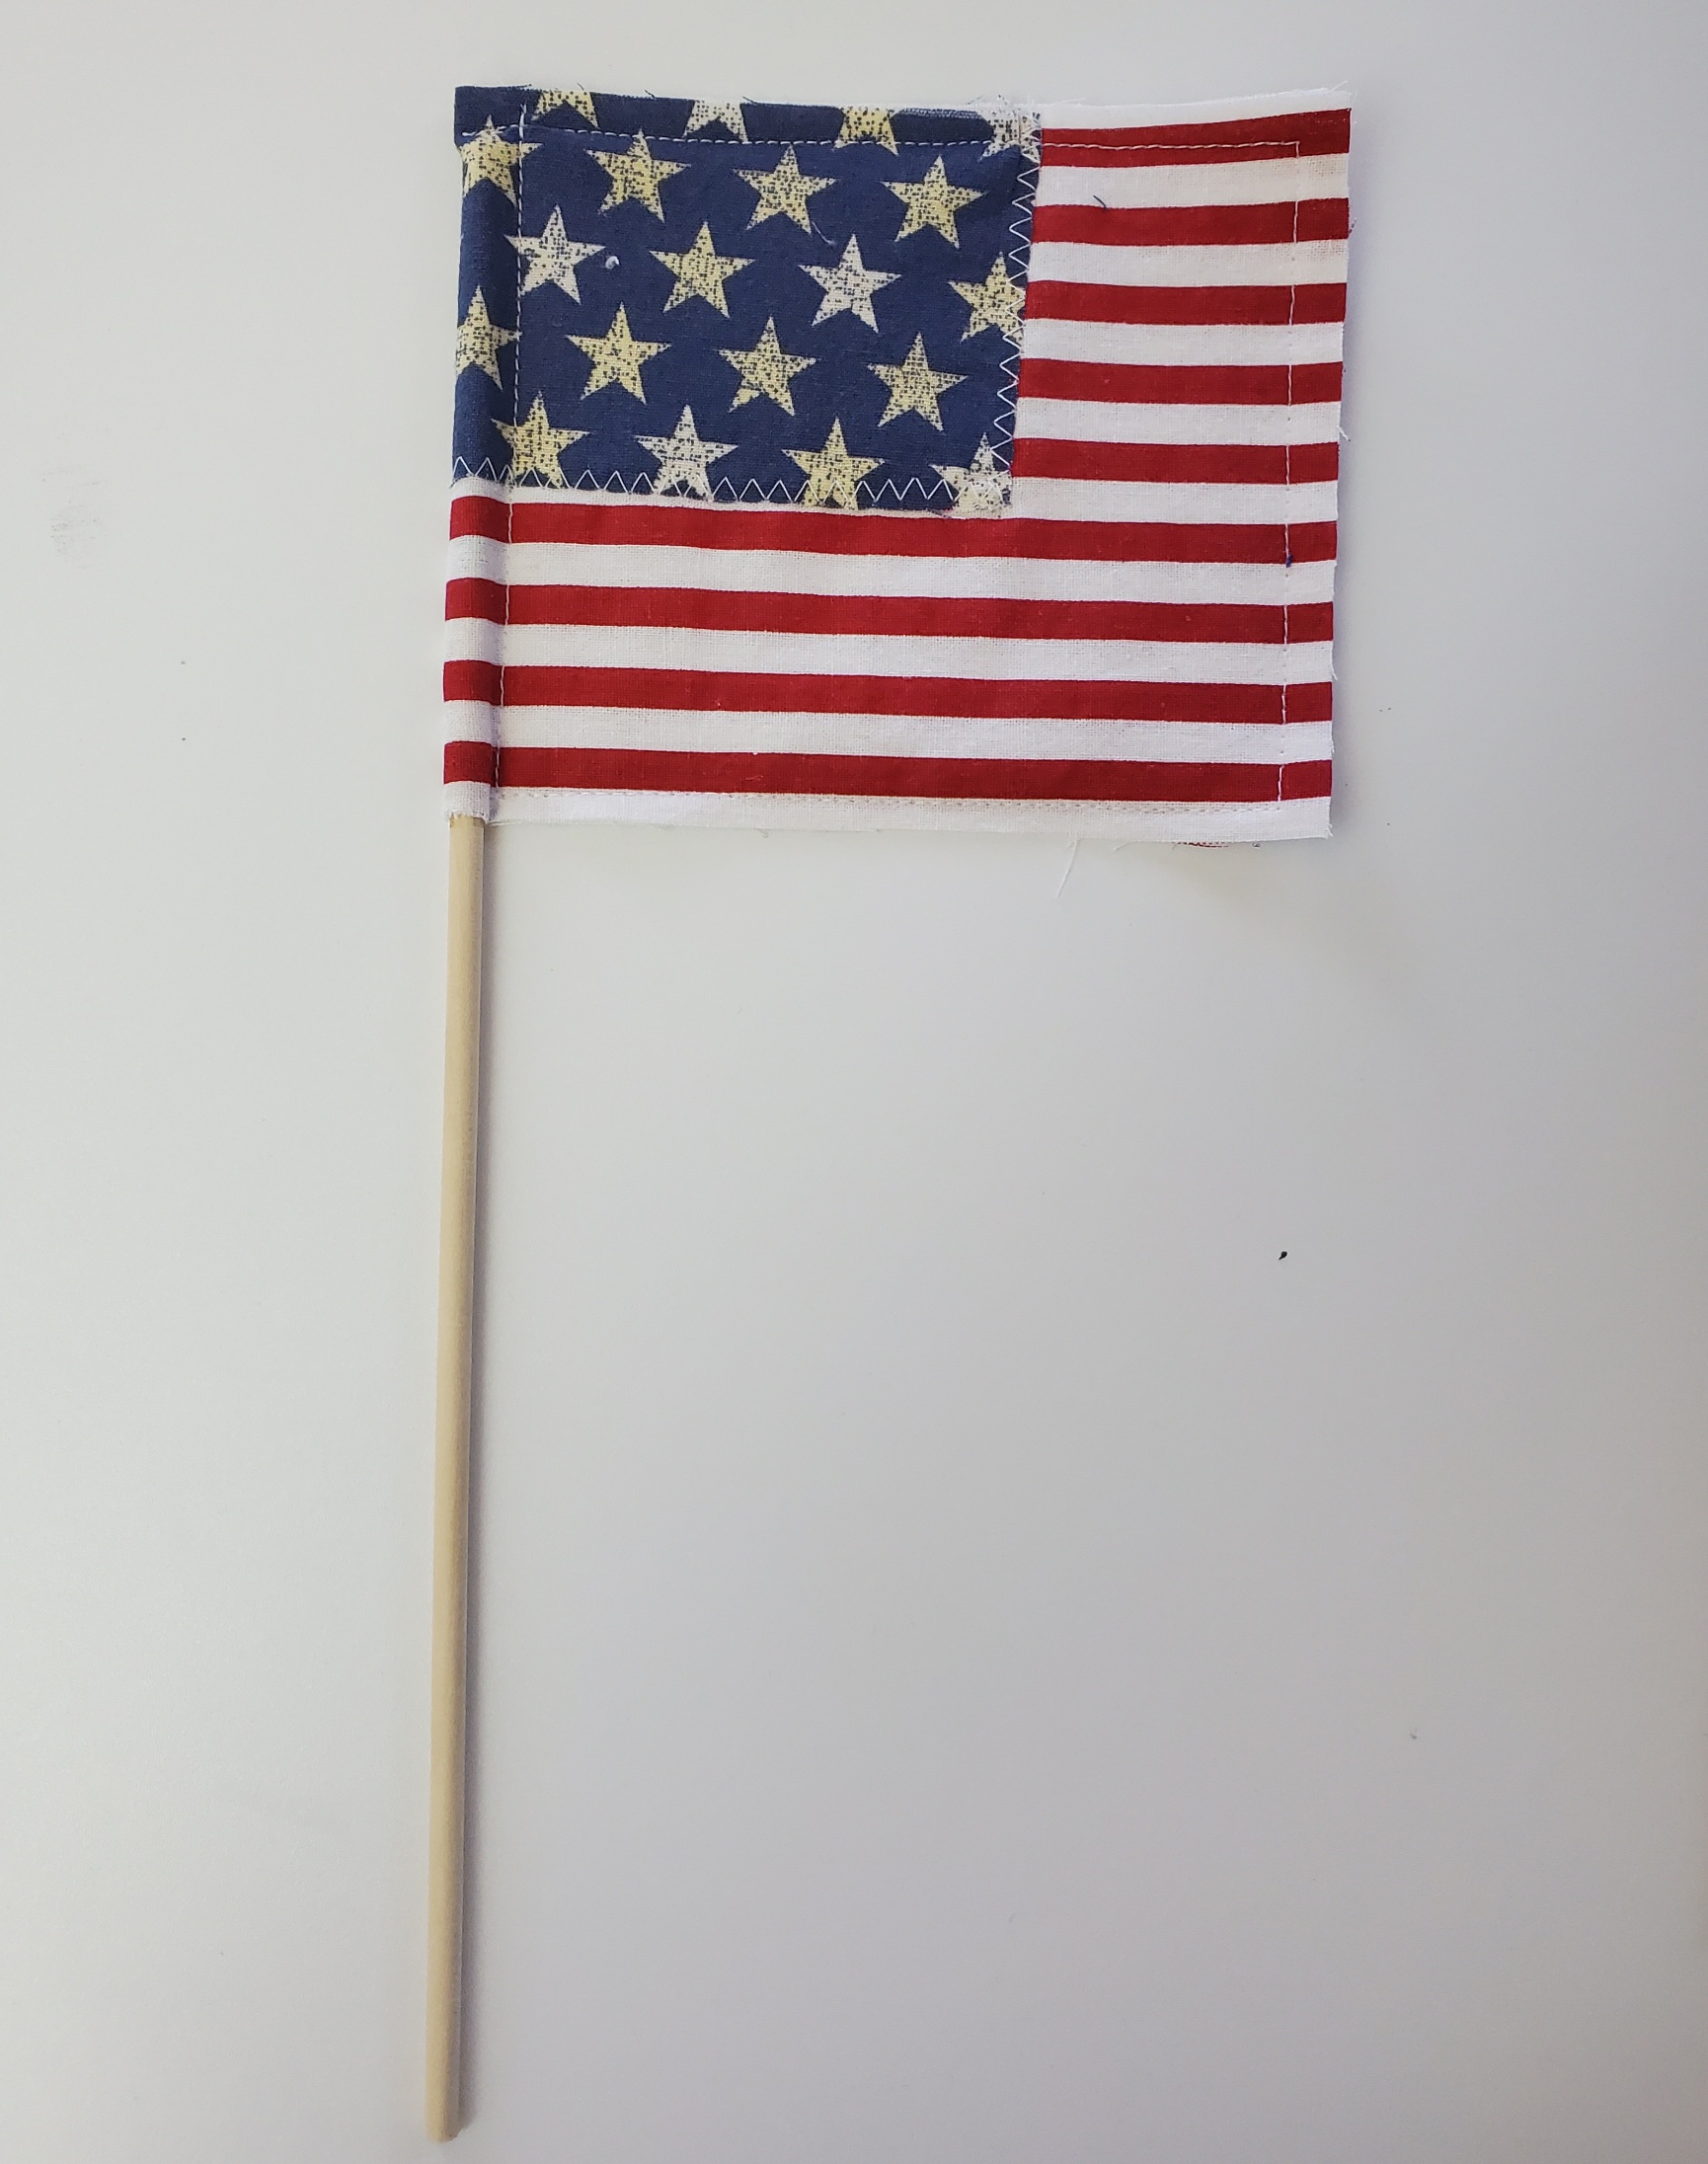
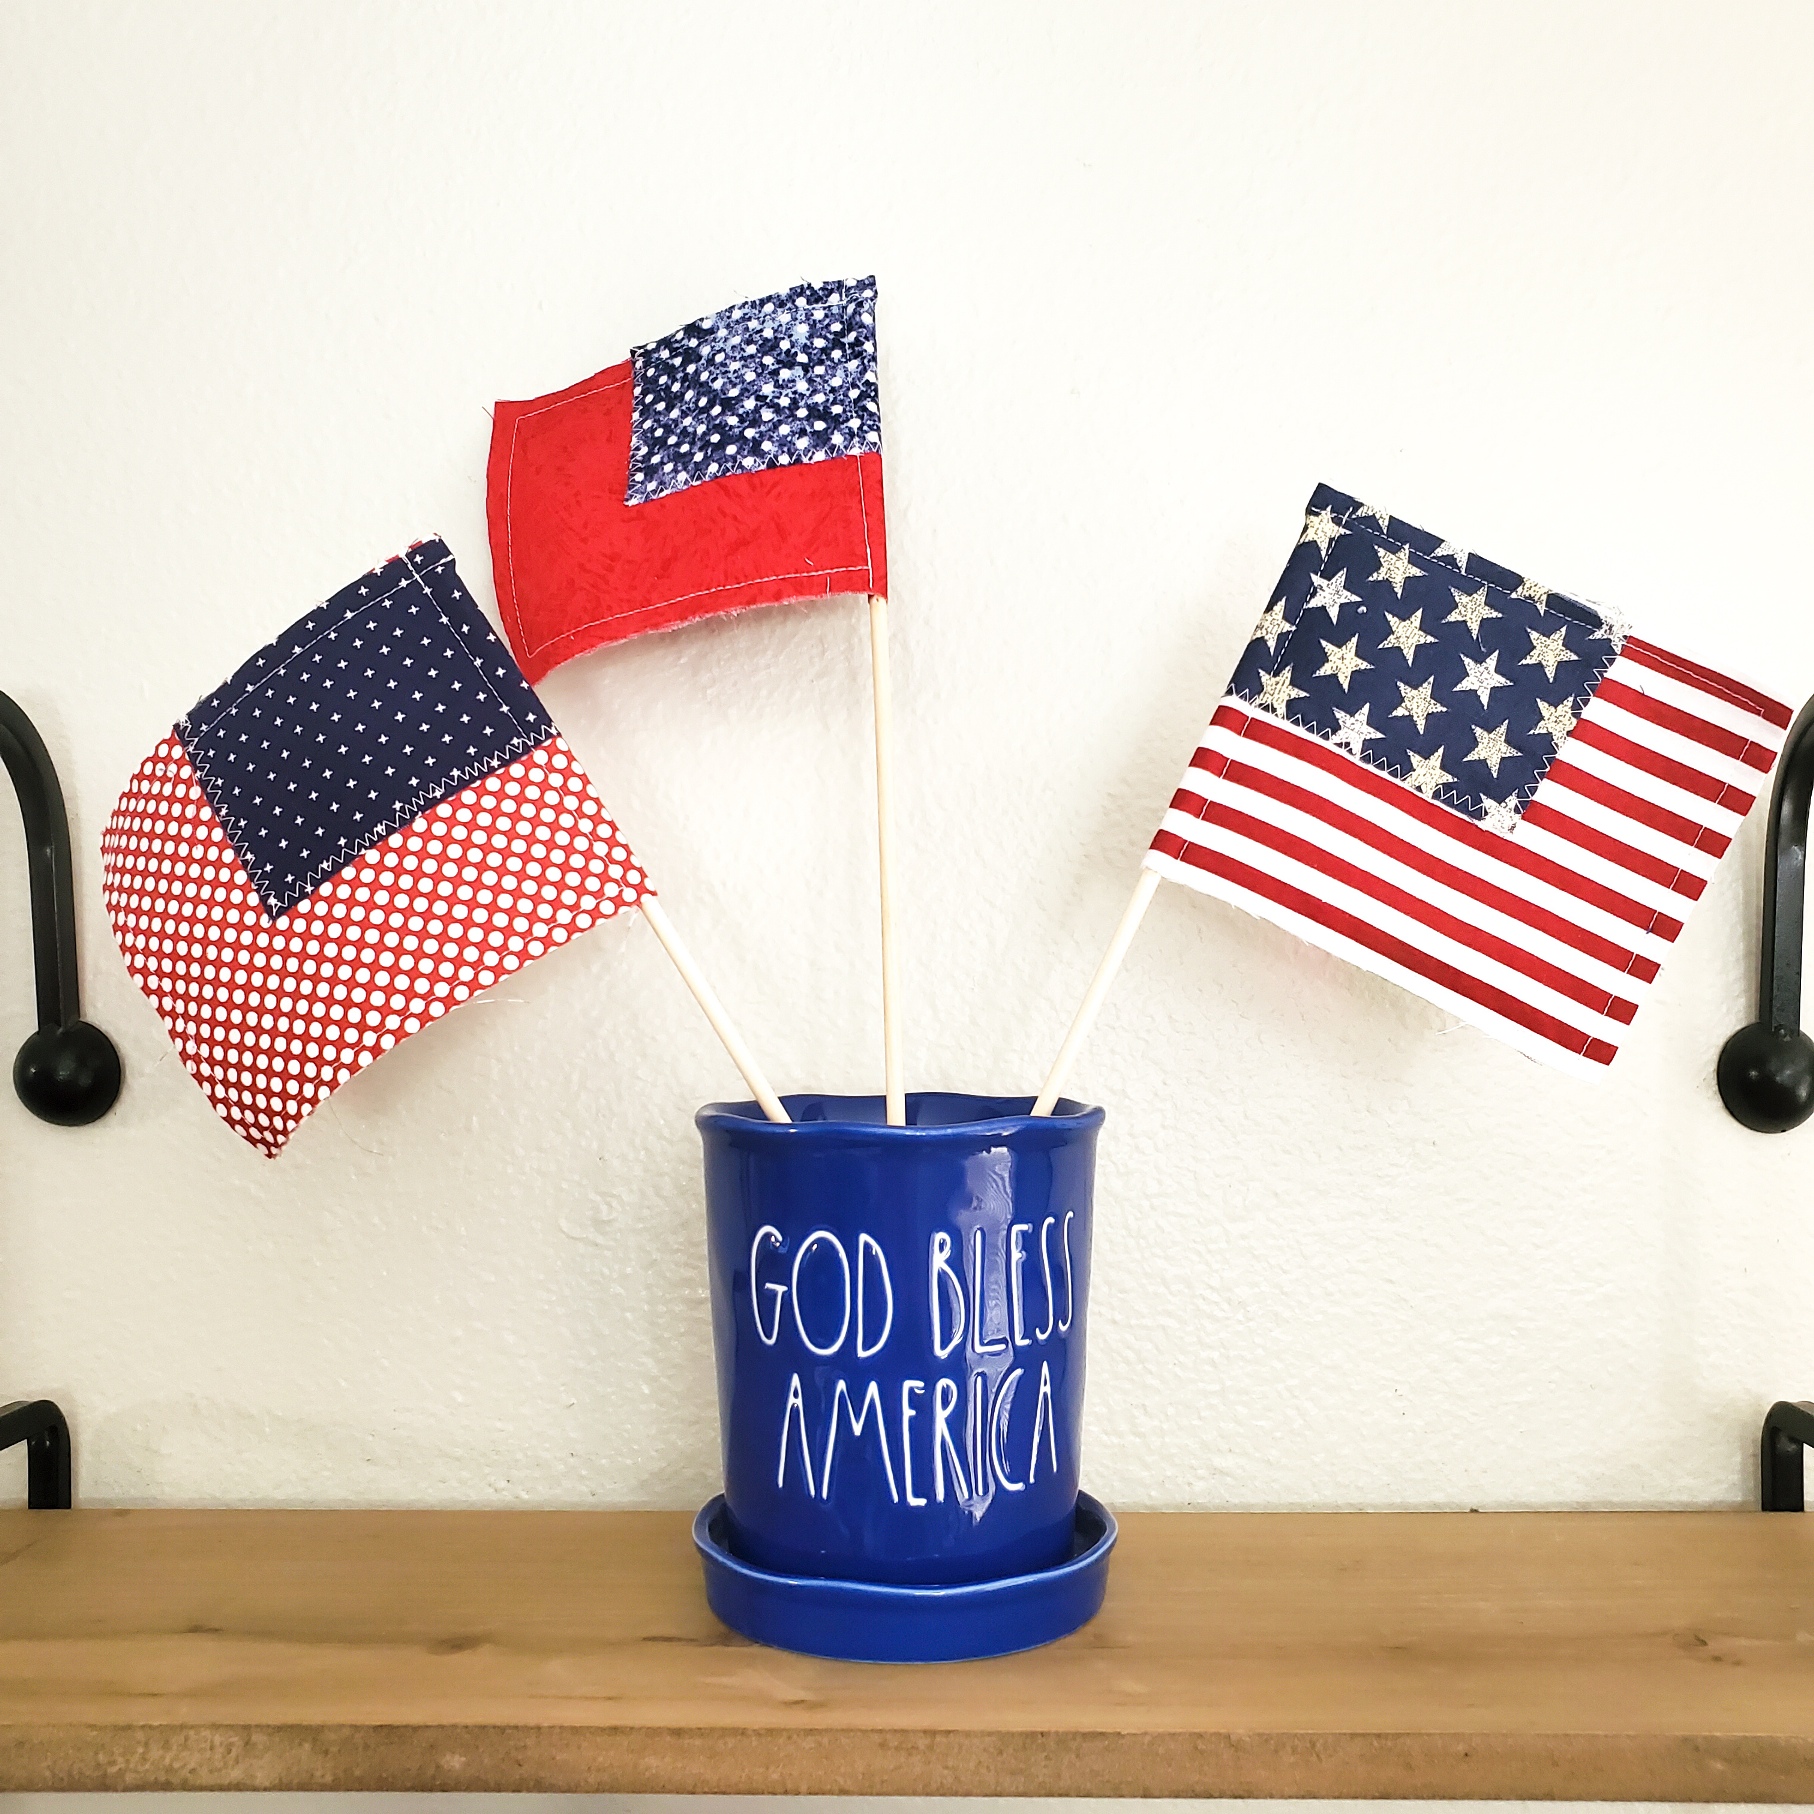
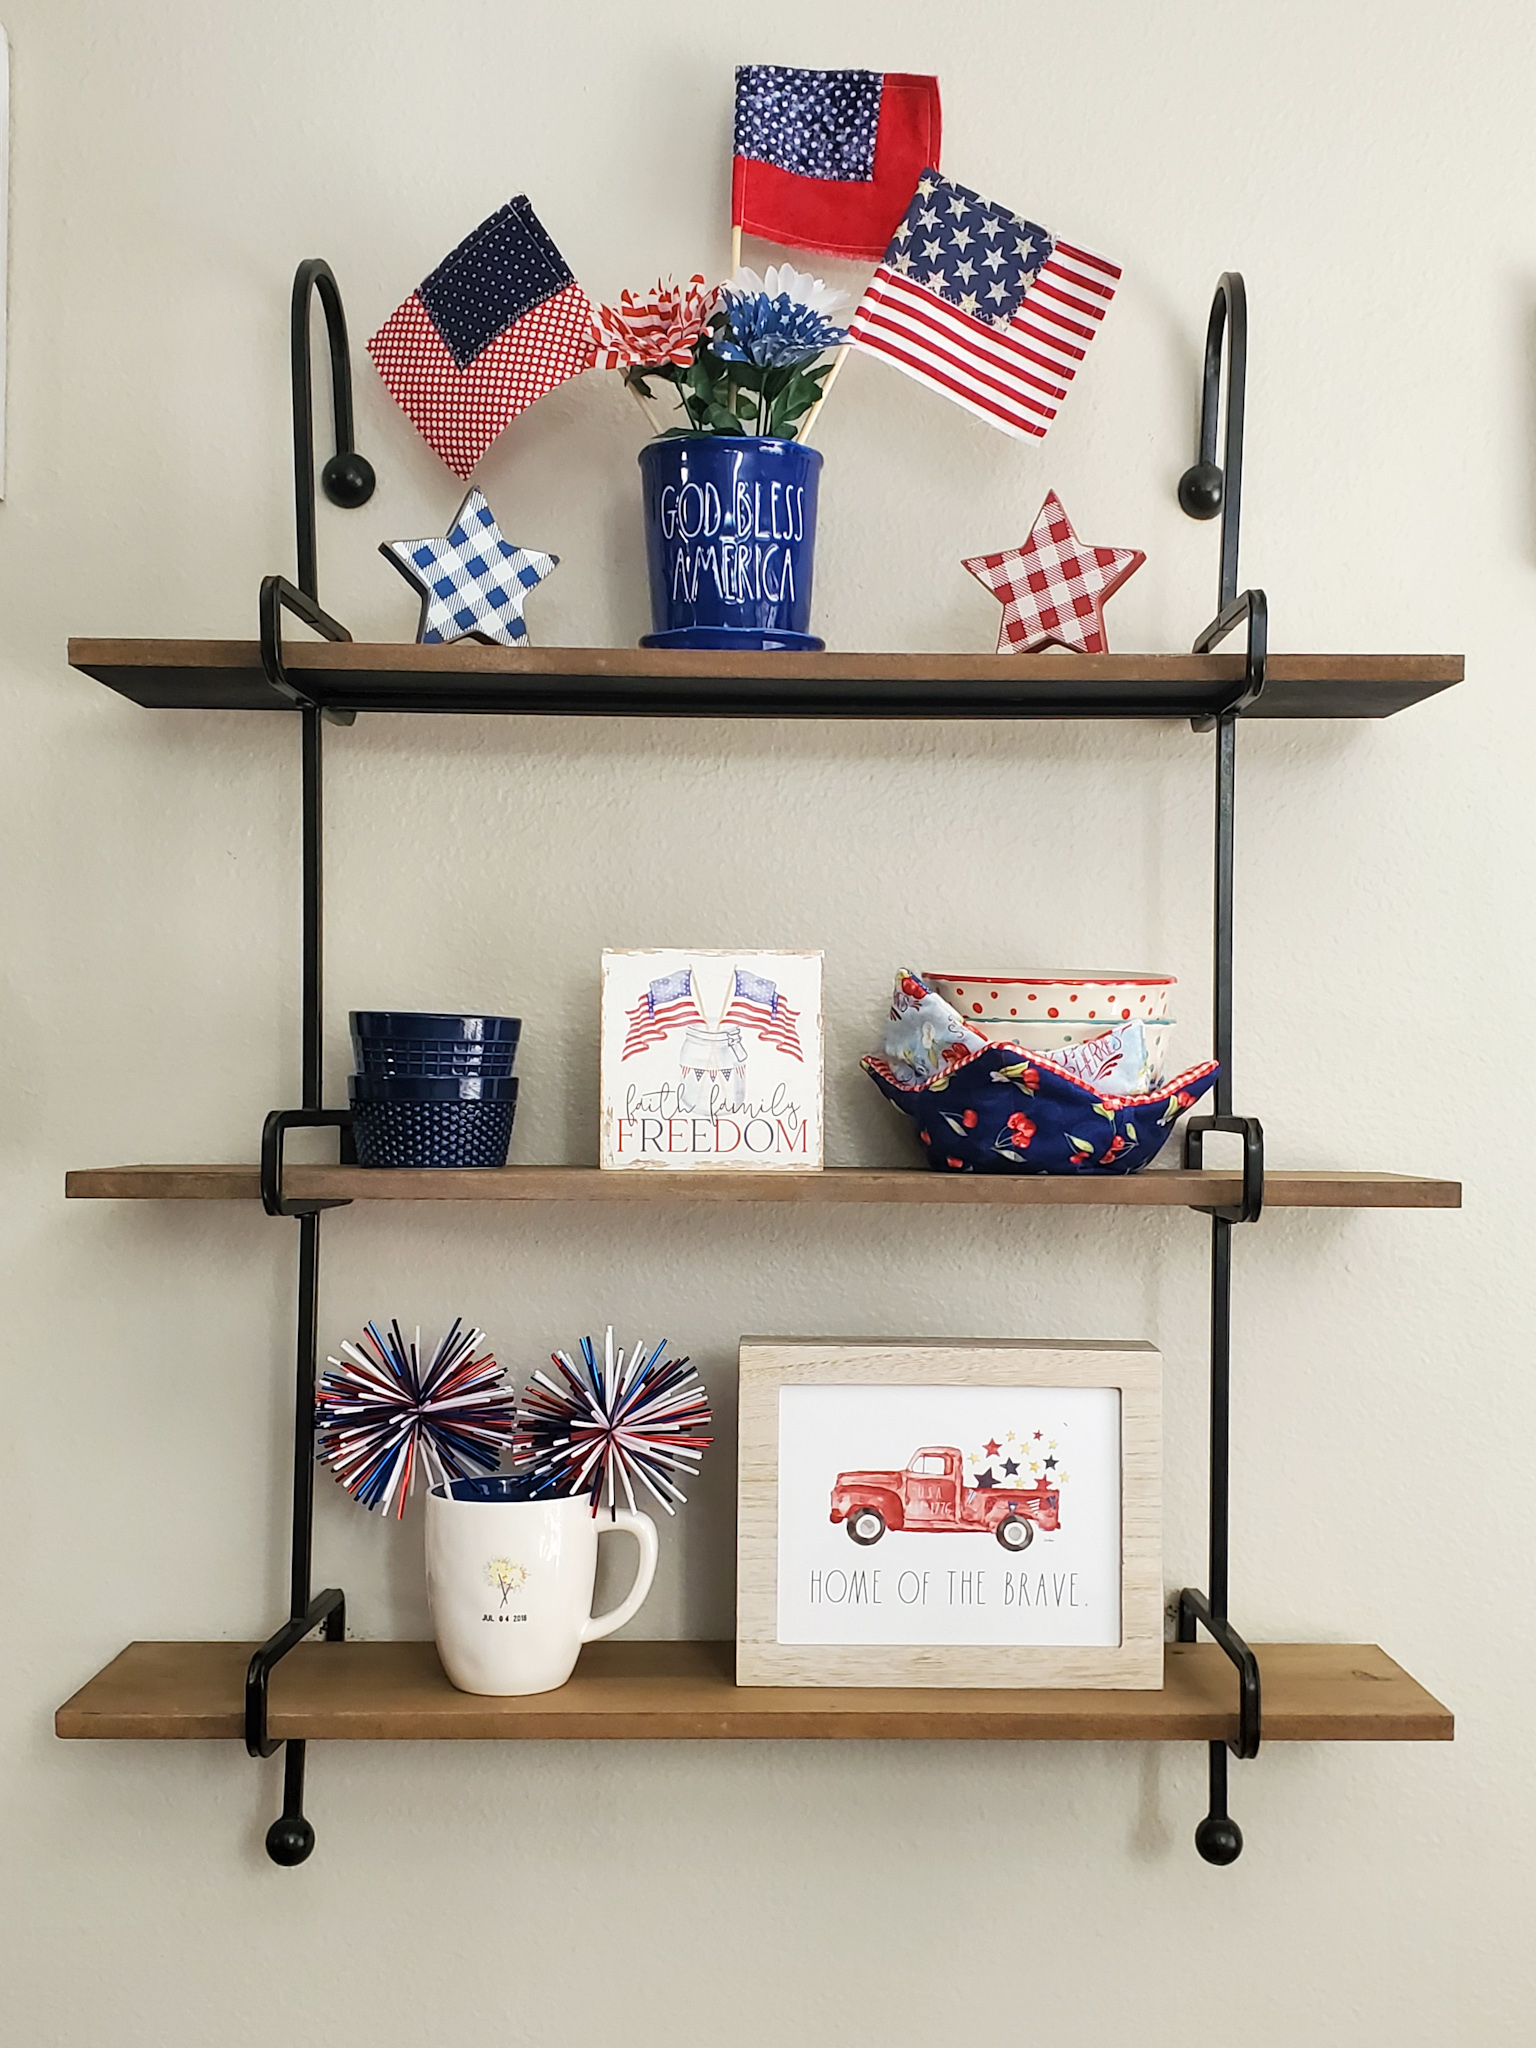
These flags are so fun and so easy to make! And they make an adorable decoration for all of those patriotic holidays! I decided to put mine in this cute Rae Dunn pot that I found at Marshalls. I put a piece of styrofoam at the bottom and it worked great to hold the dowels.
I felt like it needed a little somethin’ else though, so I added these cute patriotic flowers that I found at the Dollar Tree.
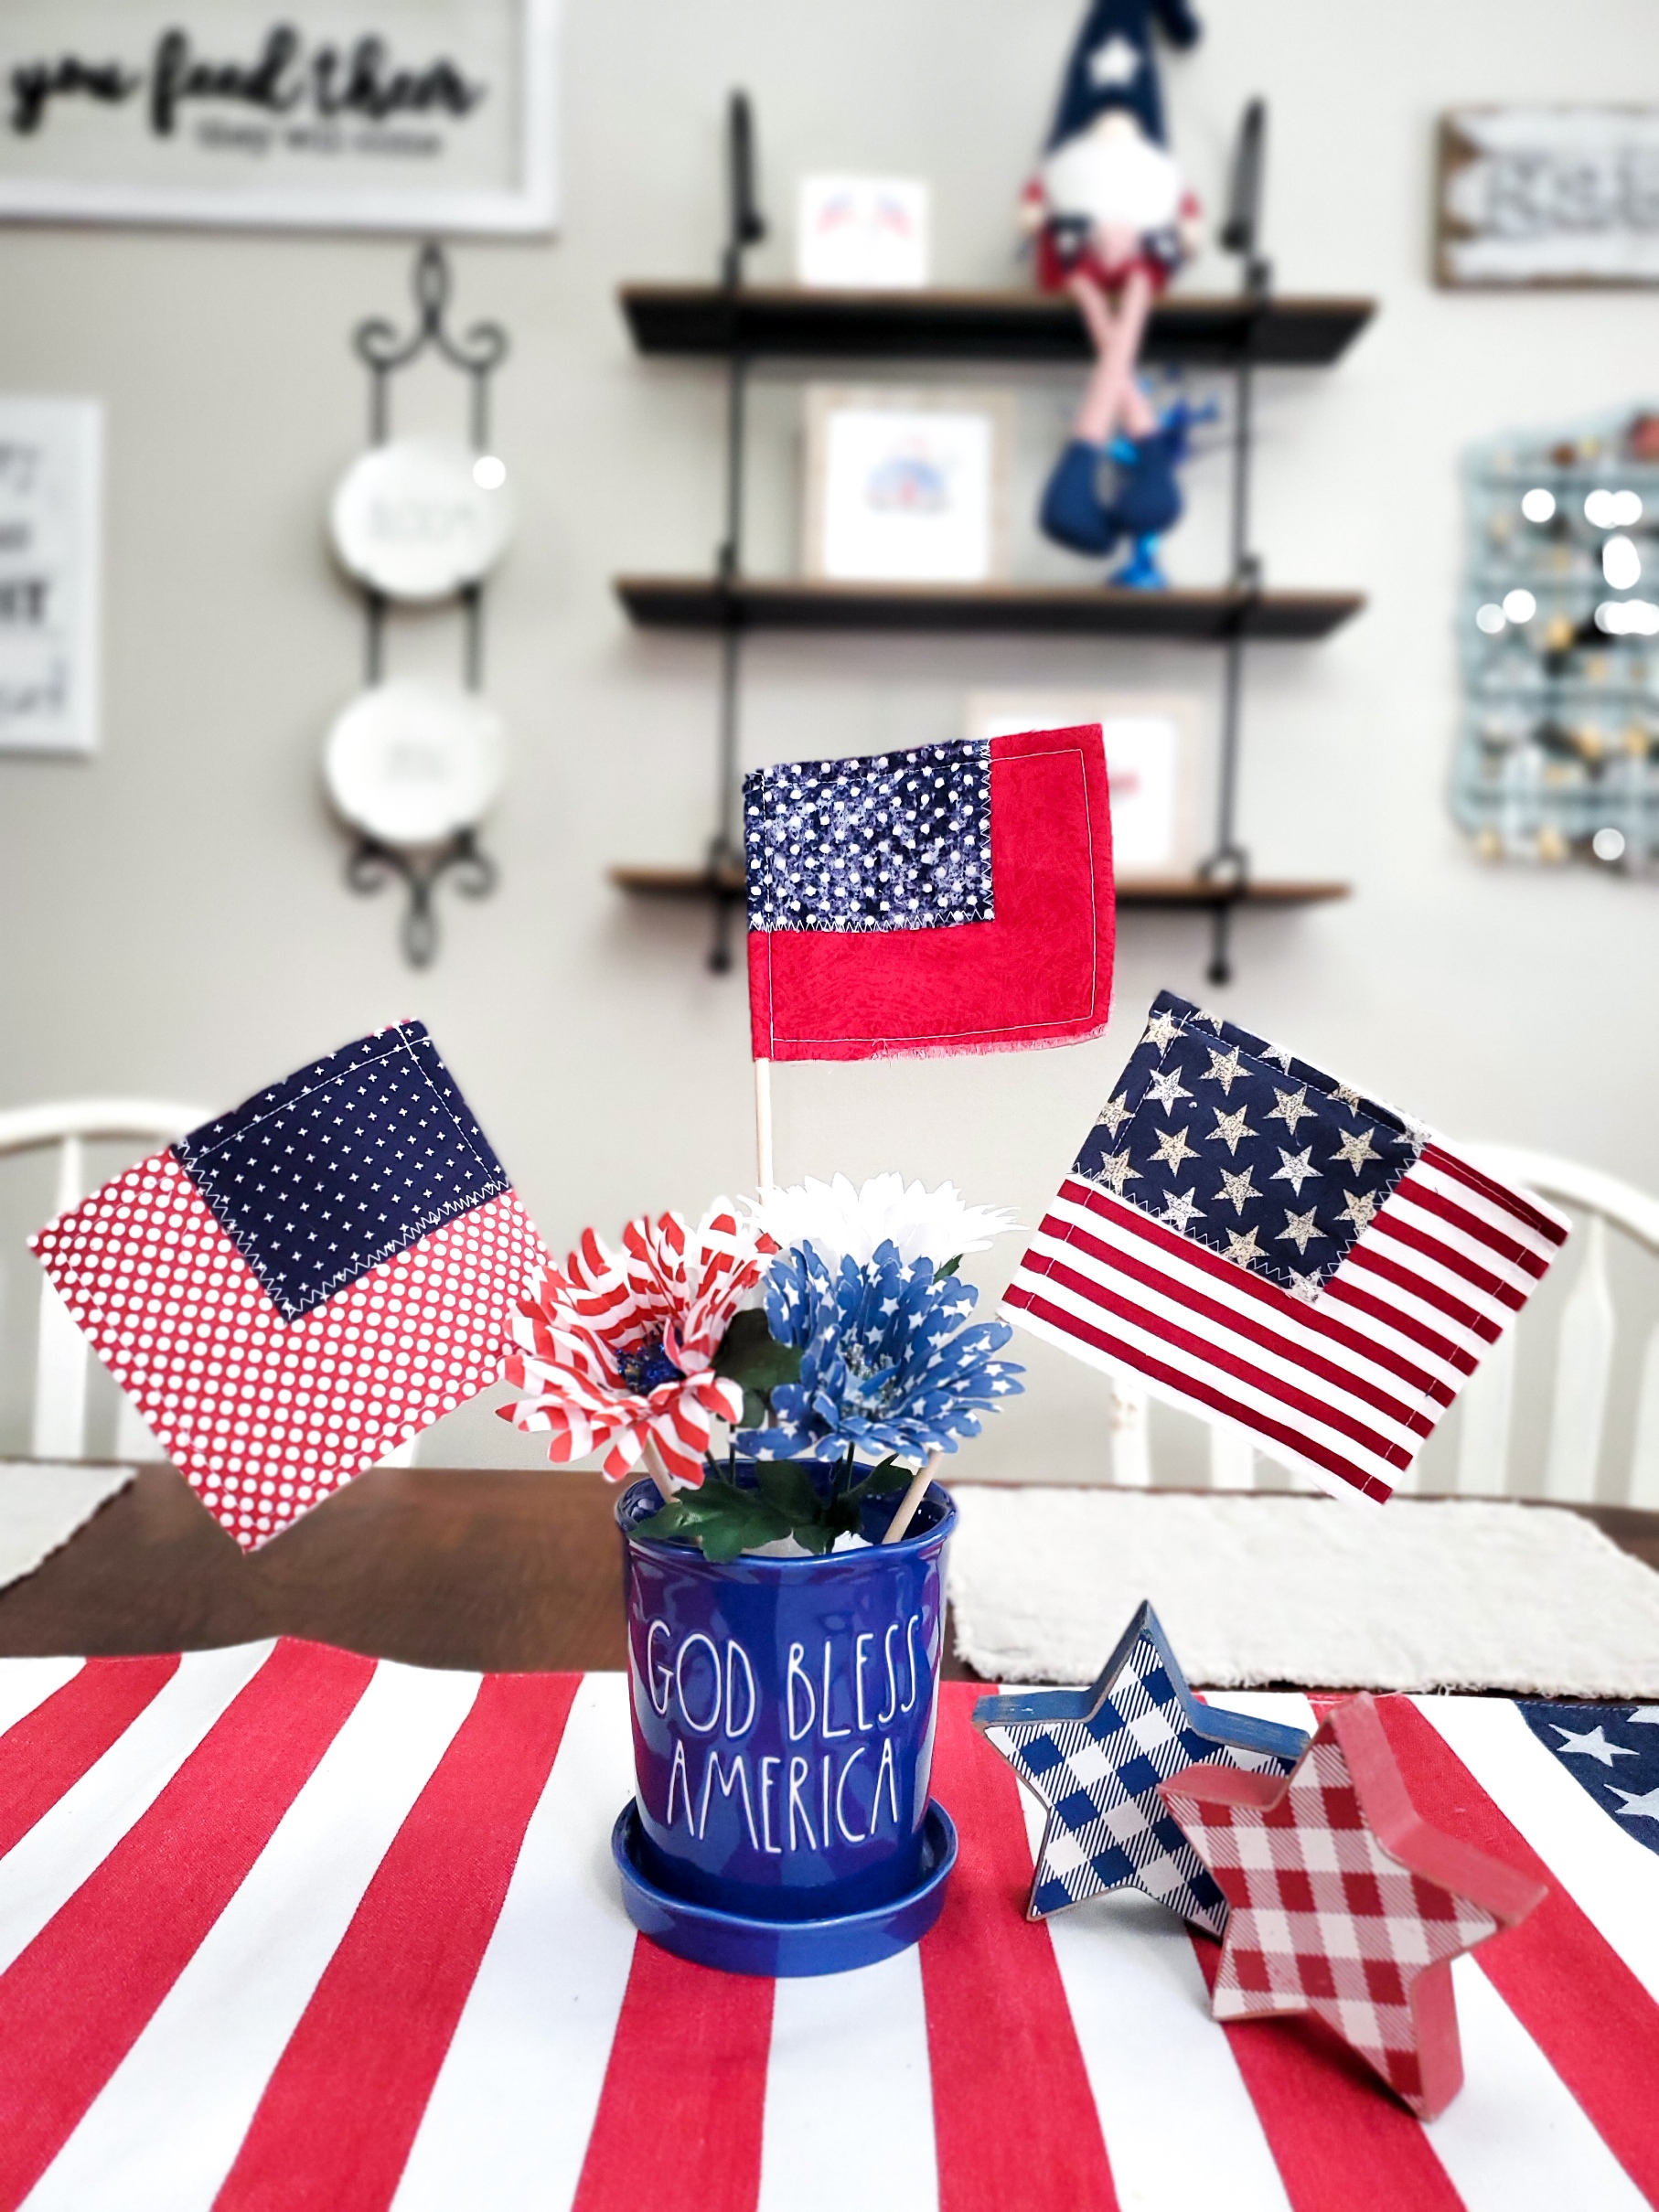
I love how it turned out!! I feel so happy looking at my patriotic decorations!!
Let me know how you do on this tutorial!!
Things that might be helpful in making your flags:


