

I’m always looking for fun, easy, beginning sewing projects for my students; things that they can make and take home in one class. As I was perusing pinterest for ideas on what to make with my sewing 2 class this semester, I came across a very simple pattern for sewing fleece beanies. What a perfect project to start the new semester with, in the middle of January! Granted, we live in Southern California where we don’t see much of a harsh winter. But we do have our cold days! The evenings are especially chilly. Don’t laugh. It’s true.
And it’s just an hour’s drive to the snowy mountains. You can’t go to the snow without a beanie. Especially if you are a Californian 😉
Sewing with fleece added a little bit of a challenge for the girls. I wouldn’t have done this project for first-time sewers, only because fleece has a bit of stretch to it (you need some stretch for a beanie) and that can be a little tricky for someone straight out of a sewing basics class, where they’ve just begun learning how to sew straight lines. I think it’s good to practice on a few projects that use a non-woven (non-stretch) fabric first before tackling fabrics with any kind of stretch.
With that said, I would still categorize this project on a beginning sewing level. Beanies are pretty simple and it’s a good introduction on reading patterns as well!
How To Sew A Fleece Beanie
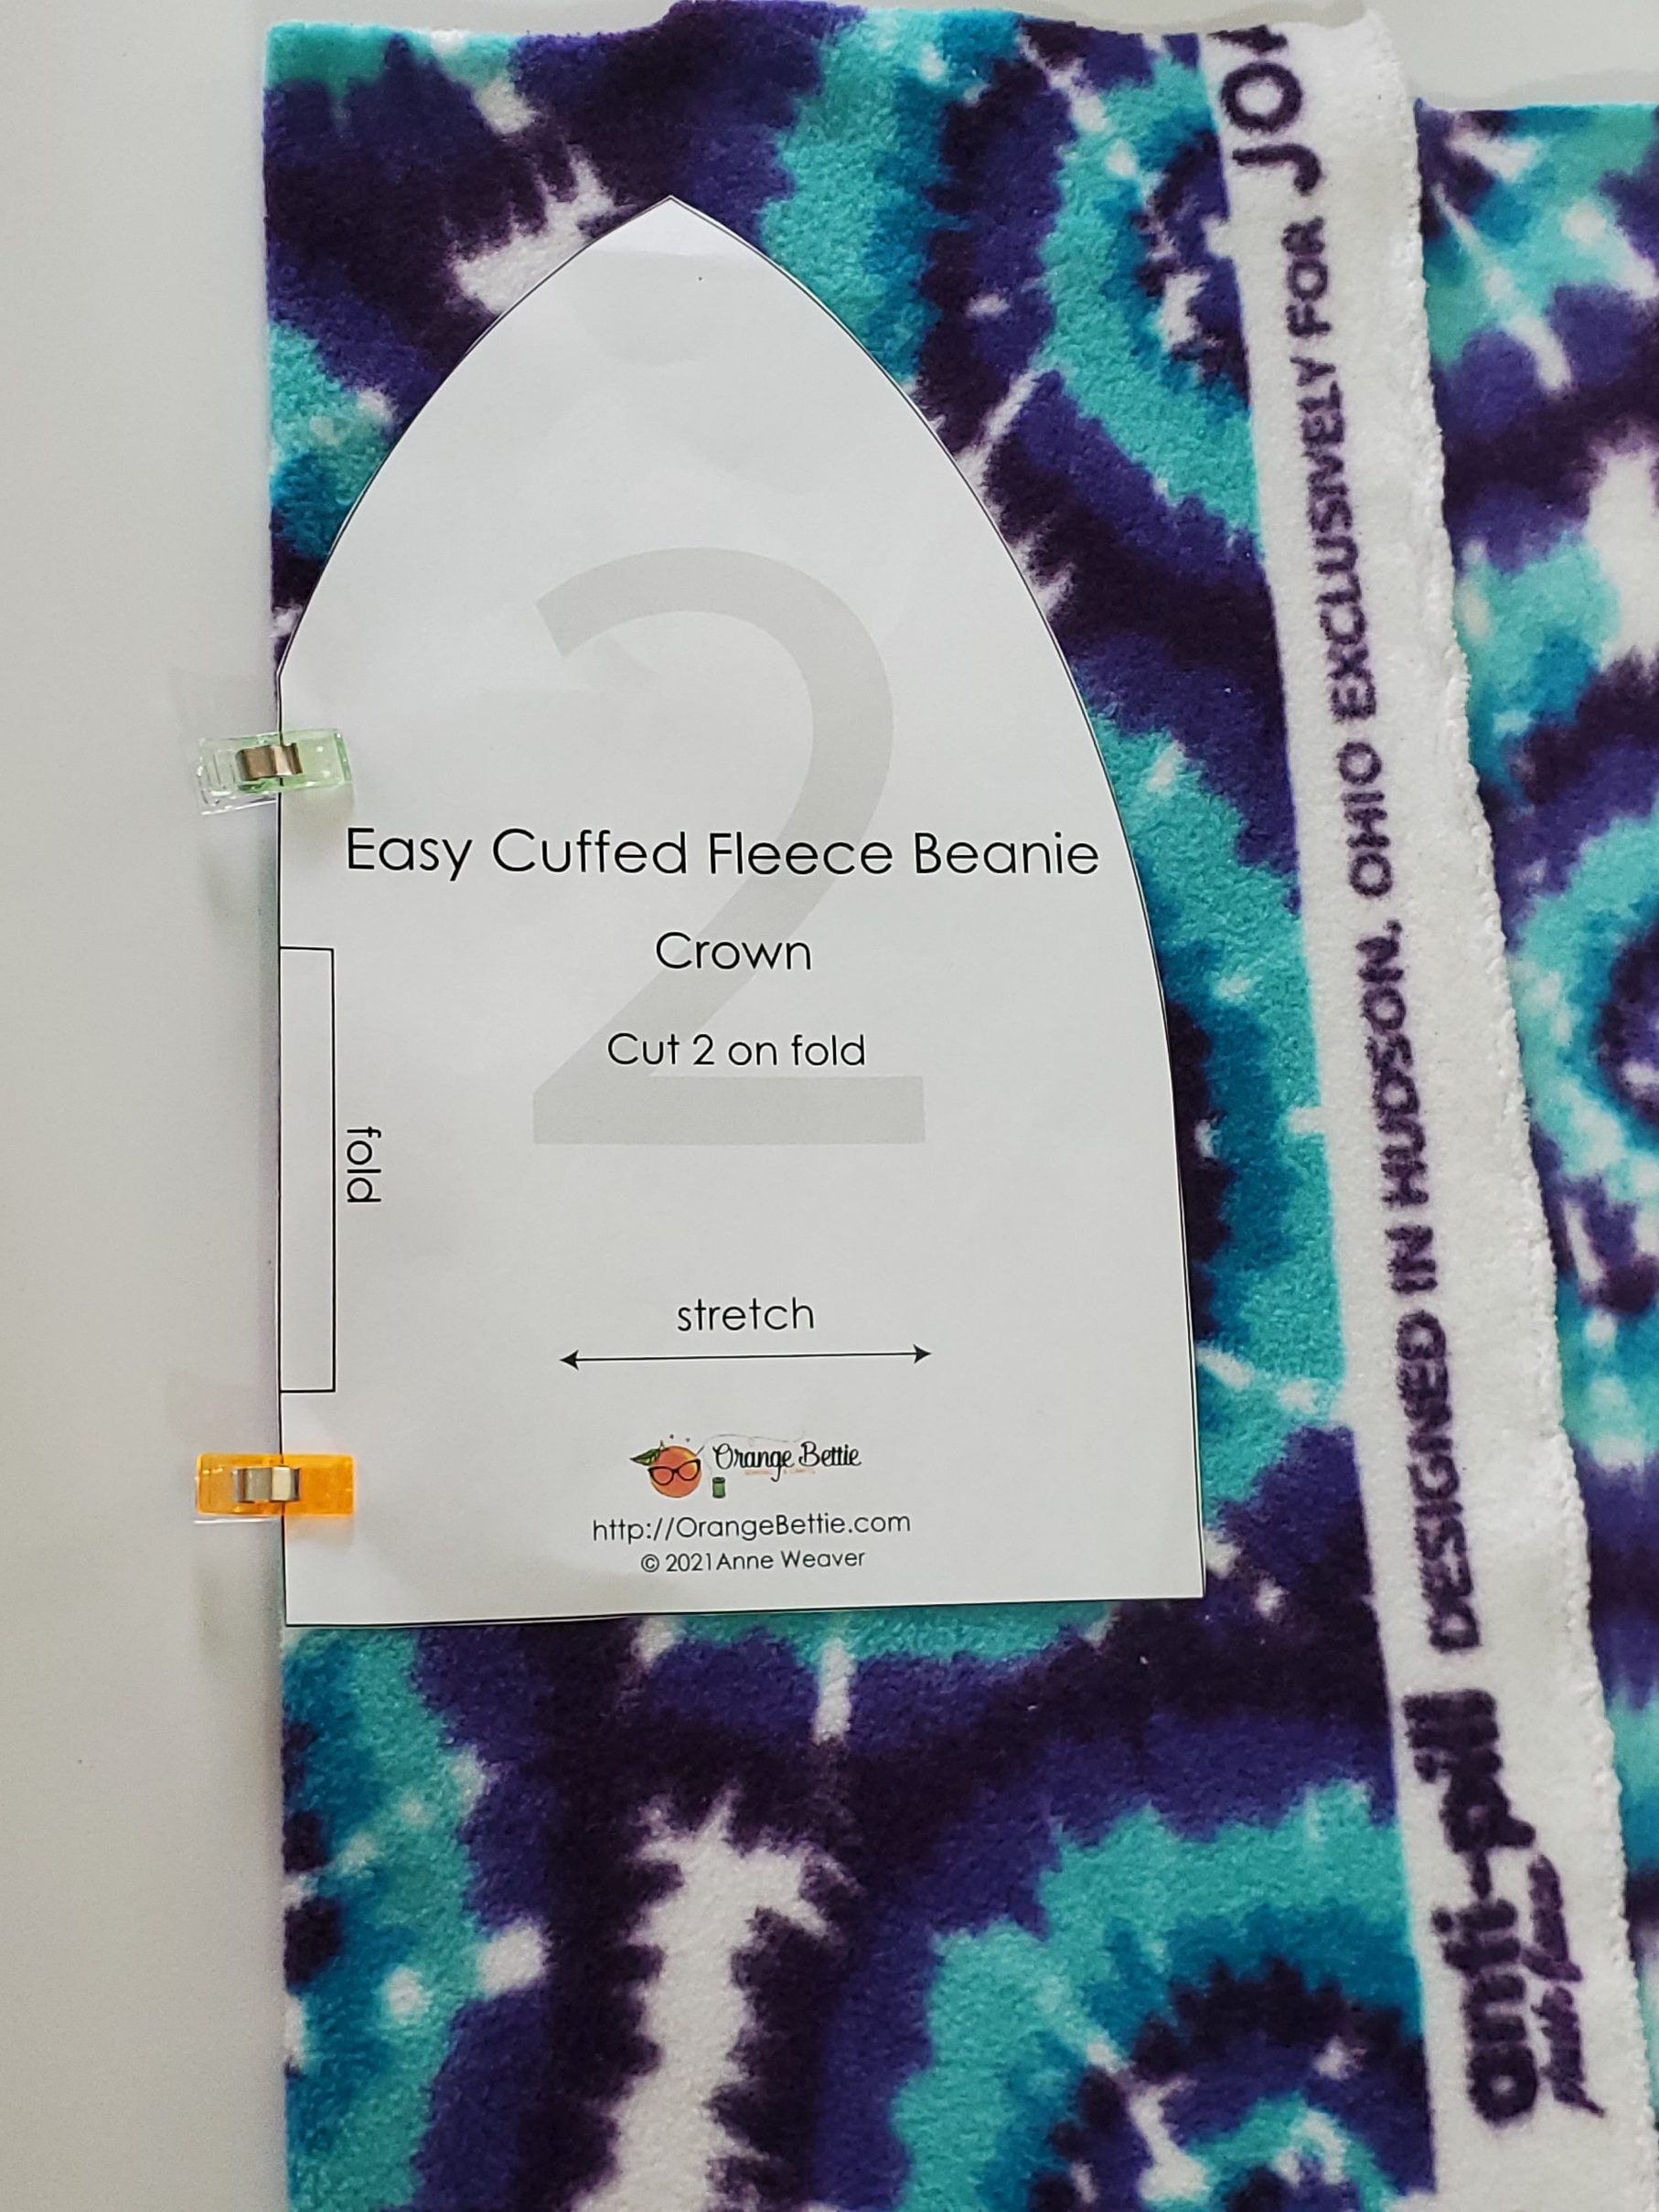
First, you will want to print out your pattern, which you can find here.
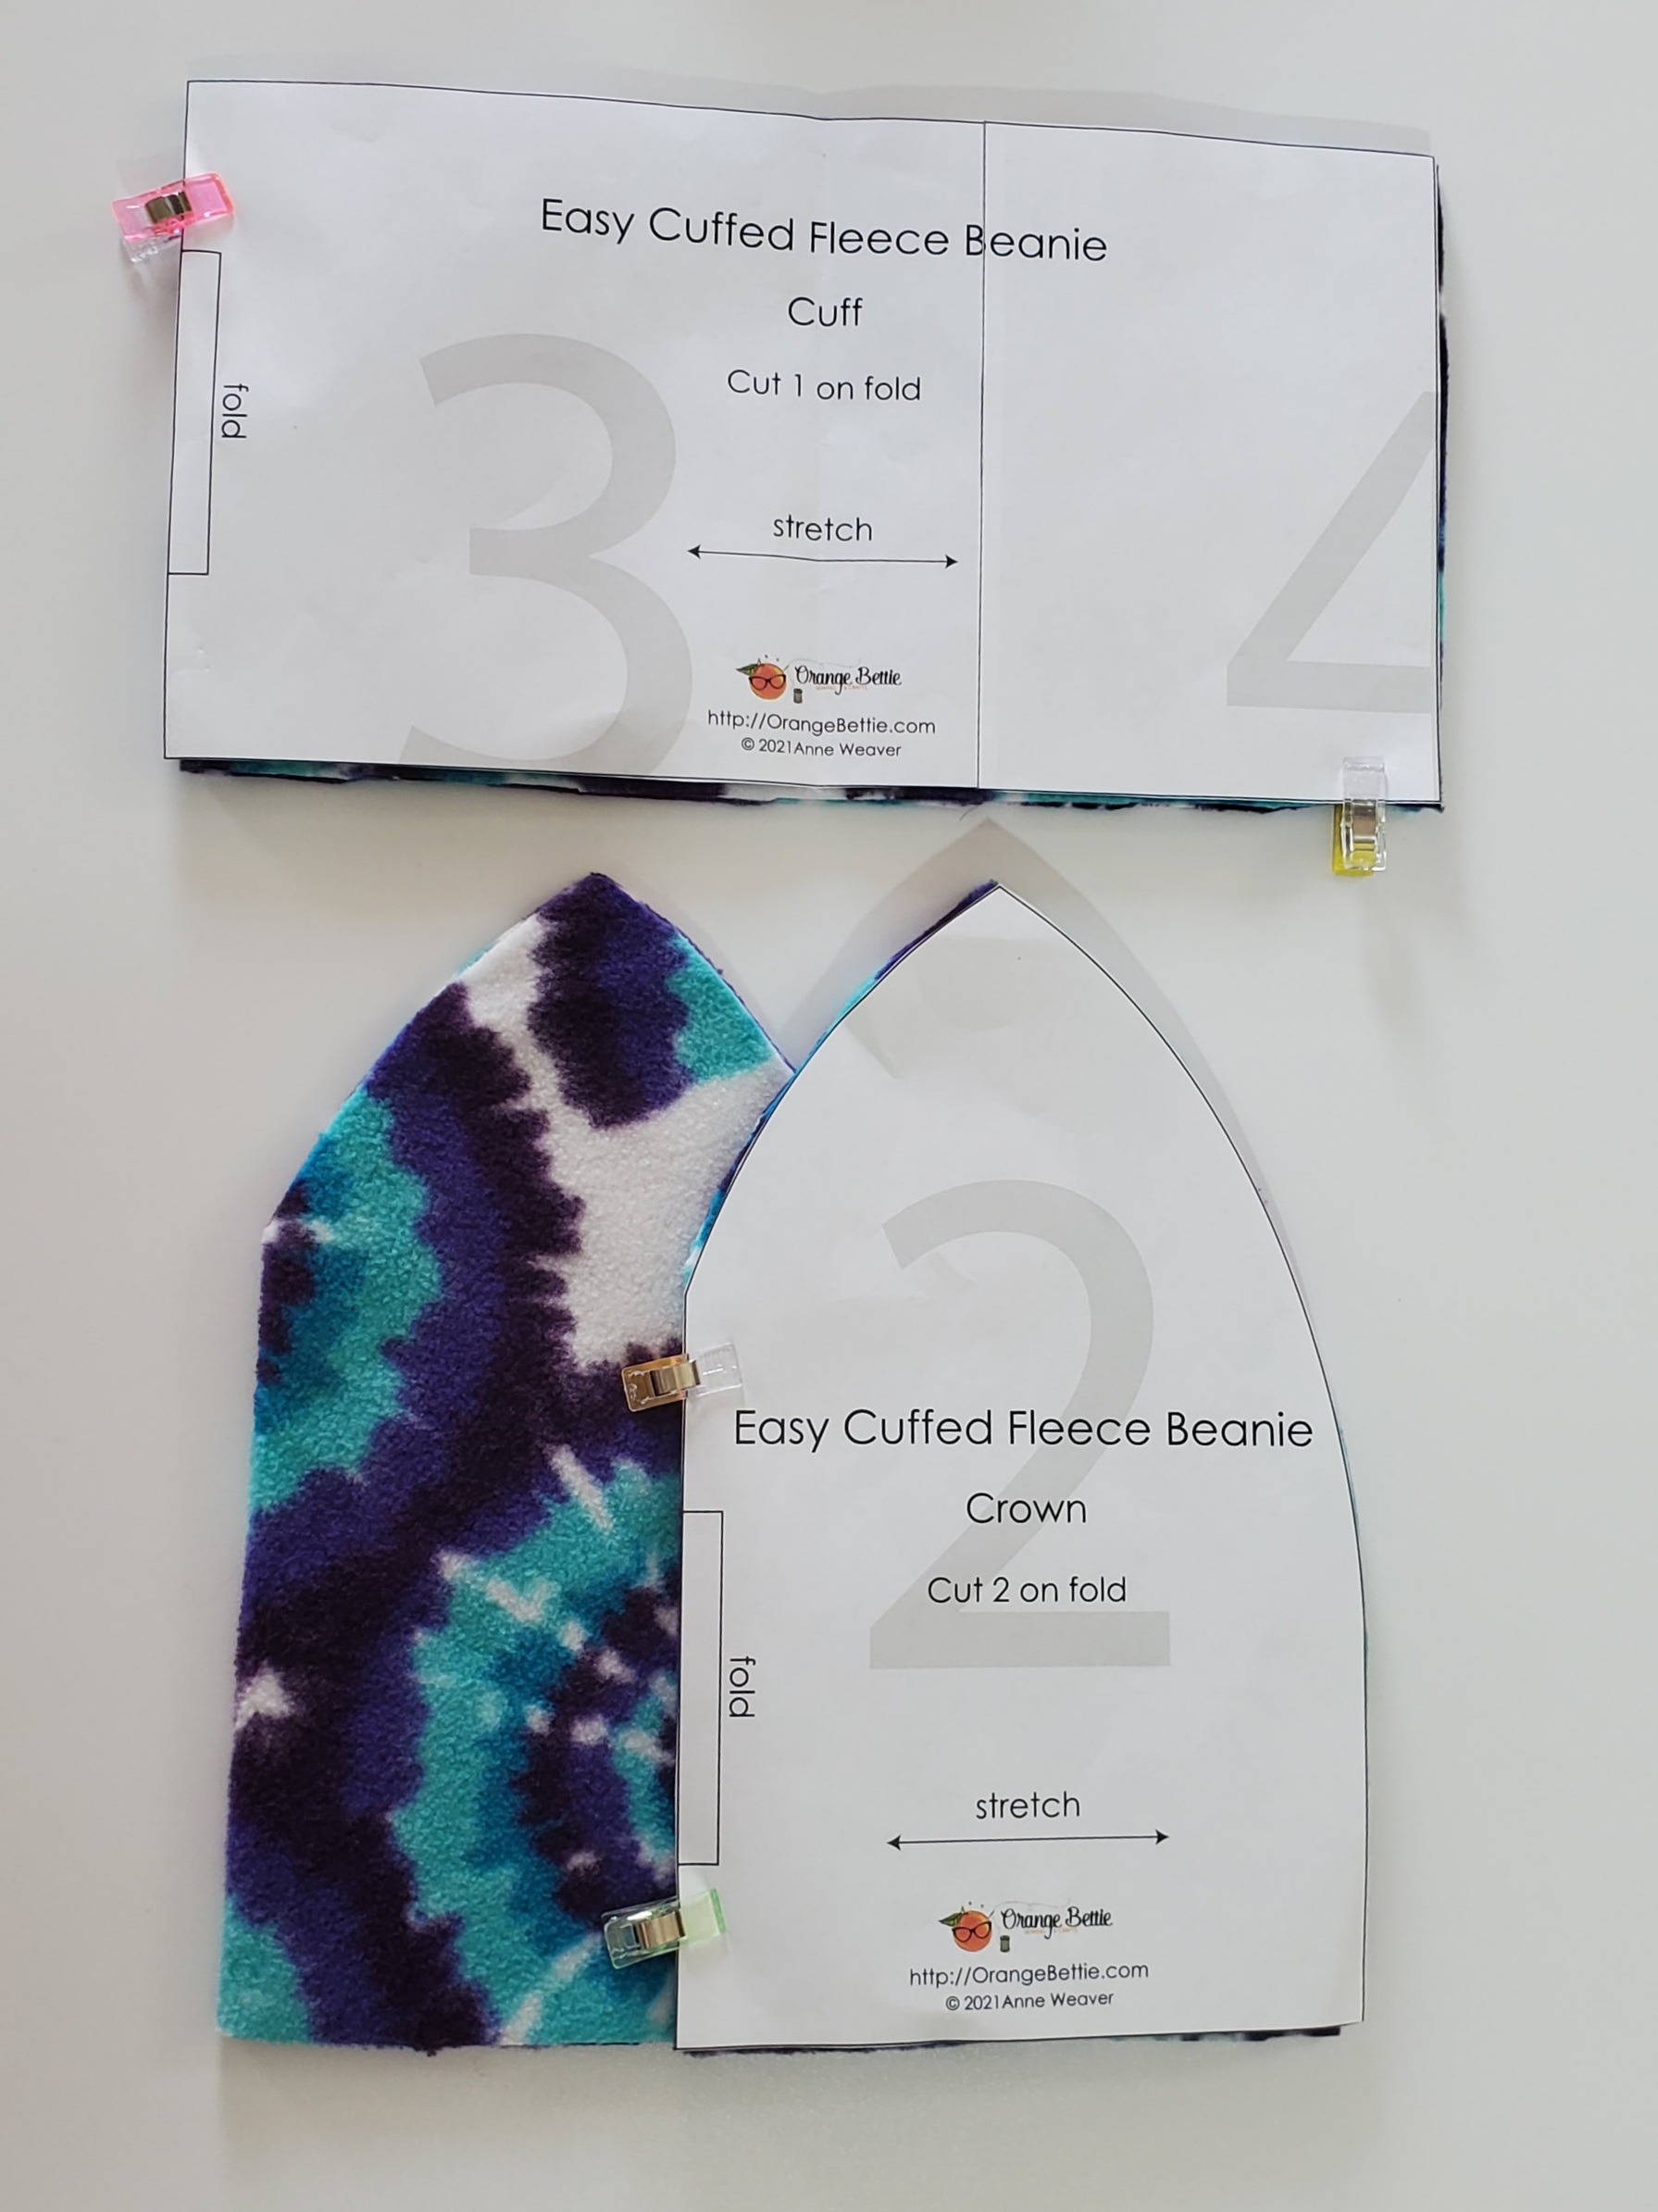
Print it out, tape your pages together where needed, and cut it out.
Next, you will want to cut out your fleece pieces. As you can see on the pattern, you will need 2 pieces of the main beanie (cut on the fold) and one of the cuff pieces.
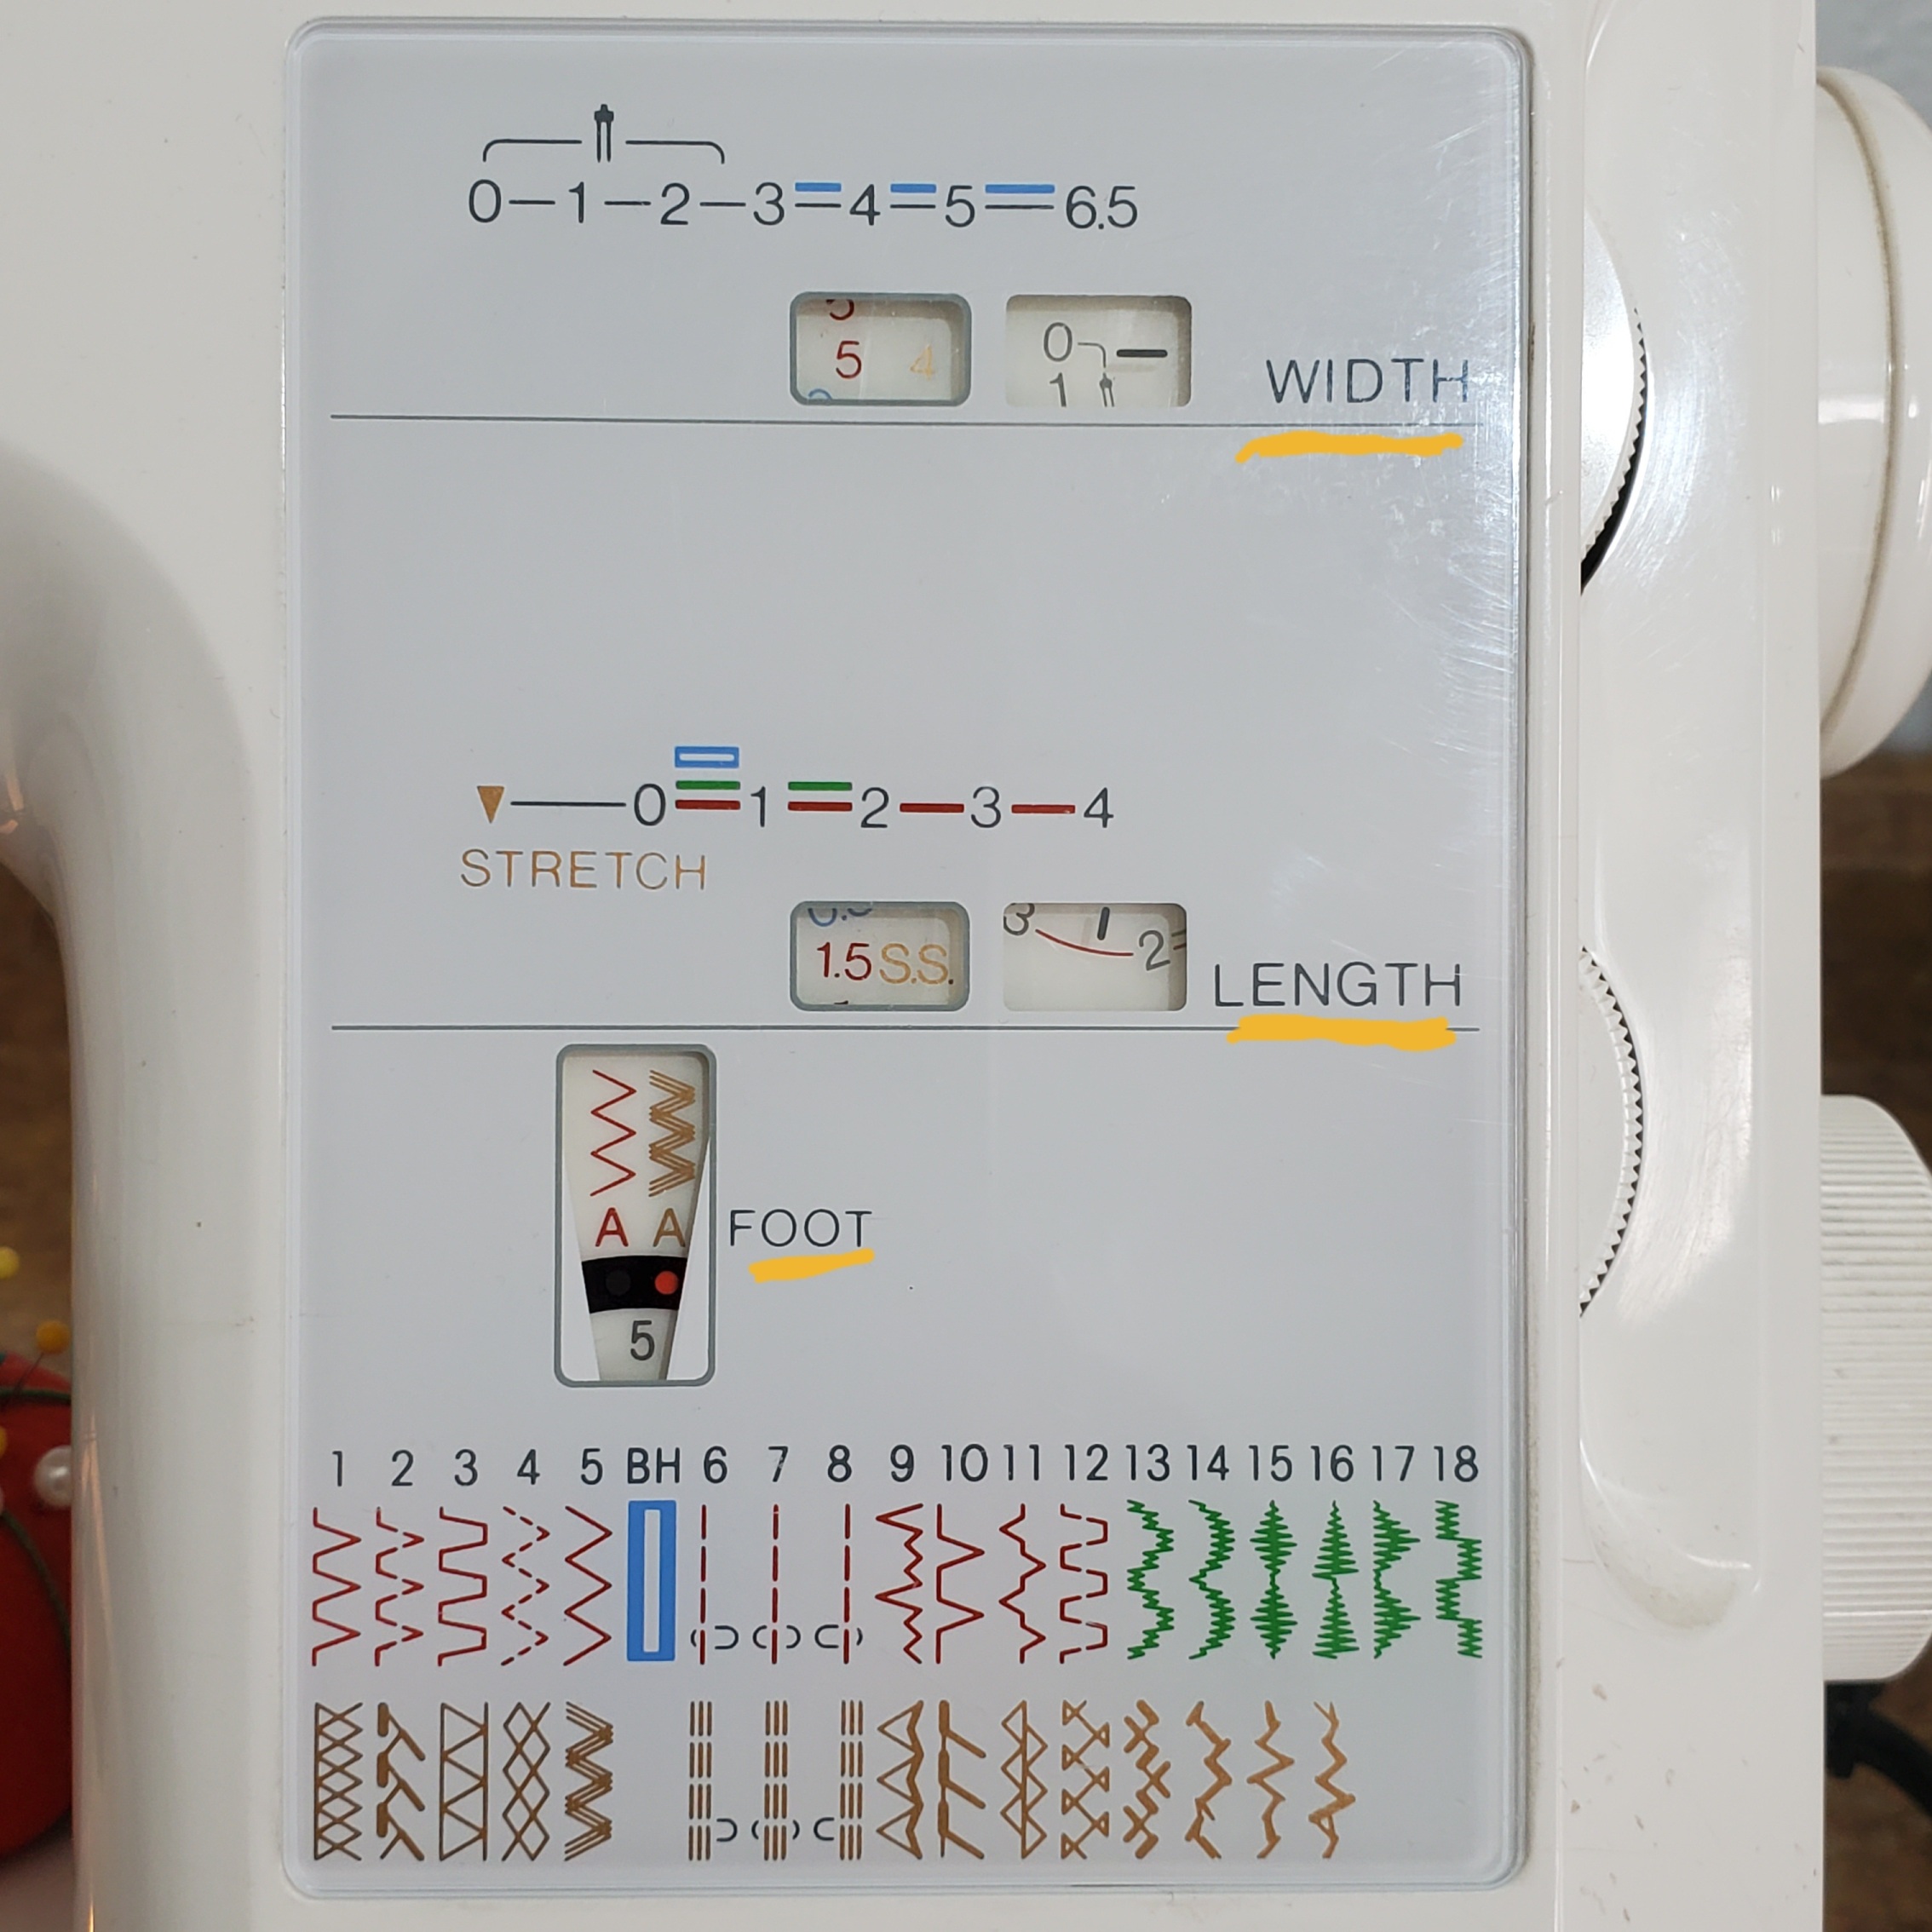
Before you get started, change your machine setting to a stretch stitch. You can either use an actual stretch stitch that is built into your machine, or you can simply put your stitch on a zig-zag stitch. Turn the width dial to between 0.5-1. Keep your length between 2-2.5.
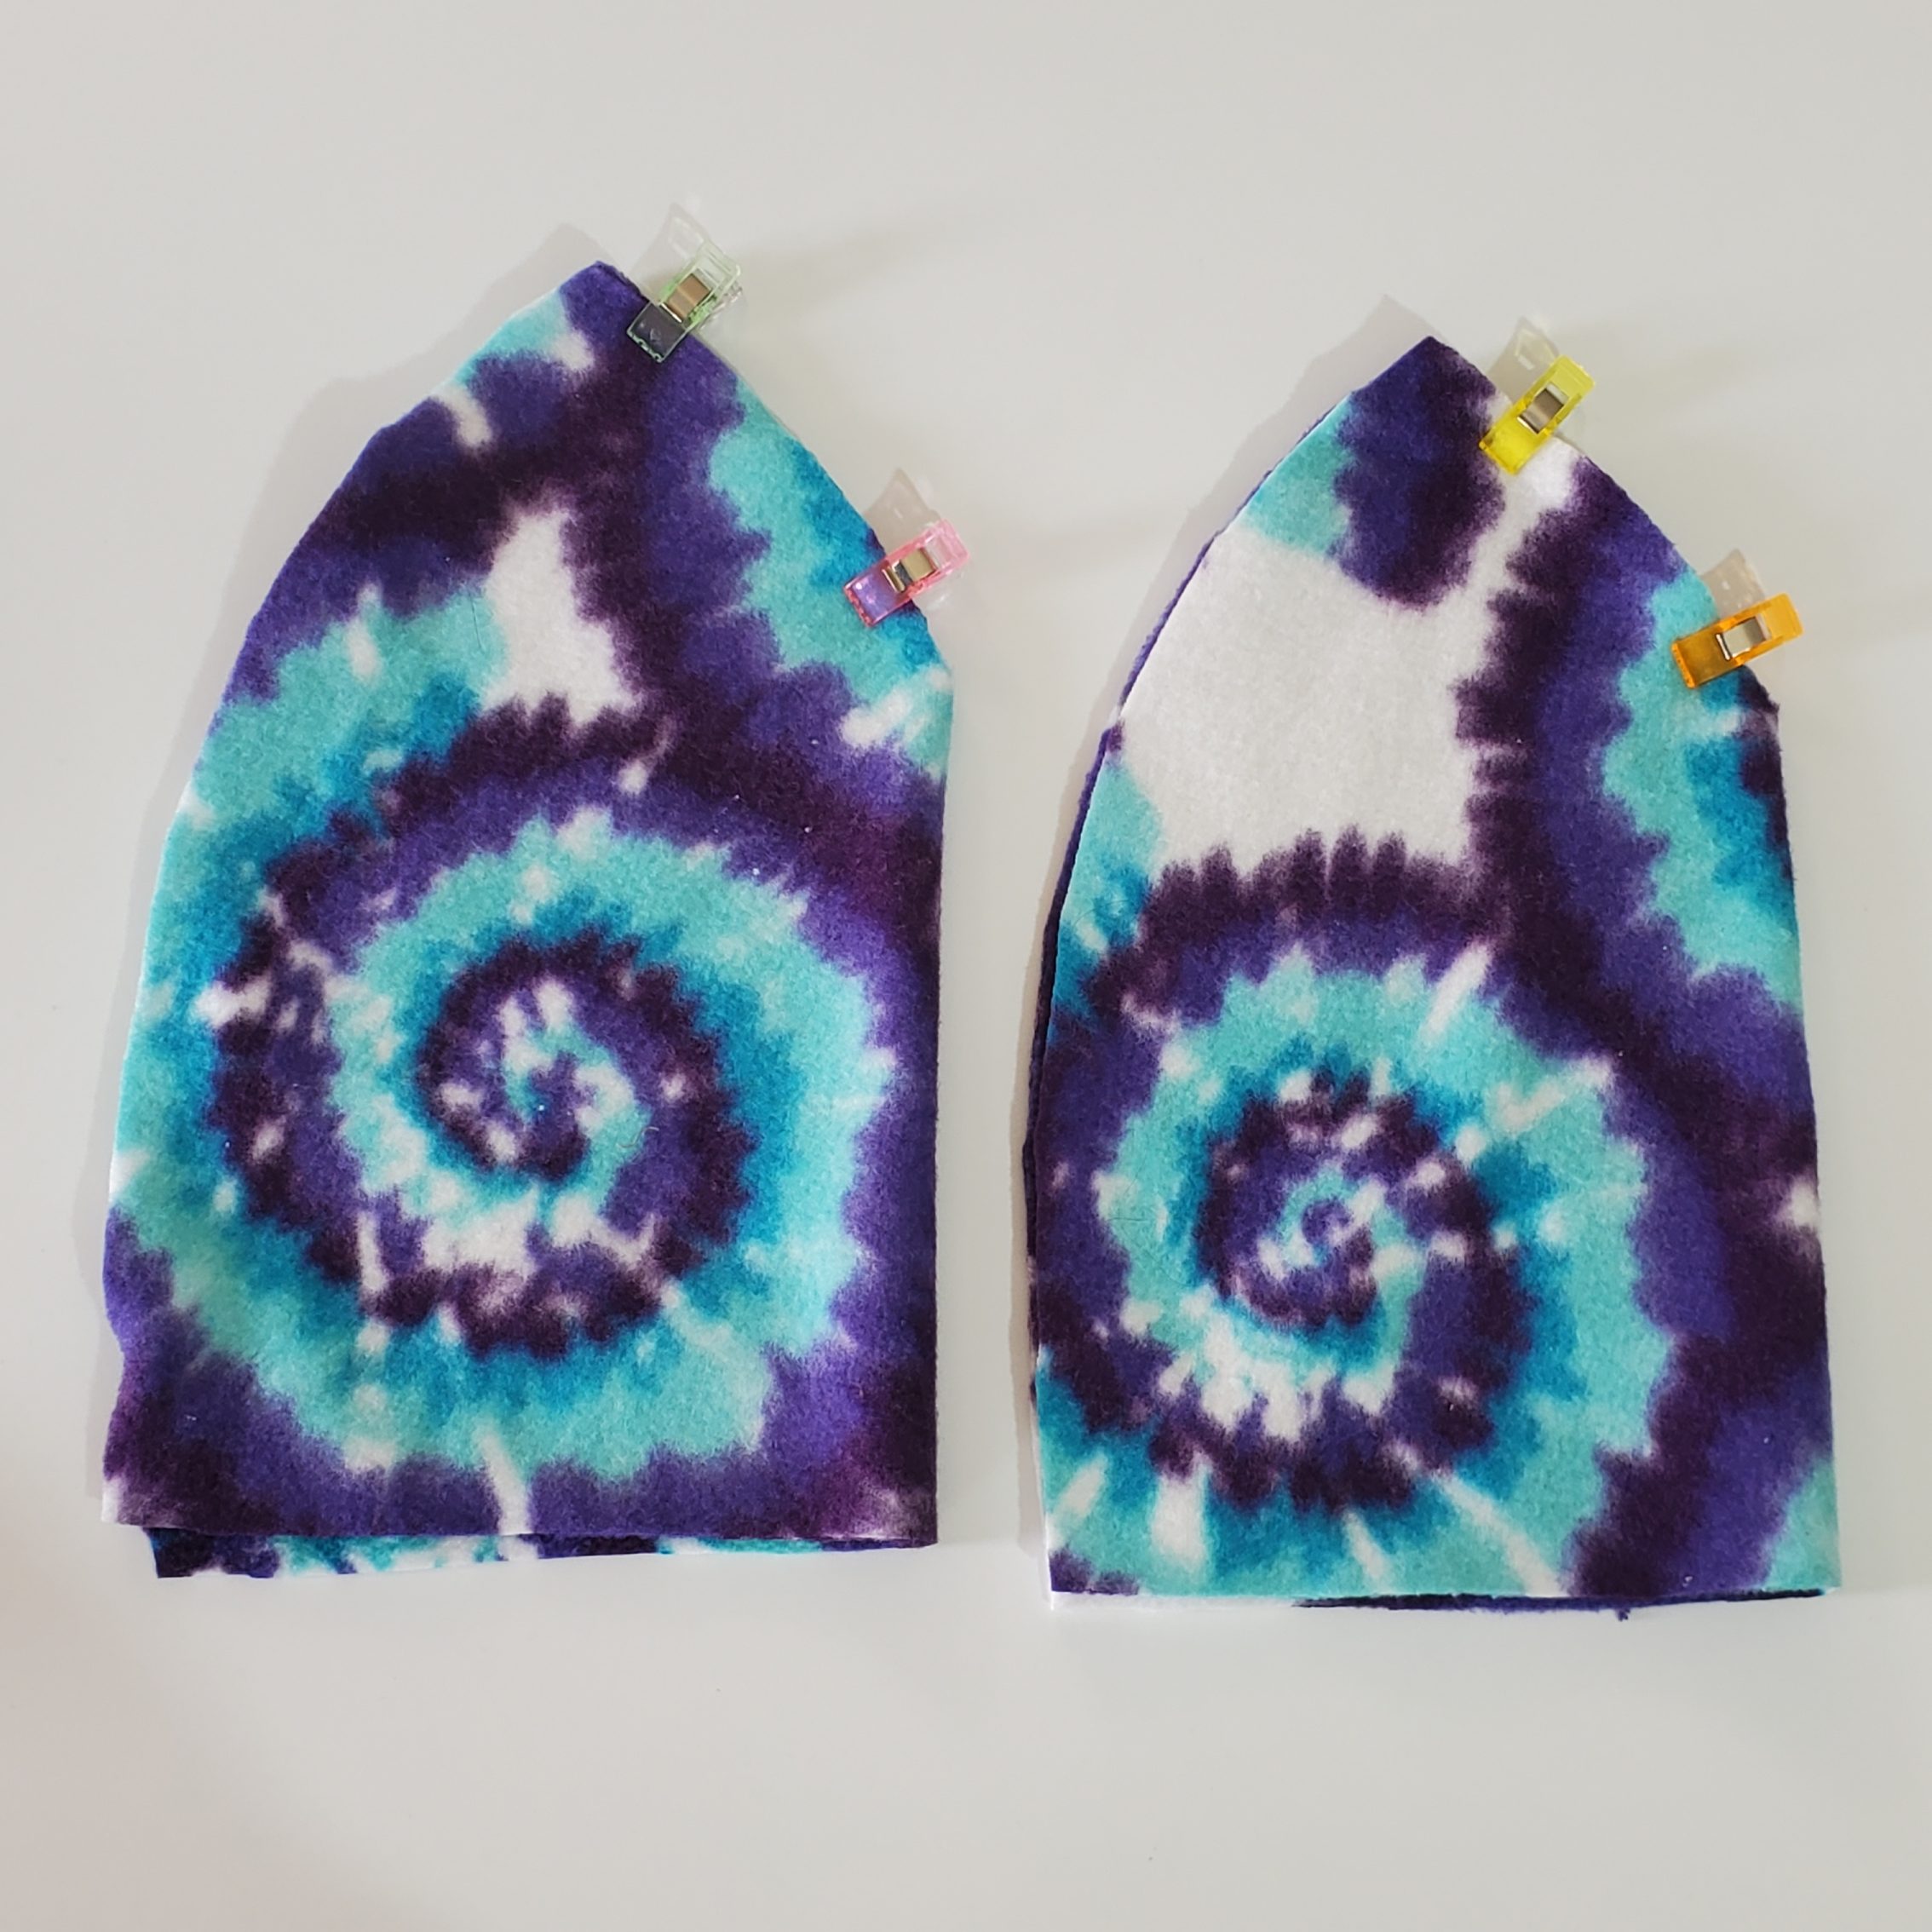
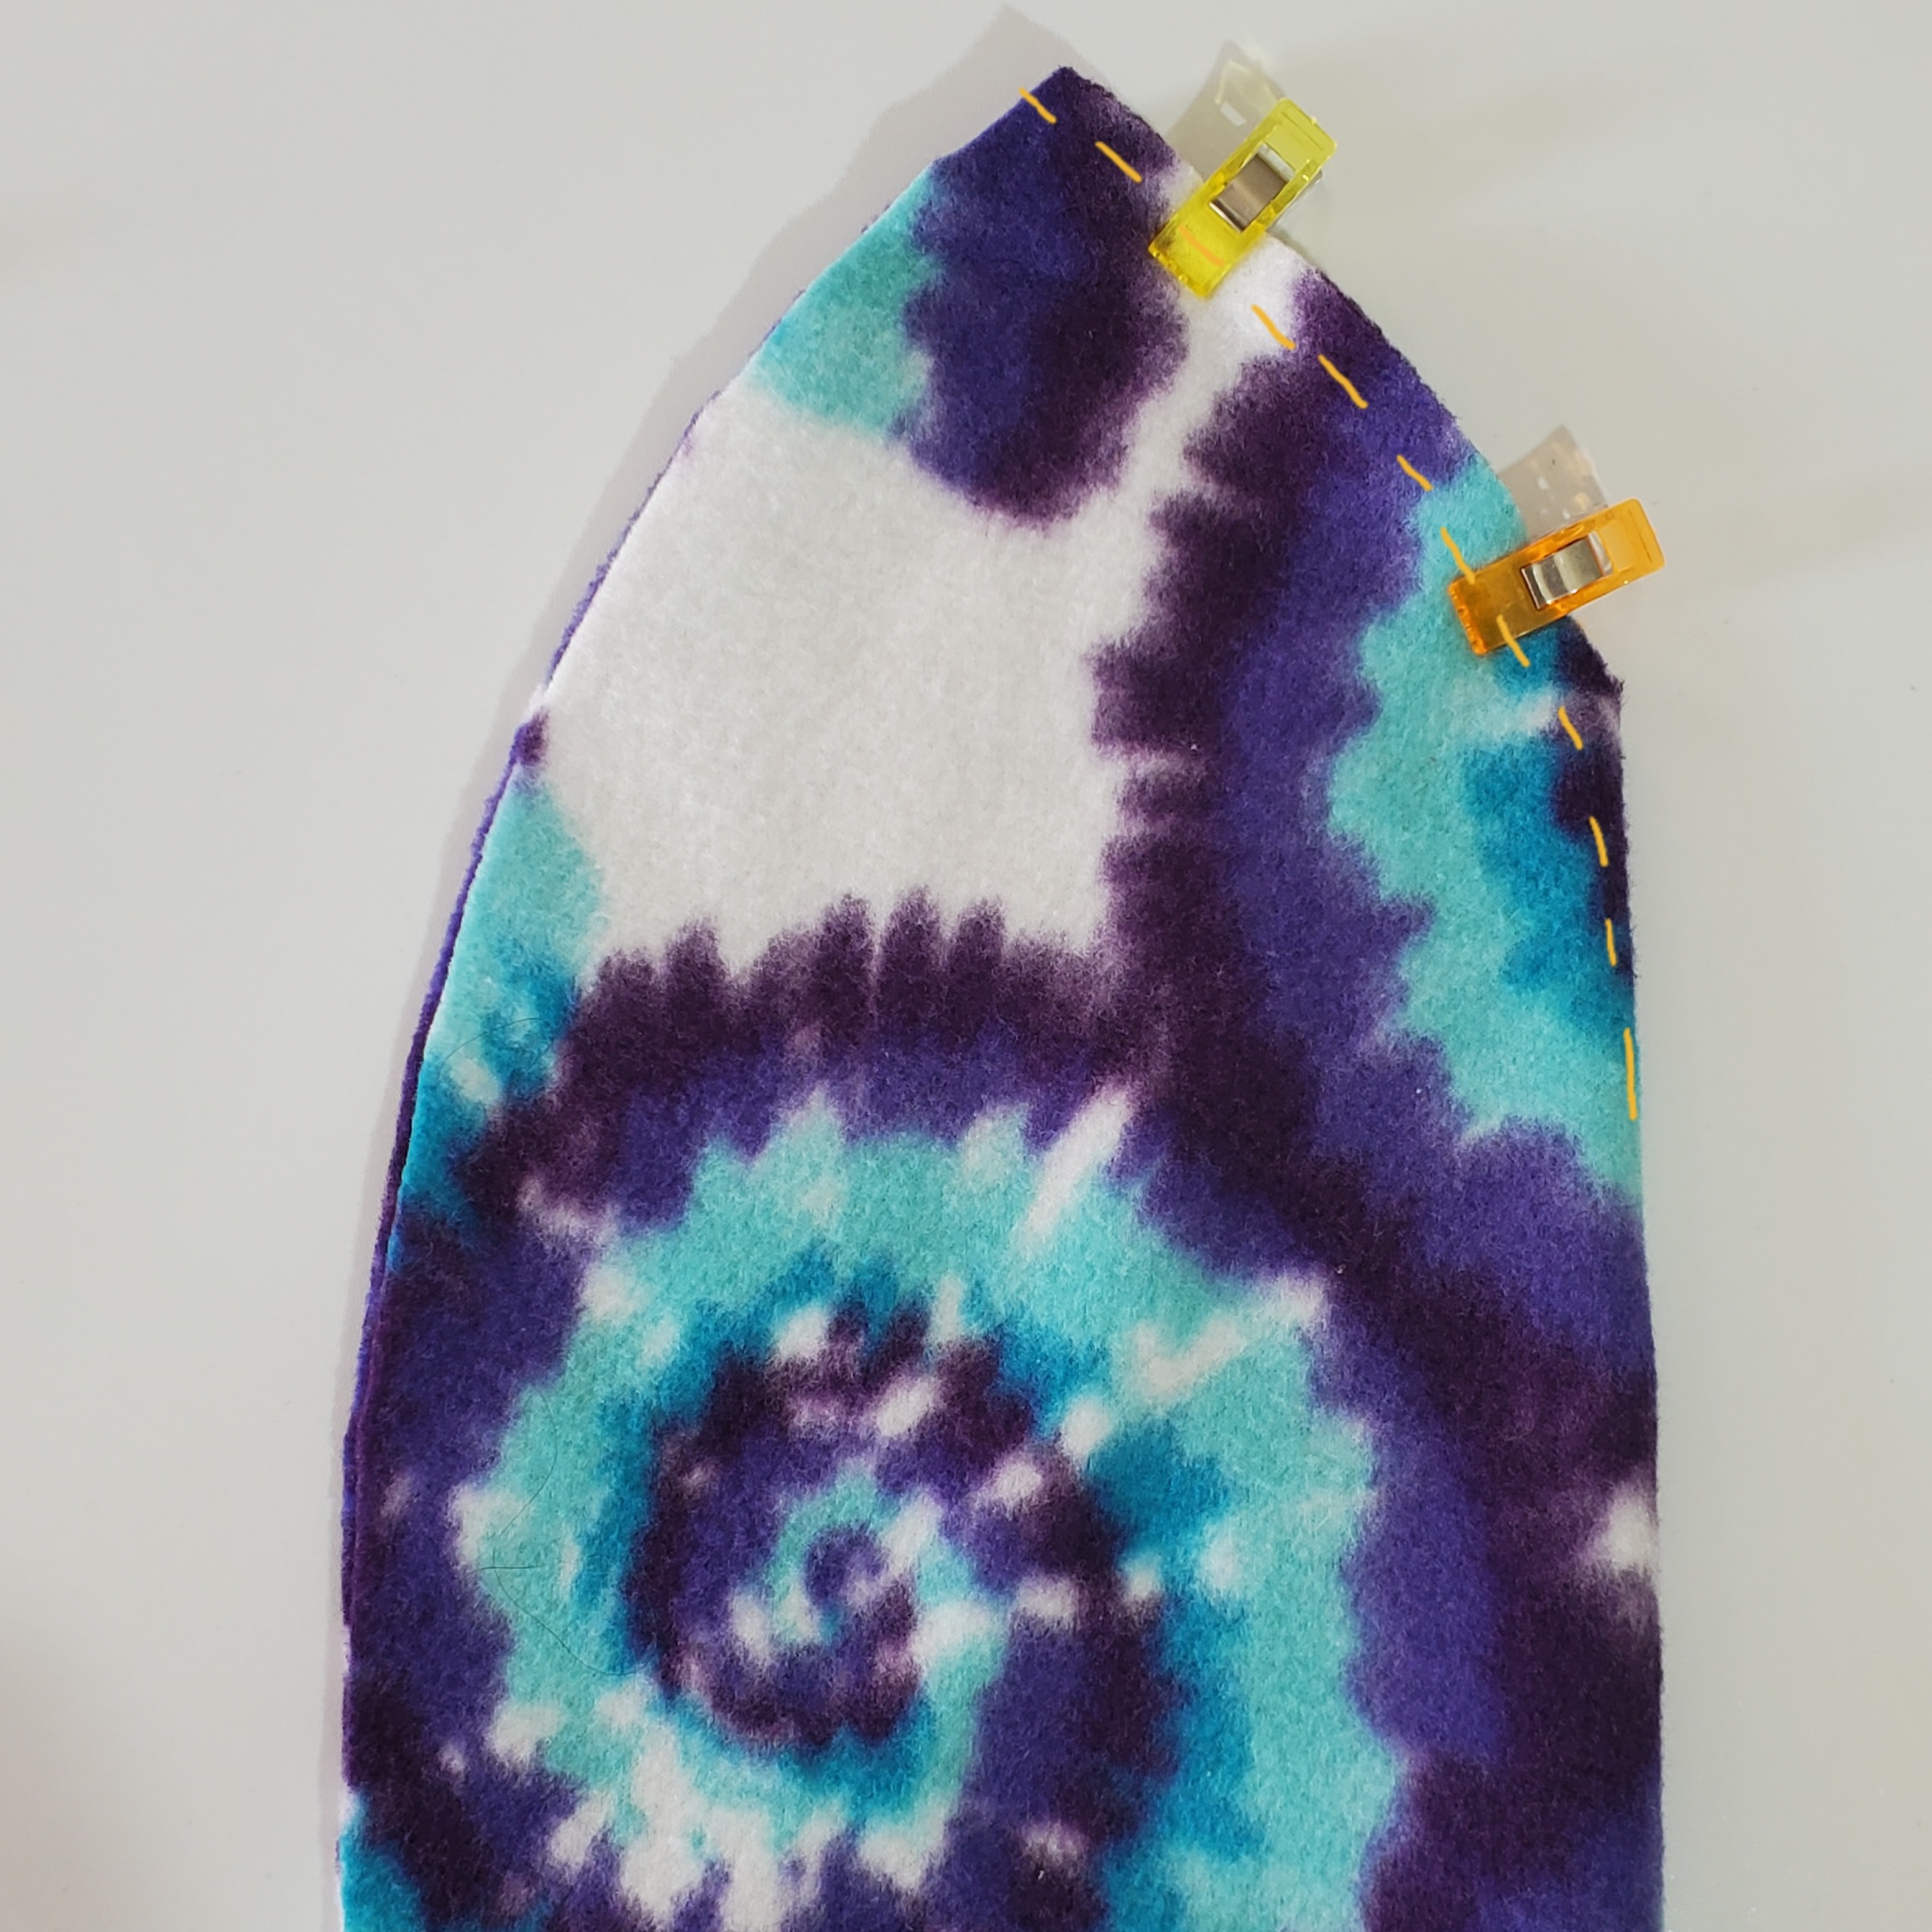
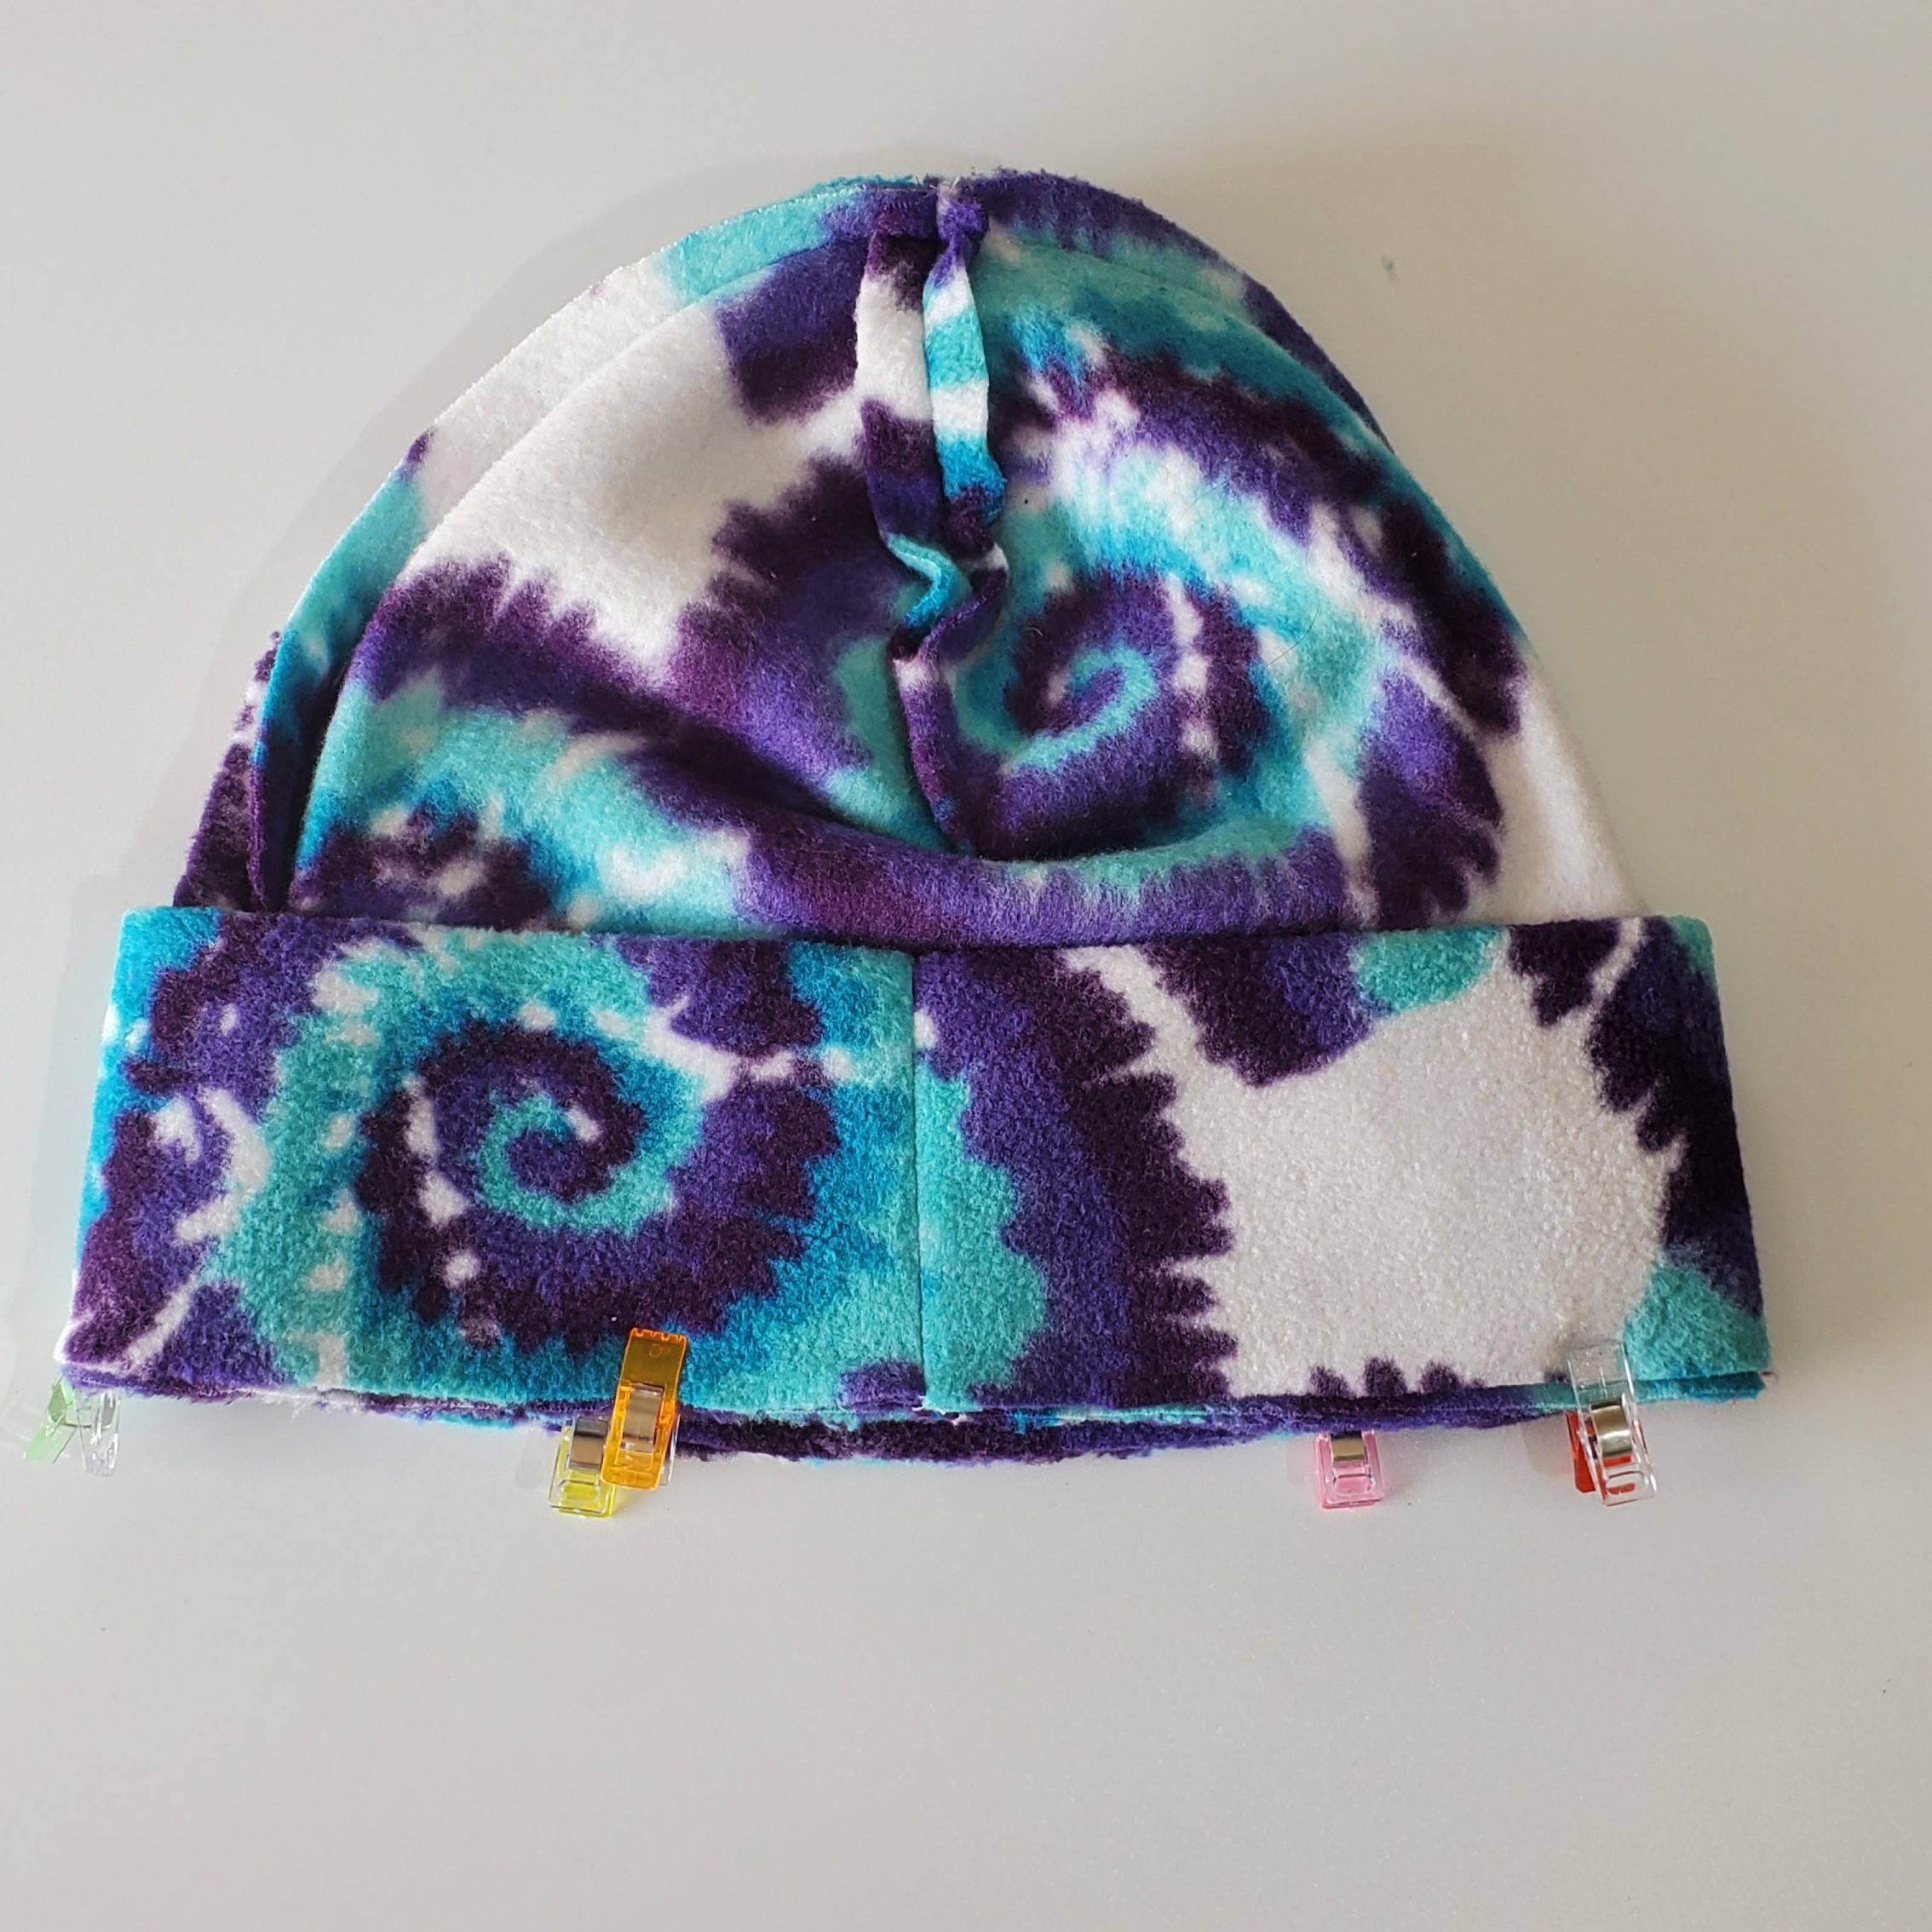
Take each beanie piece and fold them so that the right sides are together (they may already be right sides together, depending on how you folded your fabric before cutting). Pin/clip the side between the top of the cap and the fold. (I prefer to use clips on fabrics with stretch; I will link them at the end of the post!)
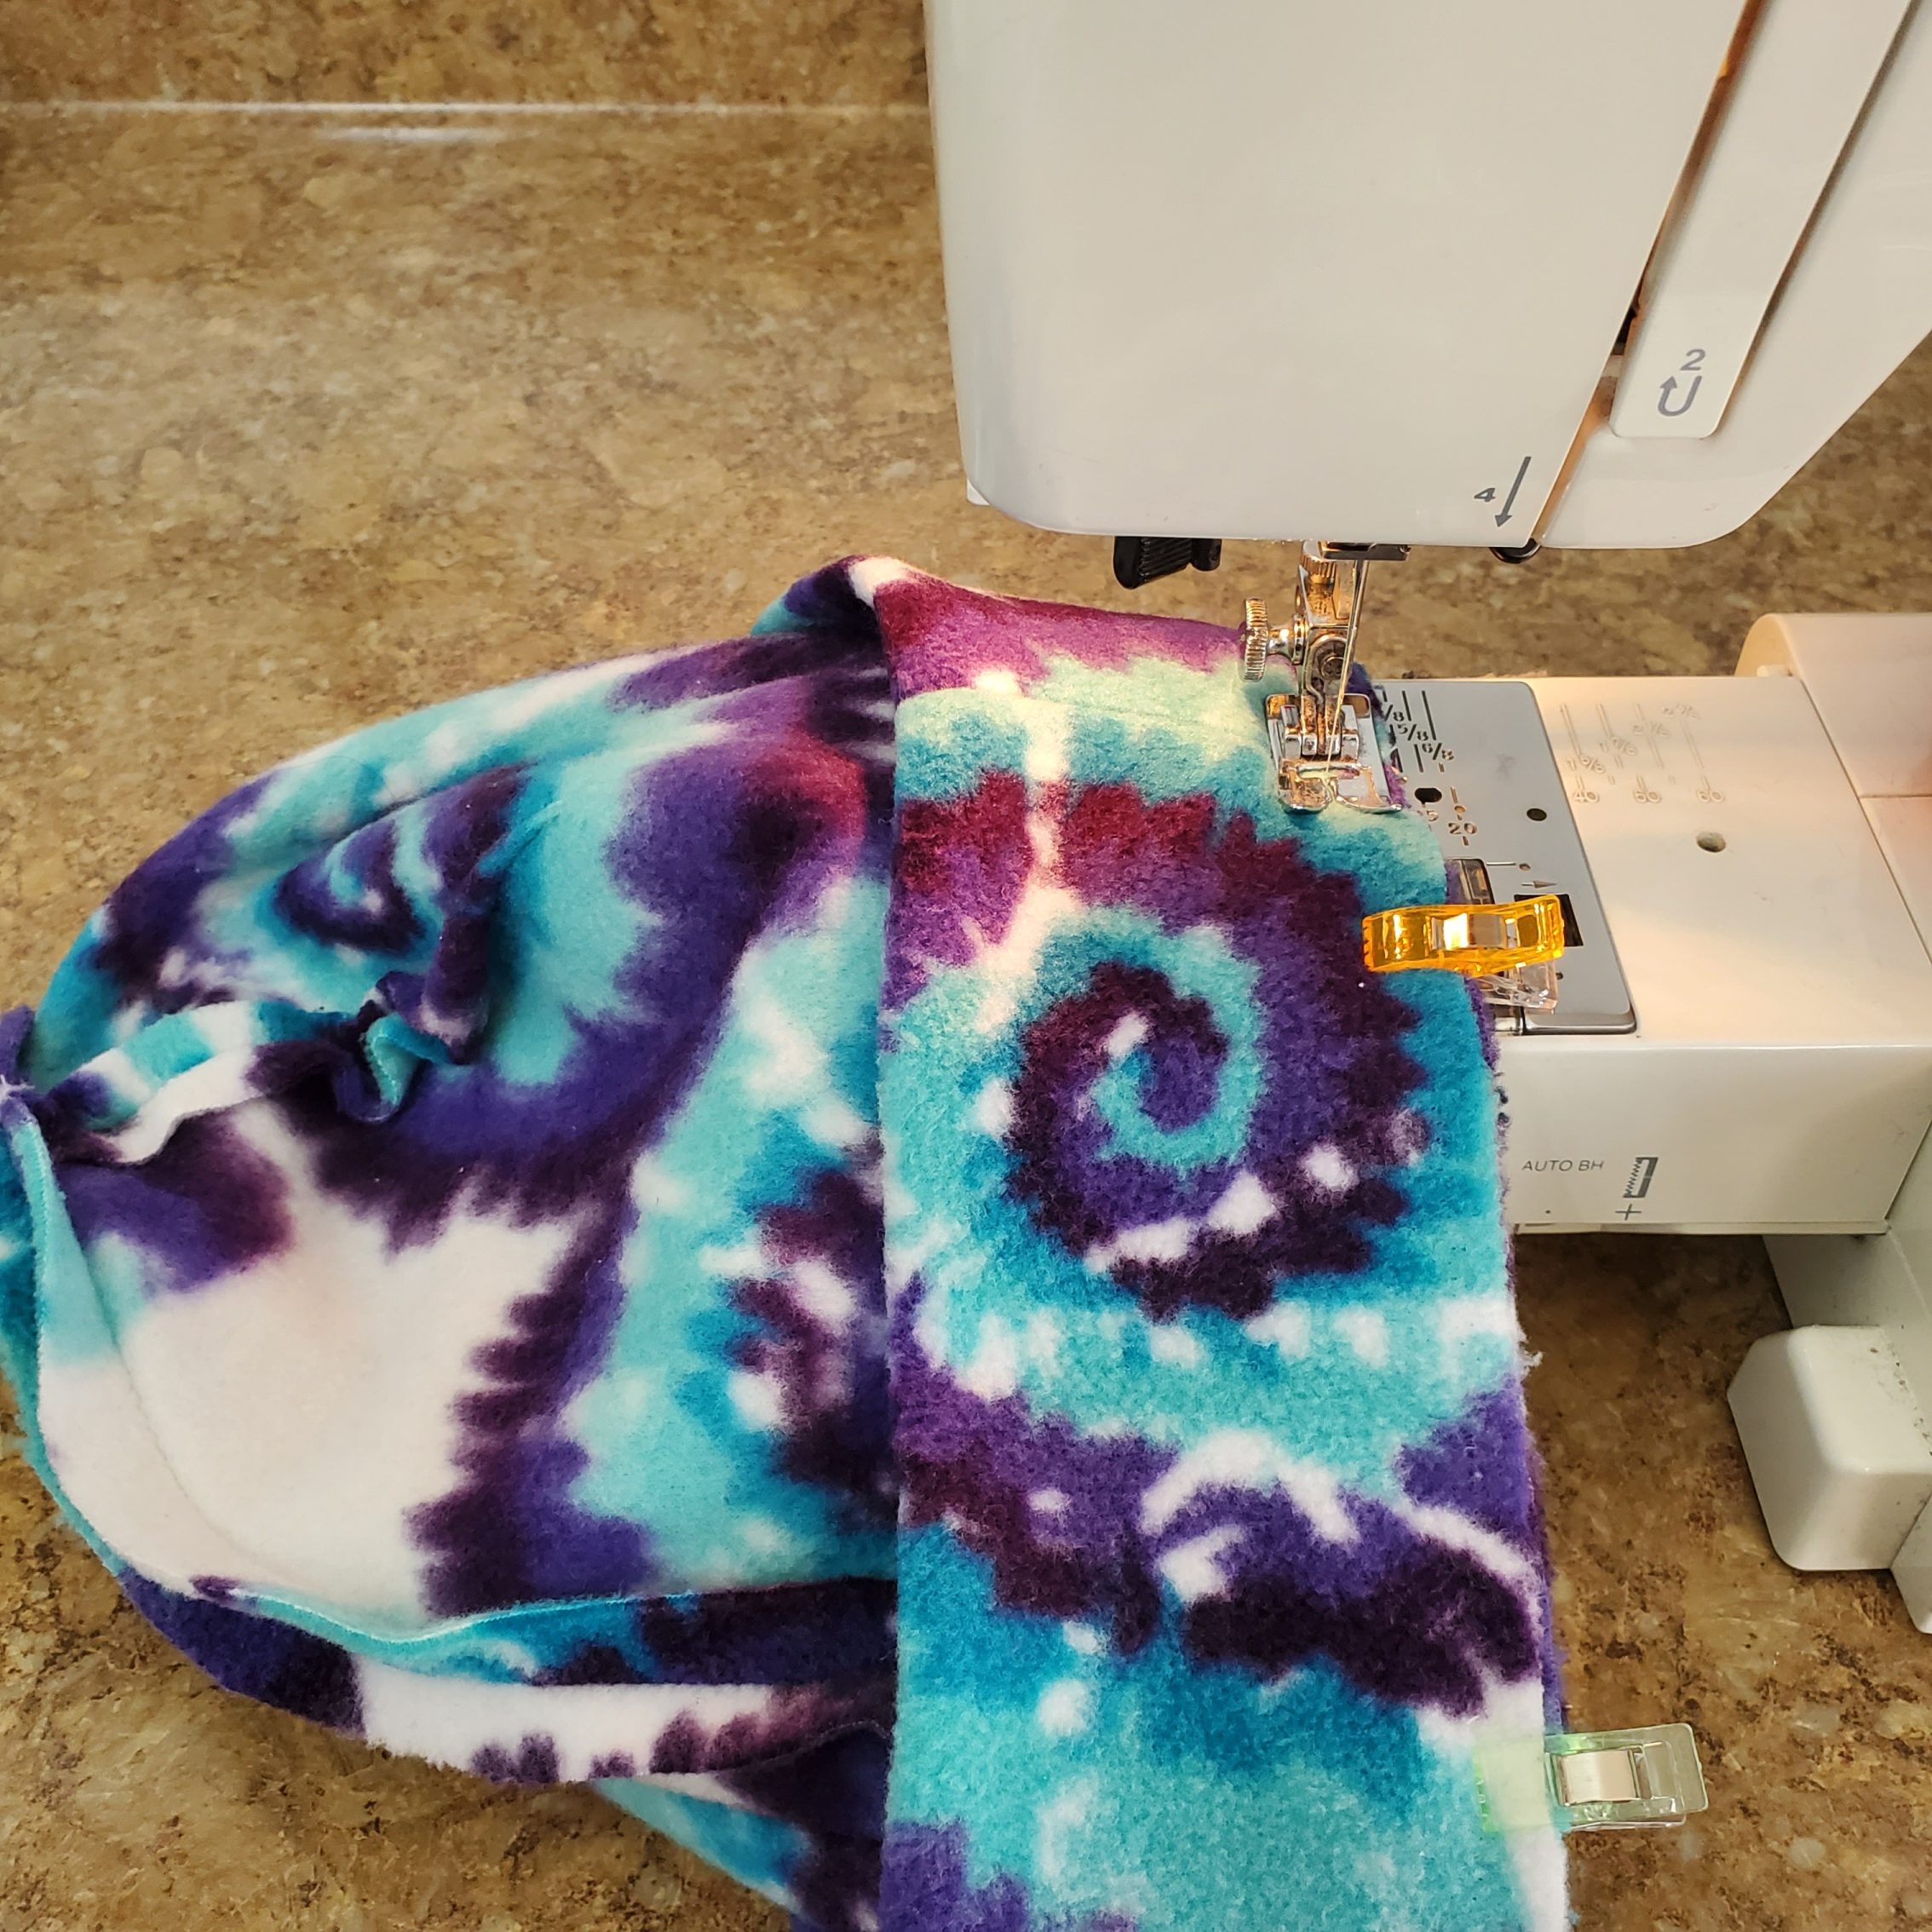
Starting at the very top of the cap, sew a seam going down the side you just pinned. You will be using a 1/2″ seam allowance. As you get closer to the fold, sew past the fold but gradually bring your stitch in close to the fold, until you are stitching on the fold for just a couple stitches. This will help your beanie to lay smoothly instead of having pointy edges. I drew yellow lines on the picture below so that you can understand what I just explained.
Repeat that stitch on both pieces of your main beanie. Turn your pieces right sides out and press open your seam allowance as best you can.
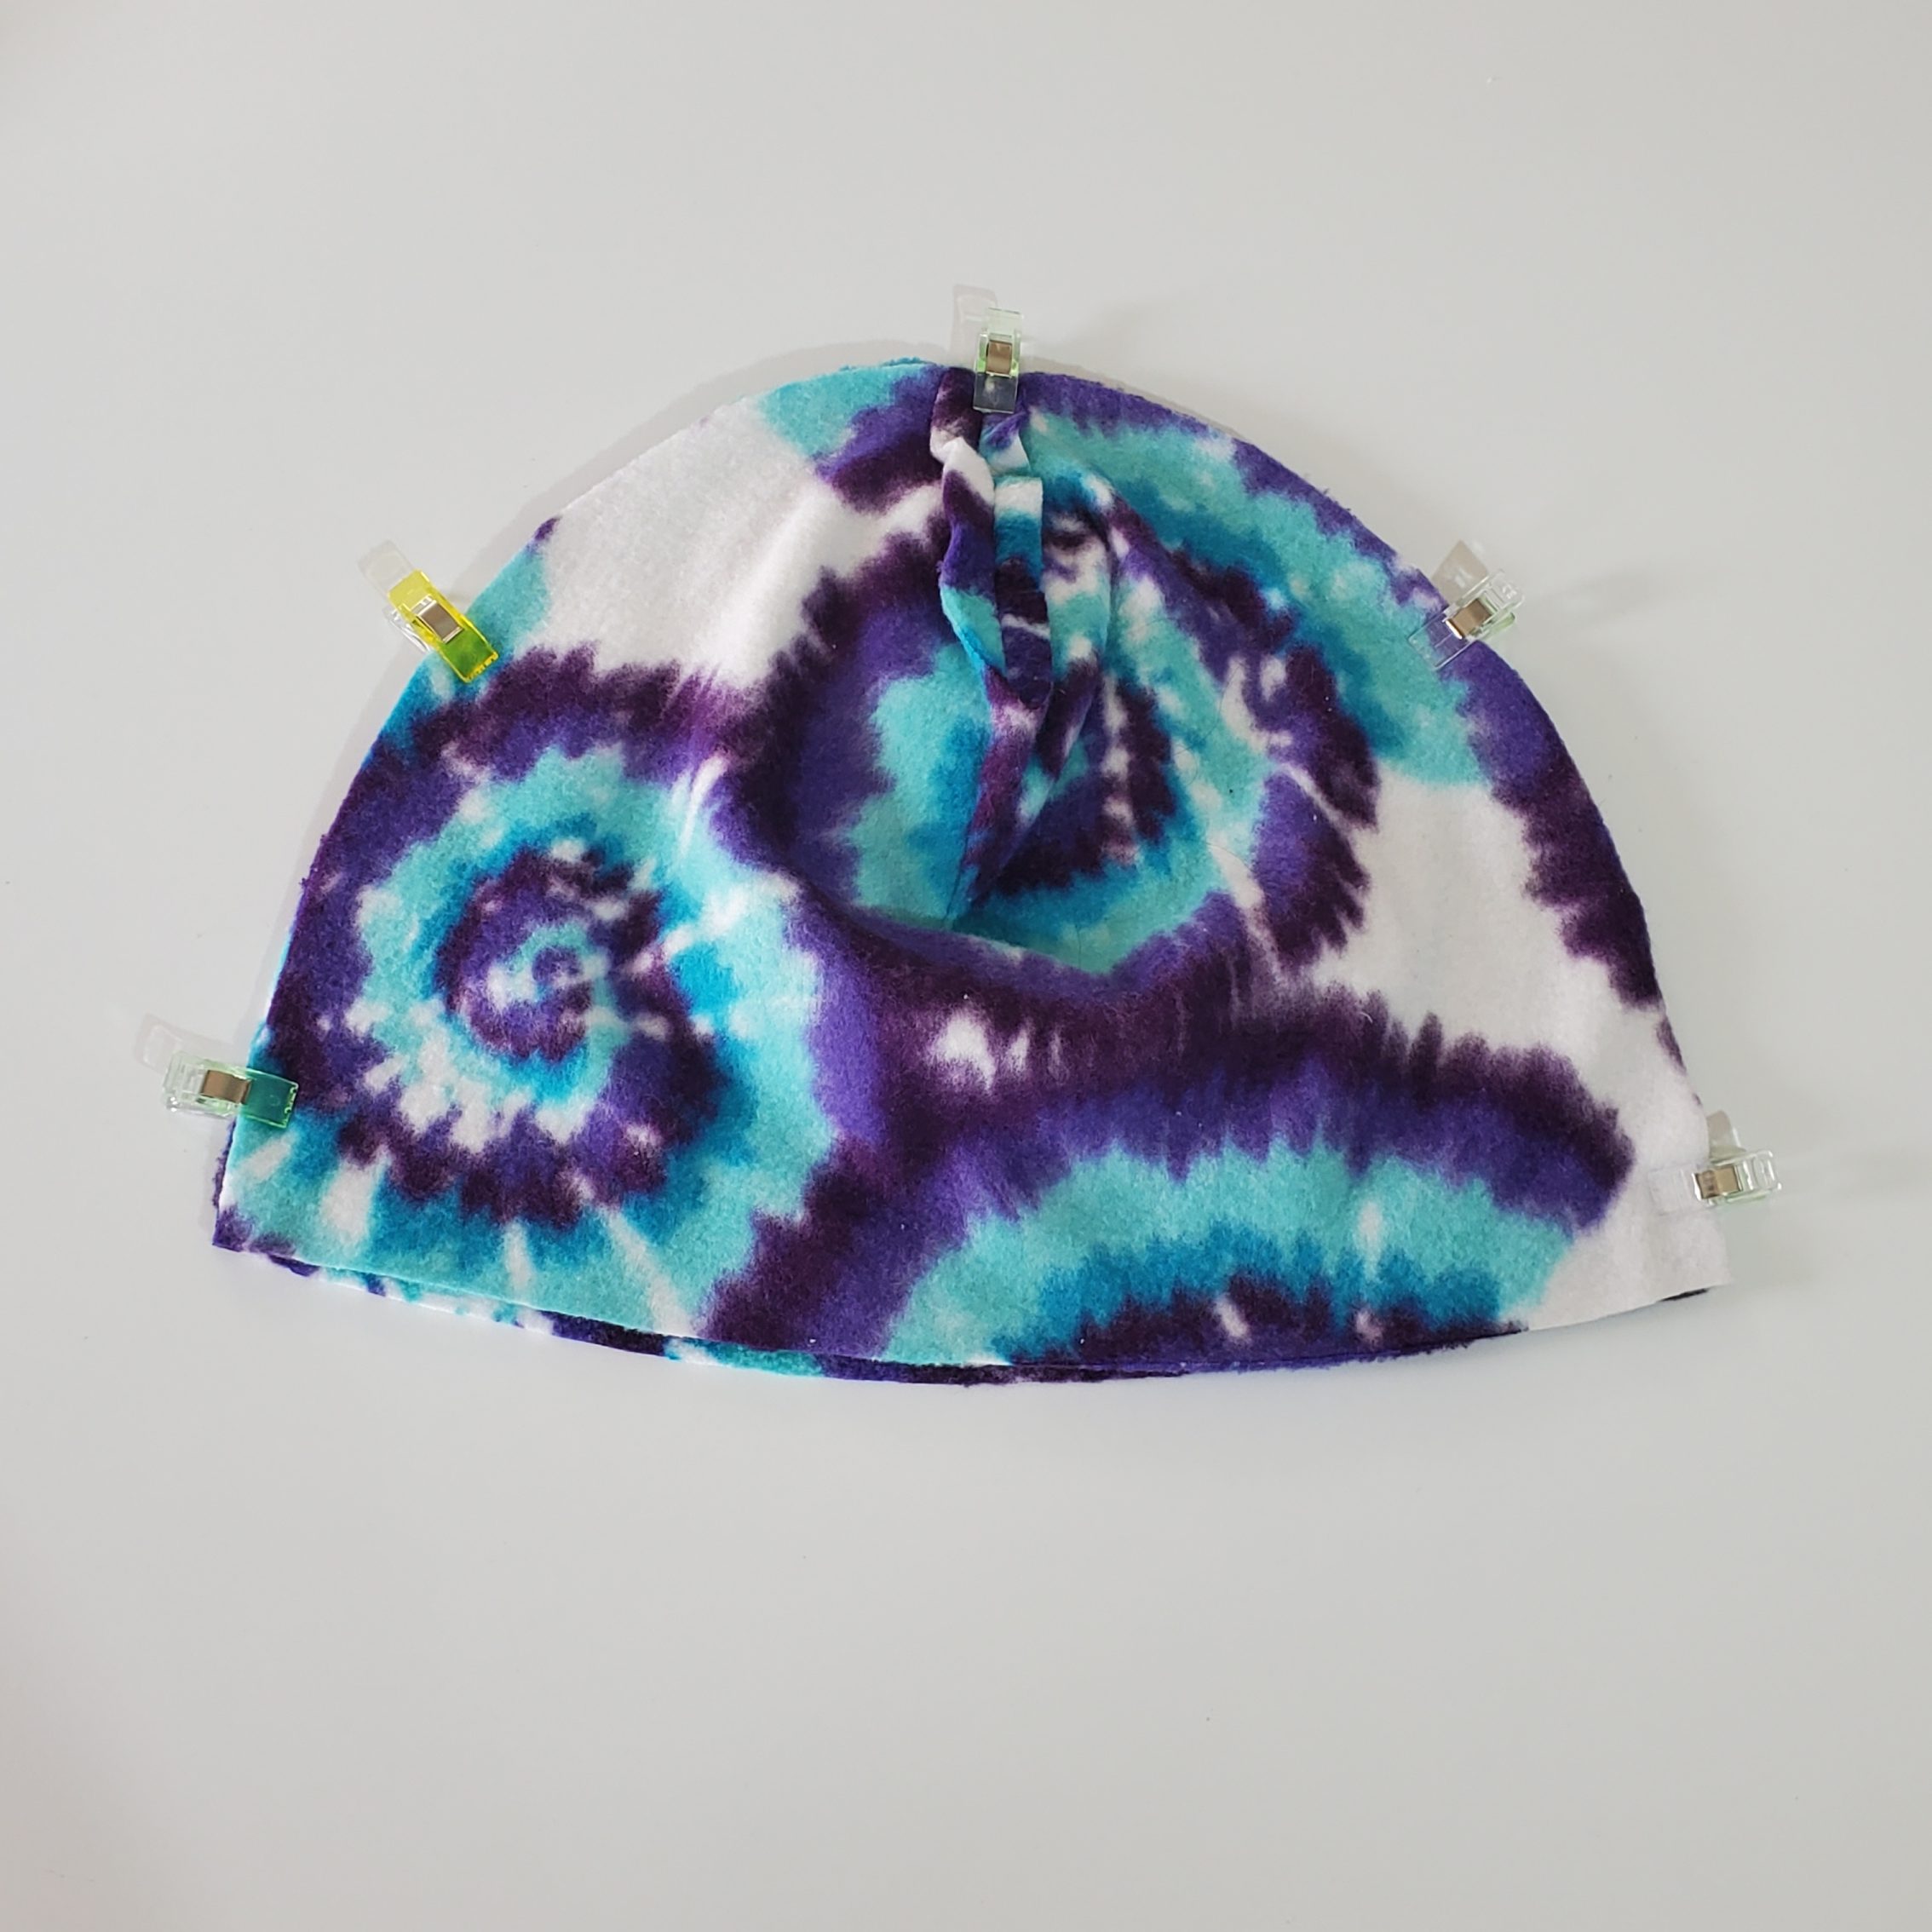
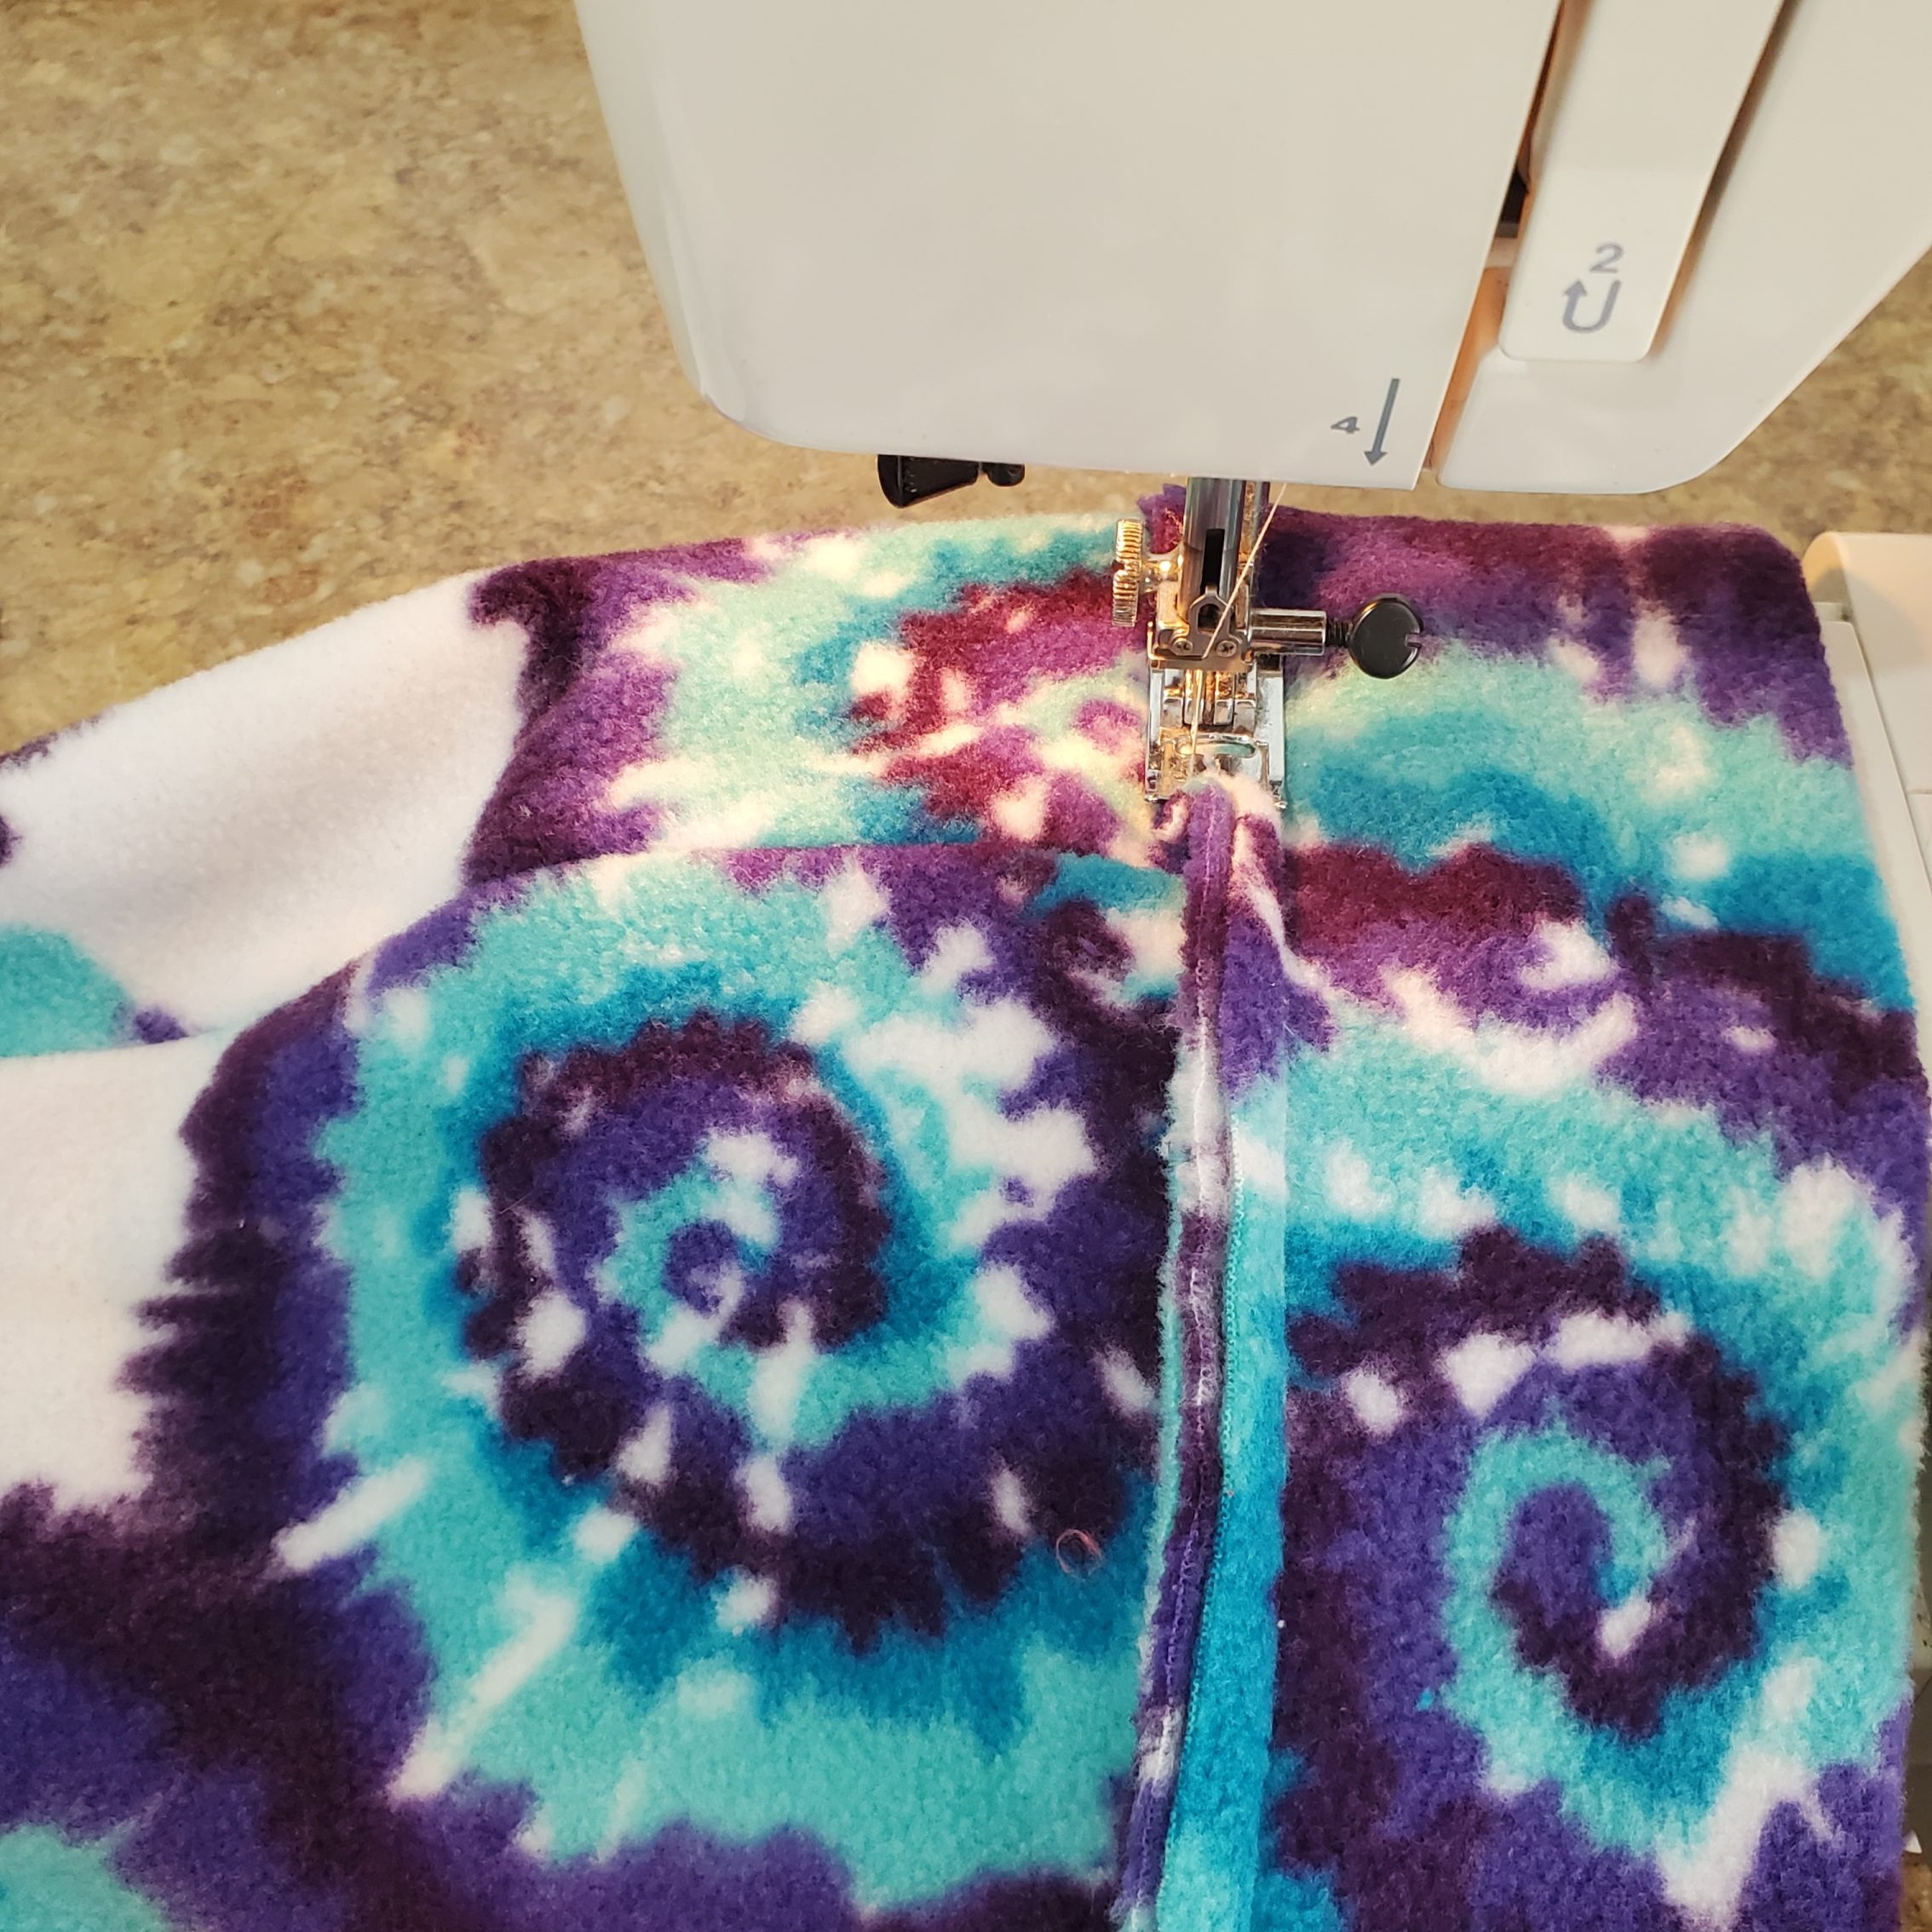
Place one cap piece on top of the other, right sides together, and pin all around the rounded edges. Make sure to match up your seam lines. Sew, using 1/2″ seam allowance.
Fold your cuff piece in half, right sides together. Sew your short end.
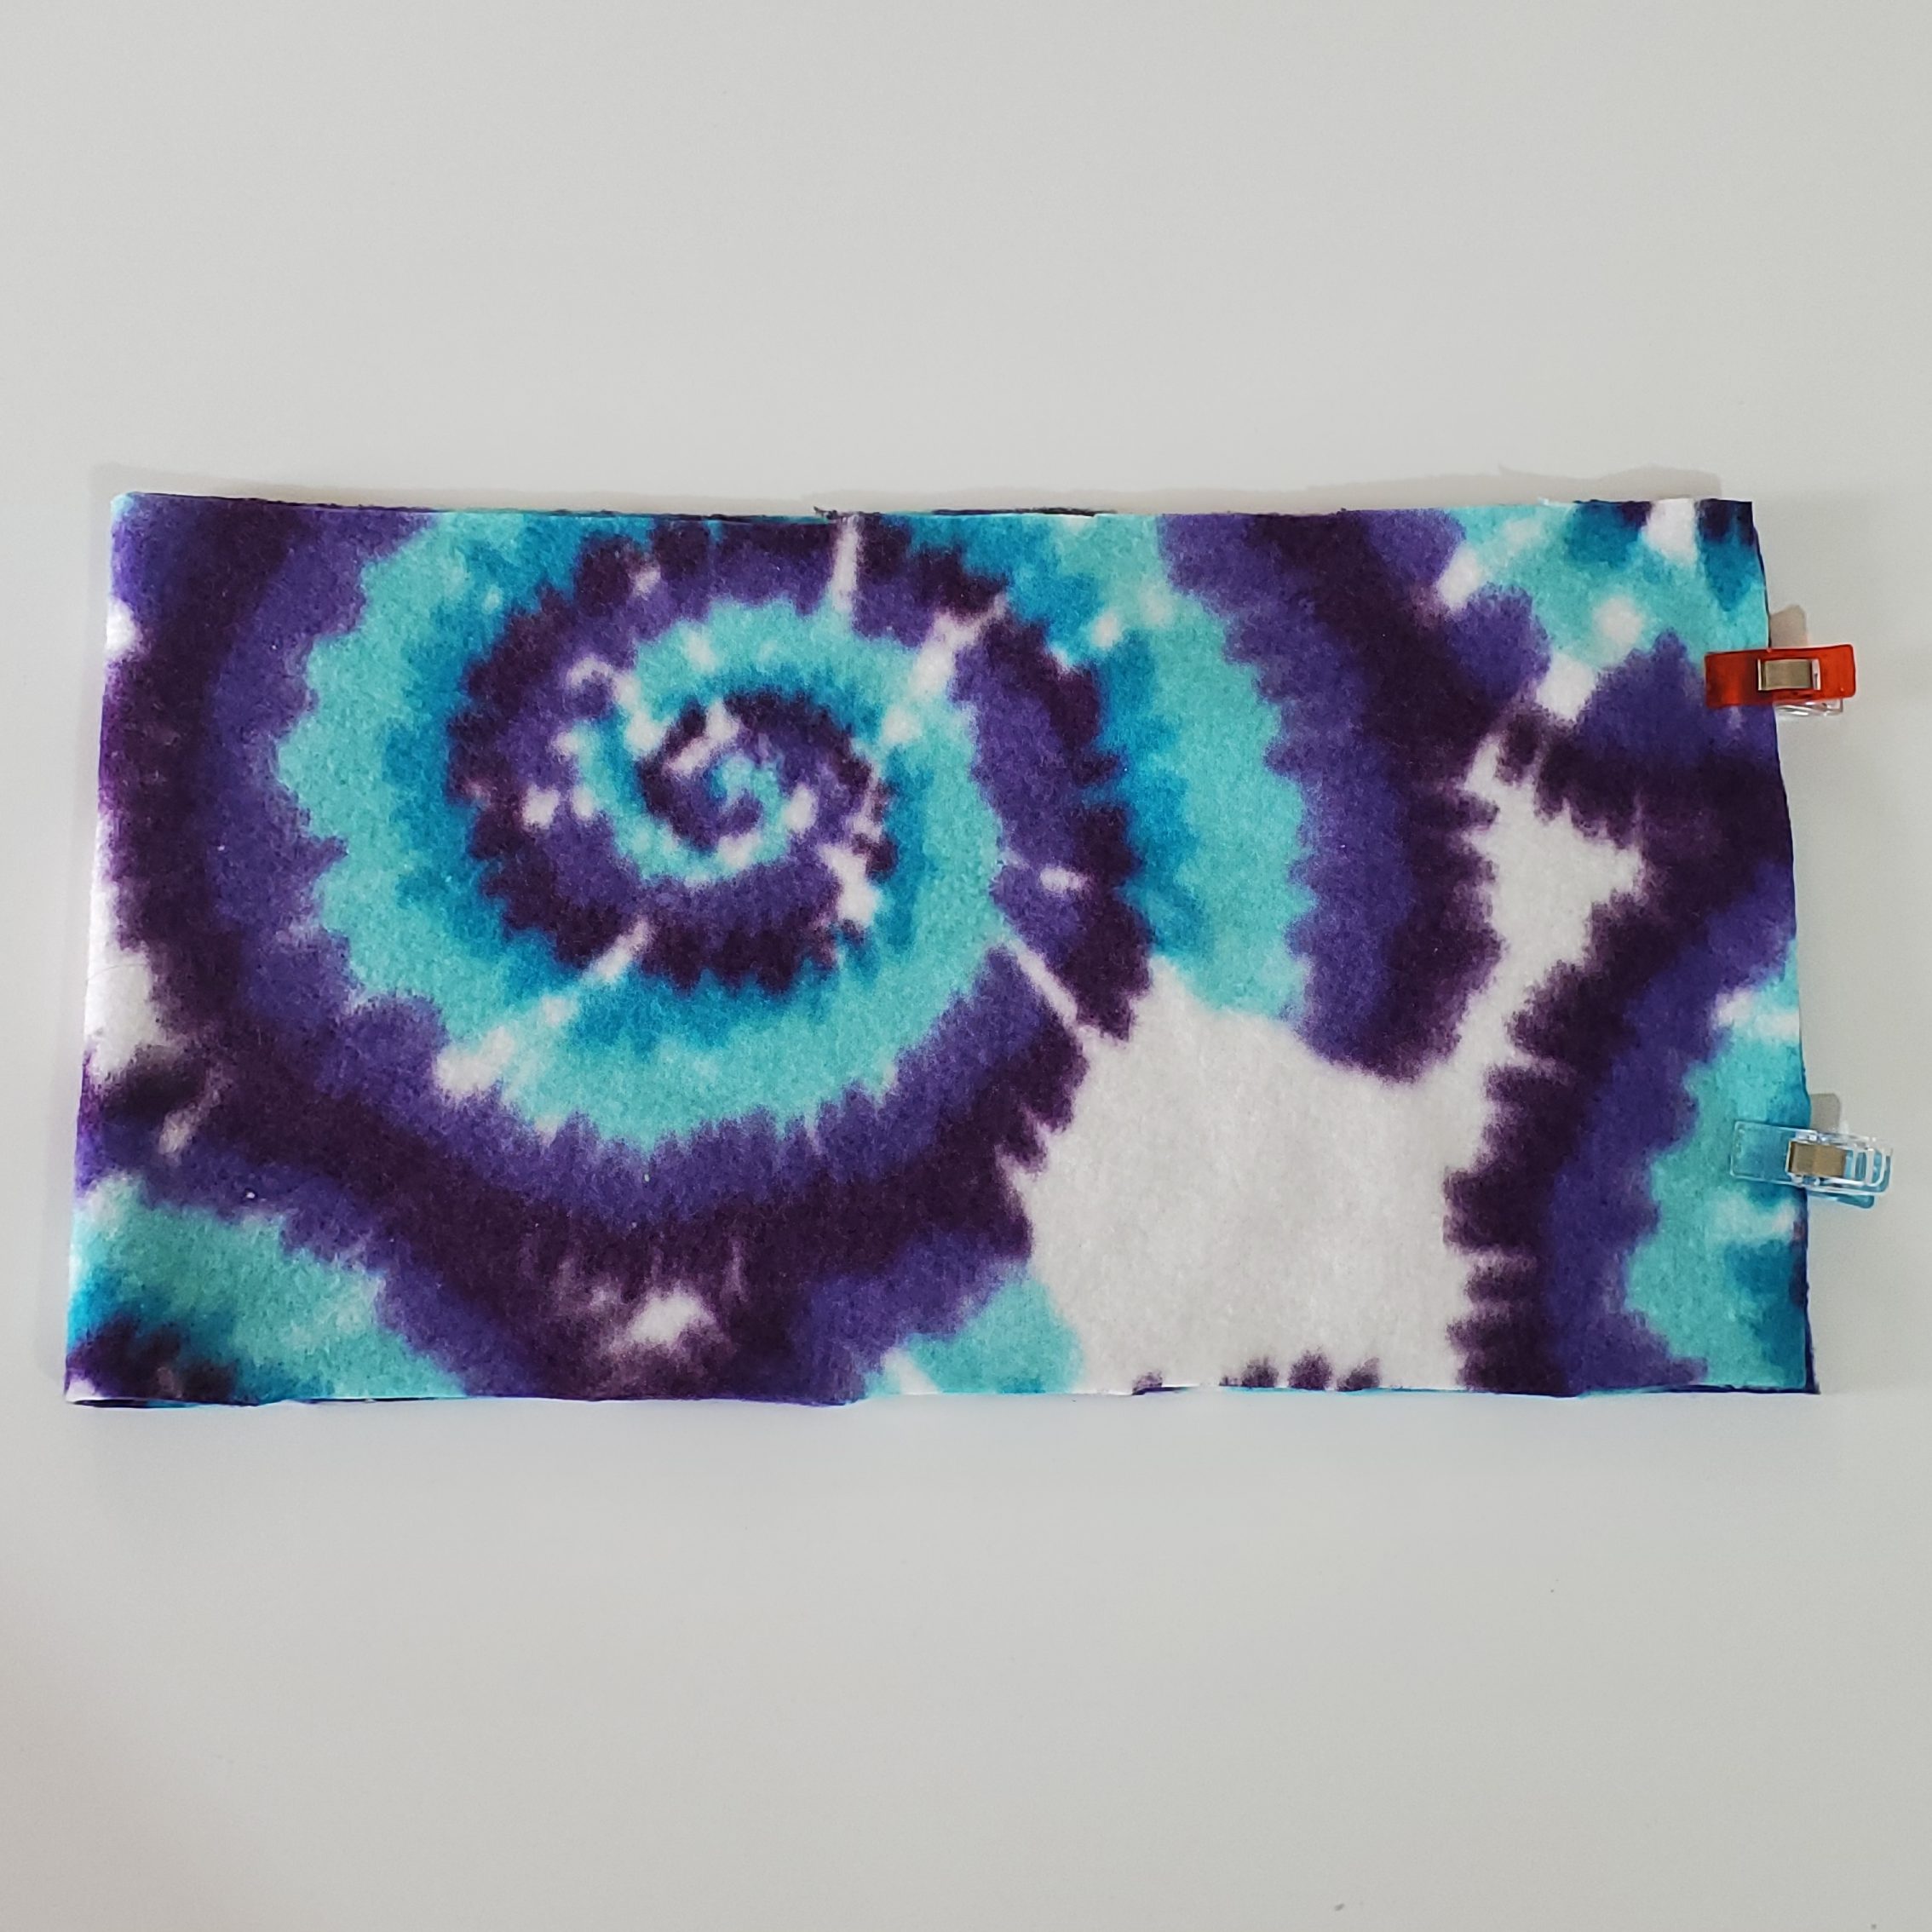
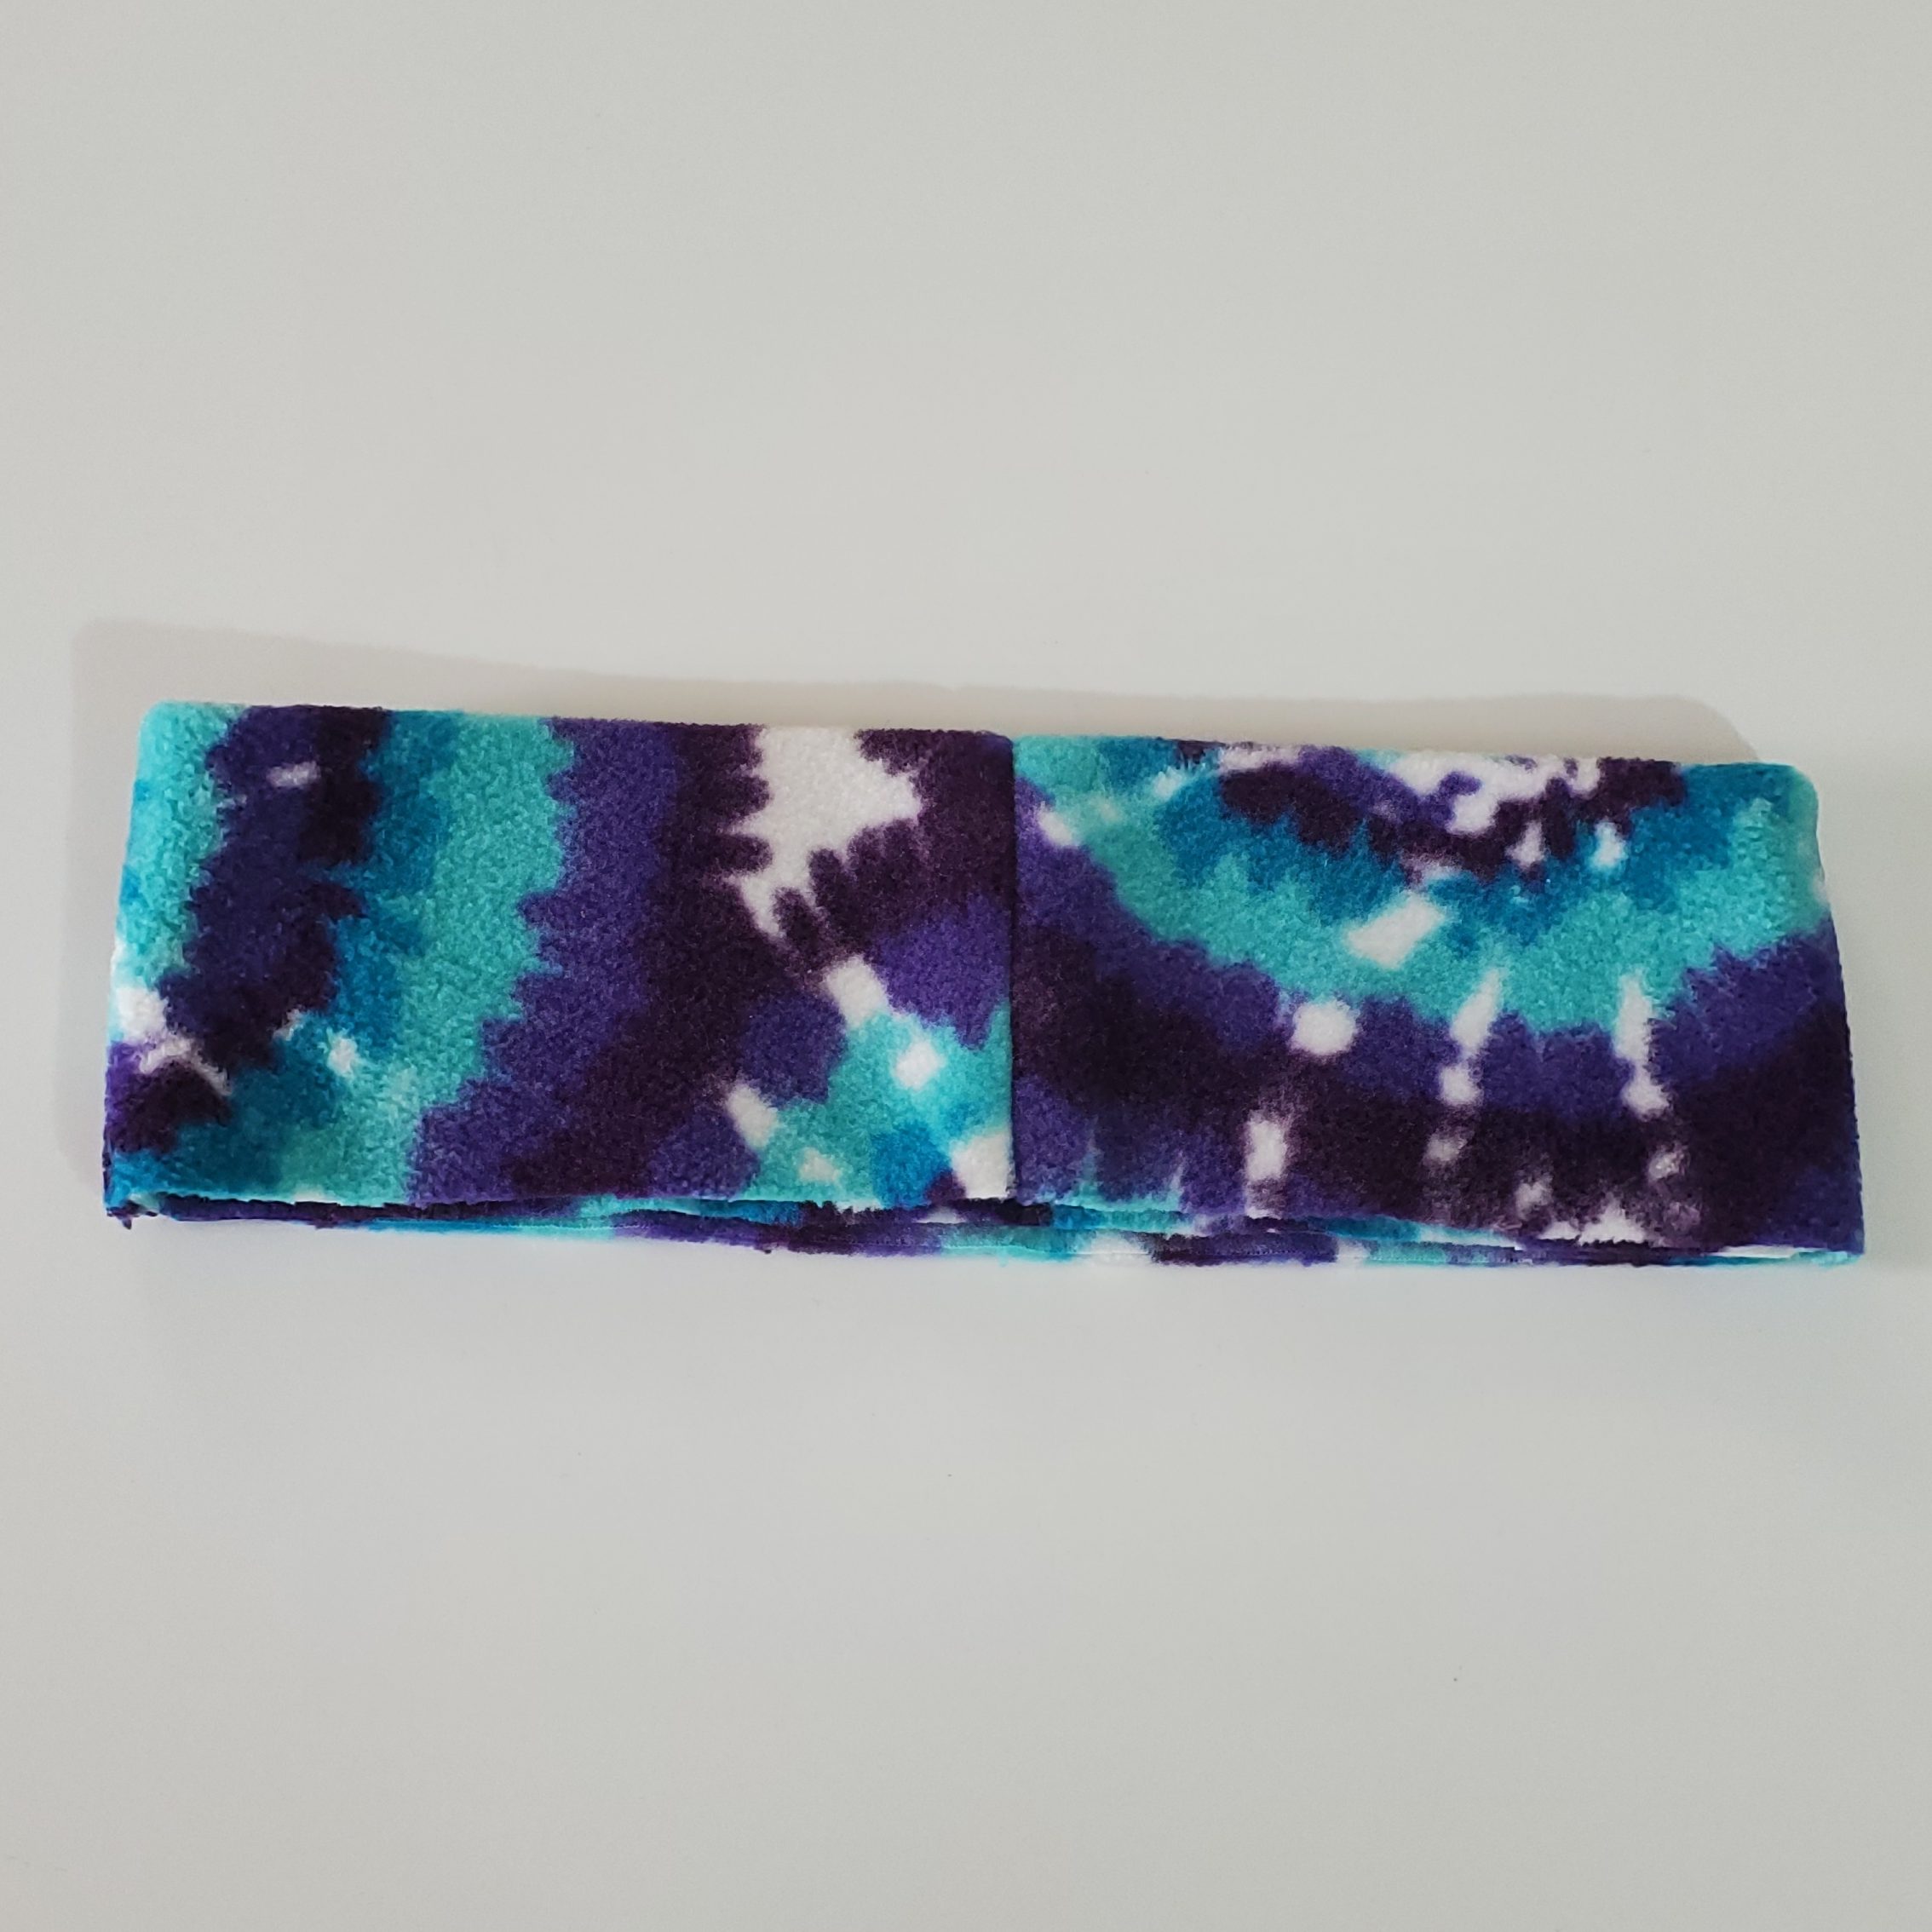
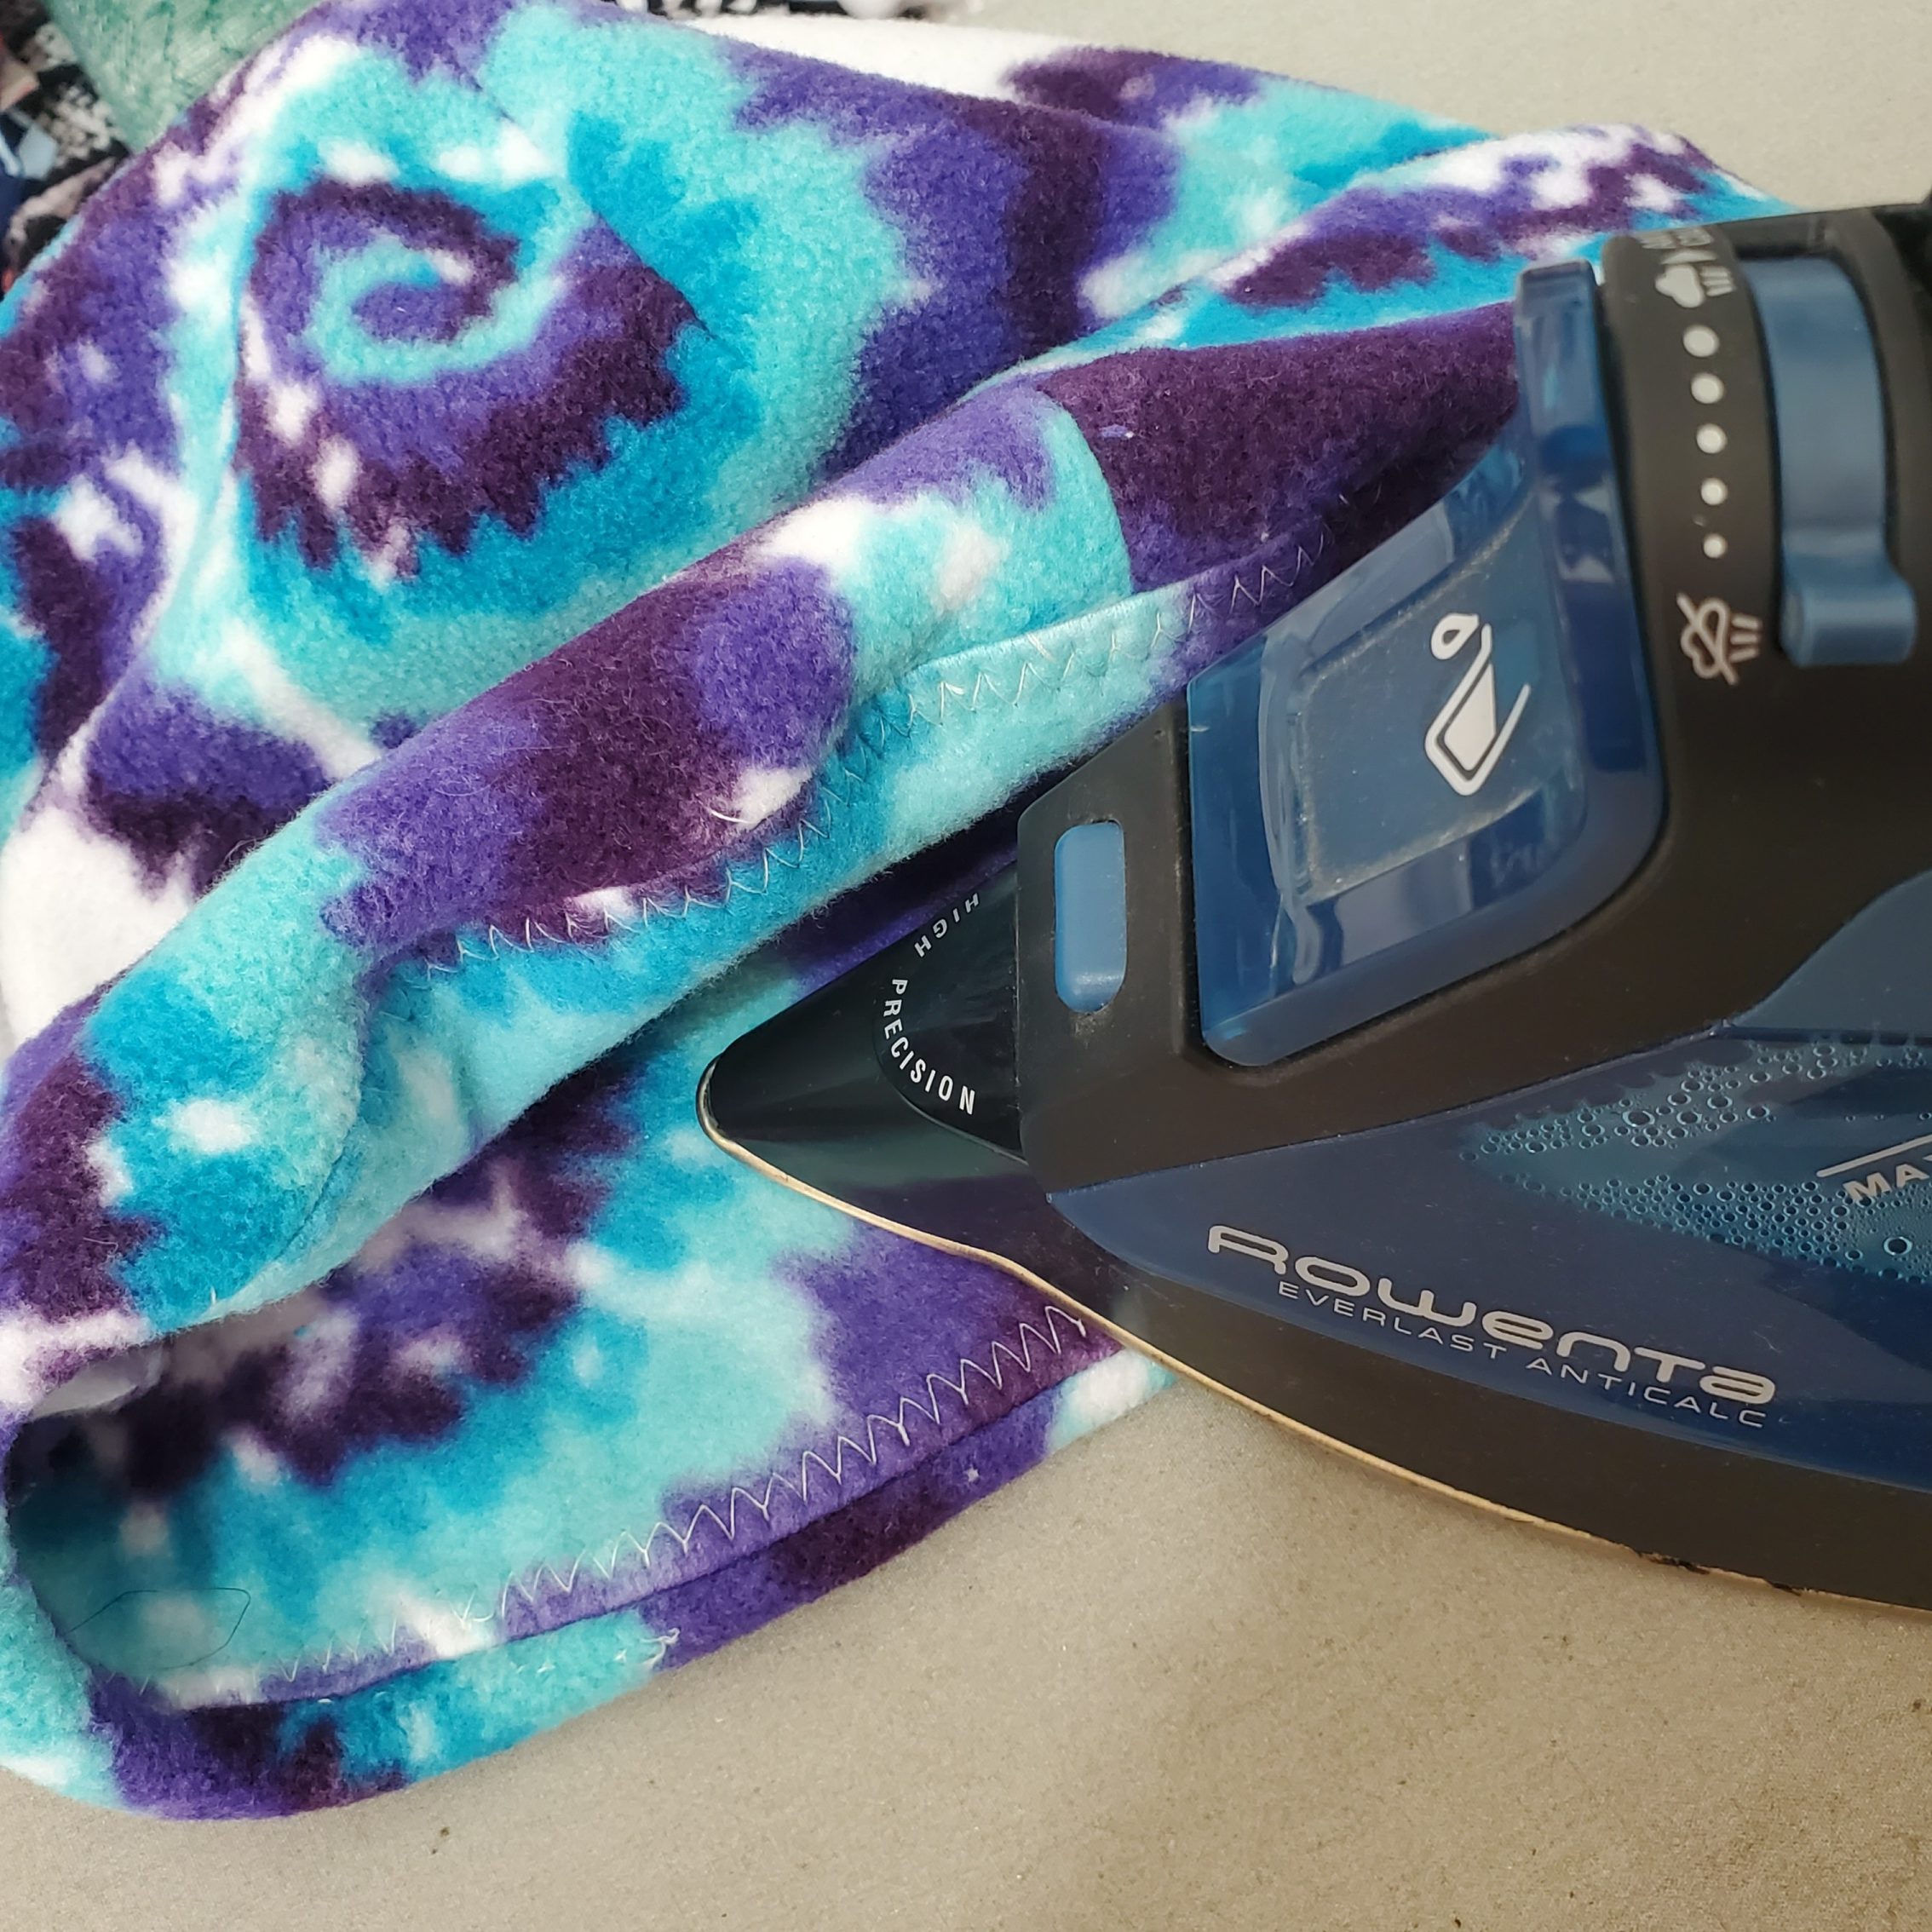
Now fold your cuff in half lengthwise, with wrong sides together and raw edges even. You can iron the fold if you would like; it will help keep your edges together.
Pin the cuff to the wrong side of the beanie. I know it seems like this is being done inside out, but it’ll all work out. Trust me. Make sure all of your raw edges are even. Pin together and stitch around the beanie.
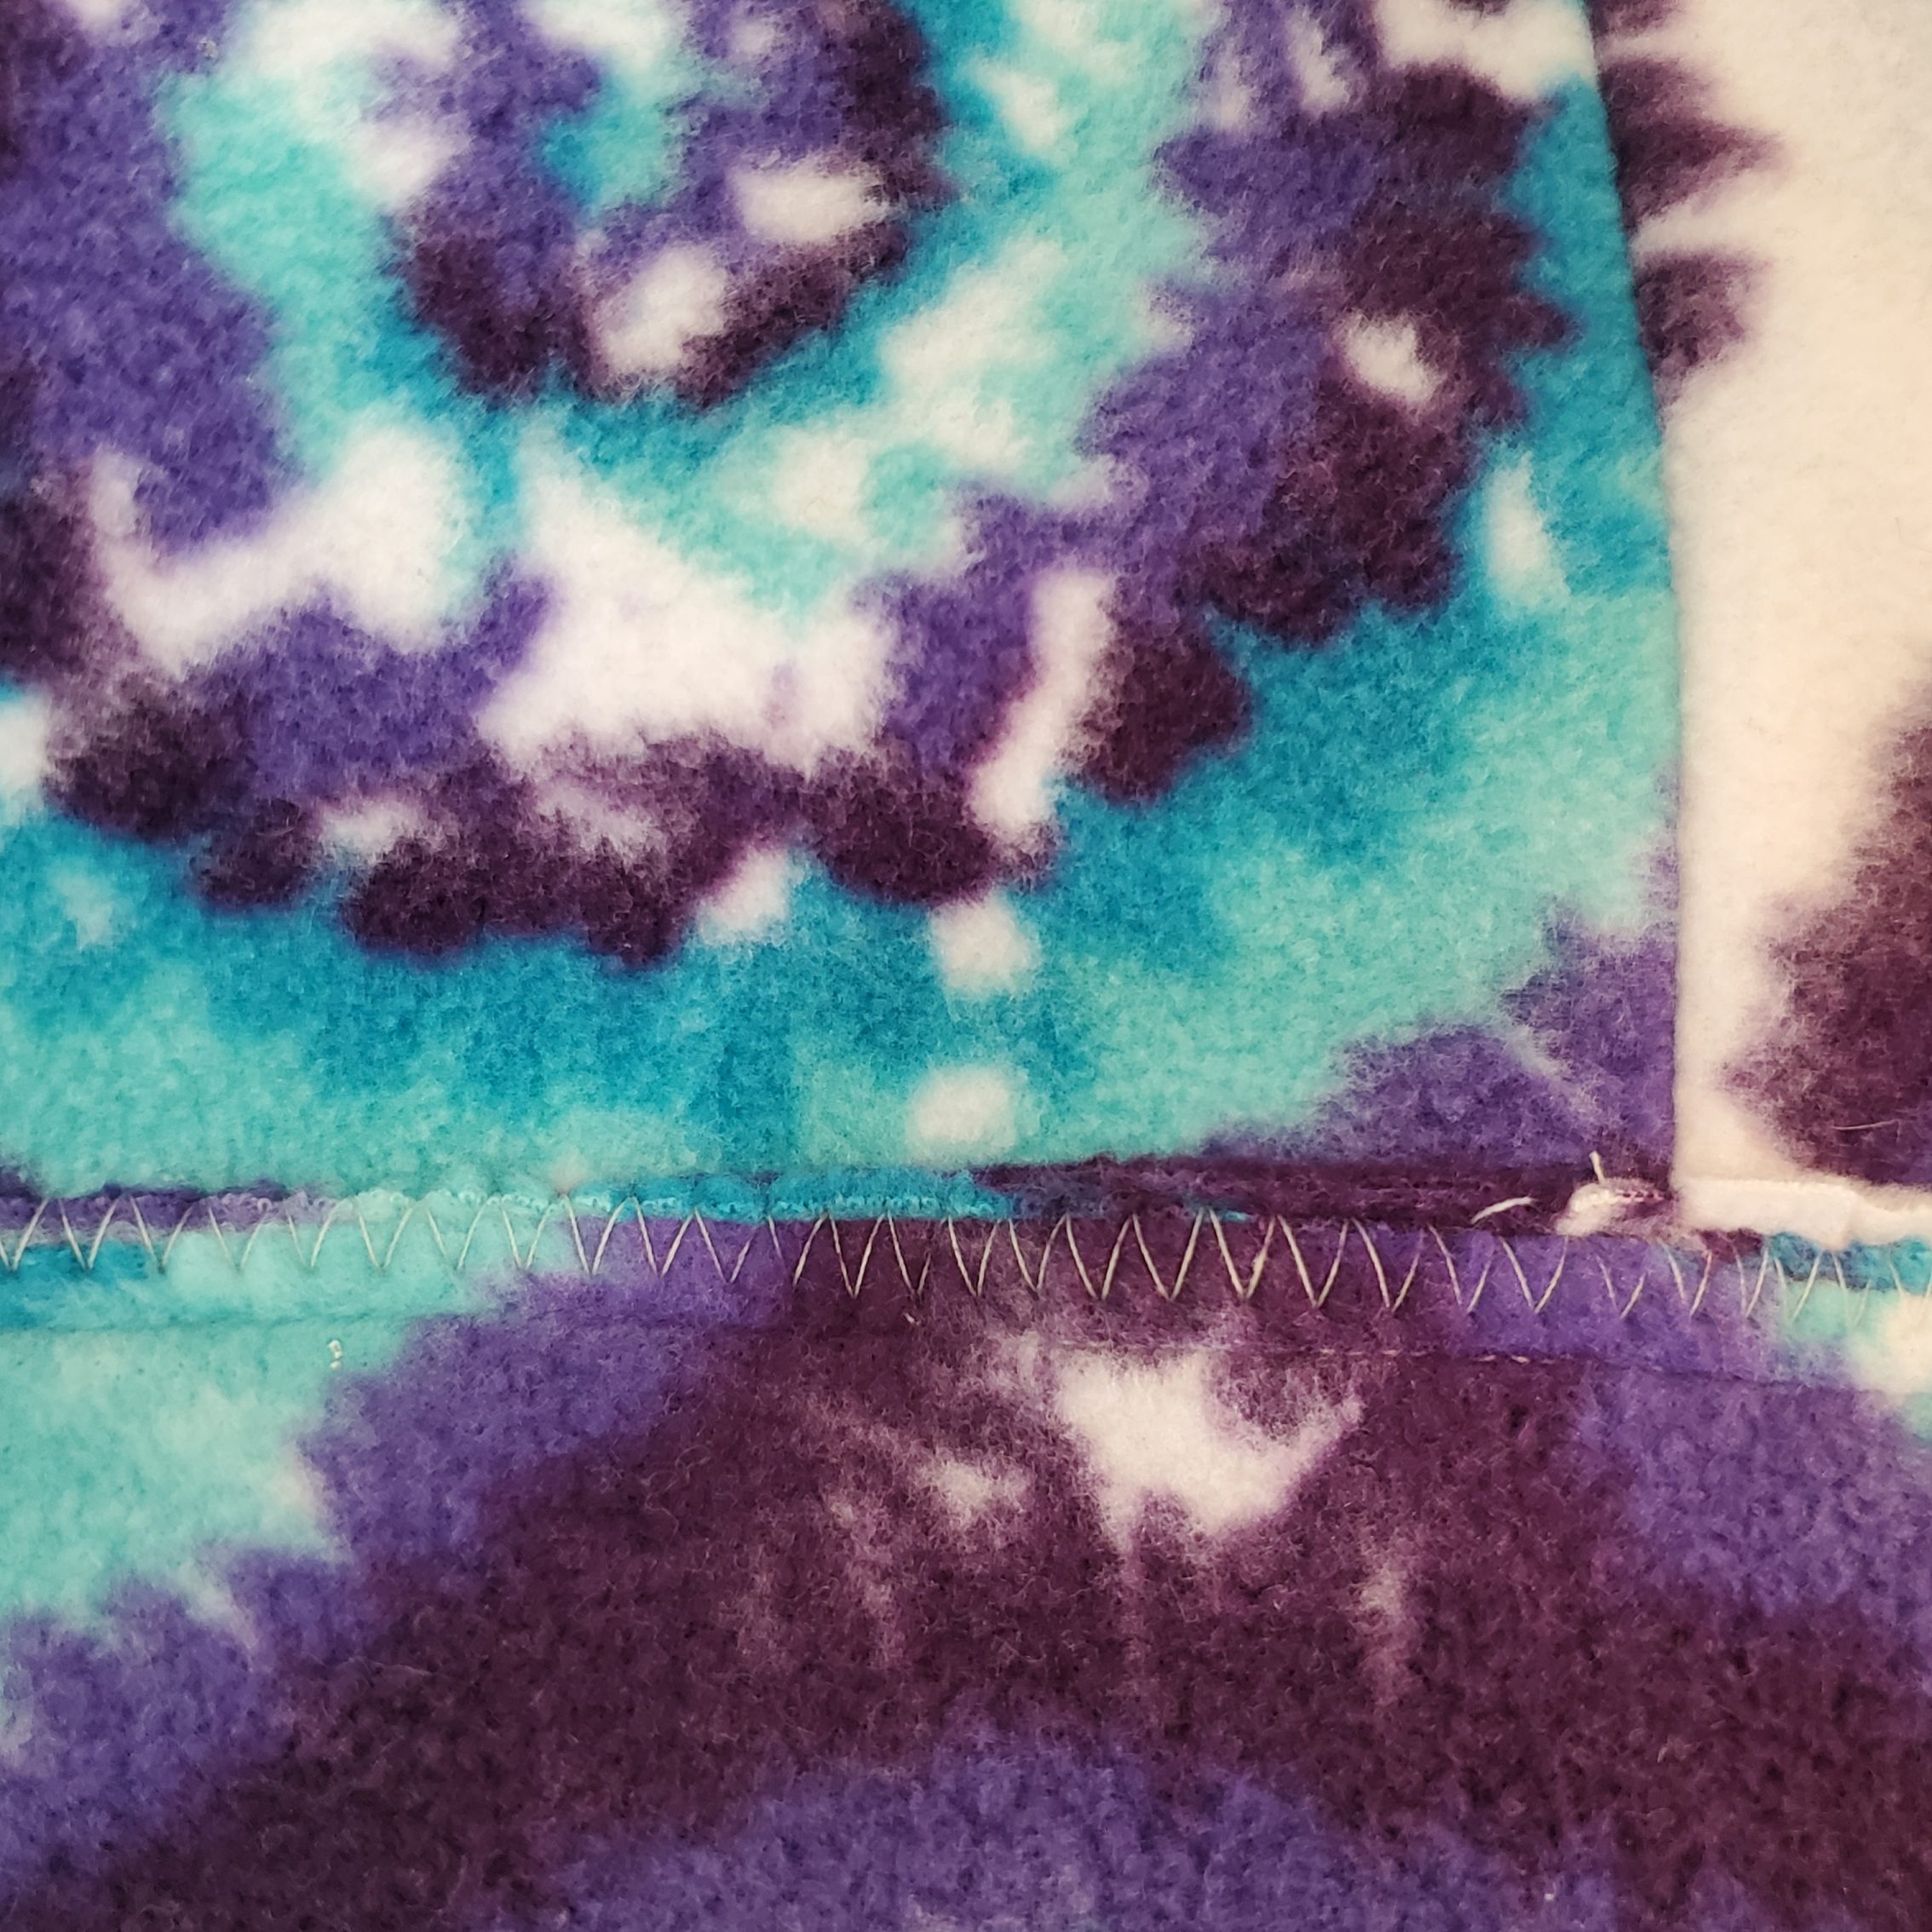
Turn your beanie right side out. Press the seam allowance up towards the beanie and with a wider zig zag stitch, stitch on top of the seam allowance. This will help to keep it down flat when you turn your cuff around.
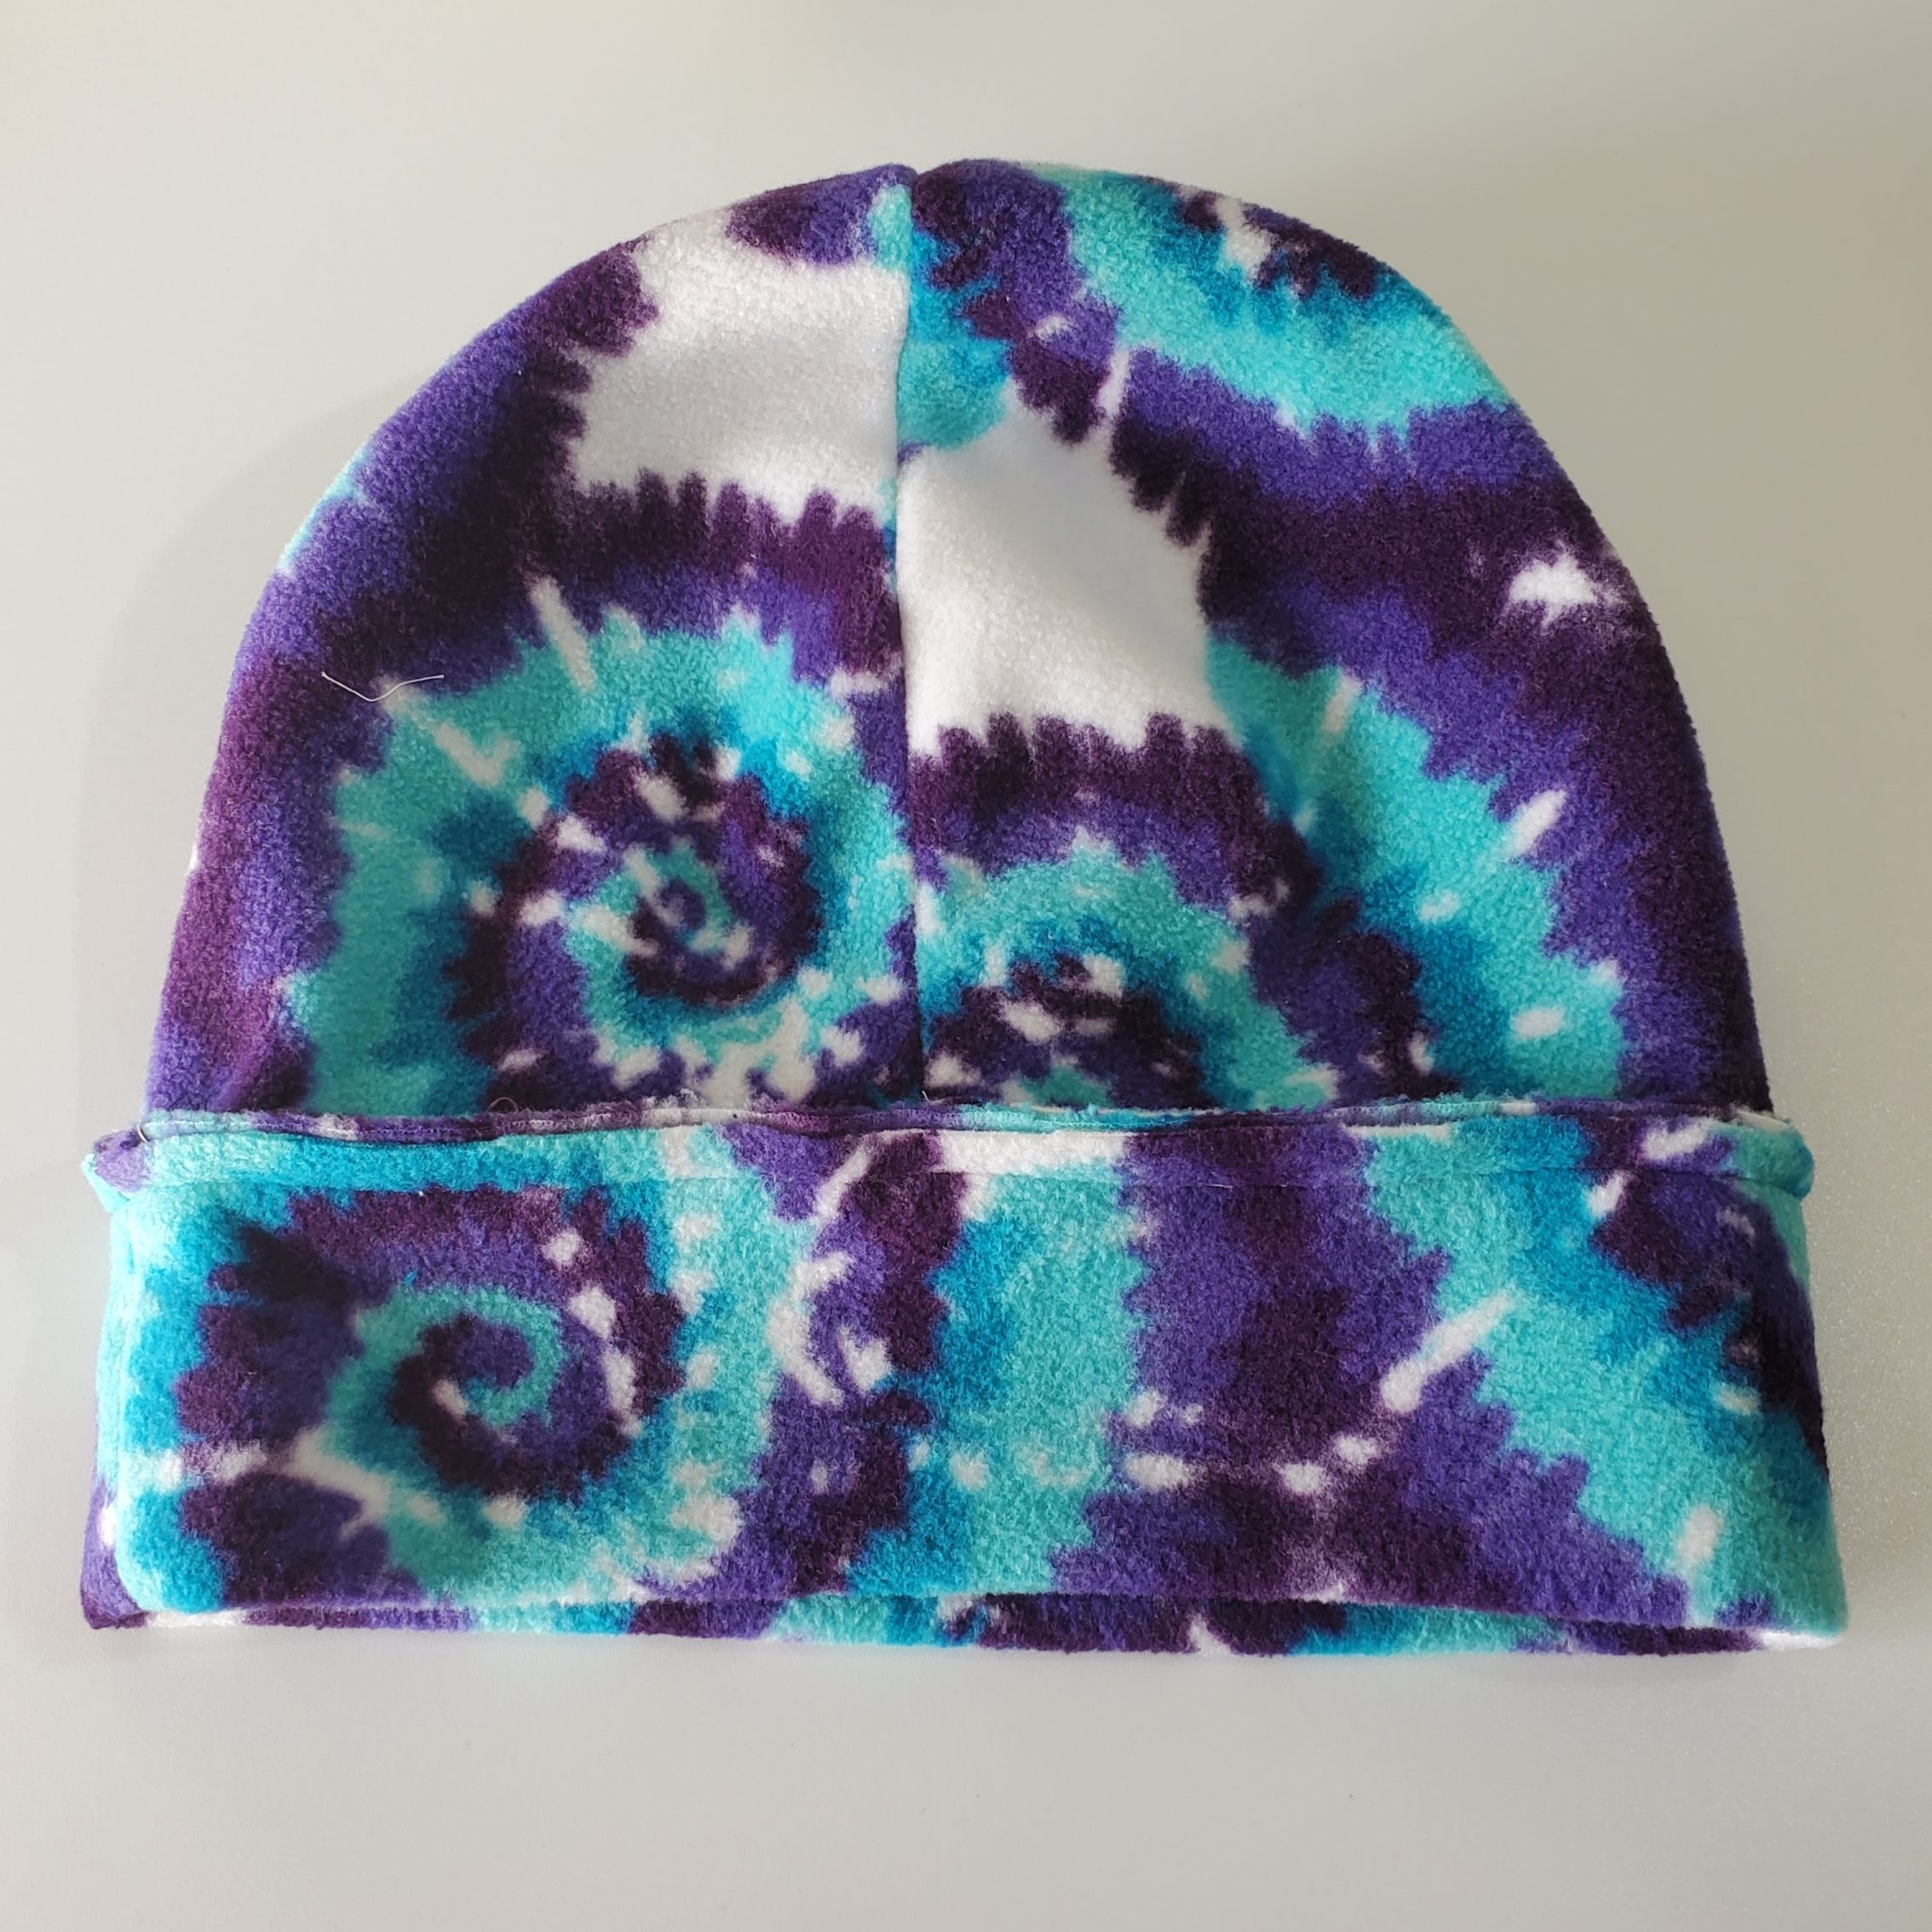
Flip your cuff up and over the right side of your beanie. I like to give it a little press to help the seam stay down, but you don’t have it.
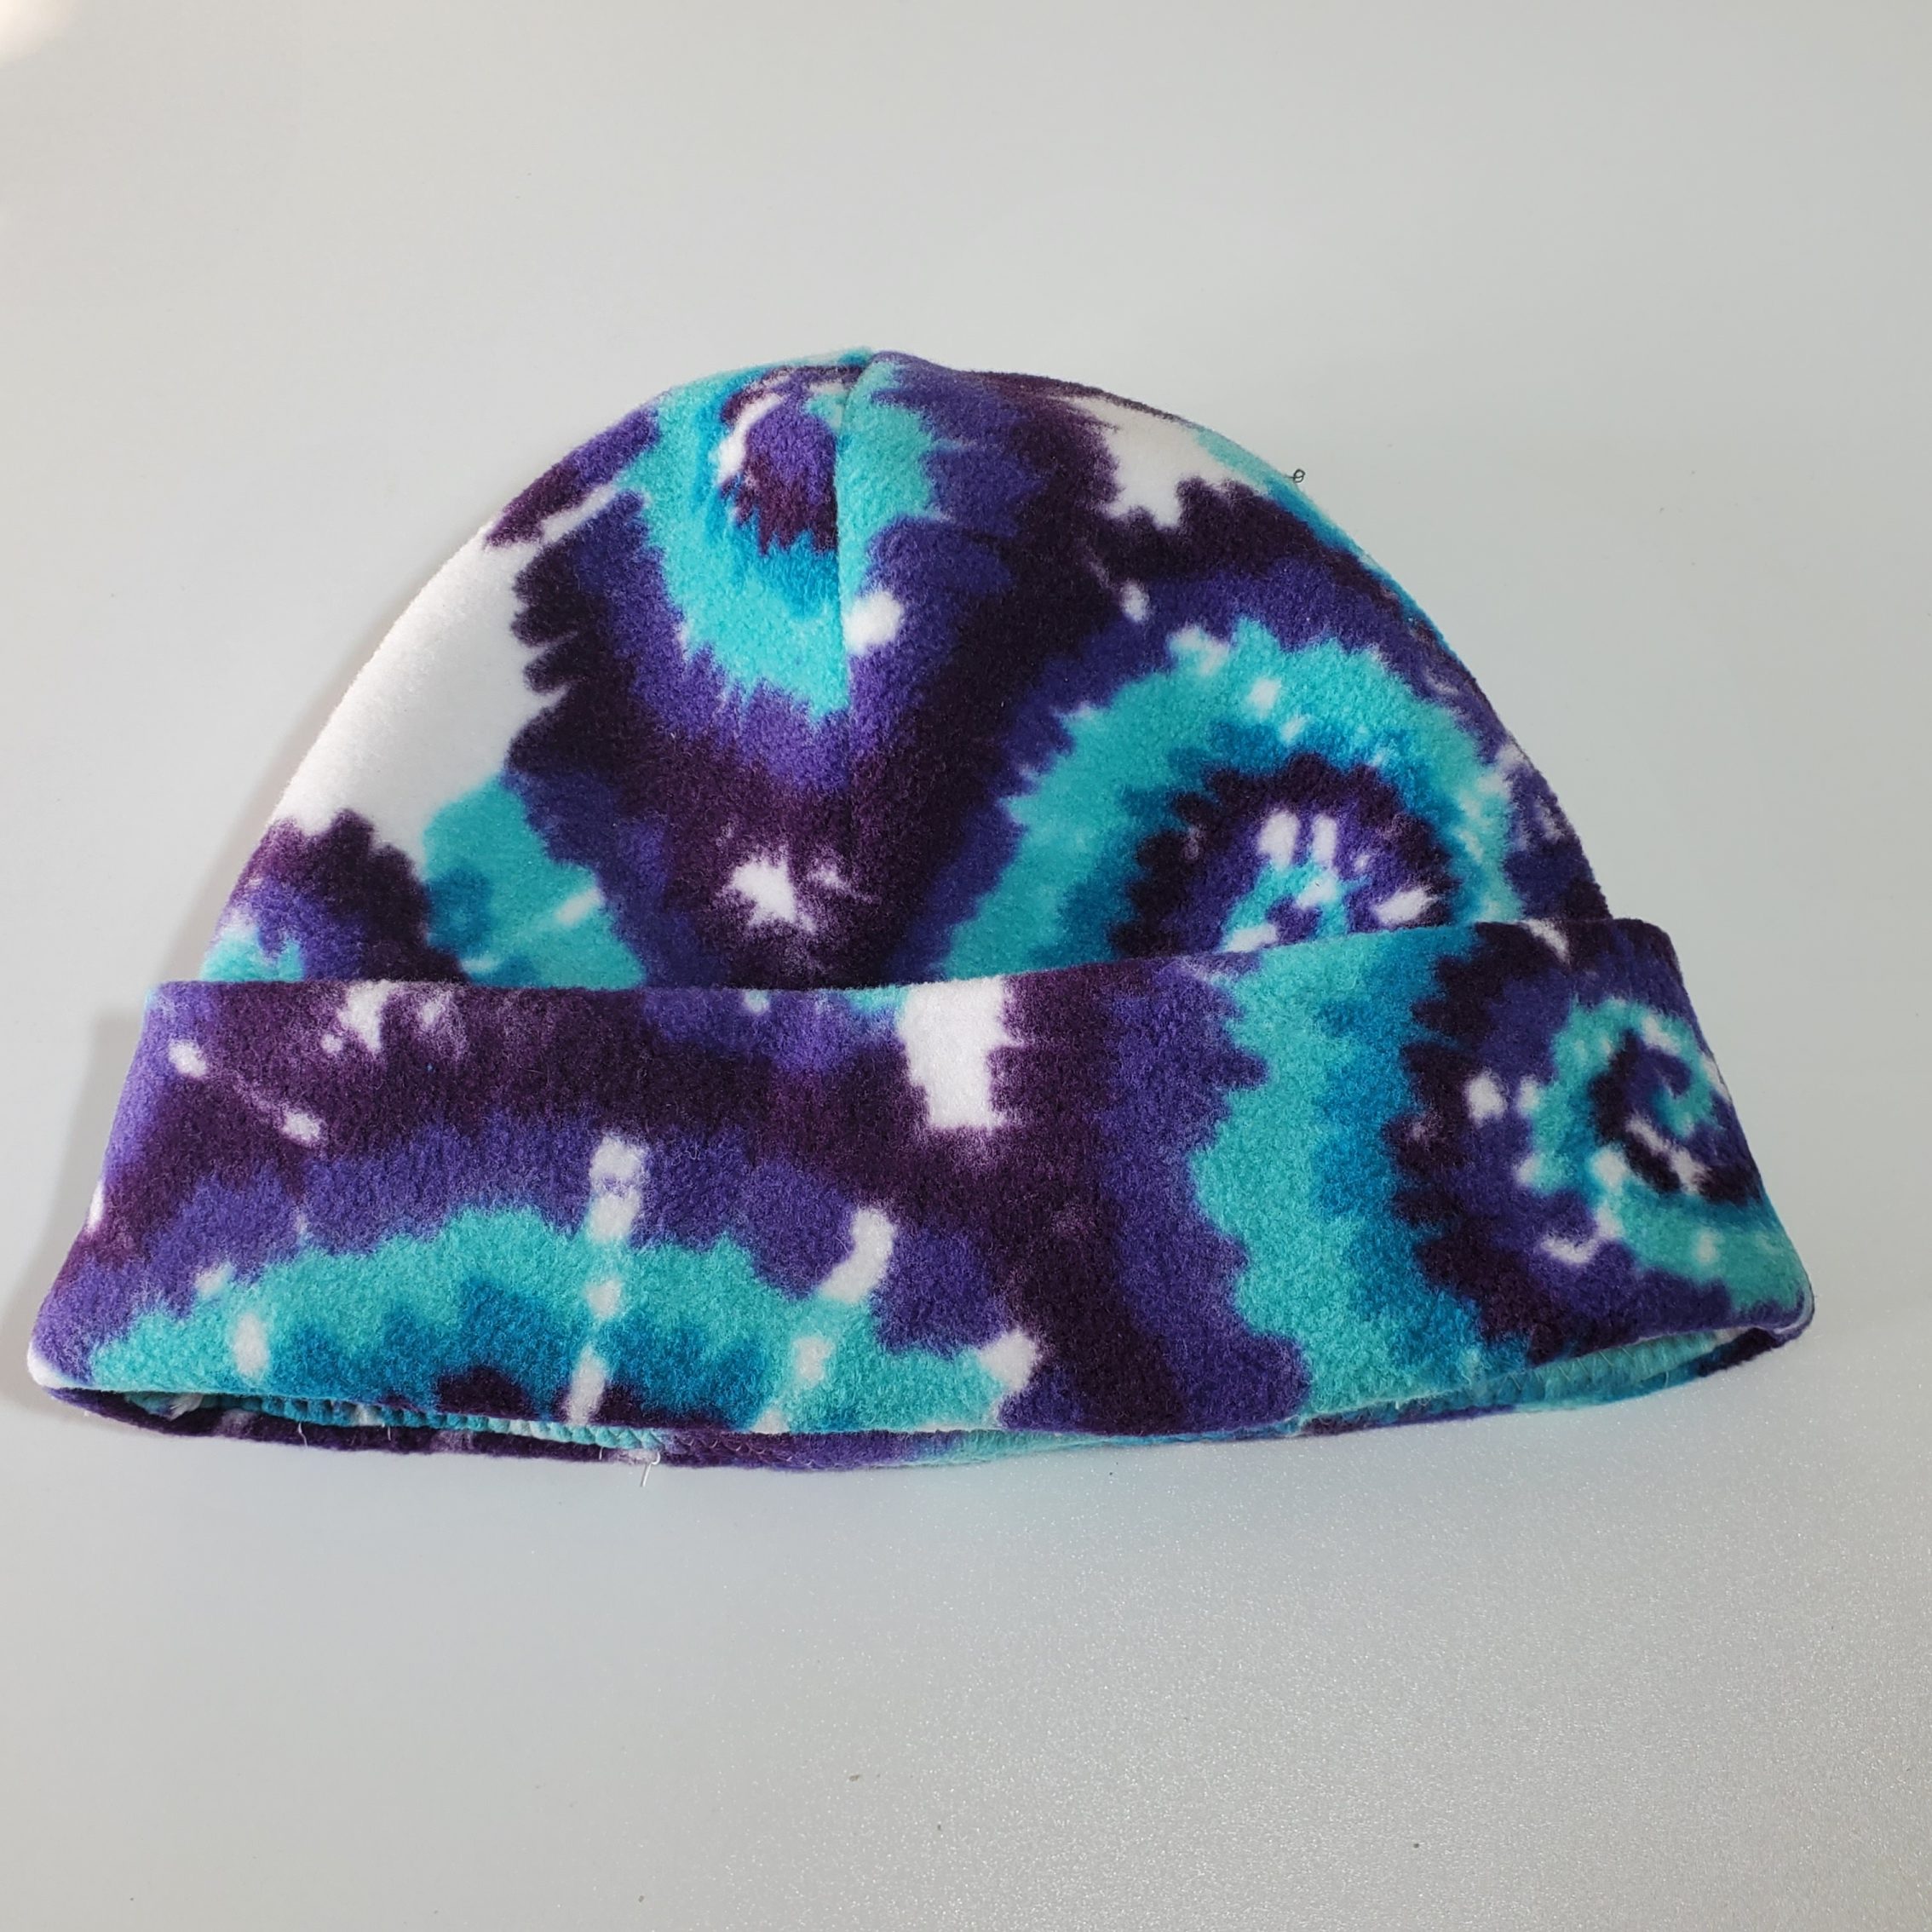
That’s all there is to making a beanie! Pretty simple, right?
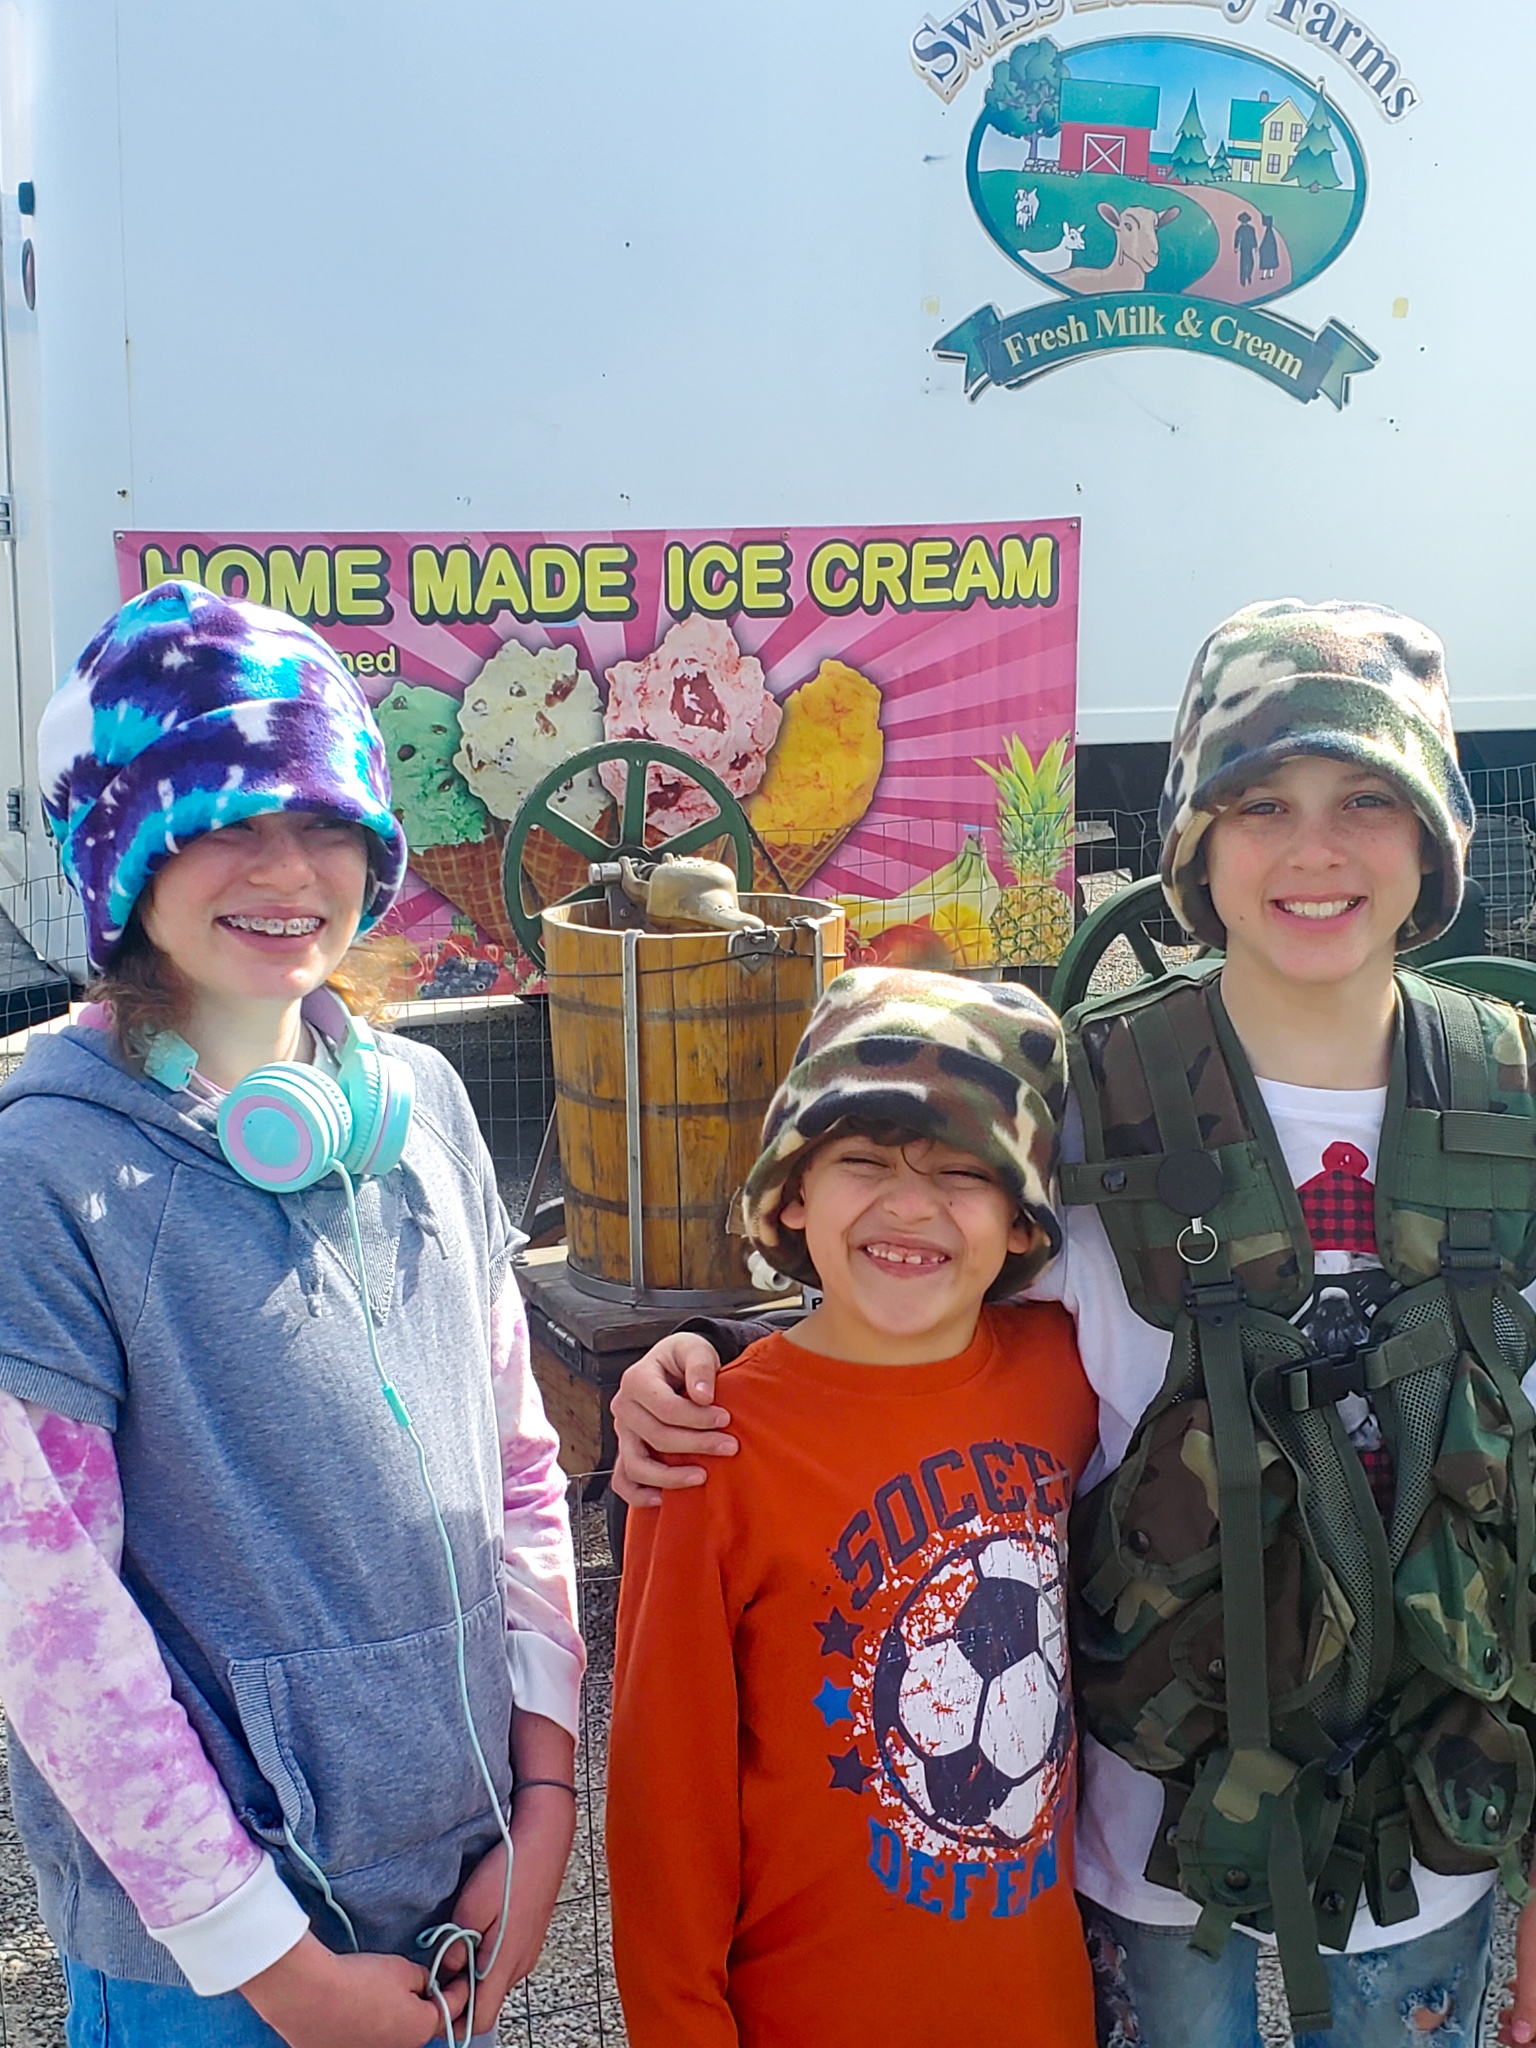
Once you get the hang of it, you can whip these up super quick! I made 3 of them (start to finish) in an hour, the day before we left on a little camping trip with our family. My son wanted matching beanies with his cousins. They were fun and simple to make!
Let me know in the comments how I did on explaining this tutorial. And let me know how you did making your beanies!!
Here are some things I used in this tutorial that might be helpful:


*Disclaimer: Sassy Cassy’s is an affiliate of Amazon.com. That means that I will get a small commission off of any purchases made through your clicks. Thank you for supporting my small business!
