
It’s officially Spooky Season!!
Actually, when does spooky season officially begin? We are still in September and maybe it isn’t truly spooky season until October, but the stores already have their Halloween stuff out and my house is officially decorated (as of last weekend), so I’m declaring it spooky season 😉
I just love this time of year! I love the feeling in the air that comes with the changing seasons (okay, so maybe we don’t get a lot of that in So Cal). But fall is here, apple picking and pumpkin spice; Halloween and Thanksgiving and Christmas are around the corner…it’s the happiest time of the year for me. I just love it!!
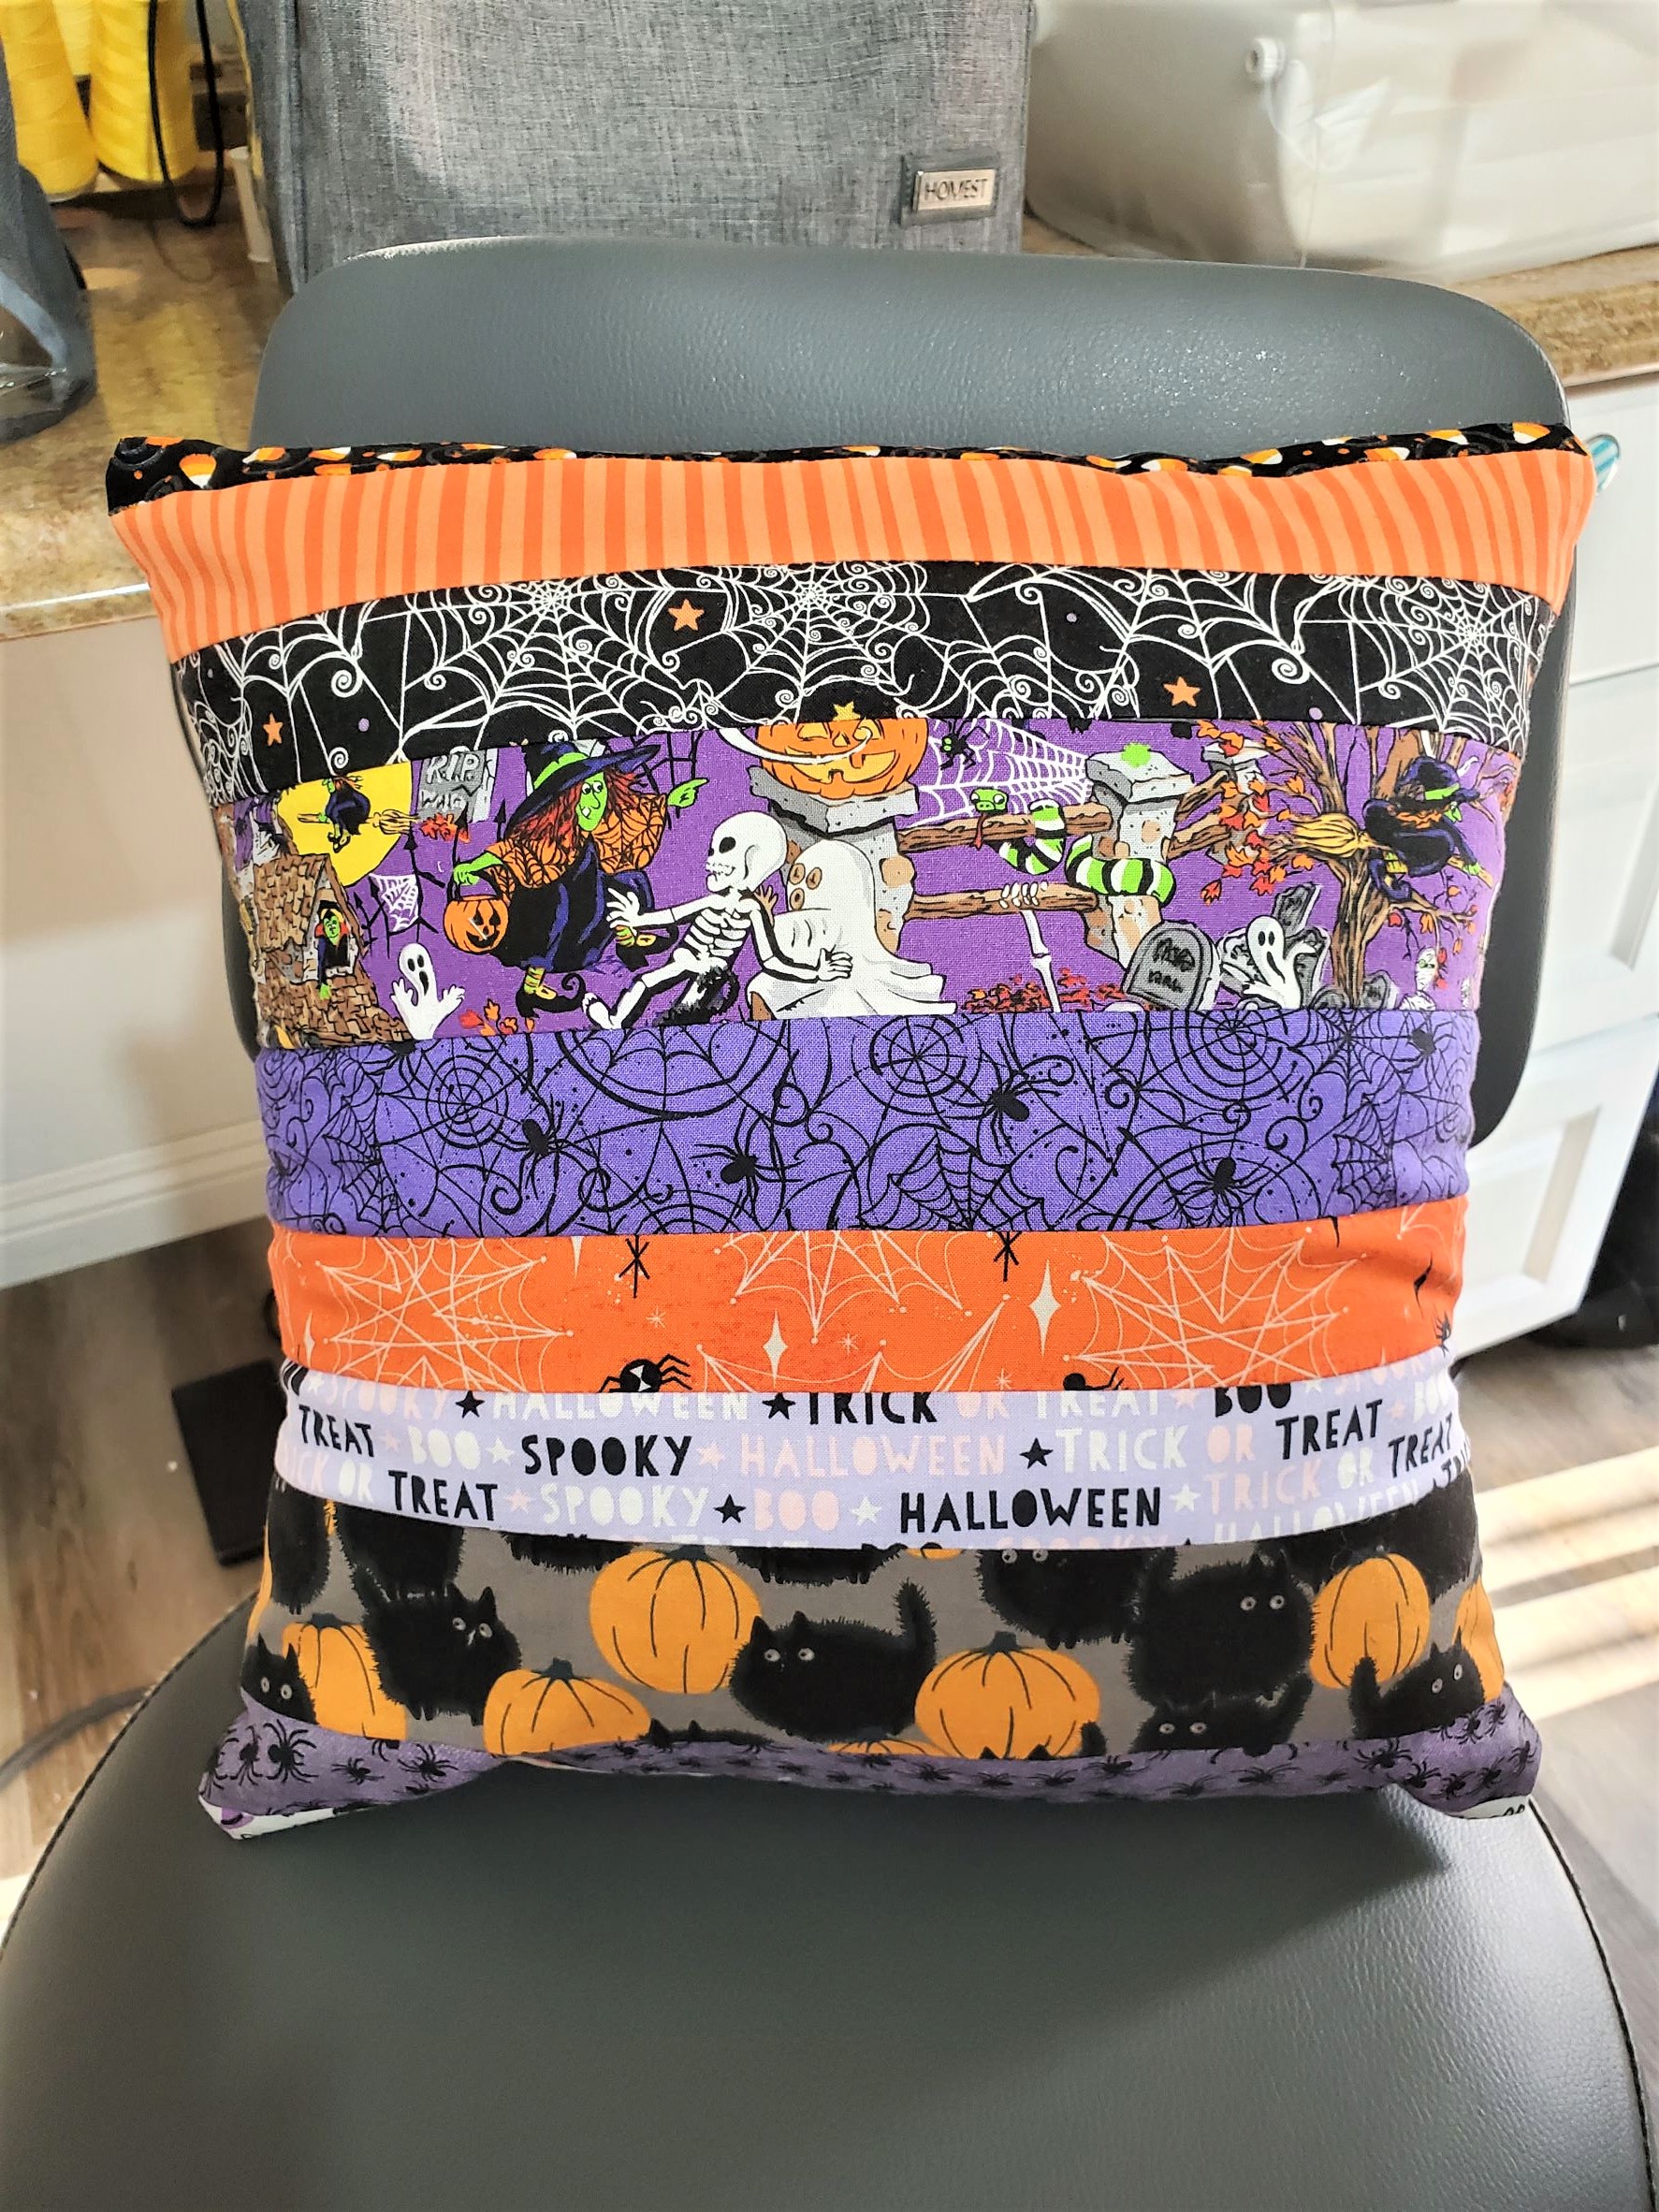
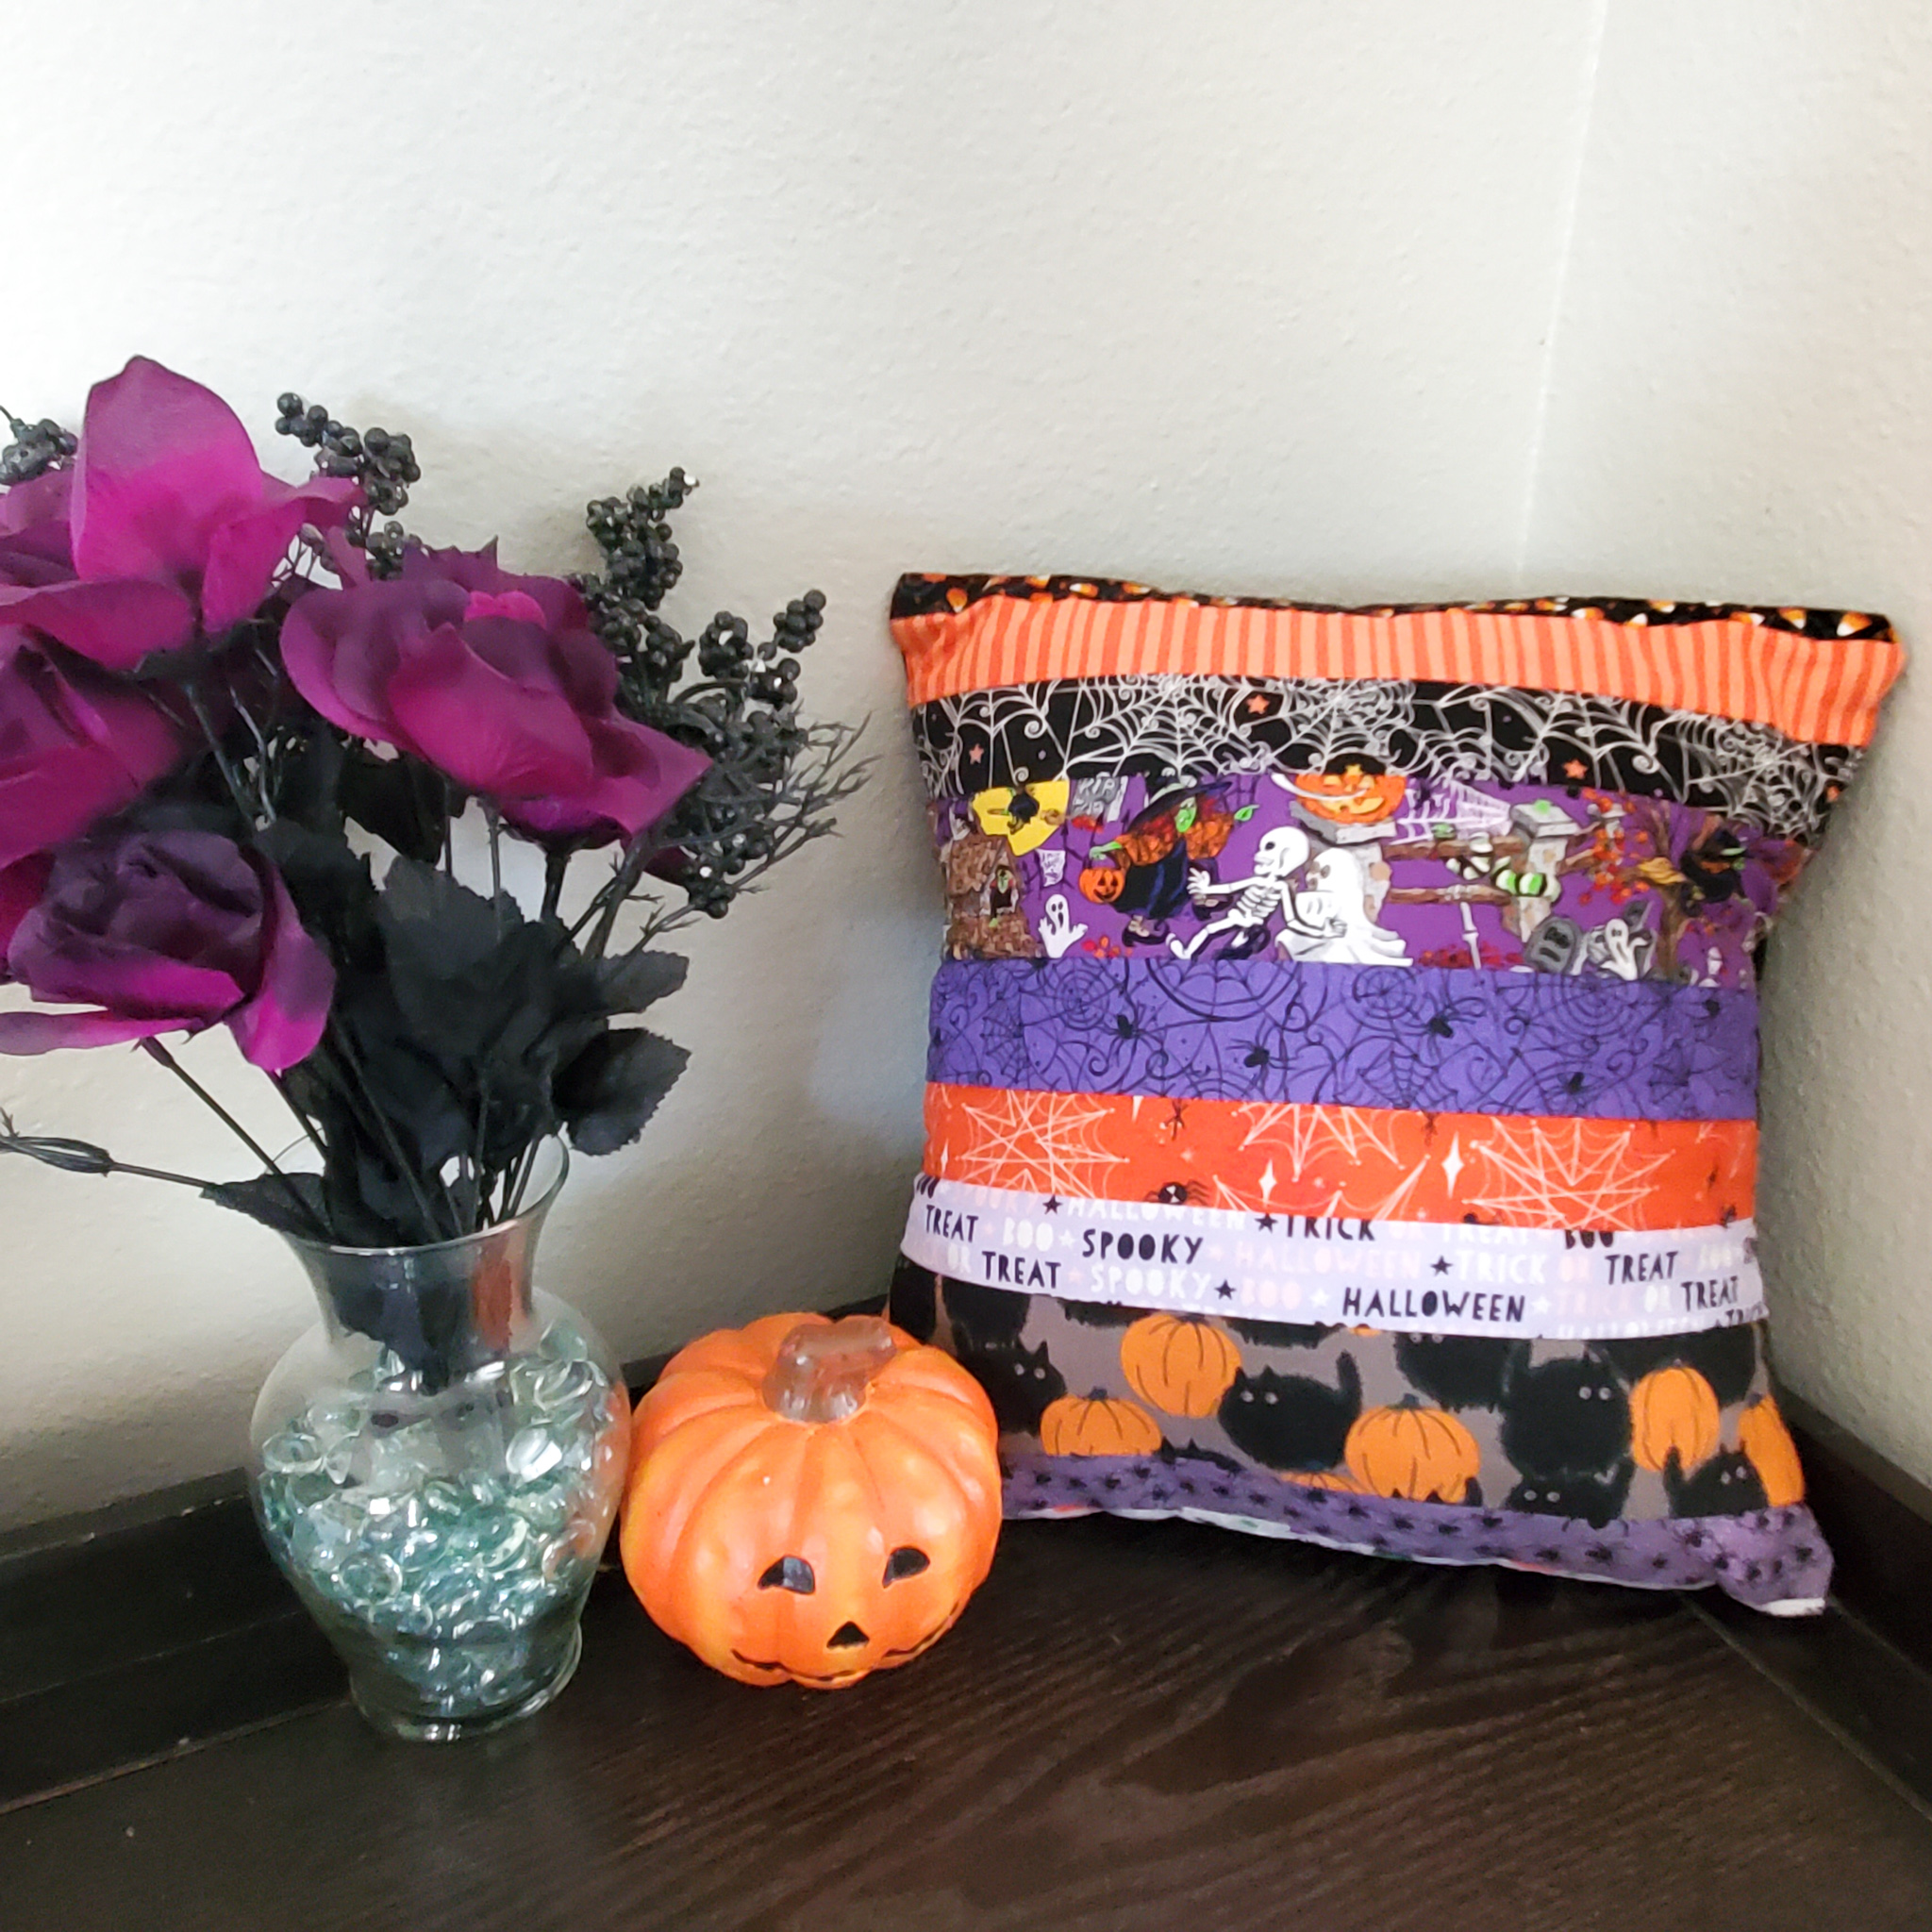
I threw out a couple of ideas to my Sewing 2 class at the learning center, and scrappy Halloween pillows was a unanimous vote! Apparently, these kids love Halloween just as much as I do! I originally planned to save it for a project in October, but then I thought about it and it made a lot more sense for them to make it before October so that they could enjoy it that much longer. They finished up their scrappy Halloween pillows this past week and they all turned out so cute. What do you think? It’s so fun to see the different combinations that they all came up with. (Don’t mind my awkwardness in the middle of this photo; one of the moms thought I should jump in the picture lol).

Sewing a scrappy Halloween pillow is pretty quick and easy to do. The longest part is probably prepping everything. Having a rotary mat and rotary cutters make the job a heck of a lot easier! If you don’t have a mat and cutter, you can cut your scraps with scissors.
I’m sure it’s pretty obvious but I’m going to say it anyway: you can use any fabric scraps for this project!! Halloween, Christmas, Valentine’s Day…or just any old scraps you have laying around! The possibilities are endless! They are cute to make for any occassion!
Let’s Get Started!
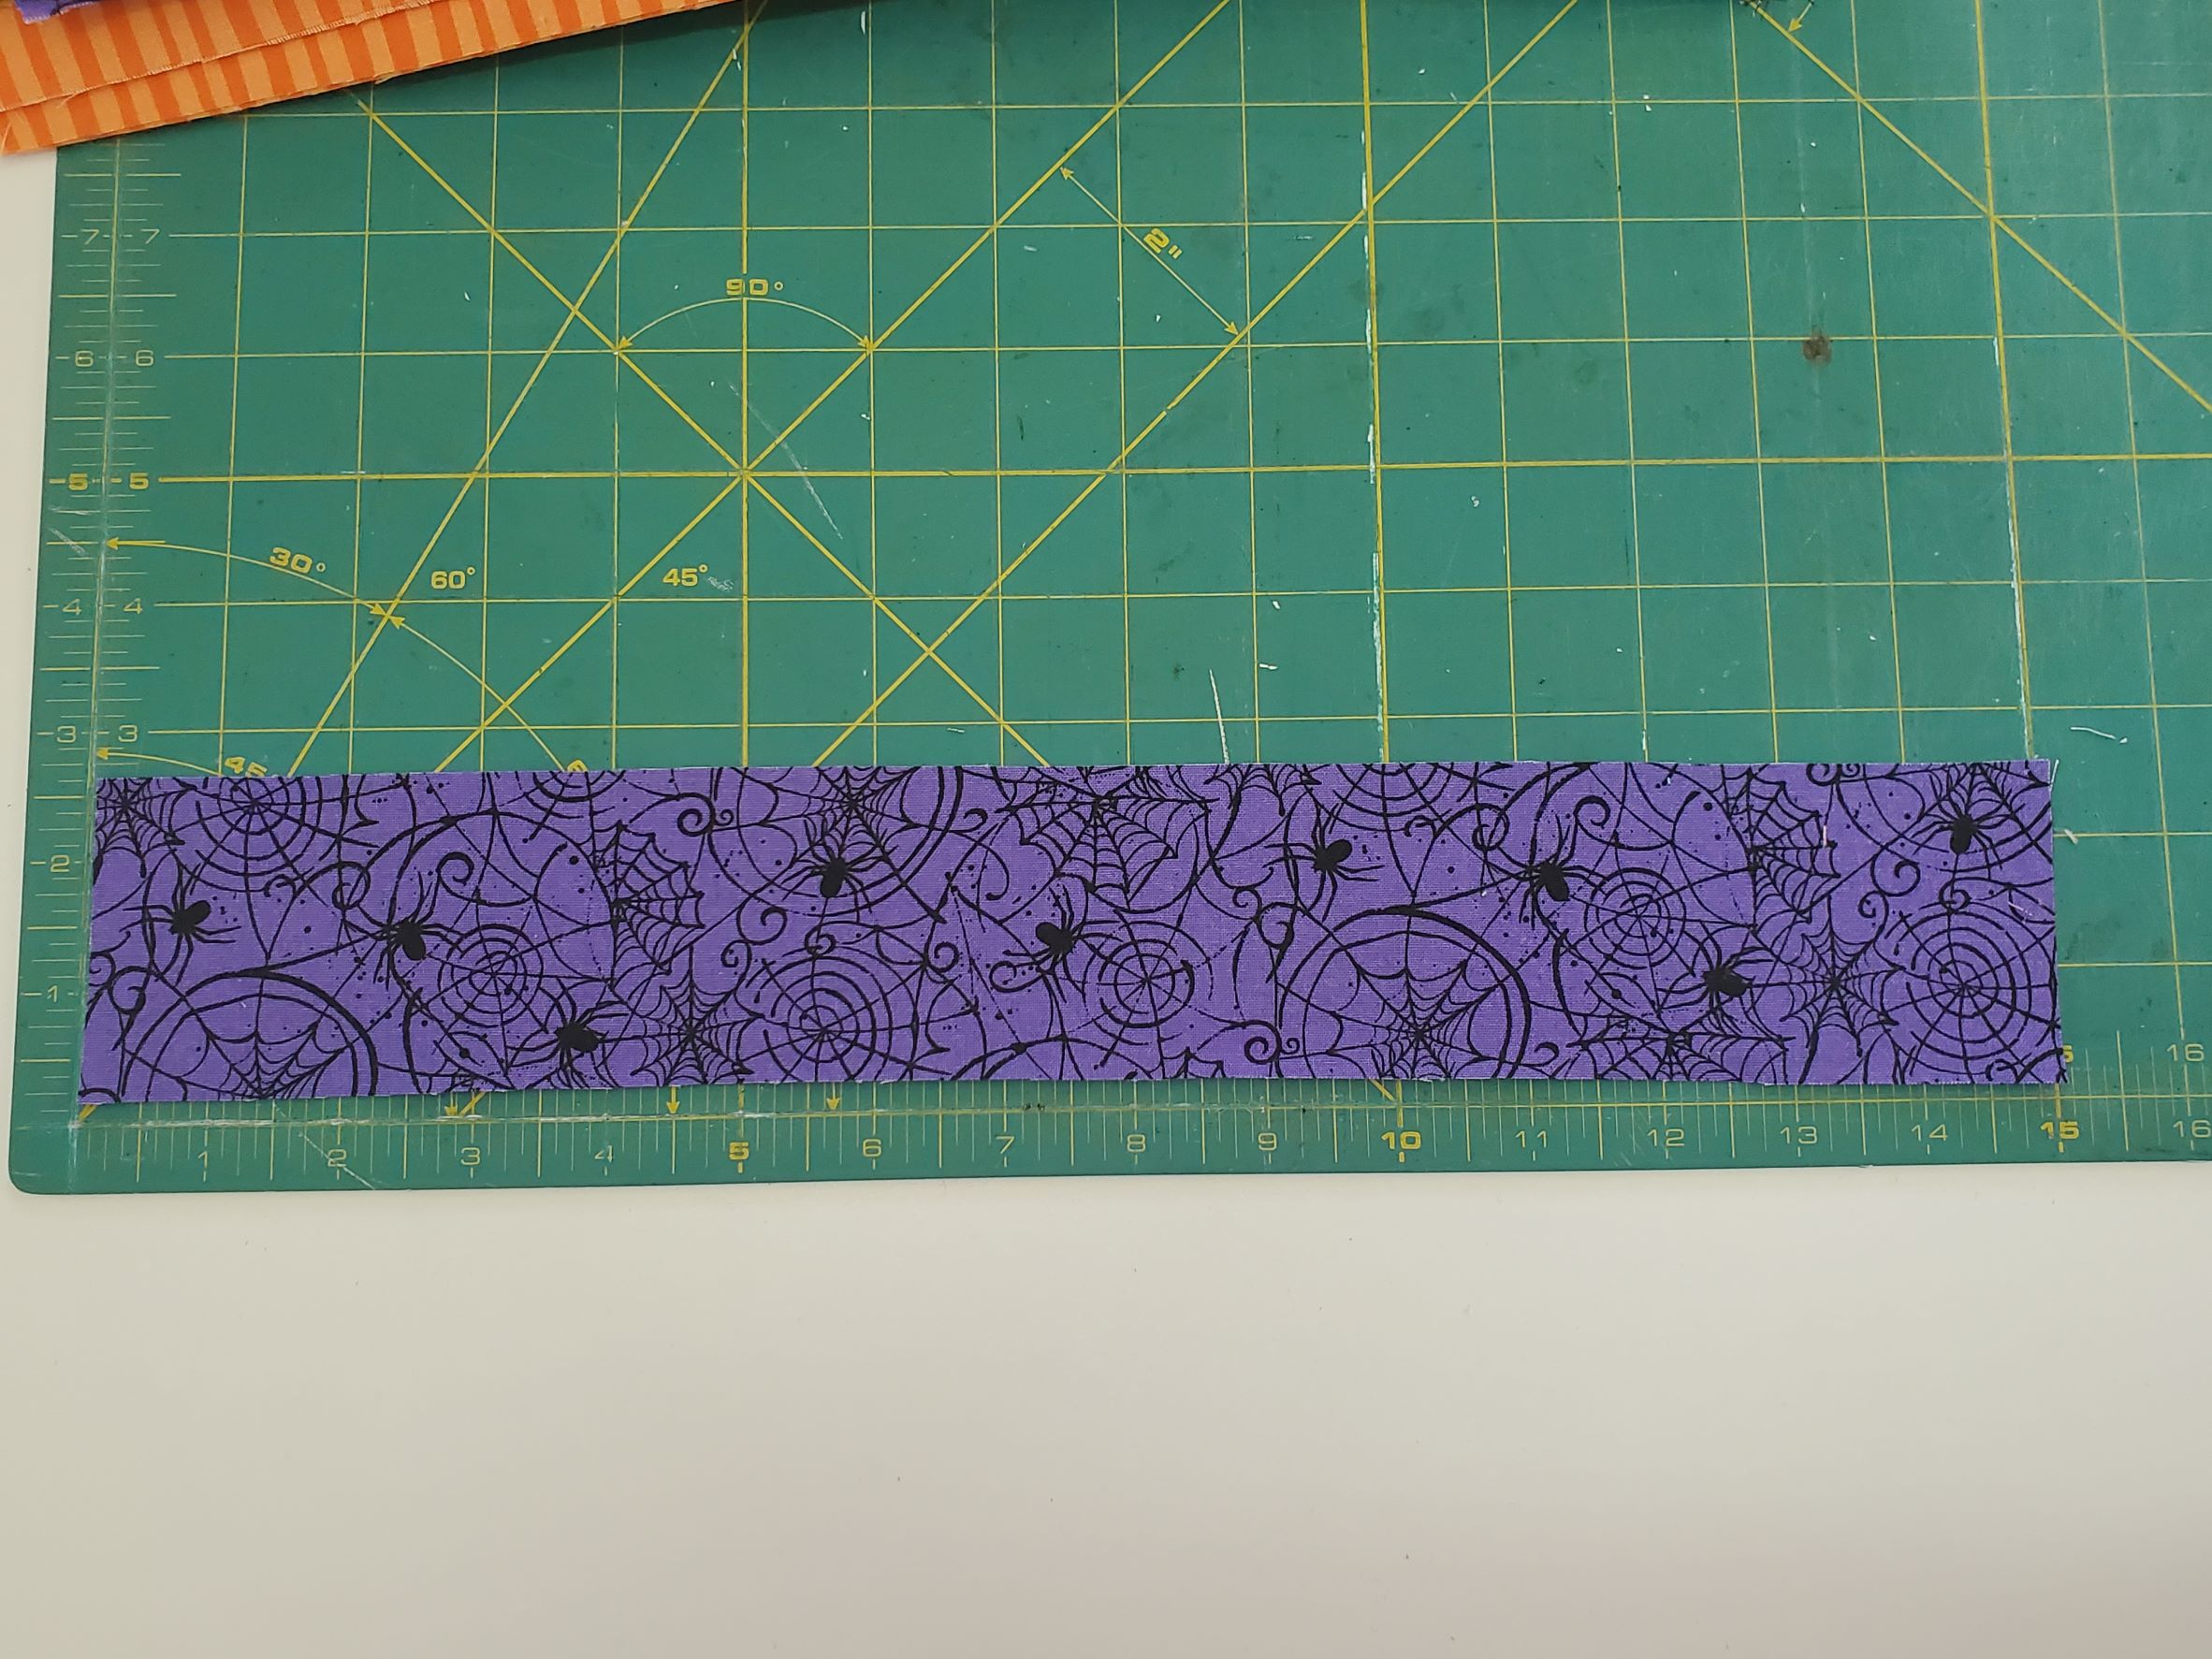
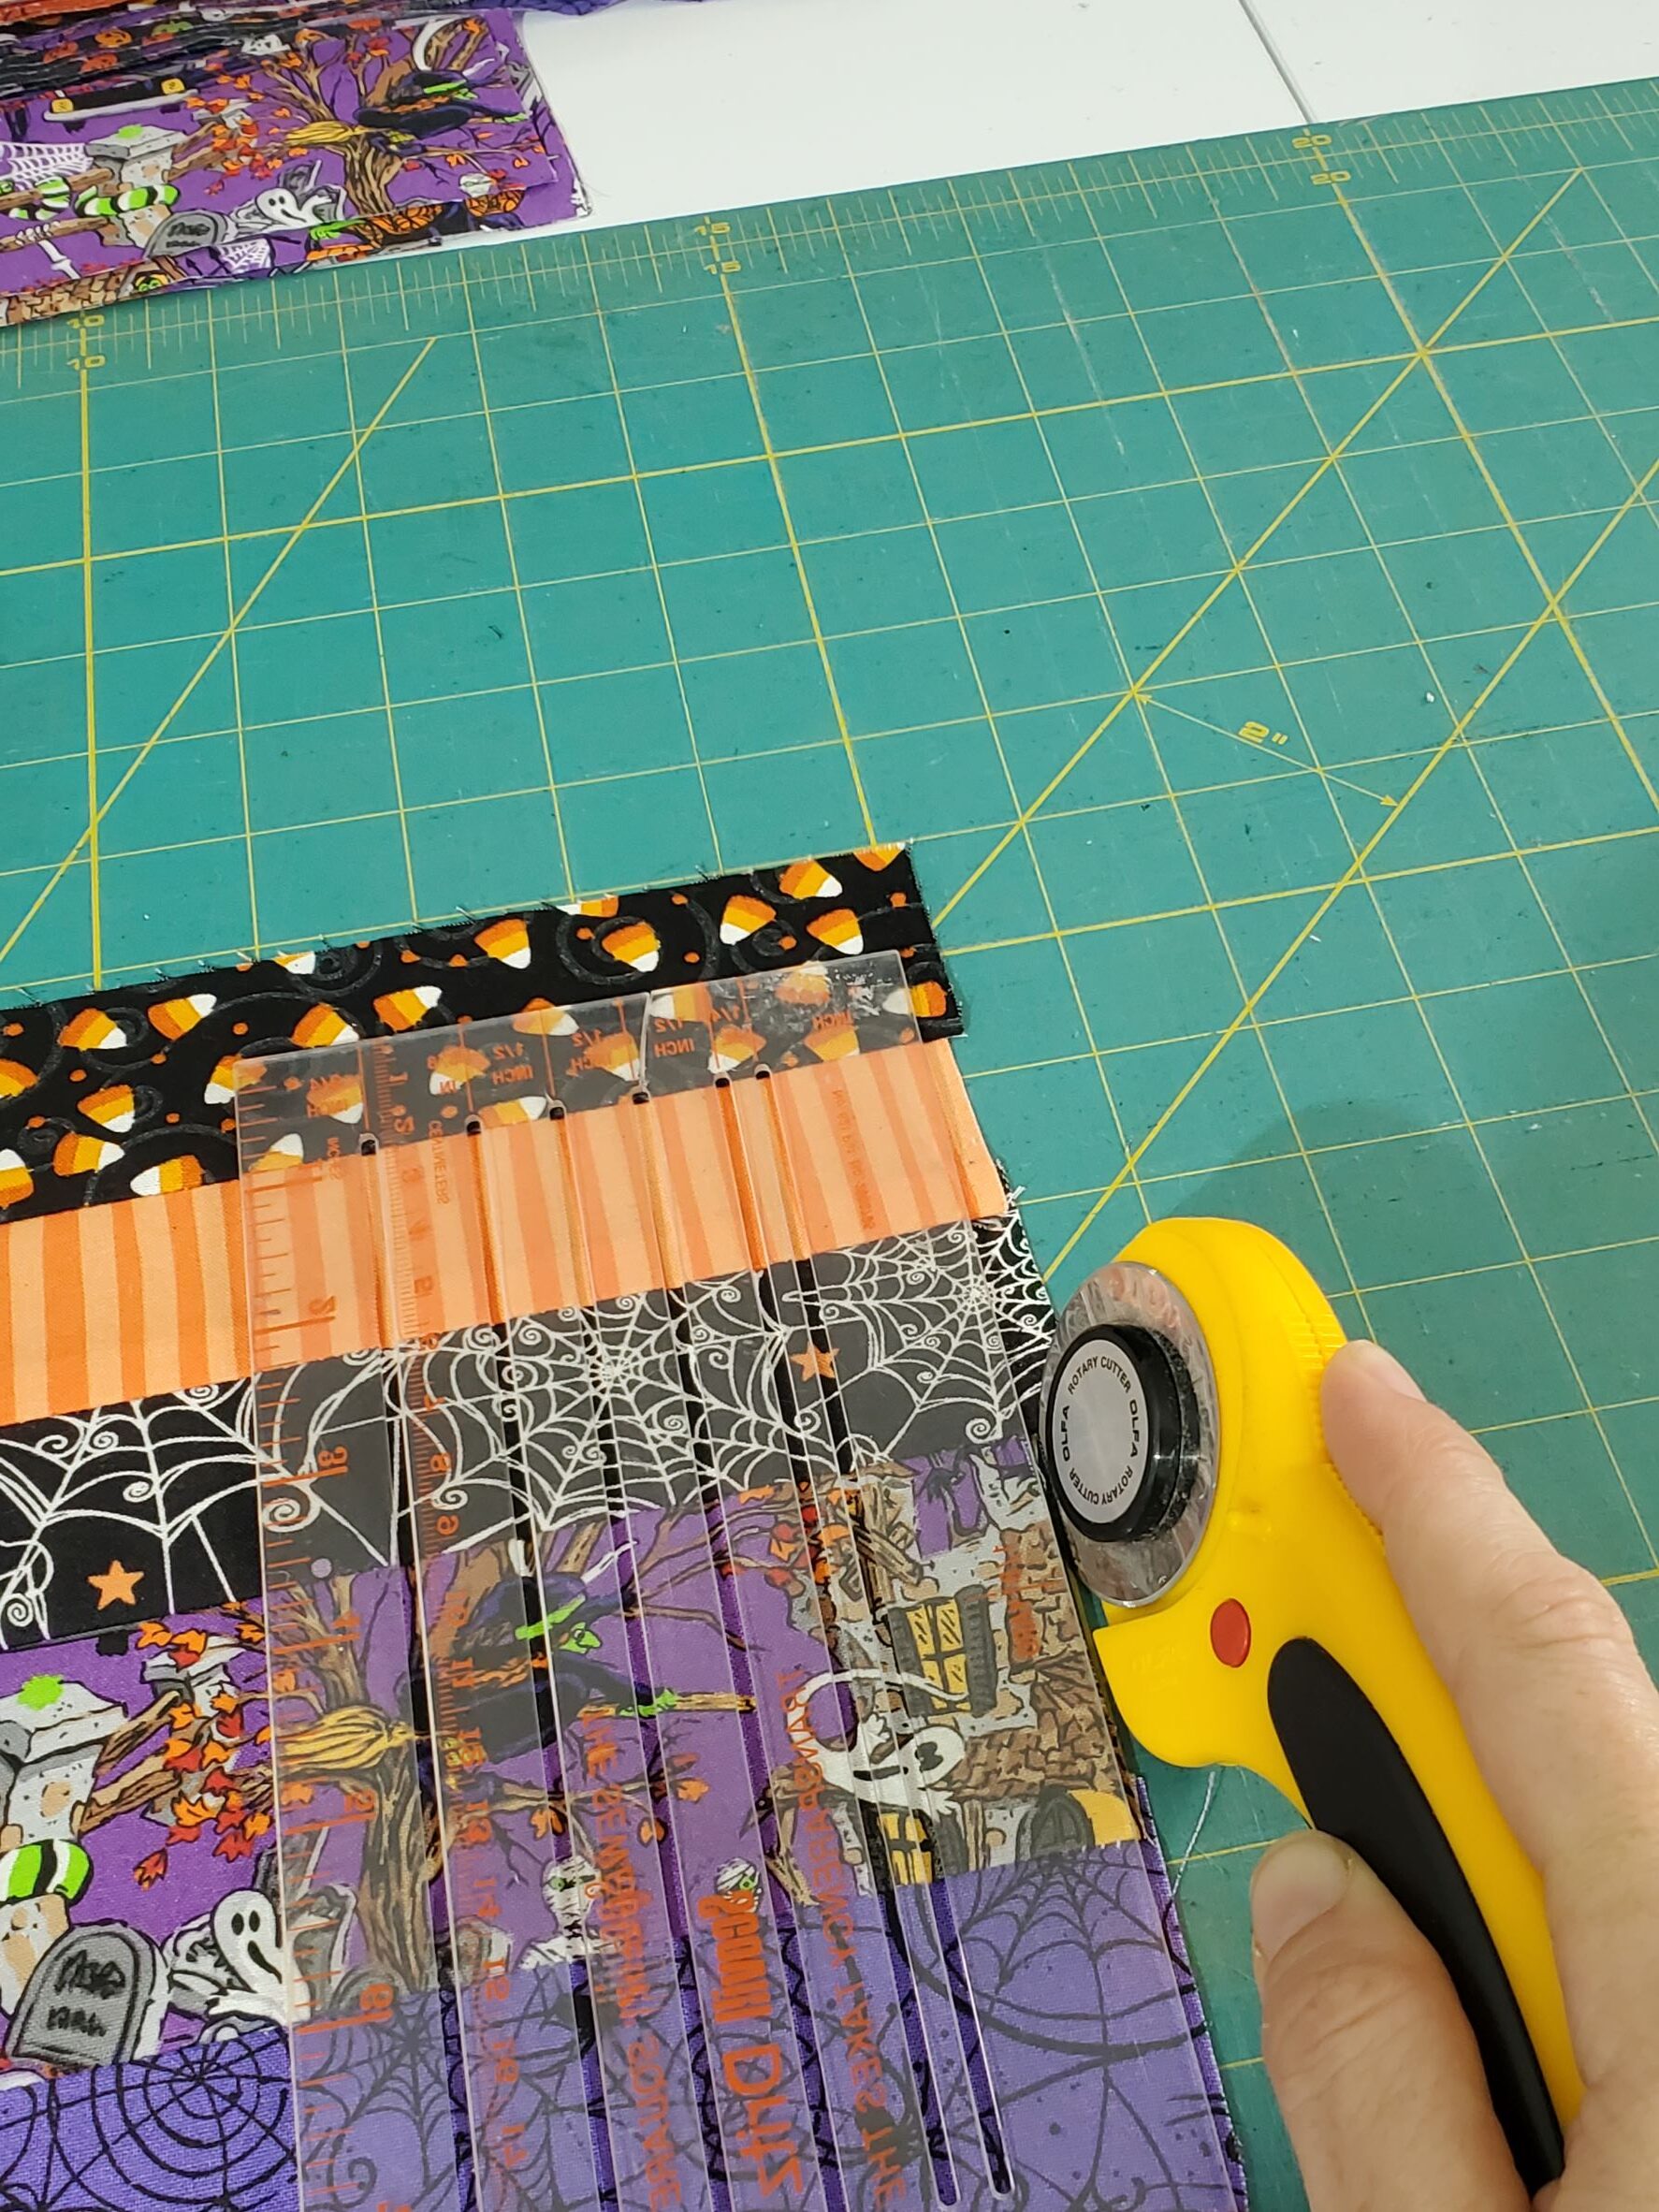
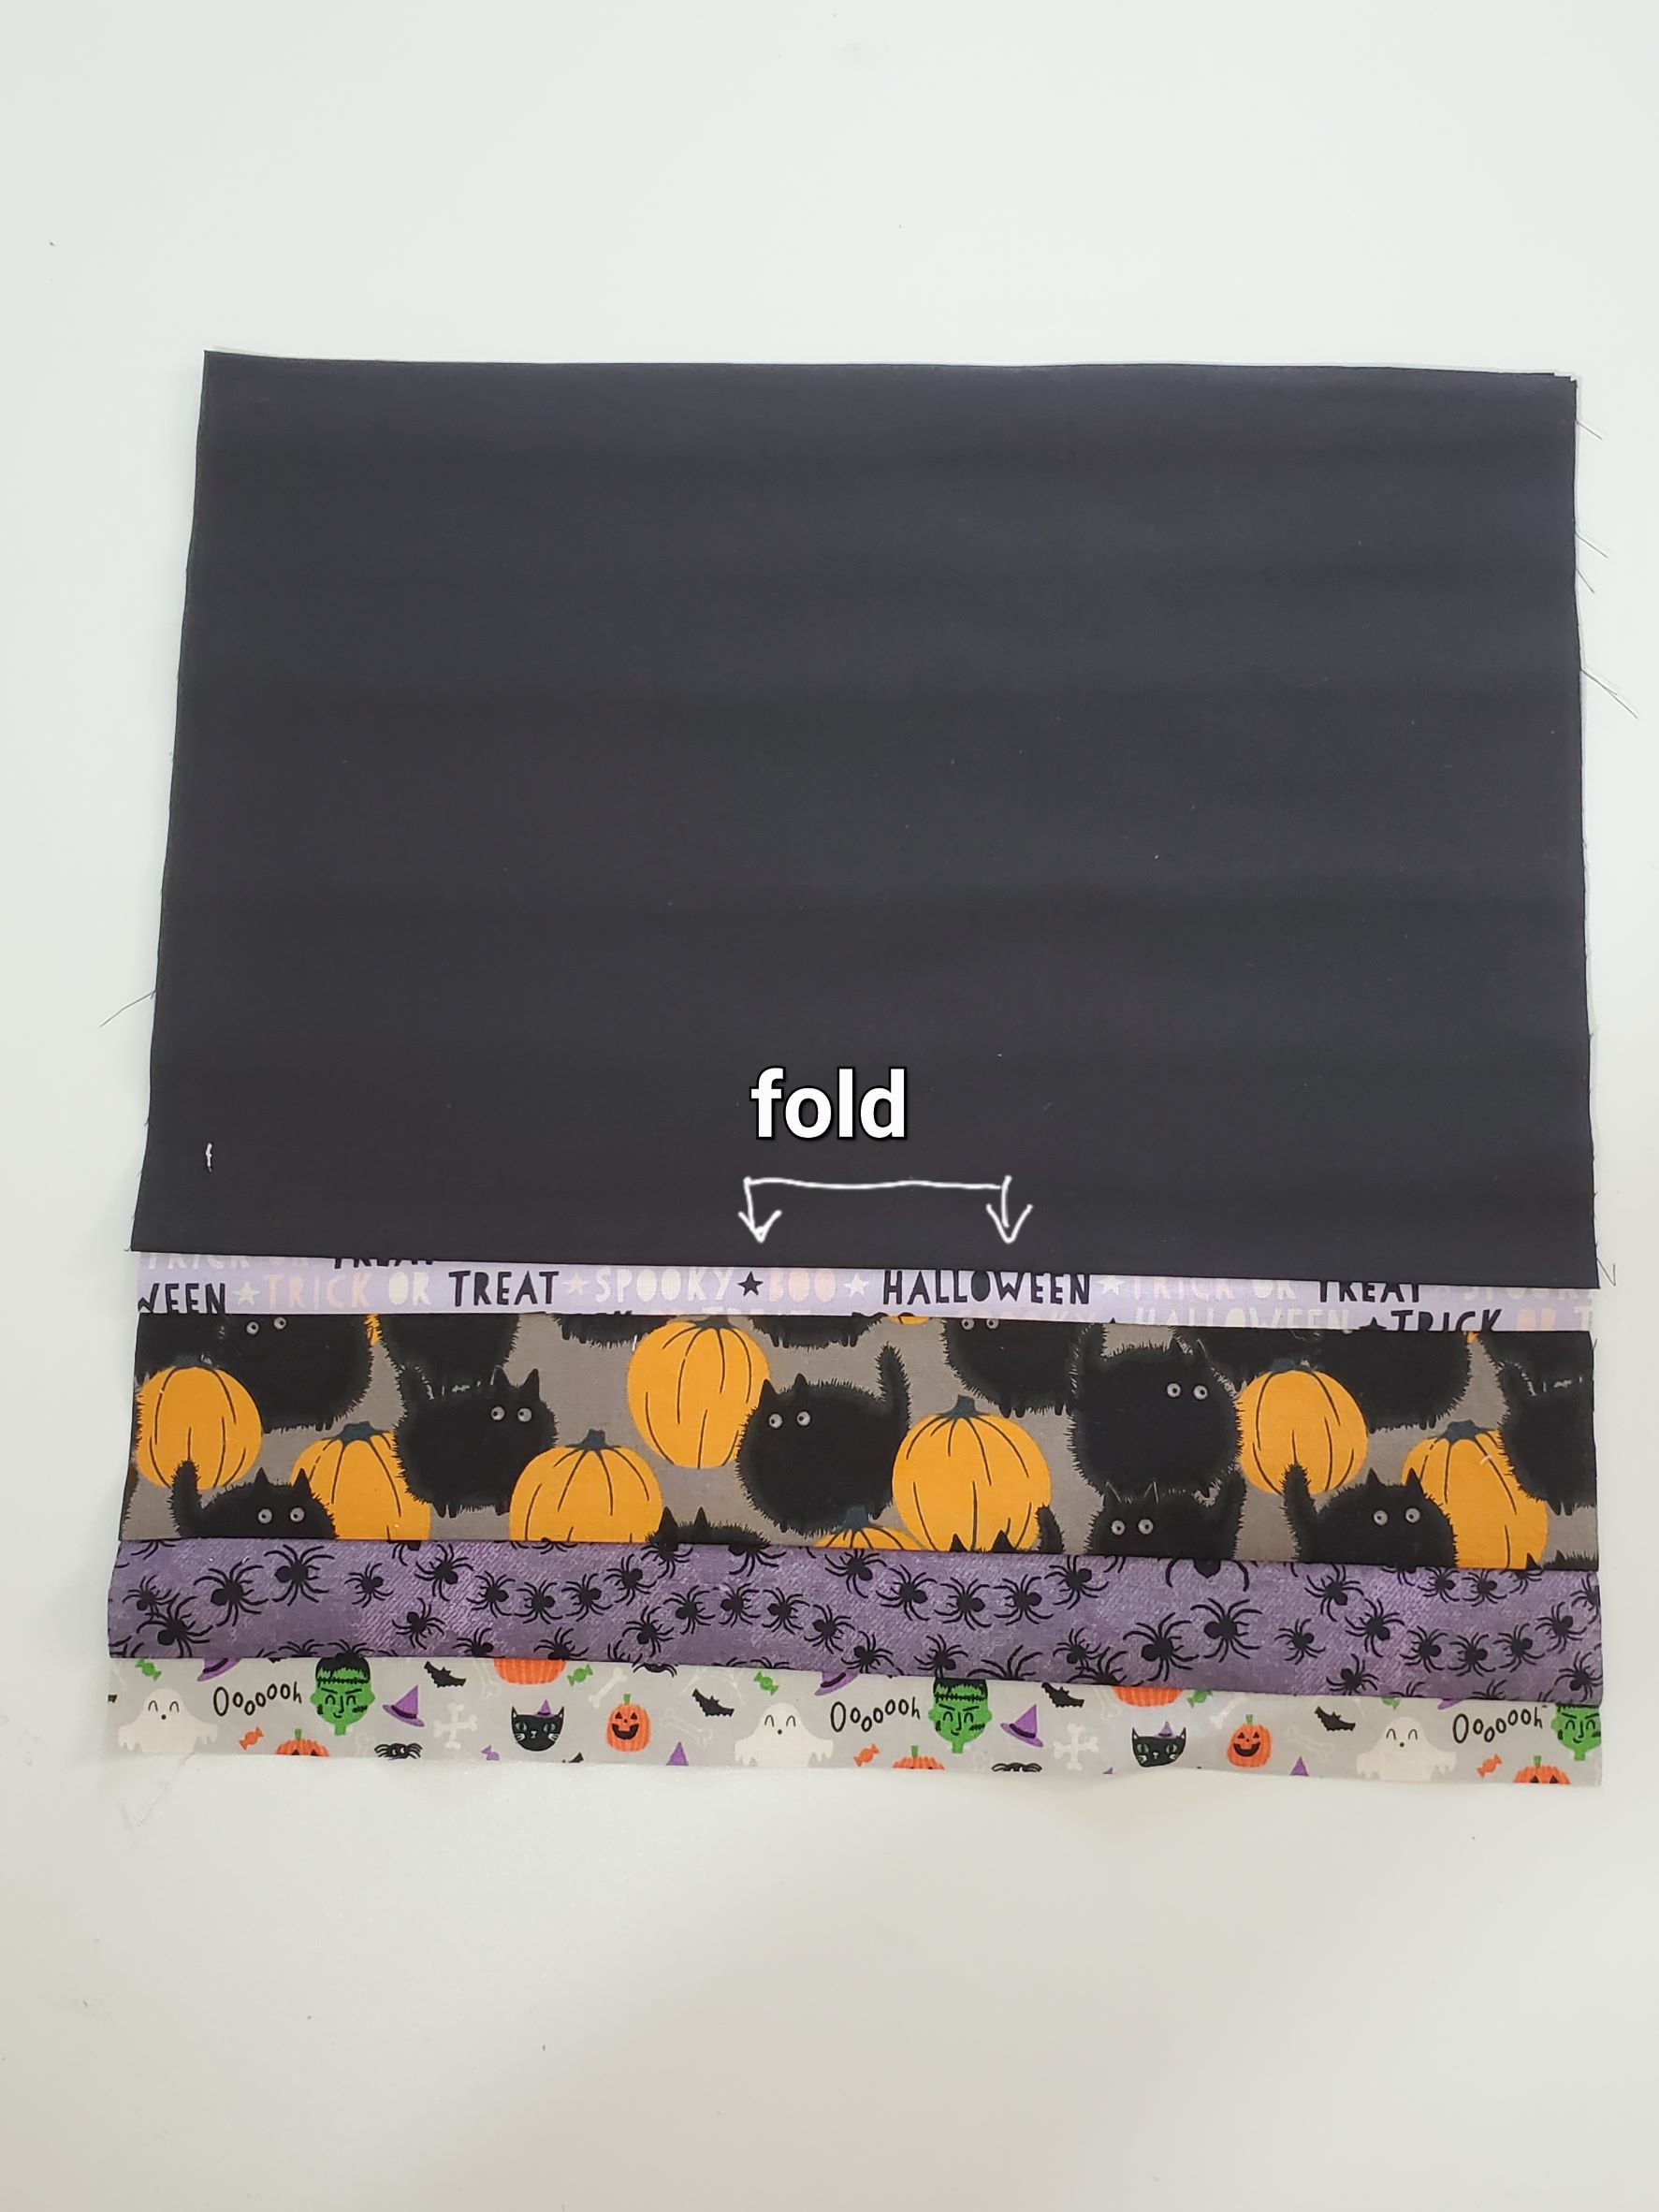
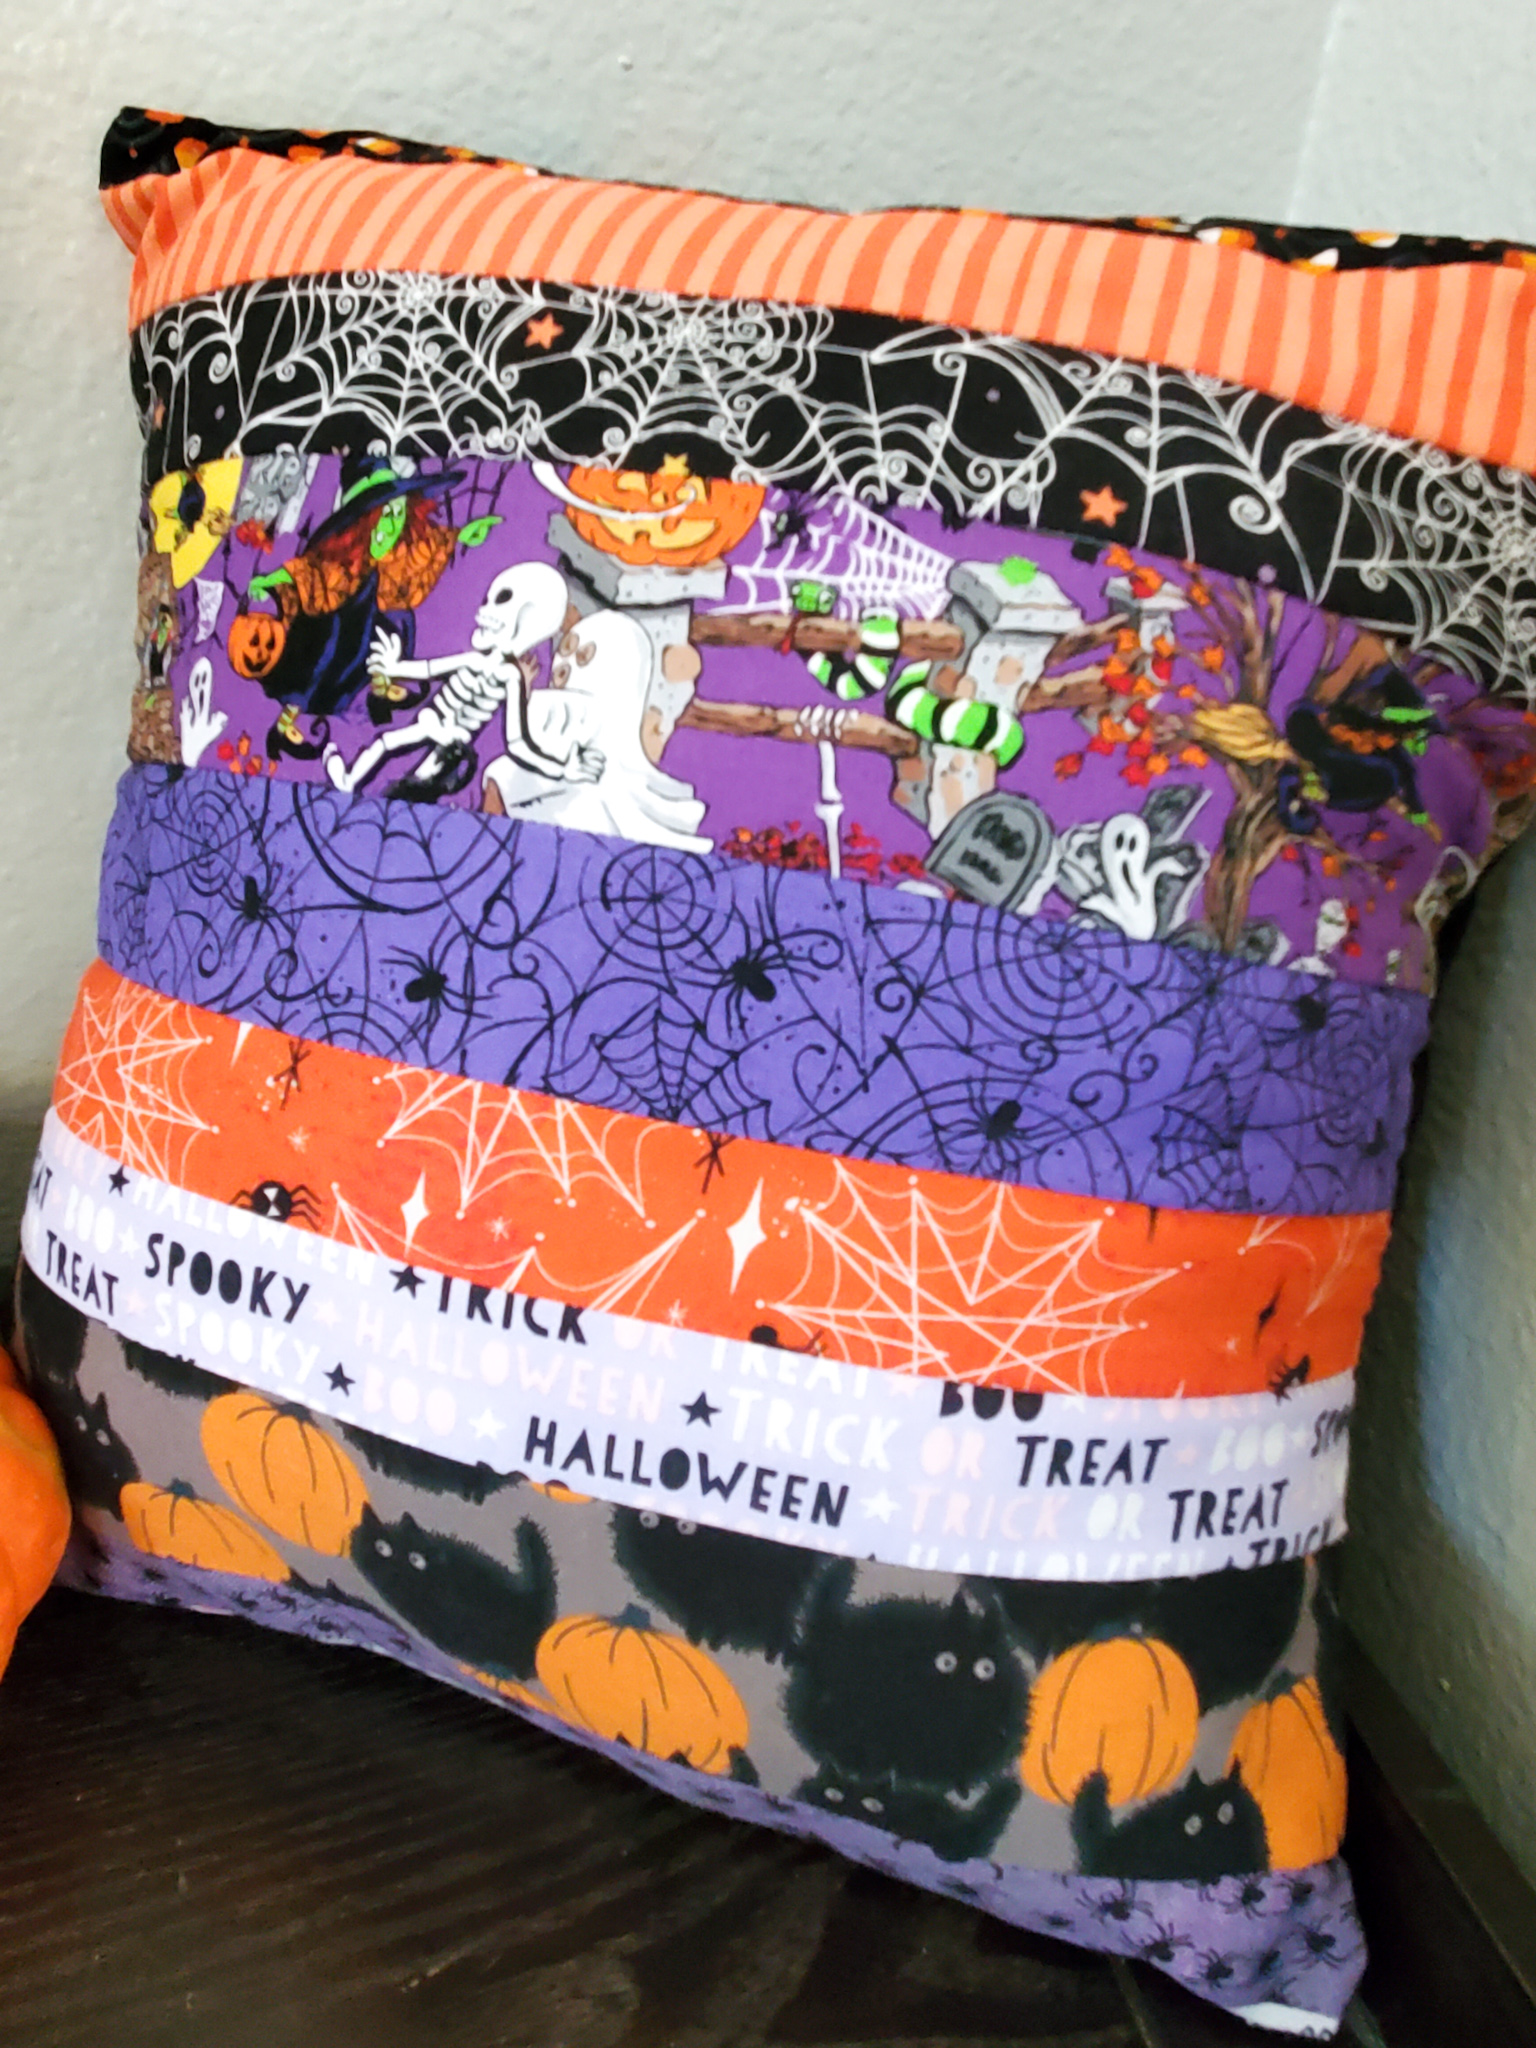
First, decide on a size that you want for your pillow covers. I decided on 14″x14″ for our pillow covers, which means that we created a 15″x15″ square block with the strips (allowing 1/2″ for seam allowance on all sides). When I cut my strips, I cut them all 15″ wide, but the height on each strip varied slightly. I like having some irregularity throughout my pillow; some strips were cut chunkier, while some were cut thinner. Don’t worry about figuring out the exact height measurement to fit 15″ while you’re sewing your strips. You can cut it down to 15″ after you’ve sewn them all together.
To summarize: cut out several strips, measuring 15″ wide and anywhere between 1.5″ to 3.5″ tall (really, you can do whatever height you want; I kept mine between 1.5-3 inches high).
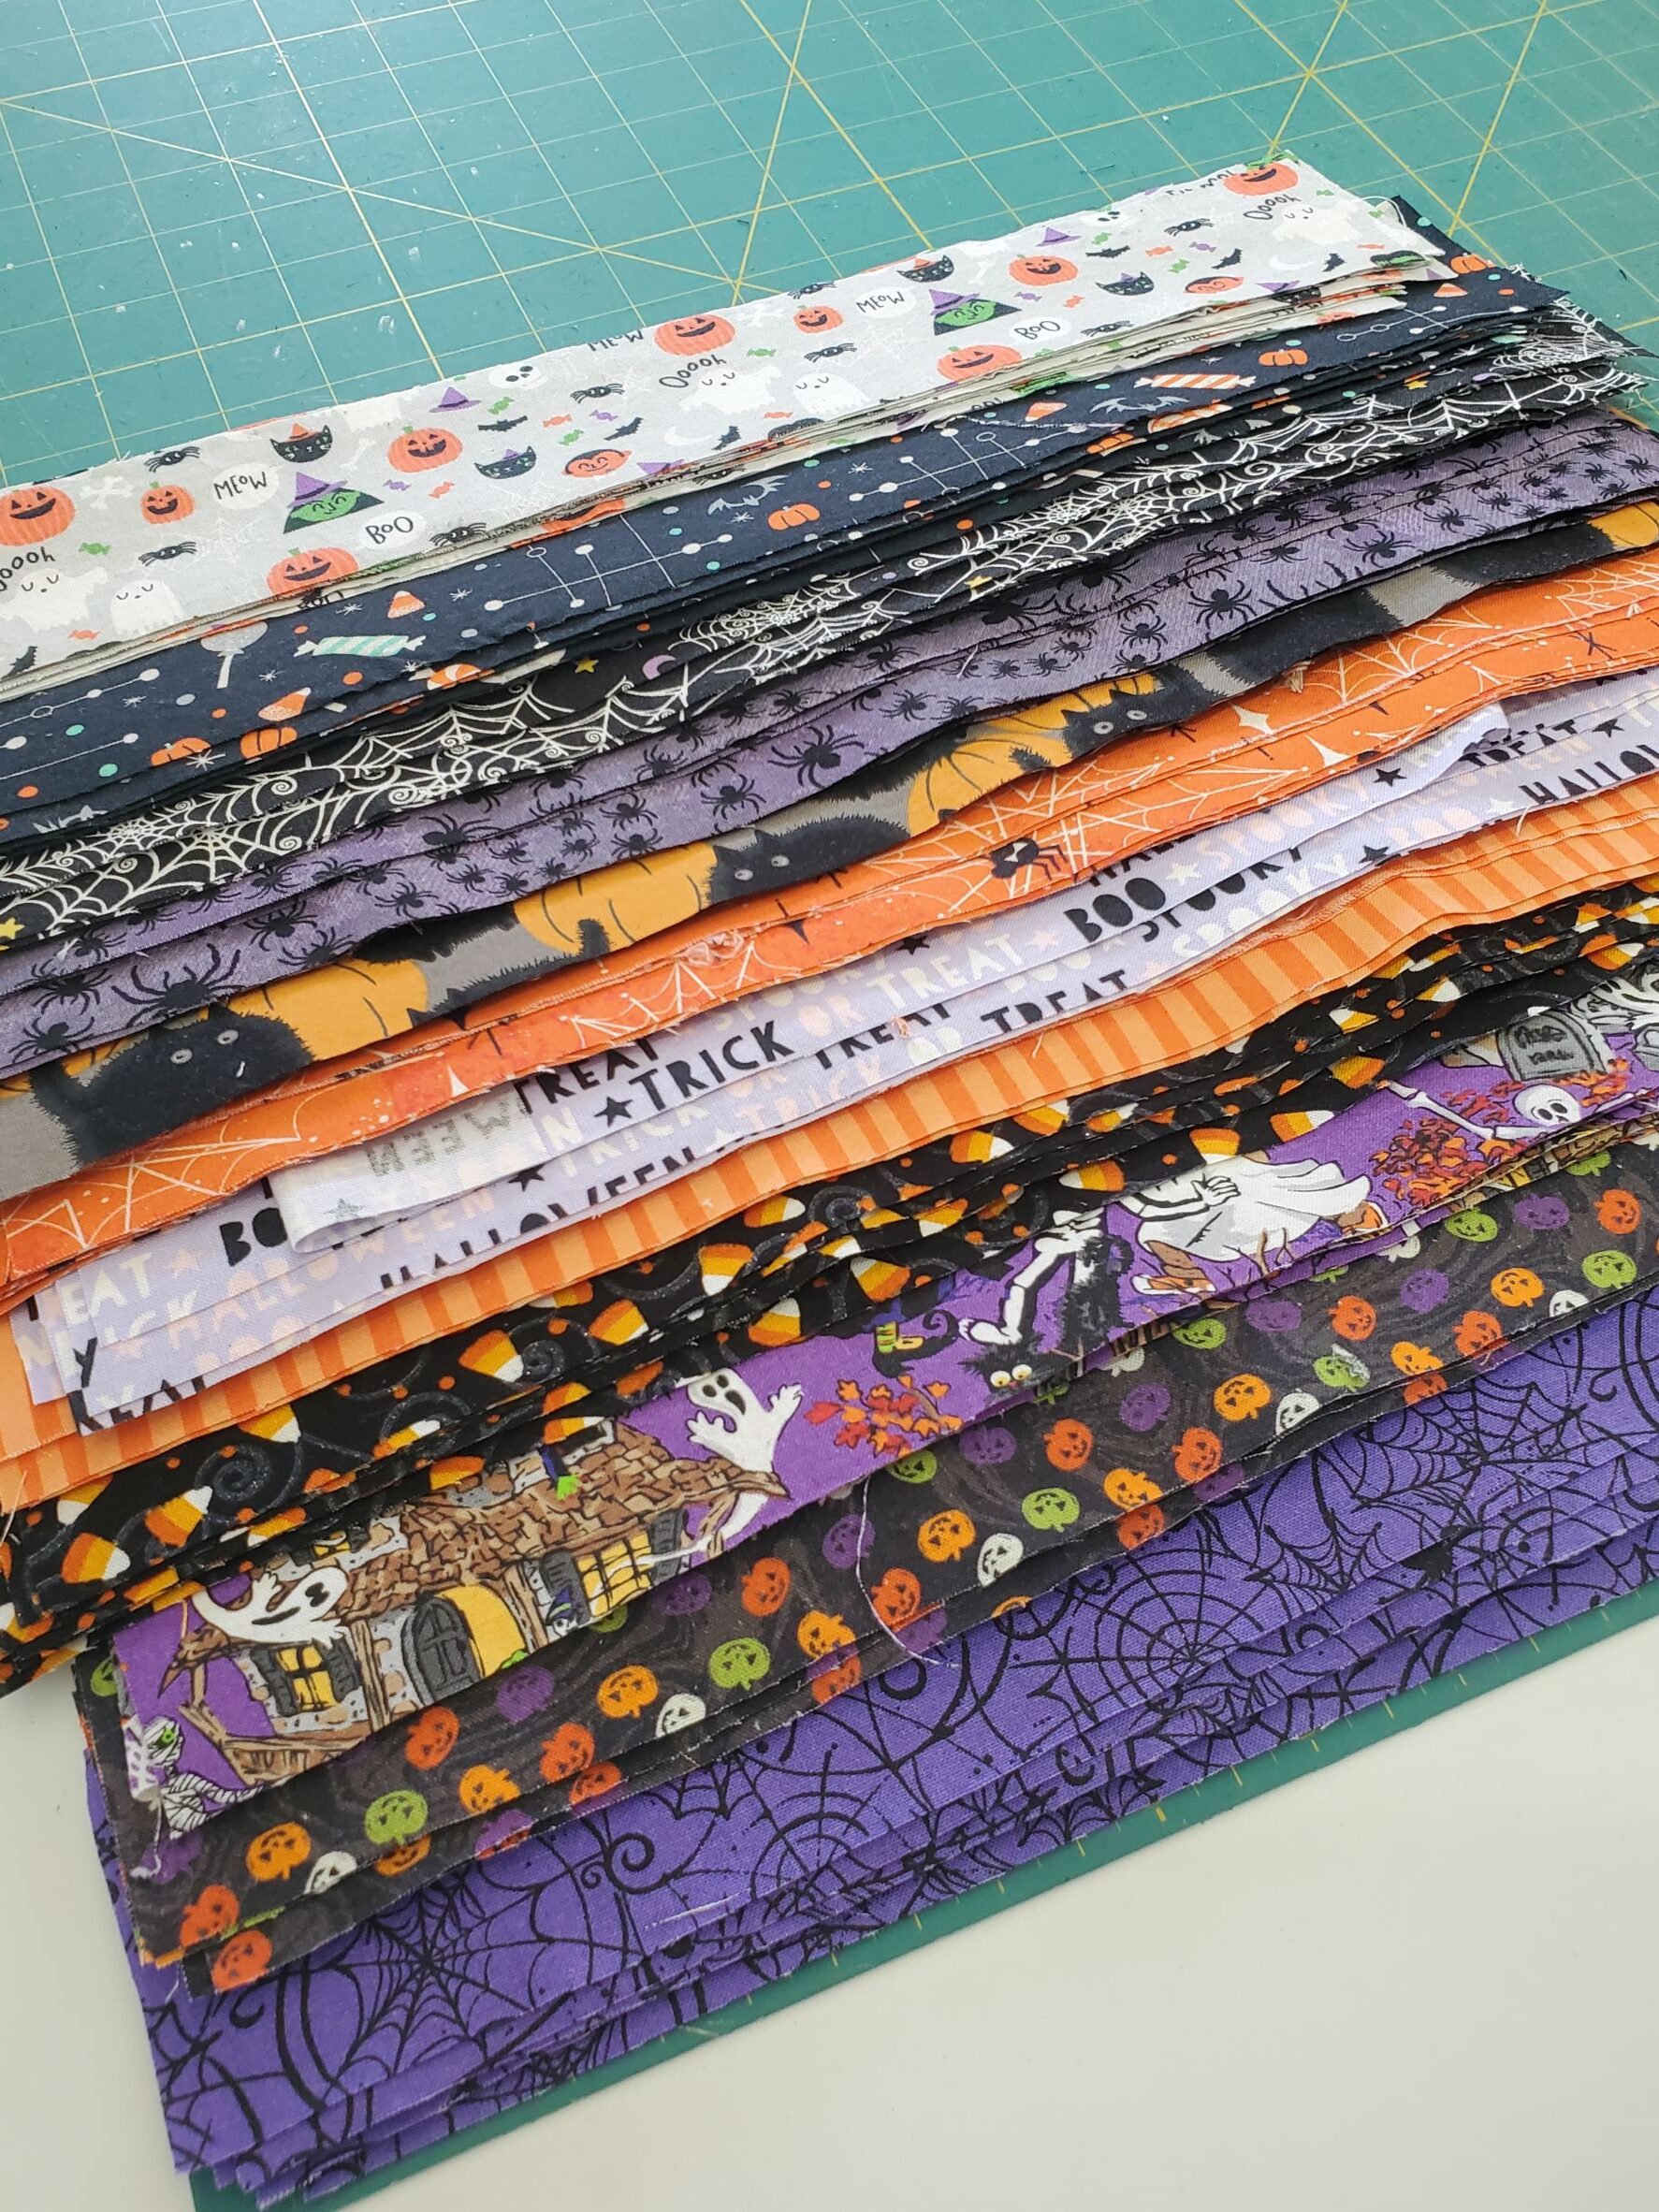
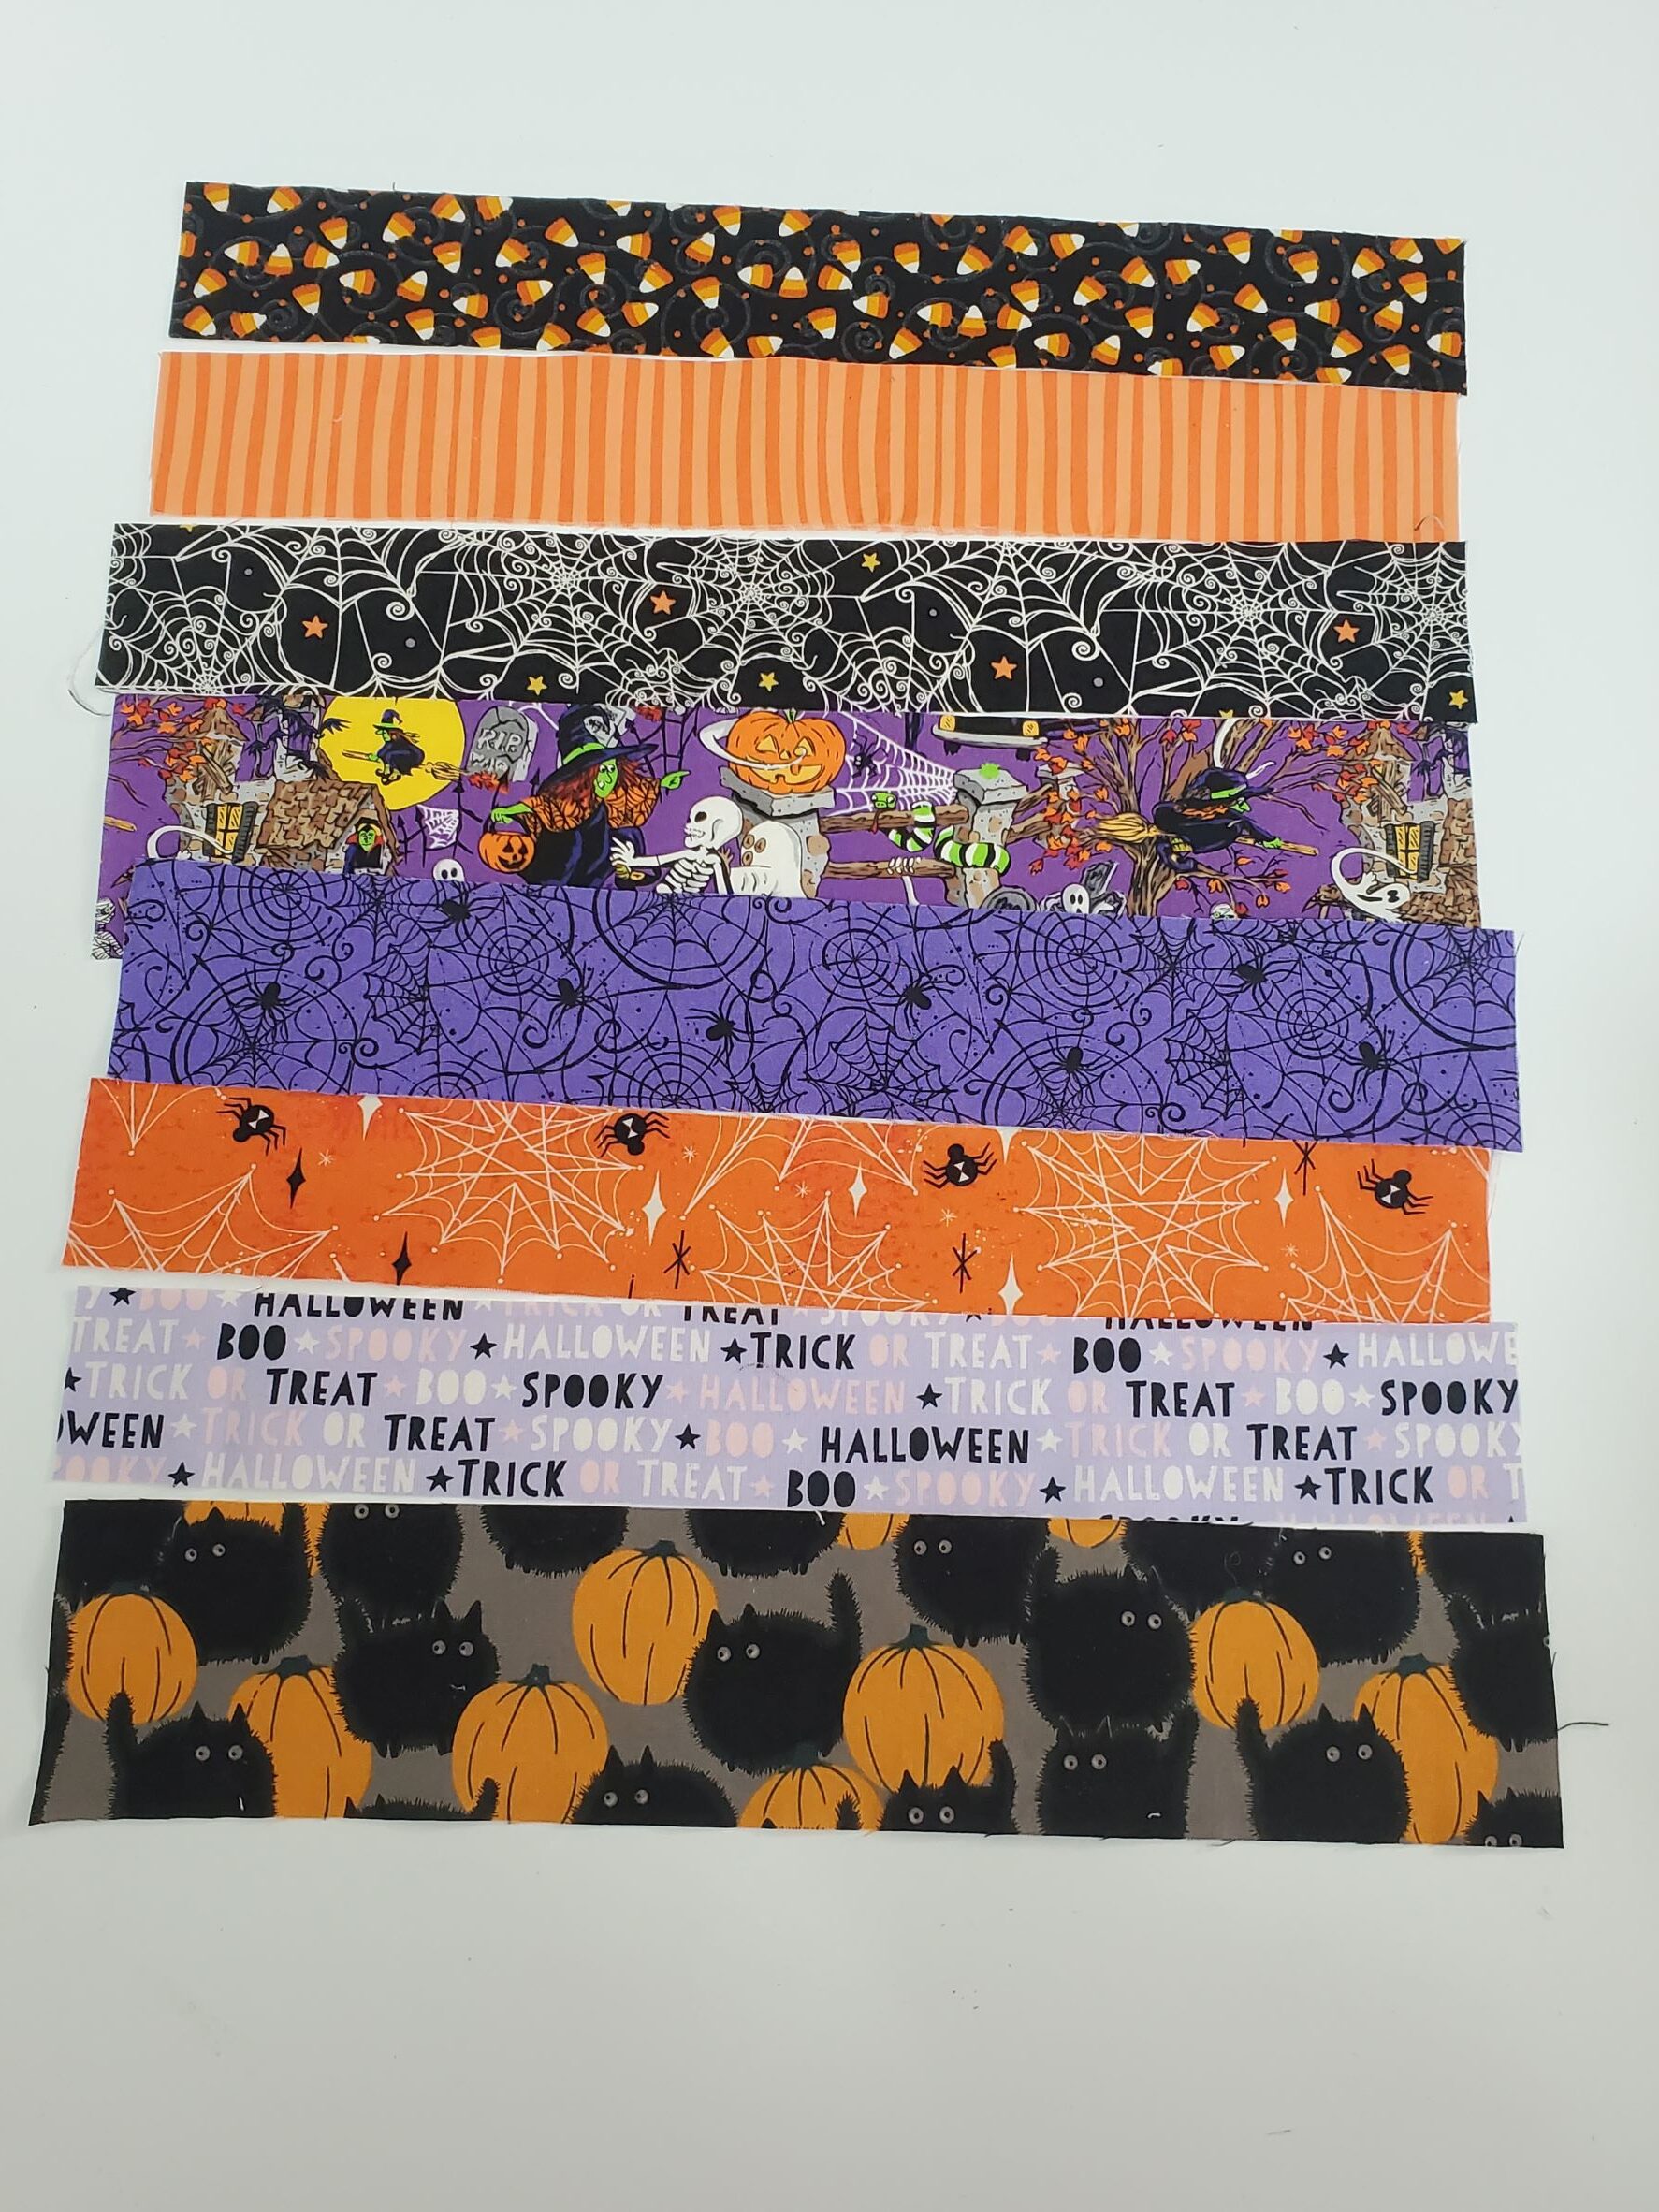
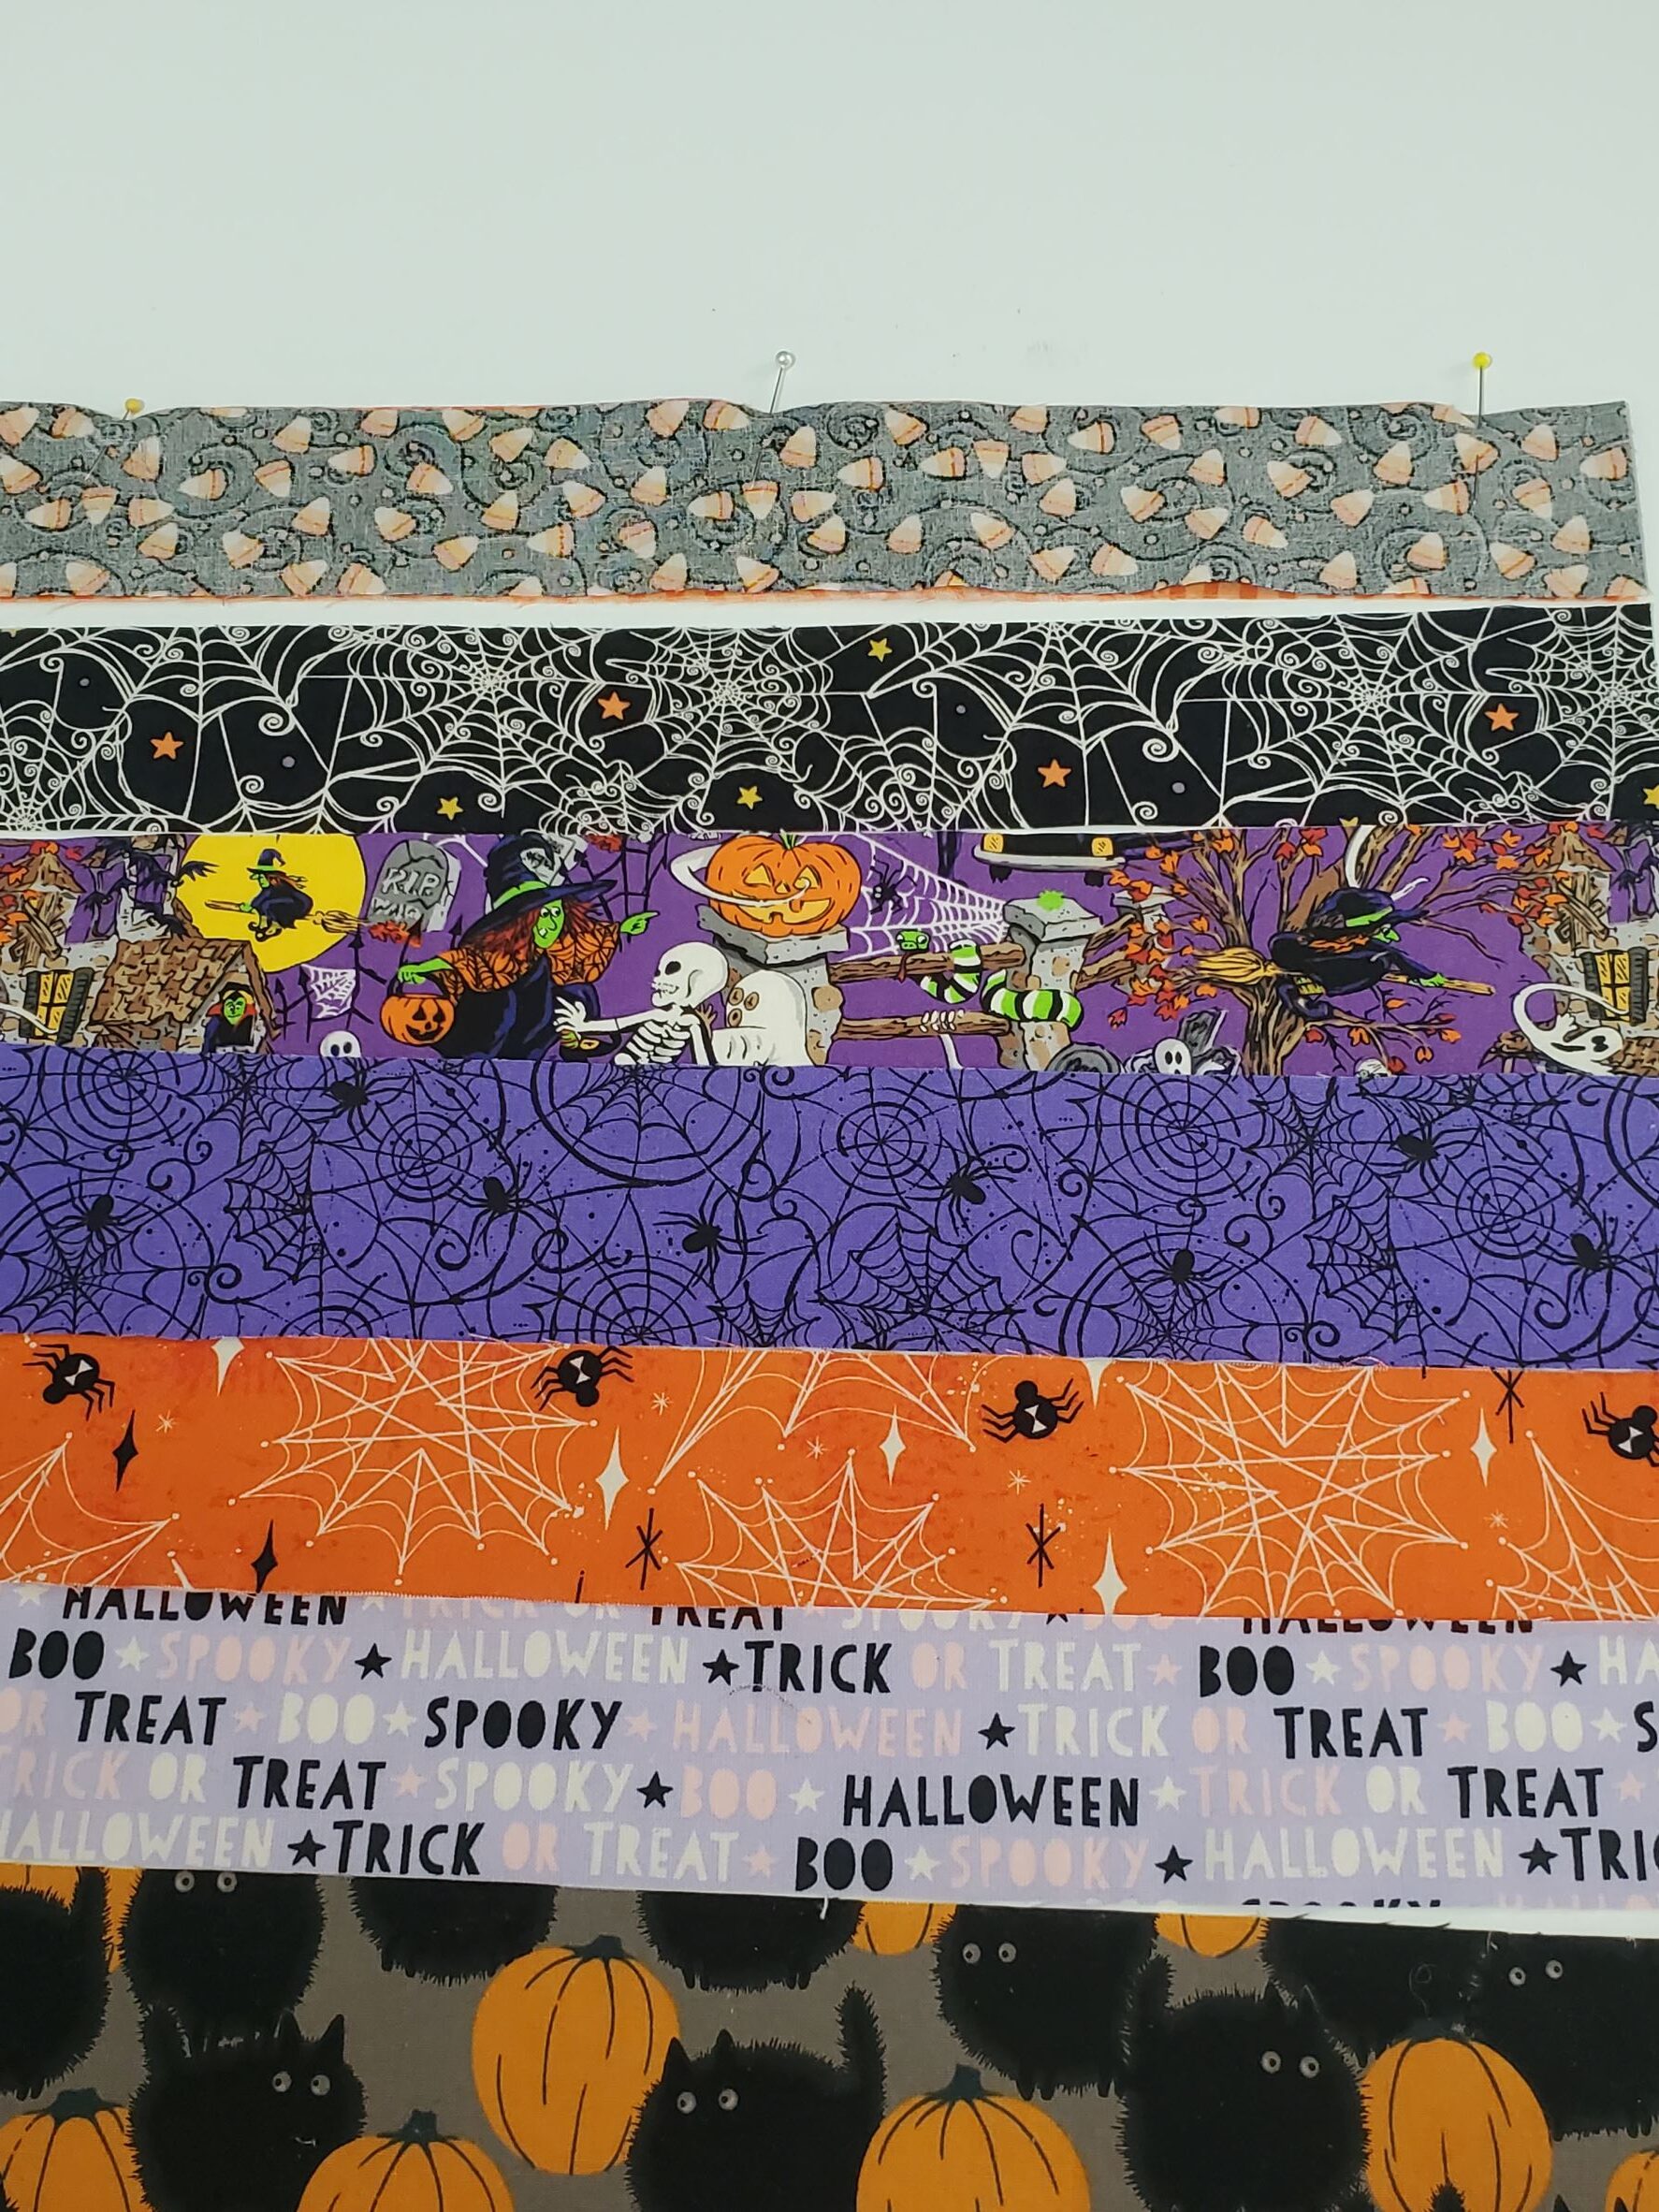
Lay out your strips in the order you want them. You will probably need between 9-11 strips, depending on your sizes. You can always add more strips if it’s not tall enough!
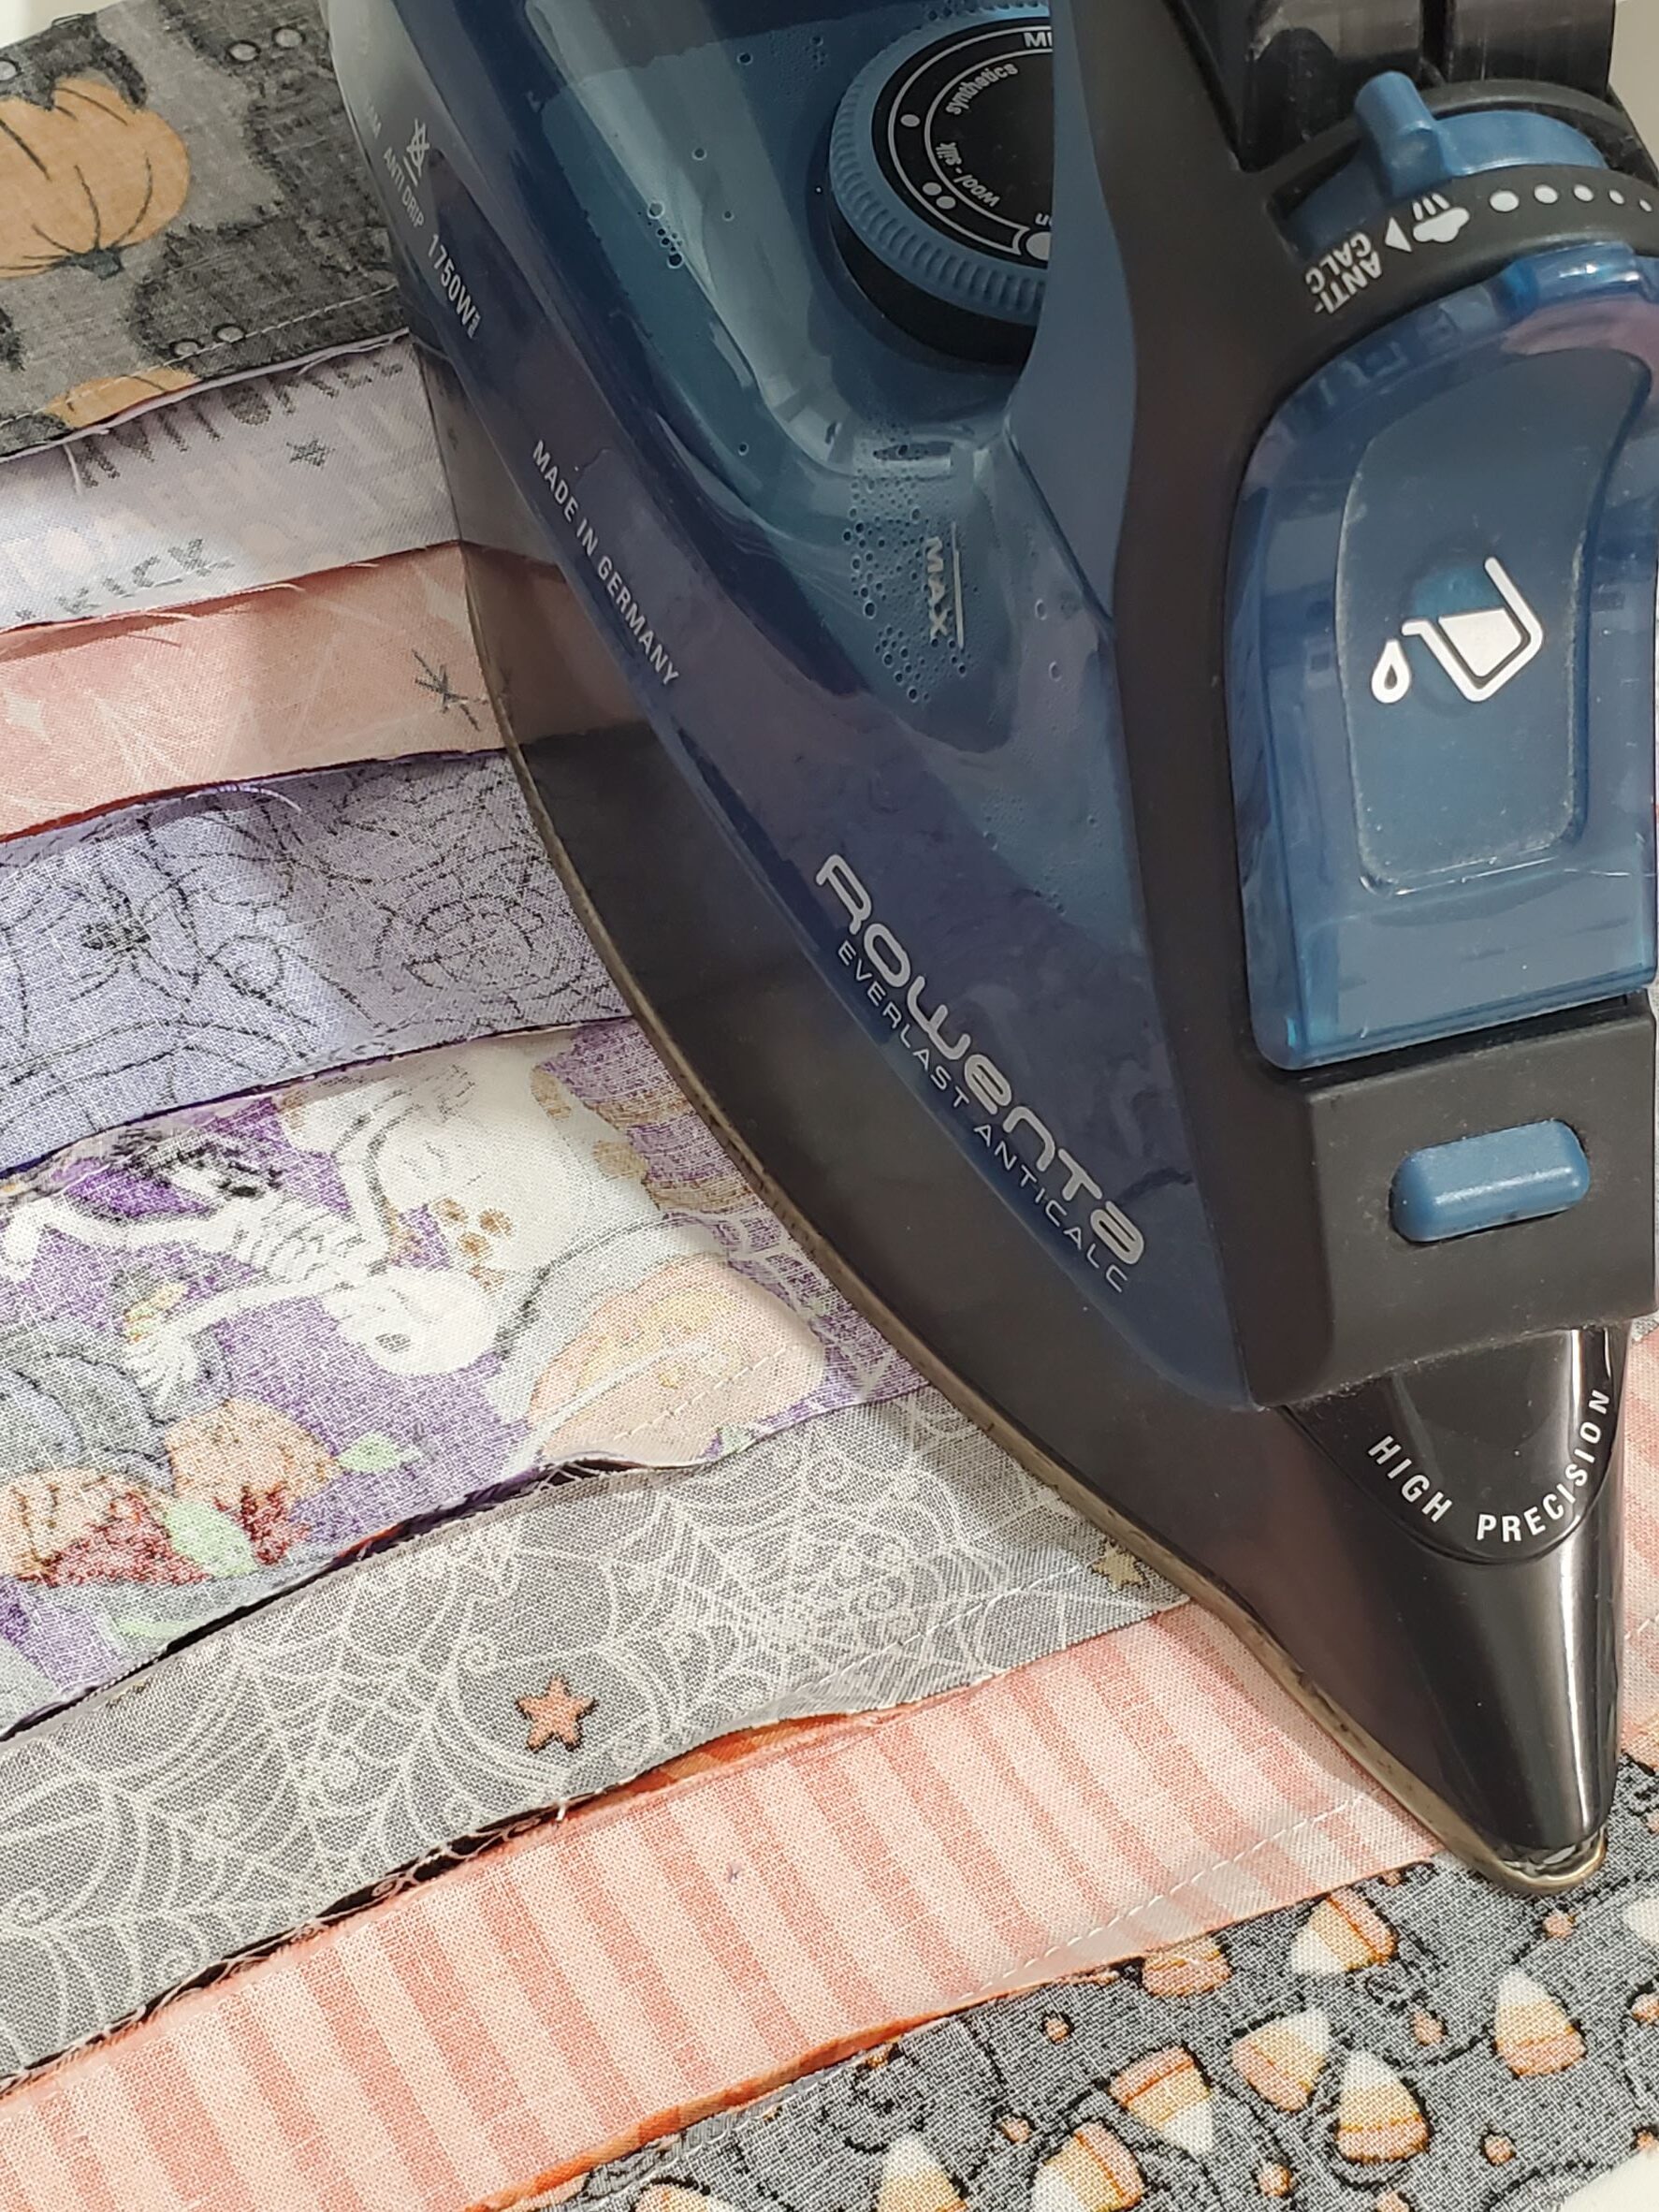
Beginning with the top strip, sew your strips together, using a 3/8″ seam allowance. The way I do it is by flipping over the top strip (upside down) onto the strip below it and stitching it together. Does that make sense? Pictures always make better sense!
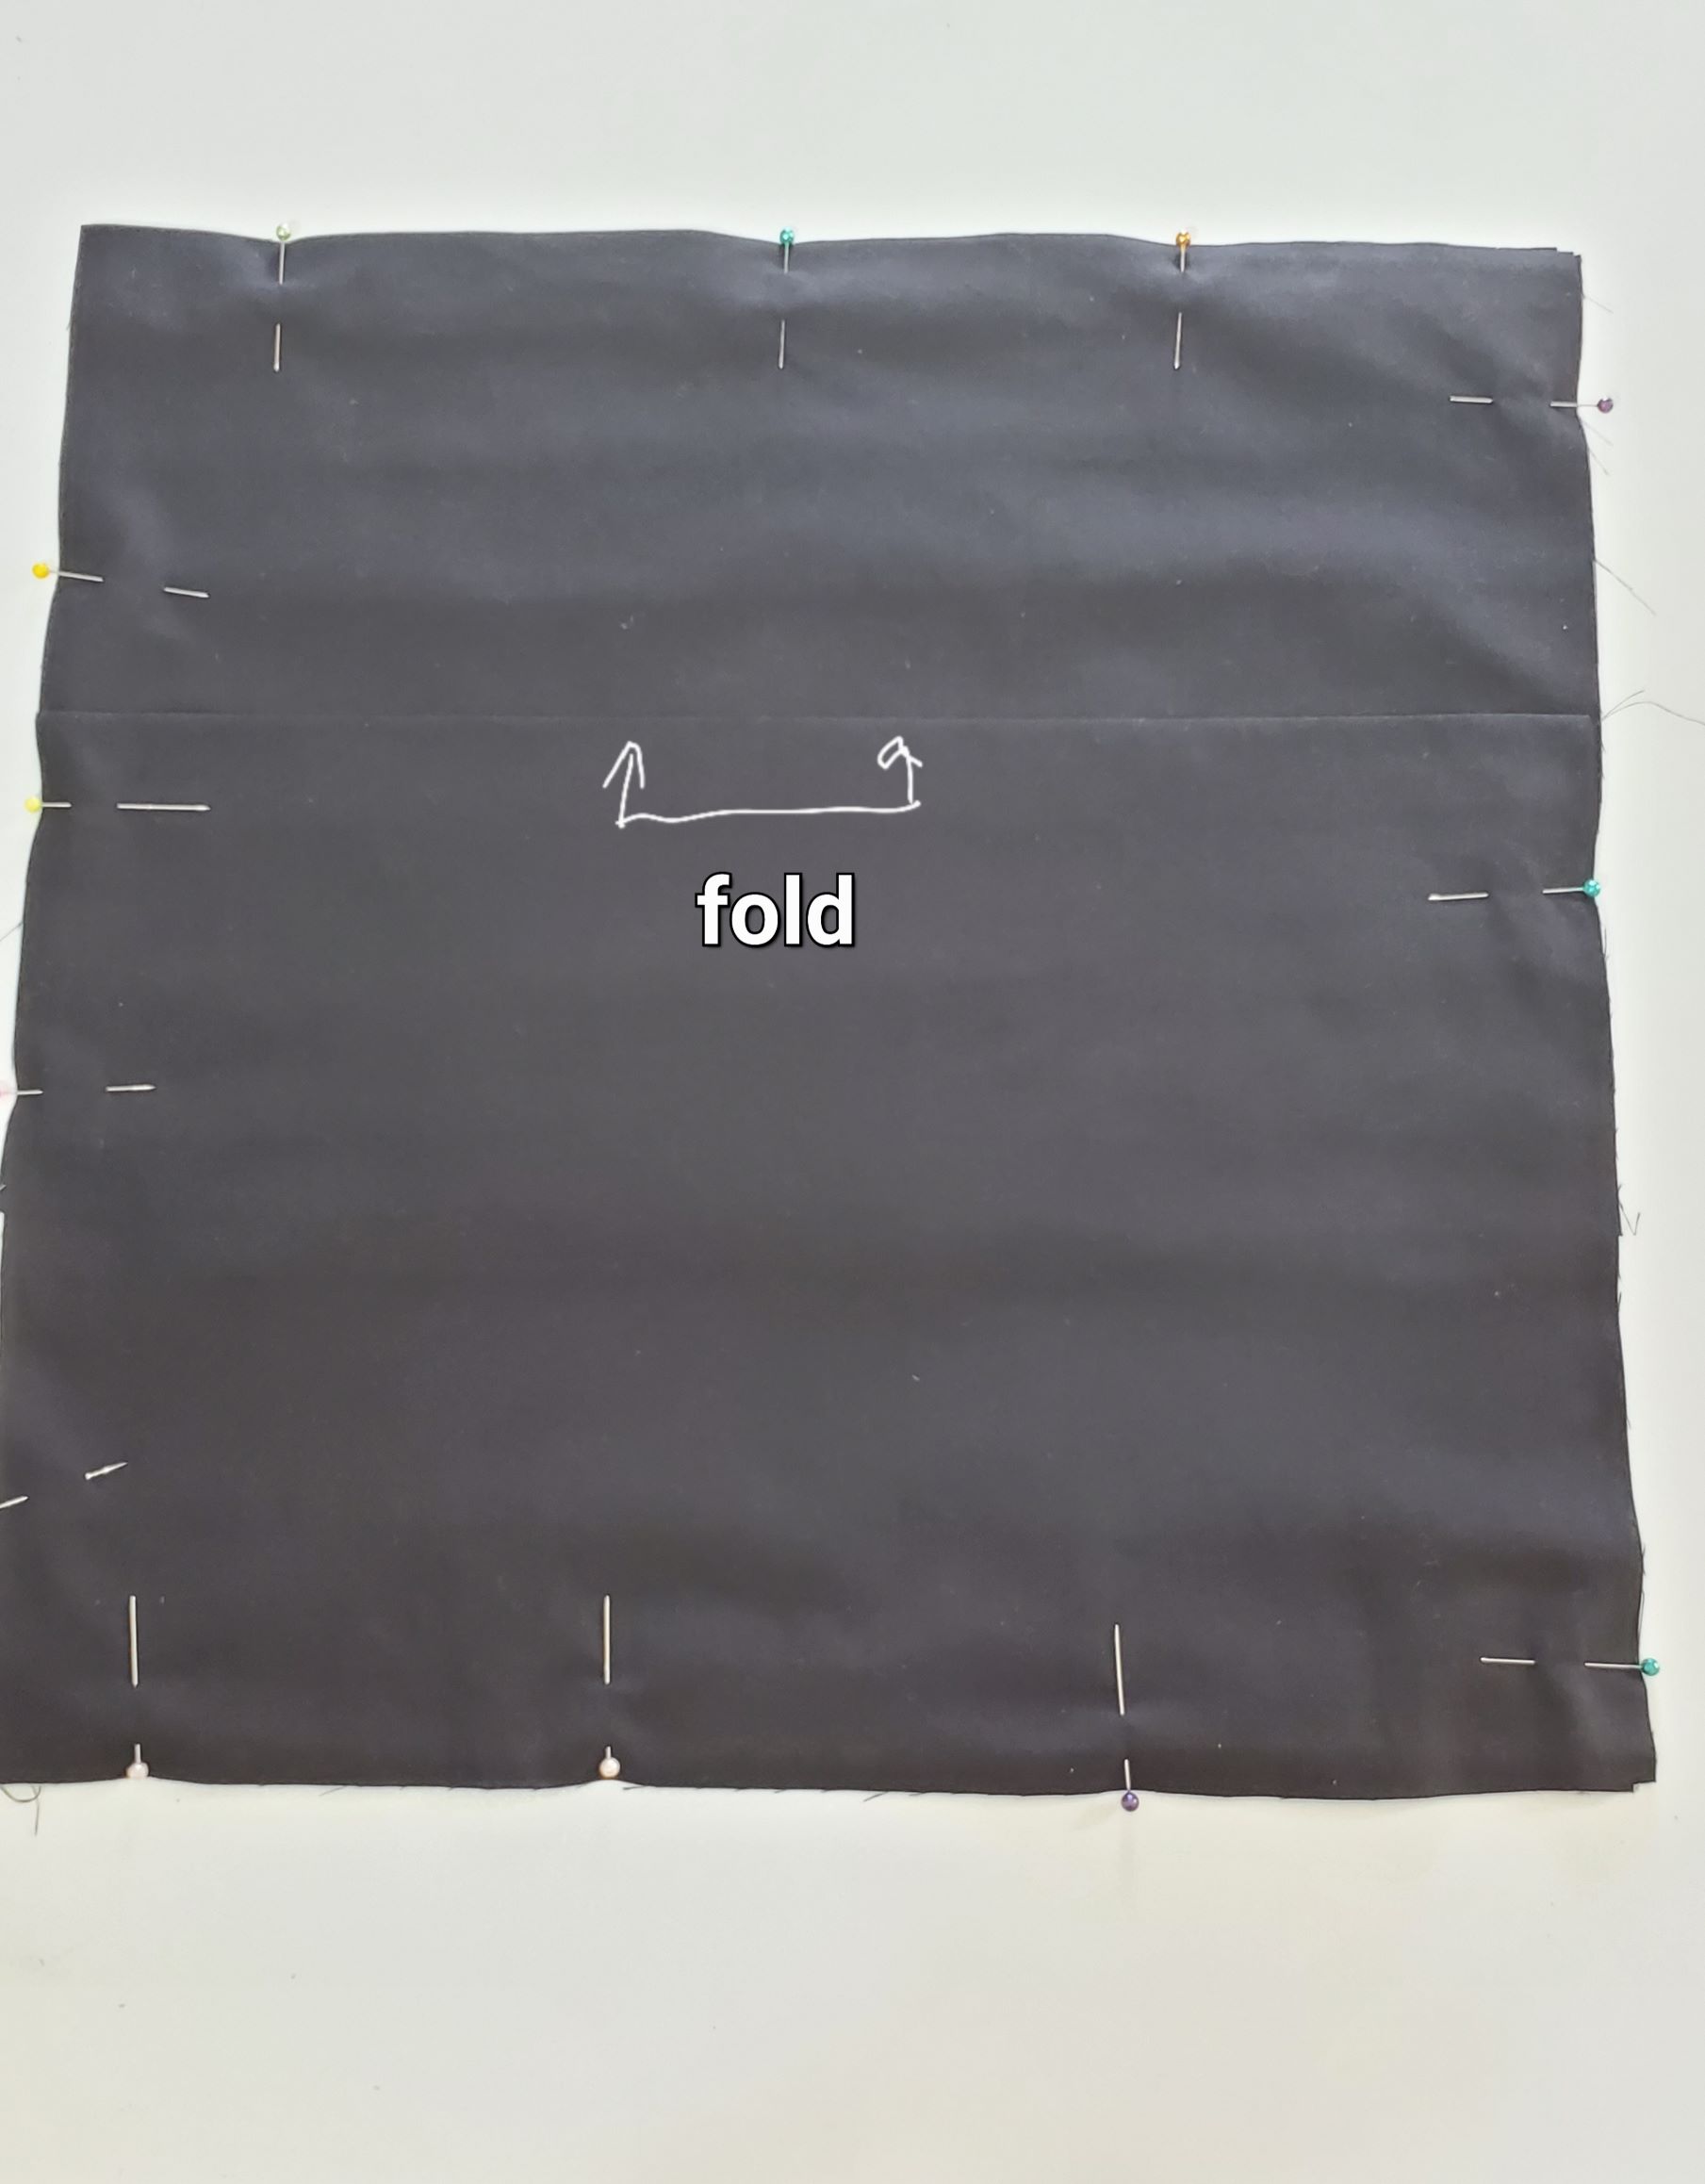
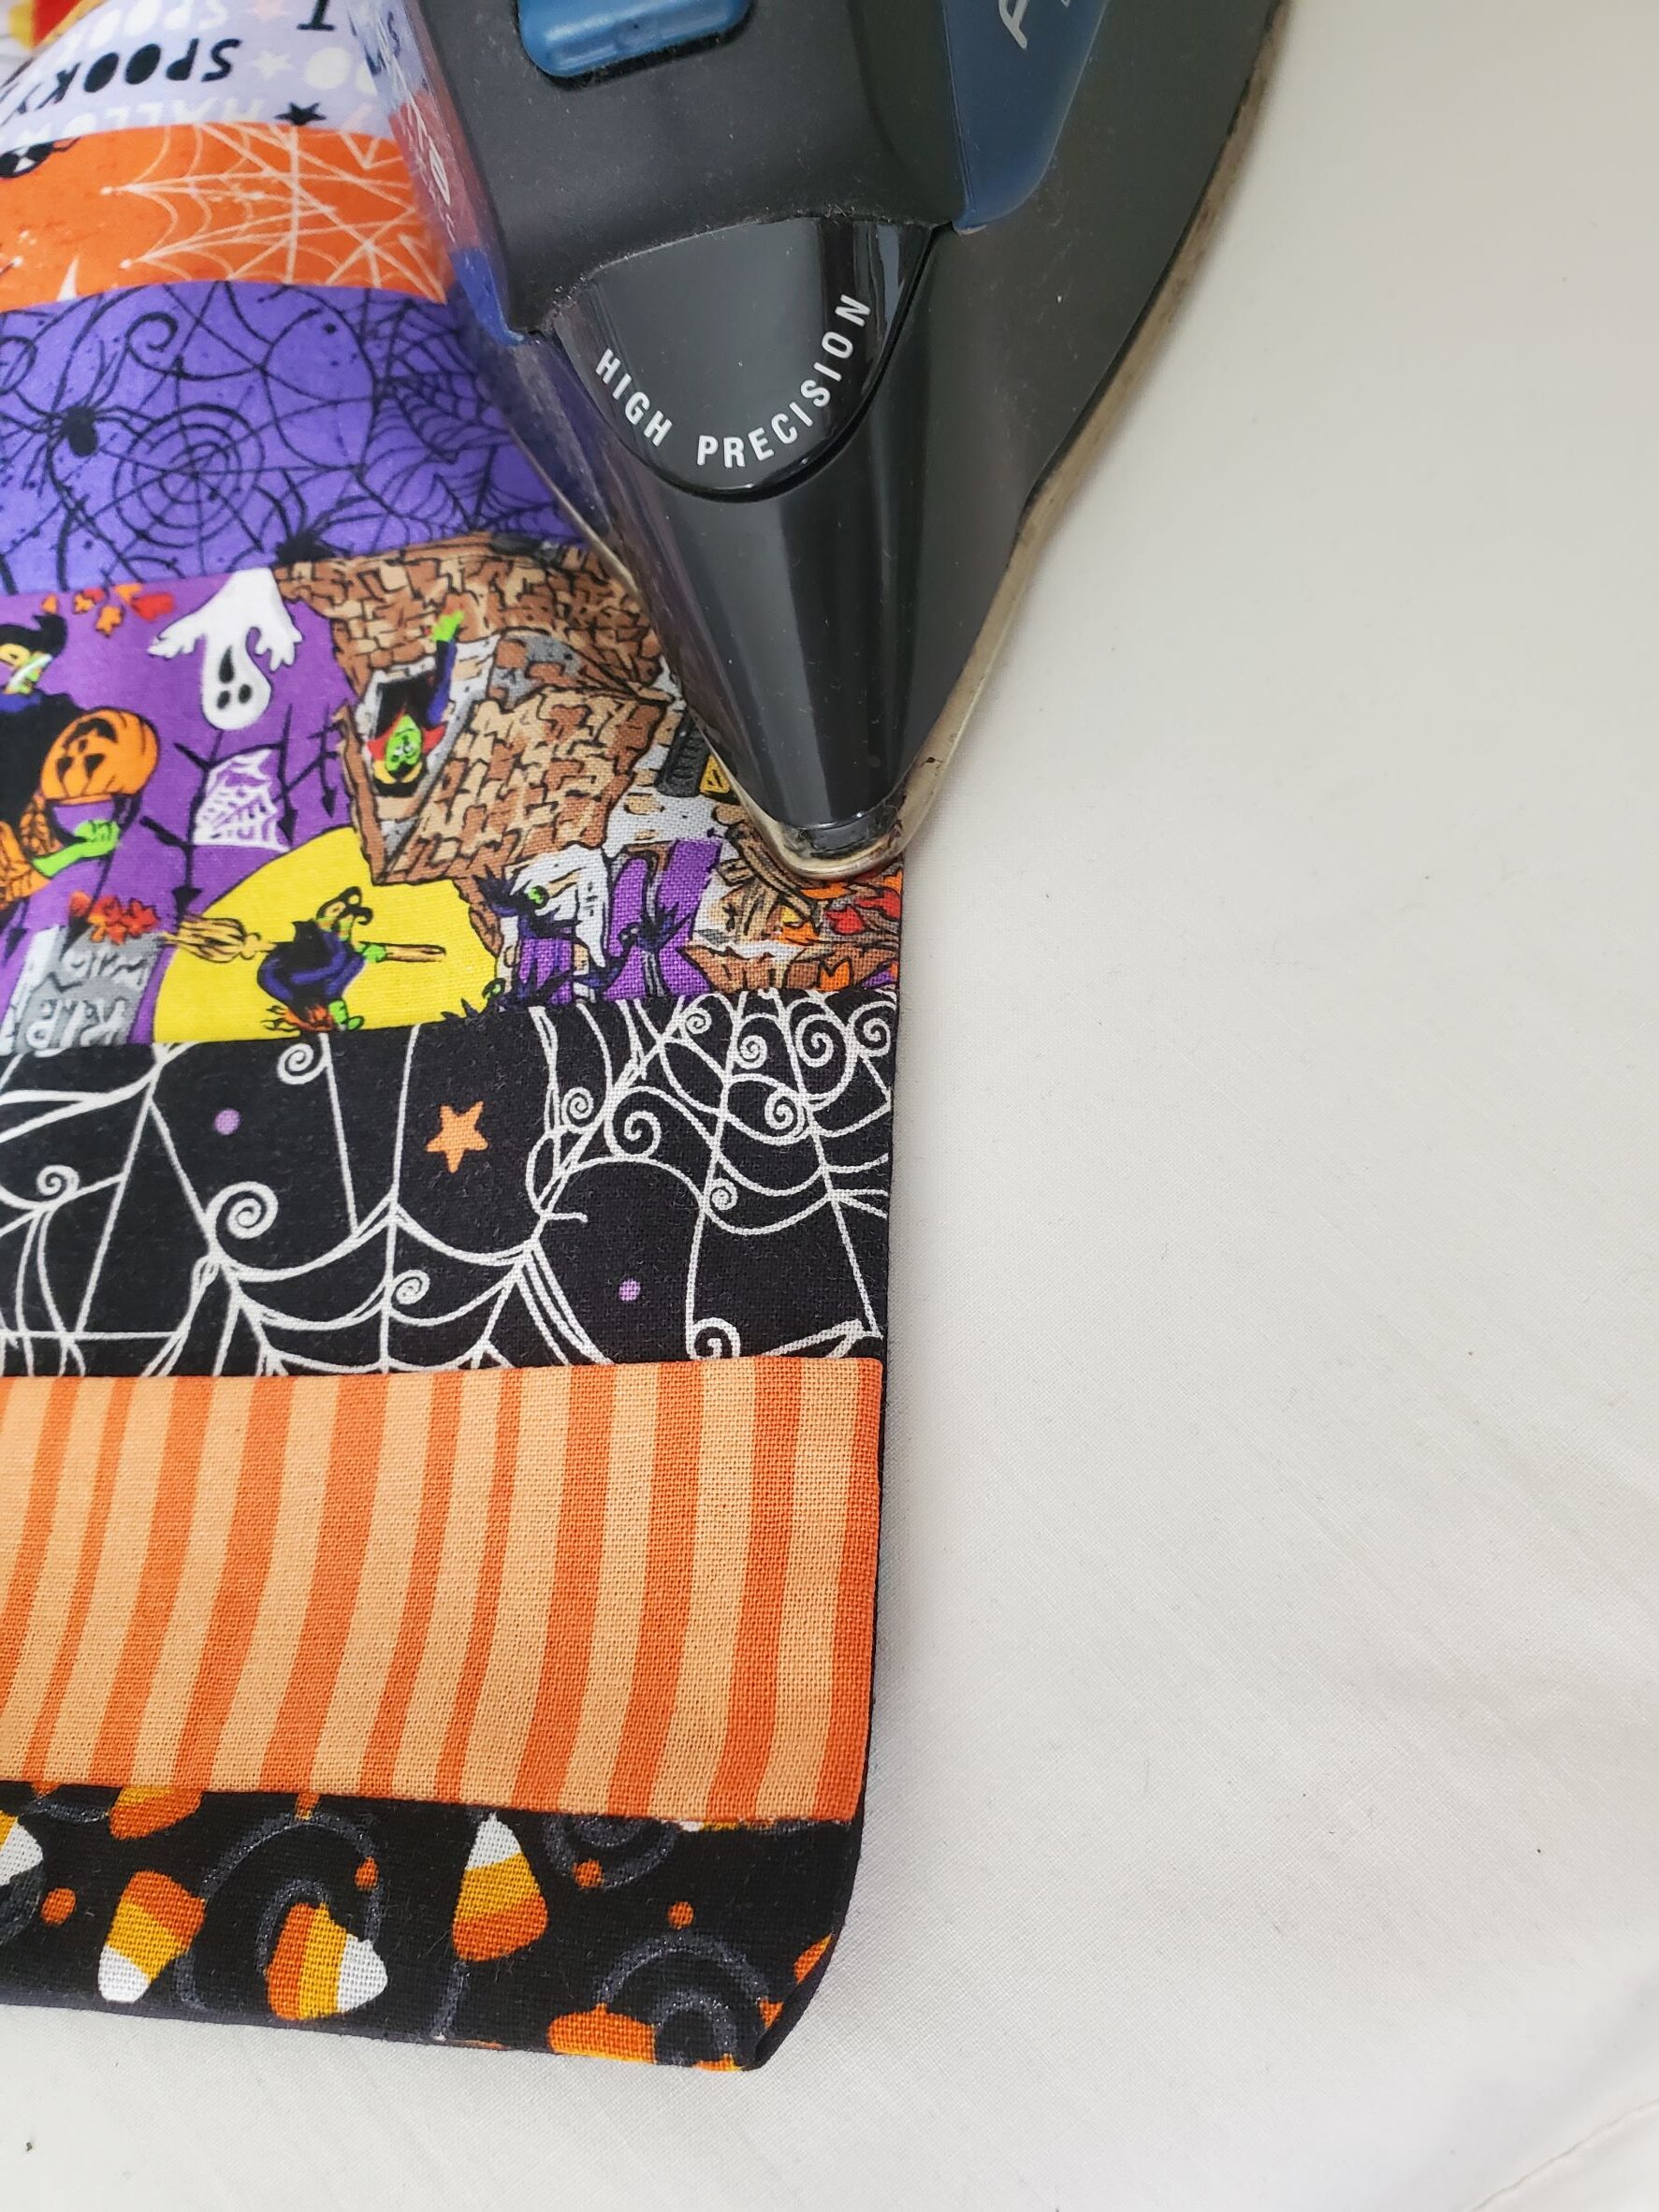
When all of your strips are sewn together, press your seam allowances to one side. You can try to press them open if you want, but I think it’s much easier to press them all to one side when using smaller seam allowances. I always turn it over and iron it from the front side when I’m finished, just to make sure all of my creases are flat. You want a nice, flat front!
Lay your pillow front out on a rotary mat, and with your rotatary cutter, cut off your excess fabric and square it off to a 15″ square. Set your pillow front aside for a few minutes.
Now, it’s time to make your envelope backing! You can use a solid color, or a print that matches one of your strips. I just used a black cotton fabric; nobody really sees the back of the pillow.
To make your envelope pillow cover back
For the 14″ pillow size, cut out 2 rectangle pieces of fabric to measure 20″ x 15″. If you are doing a bigger pillow size, add 1″ to the height for every 1″ bigger, and of course cut the width 1″ bigger than your finished pillow. For example, if you are doing a 16″ x 16″ pillow cover, cut your rectangles at 22″ x 17″ (that’s an extra 2″ on height, and 1″ width for seam allowance). Make sense?
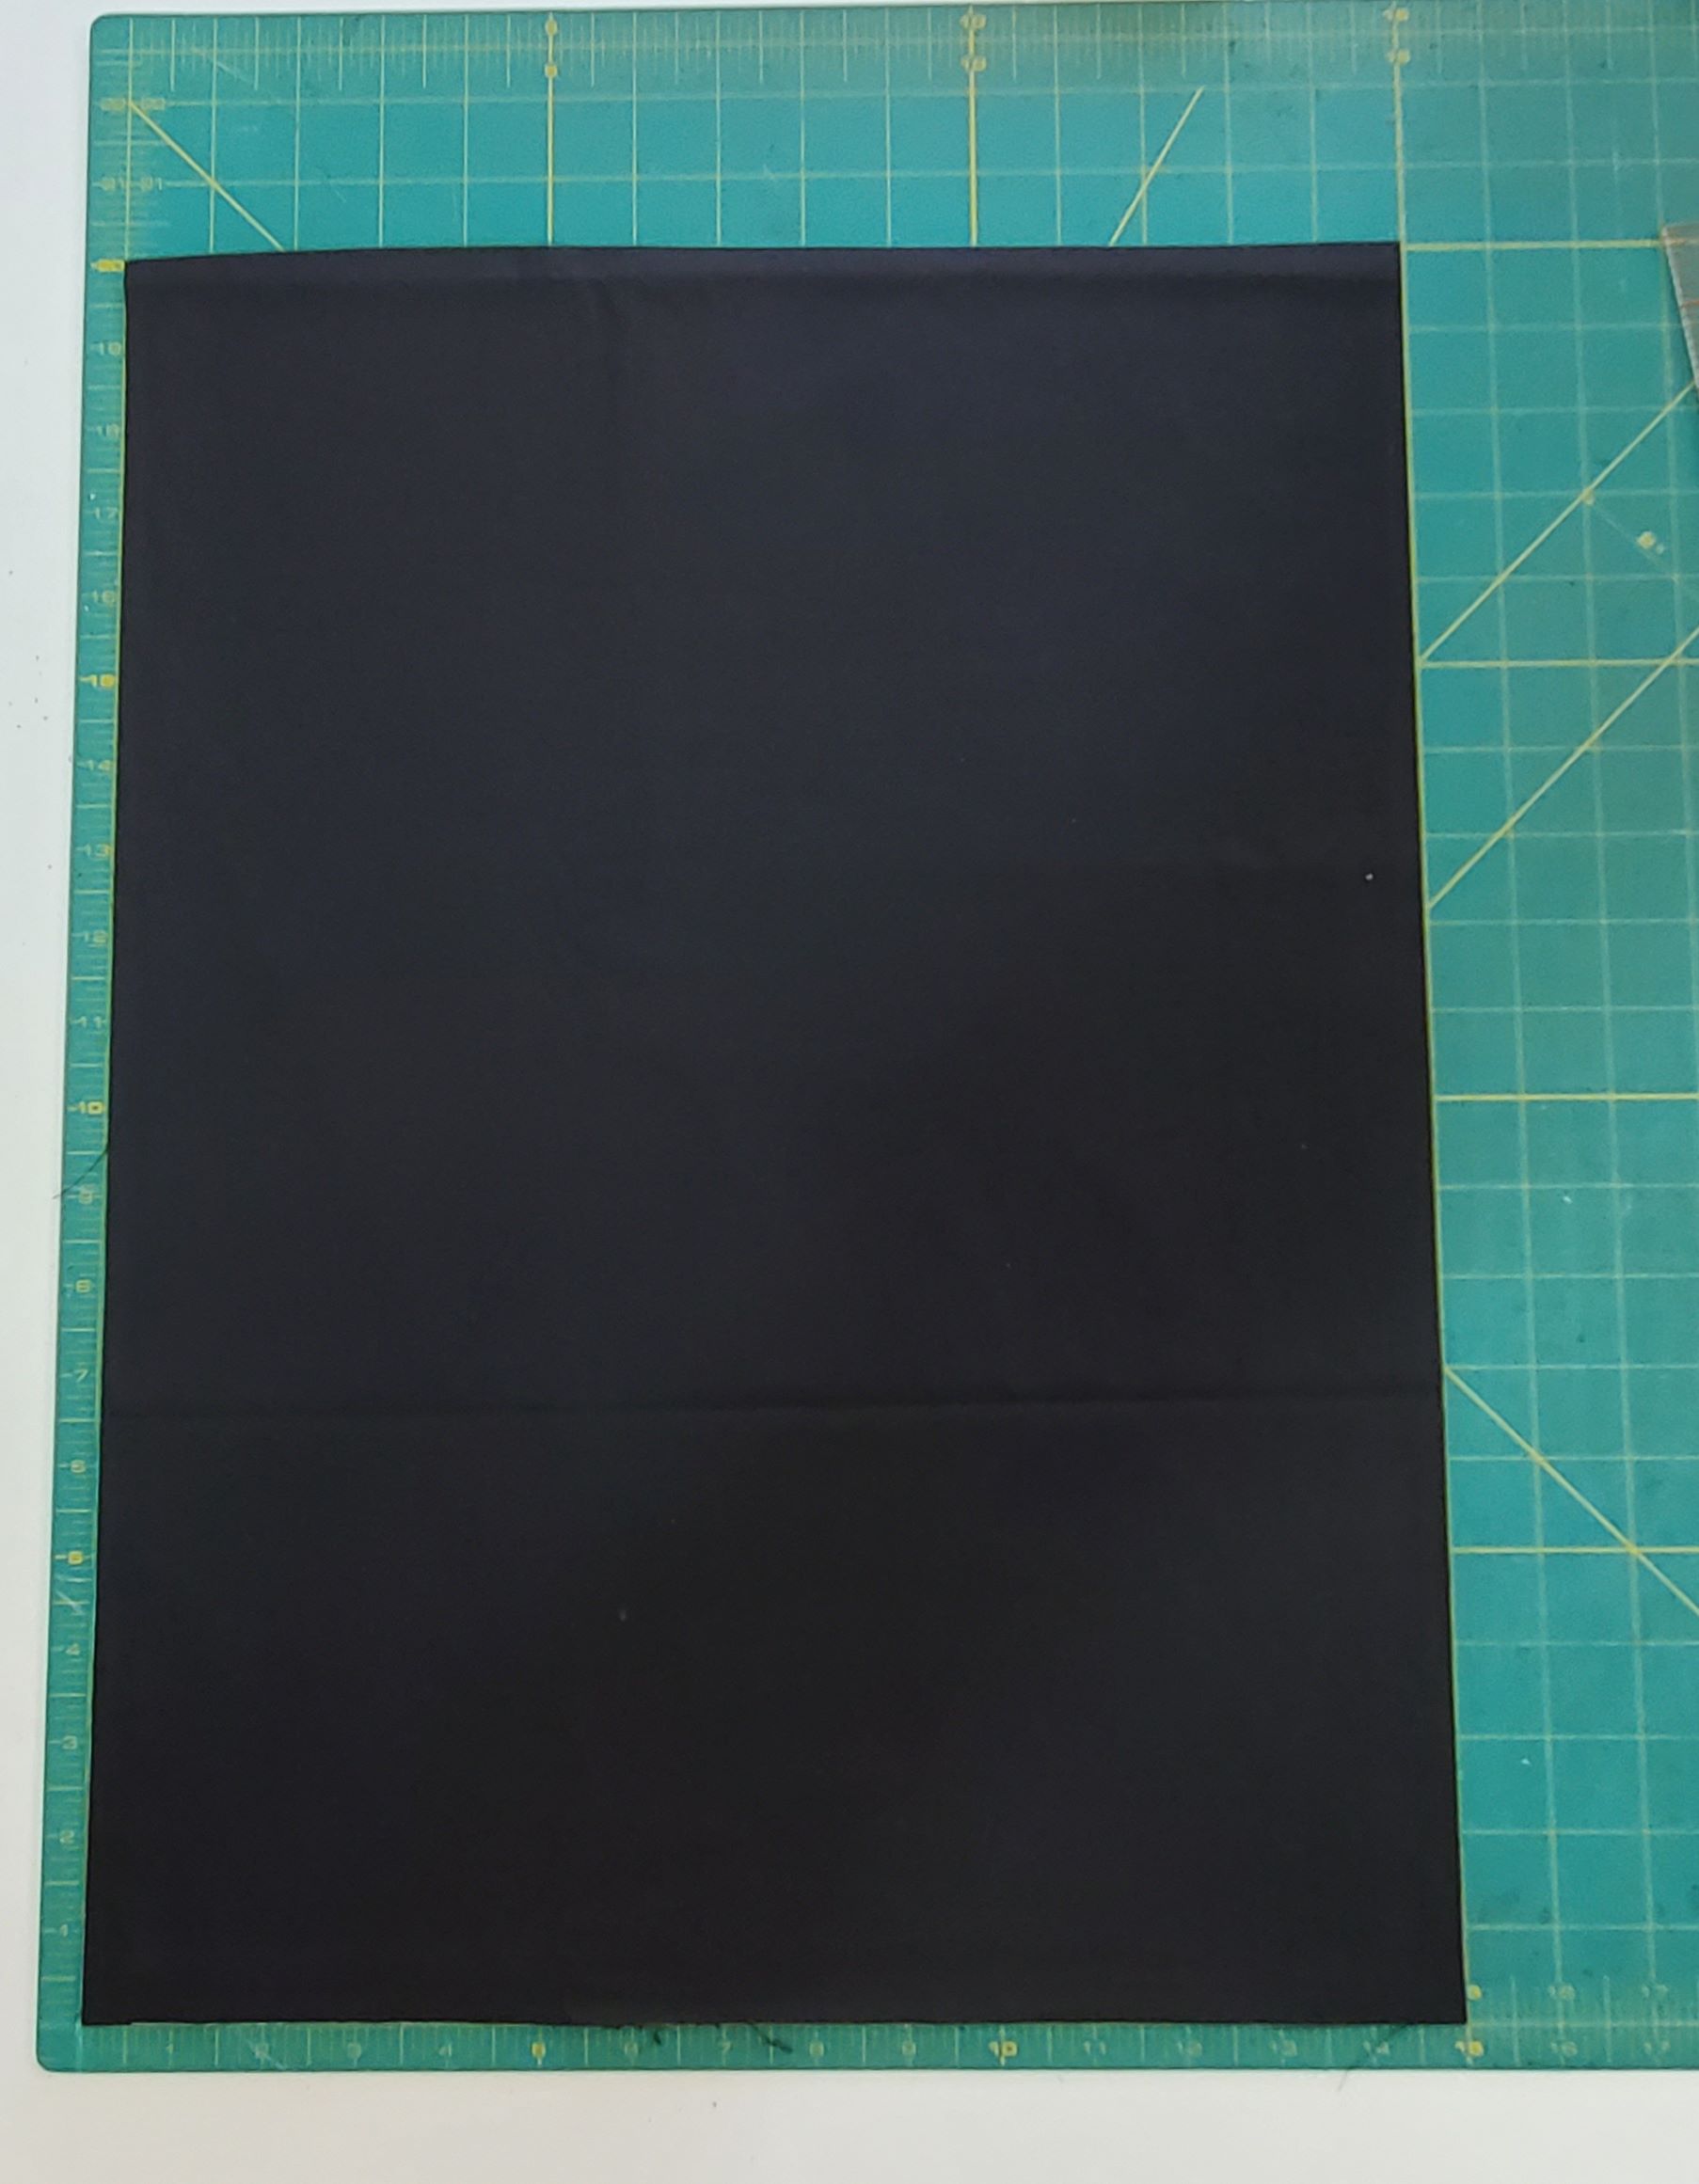
Fold each of your fabric pieces in half long-ways; so they will now measure 10″ x 15″. Press on the fold.
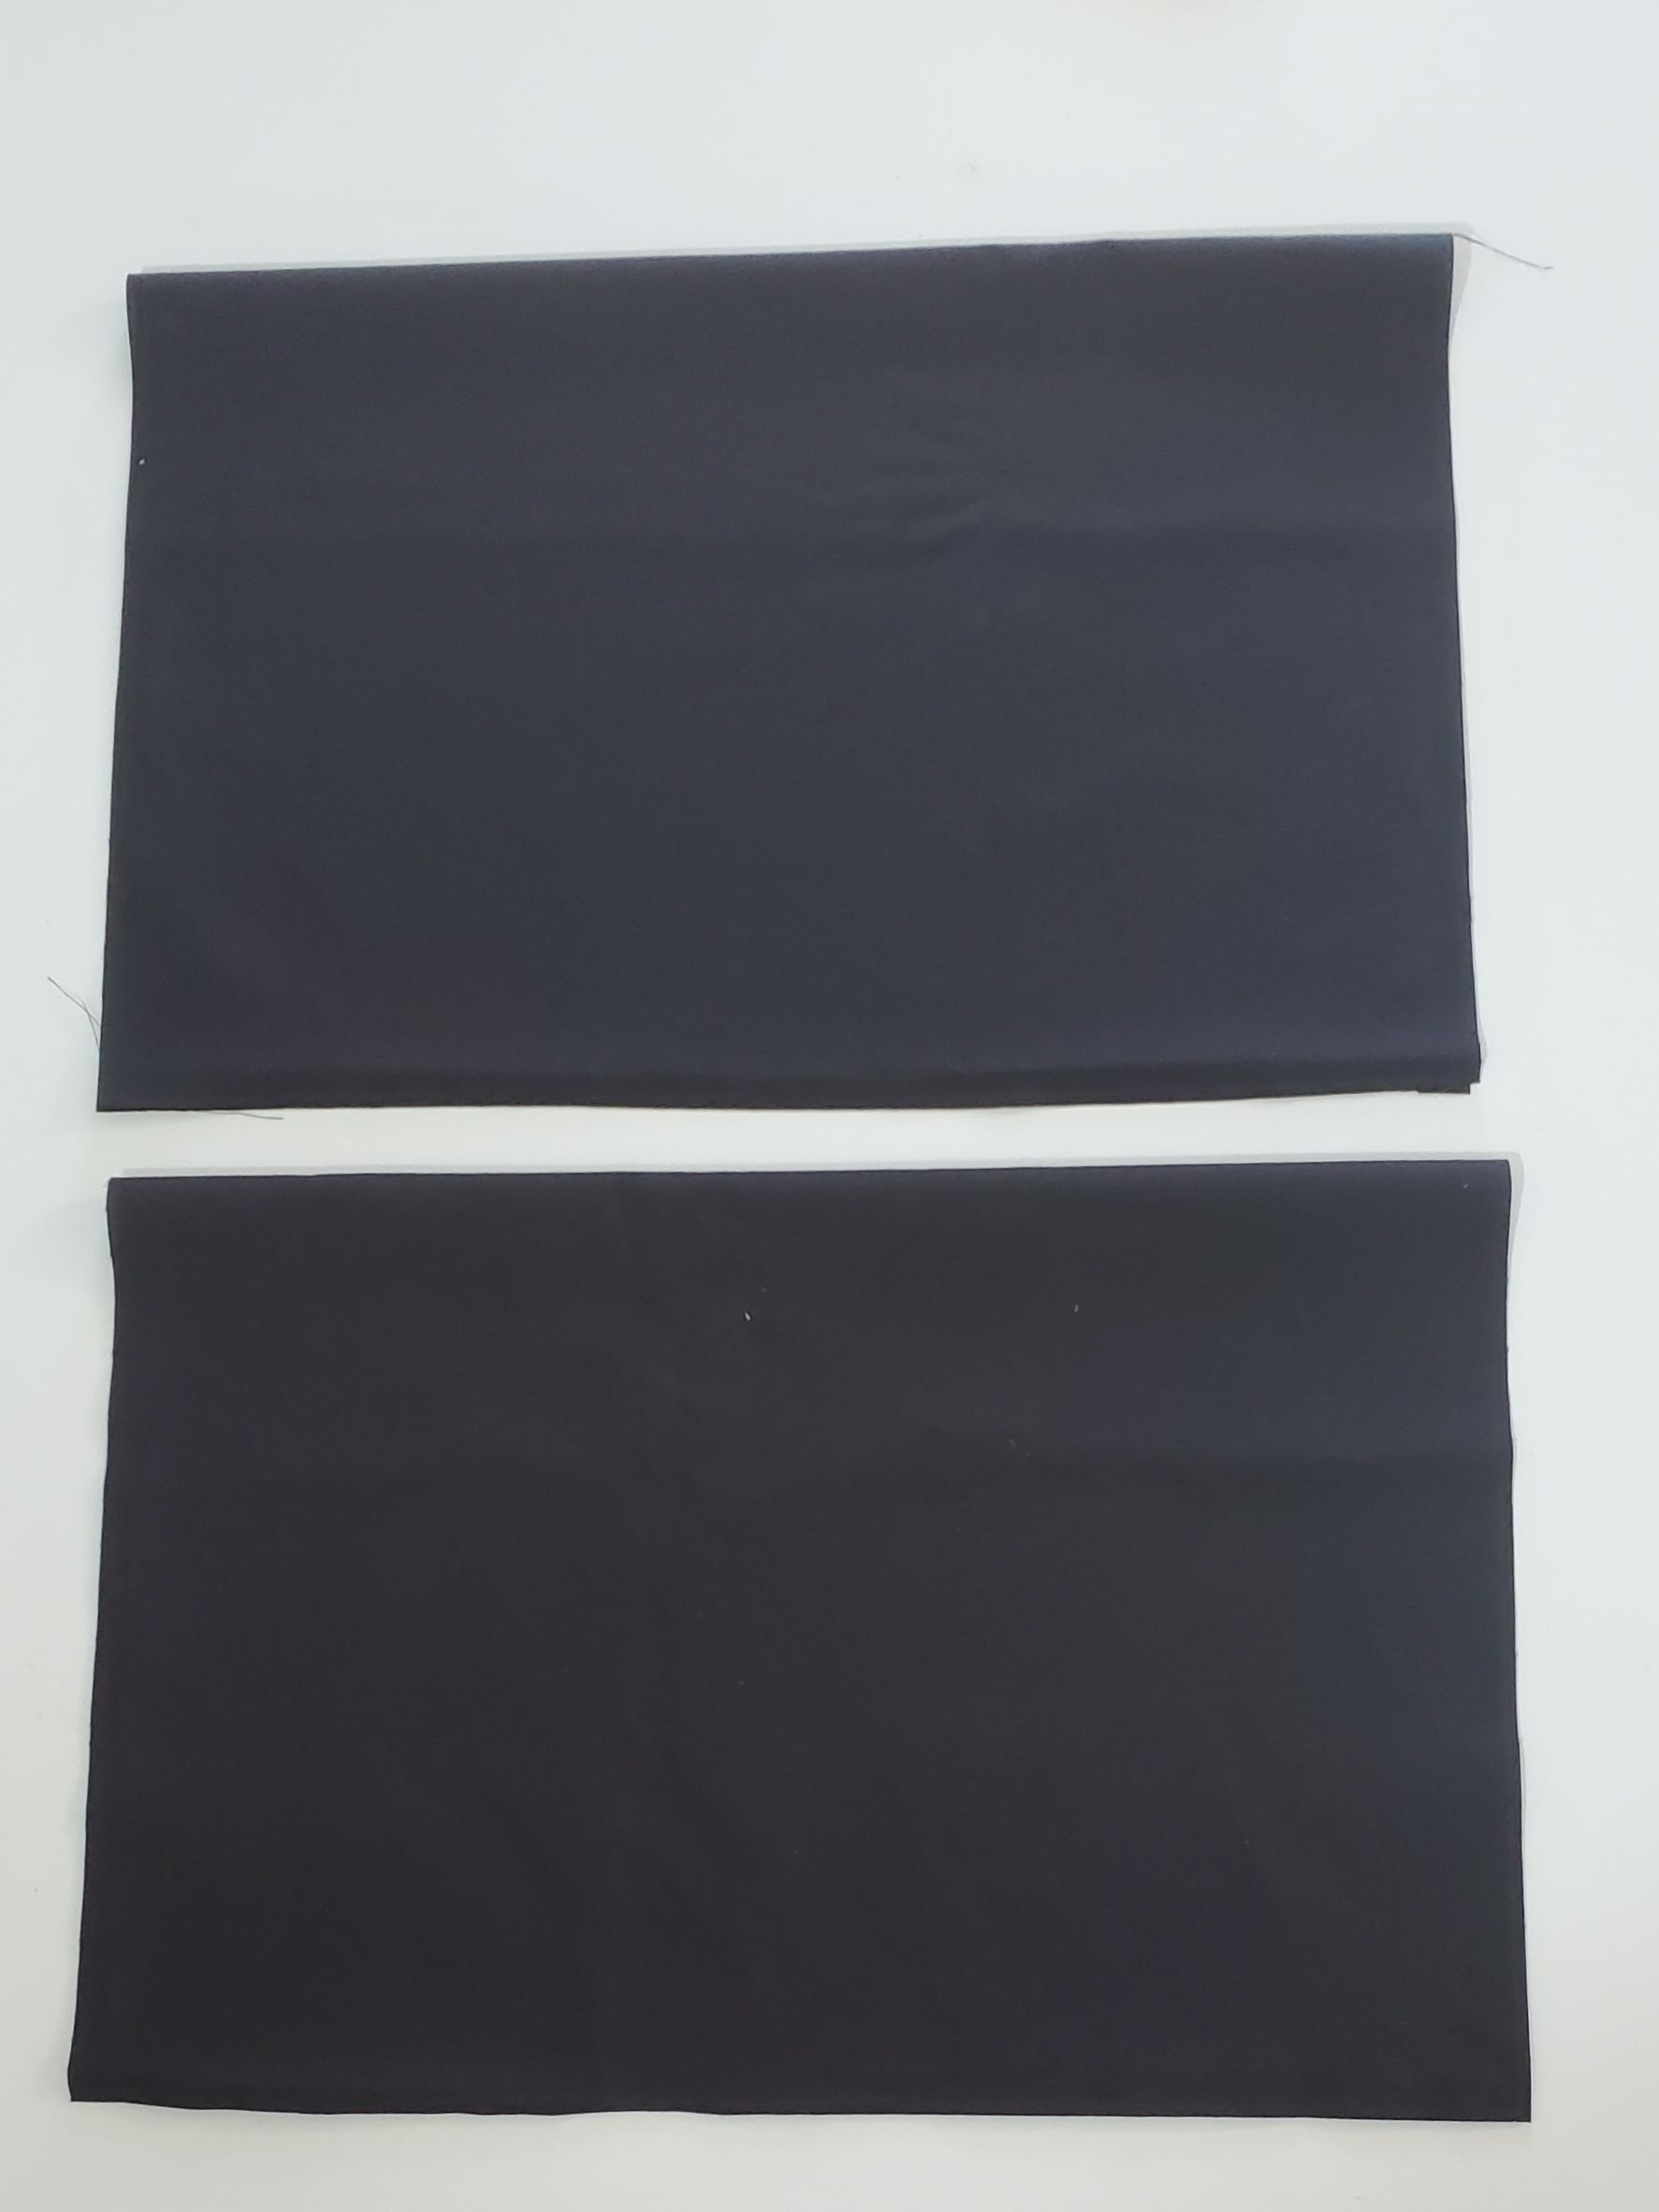
Set your pillow cover front on the table, right side facing up. Take one of your backing pieces and match up the top edge and the side edges, with the fold of the backing in the middle of the pillow cover. Make sure all of your raw edges are even and pin across the top of the pillow cover.
Now, take the second backing piece and do the same thing, only along the bottom. Line up all raw edges along the bottom and sides; your fold will be in the middle(ish) of the pillow cover. Pin the bottom and the side edges together.
Beginning in the middle of the top of the pillow cover, beginning stitching around the entire perimeter of the pillow cover, using a 1/2″ seam allowance and pivoting at the corners. You do not want to begin your stitching at a corner because you need to be able to pivot once you approach the corners. (Sorry, I didn’t get a picture sewing around the pillow, but I think it’s pretty self explanatory 😉 )
Clip across the corners of your pillow cover, making sure not to cut through the stitch line, and then flip it right side out and press the edges of the pillow.
Put your pillow form in your pillow cover.

And that’s it!! How easy was that??
So easy that you can make them for any holiday or occasion!!! Have fun and let me know in the comments how you did!
Helpful products for this project:


*Sassy Cassy’s is part of the Amazon Affiliate Program, which means that if you purchase Amazon items from this website, a small commission will be earned, at no extra cost to you.

With the pattern for the Tea Towel Dress, how does the Towel dress bodice stay on the oven door? It’s an adorable pattern!
It stays on the oven door by the ties 🙂 You untie to put it over the handle, and then tie the sides.