Last week, I shared part 1 of 2 of my back-to-school sewing workshop classes that I offered. We sewed reusable lunch bags and reusable snack bags. They were super fun, quick and eco-friendly!
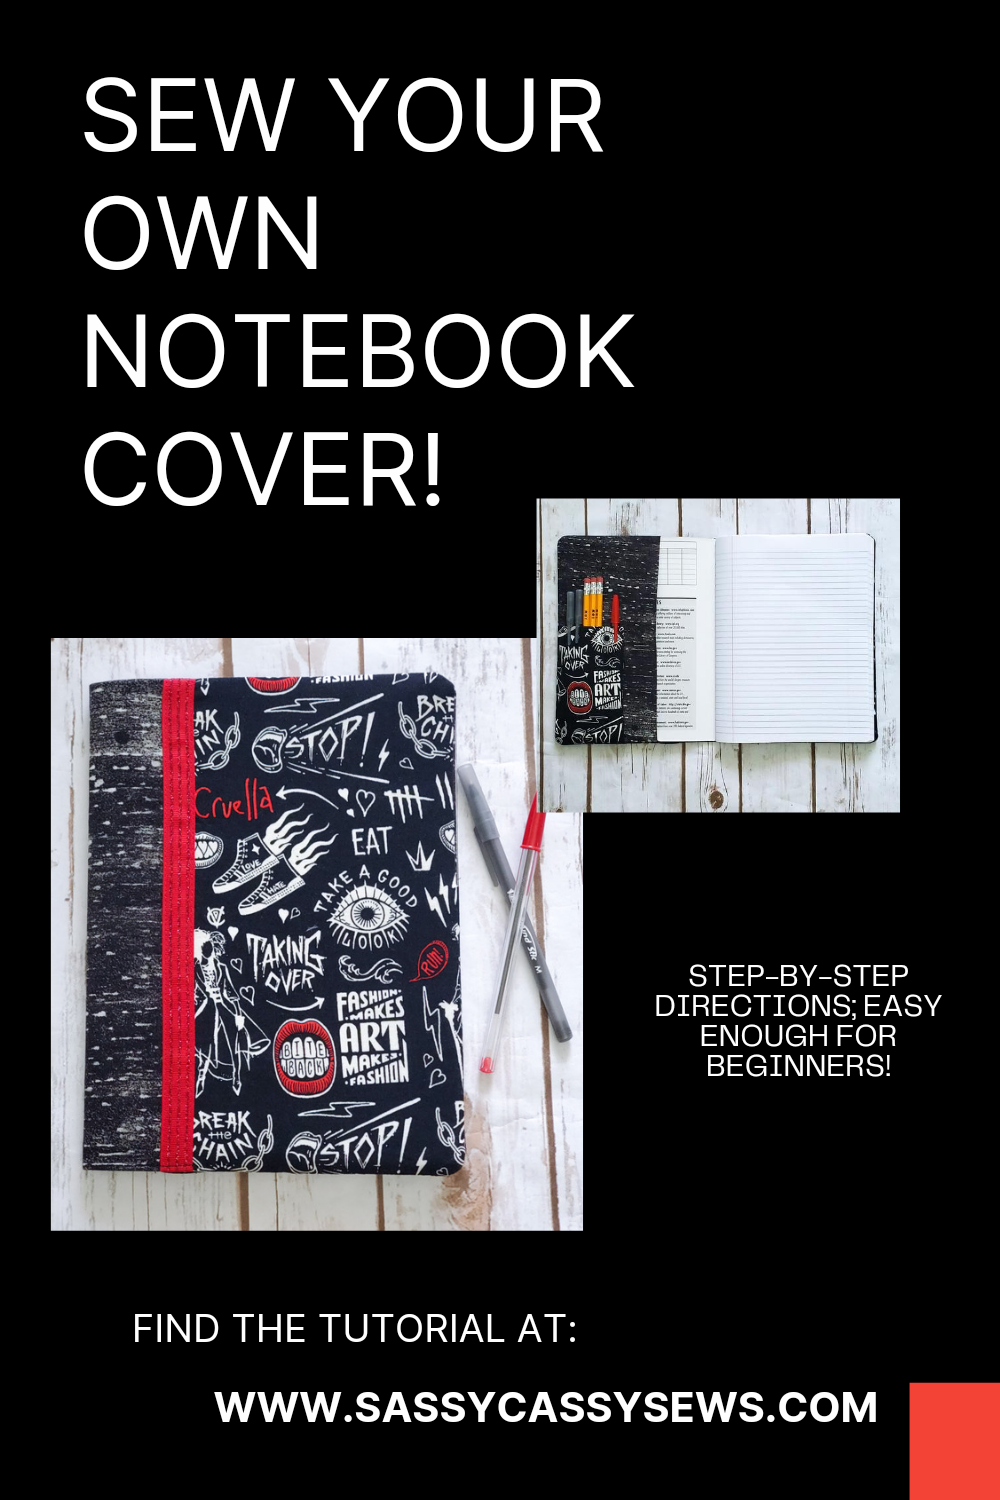
Another request I had from a student was to make notebook covers. I’d never made a notebook cover before, but it didn’t seem too difficult. Really what it usually comes down to is time…time to figure out the pattern, make it up and test it out. So, even though this student requested this class last year, I just now got around to all the work it takes to make a class. And really, it seemed like a perfect back-to-school project!
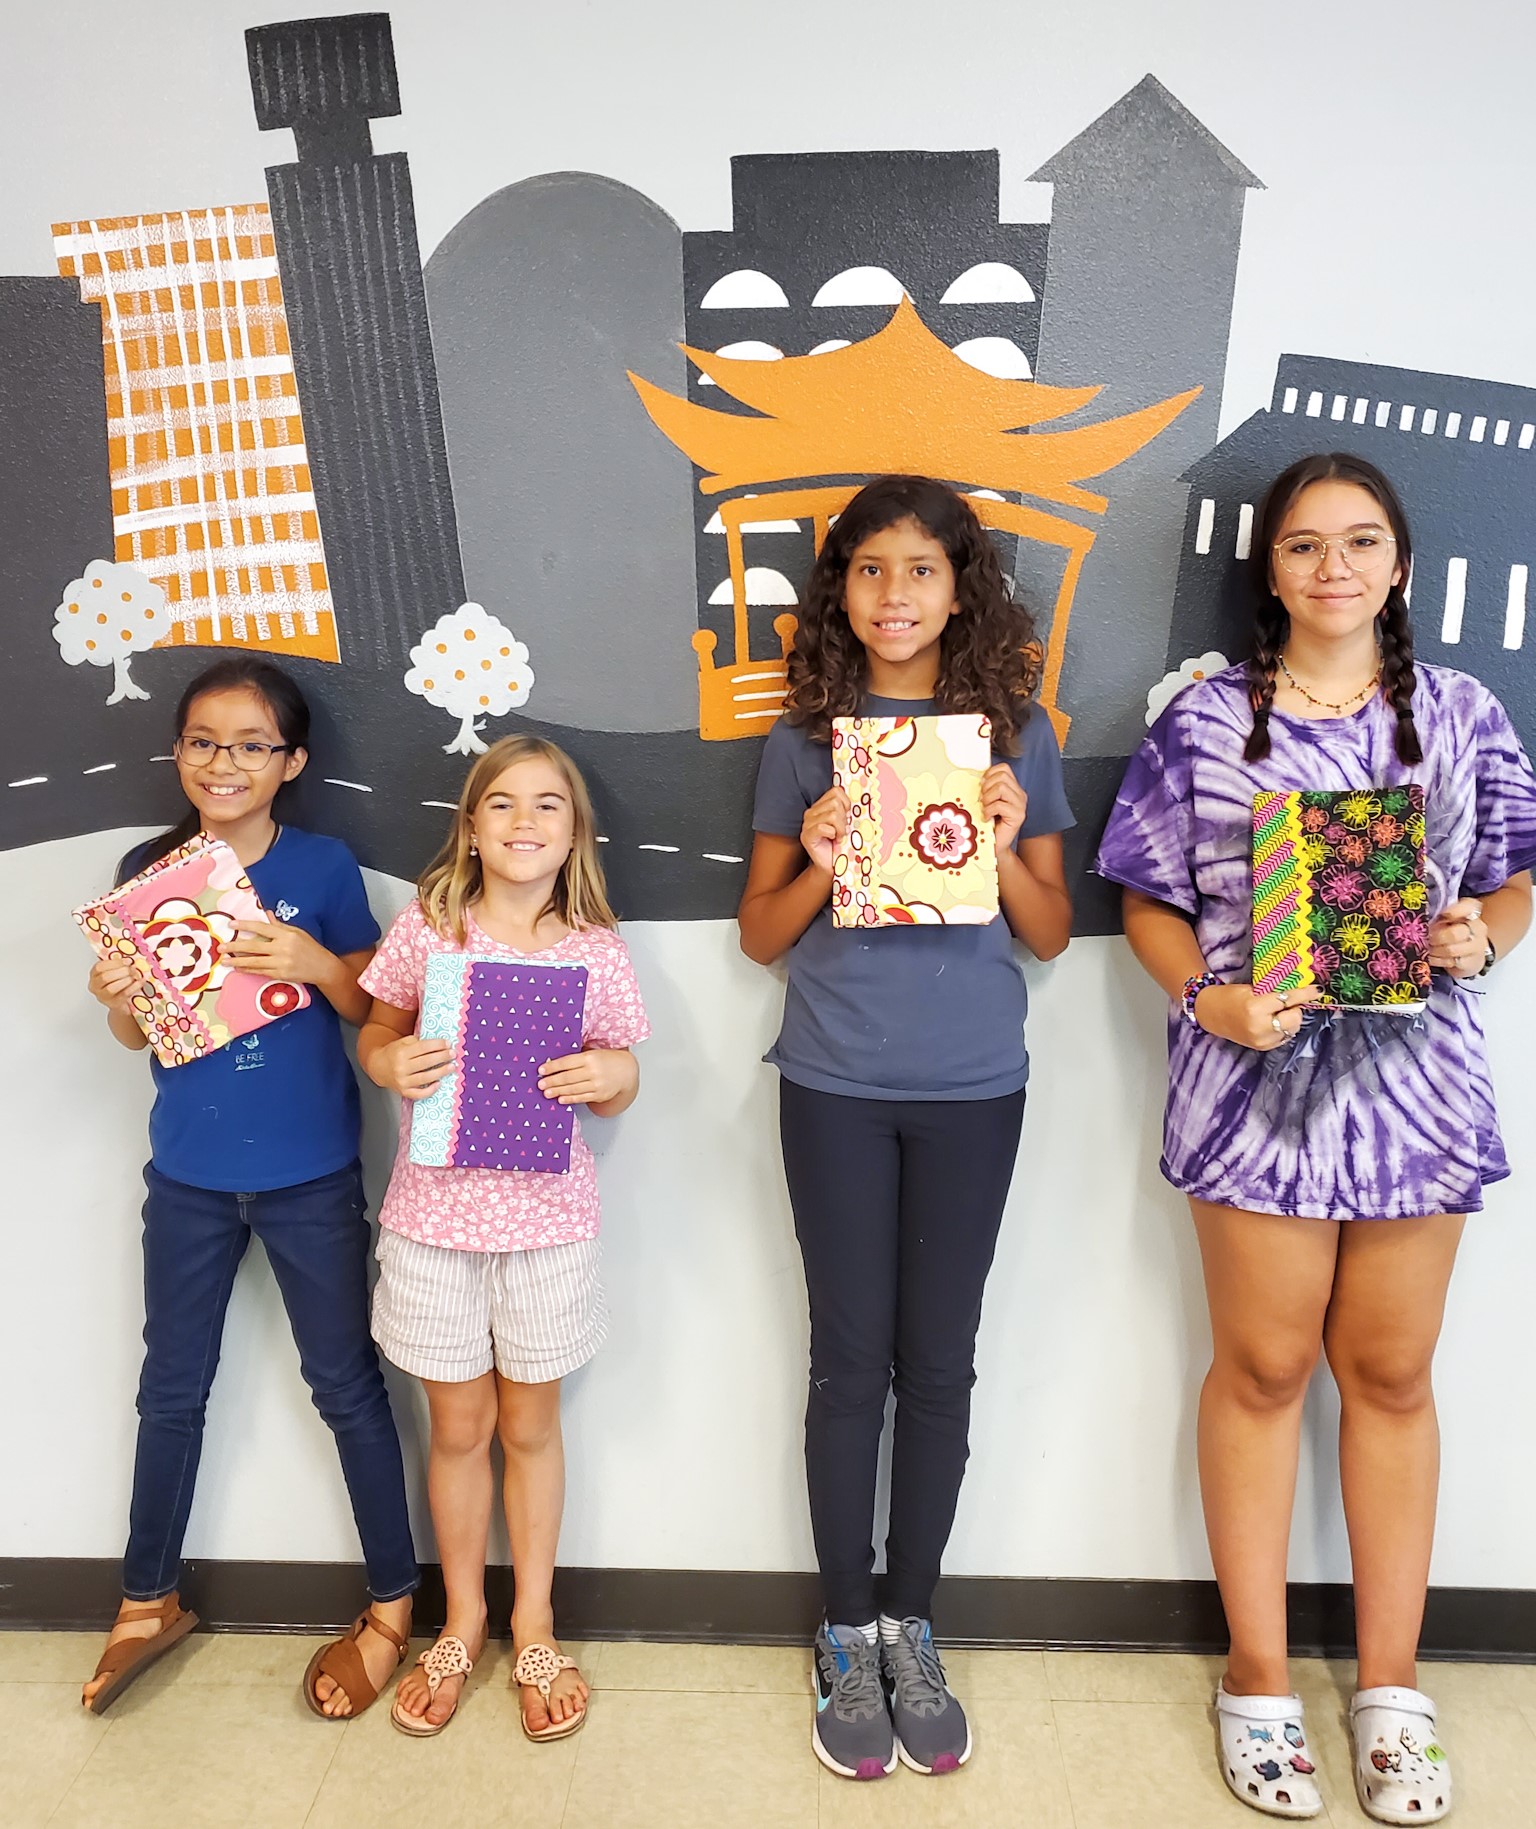
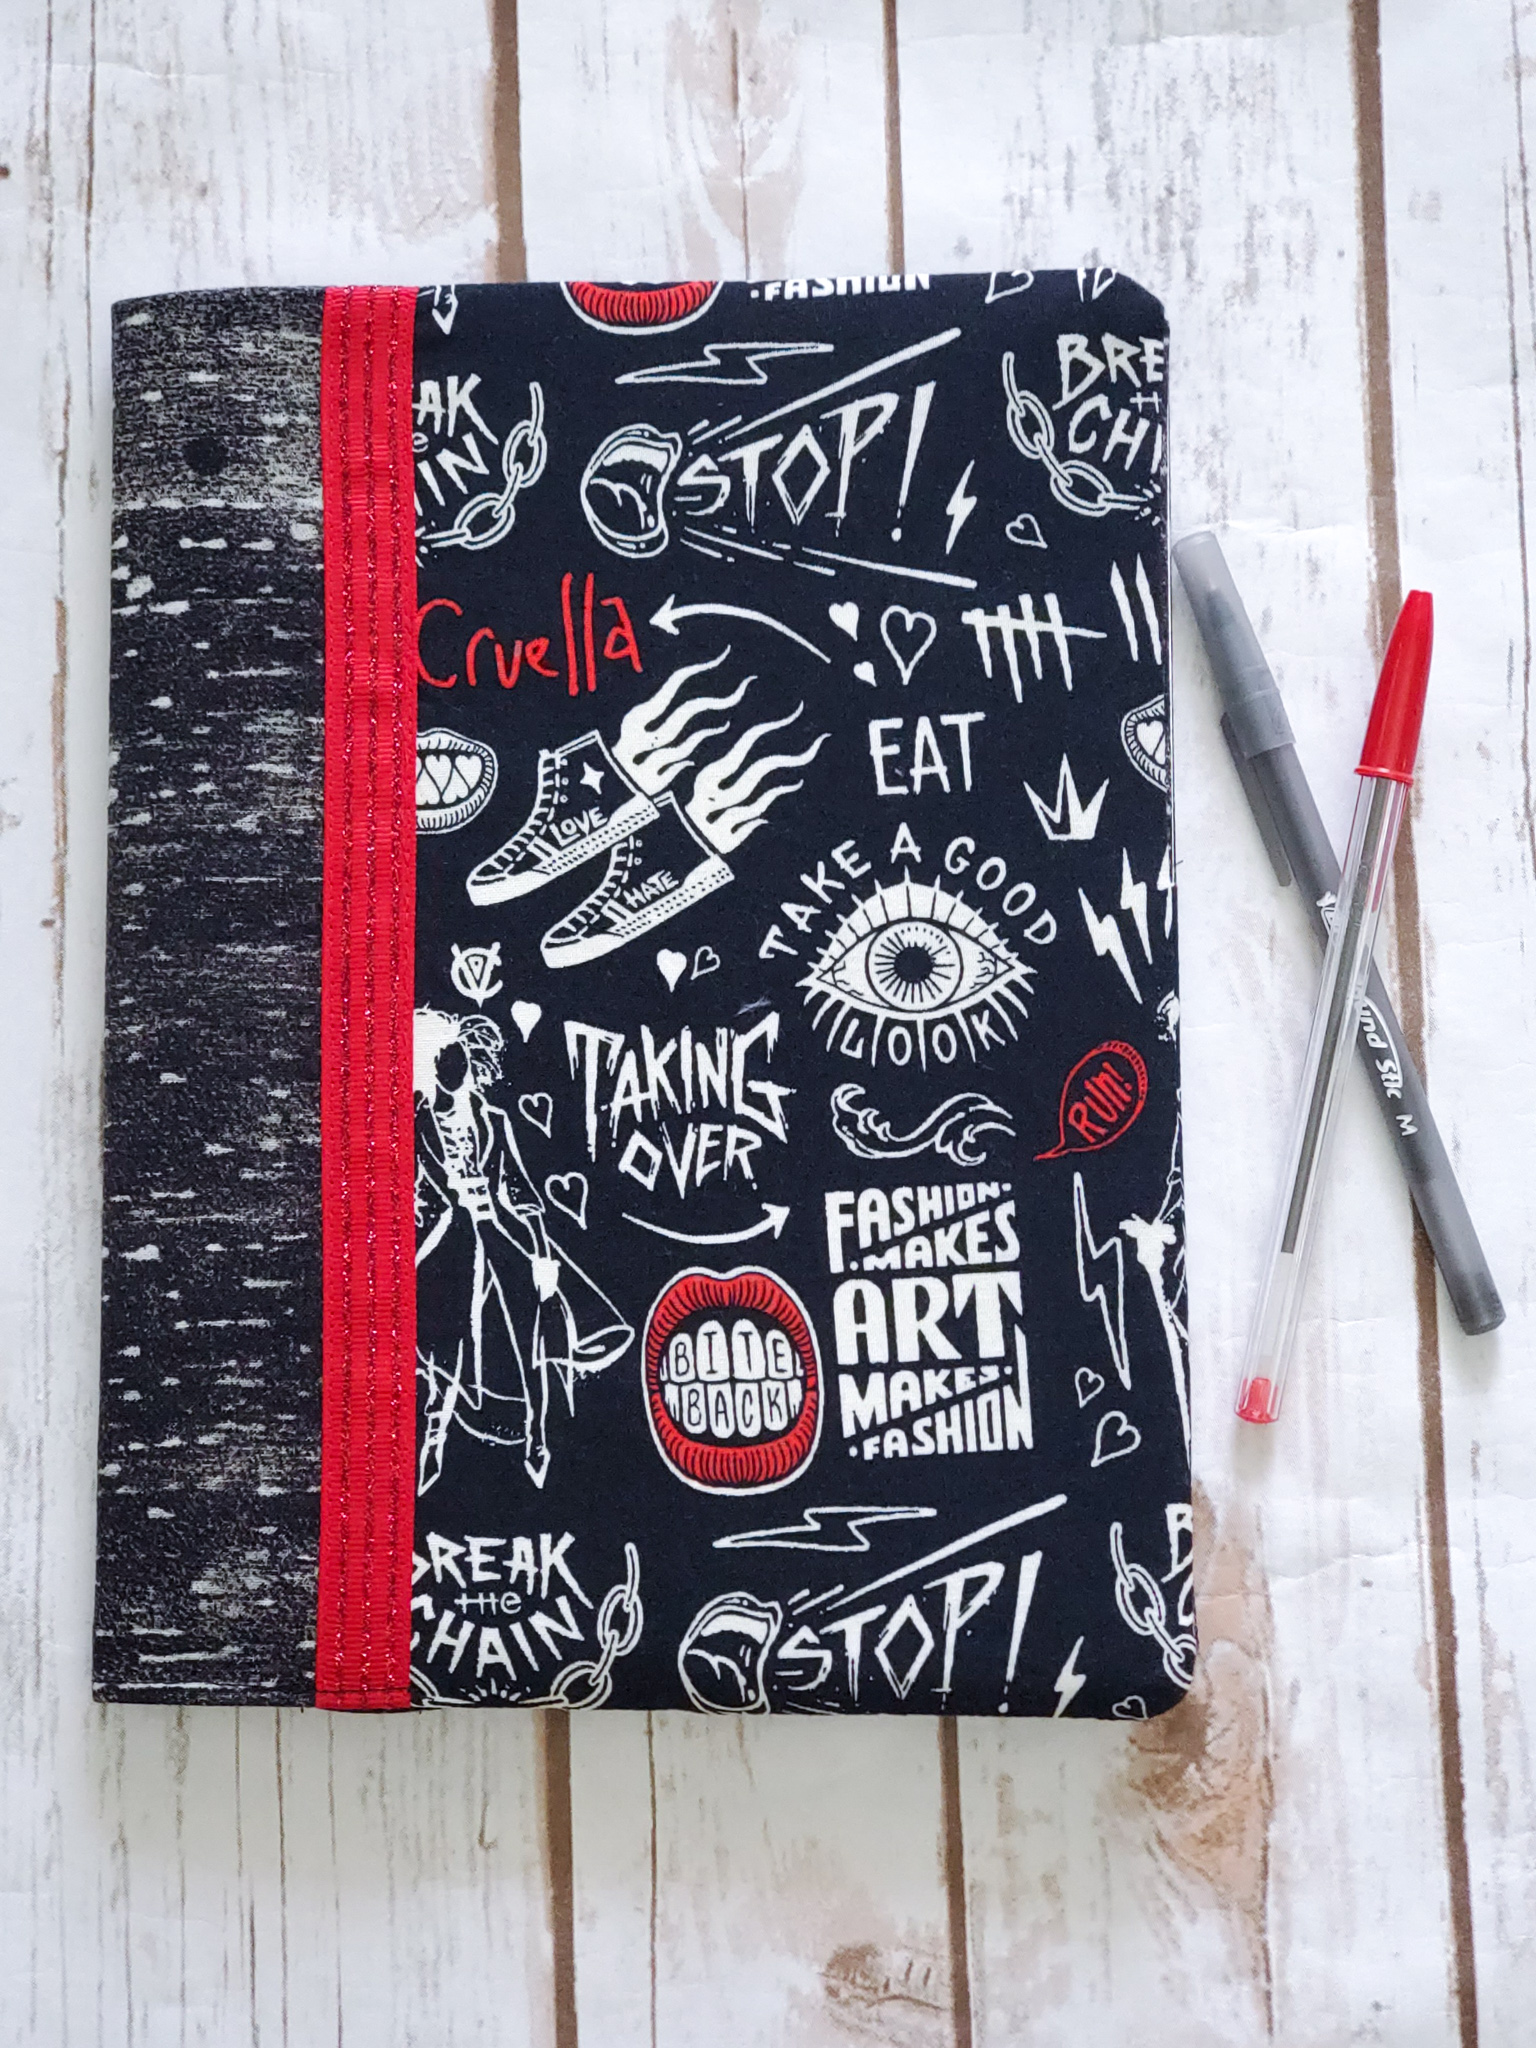
I offered this class as a workshop class at my house, and then I decided it would be a great “first” project for my Sewing 2 students at the learning center. They finished their covers last week and I think they turned out fabulous!
The first time around (in my workshop classes) we had a couple of hiccups. Despite prewashing the fabric, one of the fabrics a student used ended up shrinking a little bit with the hot steam of the iron. I’ve never had that happen before! I think the problem was that we are ironing on interfacing and you aren’t supposed to use steam with interfacing. So most likely, the interfacing was shrinking and it kind of left the fabric bubbly. Be careful not to use too much heat (and no steam!) when applying the interfacing! Also, use a 3/8″ seam allowance (rather than 1/2″). We used 1/2″ seam allowance, which is what I accounted for in my patternmaking and is what I used on my sample, but it still turned out snug. This is a project where staying exactly on the seam allowance really matters. If you veer at all, it will end up too small. So…use a 3/8″ seam allowance. It worked out really well in my learning center class!
The measurements for this notebook cover are to fit a standard composition notebook, which you can buy at Wal-mart or Target. I attached a link anyway at the end just so you know exactly what you’re looking for.
Materials needed for your notebook cover:
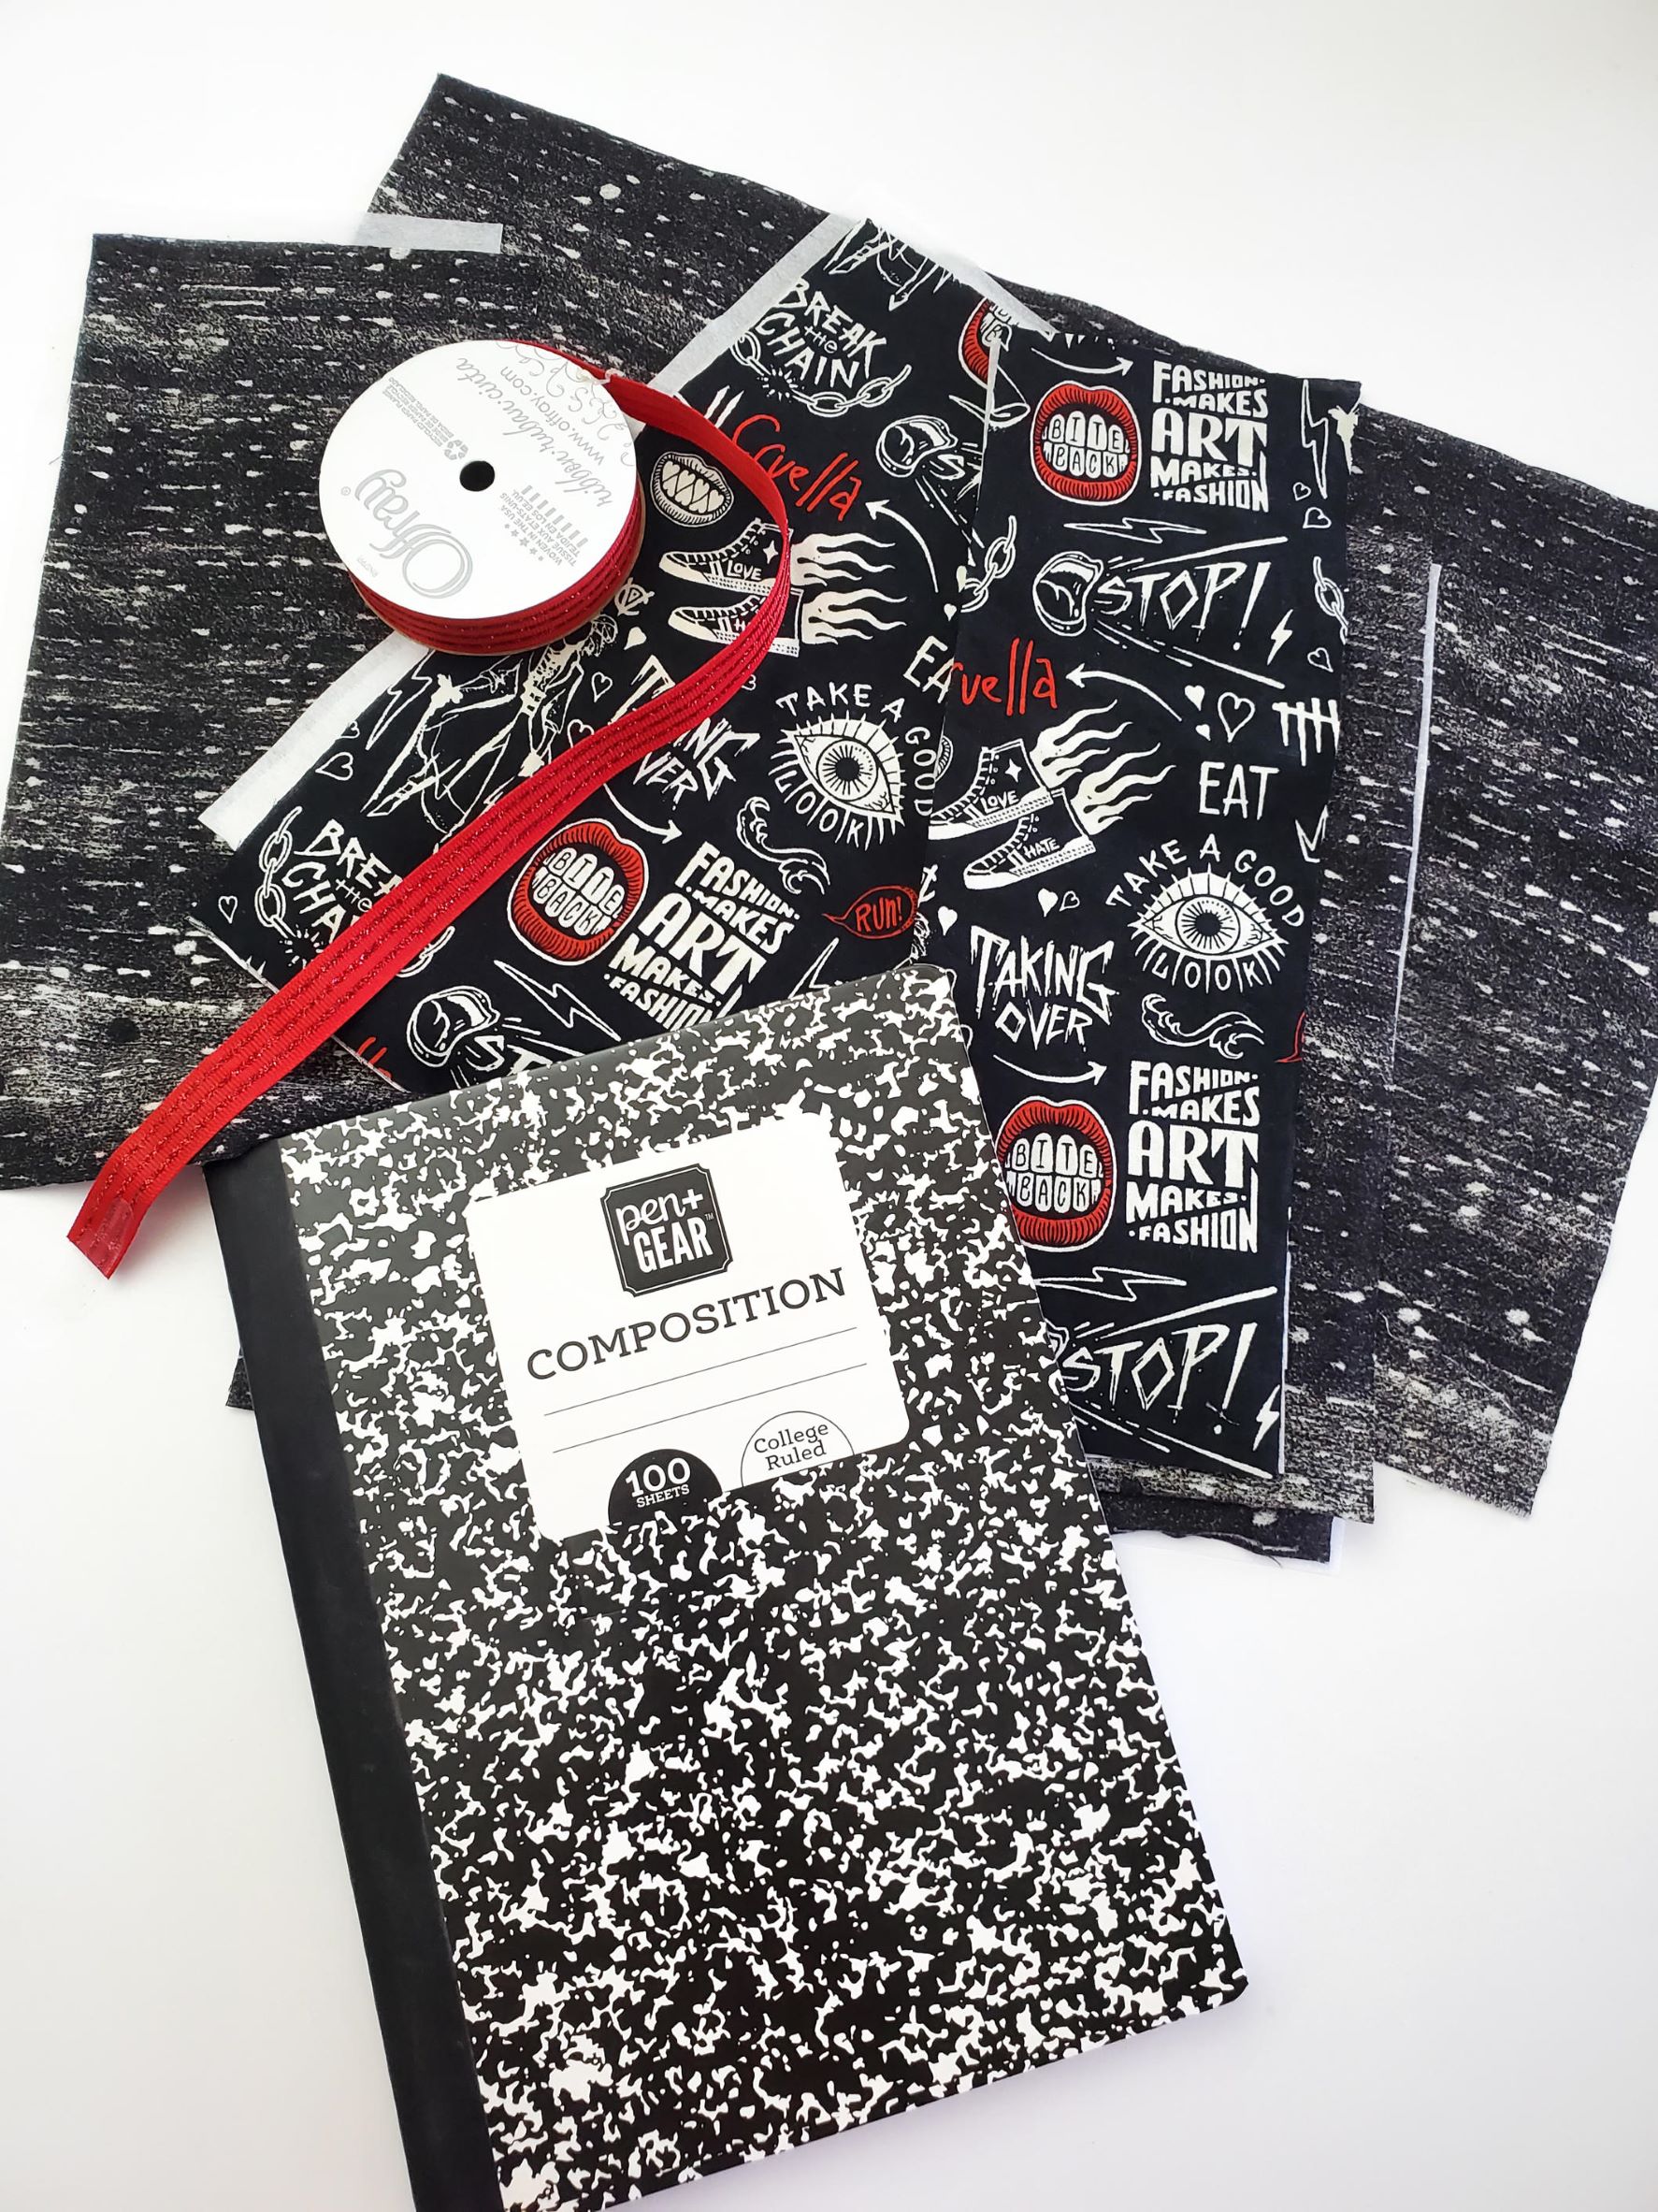
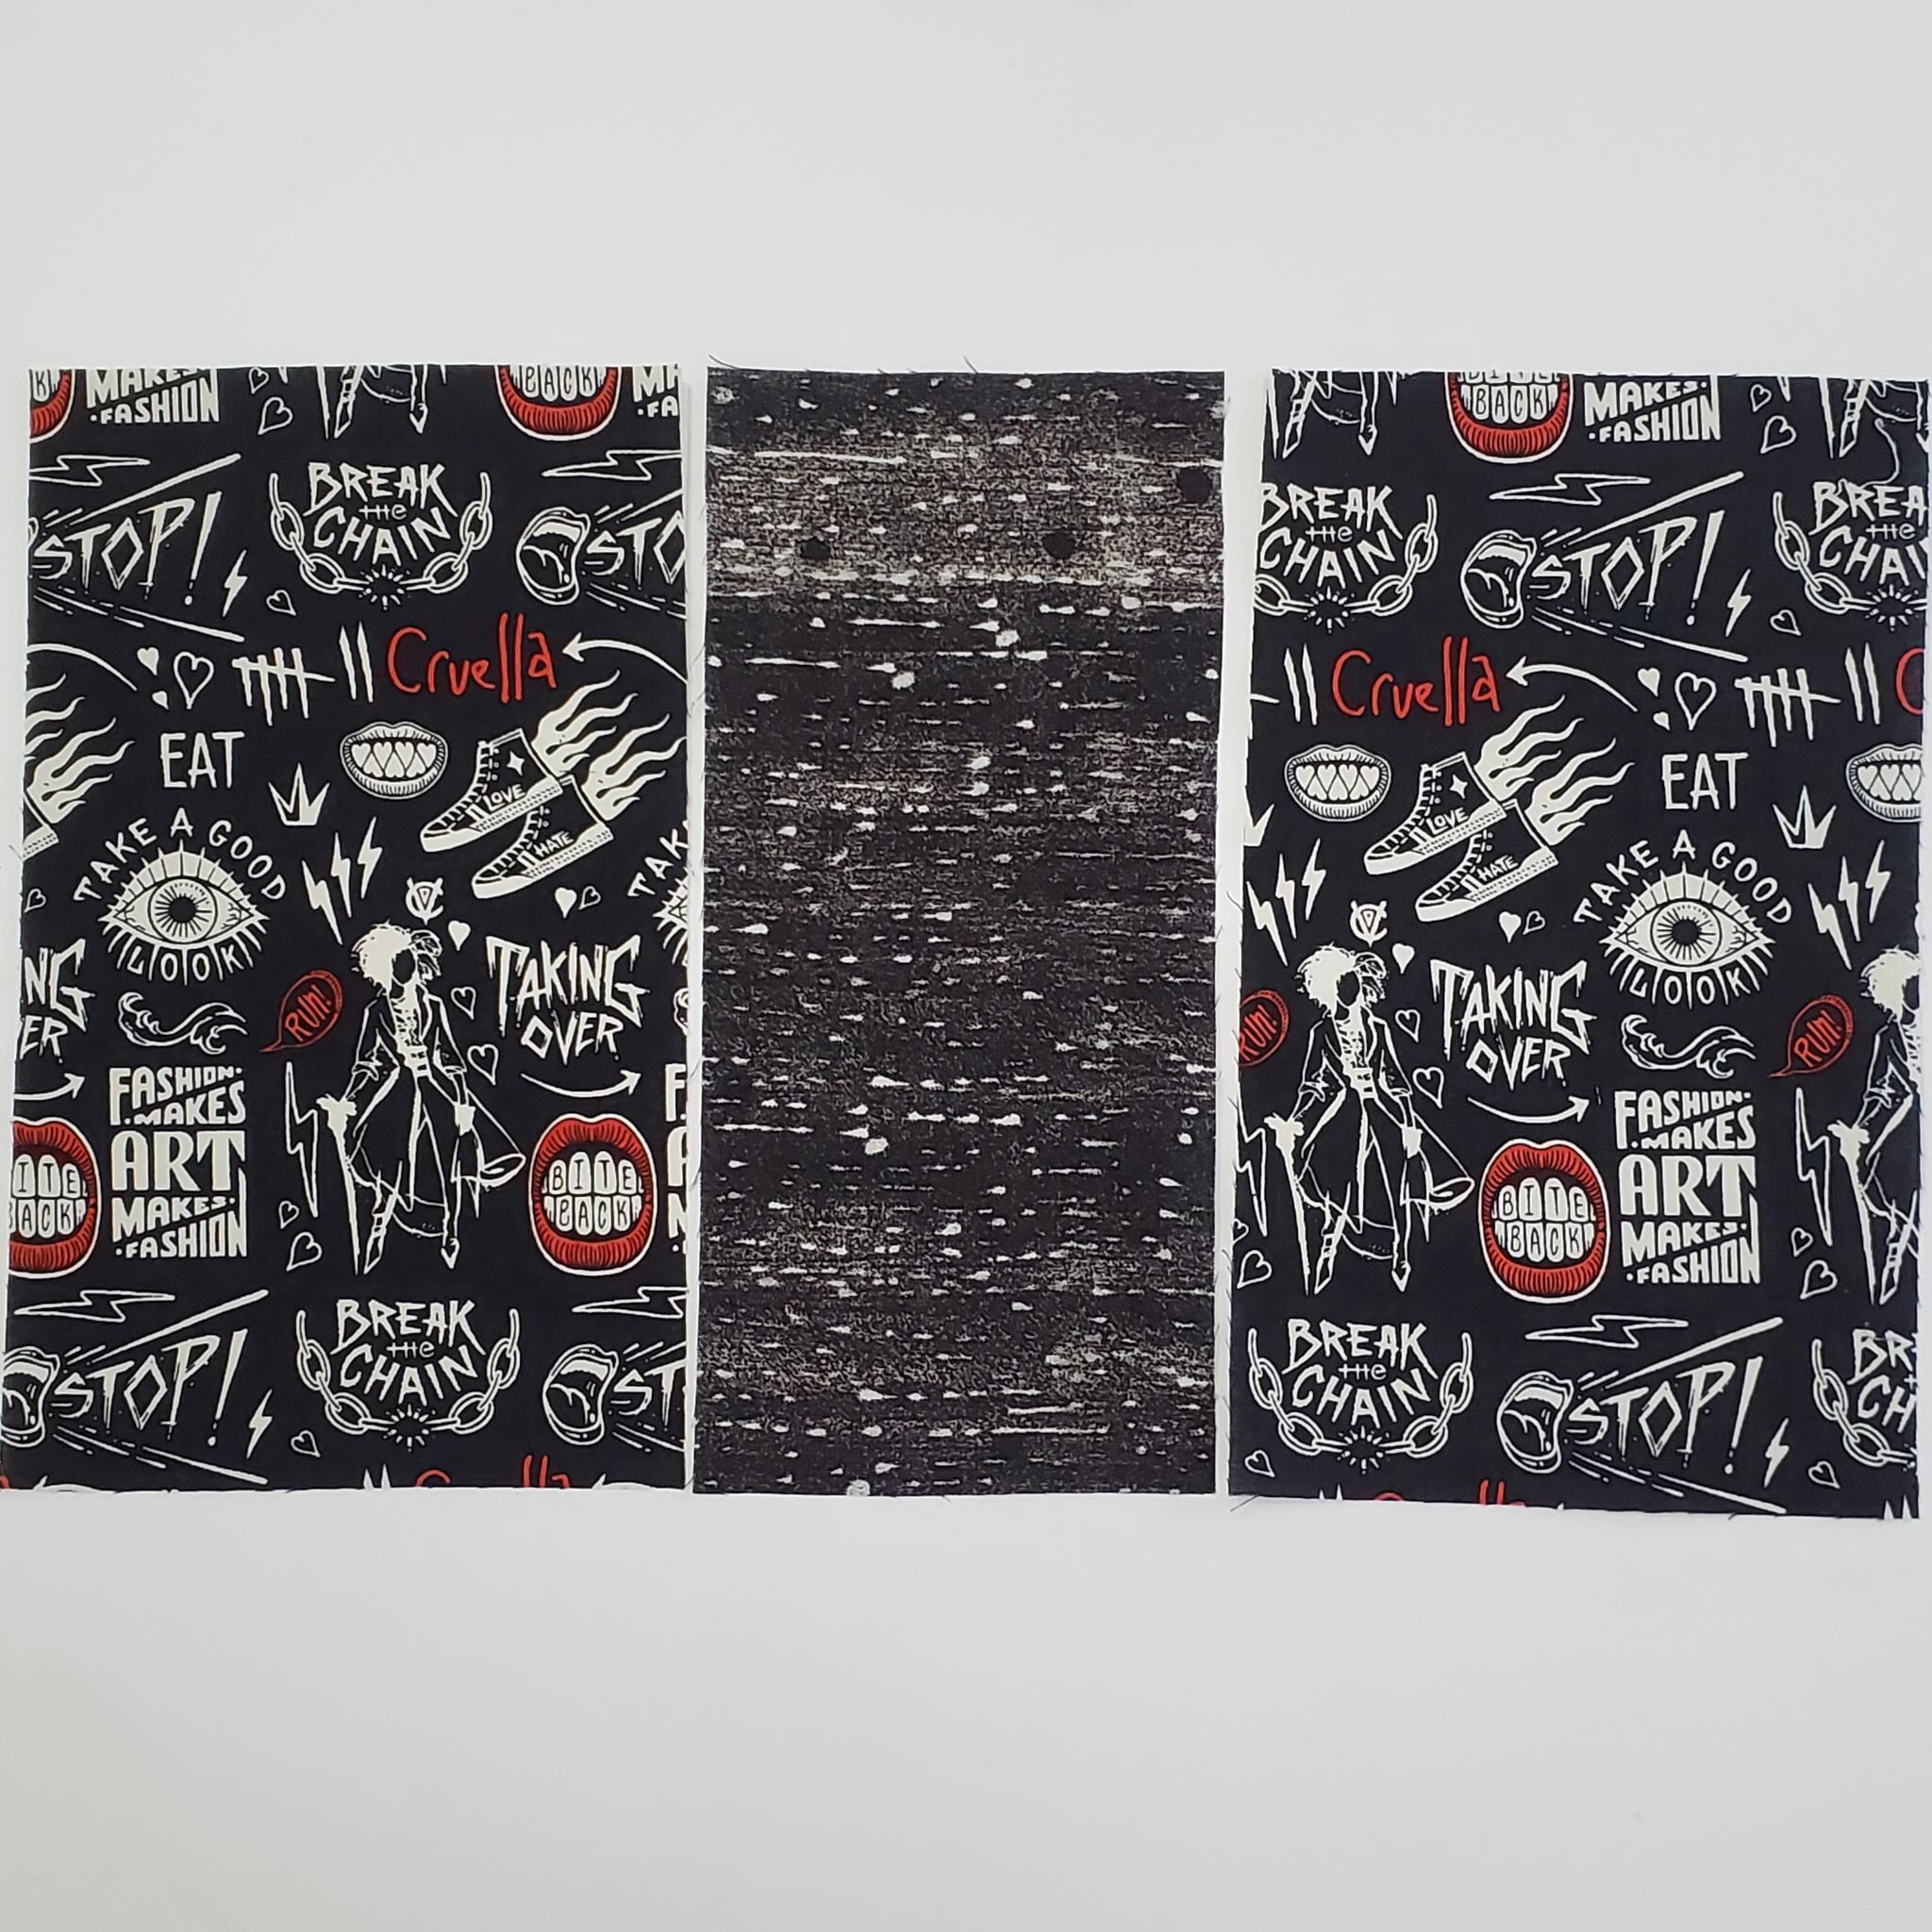
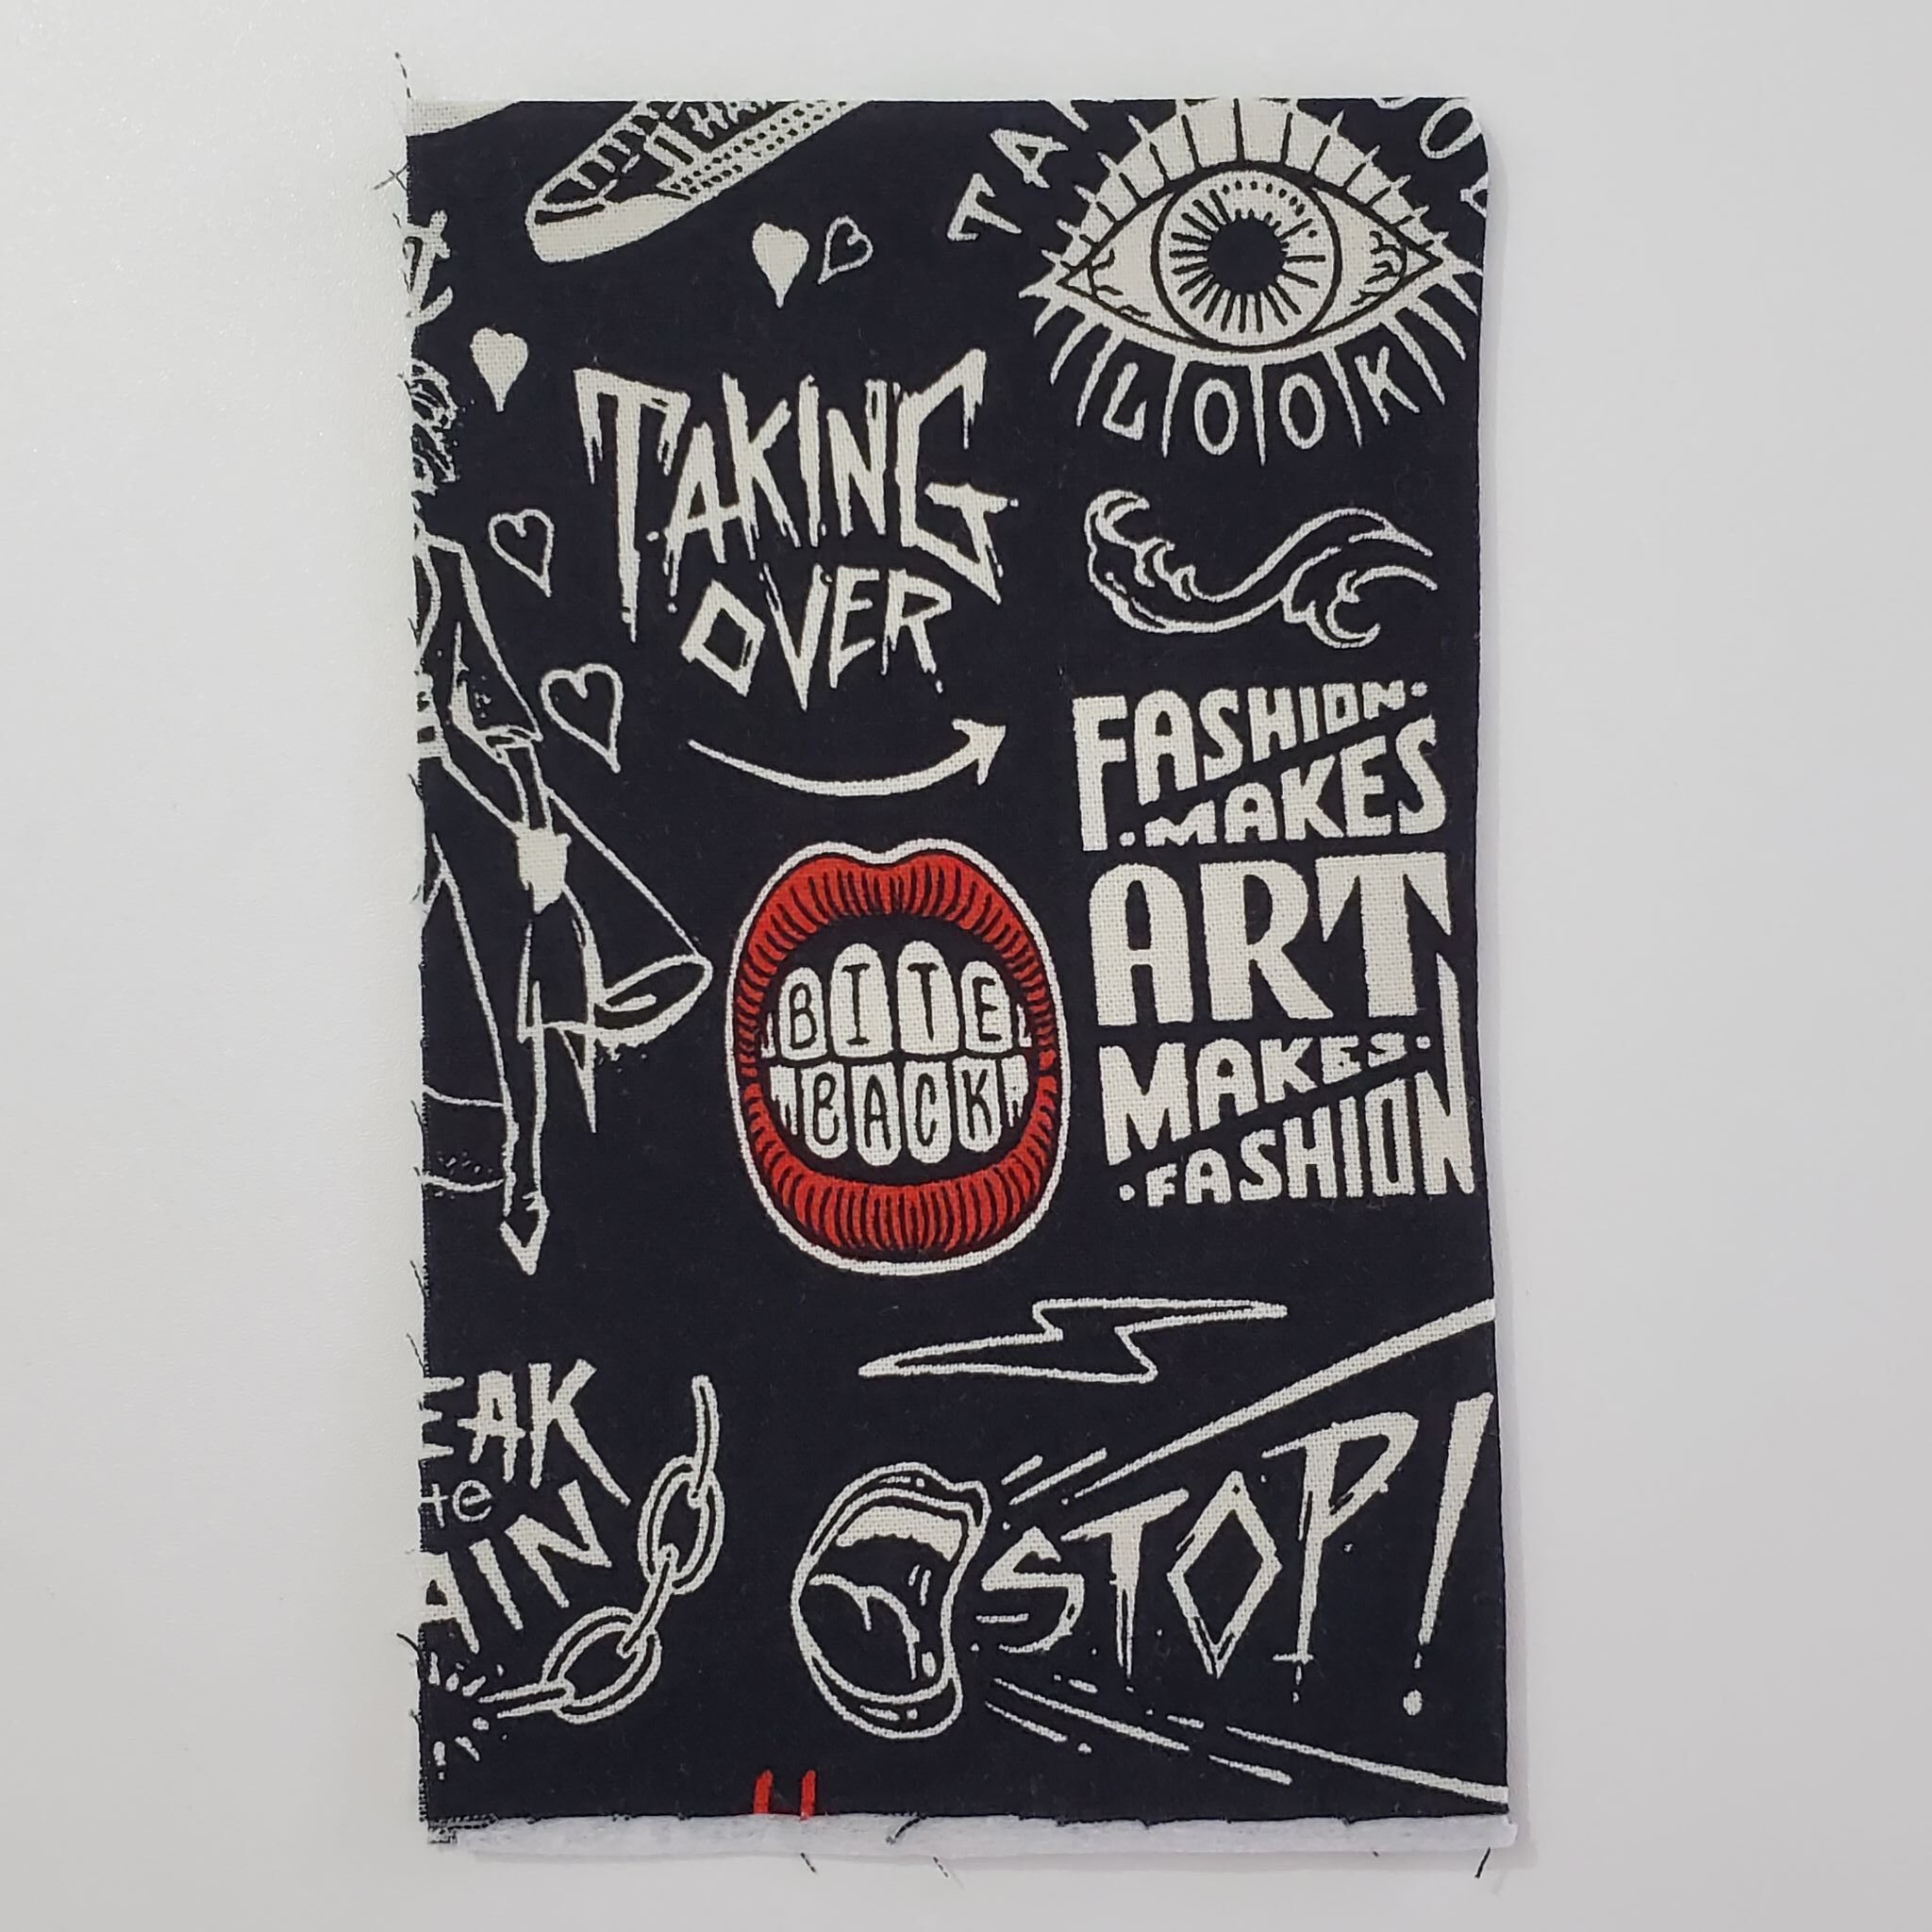
From your main fabric, cut the following (the first measurement is the height and the second is the width):
- (1) 12″ x 4″ (pocket)
- (2) 10 3/4″ x 6 1/4″ (outer sides on front and back)
From your contrasting fabric, cut the following (the first measurement is the height and the second is the width):
- (2) 10 3/4″ x 10 1/2″ (inside flap pieces)
- (1) 10 3/4″ x 5″ (outside center piece)
- (1) 10 3/4″ x 16″ (lining)
**Cut out interfacing for all of these pieces except the lining piece**
***You will also want two 10 1/2″ pieces of rick rack or ribbon for decoration on the front, and of course your composition notebook.
Steps to sewing your notebook cover:
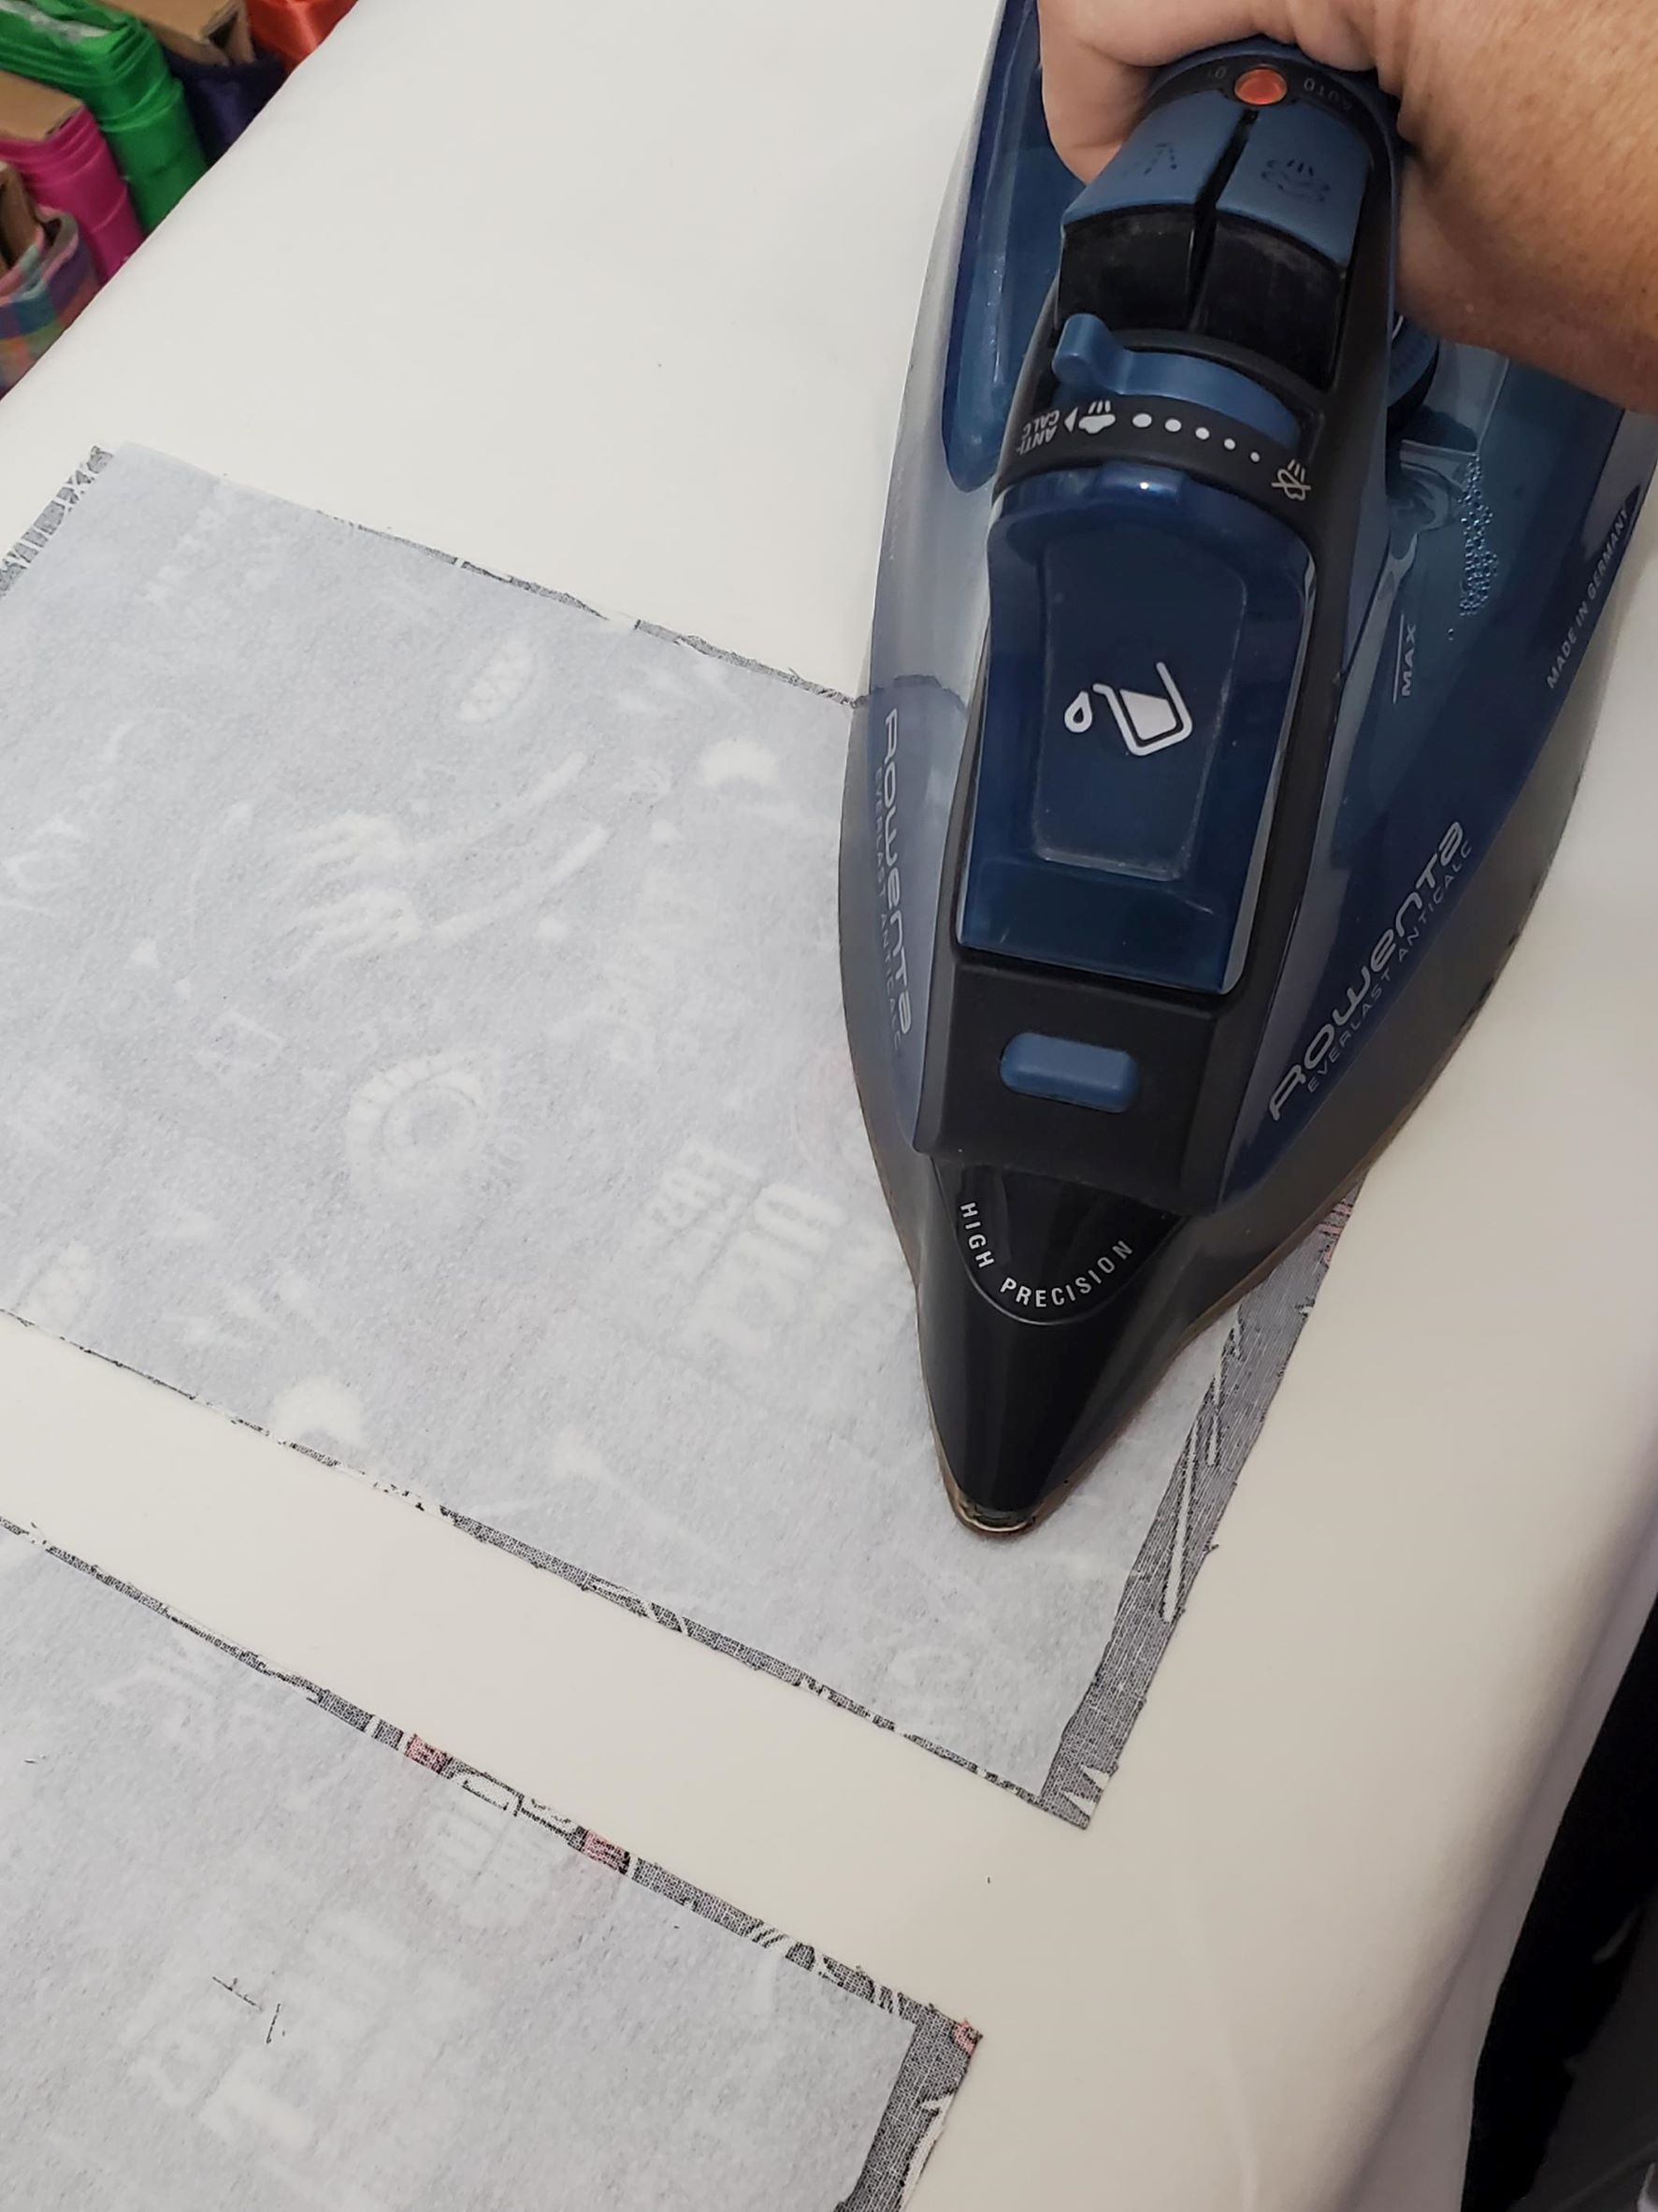
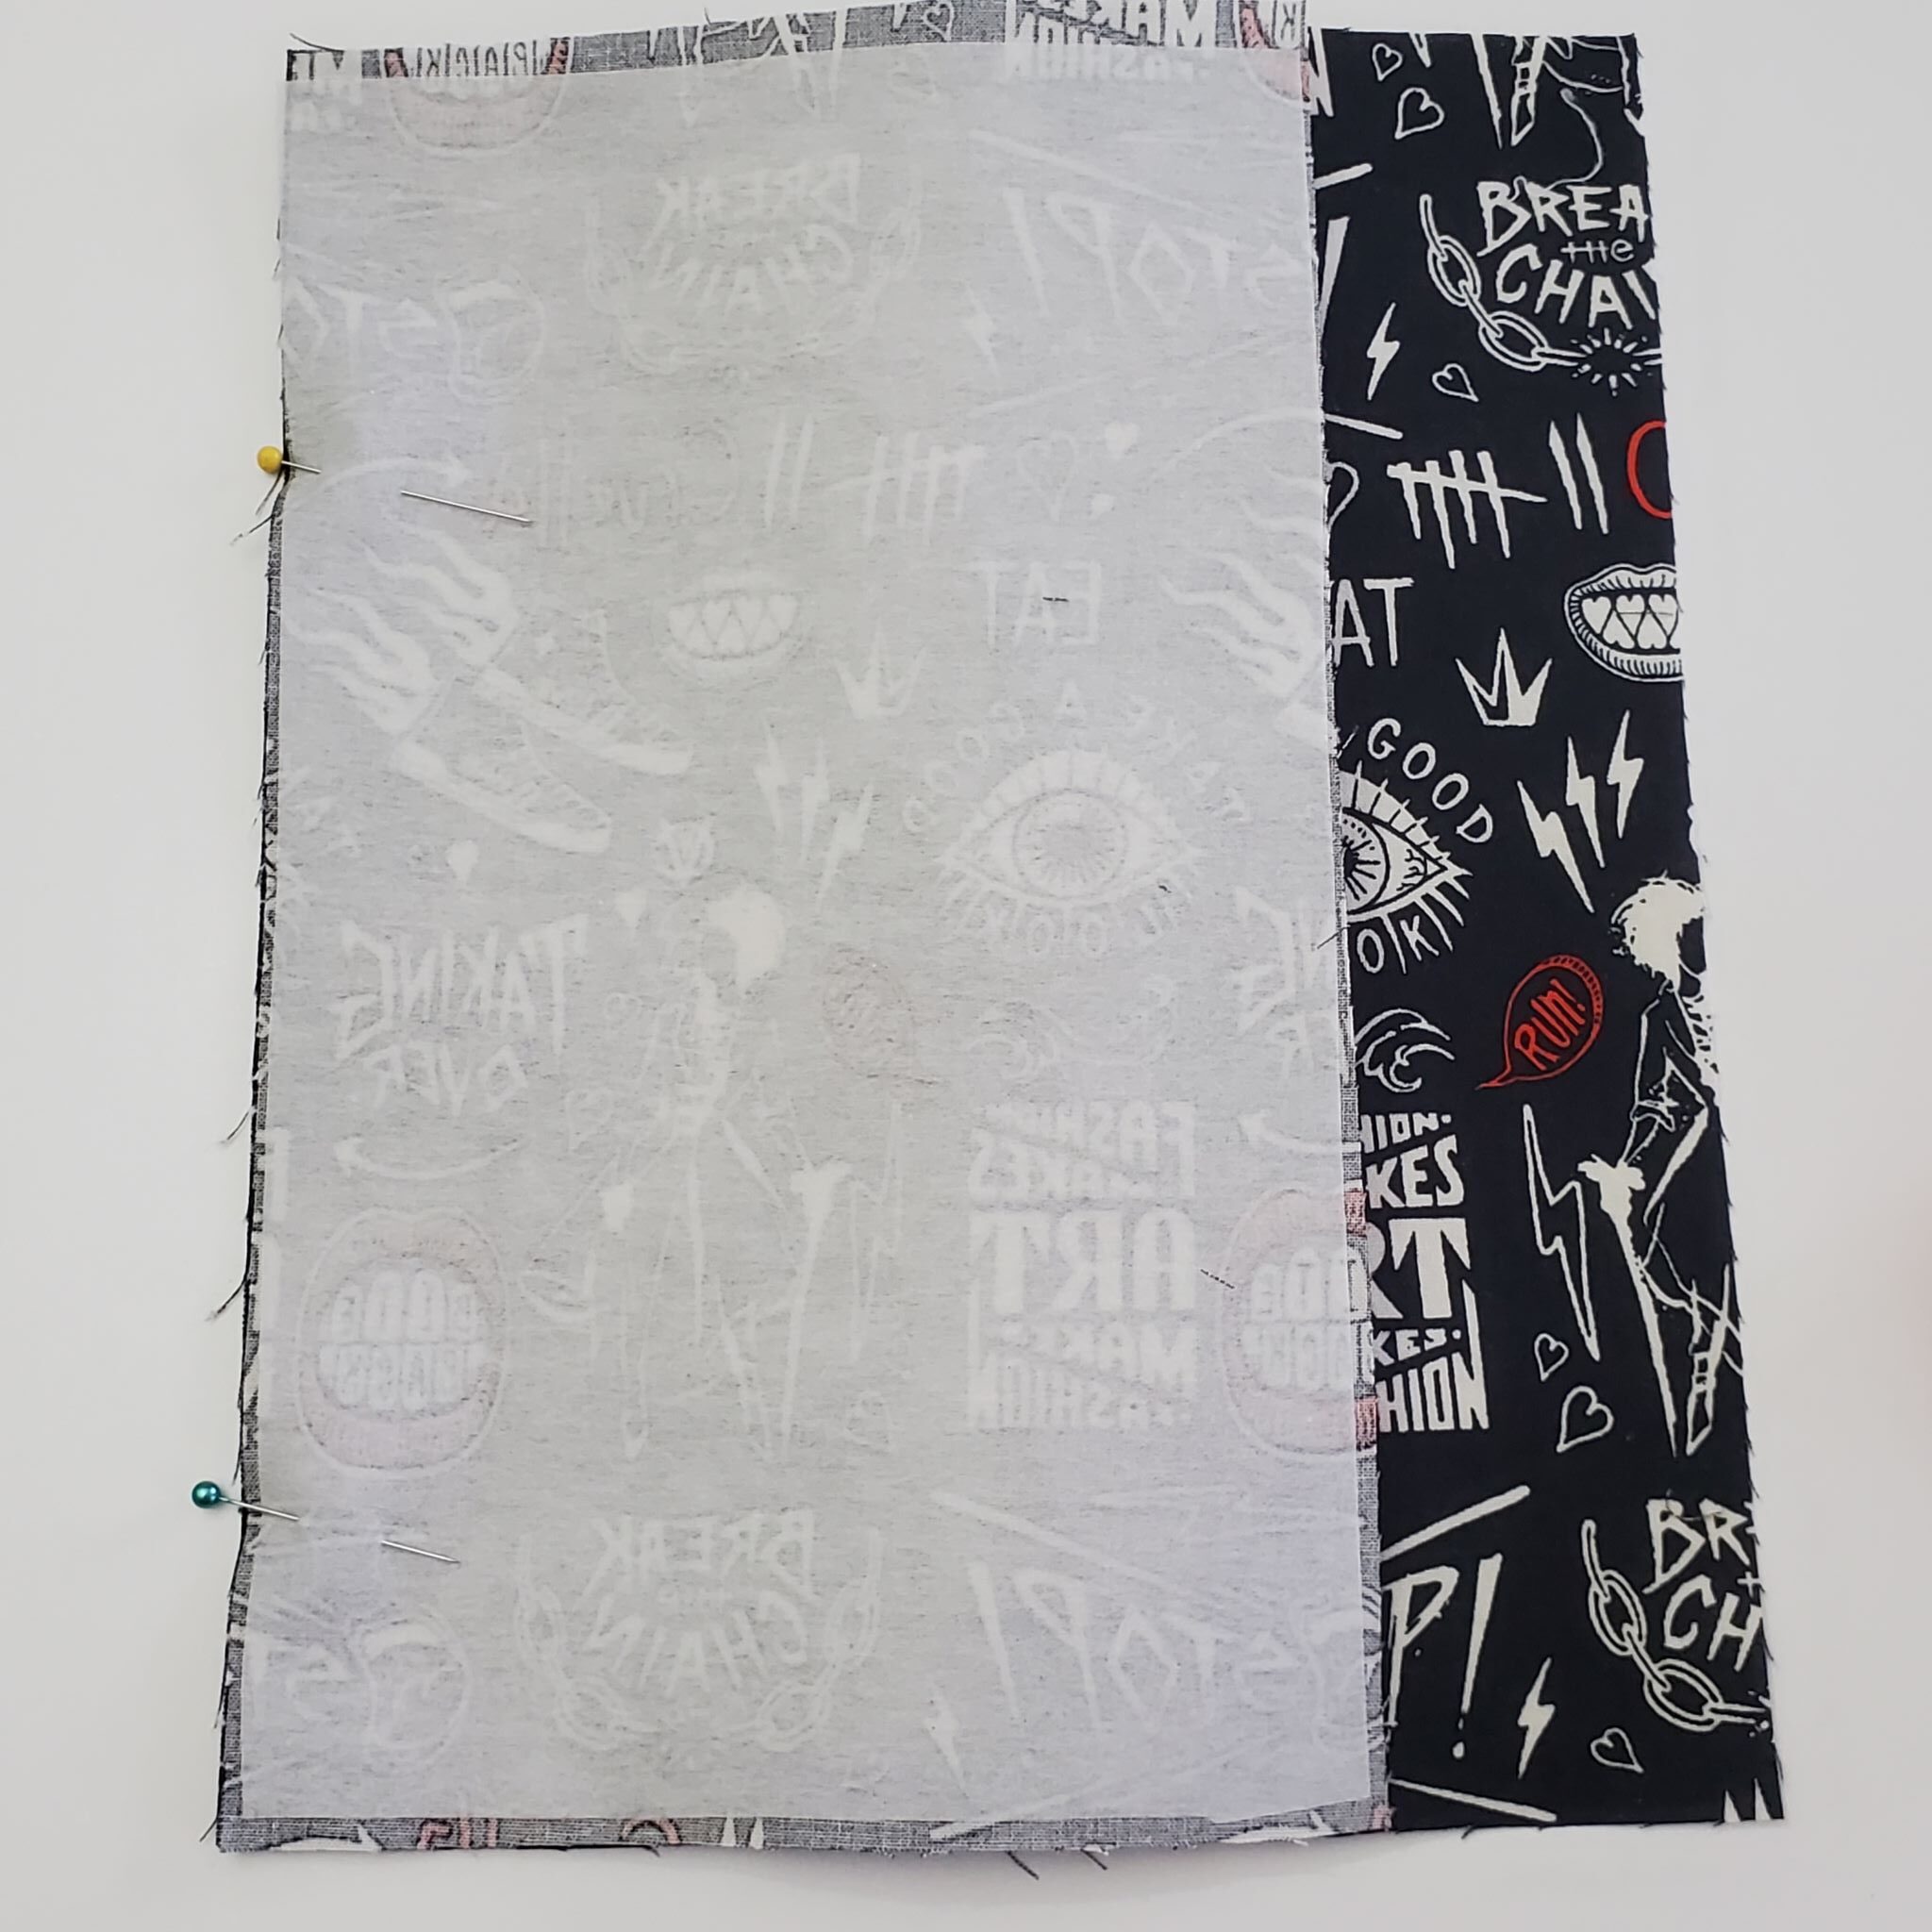
Before beginning to sew, interface your front pieces. Remember that you put the bumpy side of the interfacing to the wrong side of the fabric, then iron for 10-15 seconds. Also remember, no steam!!
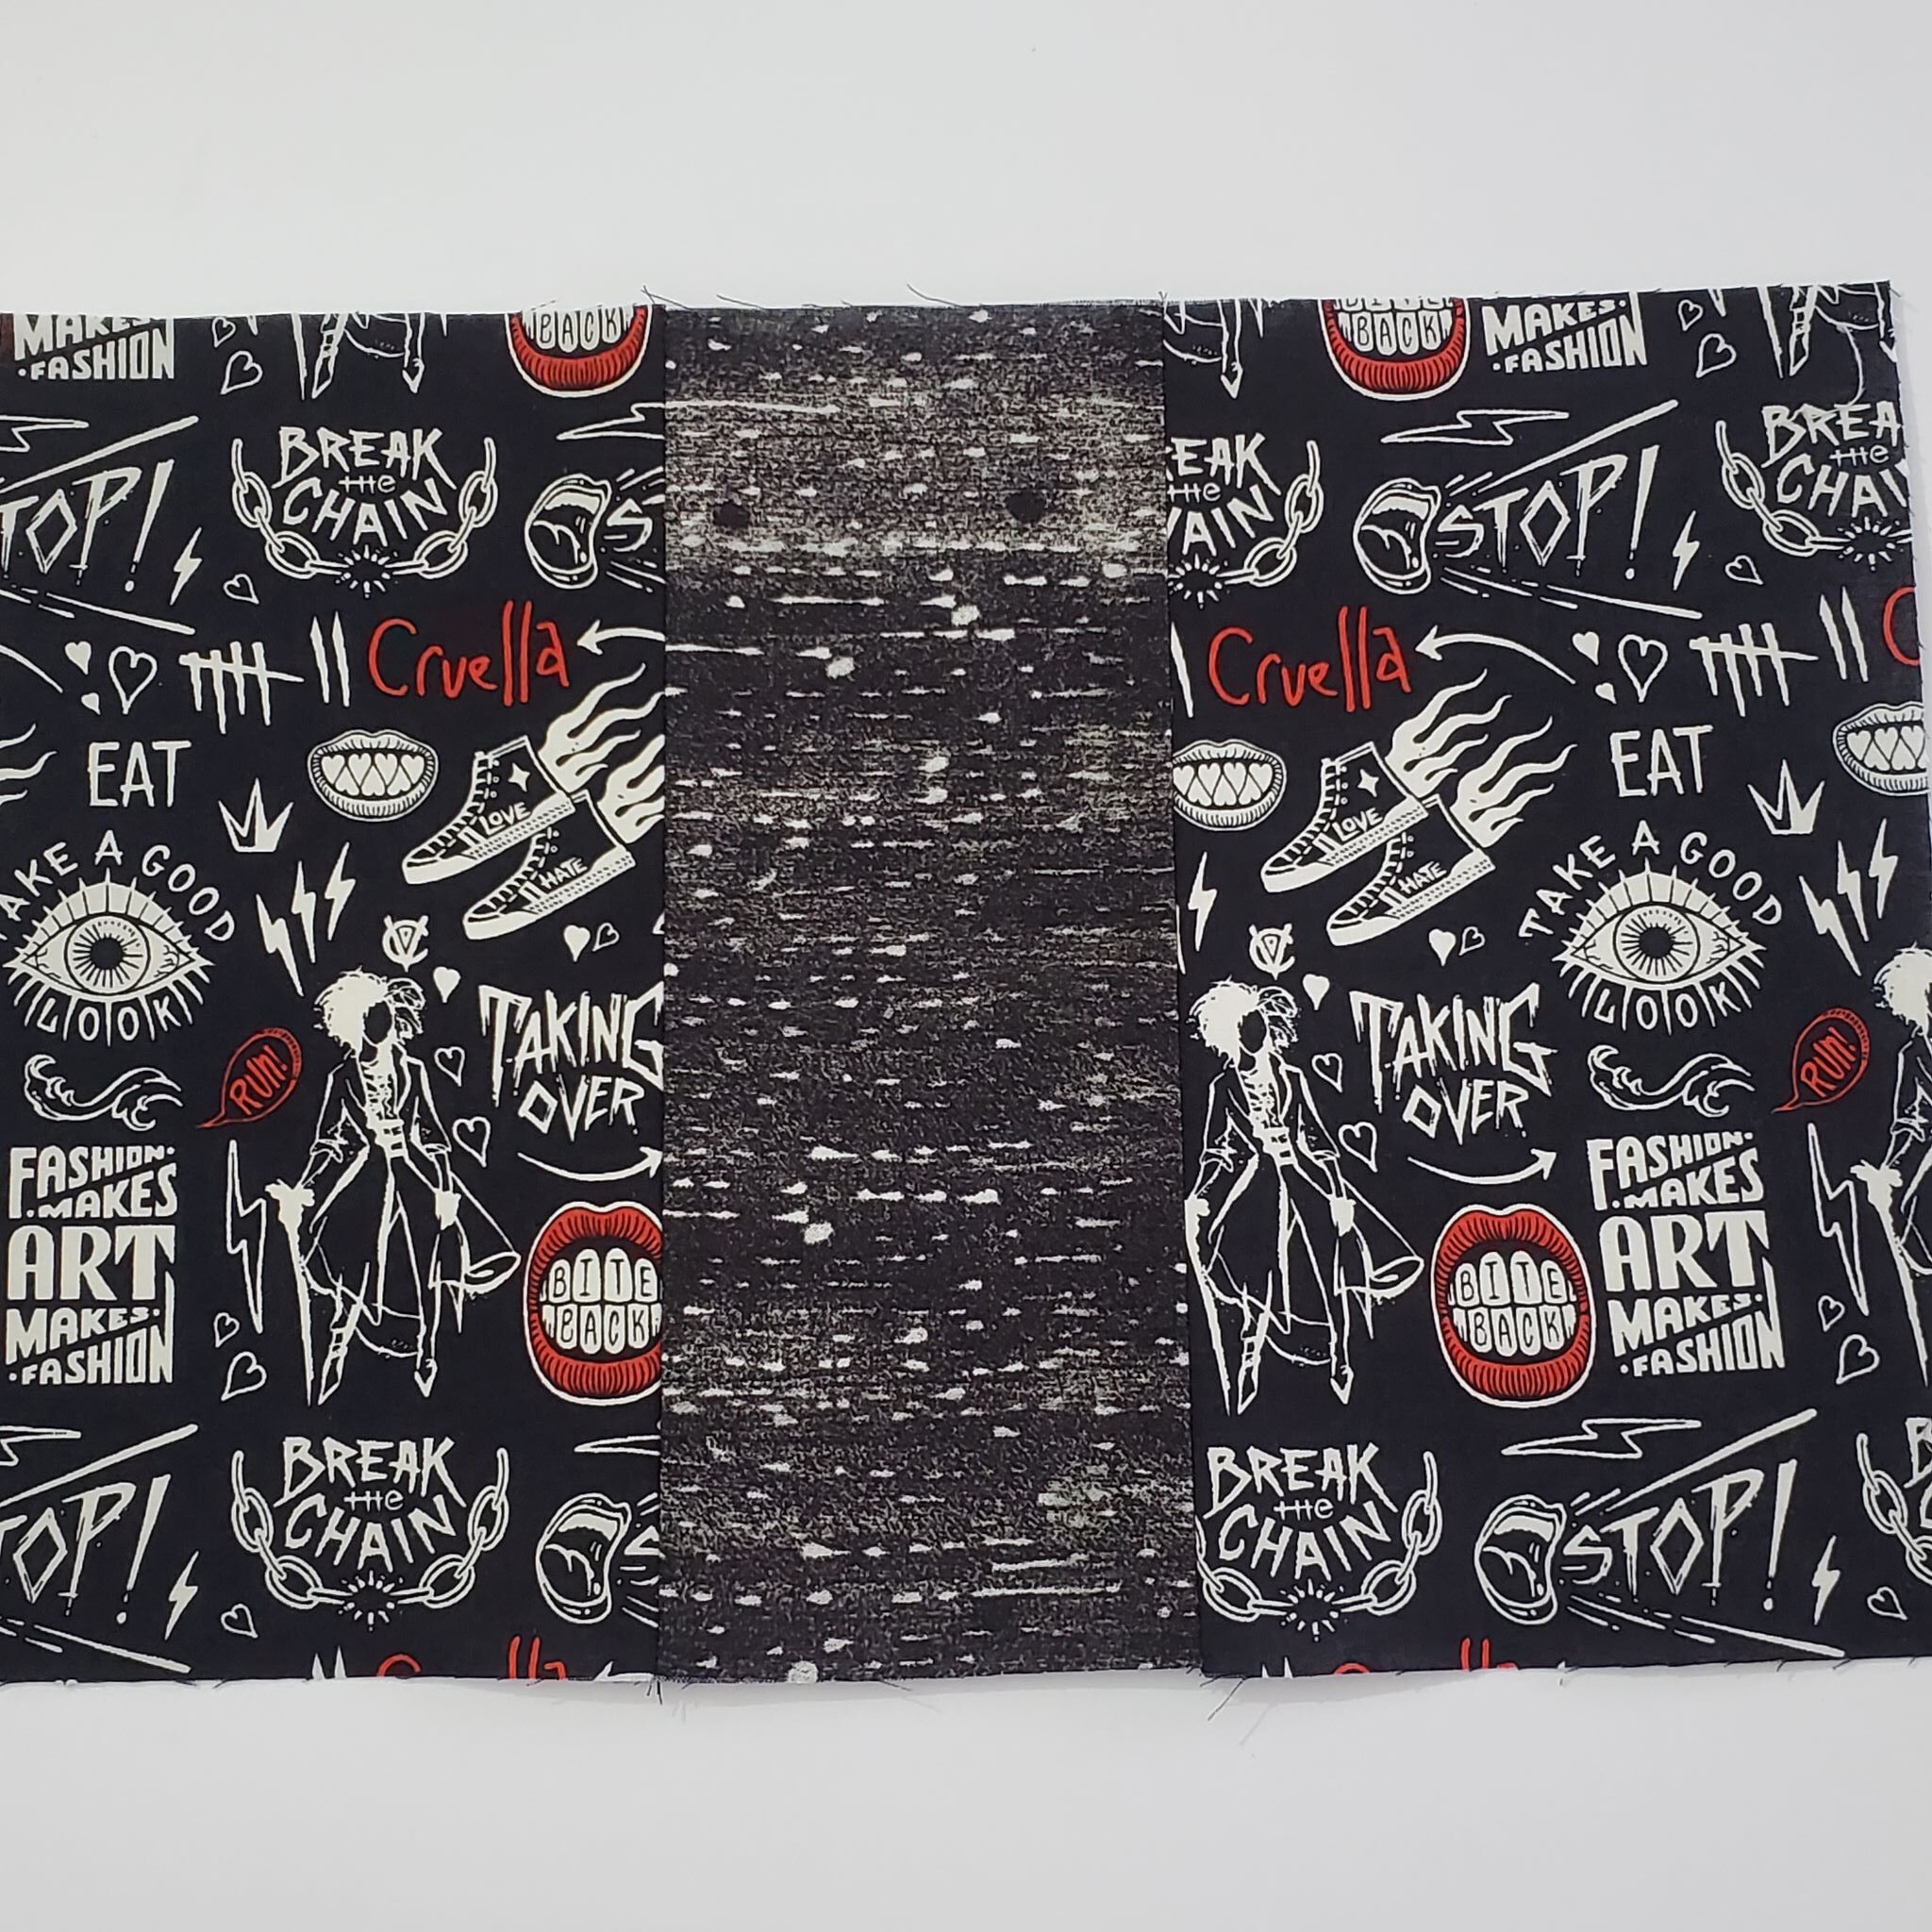
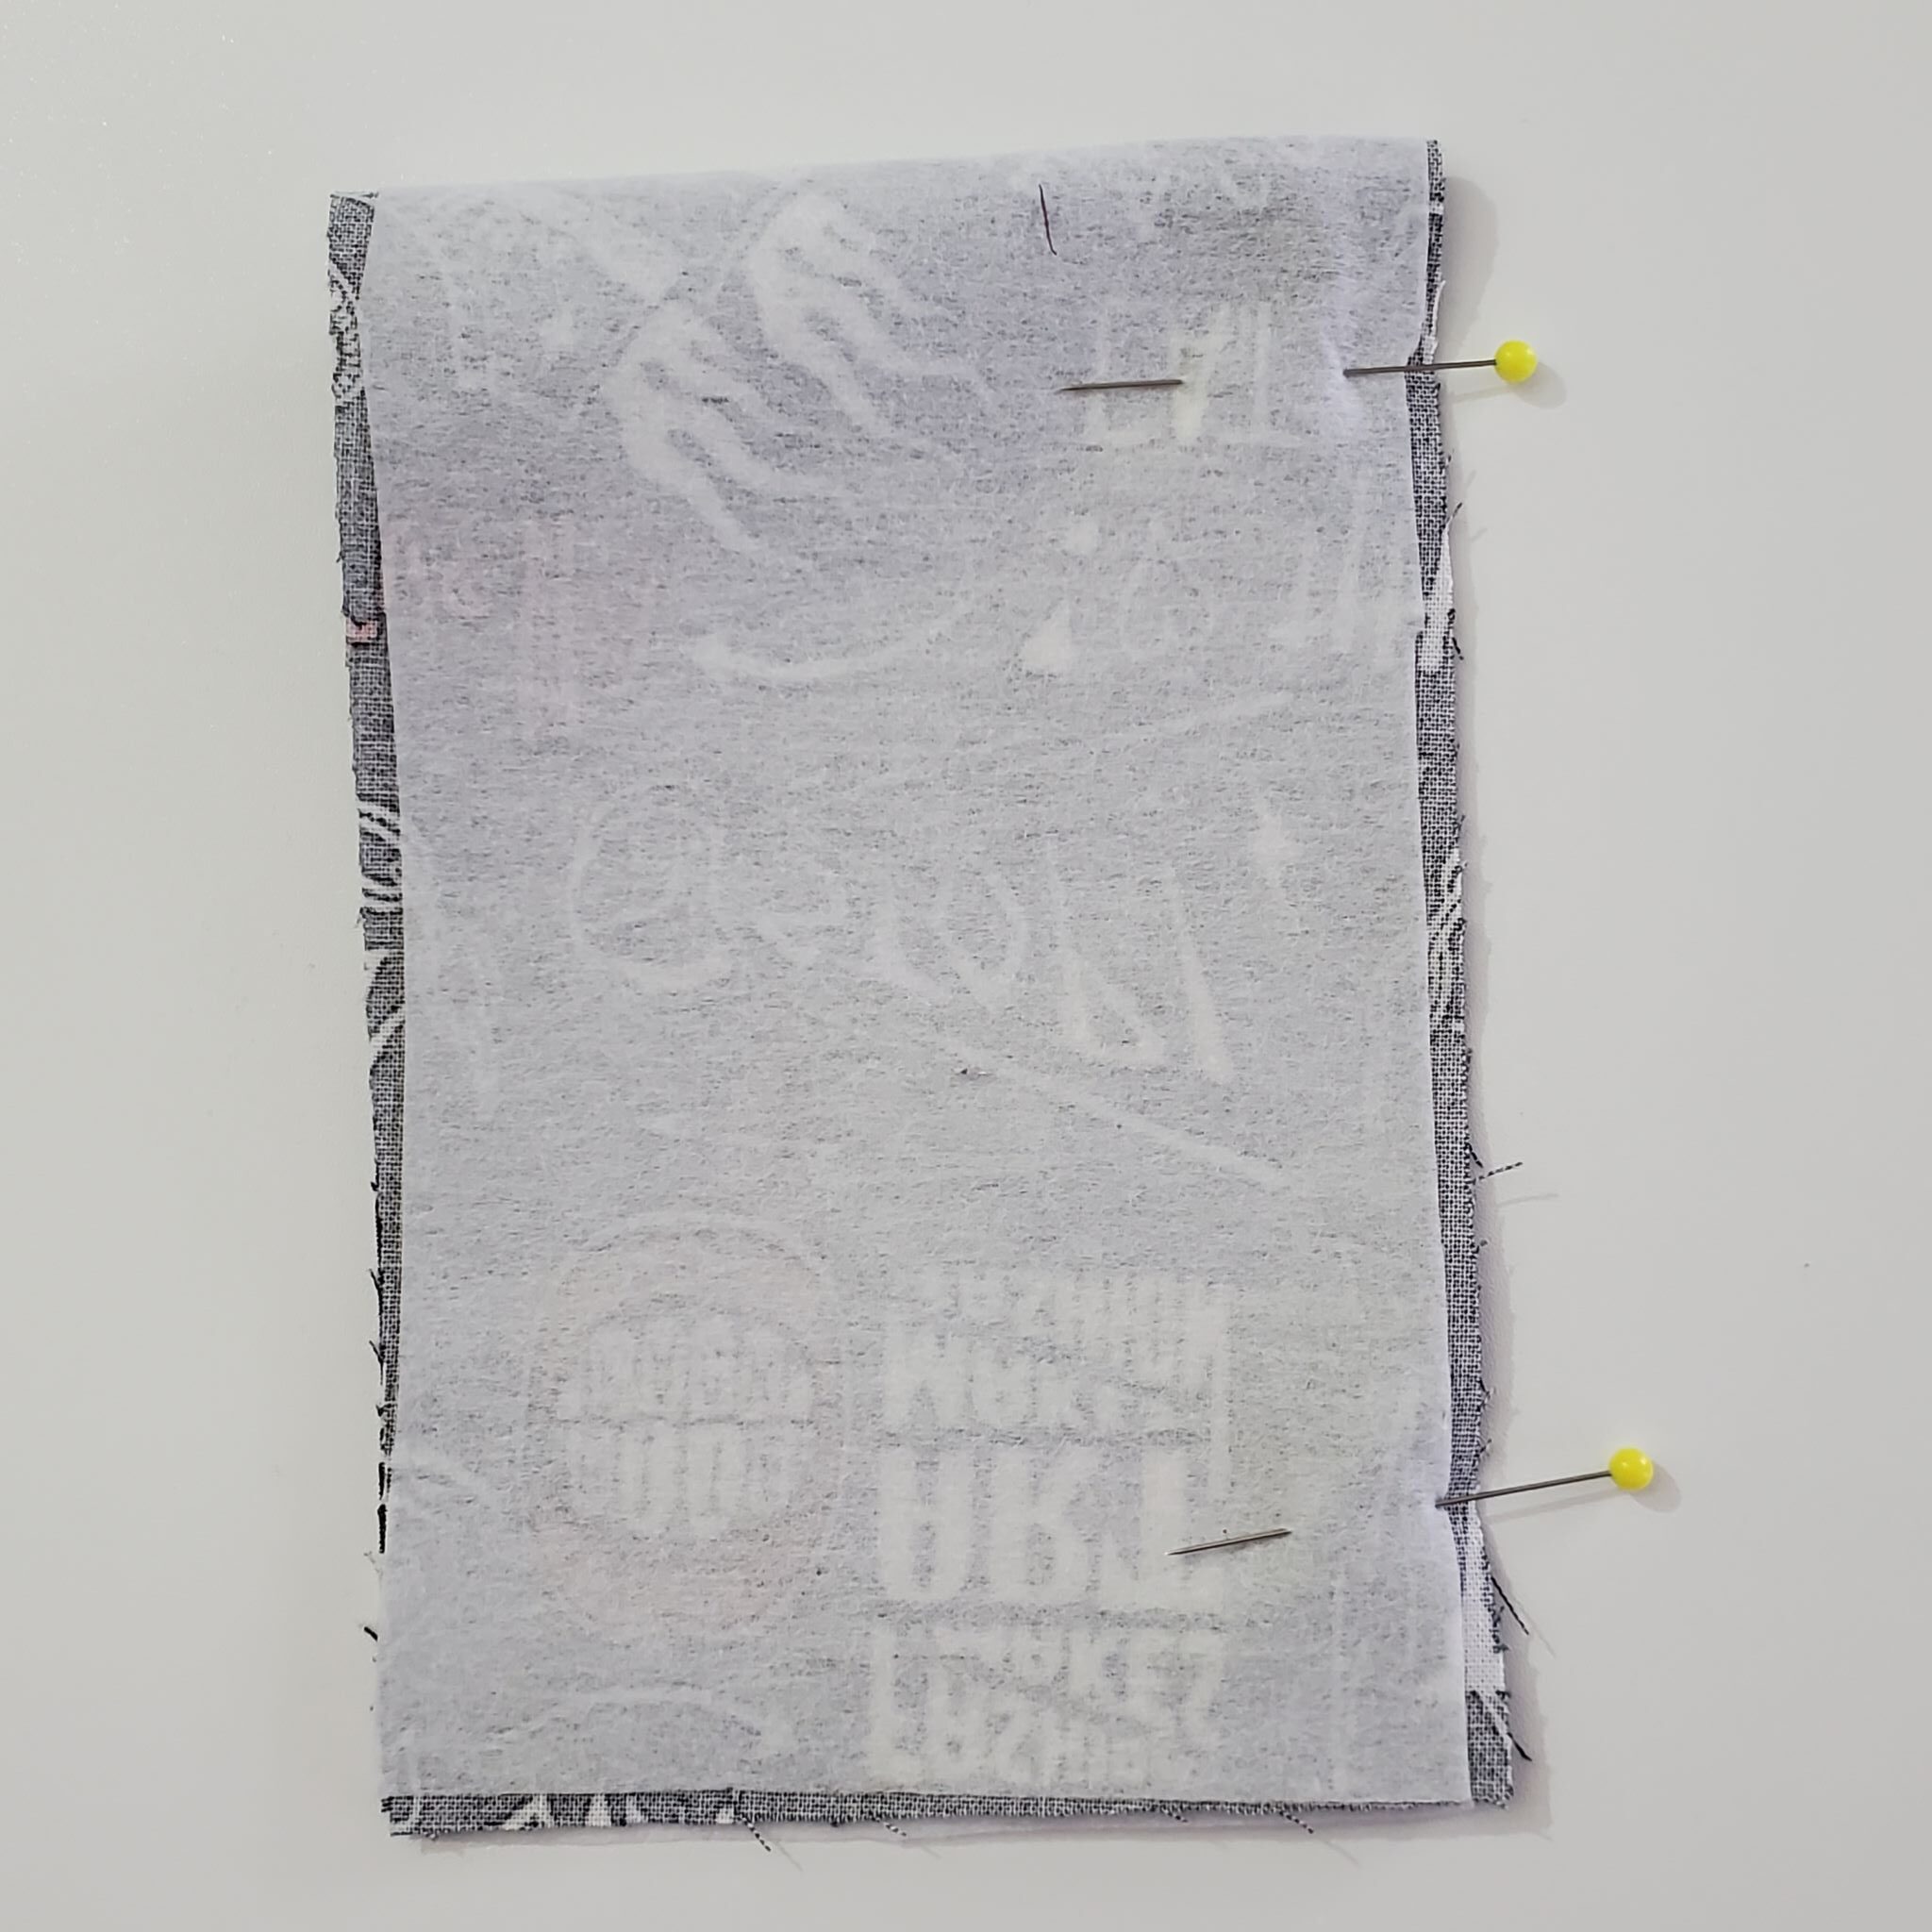
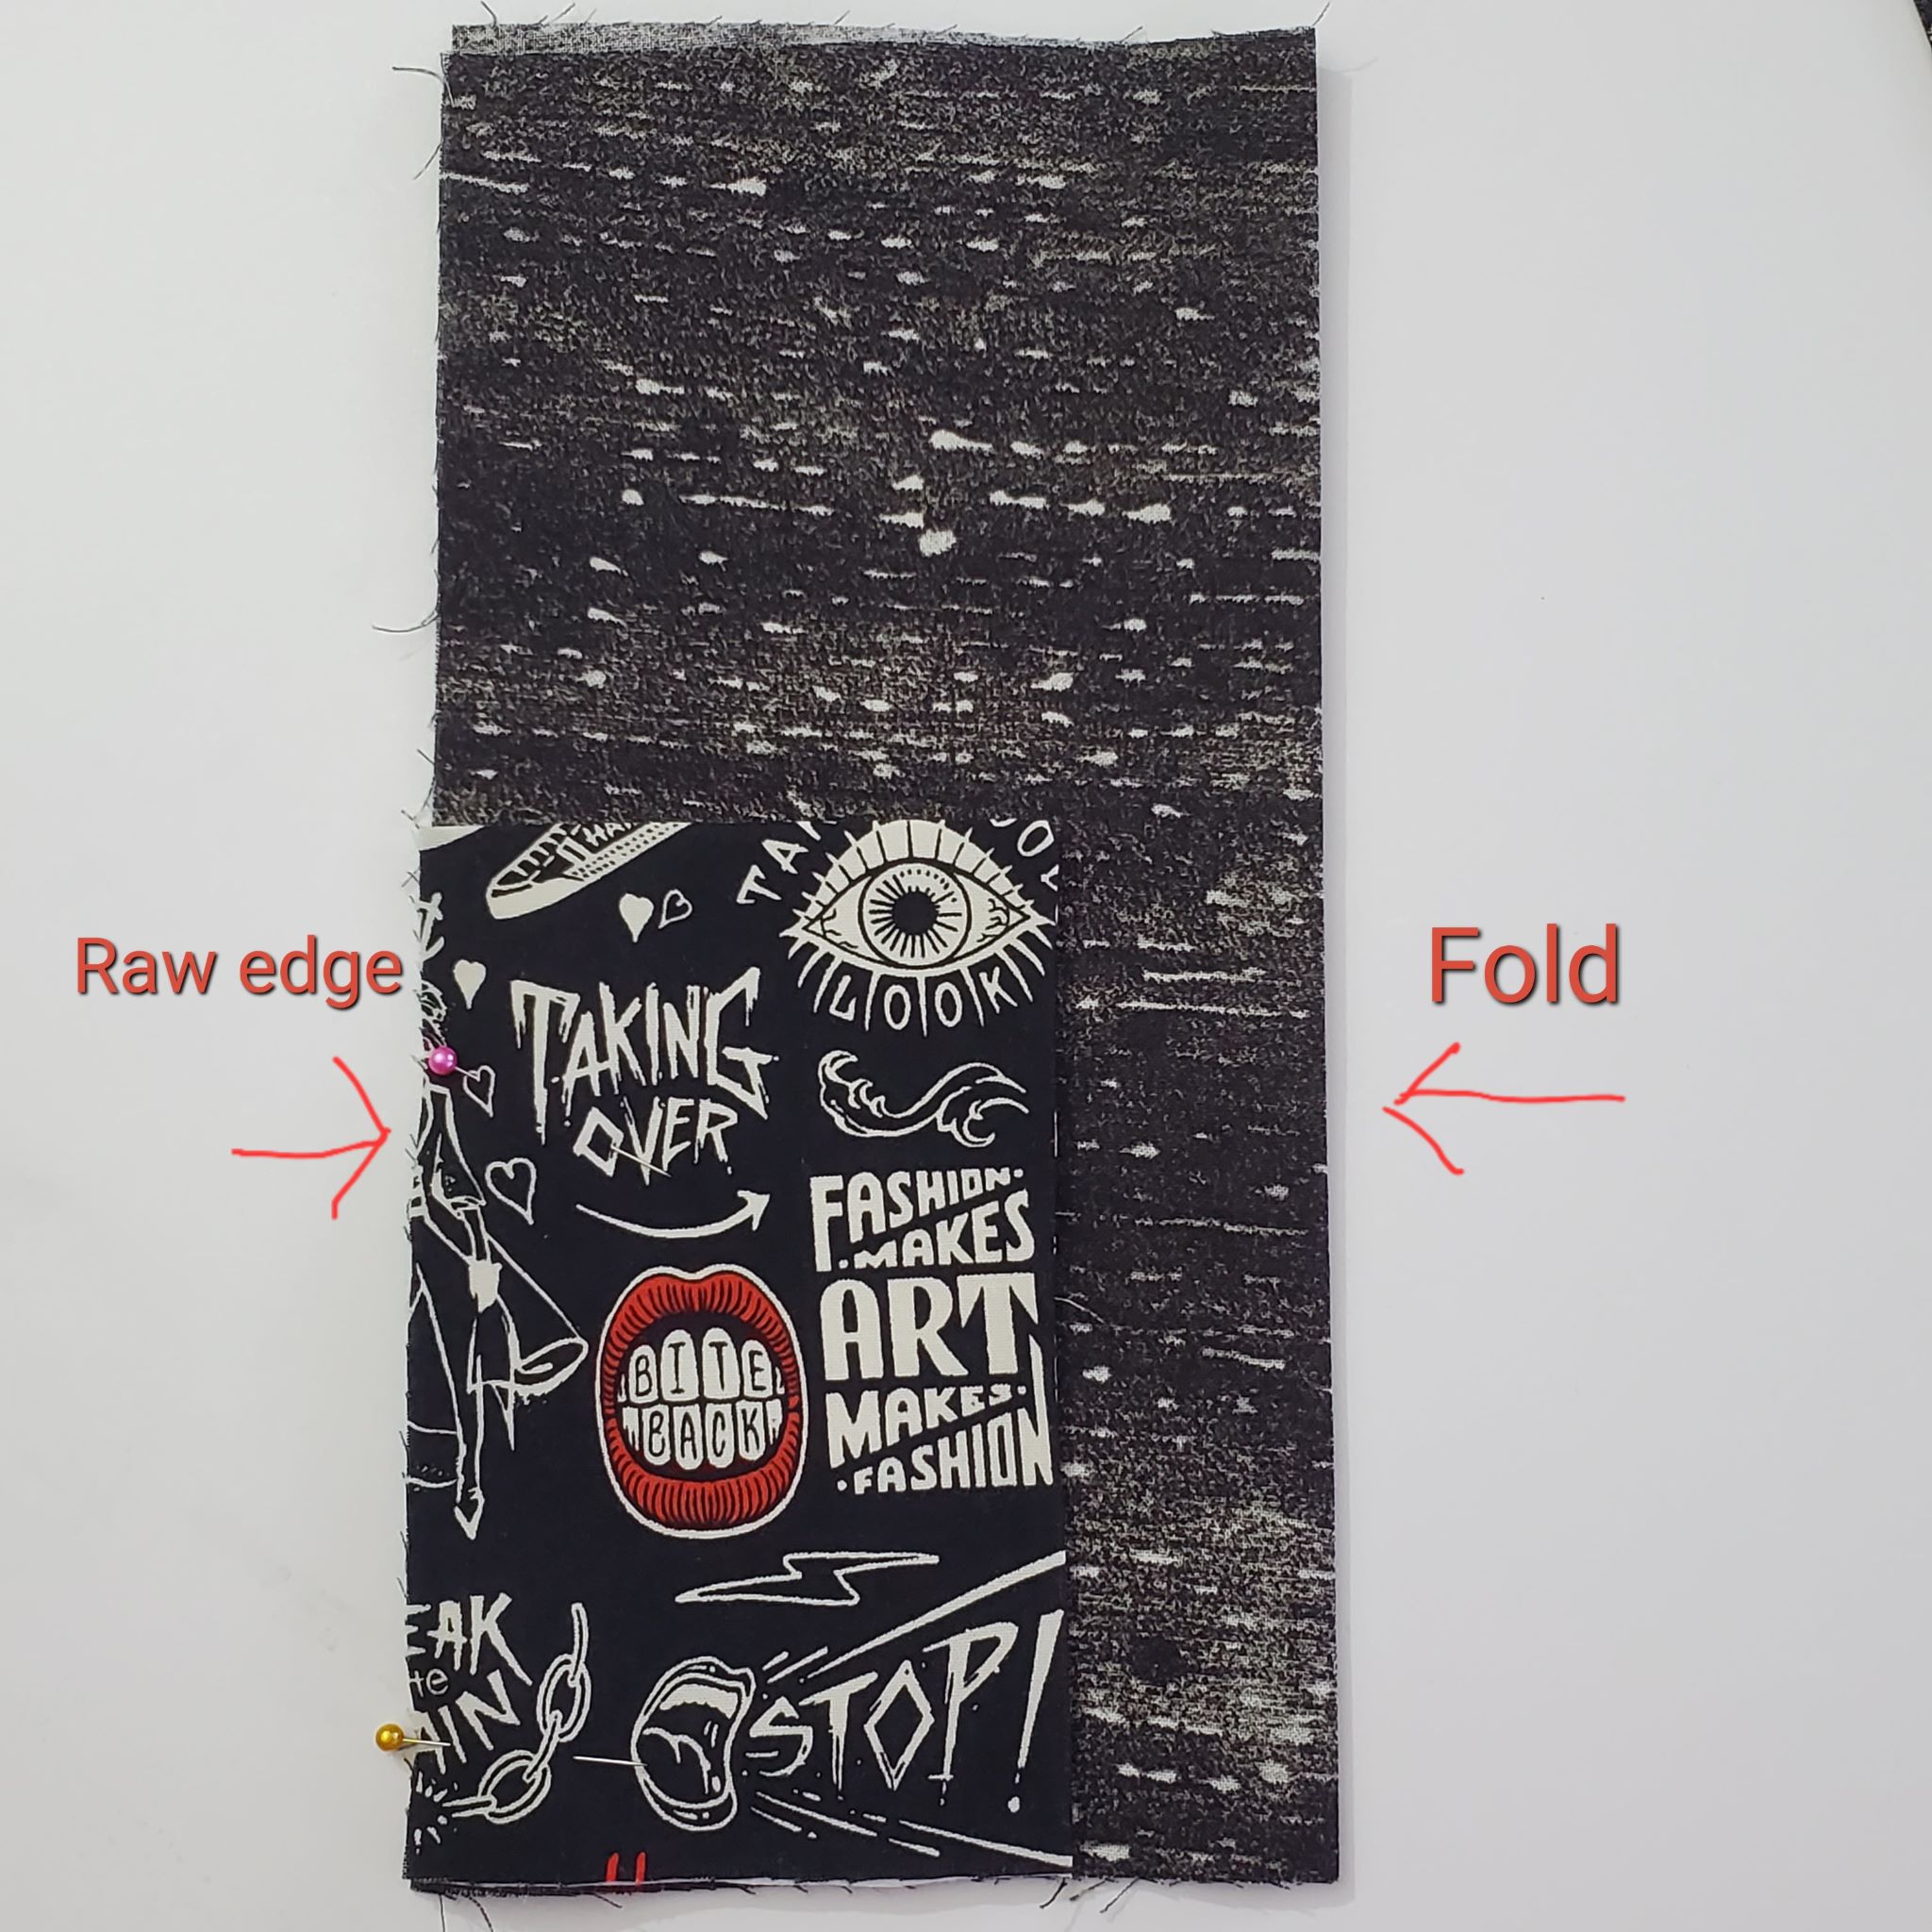
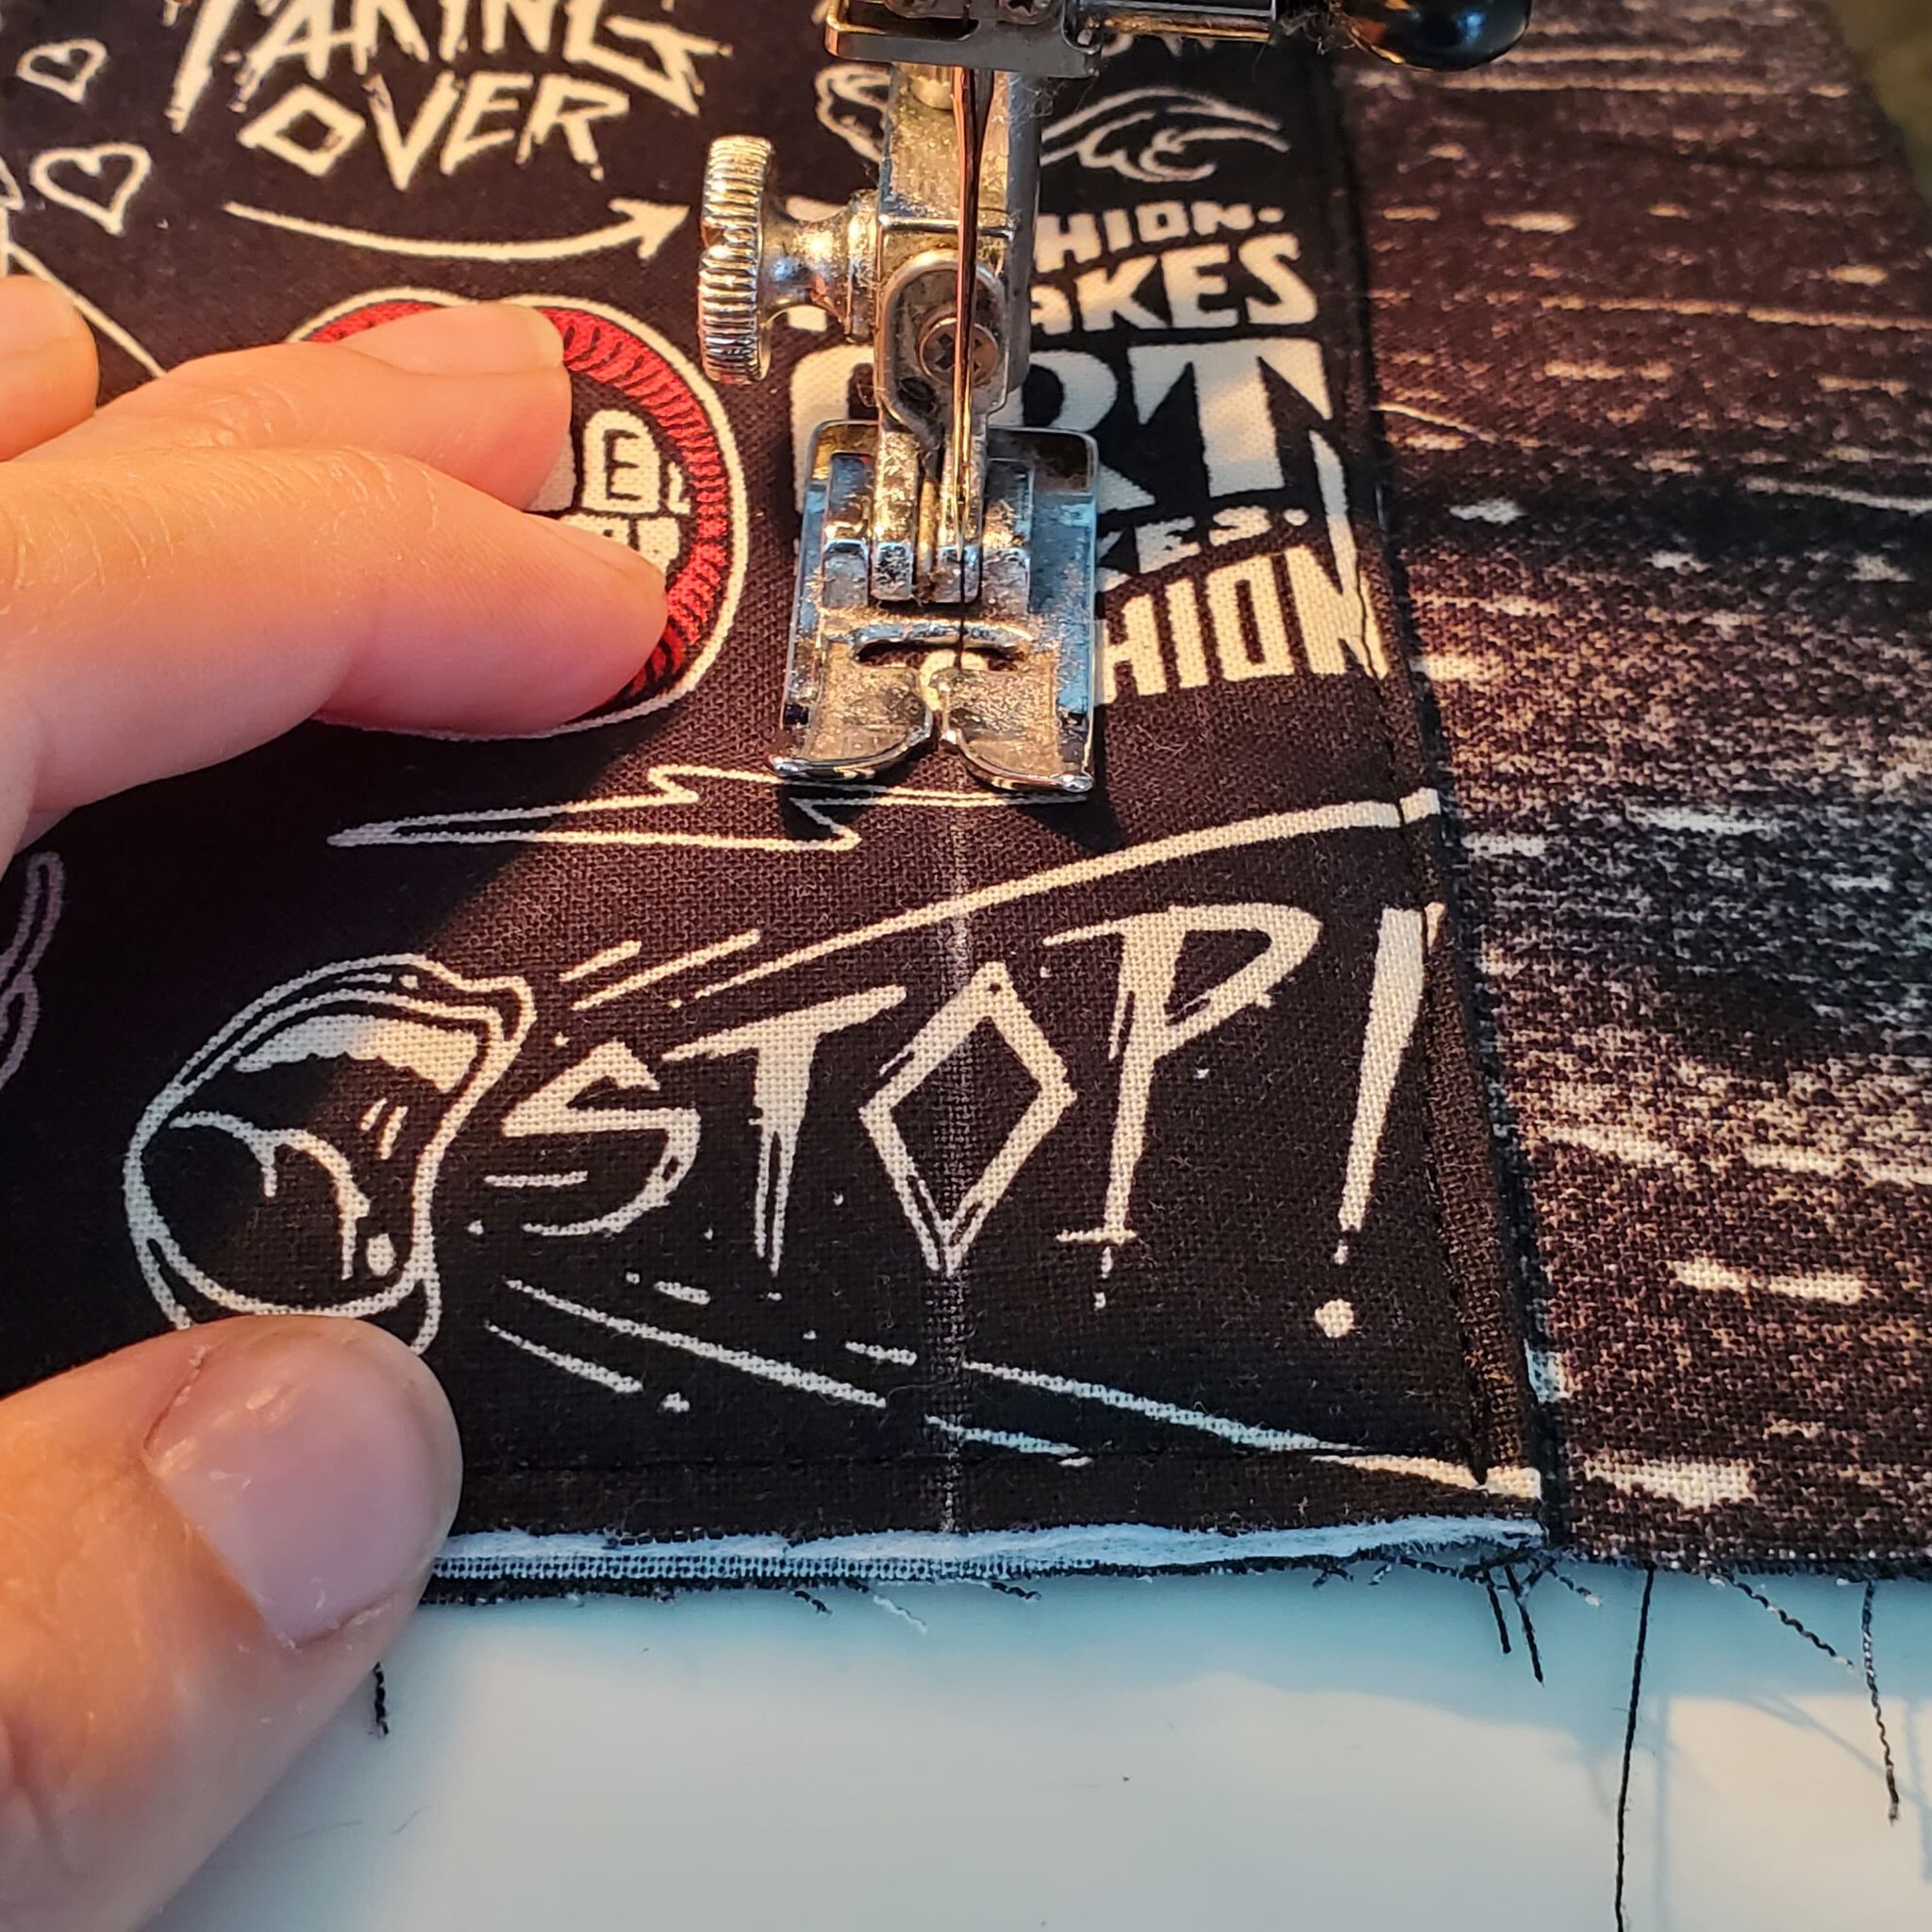
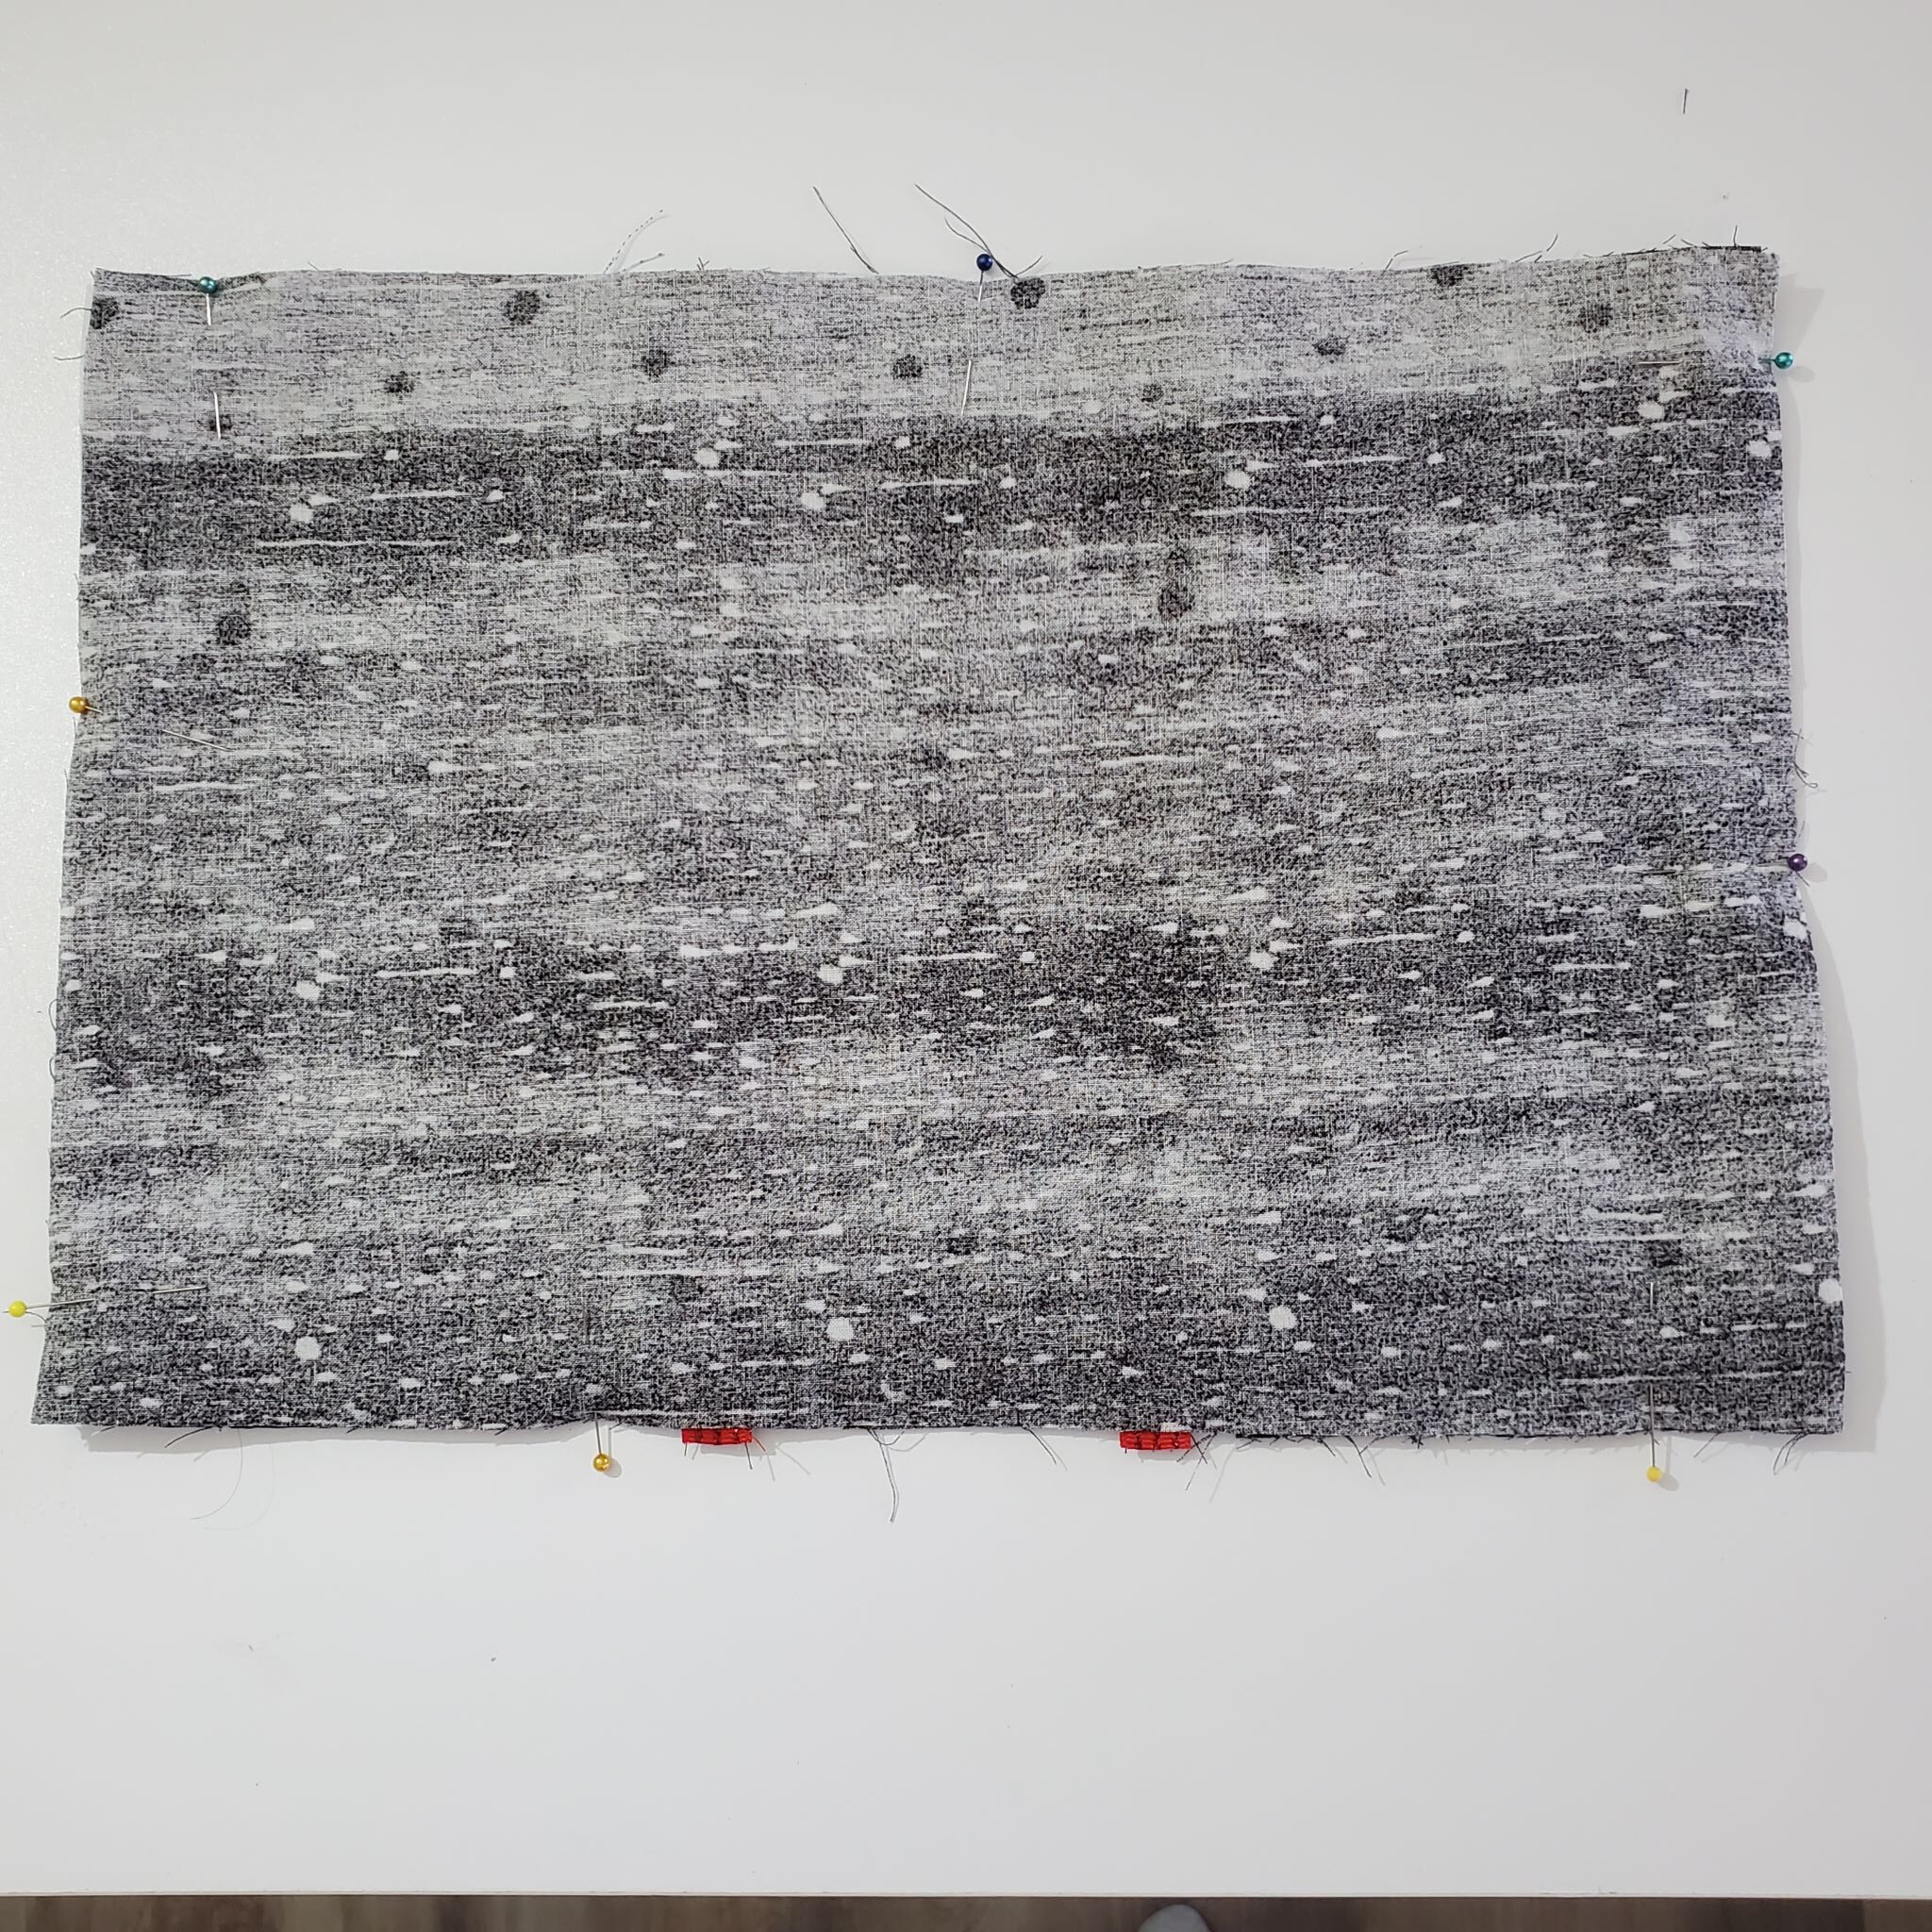
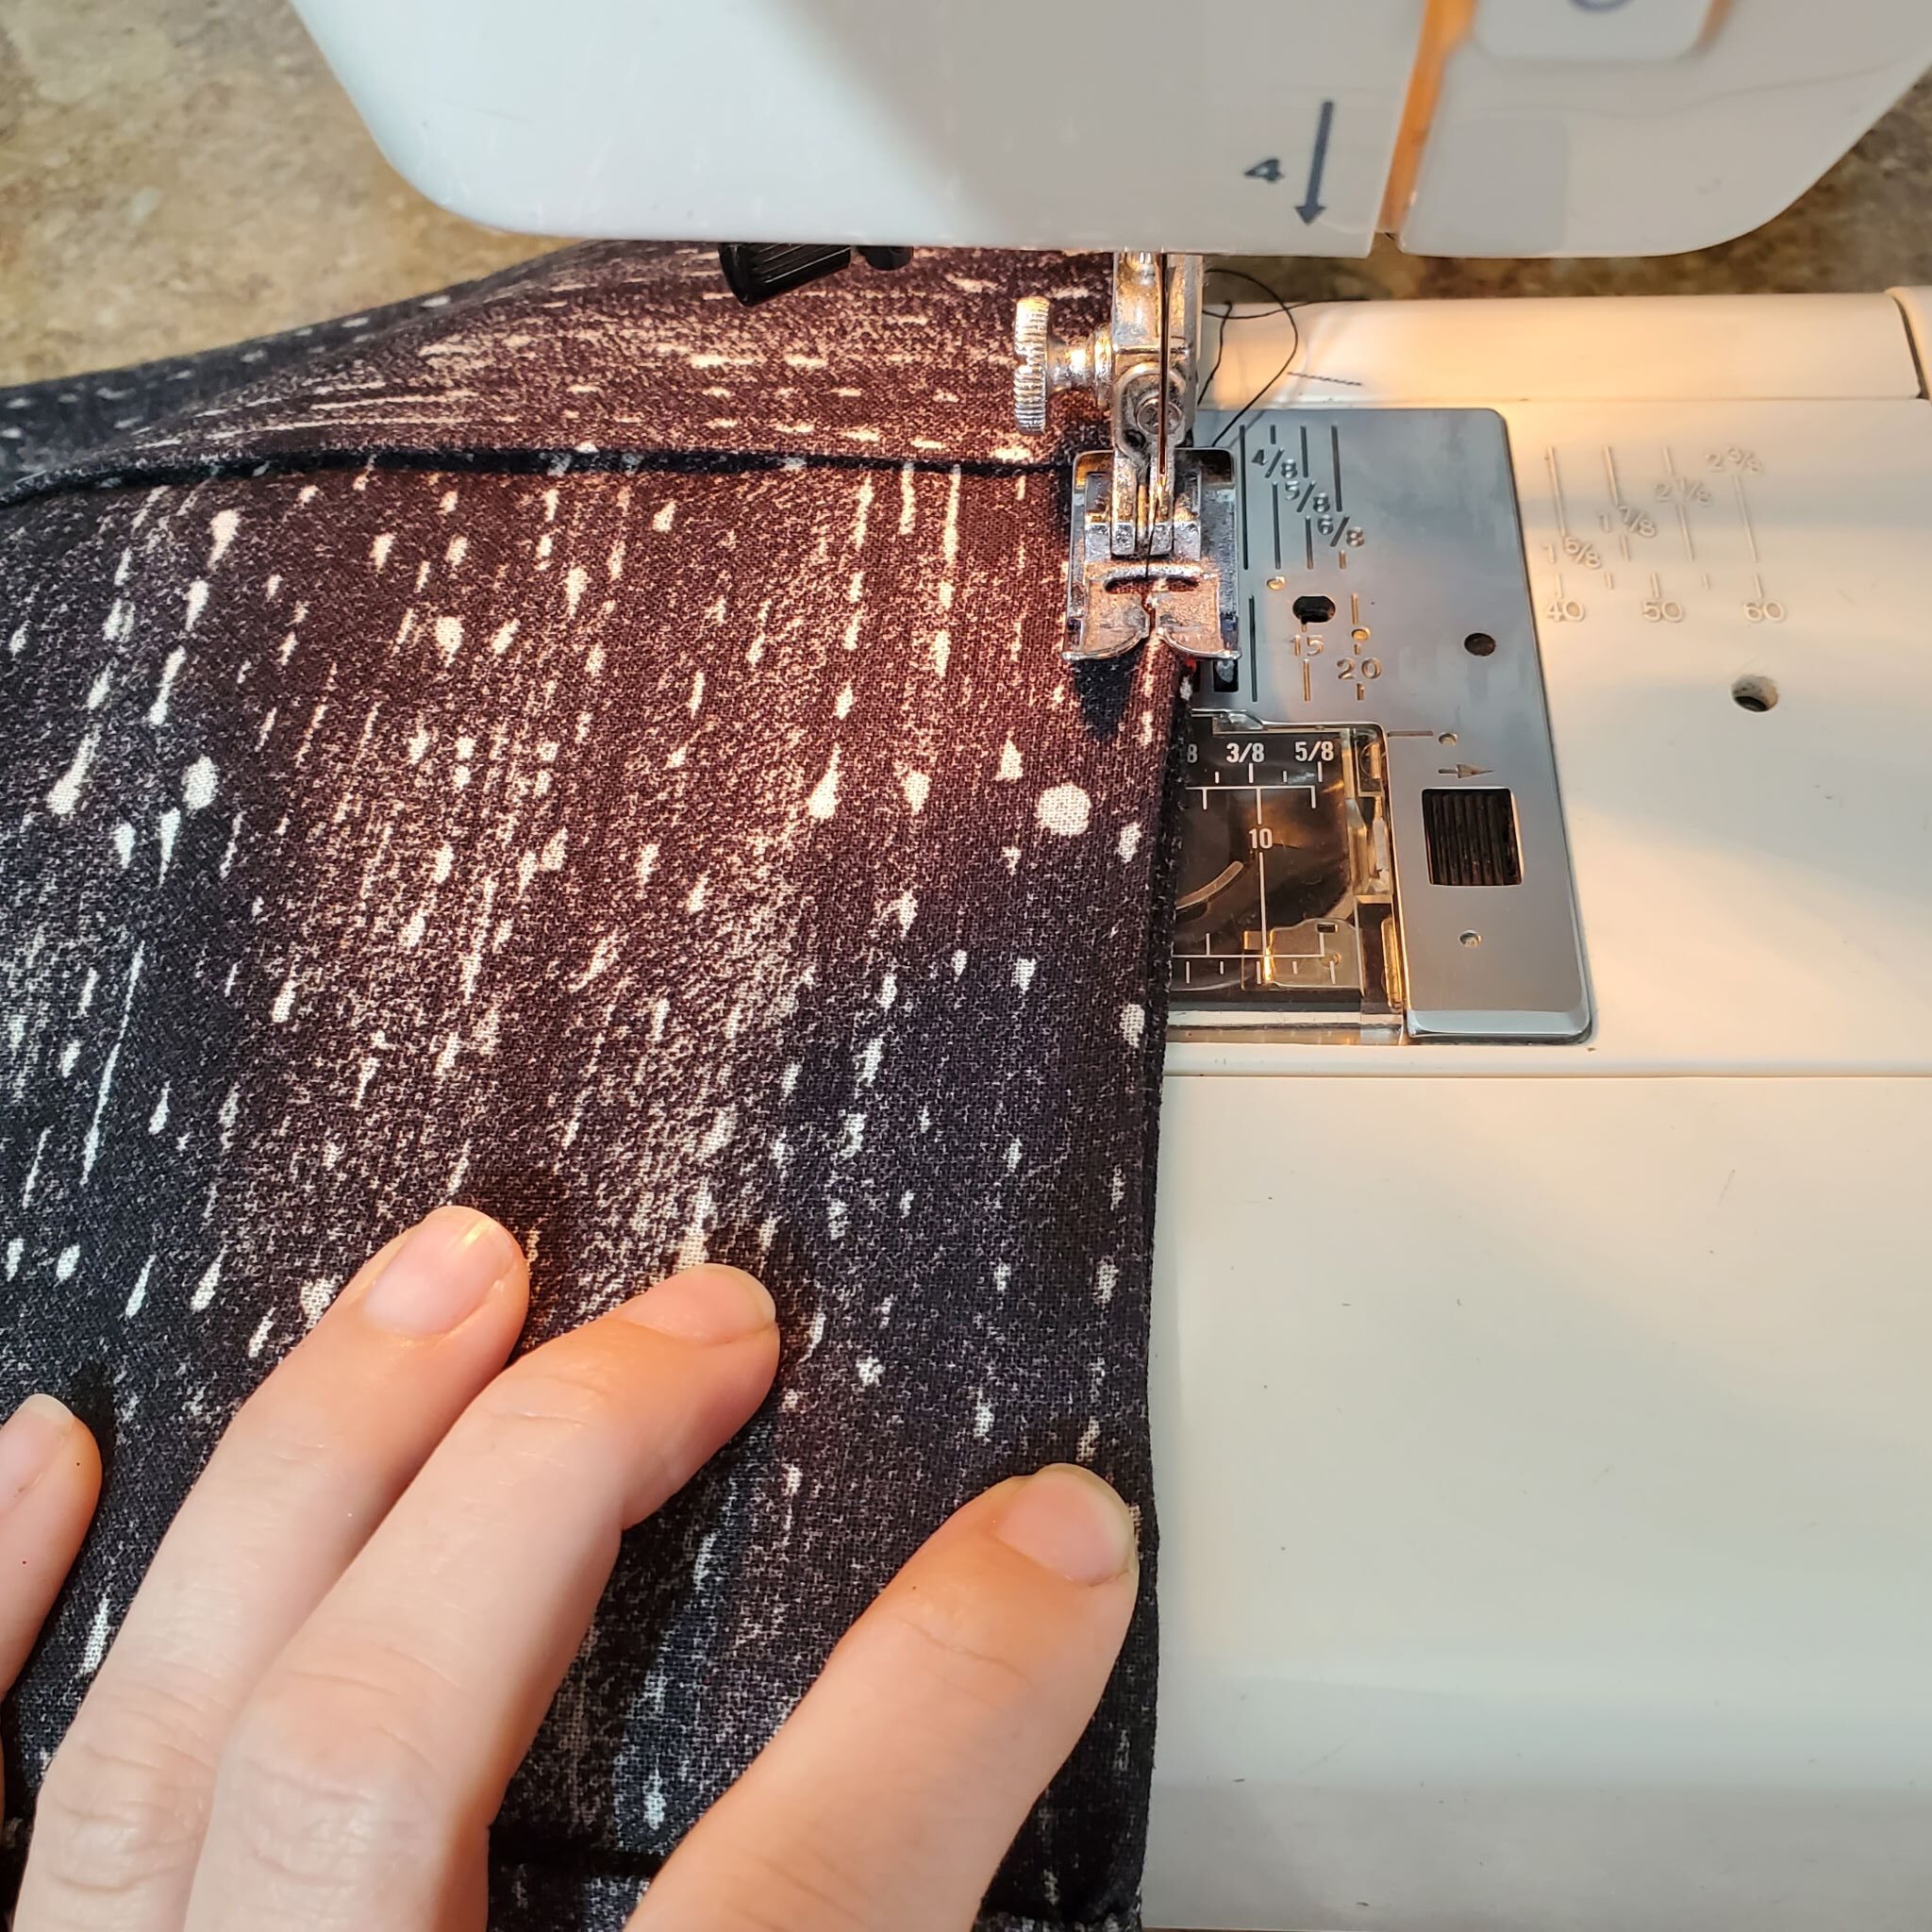
Lay out your 2 outer pieces, with your contrasting center piece in the middle. Turn your center piece over onto the left piece (right sides together) and line up the long edge. Pin and then stitch, using a 3/8” seam allowance (you will use this seam allowance on the whole project).
Repeat on the other side by flipping your centerpiece again and lining up the raw edge of the other side along the side of the outer piece. Iron your seams open. This is what it will look like when you’ve completed these steps.
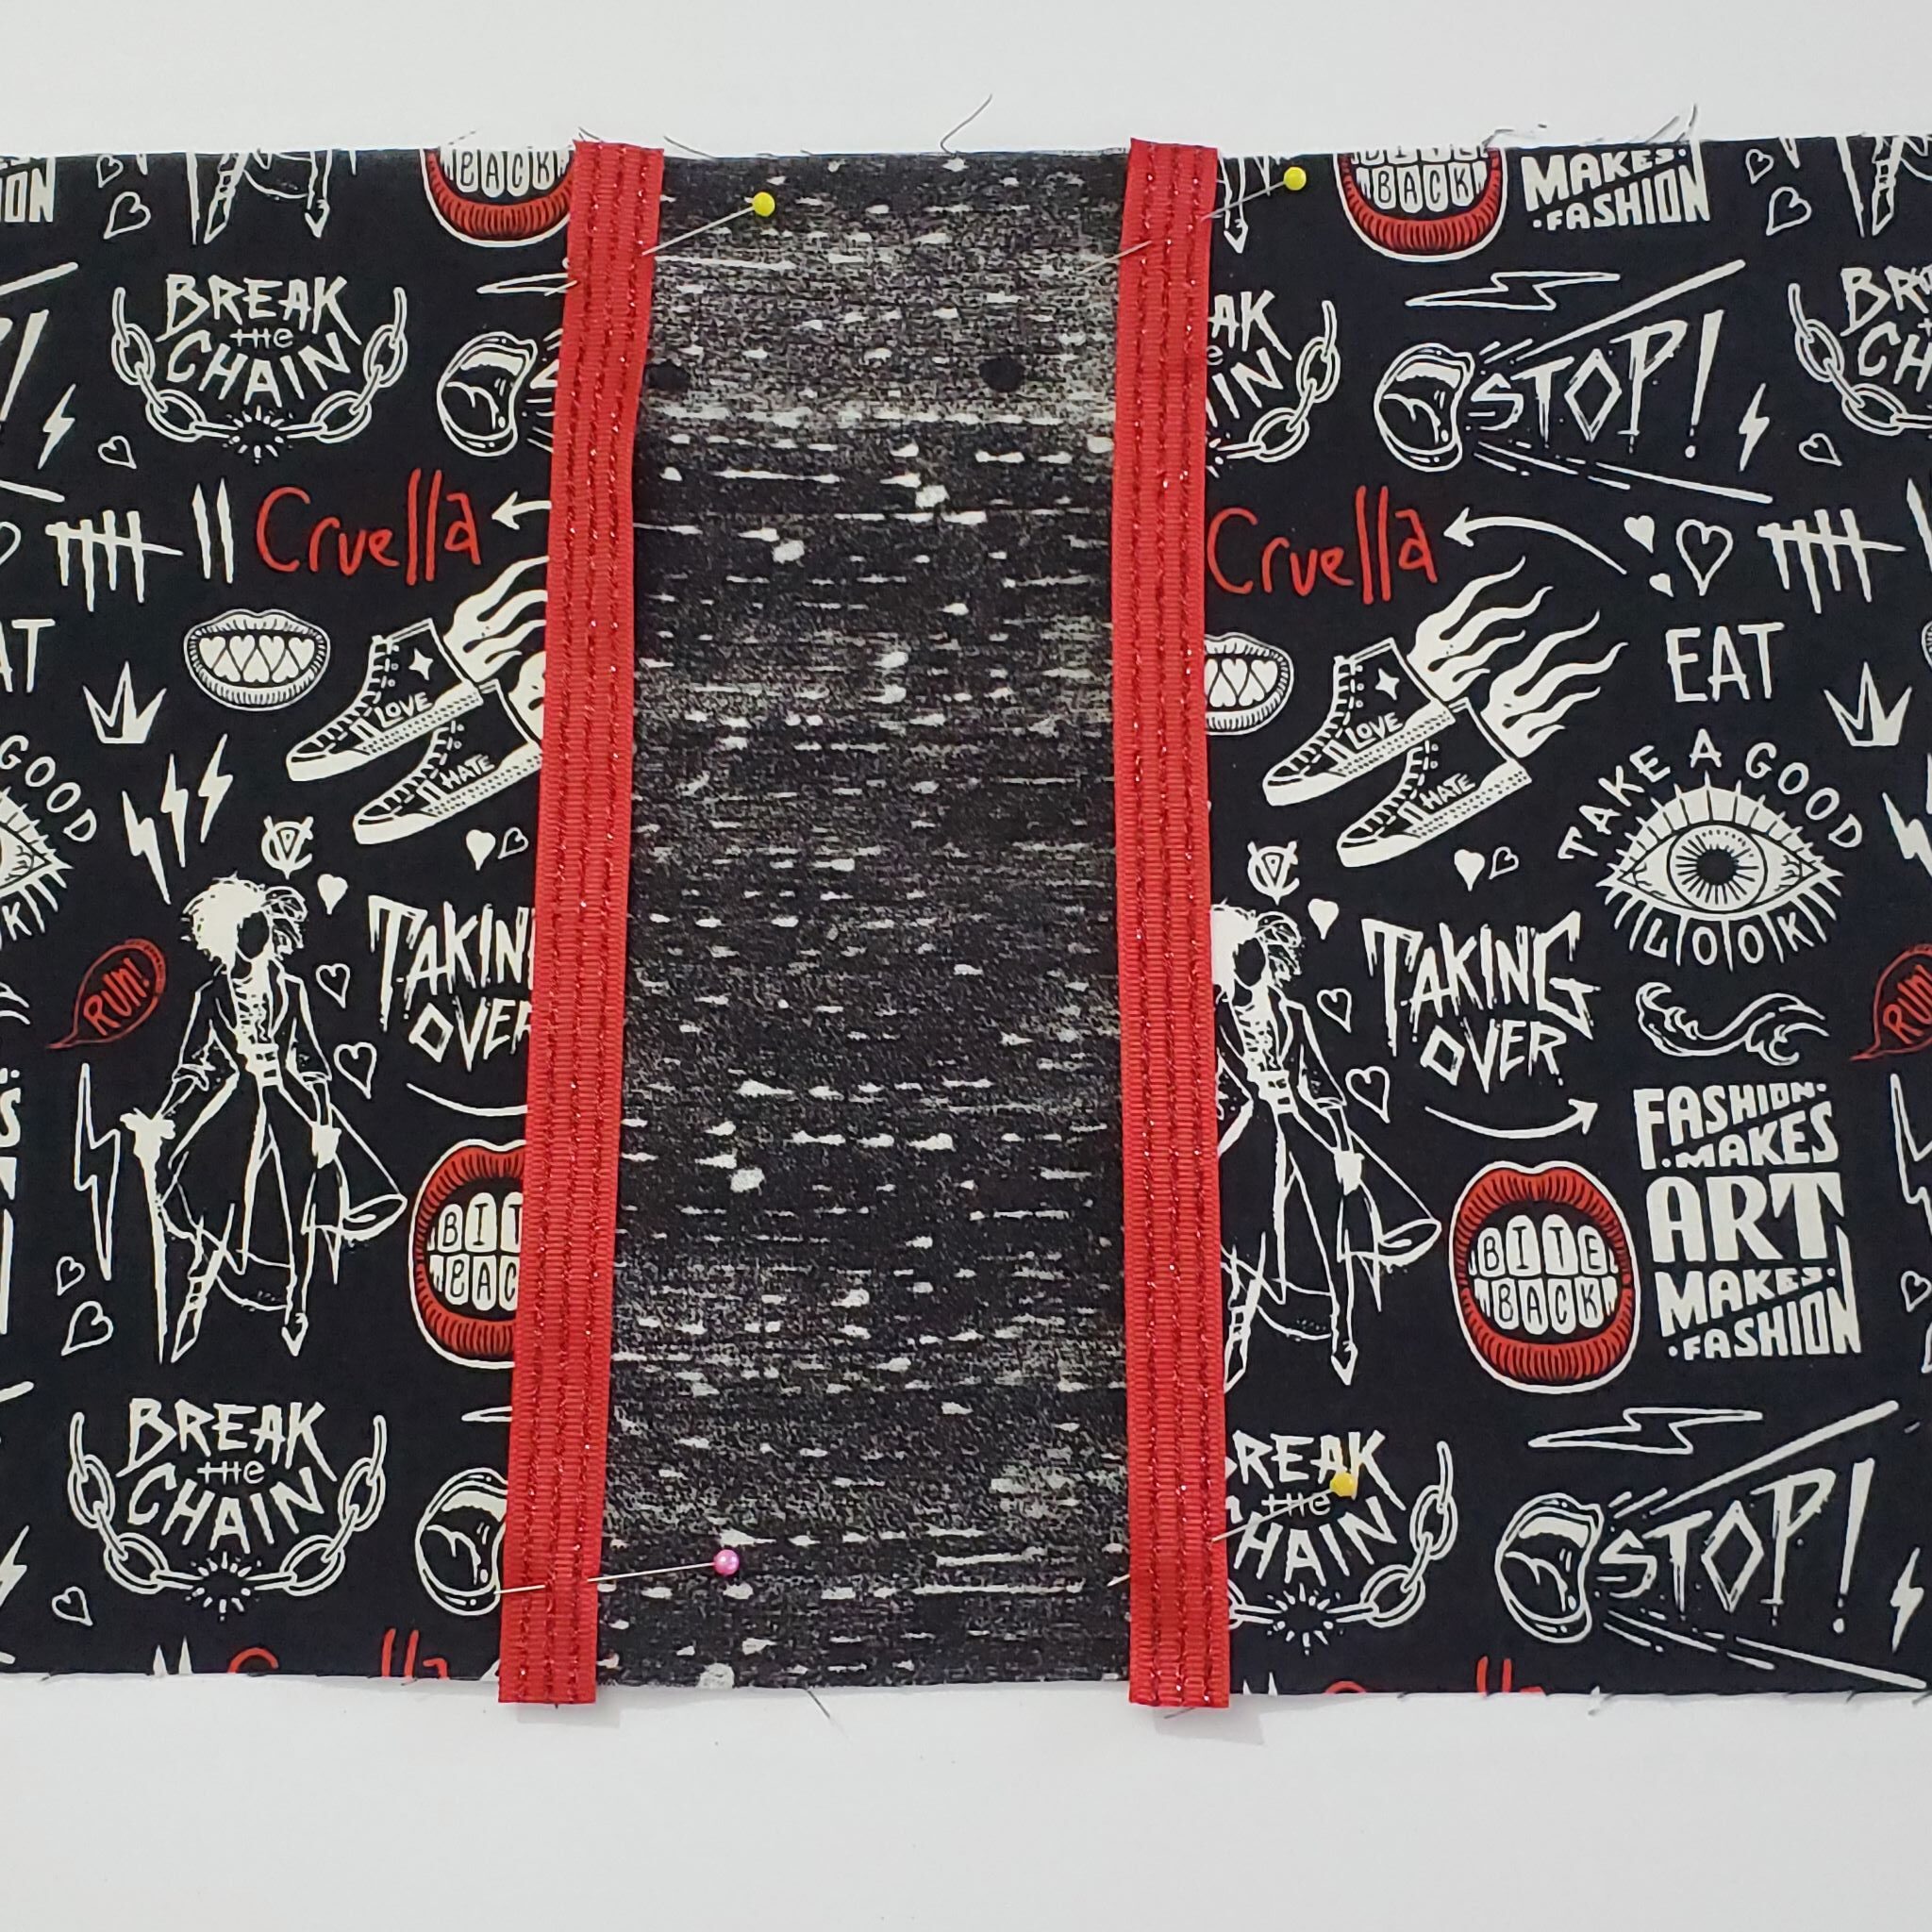
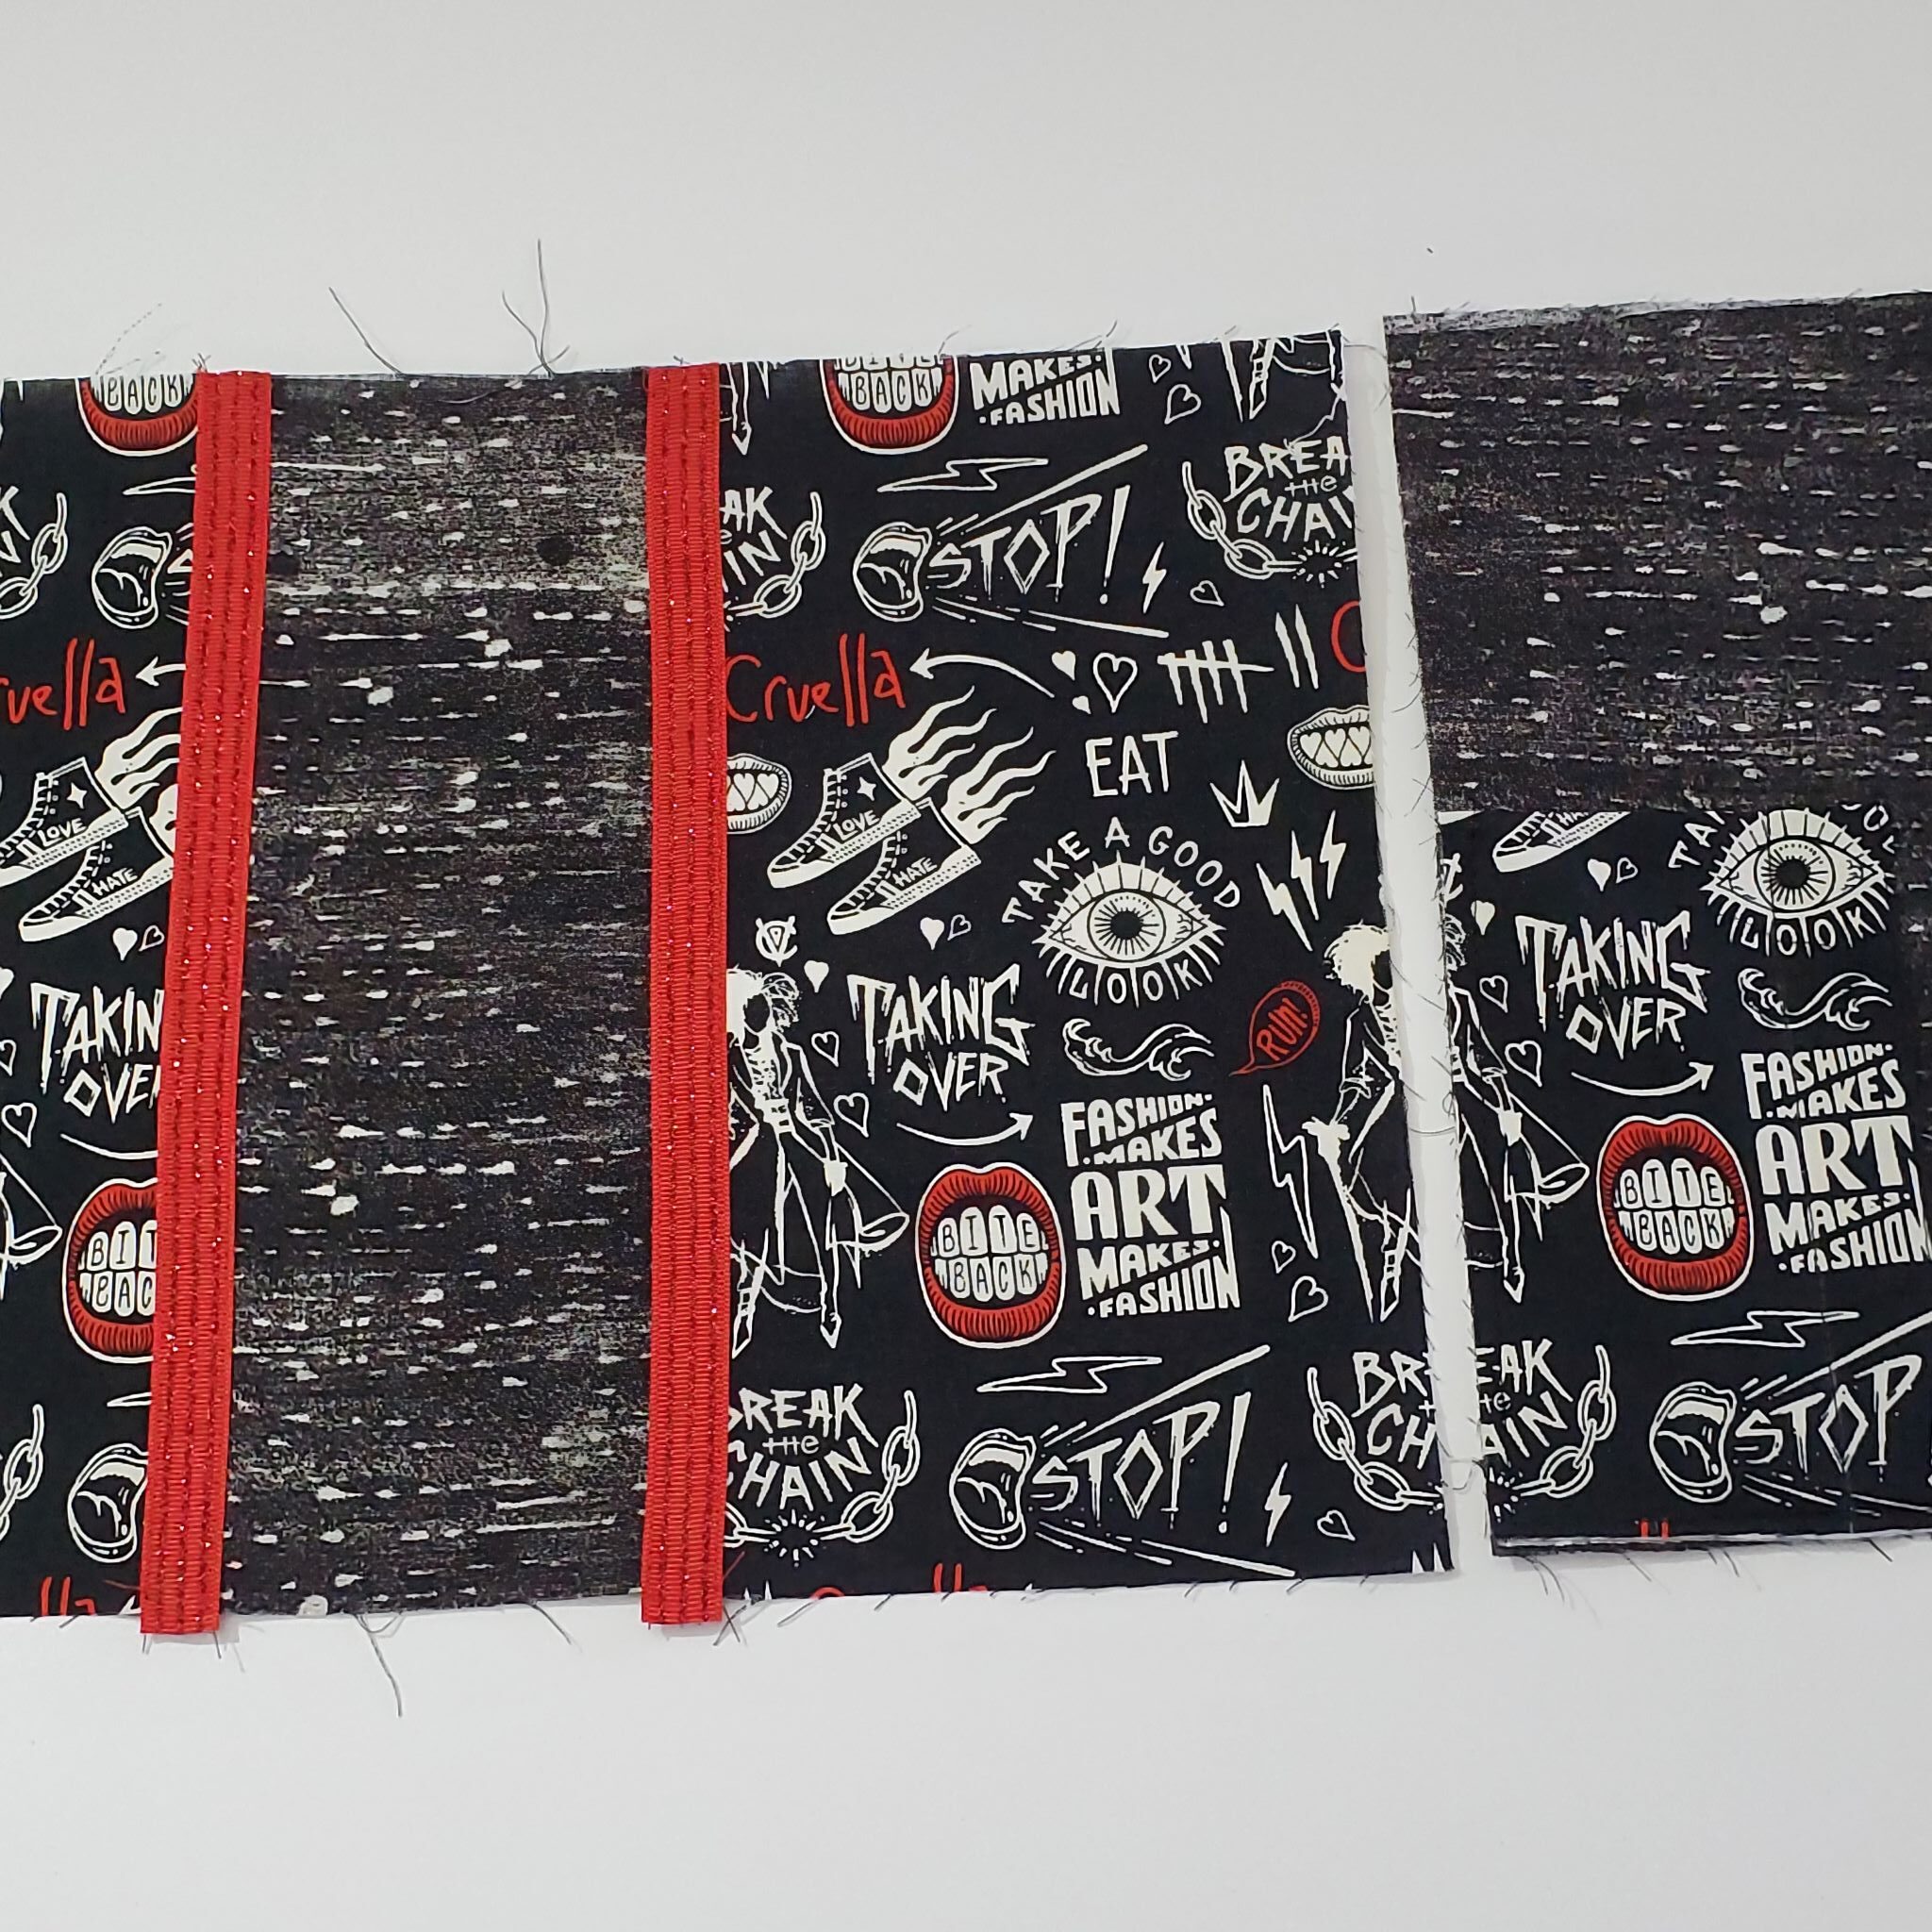
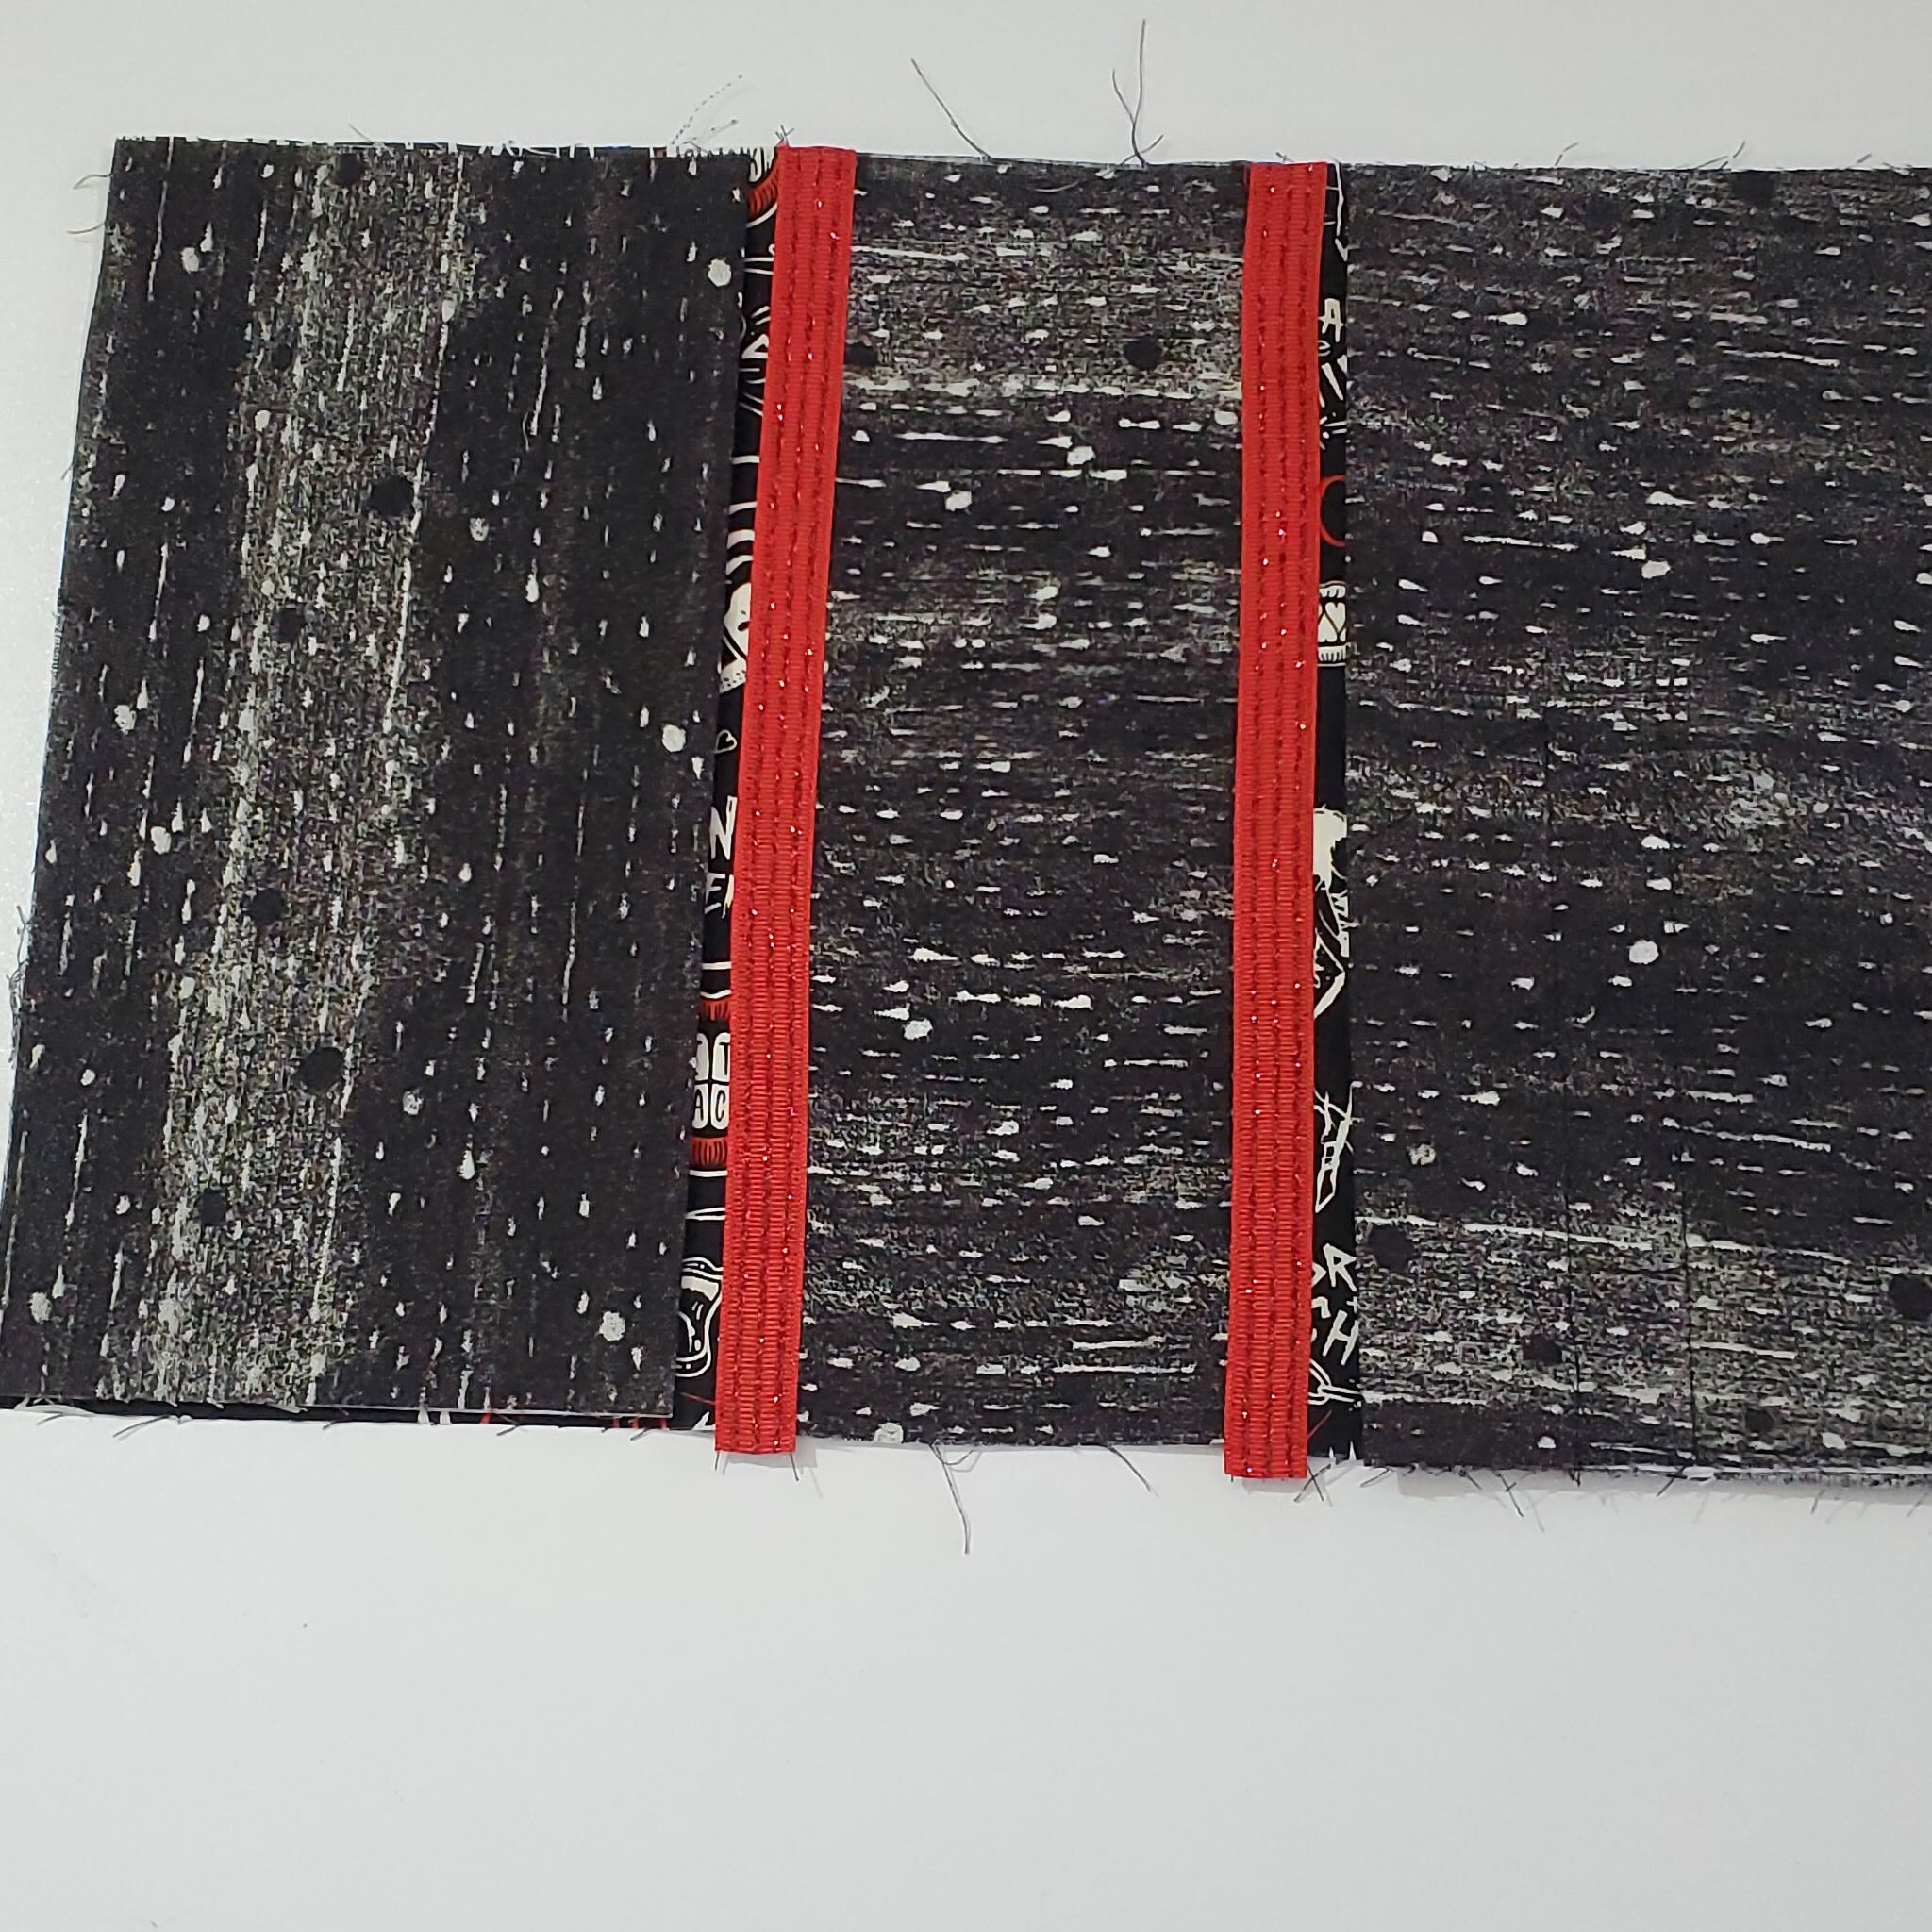
Line up your rick-rack or ribbon along the seams. Pin in place and stitch. You can use a straight stitch or a zig zag; I use a zig zag for rick rack, but a straight stitch for ribbon.
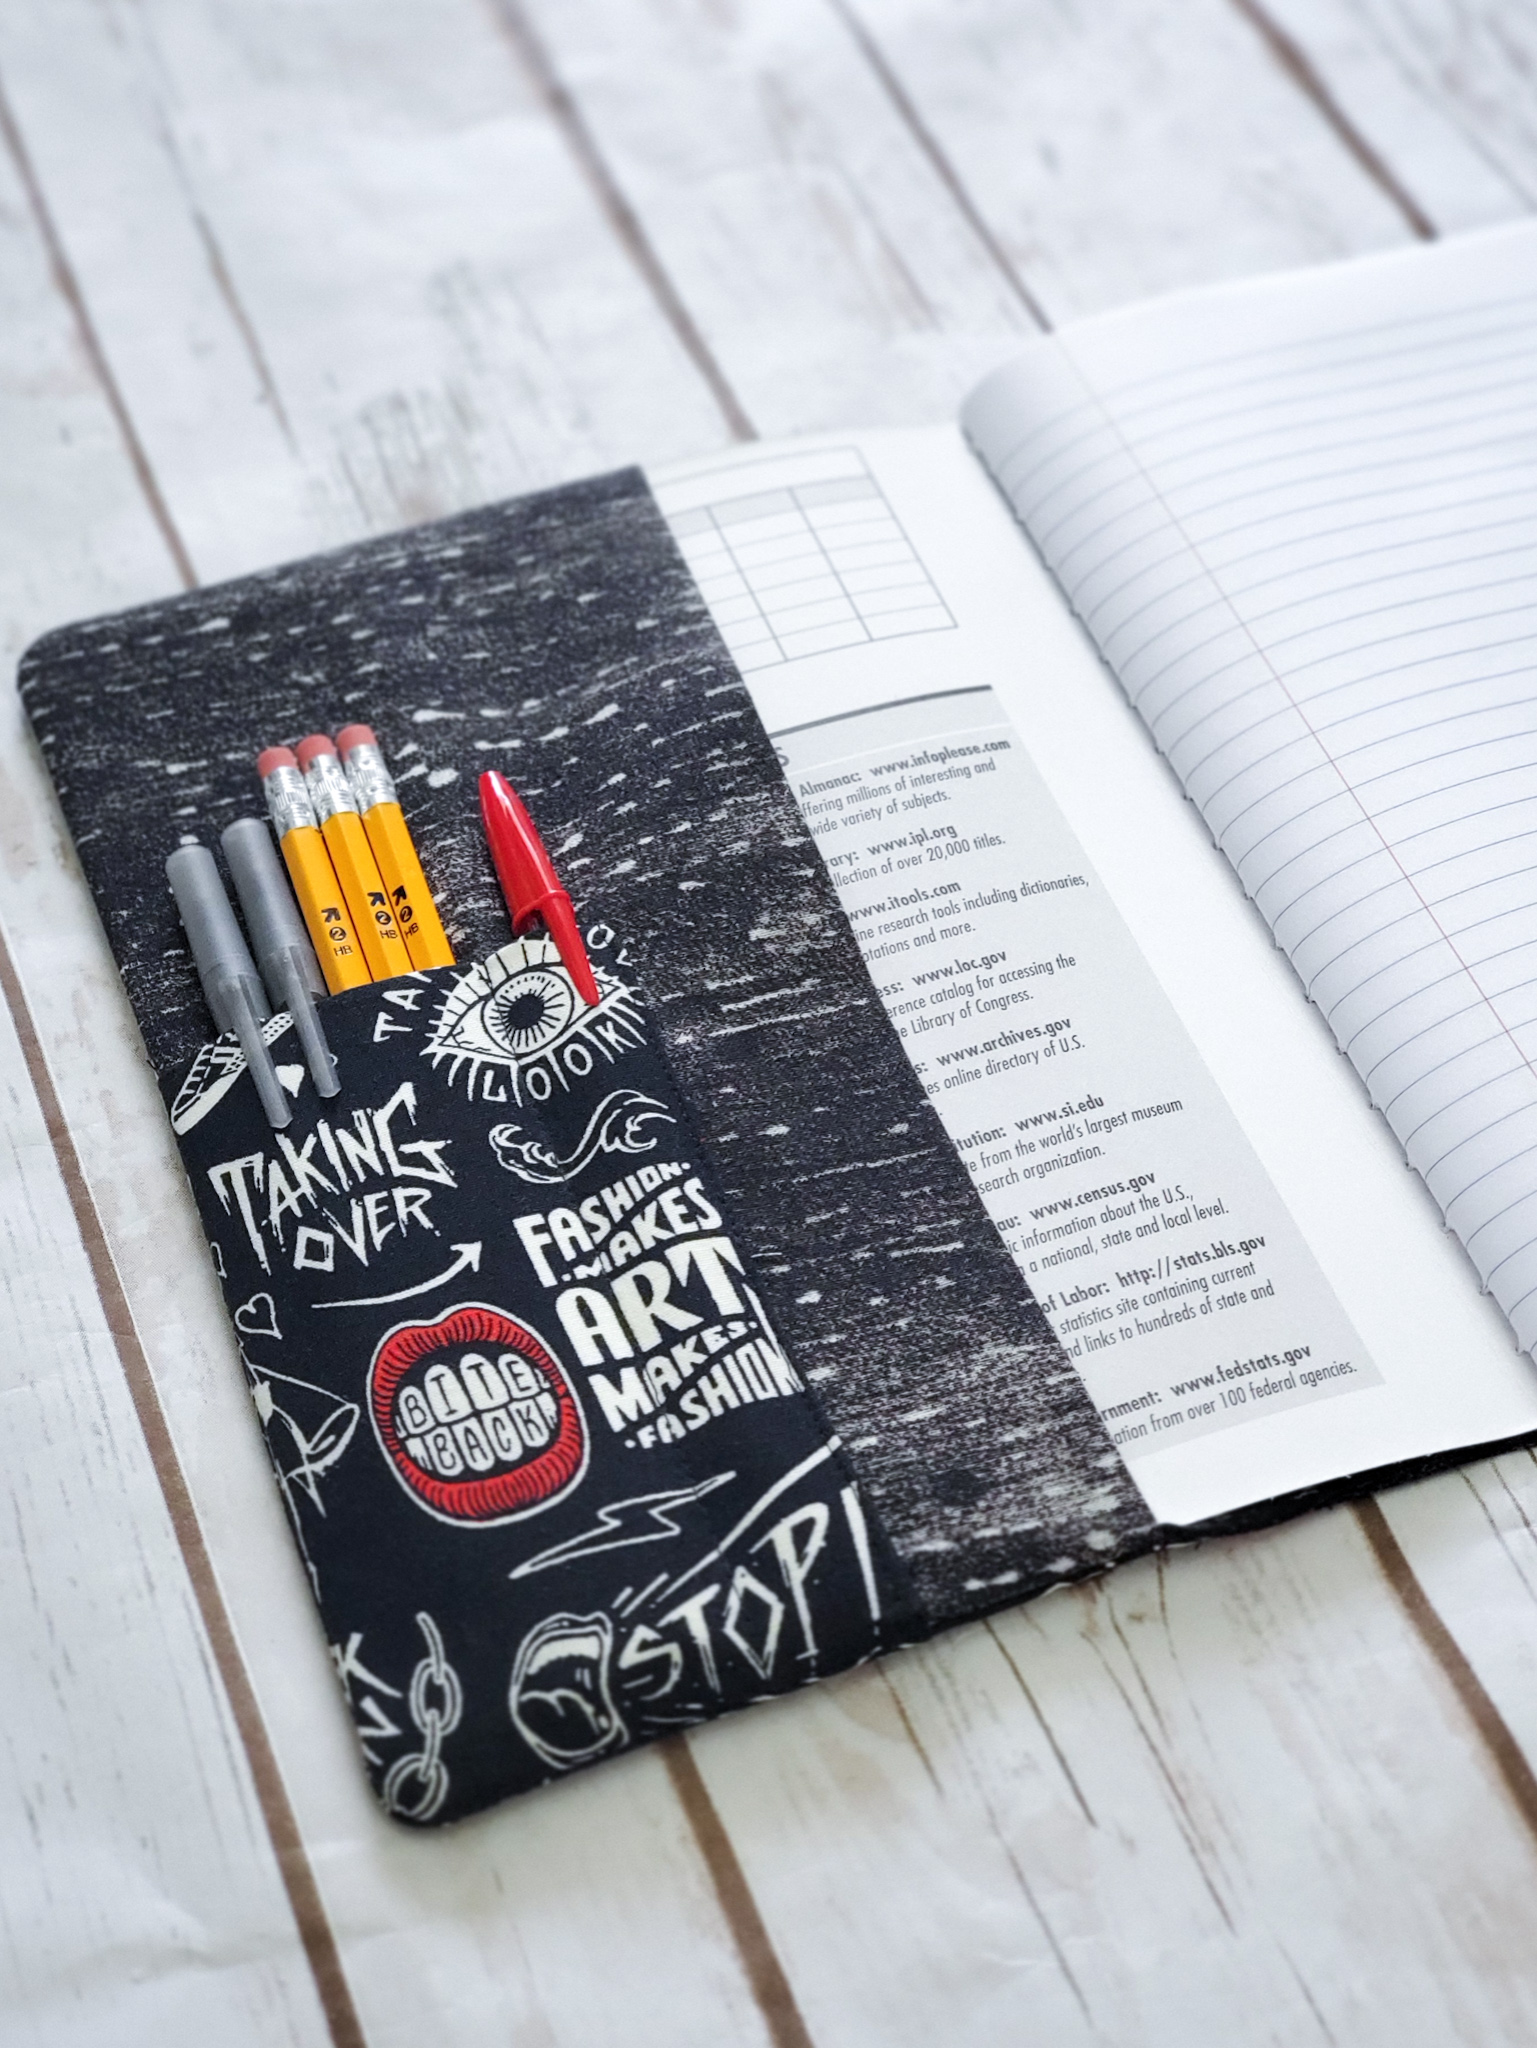
Fold your pocket in half lengthwise, as shown in the picture, wrong sides together. Pin the right side only, and stitch. Clip the top right corner when finished and flip your pocket to the right side. Press.
Take your 2 flap pieces and fold each one (separately) widthwise, right sides together. Press. Then, place the pocket on the front of the left flap (the fold is on the right side), lining up your raw edges on the left side as well as your bottom raw edges. Pin in place. From the top right corner of the pocket, stitch down the pocket.
If you would like to create separate pockets for pens, markers, etc, place the item in the pocket and then draw a line down the side. Stitch on the line.
Time to put it all together! First, lay out the front of your notebook cover. Then, place your flaps on top of the cover (2nd picture) with the raw edges matching up, and the fold towards the inside. The flap with the pocket sewn onto it will be on the right side. Notice you don’t see the pocket; that is because you are facing the pocket to the front cover.
Next, place your lining on top of everything, matching all raw edges and pinning in place. Starting at the bottom, stitch around the entire rectangle, pivoting at corners and stopping a few inches before your beginning stitch. You want to leave this section open for flipping in the next step.

Cut each of your 4 corners to reduce bulk when you flip. Through your opening, turn your notebook cover to the right side. Iron everything nice and flat and then stitch your opening shut.
That’s it!!
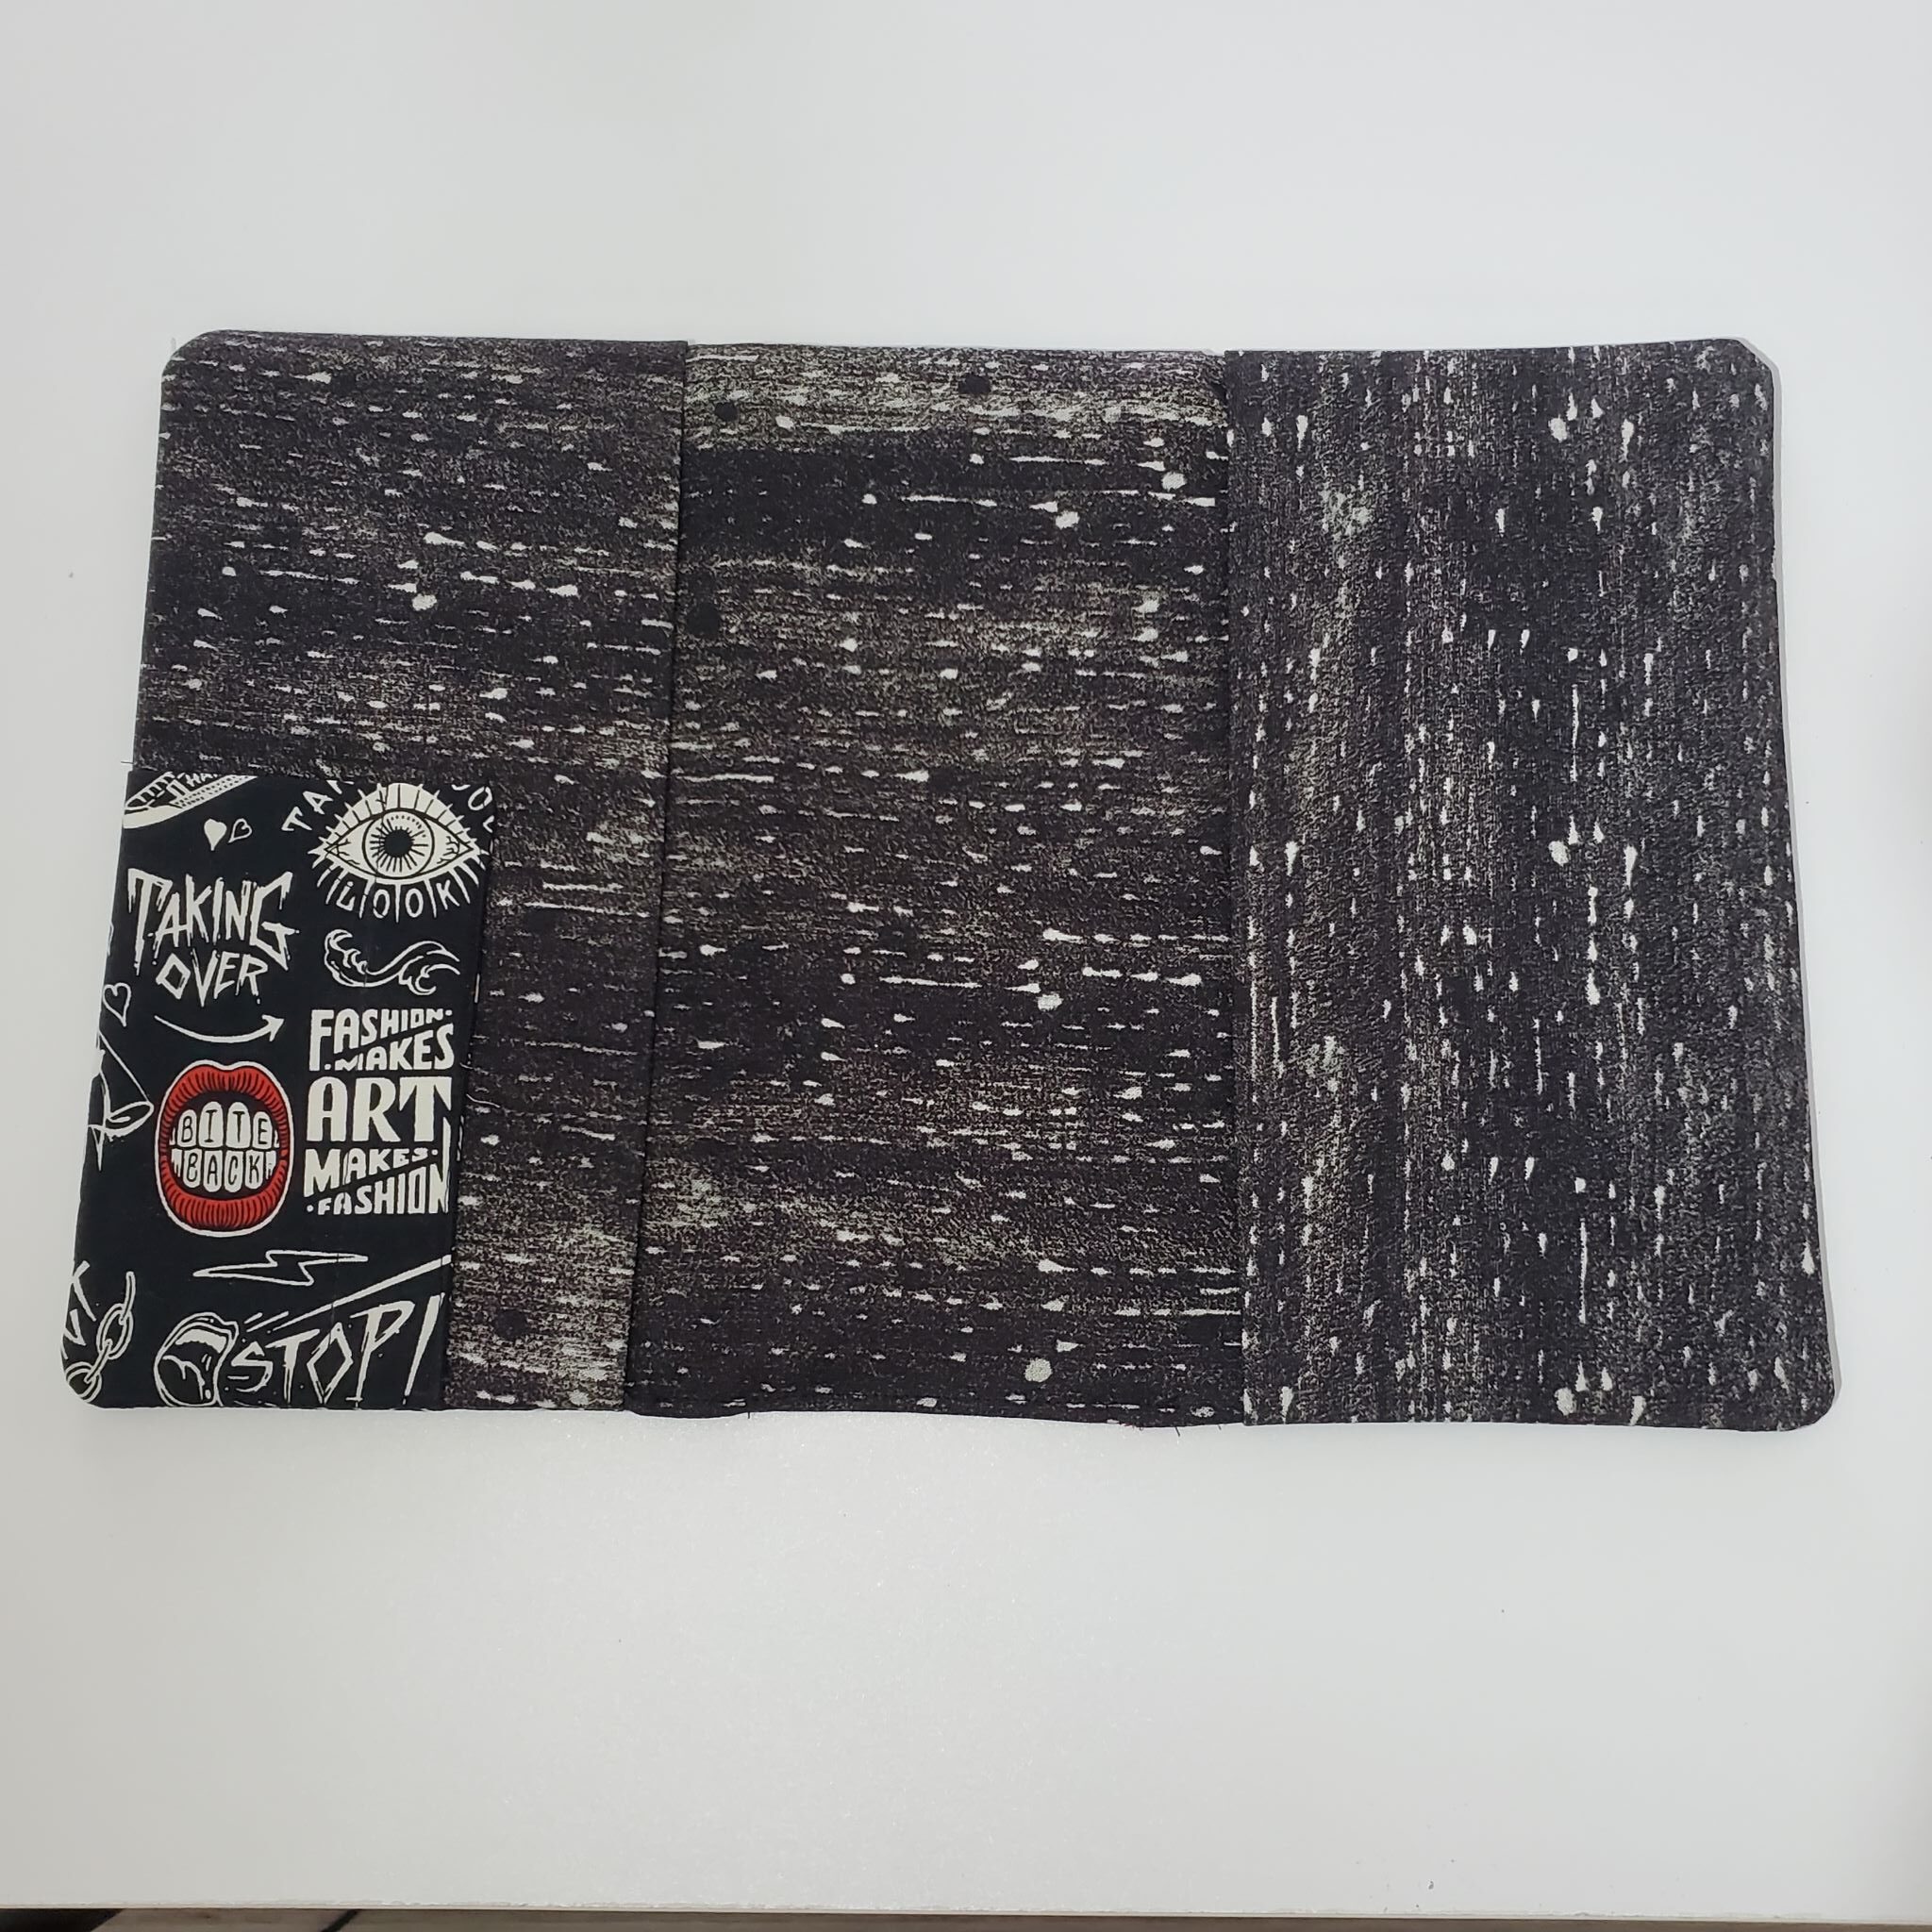
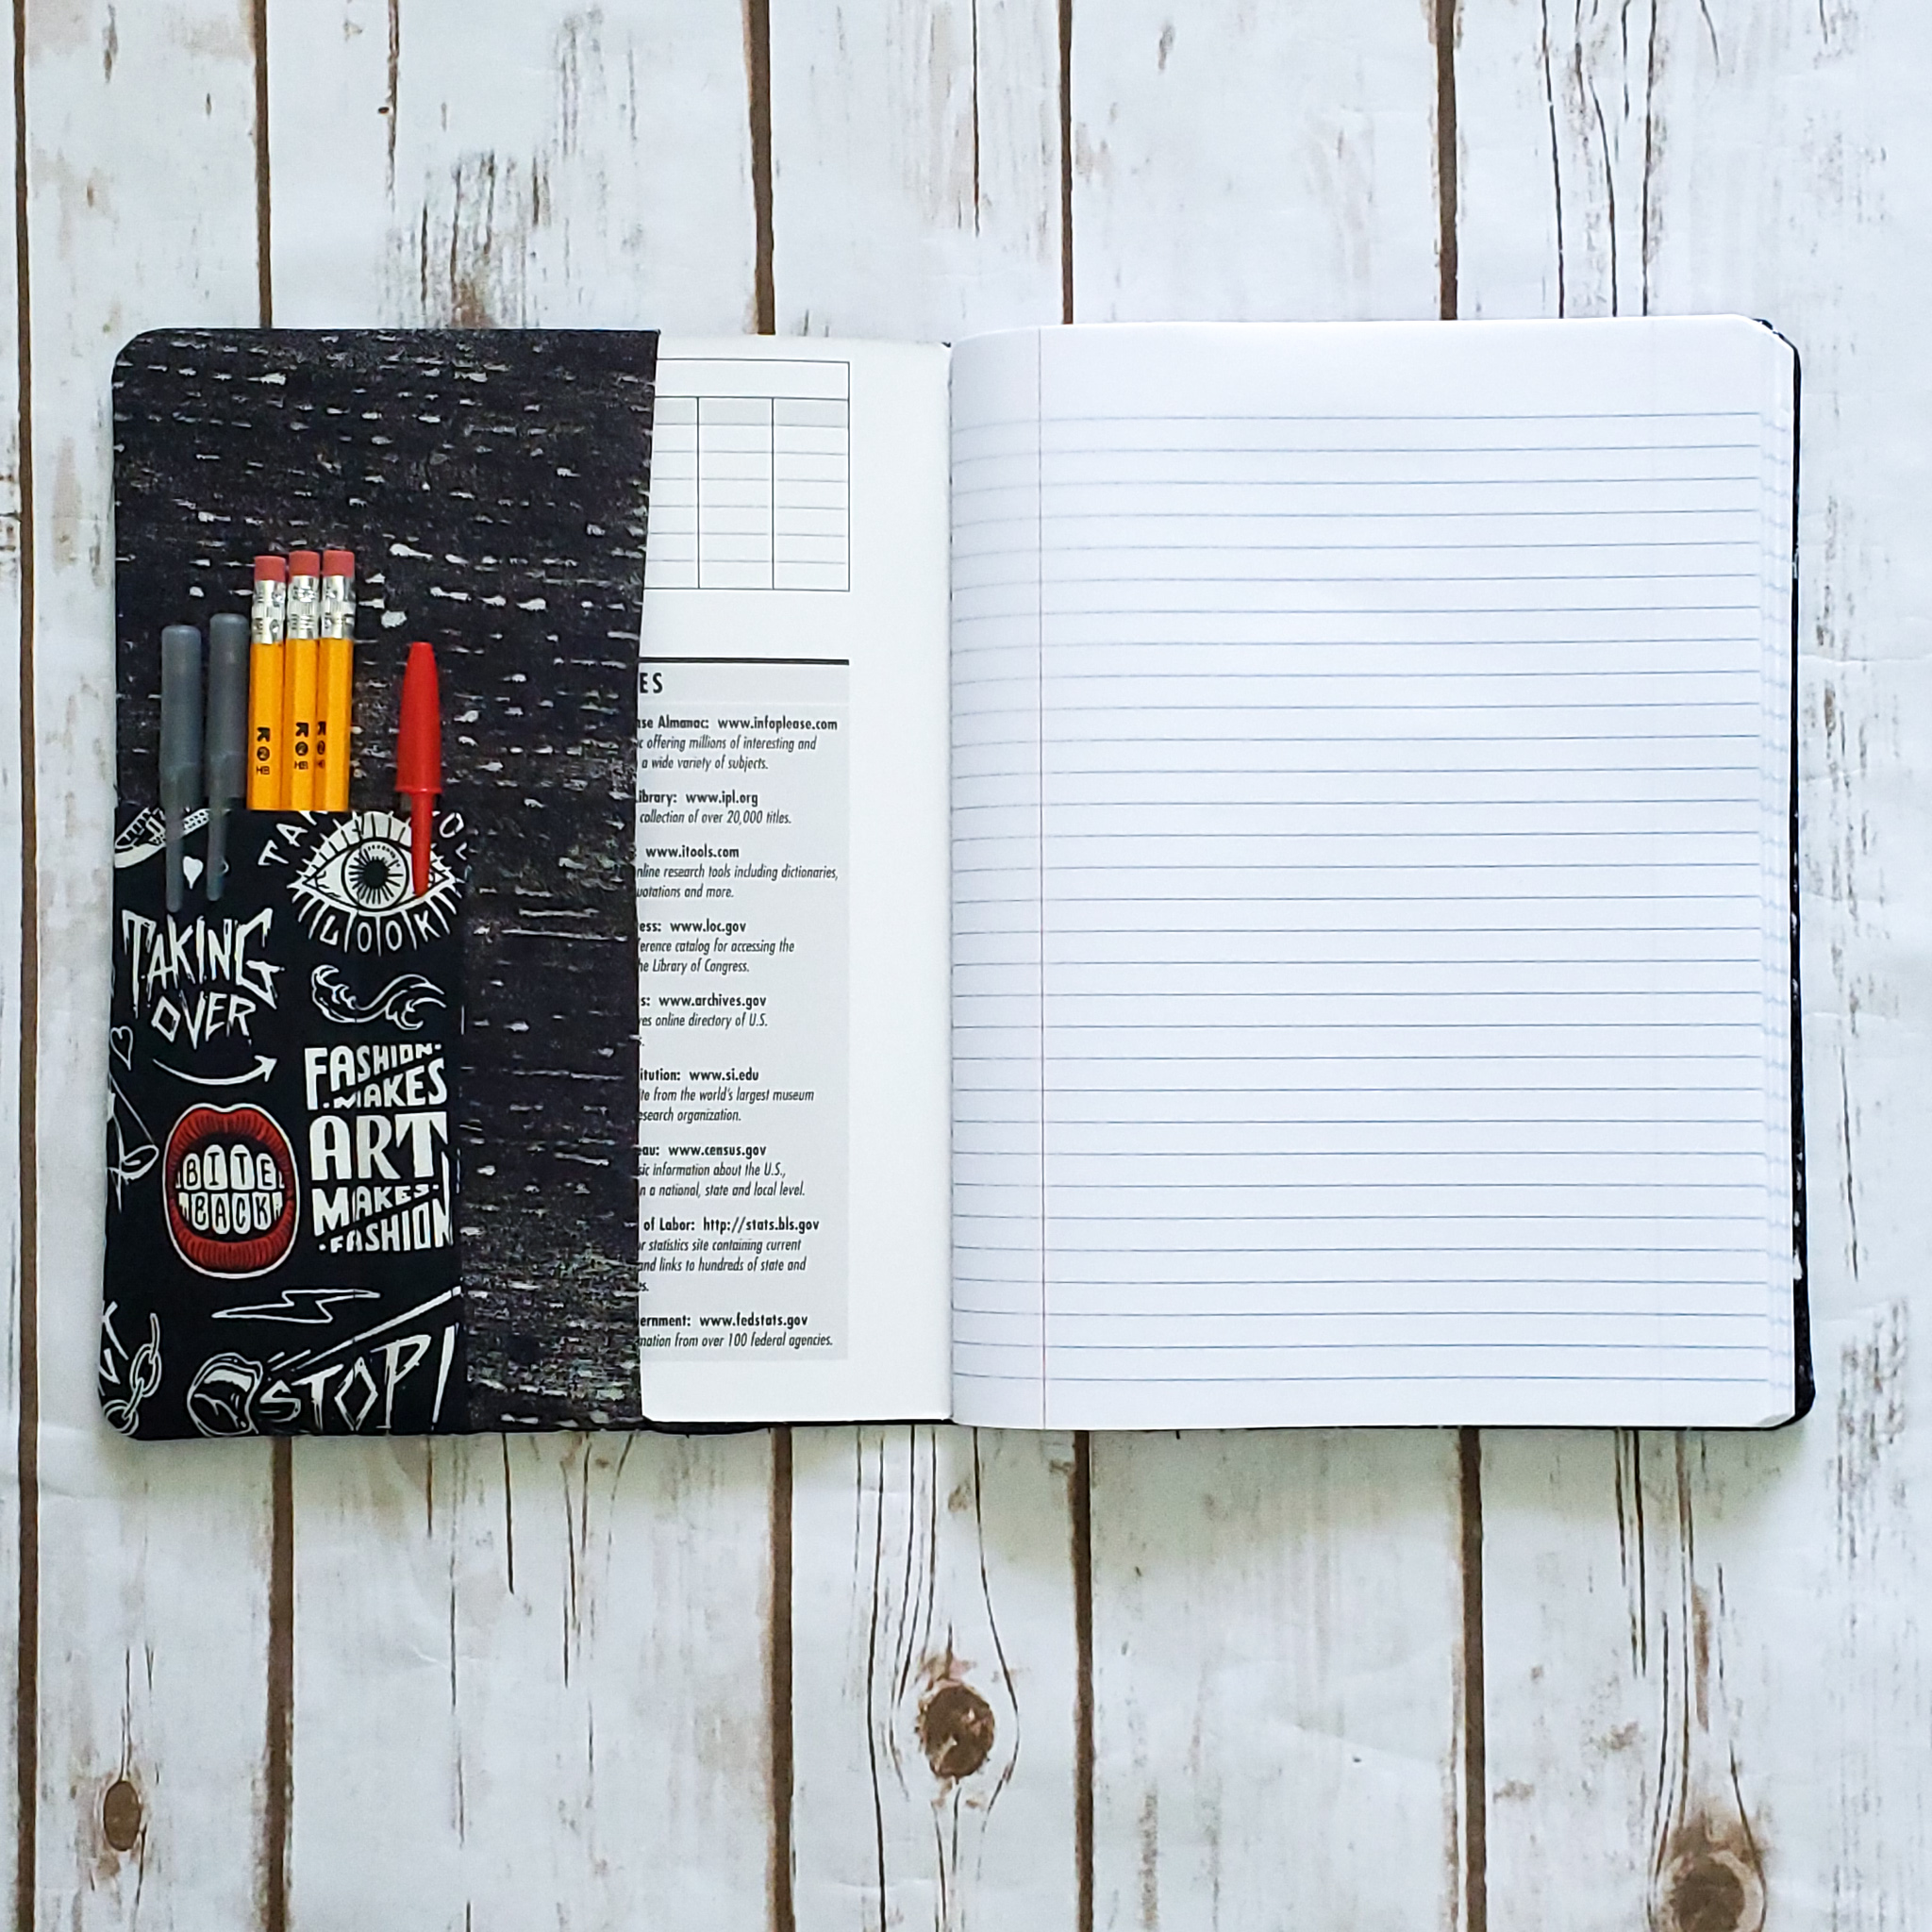
Slide your composition notebook into the cover and you’re ready to go!
I was thinking these might actually be cute gifts to make for Christmas, particularly for my kids who like to journal! What do you think?
Let me know in the comments how your notebook cover turned out!
*Sassy Cassy’s is part of the Amazon Affiliate Program, which means that if you purchase Amazon items from this website, a small commission will be earned, at no extra cost to you.
Save this pin for later!