
Happy Monday!!
Are Mondays ever really happy? Ha ha. For me, Monday is a day to plan out my week, get ahead on the menu planning and the laundry and all the other boring chores of the household. And sometimes, when I’m lucky, I might have some time left over for sewing or updating my website. Which is what I’m doing today! I have soooo many sewing tutorials photographed on my phone and I’m trying really hard to keep up on this blog! I need to clear out my phone but that requires transferring all of my pictures and tutorials to this website. This is a good start.
Today I’m sharing a fun project that I did in some of my sewing classes during the month of October. I frequently have students asking me about making clothes, and skirts, in particular. I thought it would be fun to pick out some spooky fabric and make Halloween themed skirts! Apparently the kids liked my idea because both classes I added to my calendar had sign ups! Some of the kids have worn them back to following classes, which I absolutely LOVE and adore!!
I always like to teach new skills on the projects I select for my students, so on this project we focused on seam finishes. If you don’t know what a seam finish is, it is something that is done to the raw (cut) edge of the fabric to prevent it from fraying. There are lots and lots of different seam finishes you can use: a serger, zig-zag stitch, pinking shears, enclosed seams, etc. For some of my more beginning students, we used pinking shears as a seam finish. It’s a quick and easy way to finish seams and it looks really cute when it’s all done. All you do is cut (with pinking shears) on the edge of the seam allowance; the zig-zag blade of these scissors cuts your fabric diagonally, which prevents the threads from raveling and fraying!
For my more advanced students, I taught them how to sew a french seam, which is an enclosed seam. It takes a little bit more time to do, but it is an absolutely beautiful seam finish, leaving no raw edges exposed. This seam is especially nice for formal wear and fabrics that are sheer and lightweight. If you have the extra time to do it, it’s gorgeous! It doesn’t really take too much time to do on this skirt, since this is a very basic skirt to sew up, In fact, there are only 2 seams that you will need to use it on!!
I am sharing this tutorial with a french seam, but keep in mind that you can sew this skirt without a french seam! Instead of following the steps for a french seam, simply face your fabric right sides together and take a regular stitch (5/8″ seam allowance). I would recommend pinking the edges of the seam allowance, just to prevent fraying. For your convenience, I linked a pair of pinking shears at the end of this post.
Steps to Sewing a Simple Block Skirt
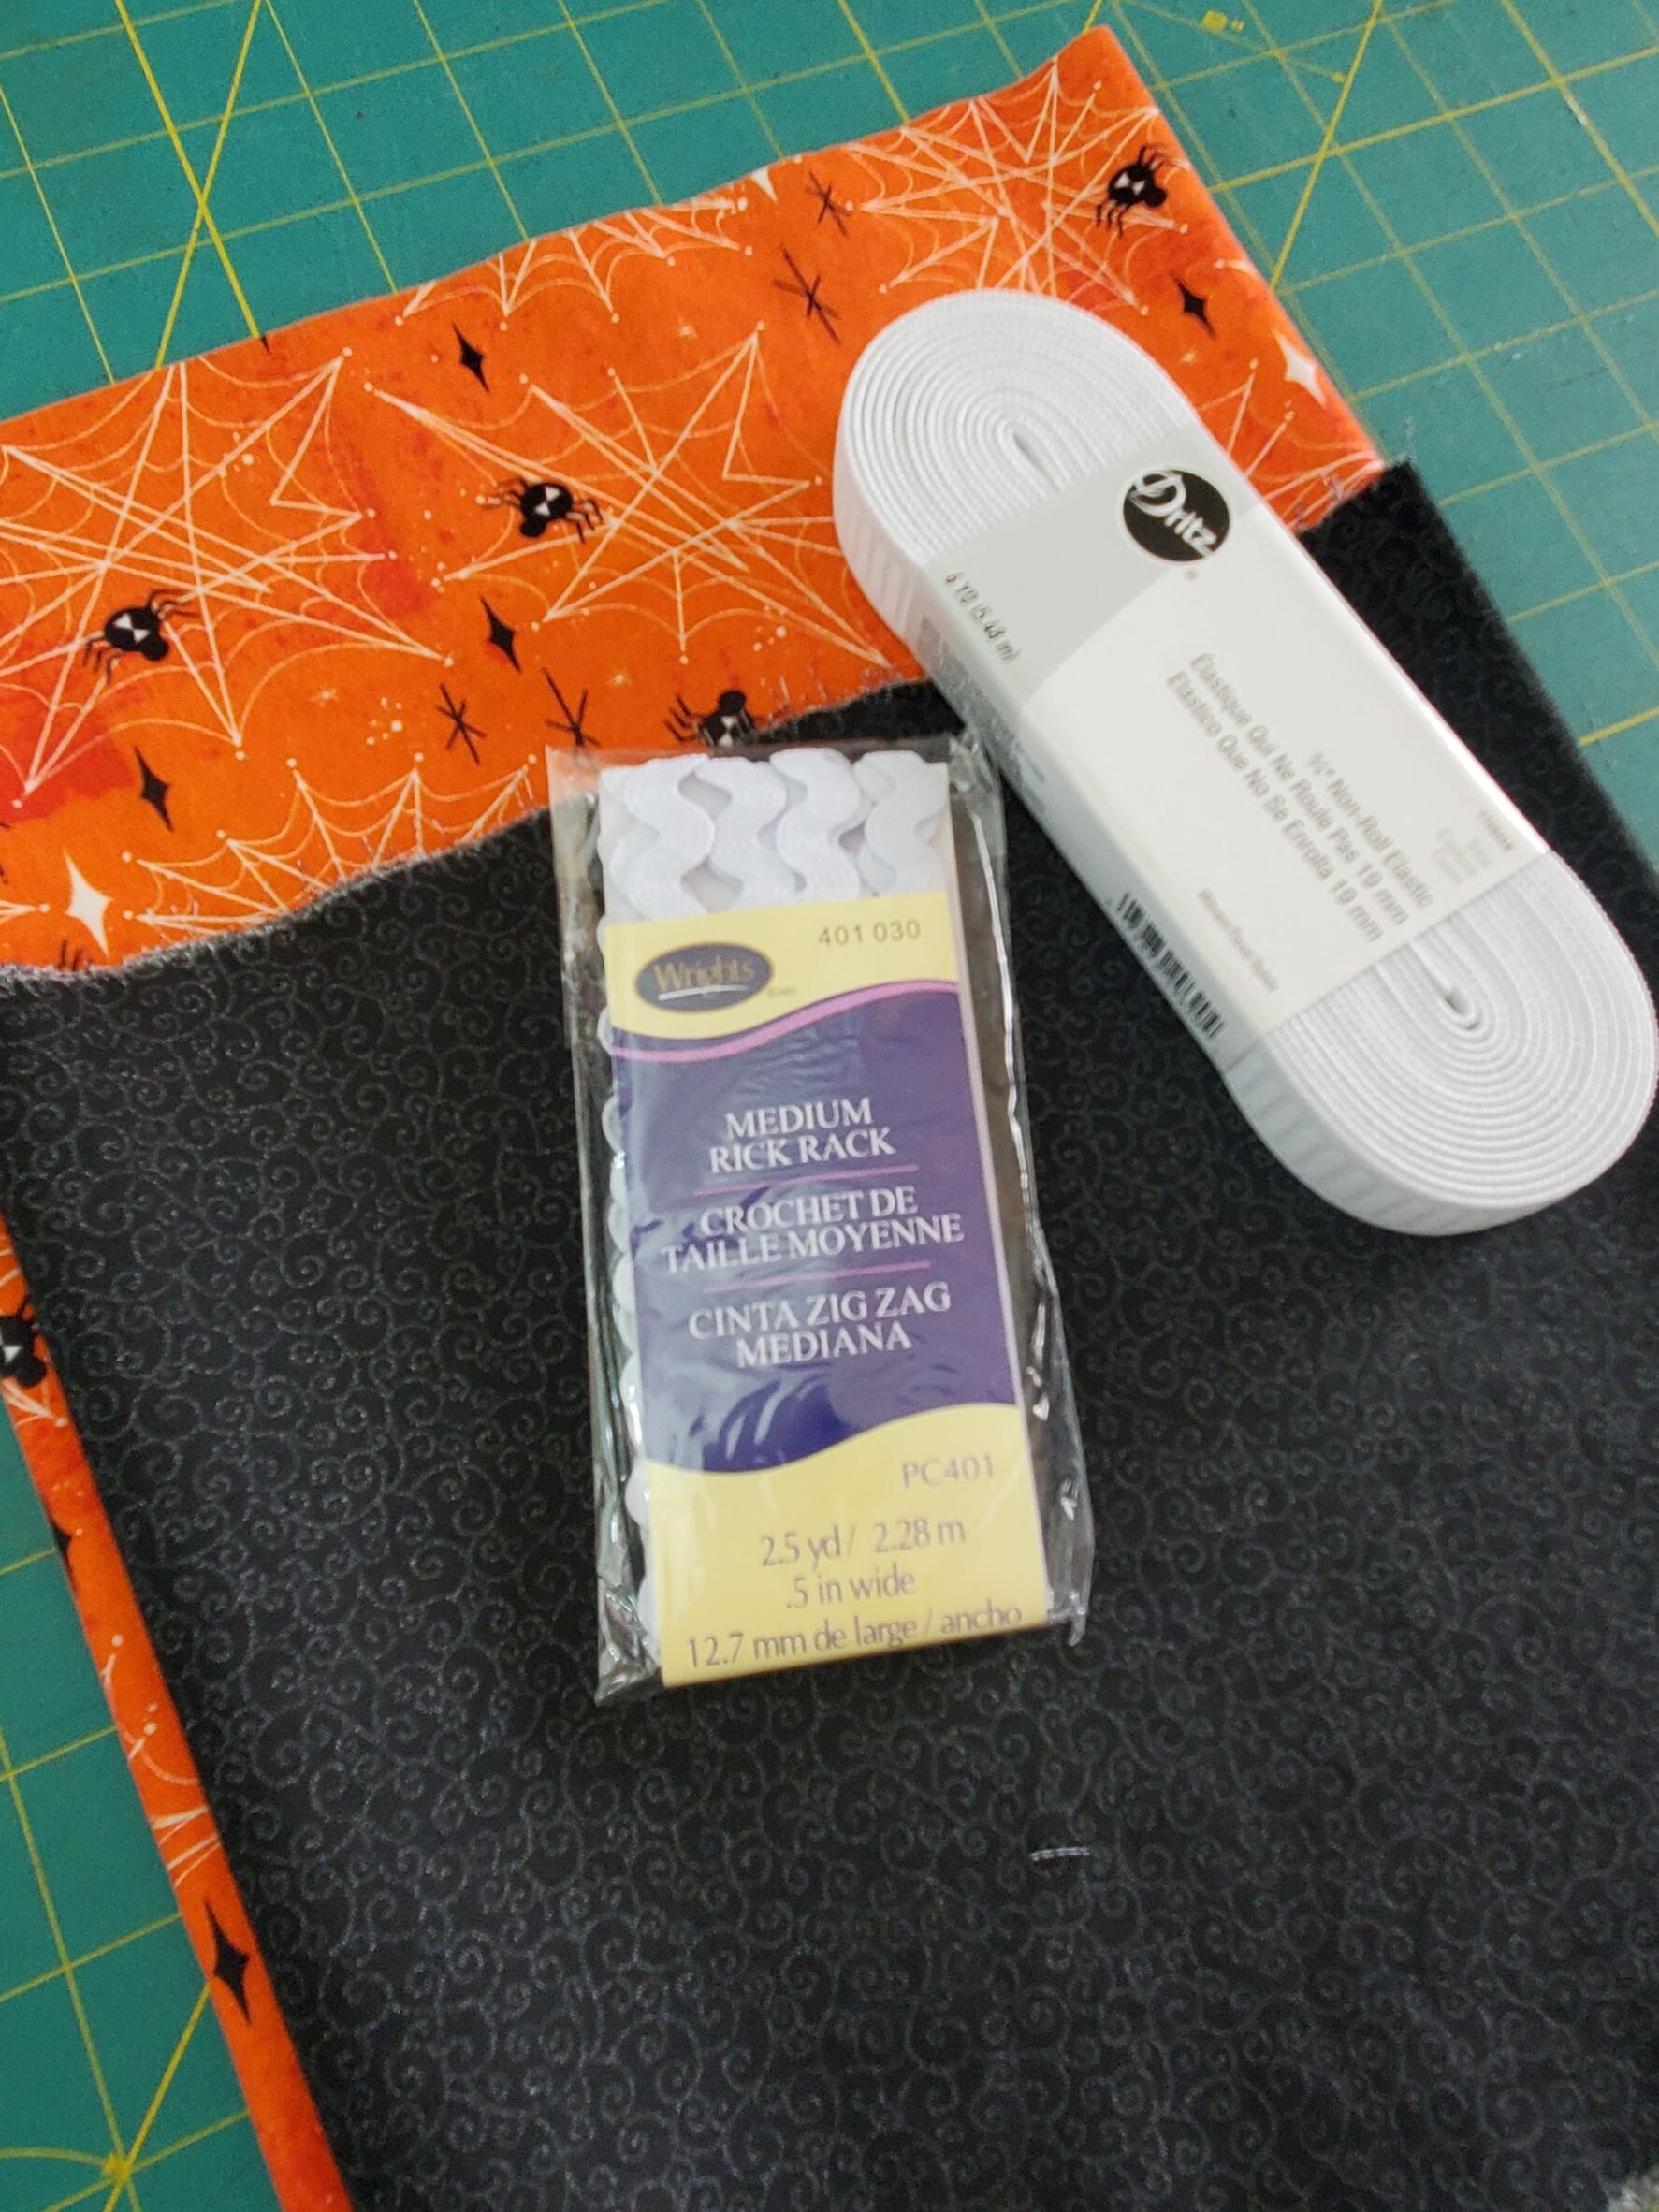
For this project, you will need:
- 2/3 yard main fabric (for adult/larger teen sizes, you will want 1 yard)
- 1/2 yard contrasting fabric
- 3/4″ elastic (your waist measurement plus 1″)
- Thread
- rick-rack (to save a lot of money, check out my link for rick-rack at the end of this post!)
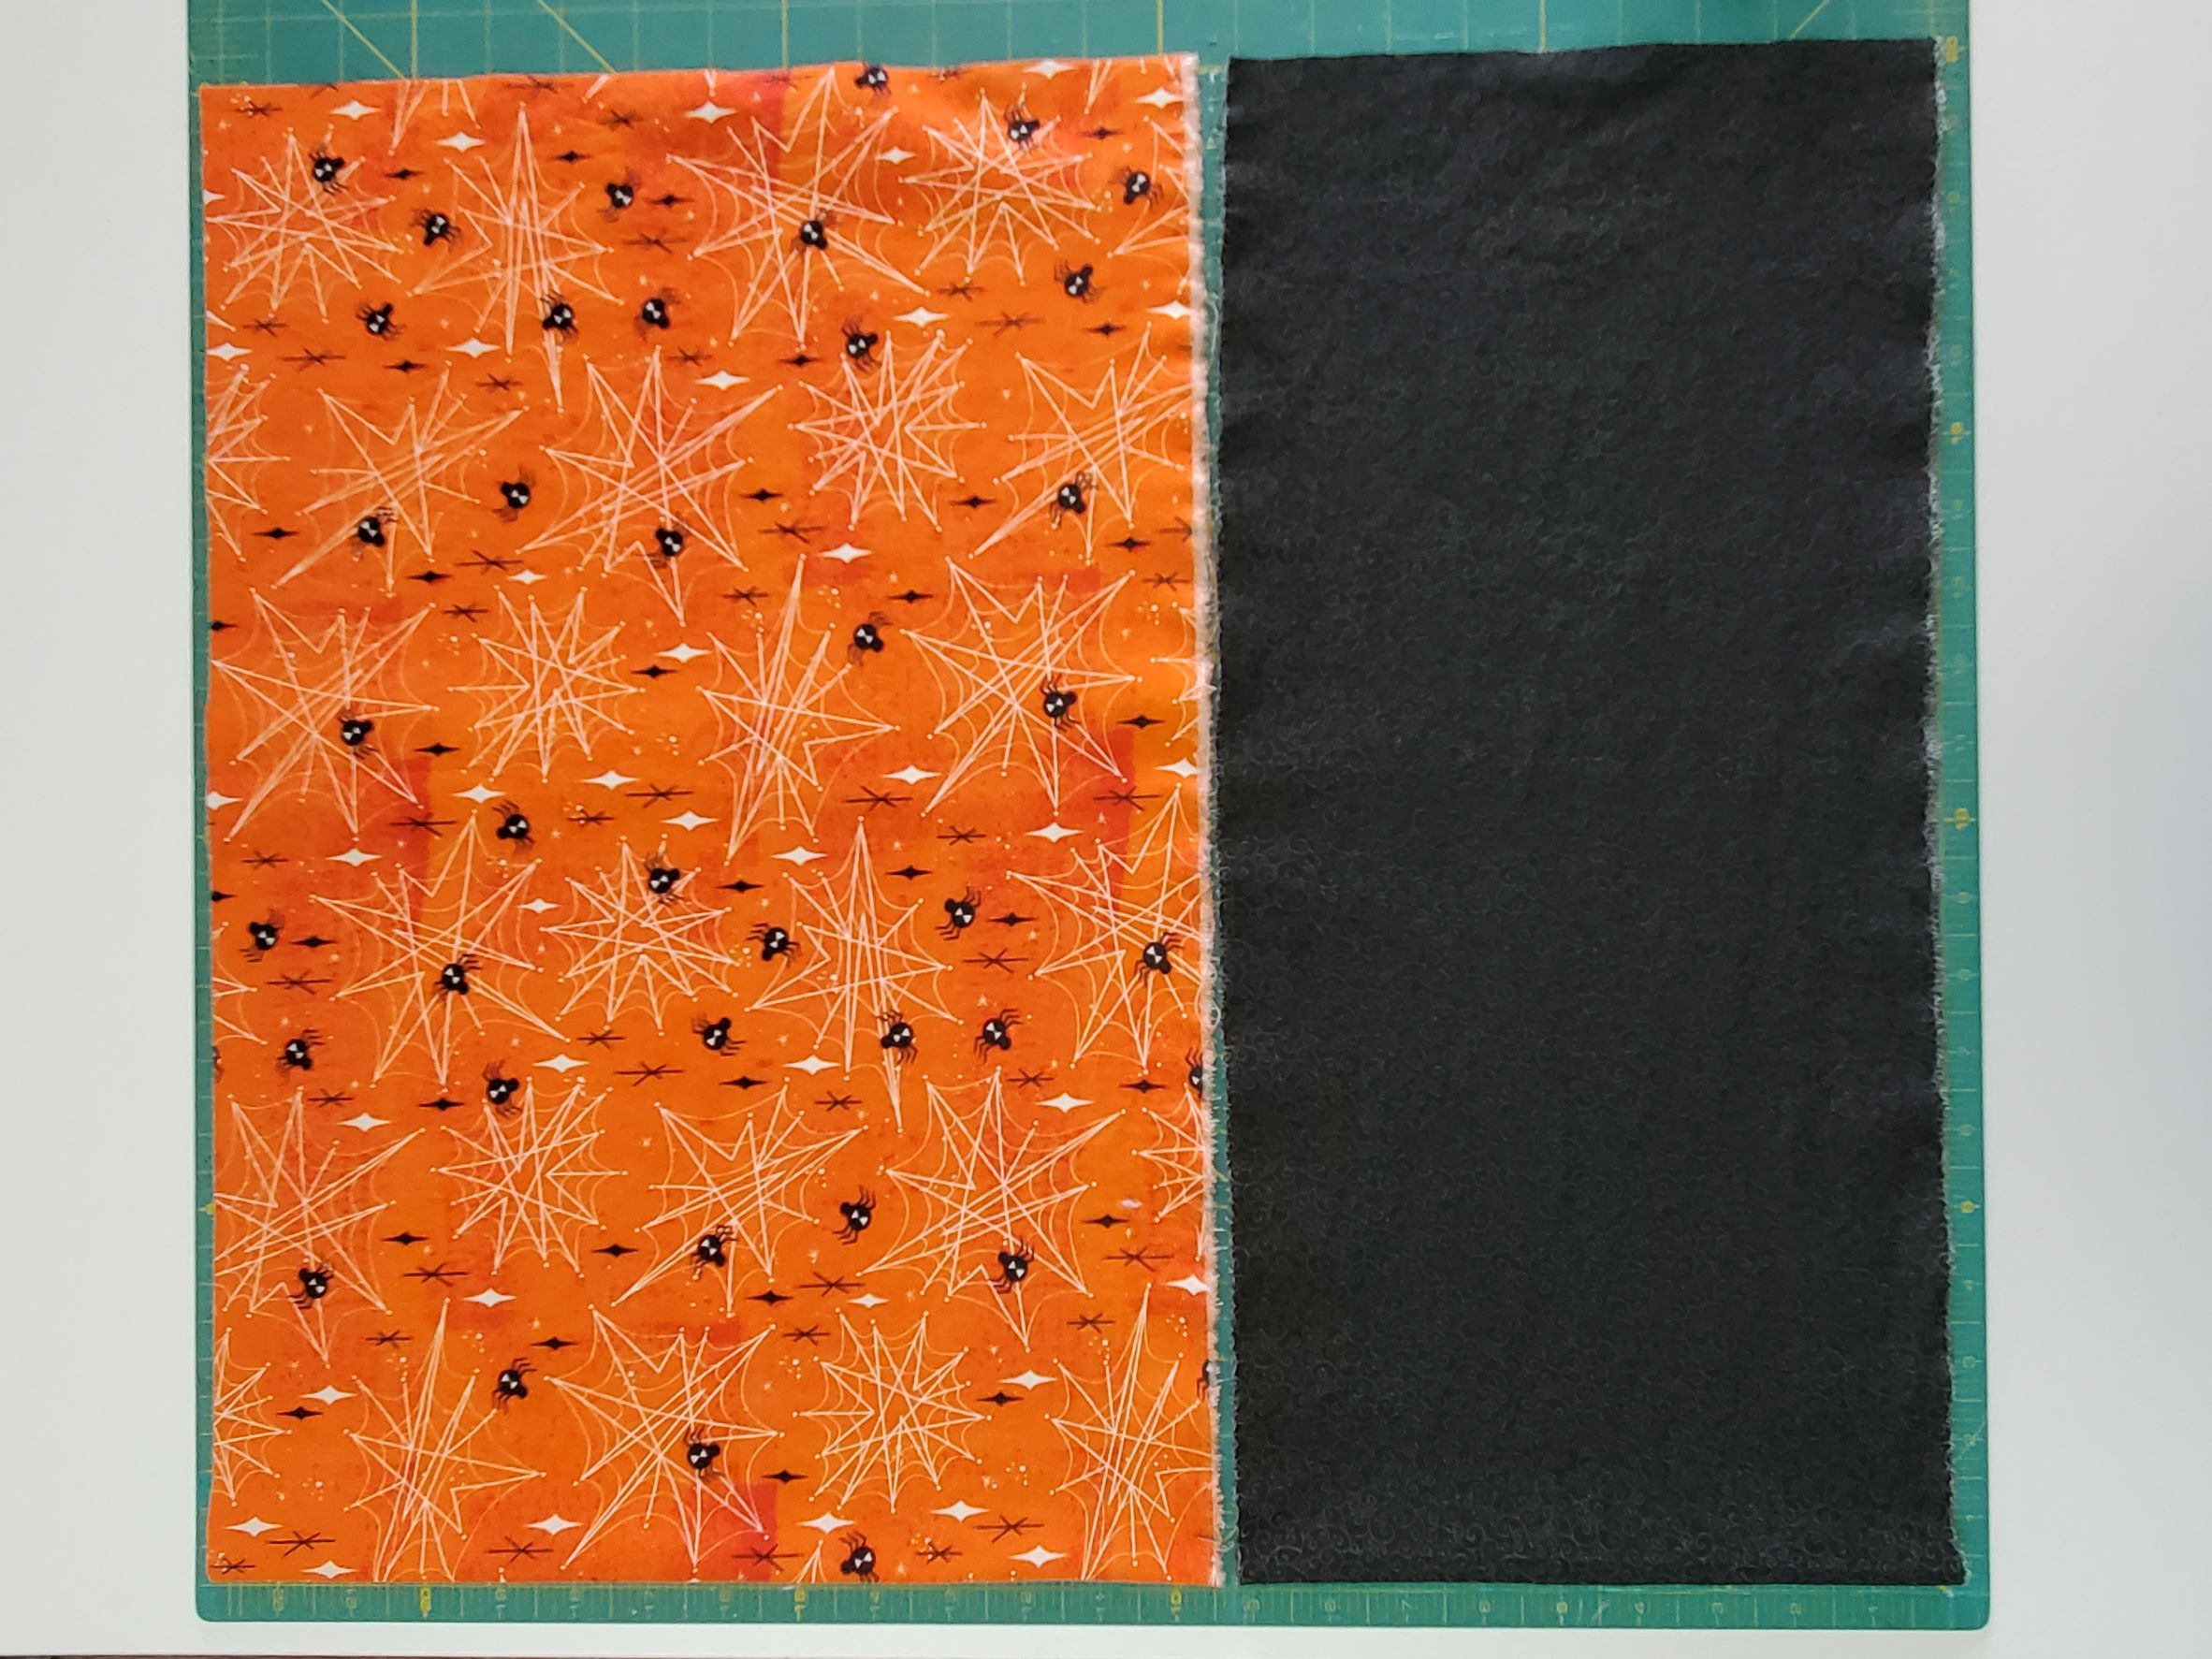
Cutting your skirt
 This skirt uses a basic rectangle block and is designed to be gathered, which creates ease in the pattern. The amount of ease (or gathers) you want is totally up to you! If you like a lot of gathers, I would recommend doubling the measurement of your hip. If you like a little less gathering, try adding 1/3″ of your hip measurement to your actual hip measurement. For younger (smaller) kids, the easiest way to cut is by using the width of the fabric, which is 45″. This is what I did for this tutorial (I made the skirt for our neighbor friend across the street, and I believe her hips were somewhere between 25″-27″).
Now, let’s talk about length. There are 2 skirt pieces in this tutorial: the main skirt, and the skirt yoke (which is the bottom piece of the skirt). The skirt should be 2/3 of the total measurement, while the yoke should be 1/3. You will need to add seam allowance and a casing allowance. For the yoke, I chose to double/fold it over rather than fold a hem, so I doubled the height that I needed.
Here’s a breakdown (and sample measurements) of how to measure length:
- Measure from your waist (wherever you want the elastic to sit) down to your knee (or wherever you want your skirt hem to end). For this skirt, I wanted to the finished side seam measurement to be 18″, from the waist to the hem.
- Now, divide your measurements, 2/3 for the skirt and 1/3 for the yoke. That means that my main skirt block should be 12″, and my yoke should be 6″ (keep reading…we need to add seam allowance)
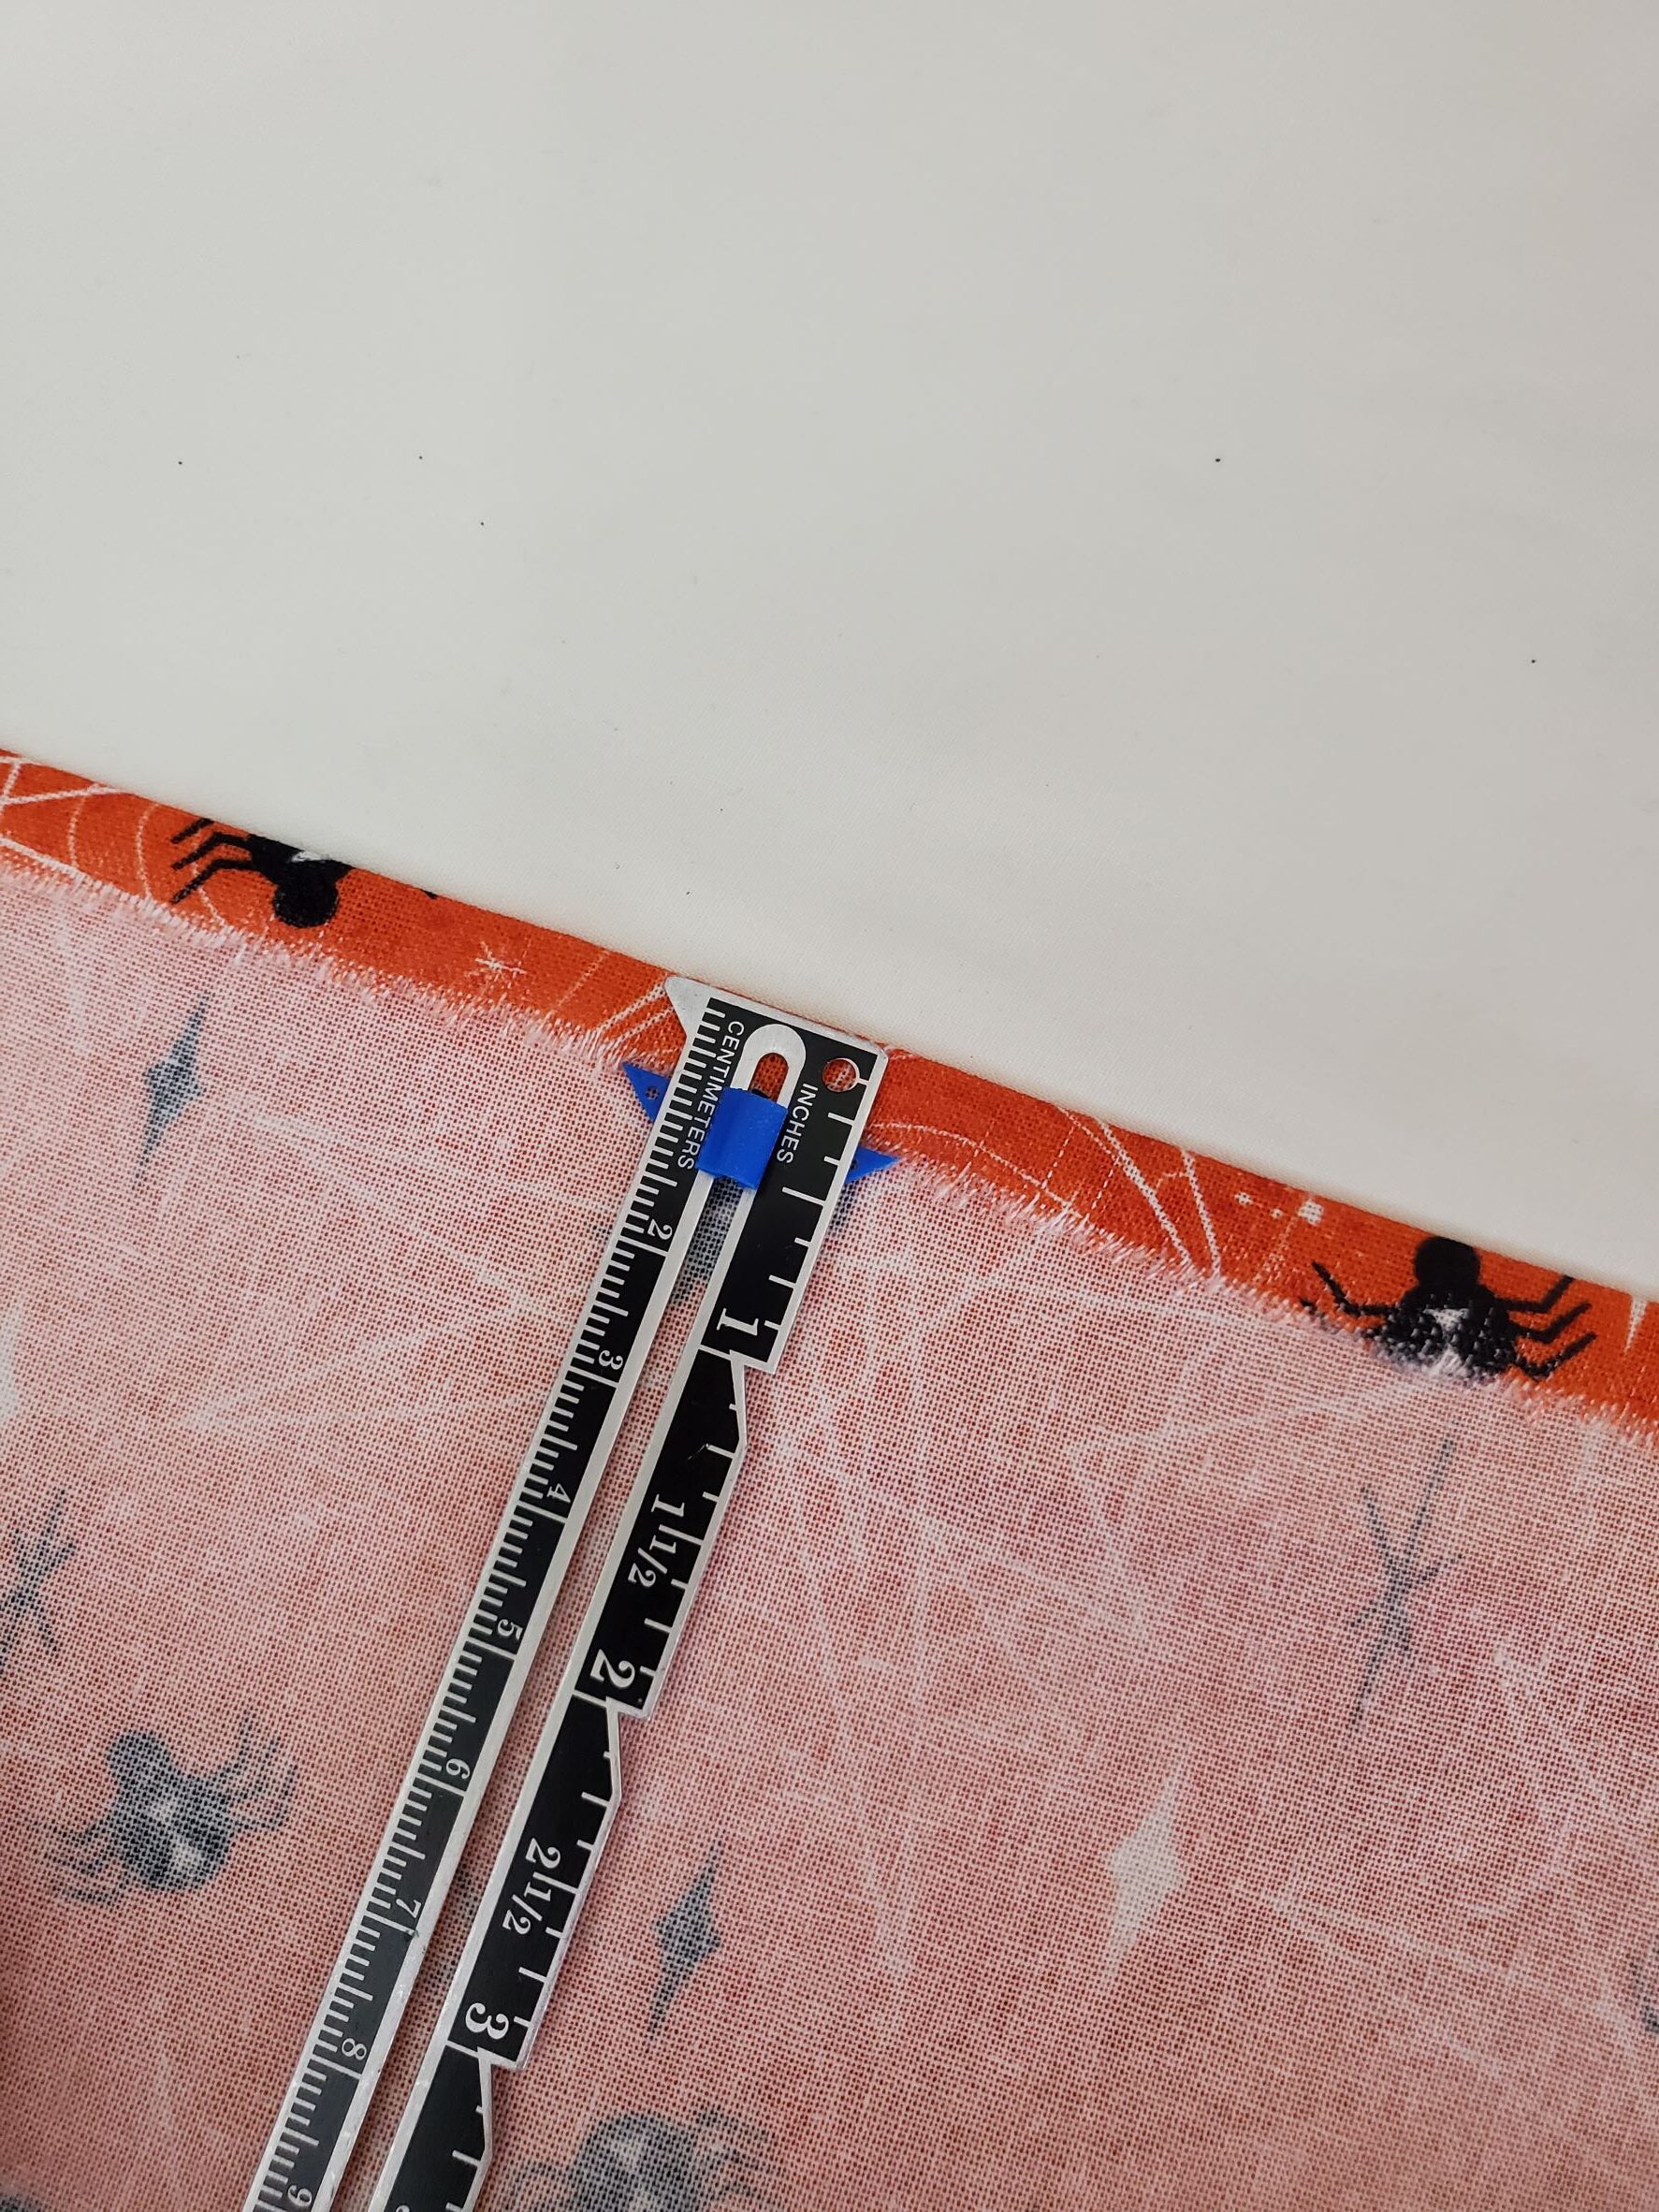
- On your skirt block, add 1/2″ seam allowance to the bottom, and 1 1/4″ for the casing allowance. So, my 12″ [tall] block now becomes 13 3/4″.
- Double the height on your yoke, plus add 1″ for the seam allowances. My 6″ [tall] block now becomes 13″.
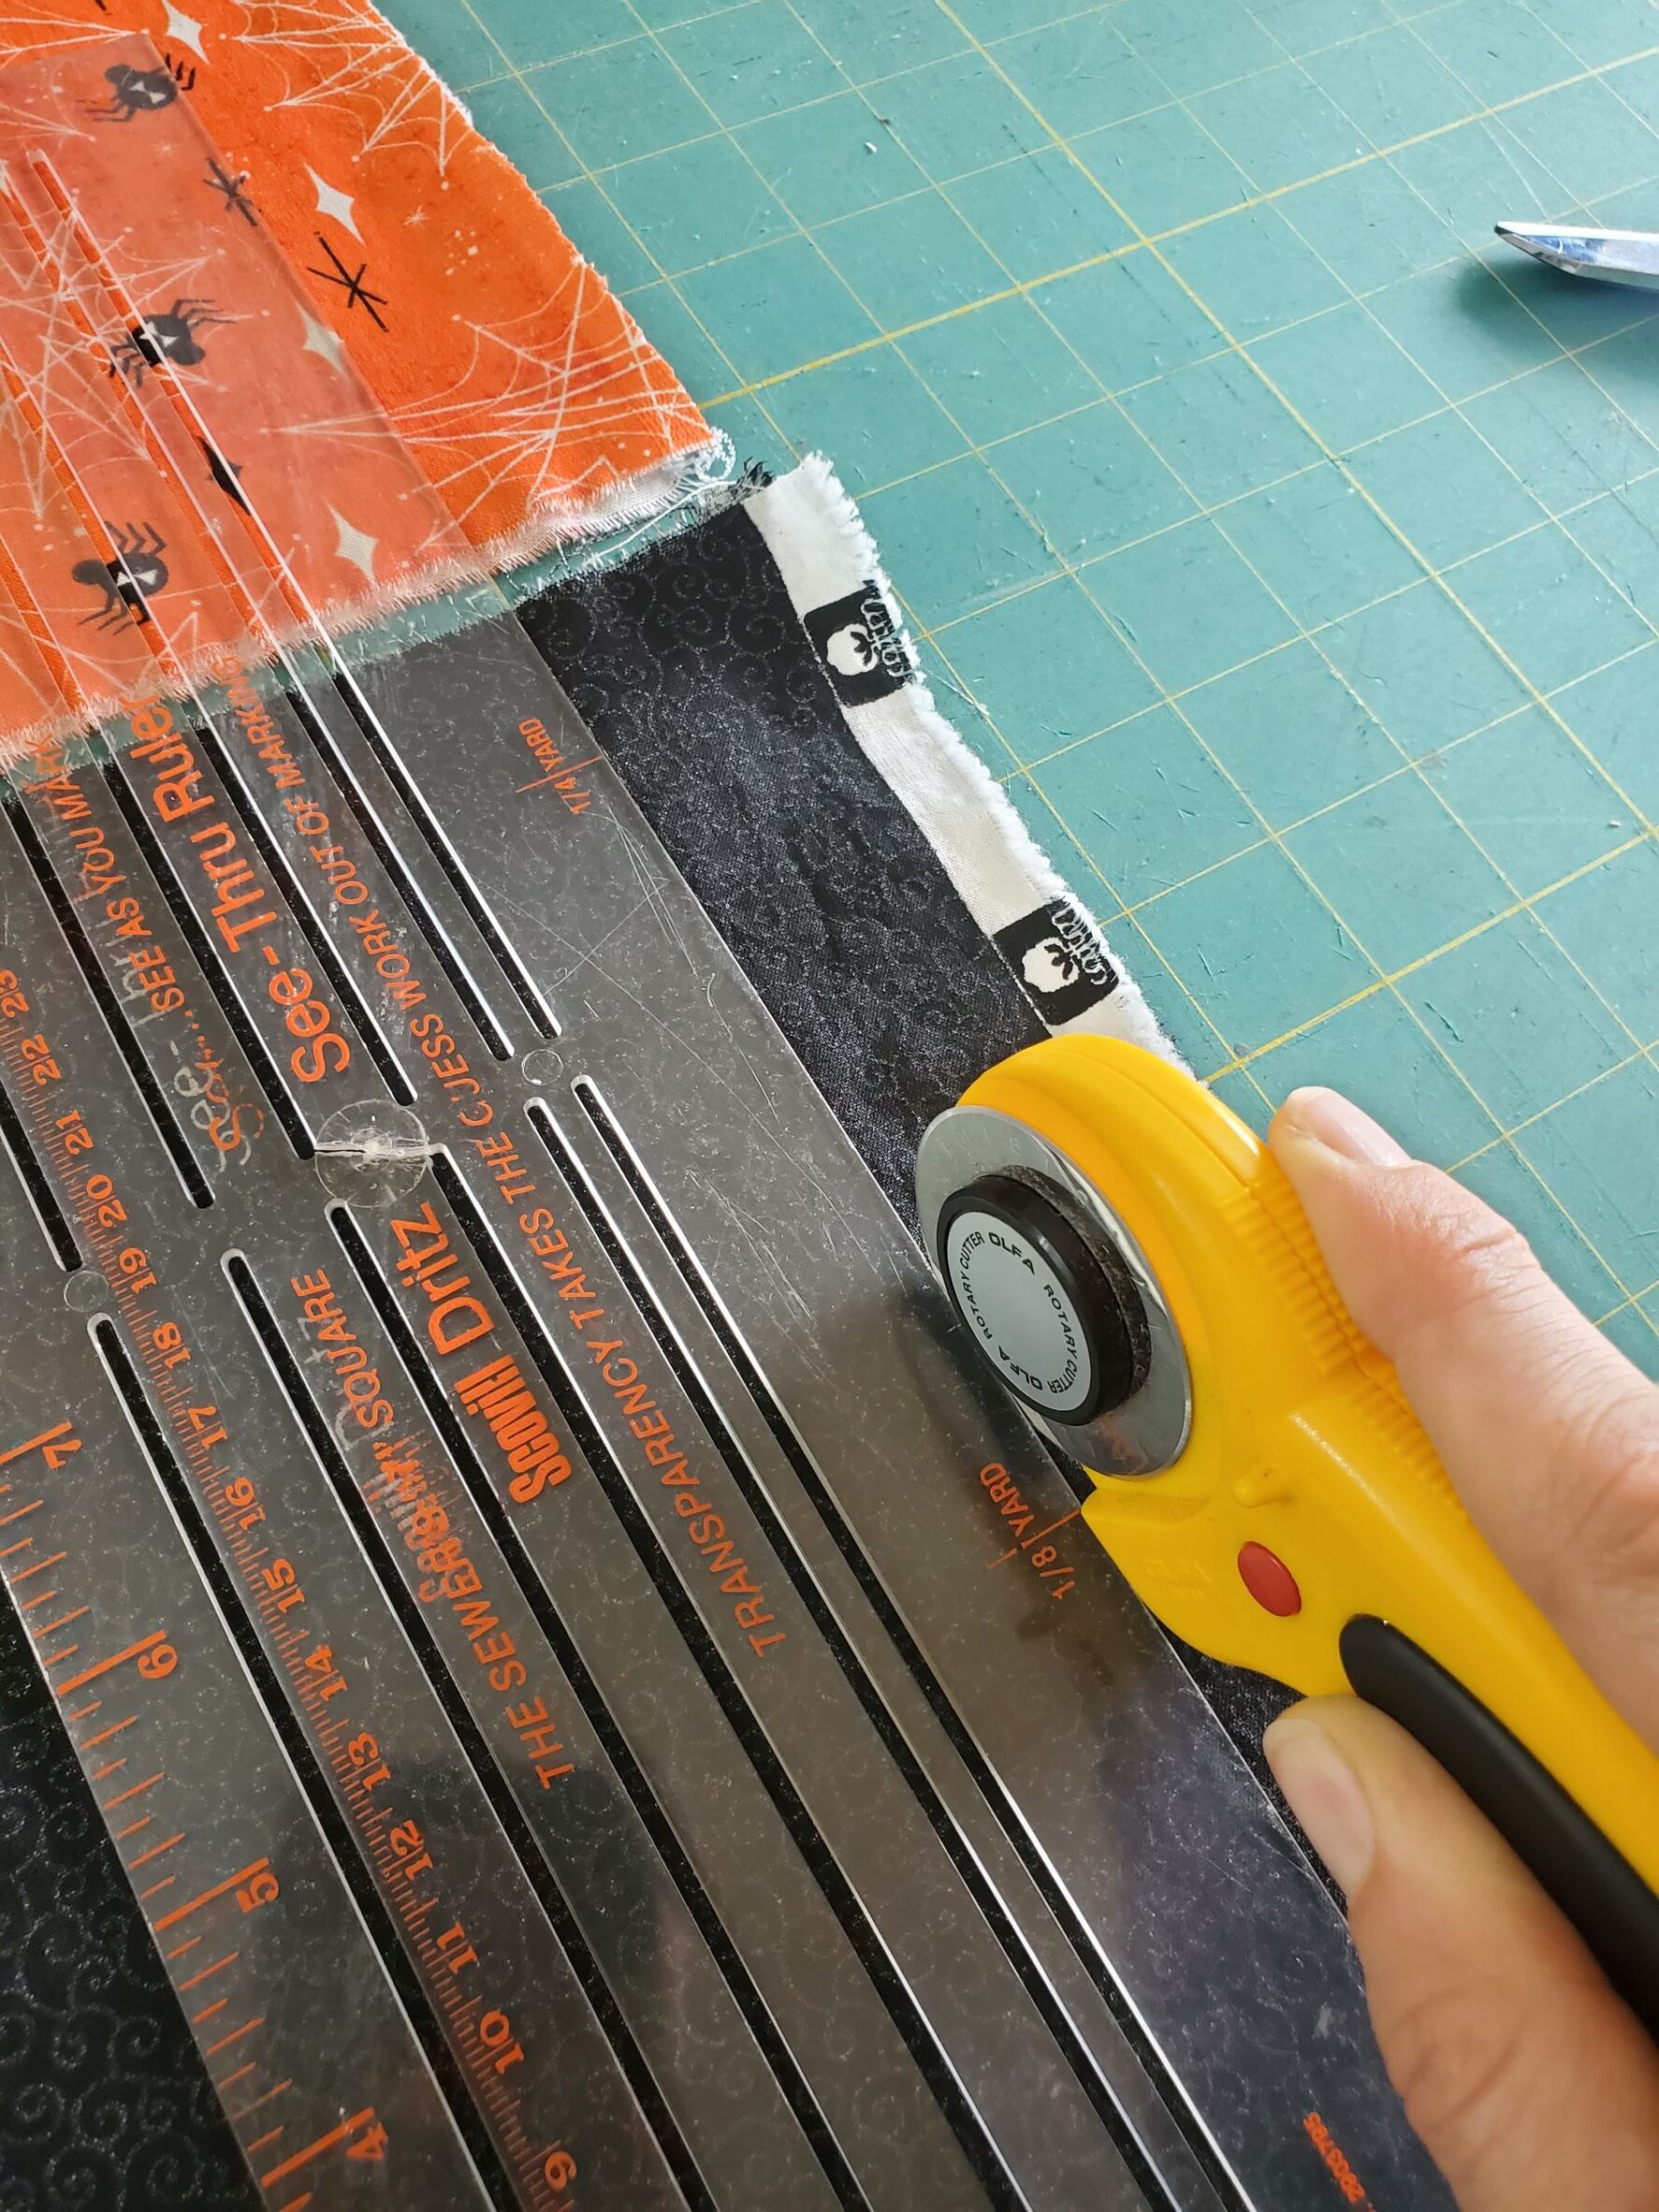
- Remember that the width of the skirt and the yoke should be the same (remember I used the width of the fabric, from selvage end to selvage end, which is 45″)
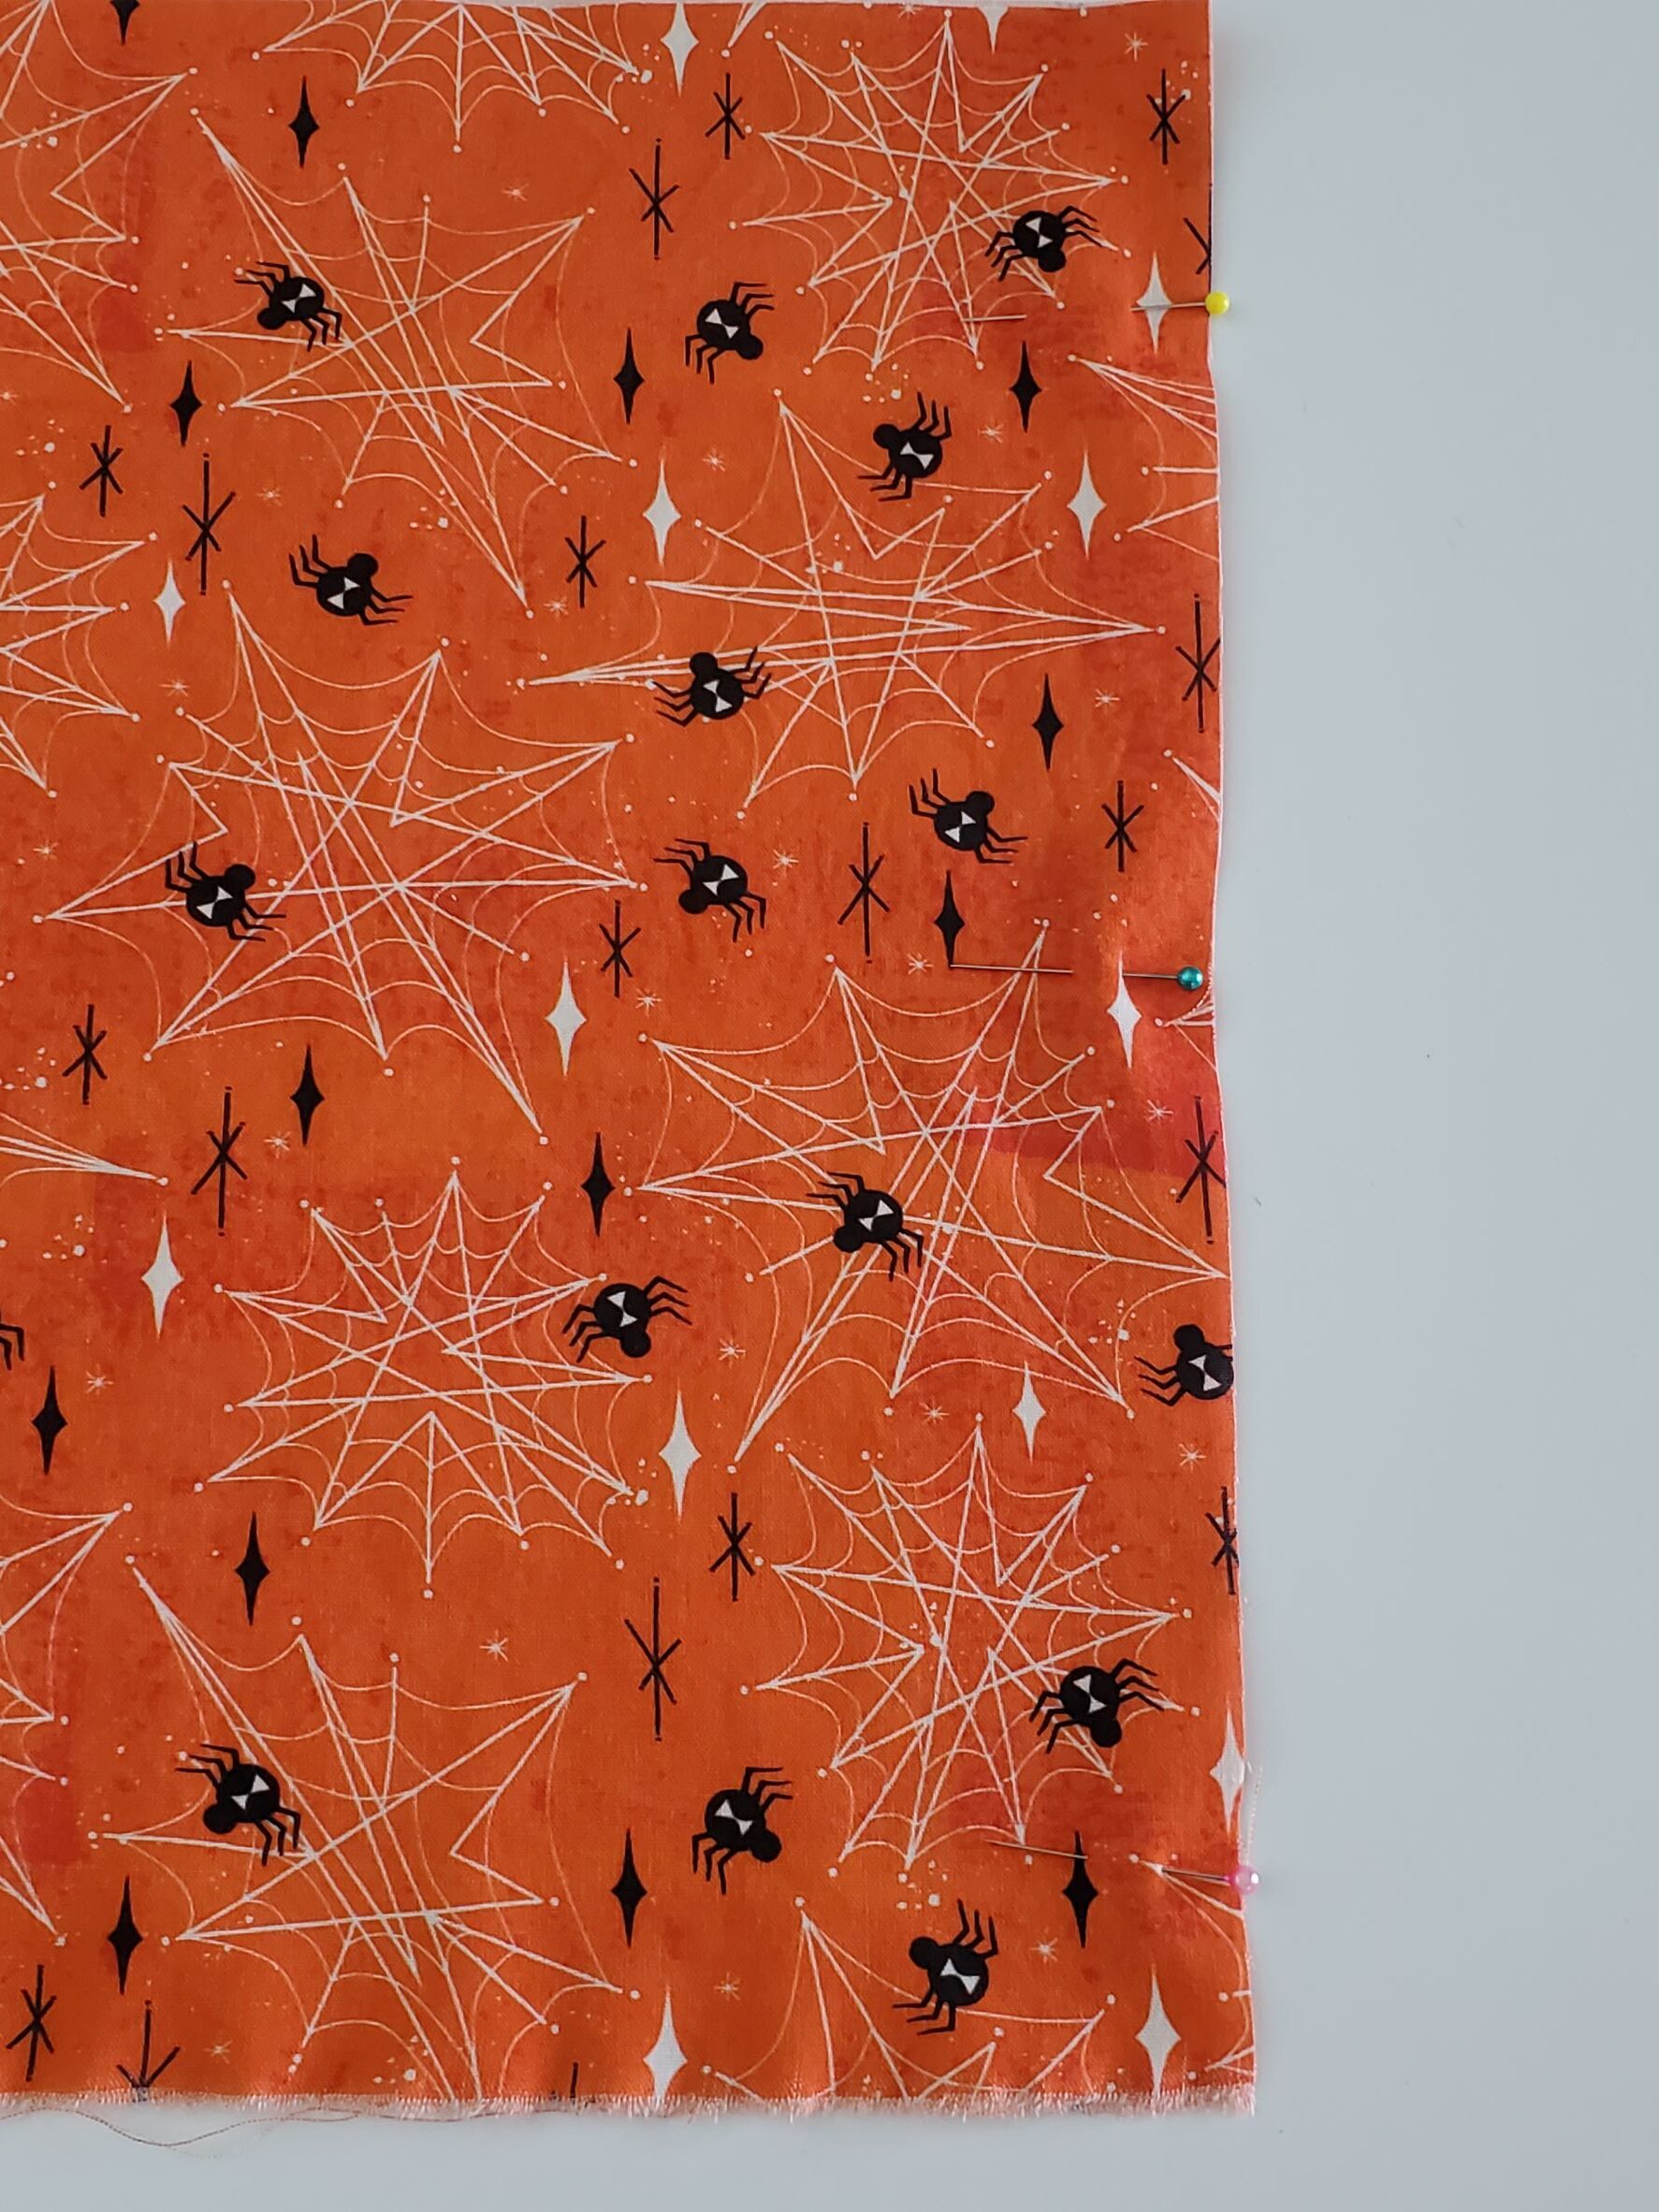
You still with me? Was that easy enough to measure? I also cut off the selvage ends of the fabric, because I don’t want that being sewn into the skirt.
Sewing French Seams
I’ll take you step-by-step with pictures, but first I will give you a quick run down and explanation of how to do a french seam. When sewing french seams, you start with the wrong sides of the fabric together (rather than the usual right sides together). You will stitch that seam, then trim it close to the seam allowance line. You will then flip your seam right out and pin together along the fold/edge of the seam you create. You will then sew a final seamline along that same seam. This creates a nice, clean, enclosed seam.
There is some basic math that you need to calculate when doing a french seam; you want to divide your seam allowance between the first and second stitchline. For example, if your pattern’s seam allowance is 5/8″, you will sew your first seam at 3/8″. After you trim and flip your seam, your second stitch line will be at 2/8″ (or 1/4″).
3/8″ + 2/8″ = 5/8″ (so you have used your total 5/8″ seam allowance between the two stitch lines). Make sense?
Remember, if you don’t want to do french seams, then just pin your seams rights sides together and take a stitch down, using 5/8″ seam allowance.
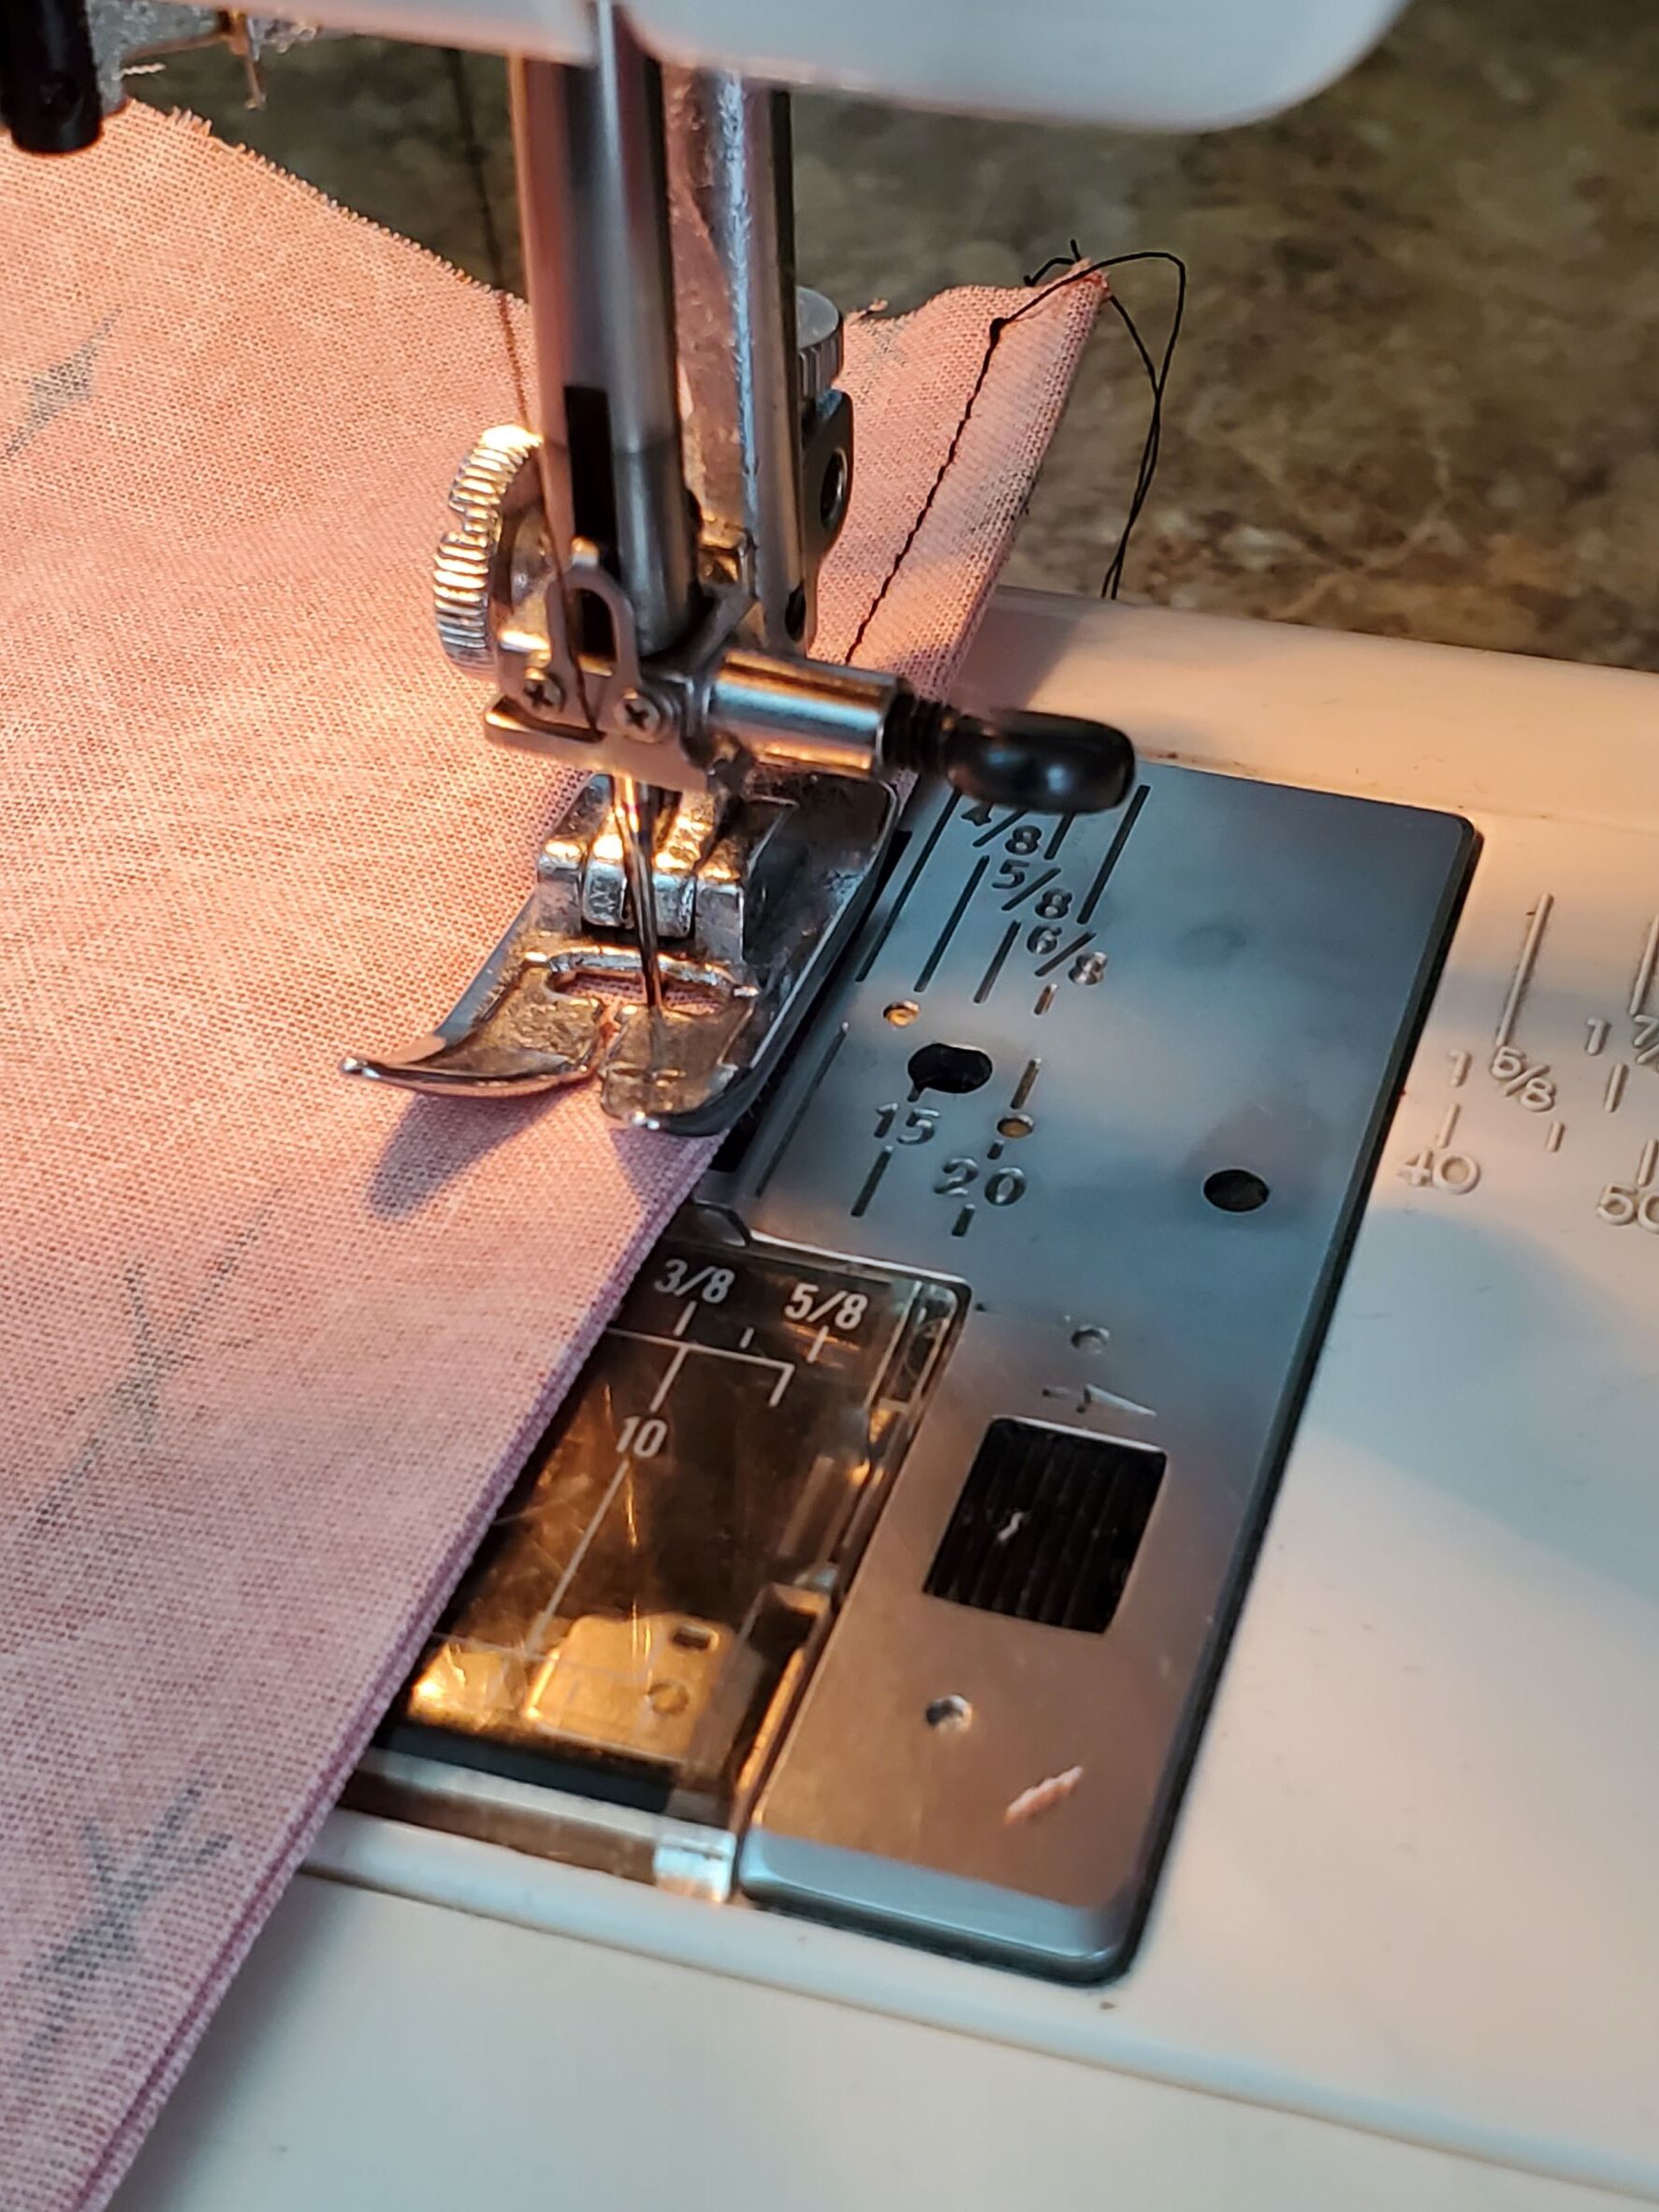
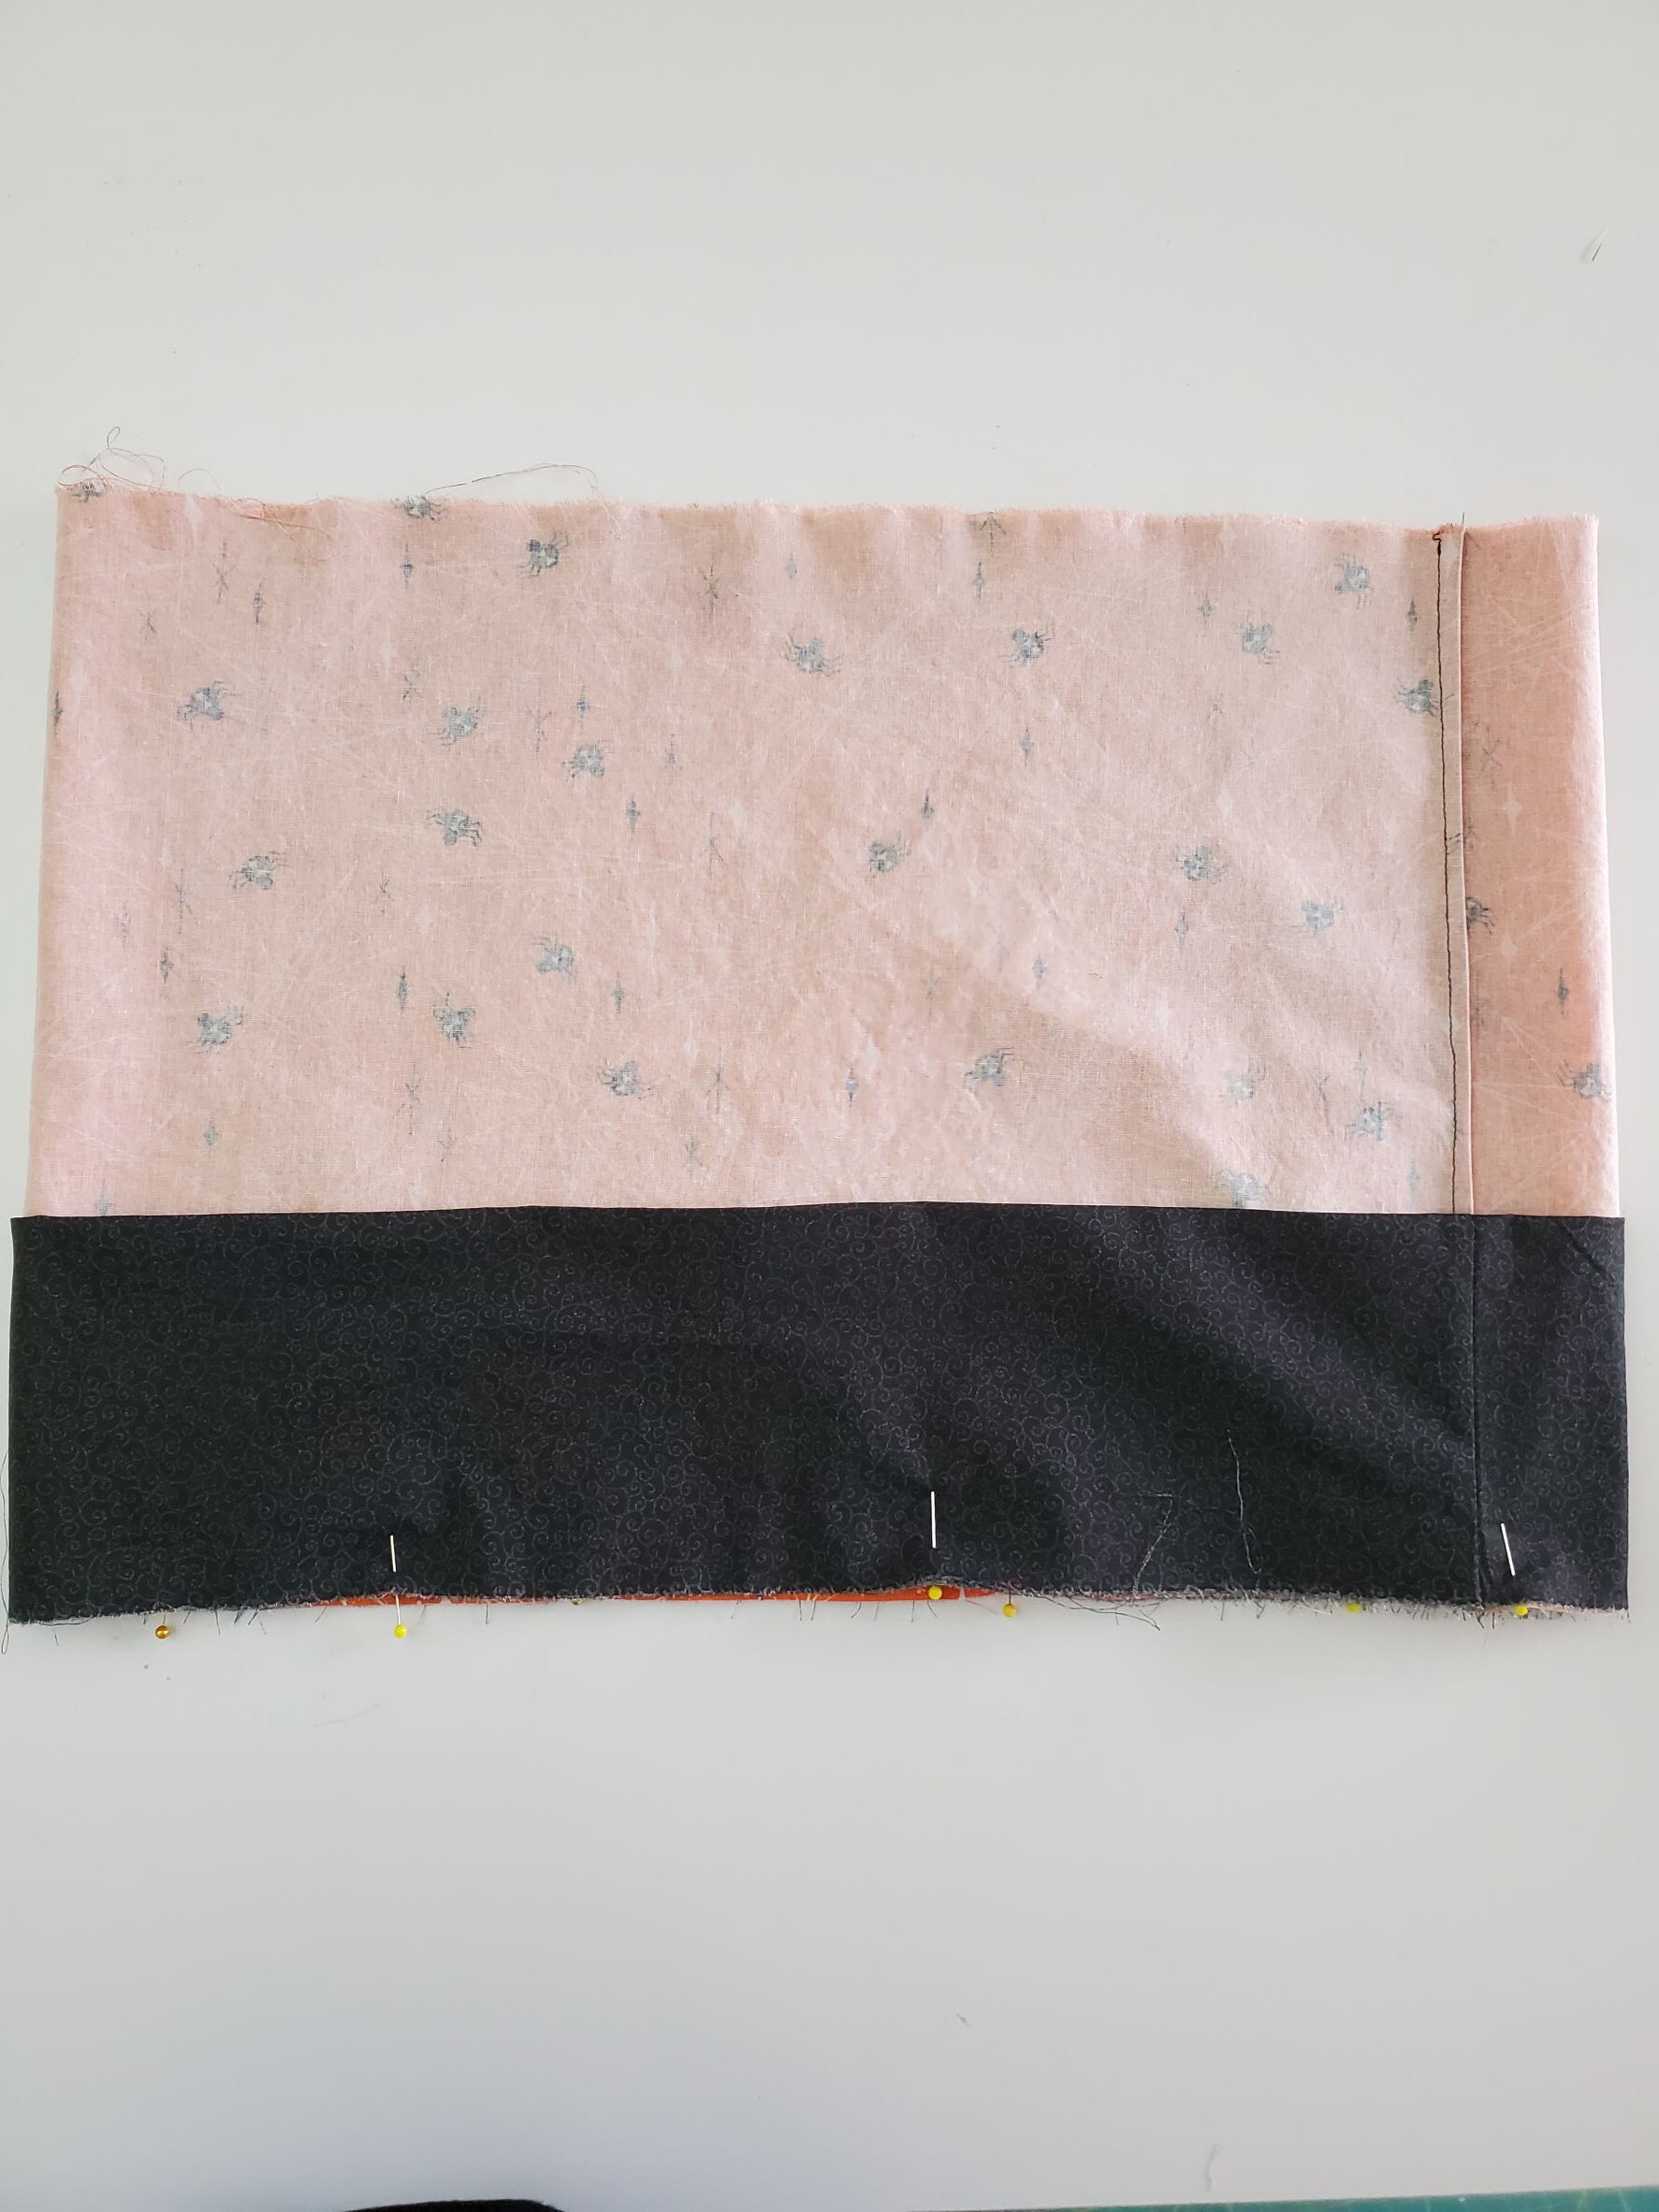
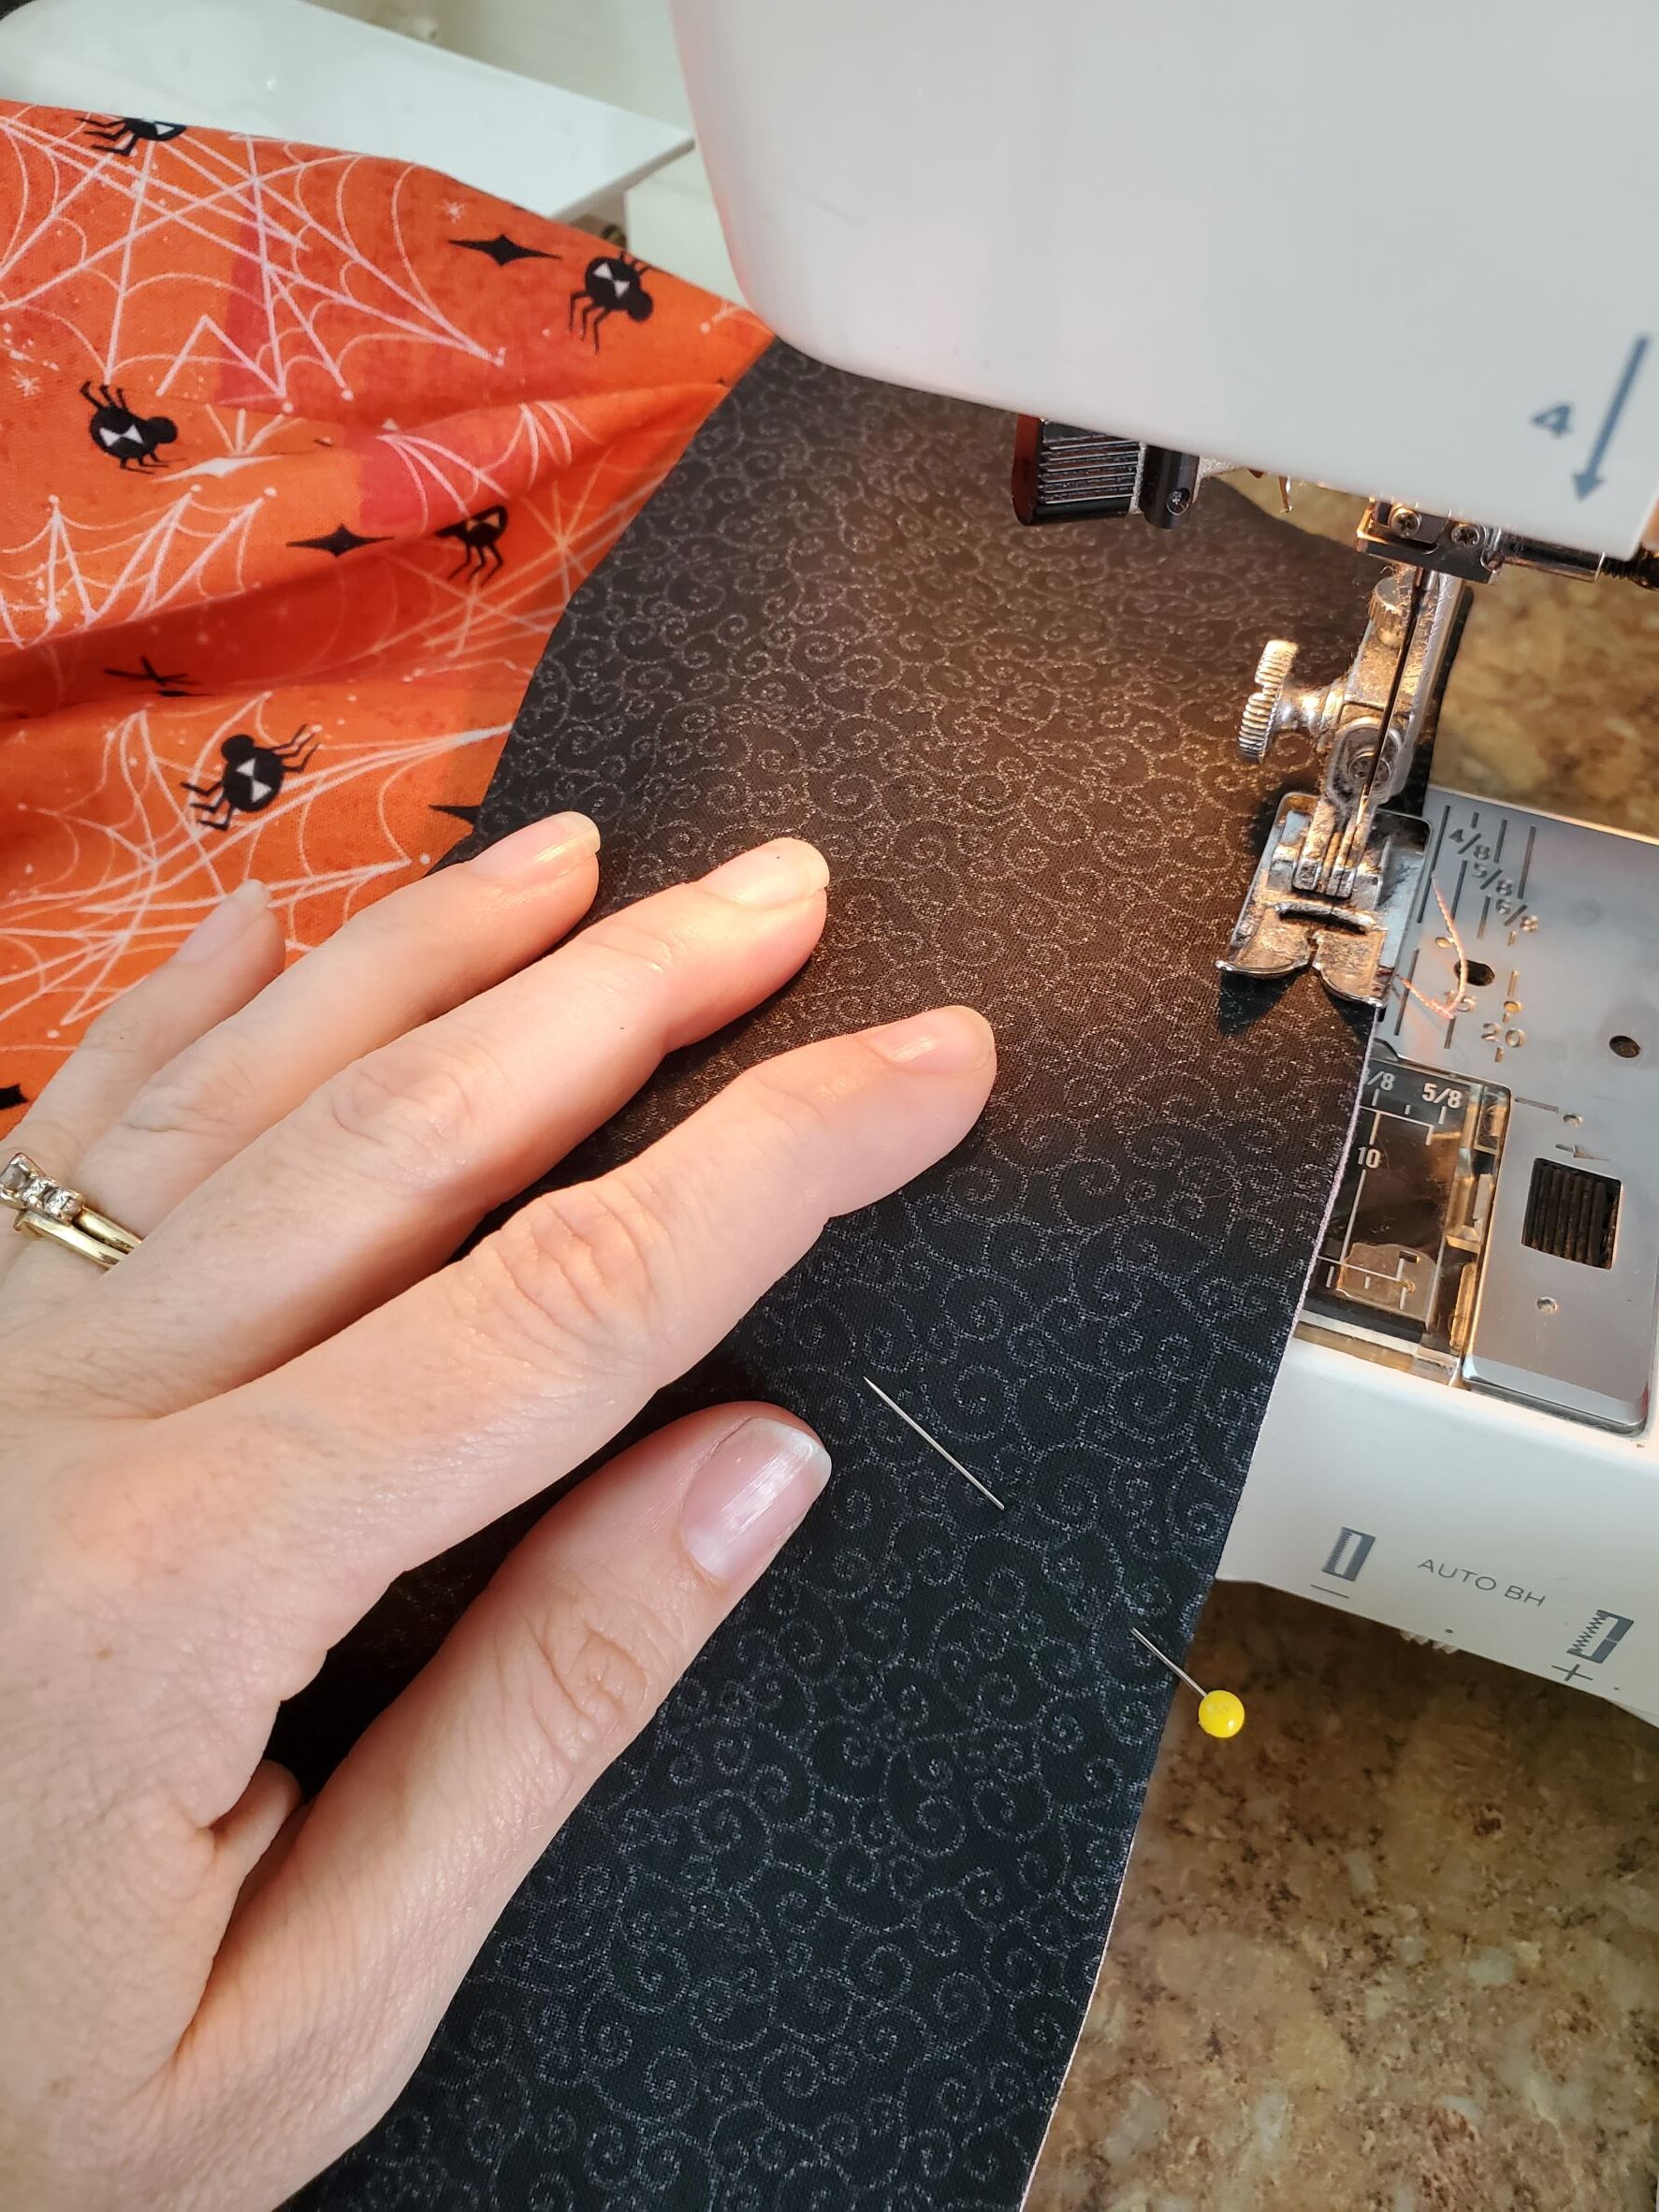
For the first step of sewing this skirt, you are going to fold the basic skirt piece so that side seams are together, pinning the ends wrong side together. Make sure that your raw edges are even.
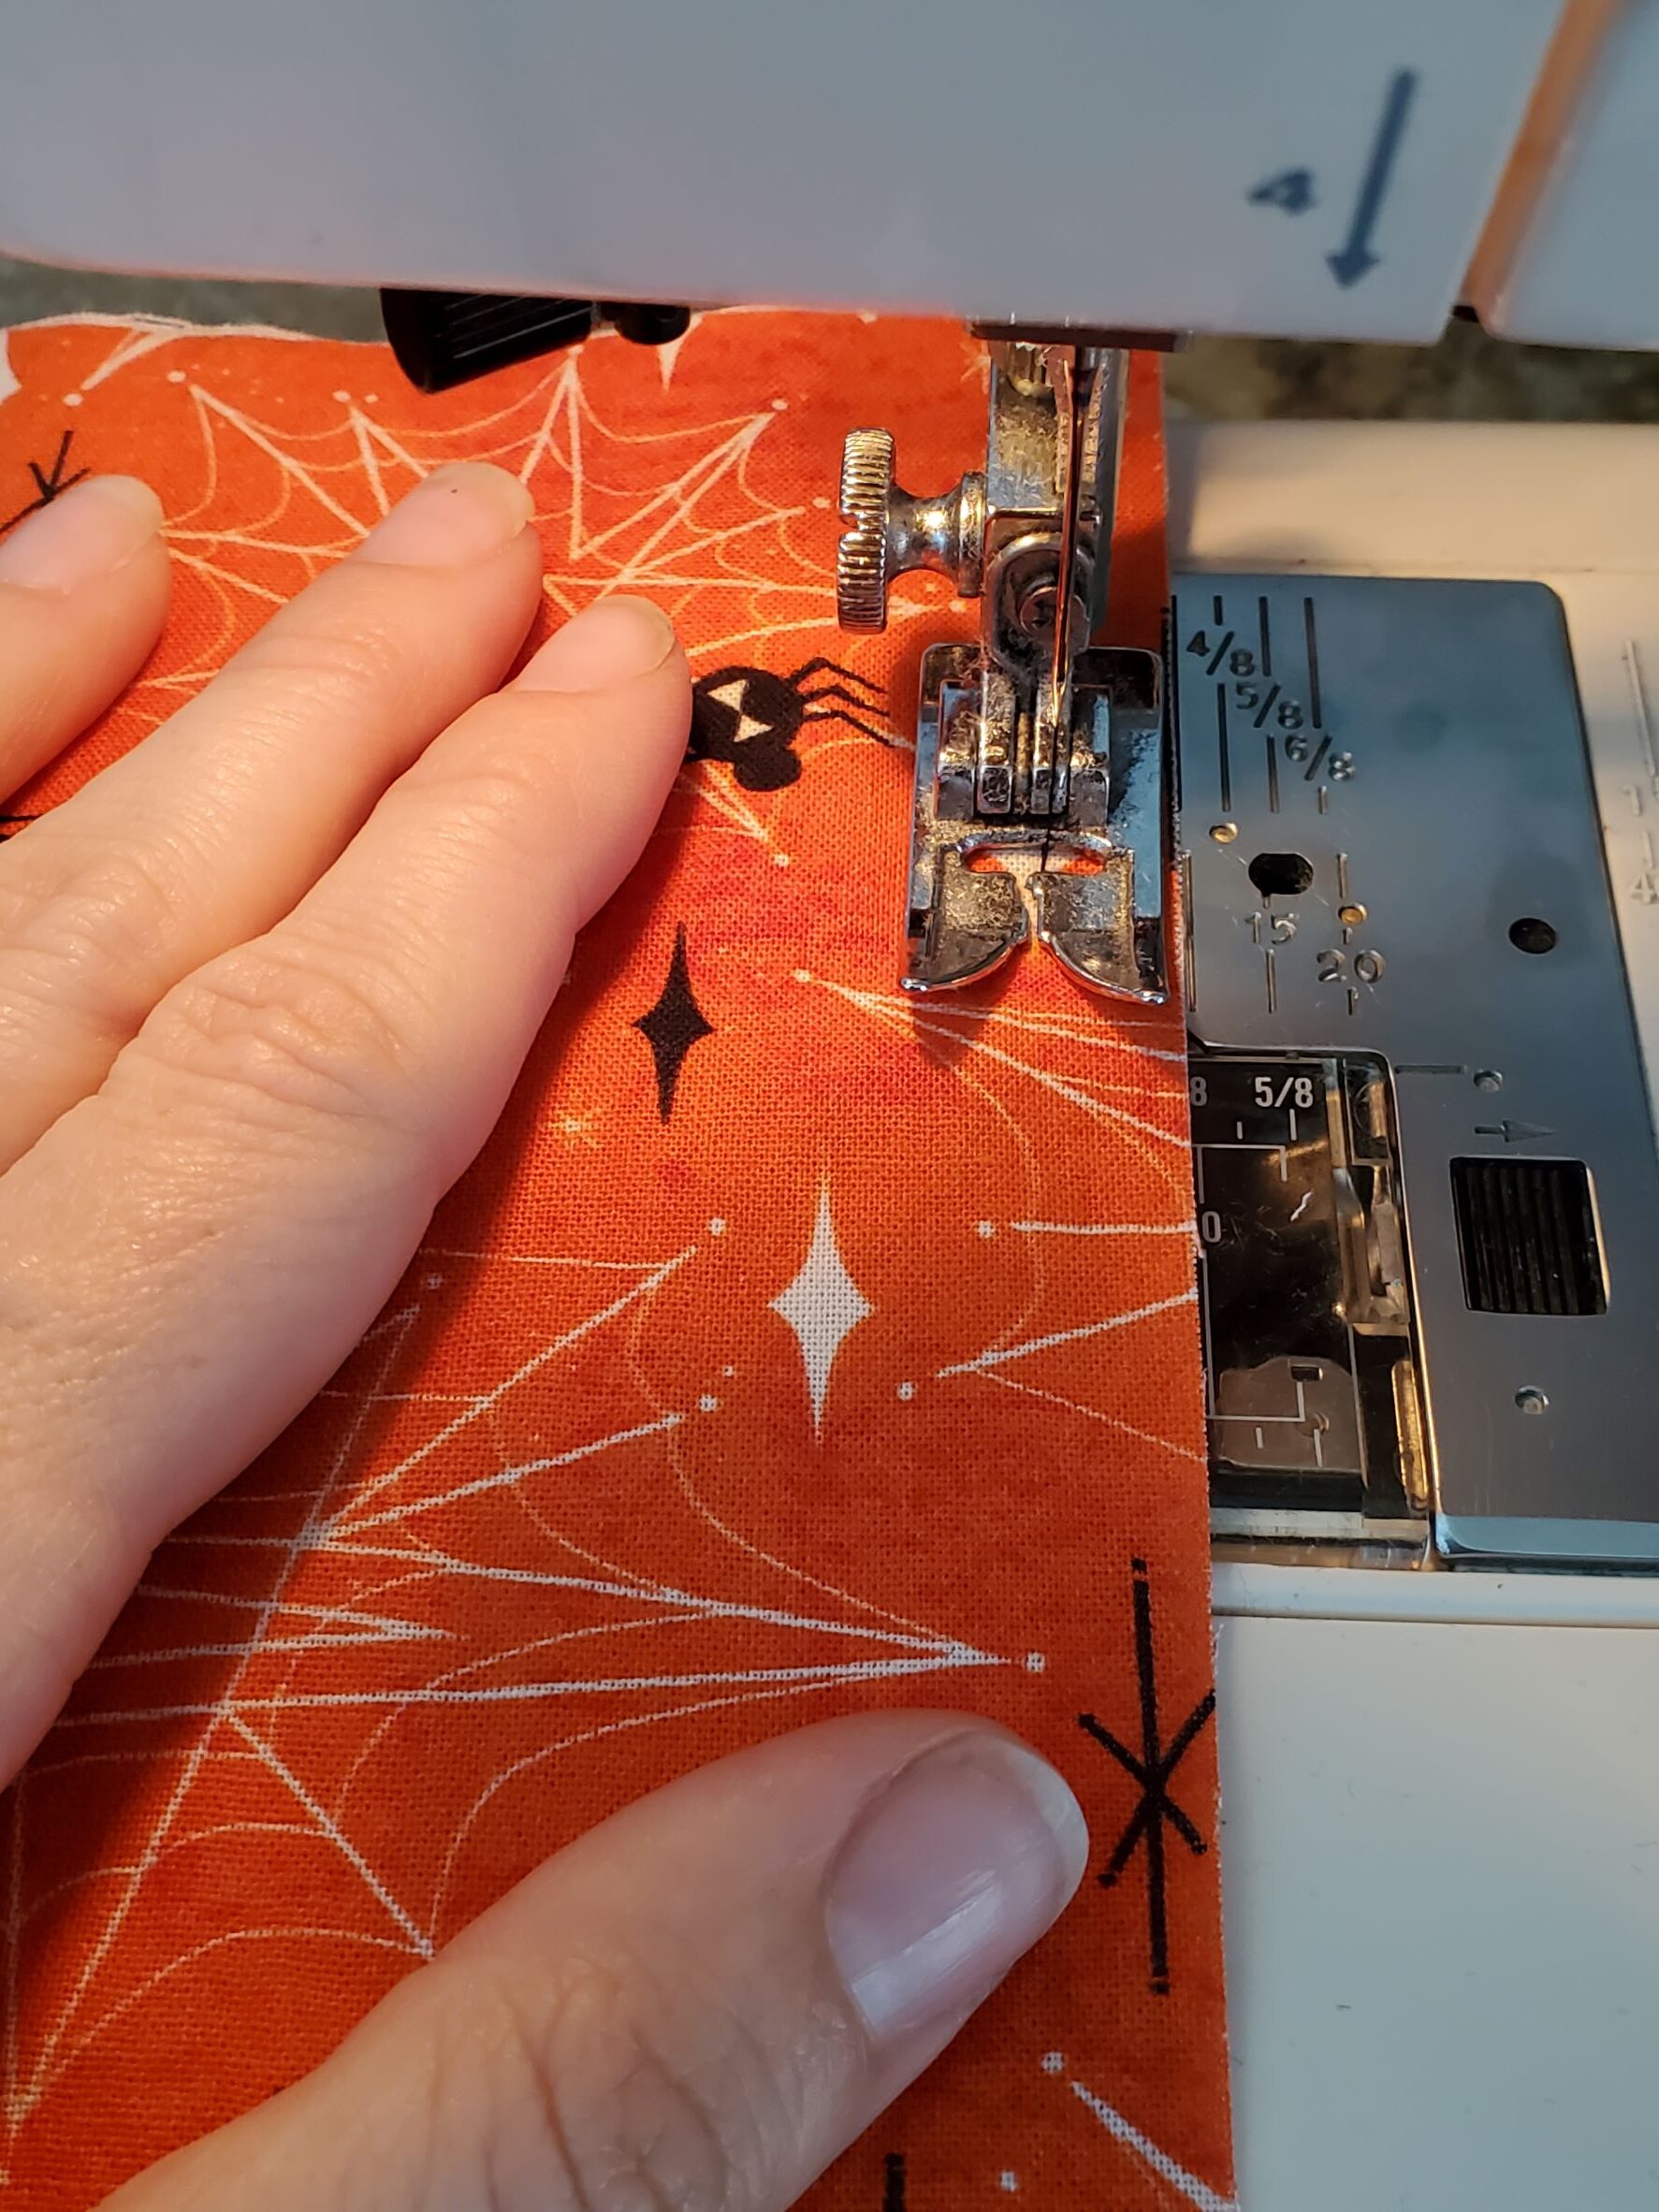
Now, sew a seam line at 3/8″ seam allowance.
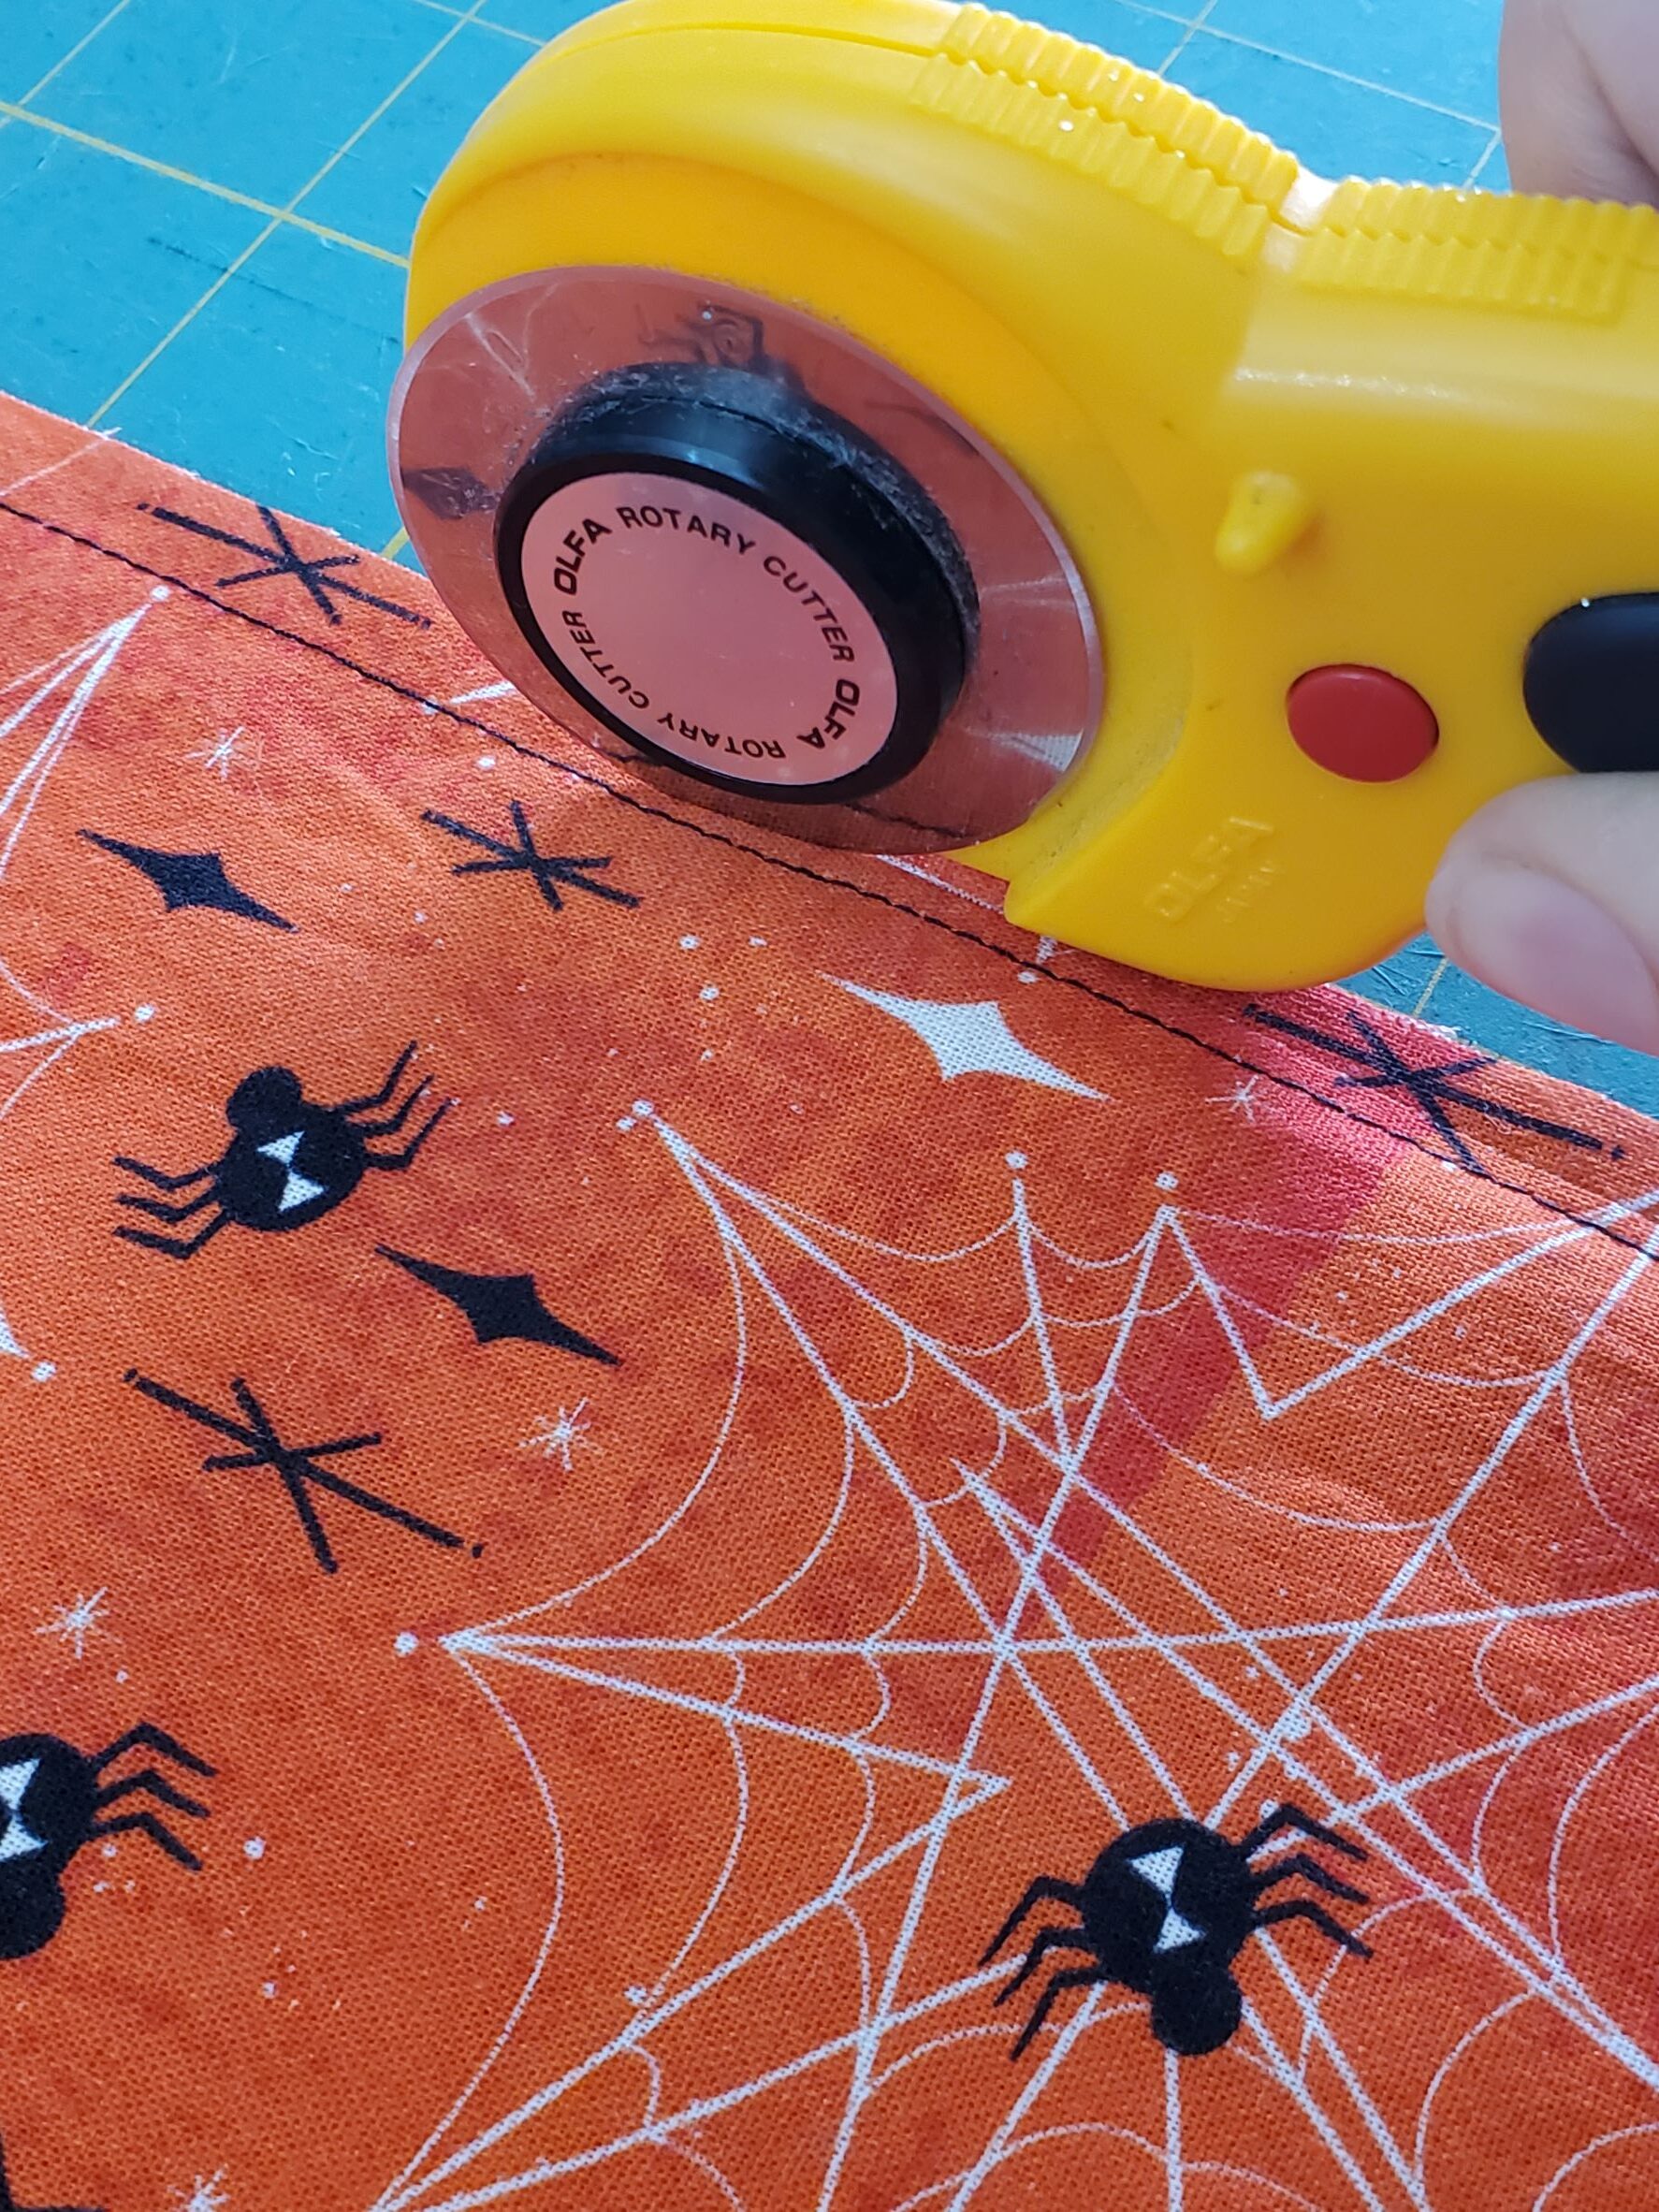
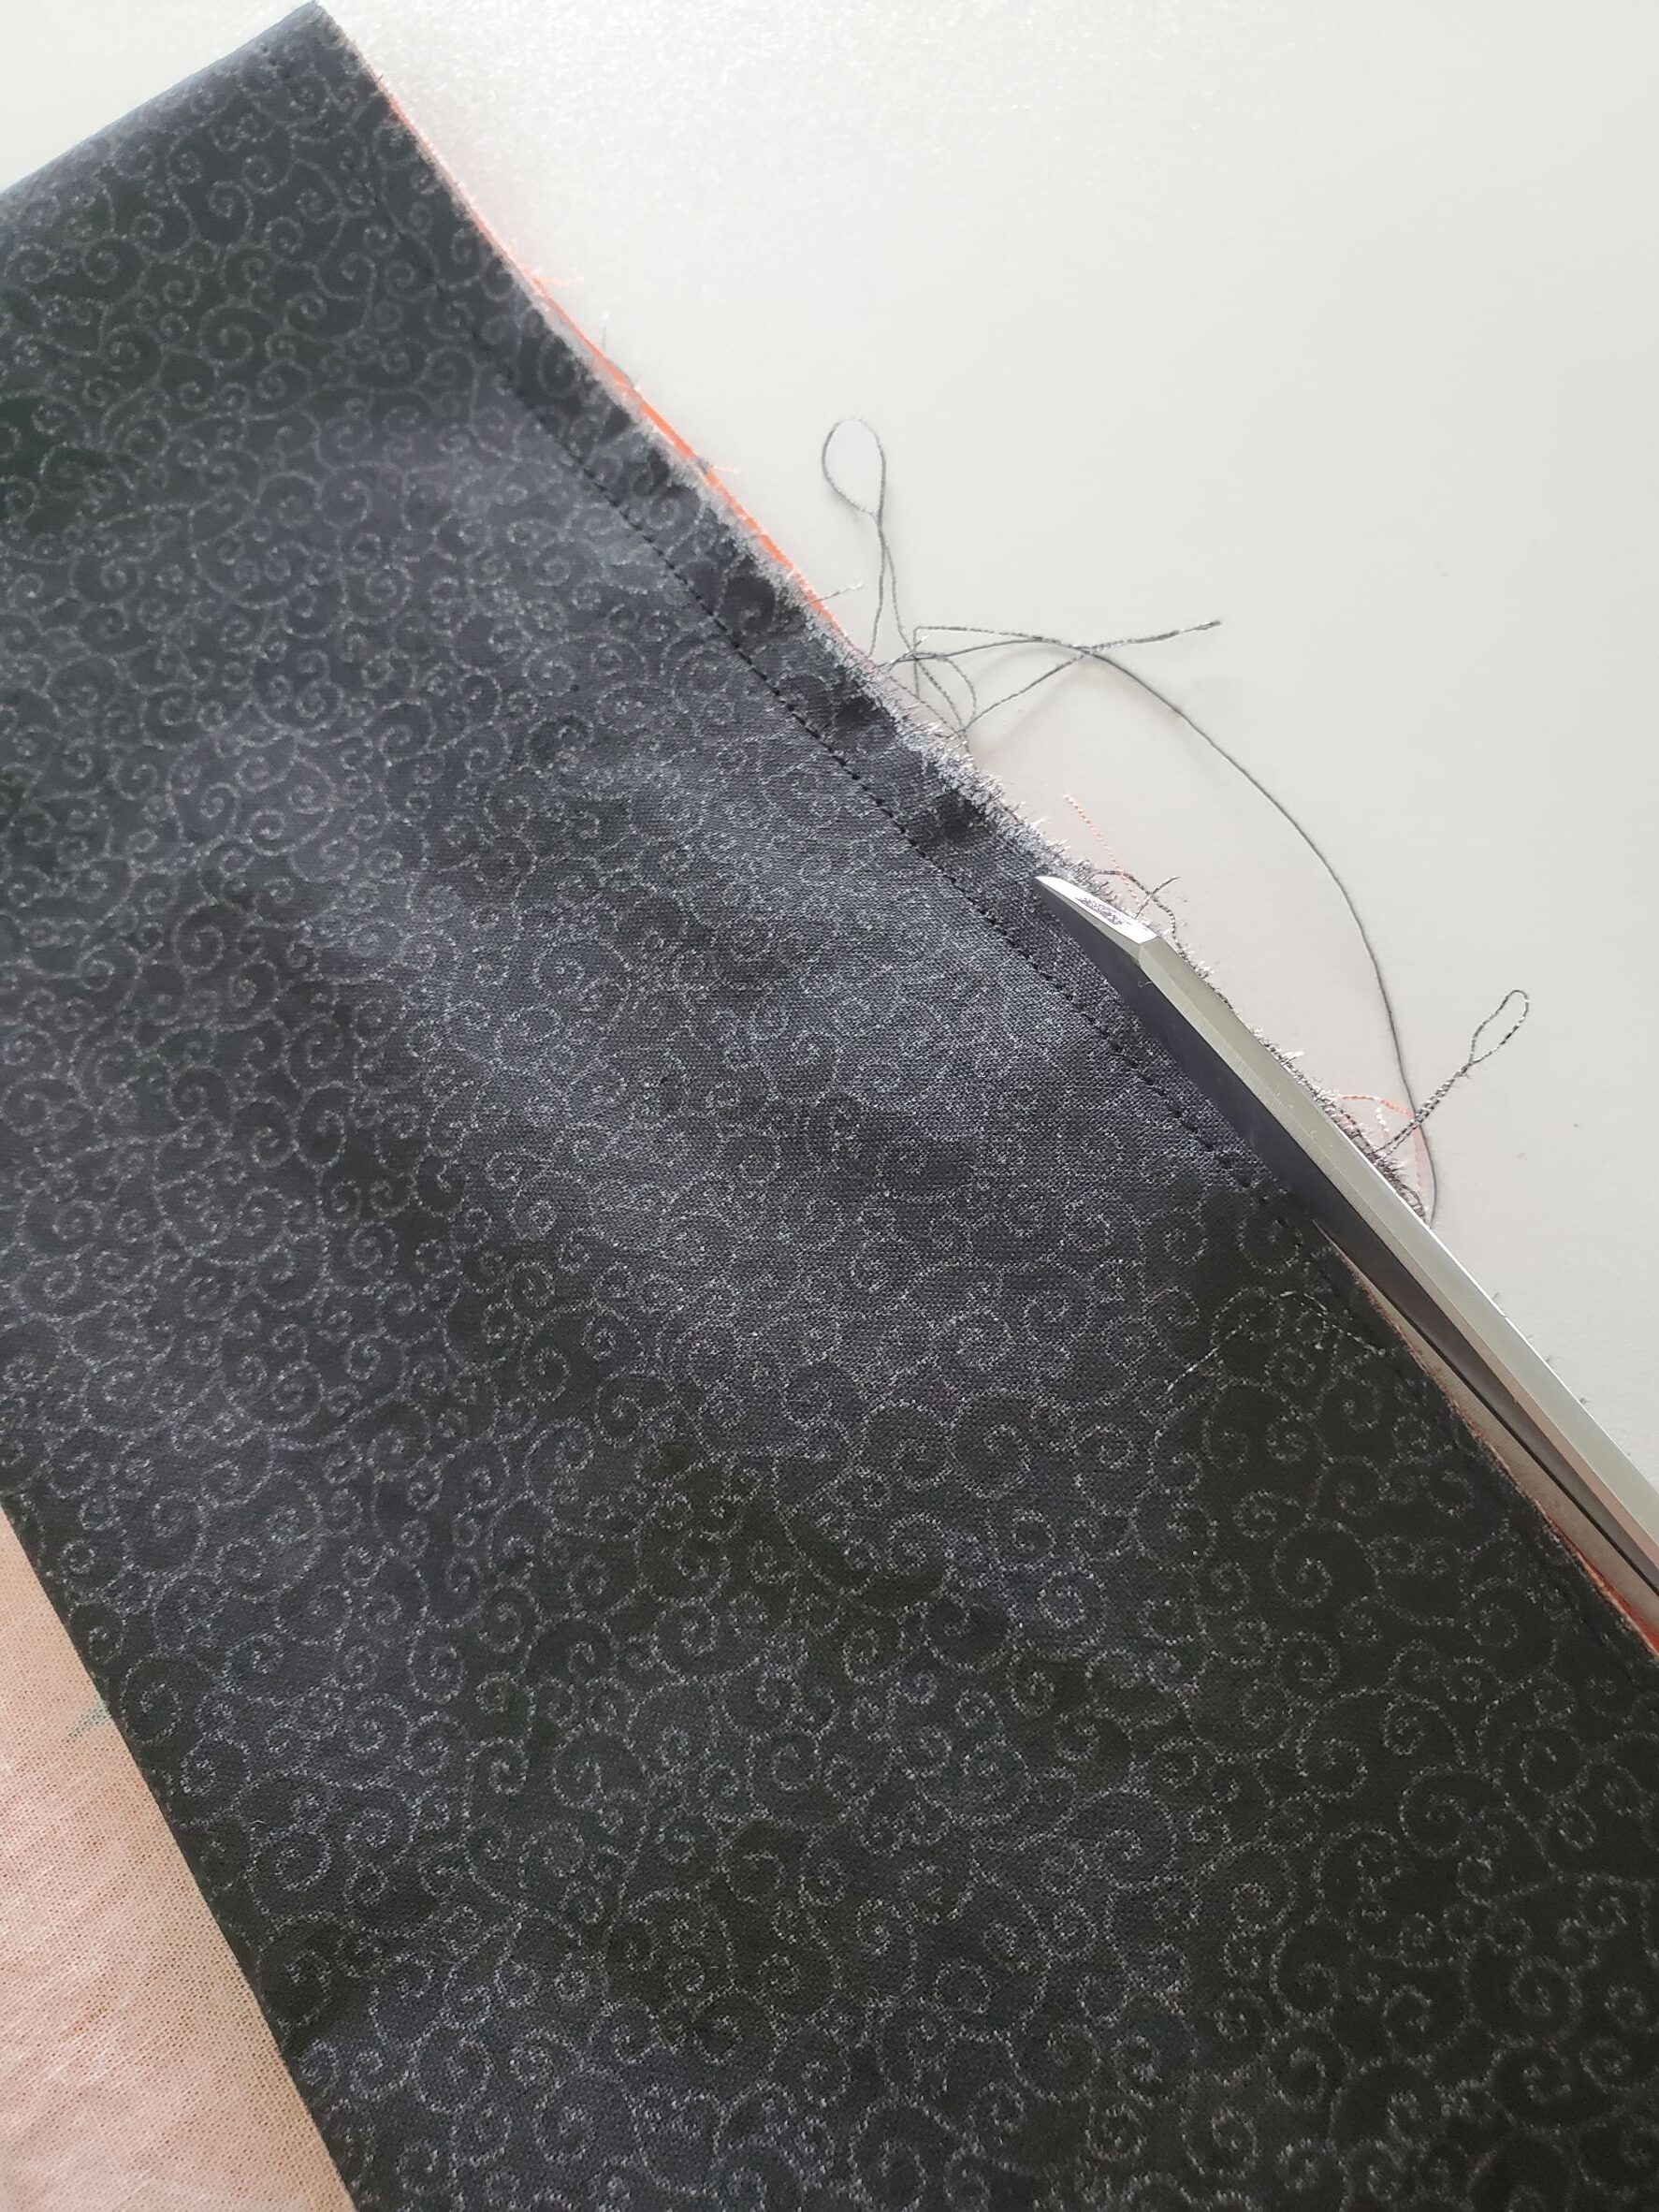
Trim your seam allowance close to the stitch line.
*Note: make sure that (on the trimming step) you trim pretty close to the stitch line, otherwise those raw edges will be sticking out of your next stitch line.
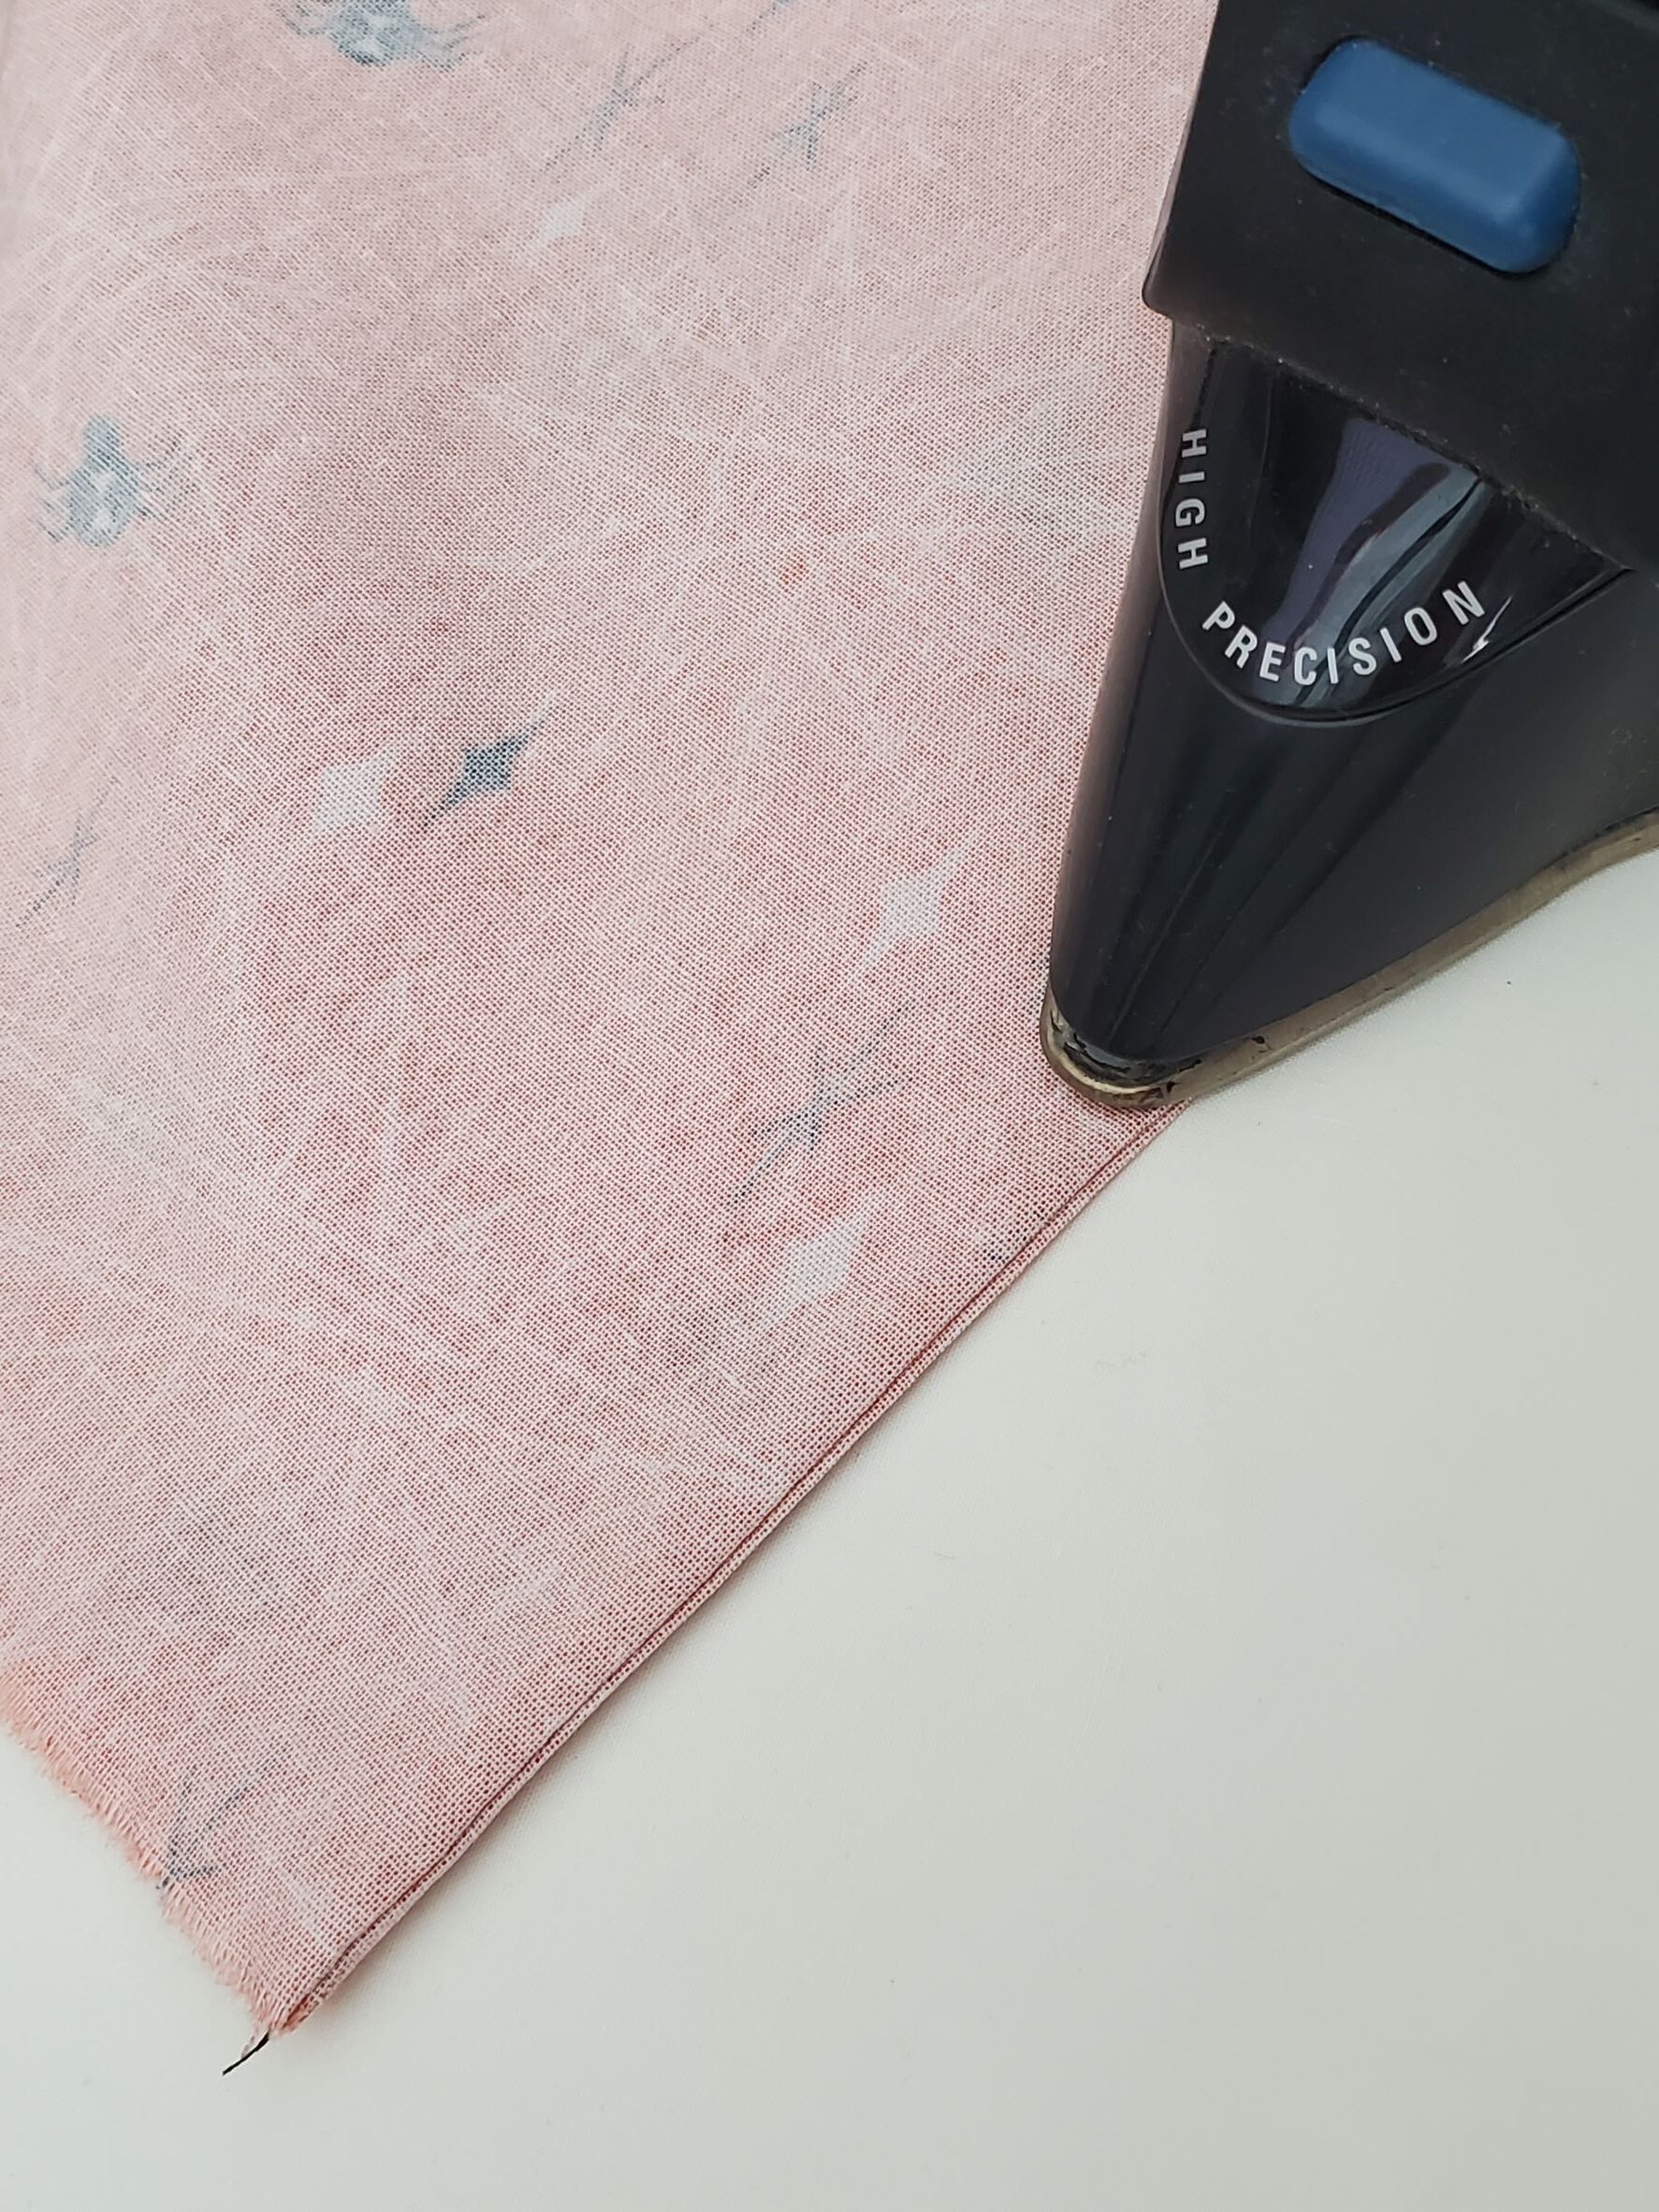
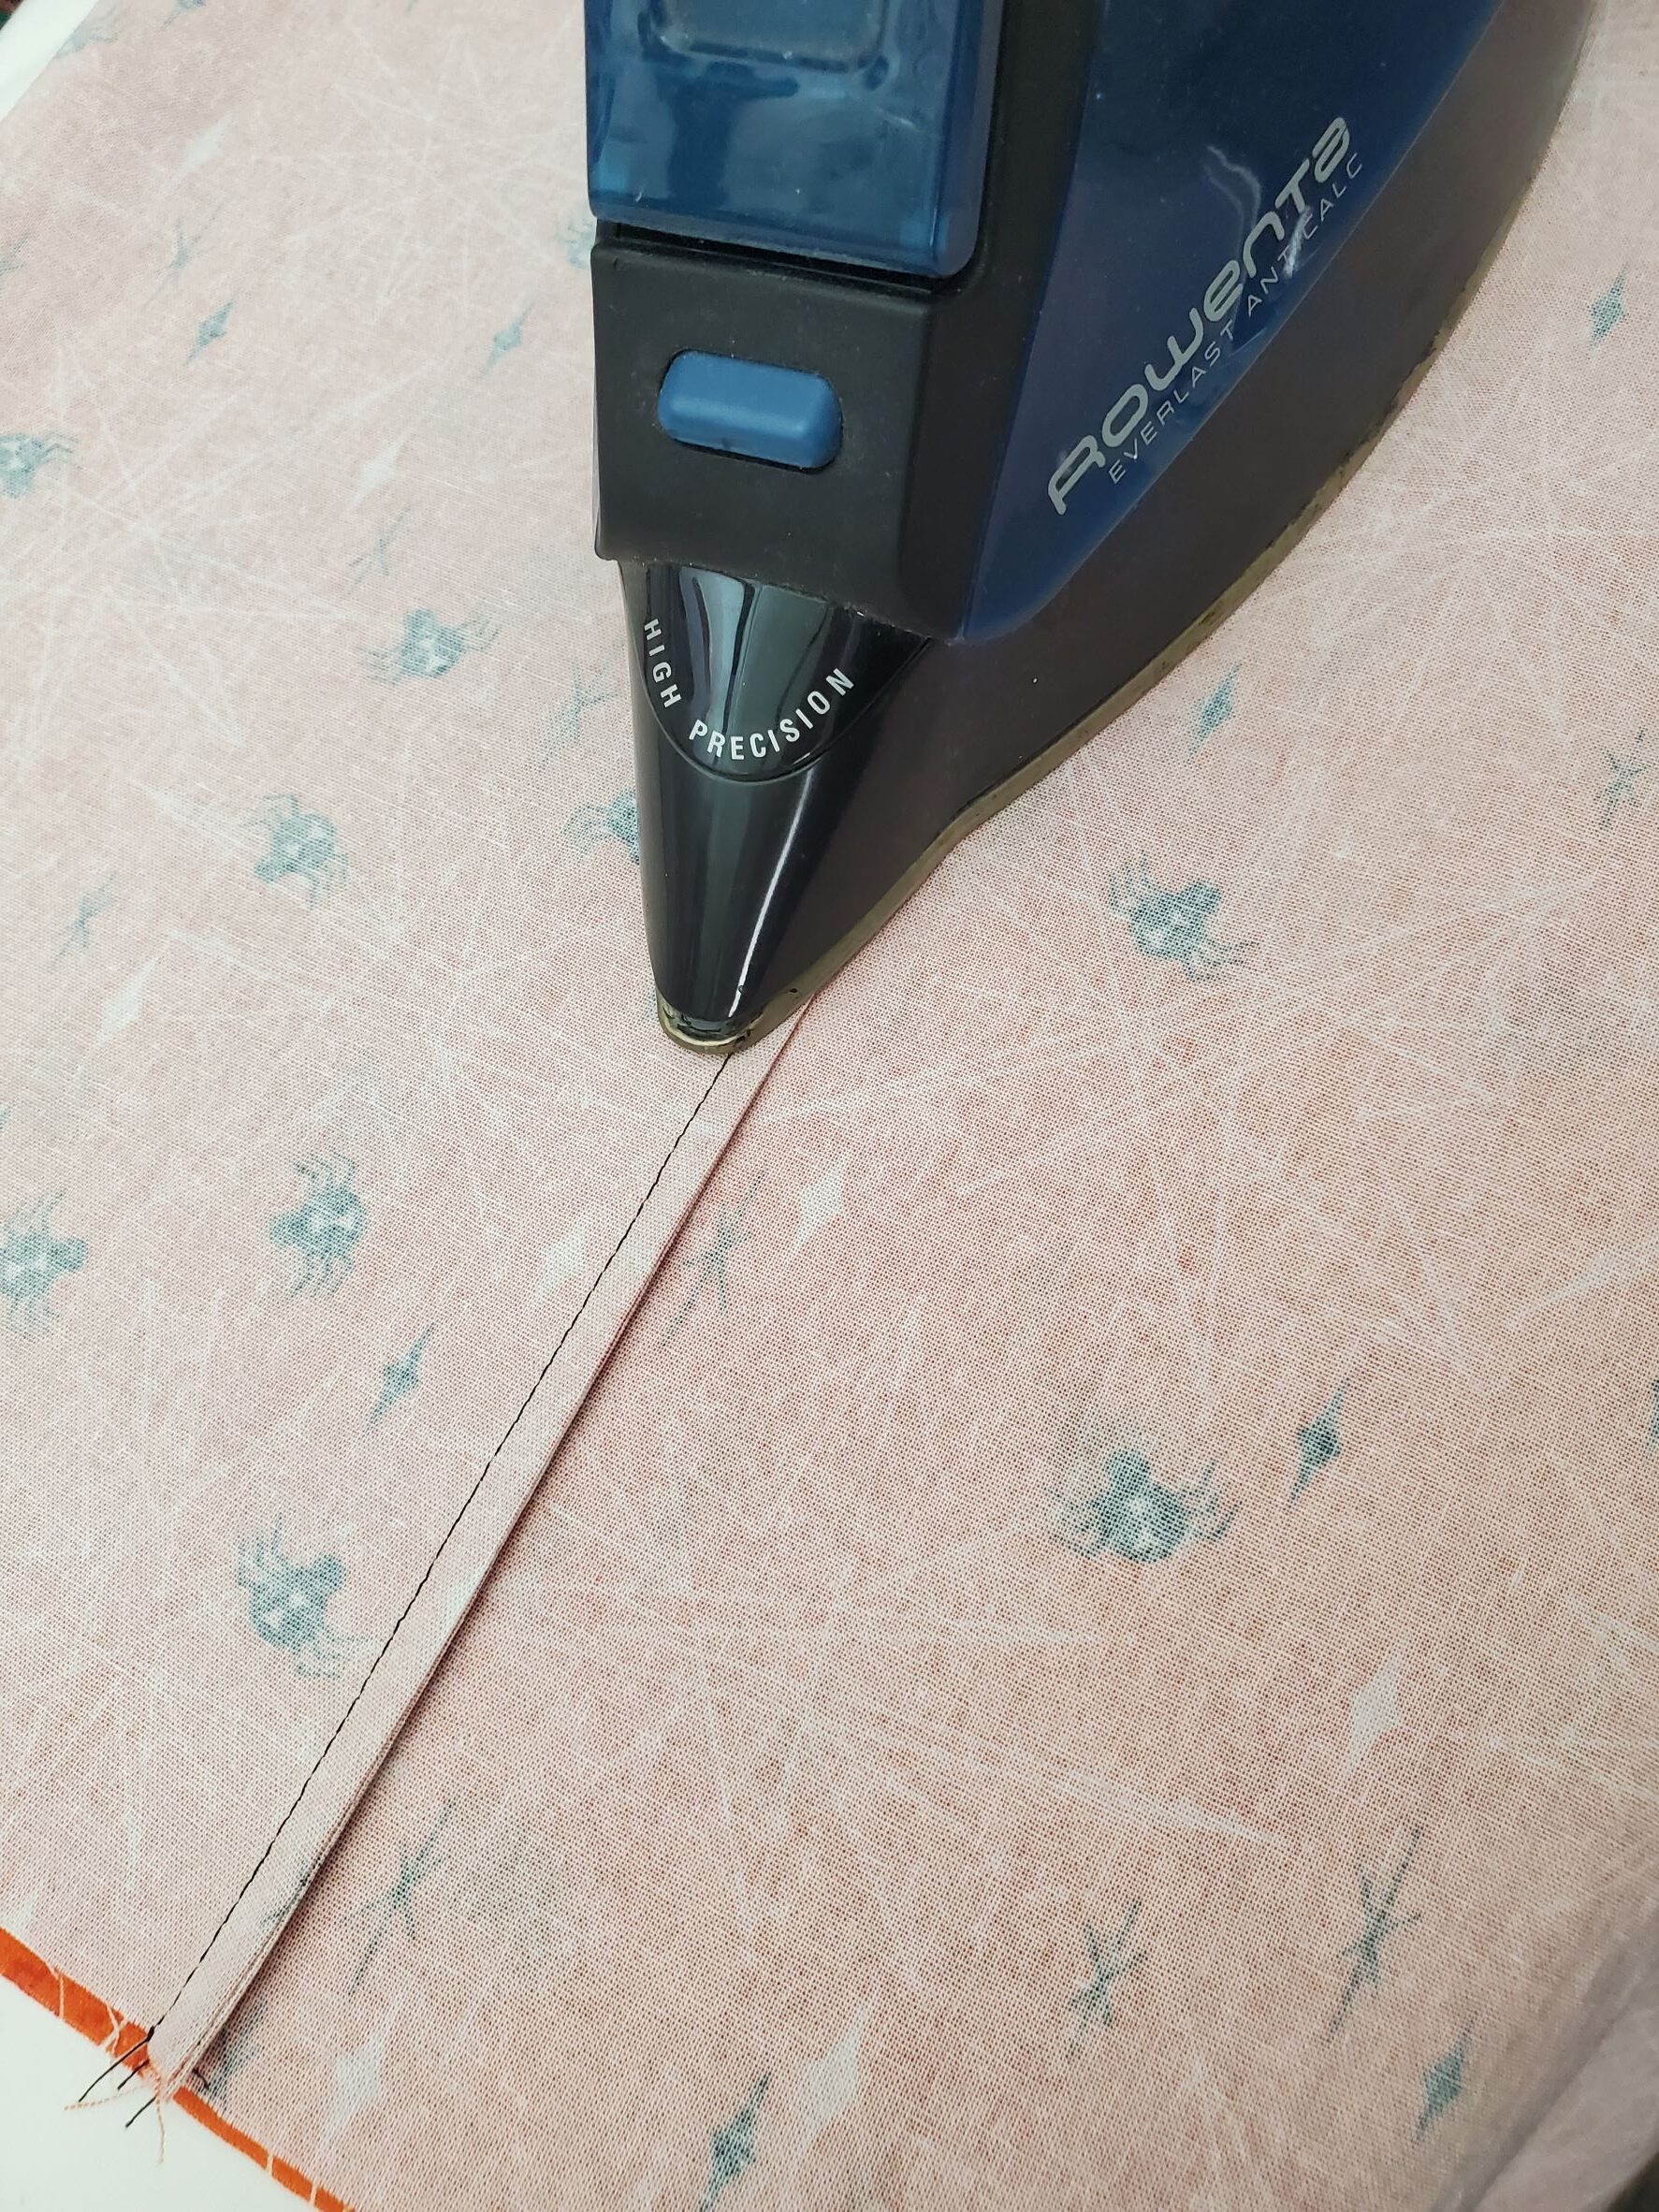
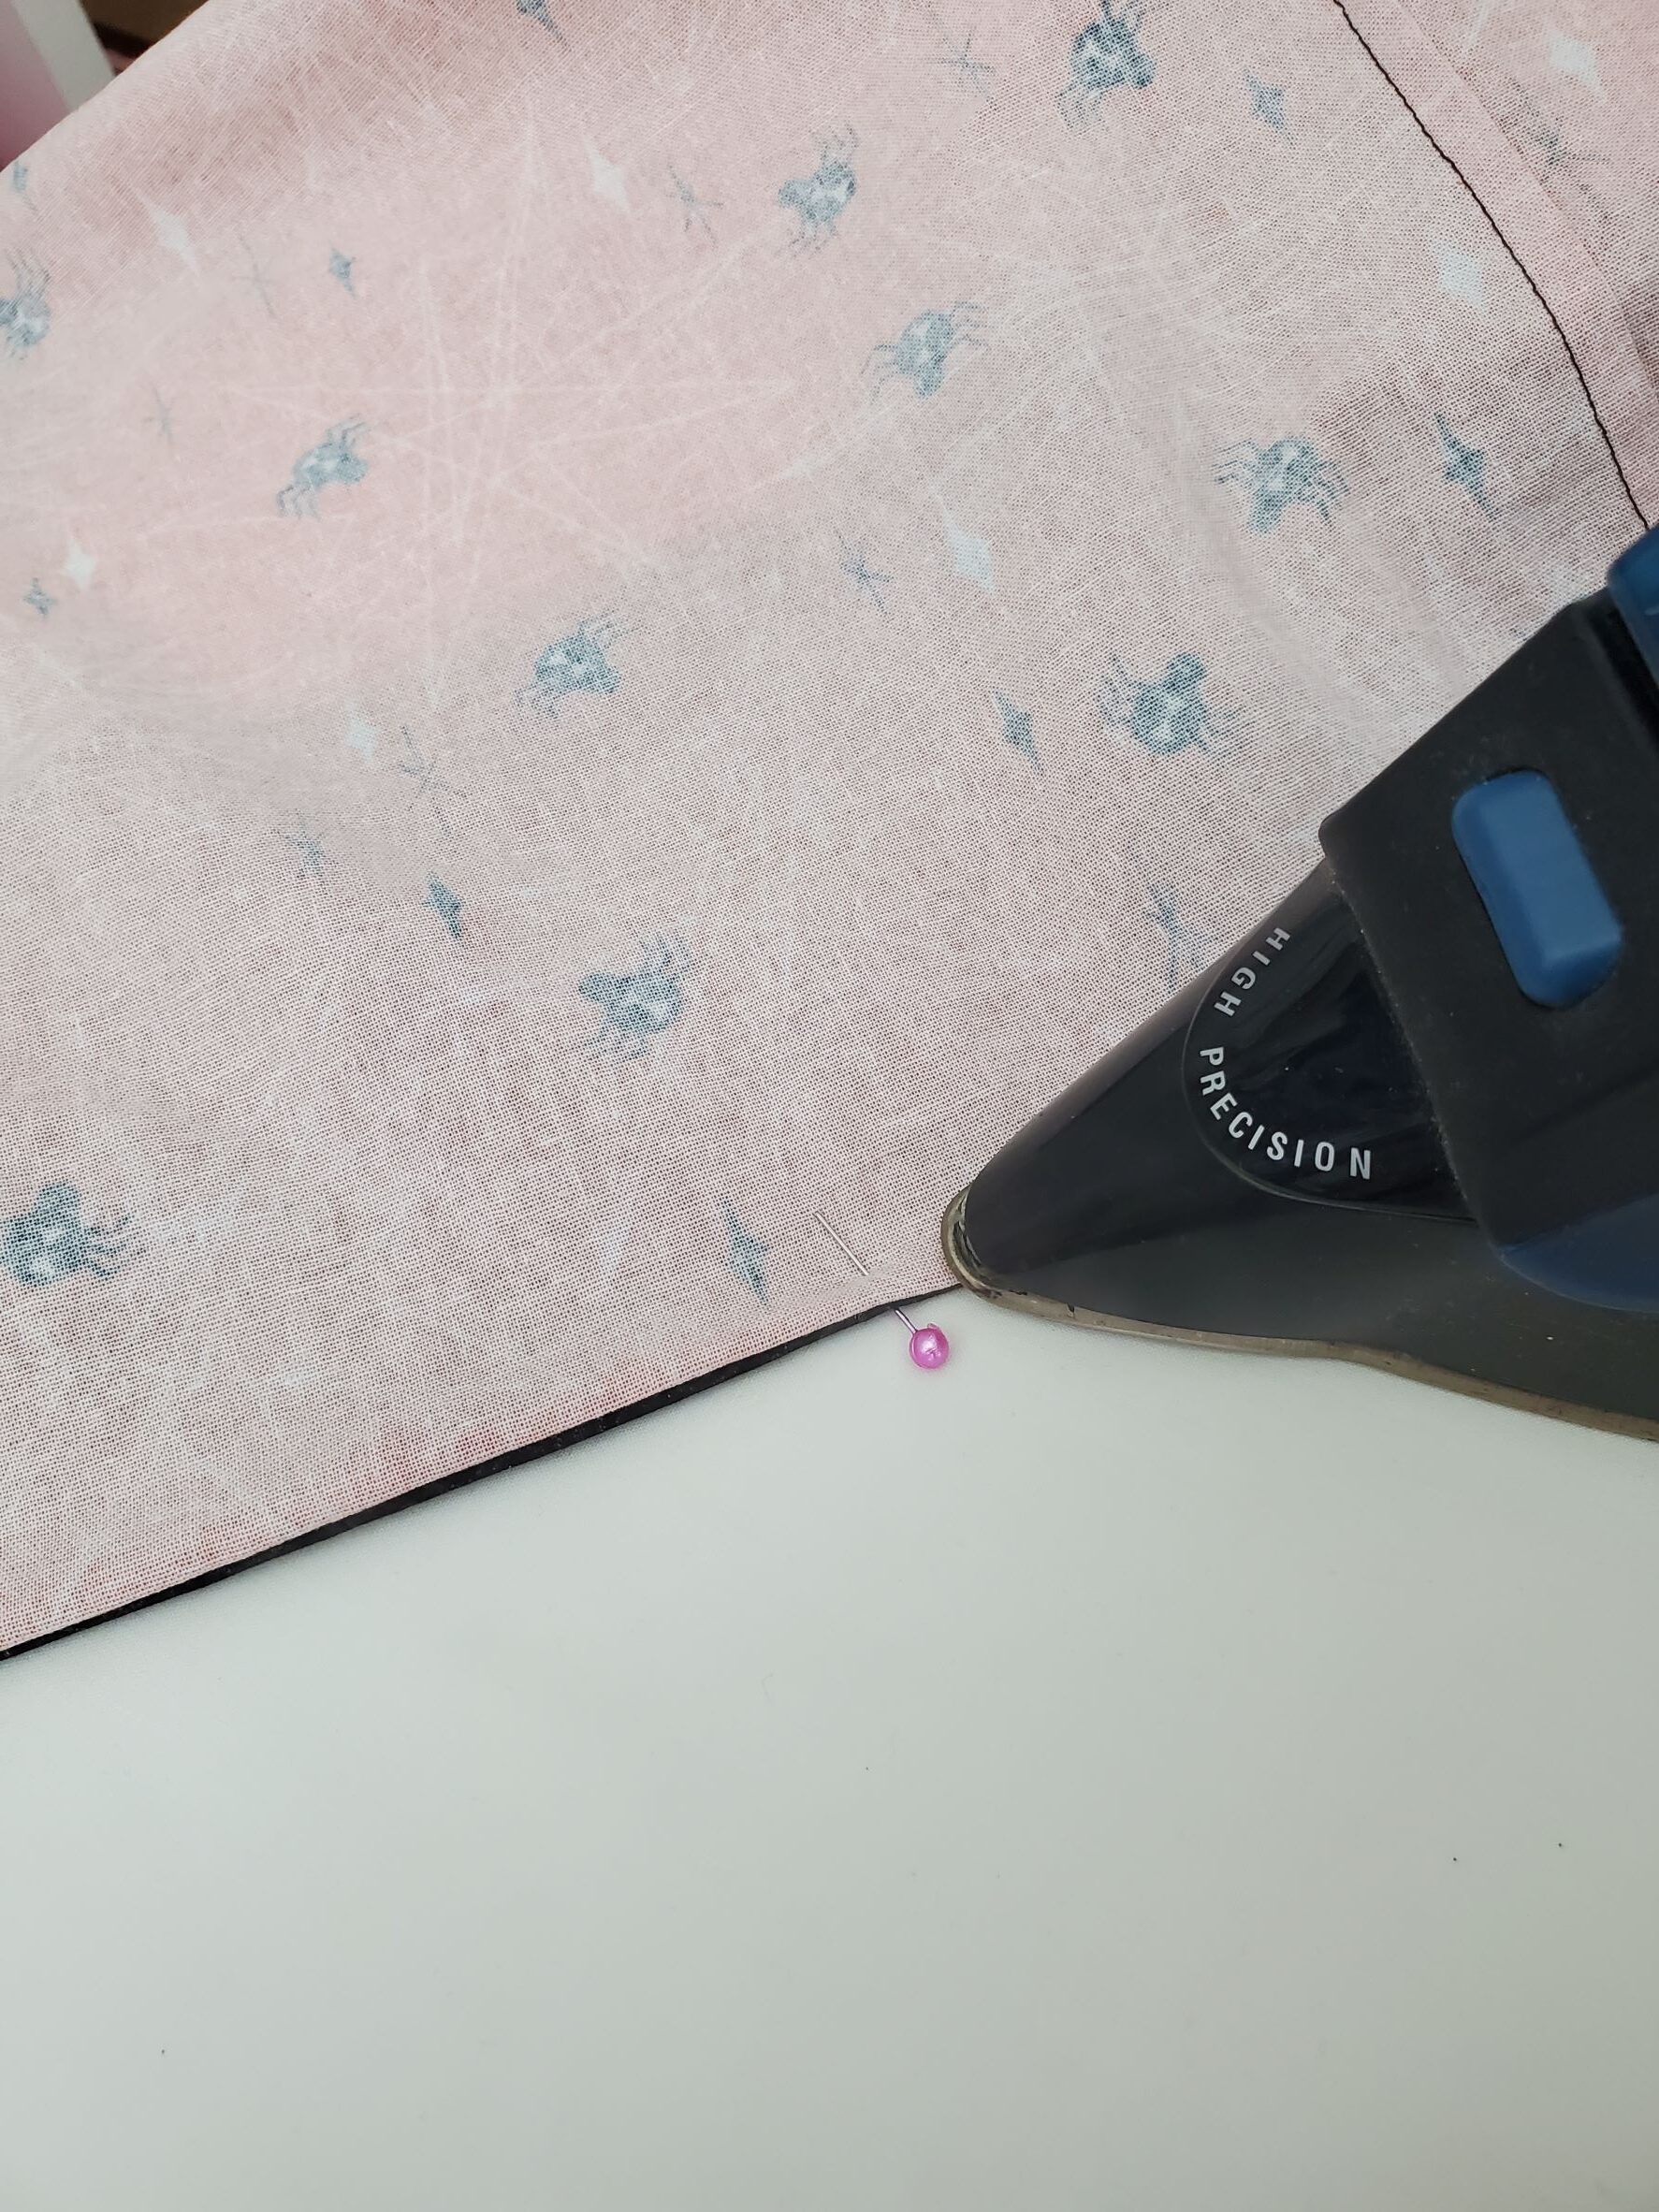
Flip your skirt inside out and pinch that seam so that the fold is all the way out on the edge, and there’s no sandwiching of the seam. Press the seam and then add a few pins to hold it in place as you sew.
Stitch again, using a 2/8″ seam allowance.
Press your seam allowance to one side.
Now you will sew your yoke piece in the same manner. Starting with wrong sides together, pin your skirt yoke side seam, making sure your raw edges are even, and stitch. Trim, flip, iron and stitch 2/8″. Apparently I didn’t get a photo of this step, but it’s the same thing you just did with the skirt, only with that bottom yoke piece.
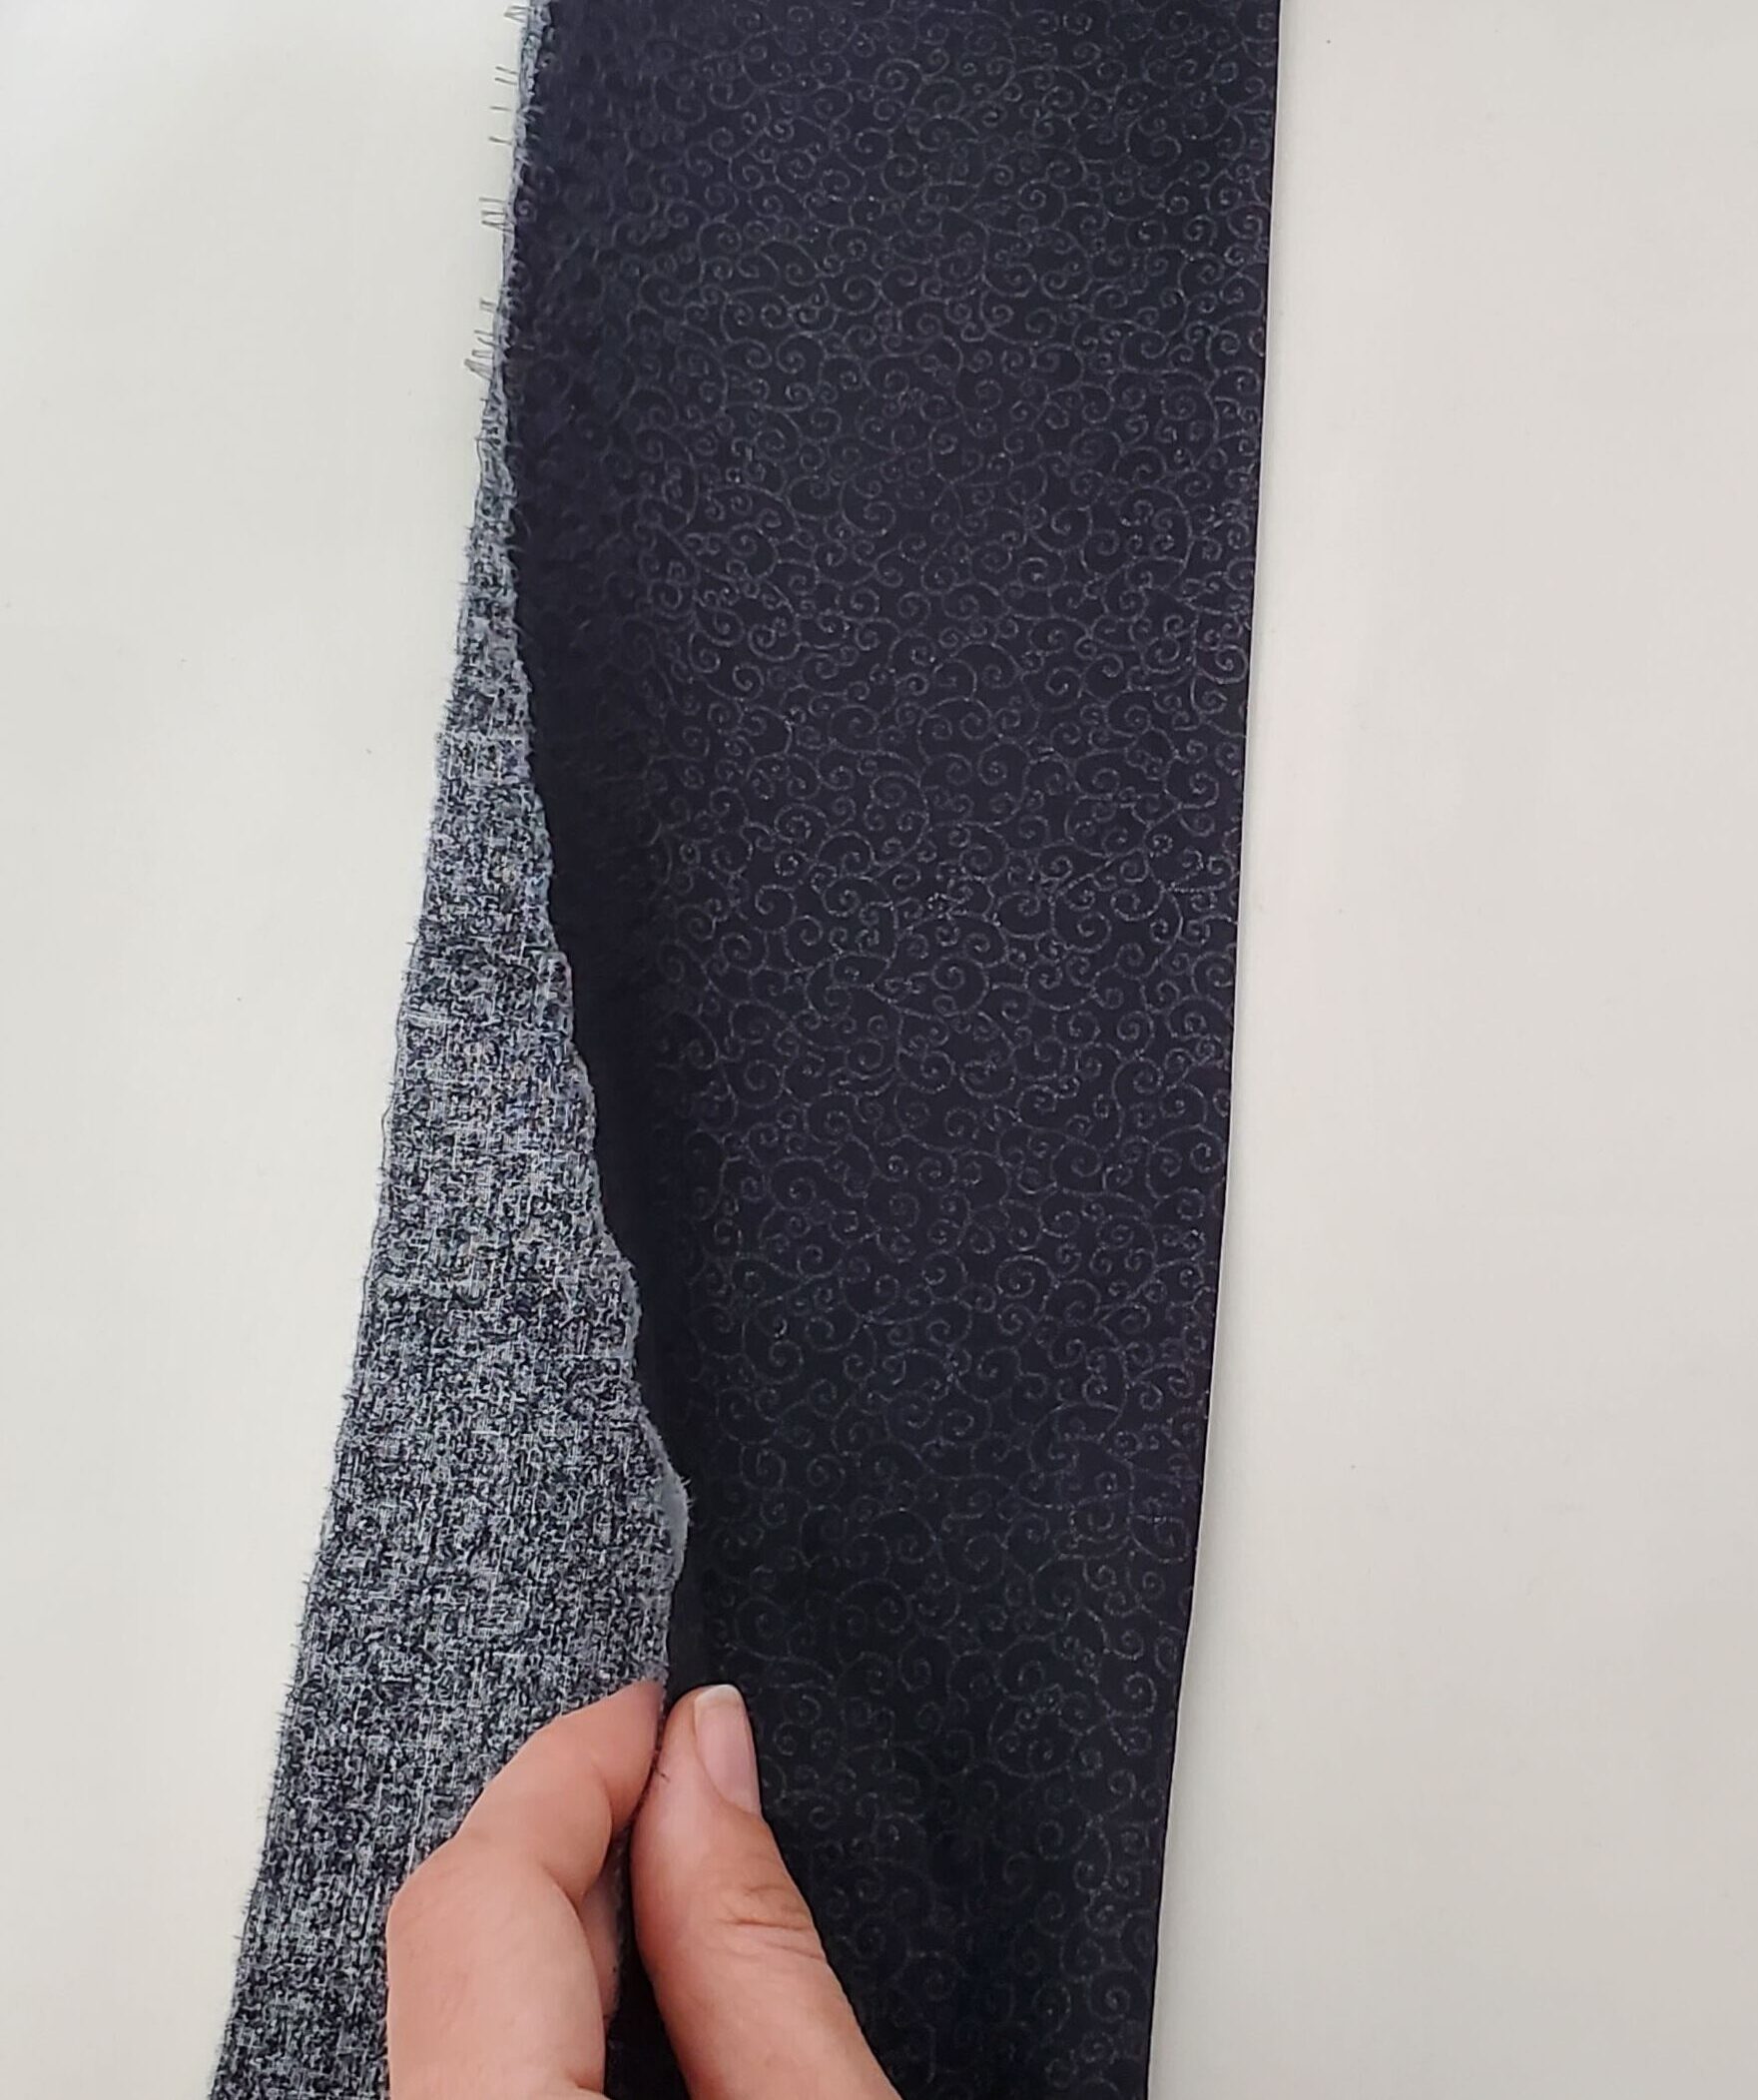
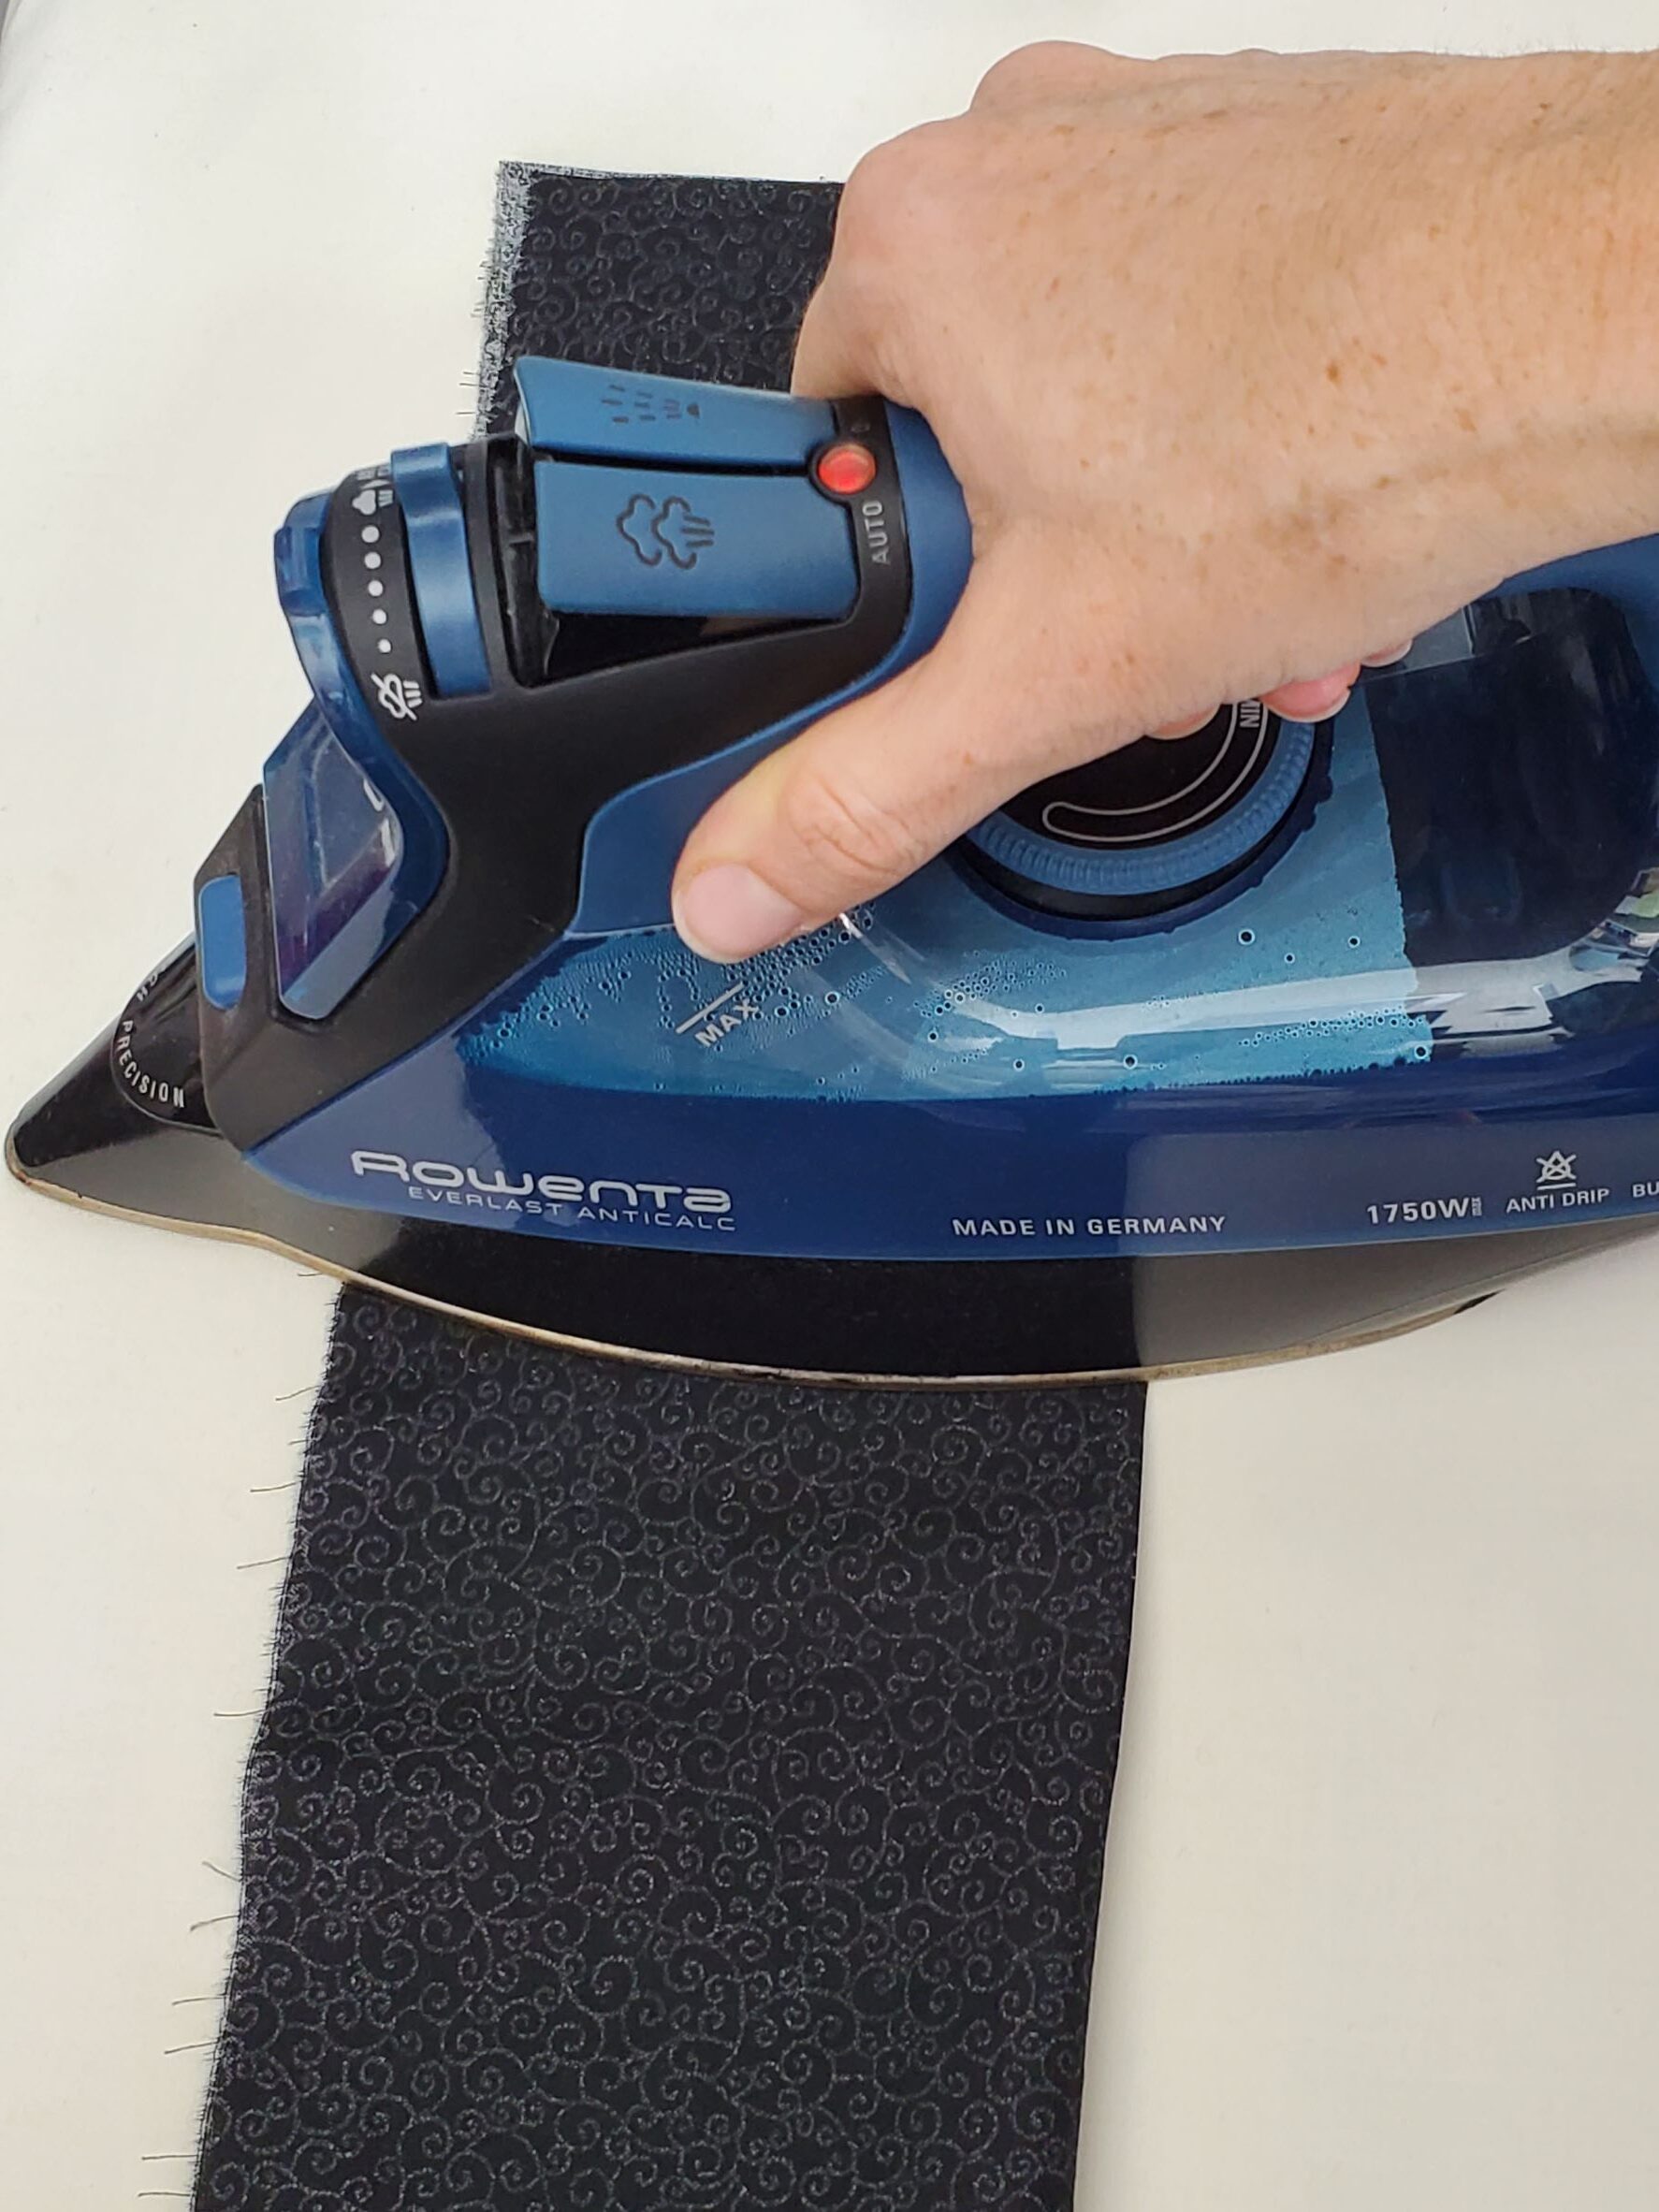
Once you have sewn your yoke piece, fold it in half lengthwise, wrong sides together (so instead of it being 13″ tall, it will now be 6 1/2″ tall). Make sure all of your raw edges are even, and then press along the fold so you get a nice, crisp fold. I recommend picking up your iron to move it along rather than sliding it along the fabric, which can mess up your fold and cause your raw edges to be uneven.
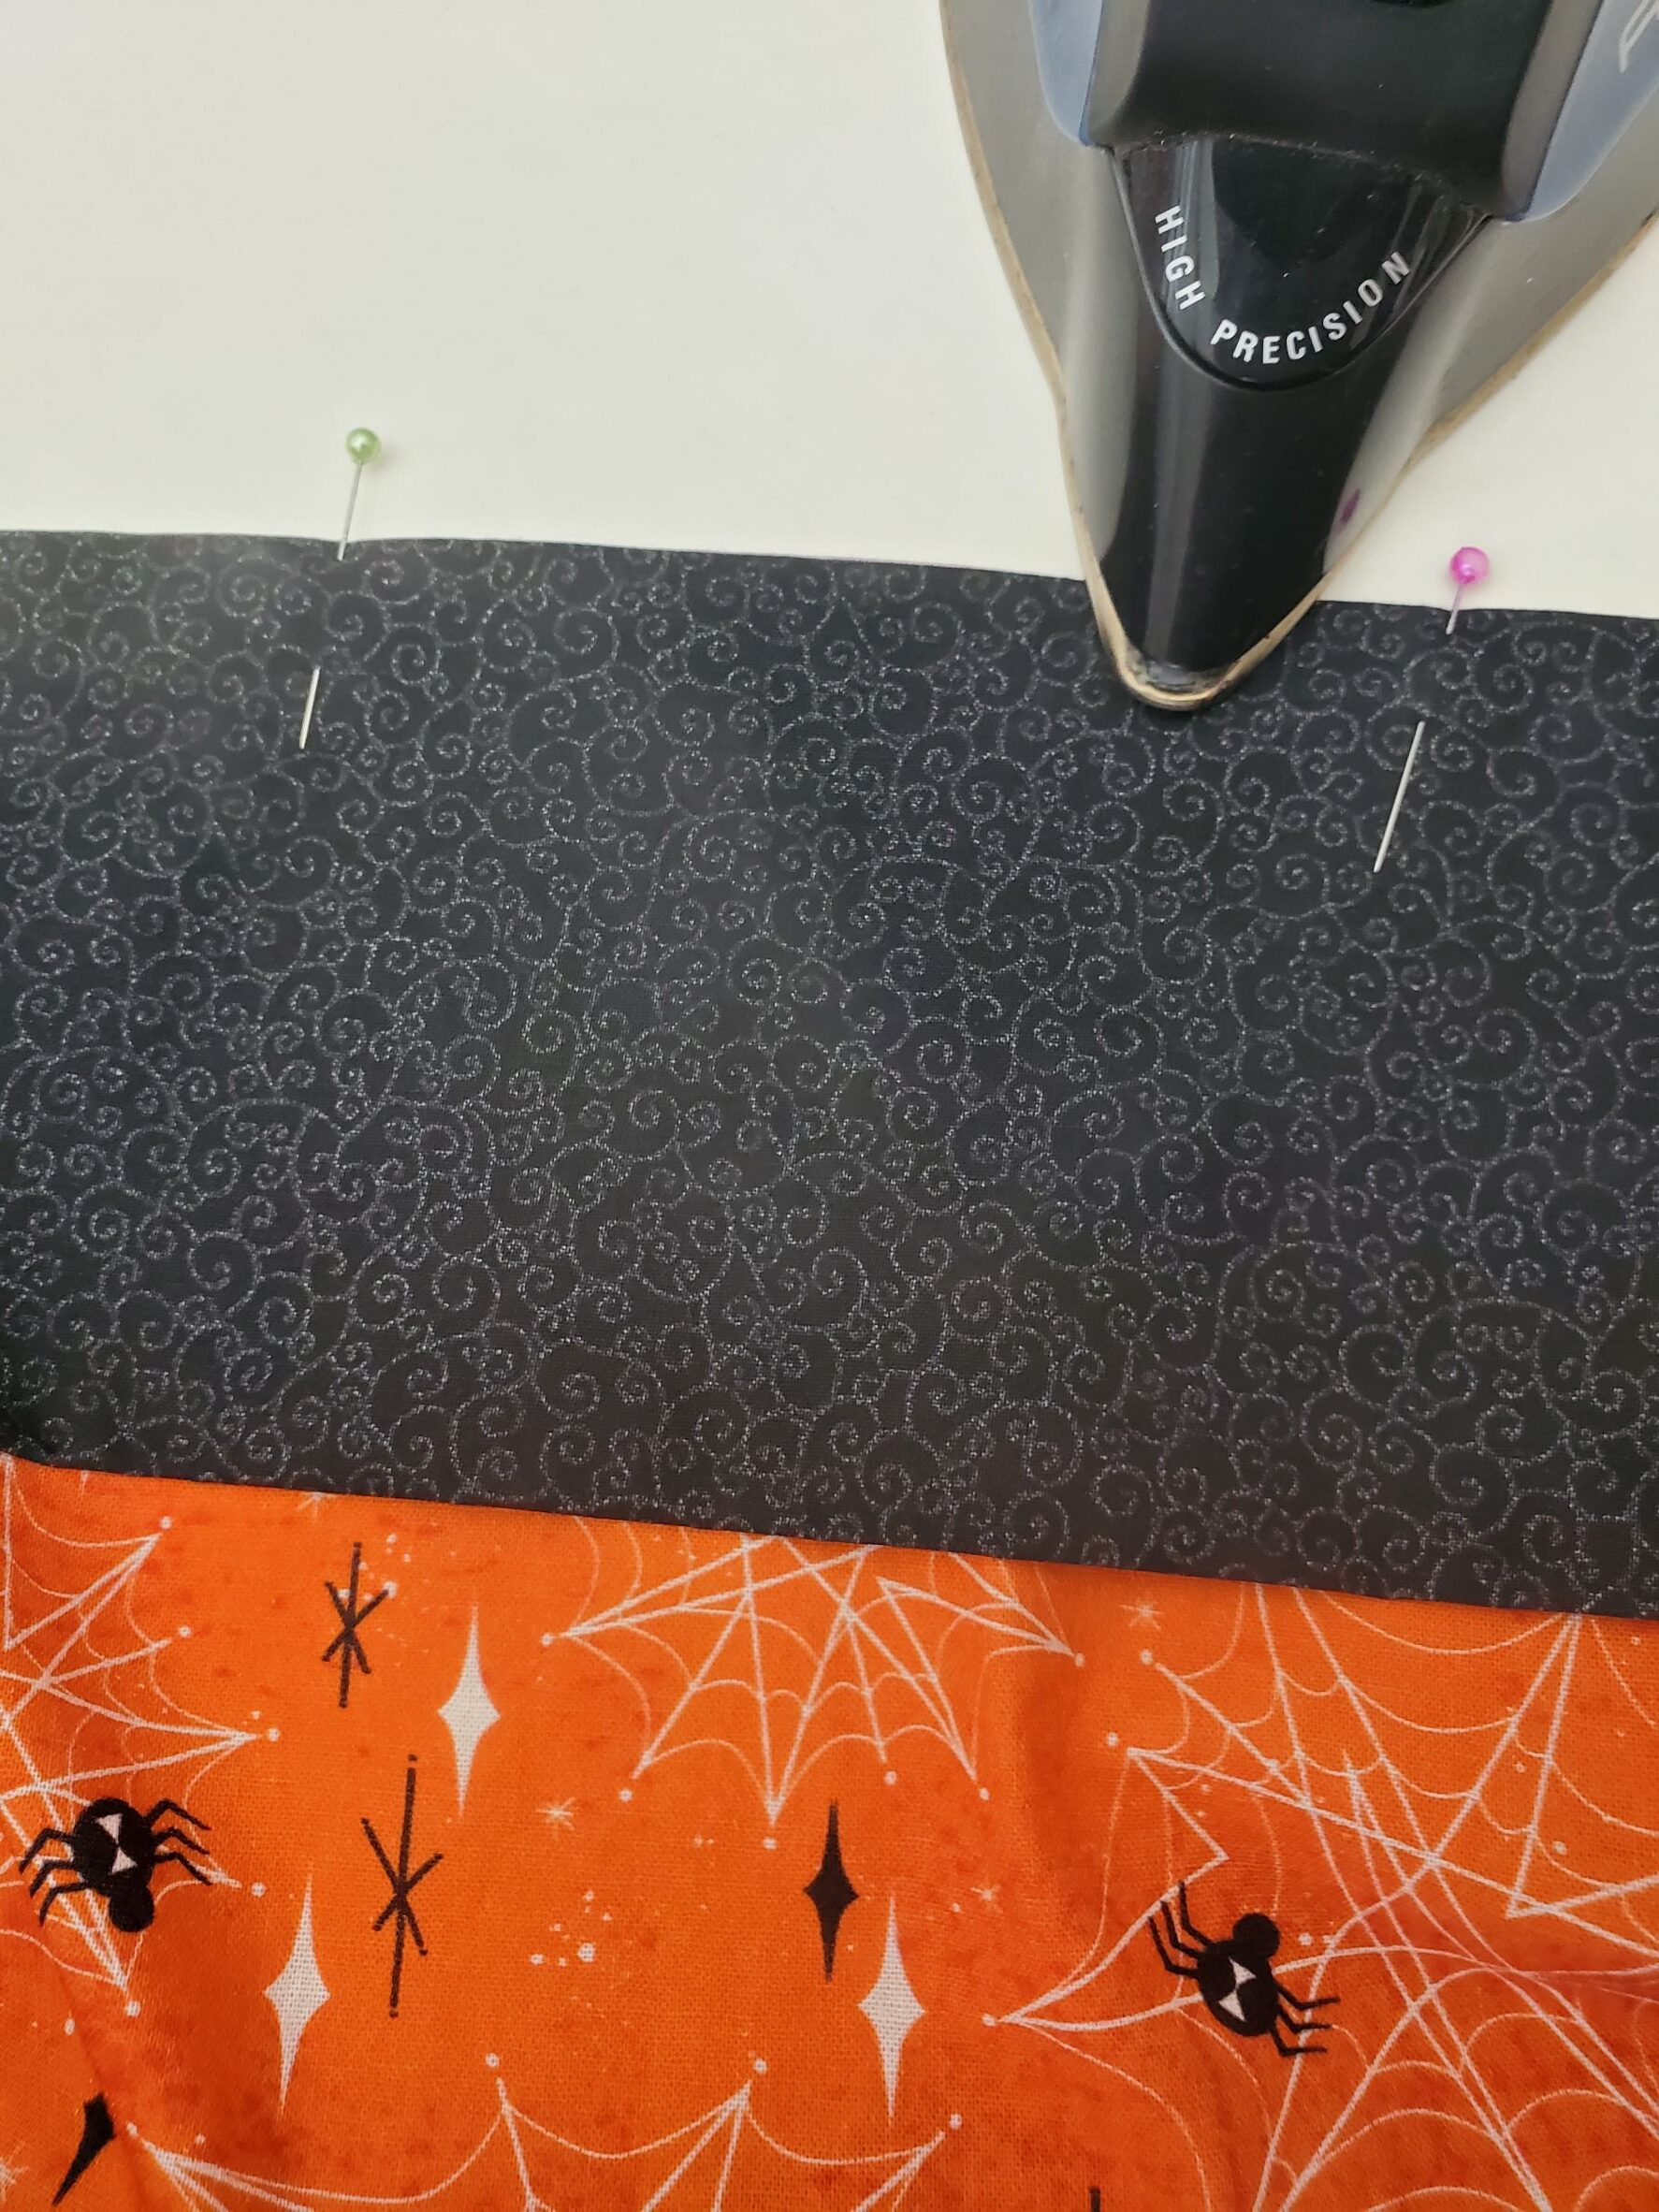
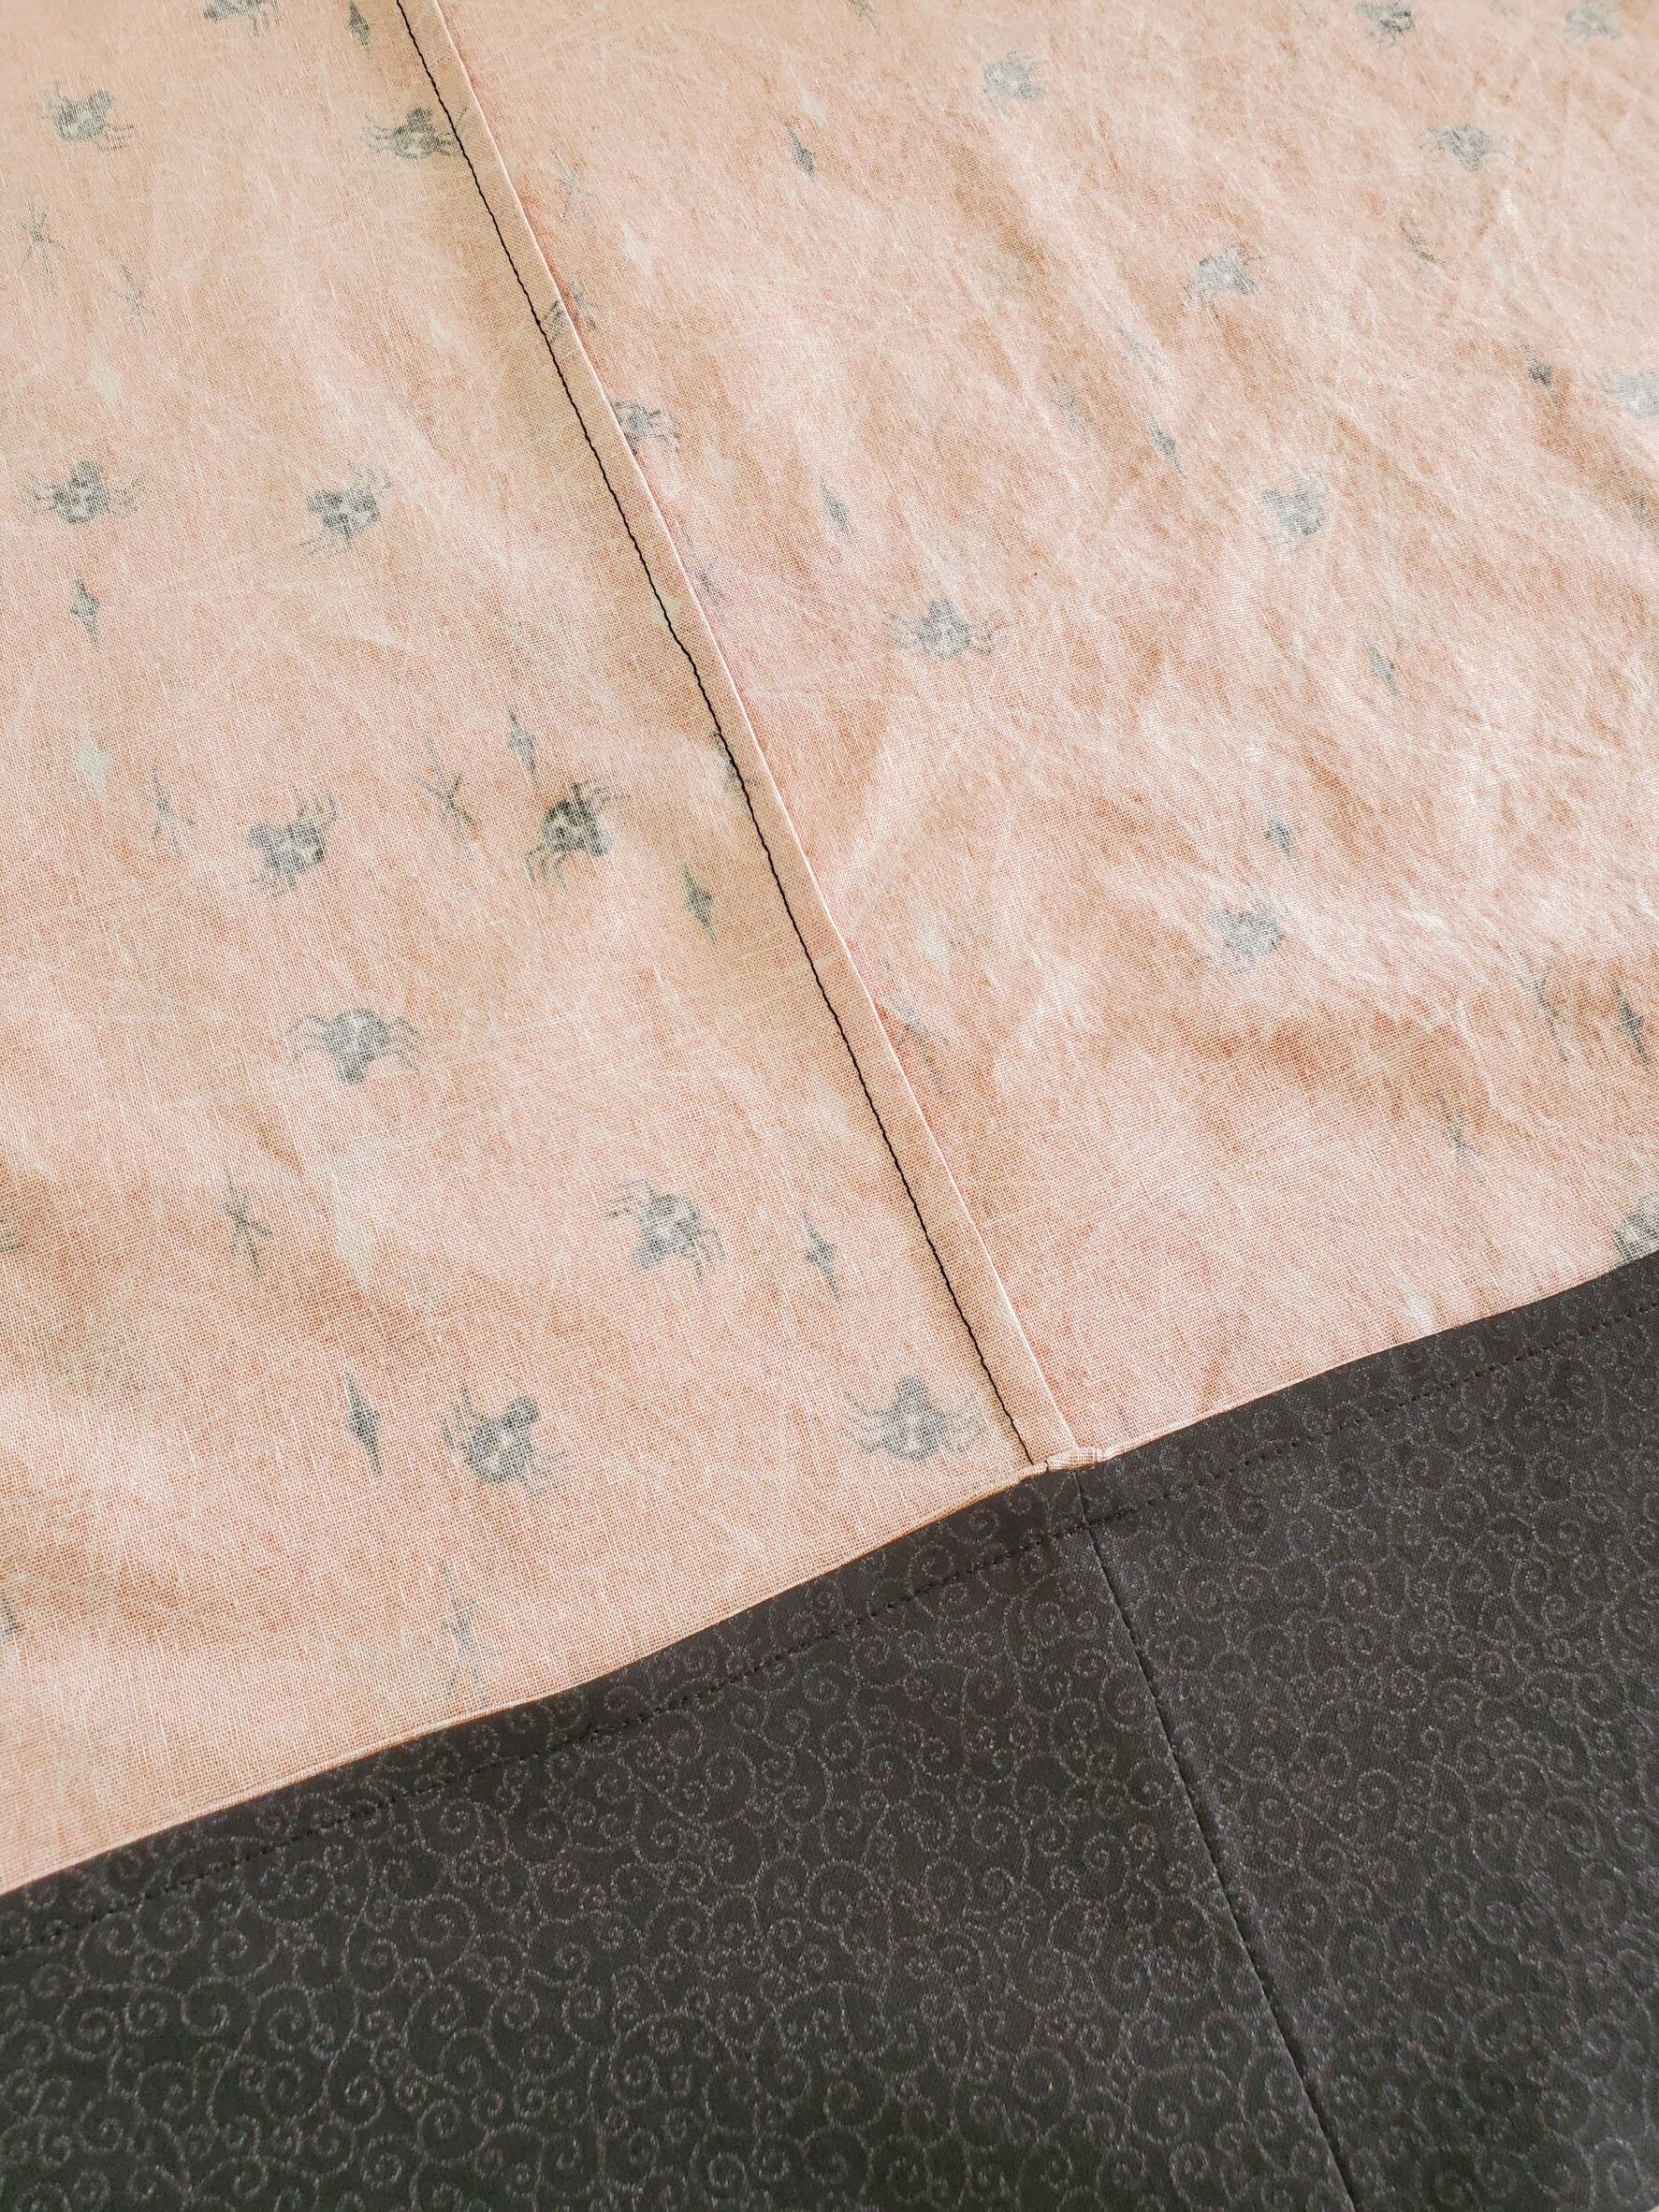
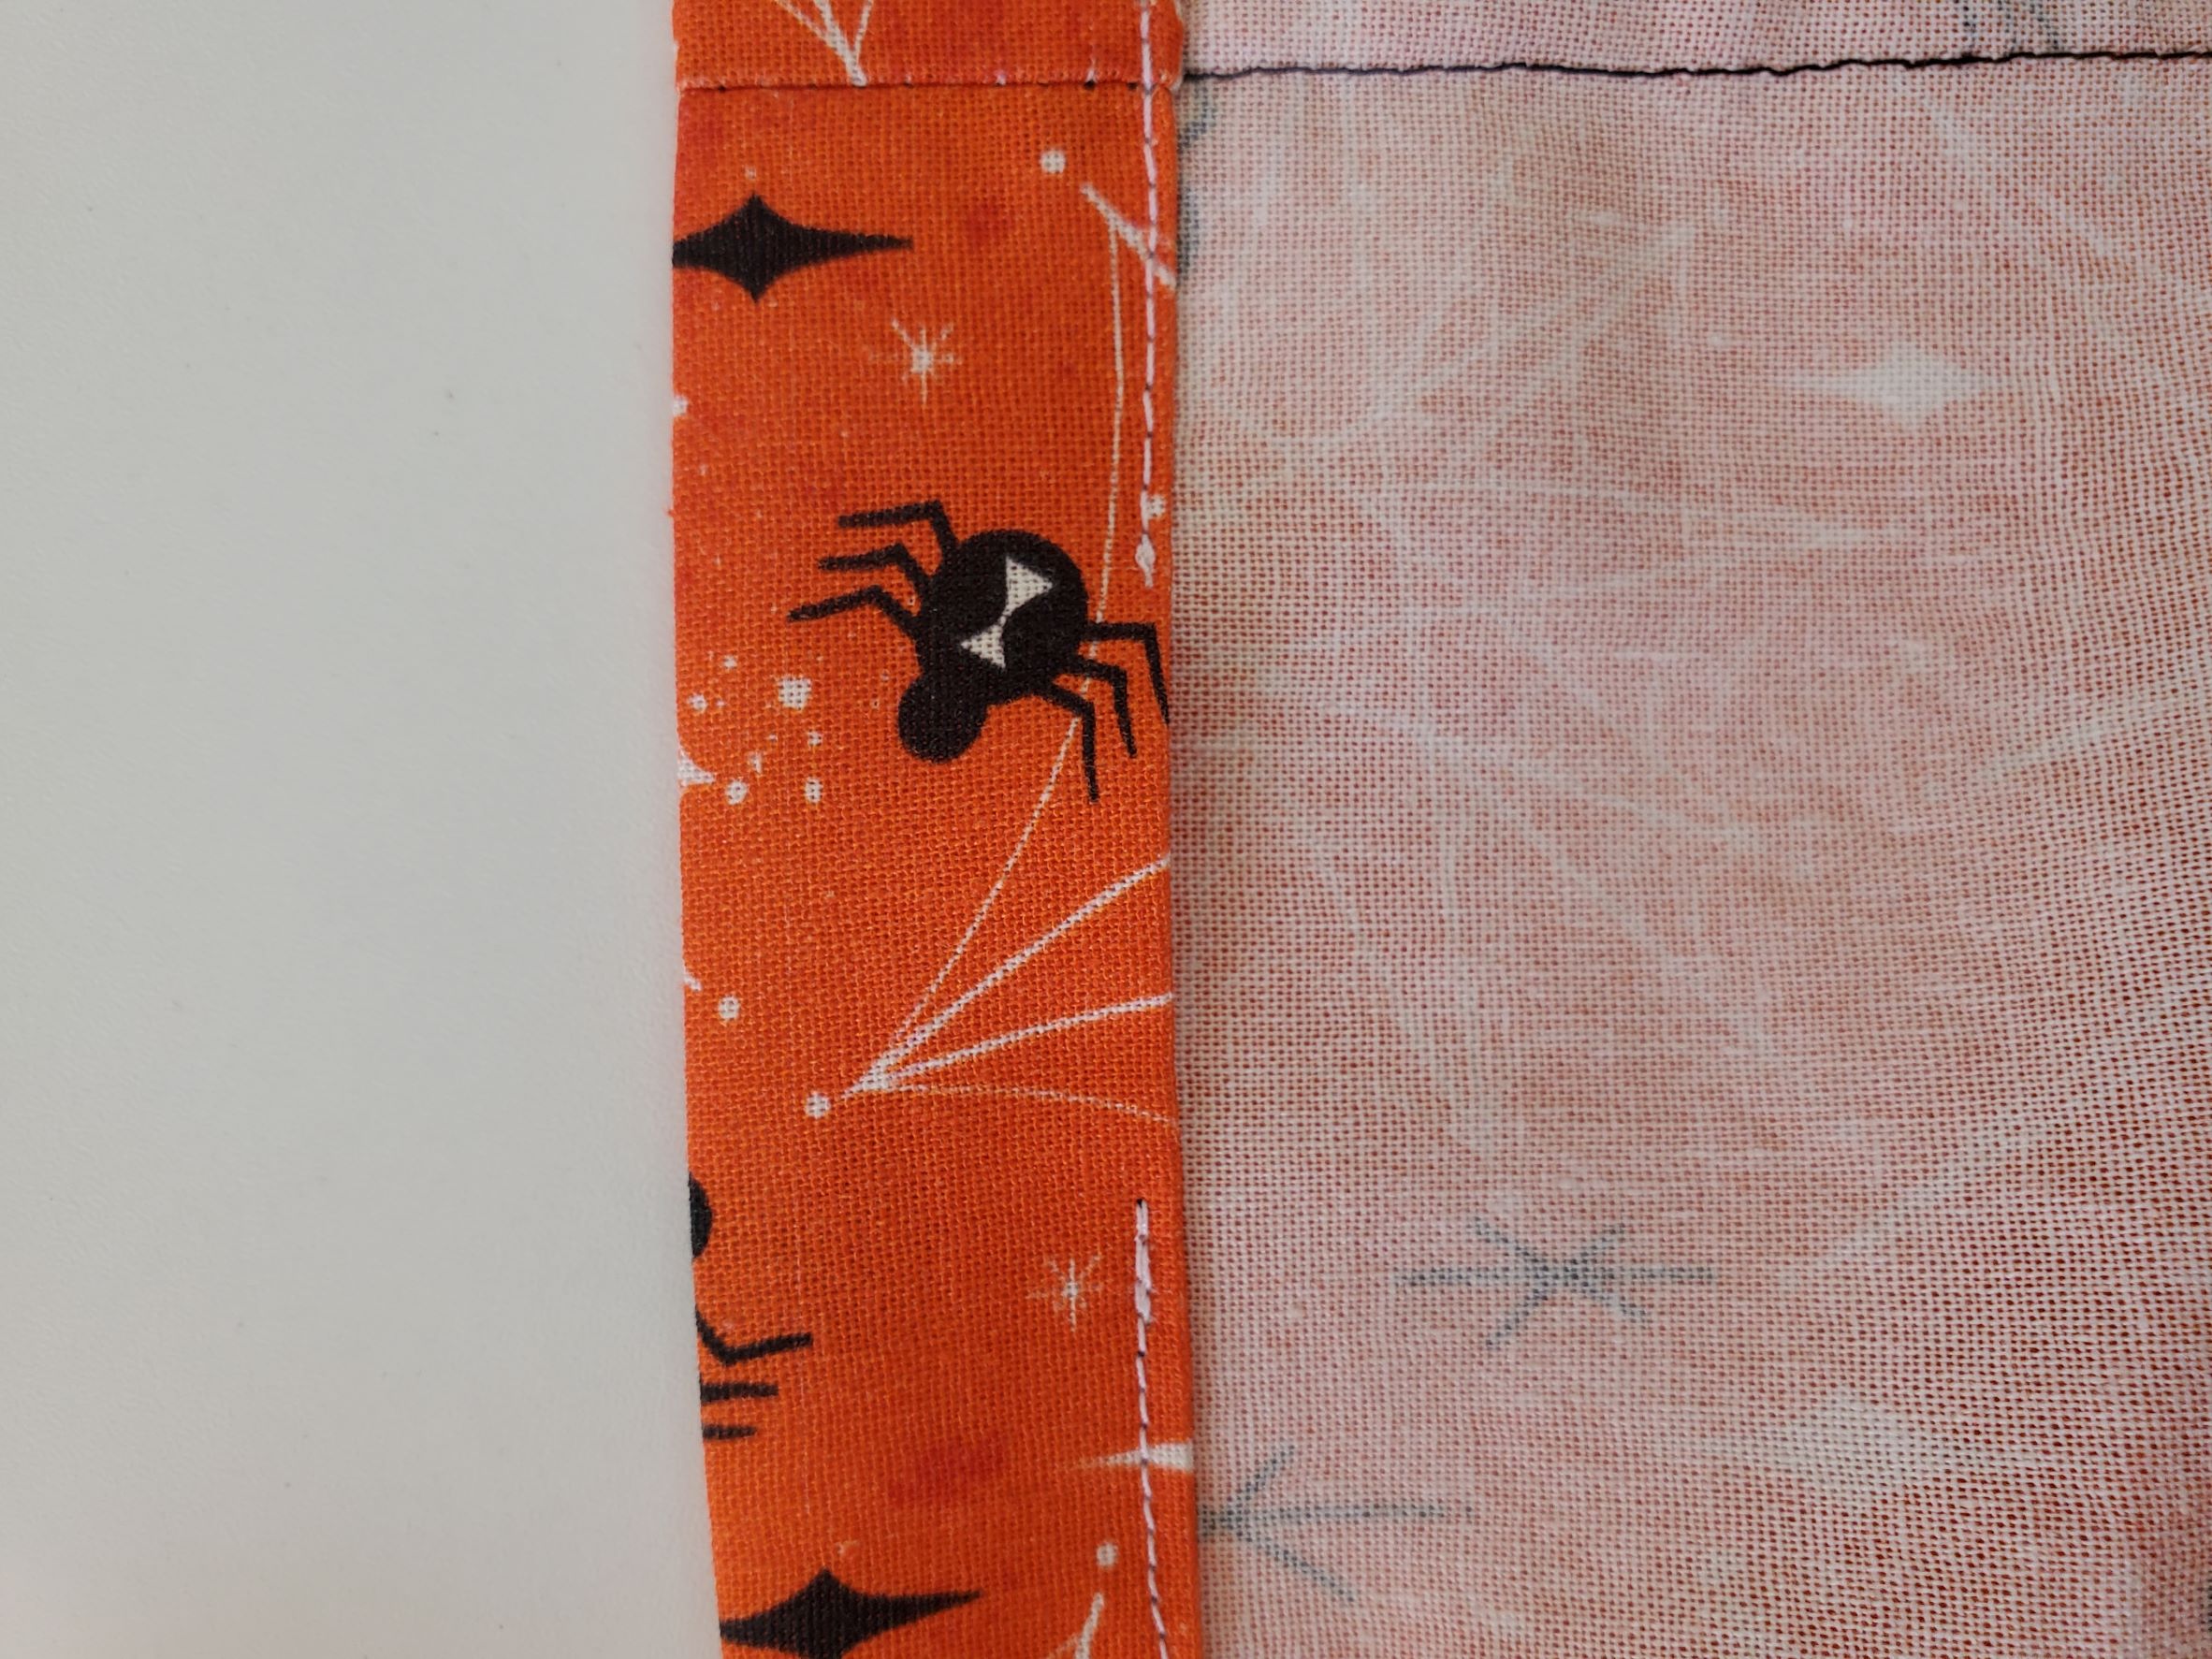
With wrong sides together (there’s not really a right or wrong side of the yoke at this point, unless you have a pattern/direction on your fabric), pin both raw edges of your yoke (which are already together) to the wrong side of the bottom edge of your skirt, matching up your side seams. Stitch, using a 3/8″ seam allowance.
You know the drill: trim, flip, pin and stitch again at 2/8″. Now you have a beautiful seam that won’t fray when wearing or washing your skirt!
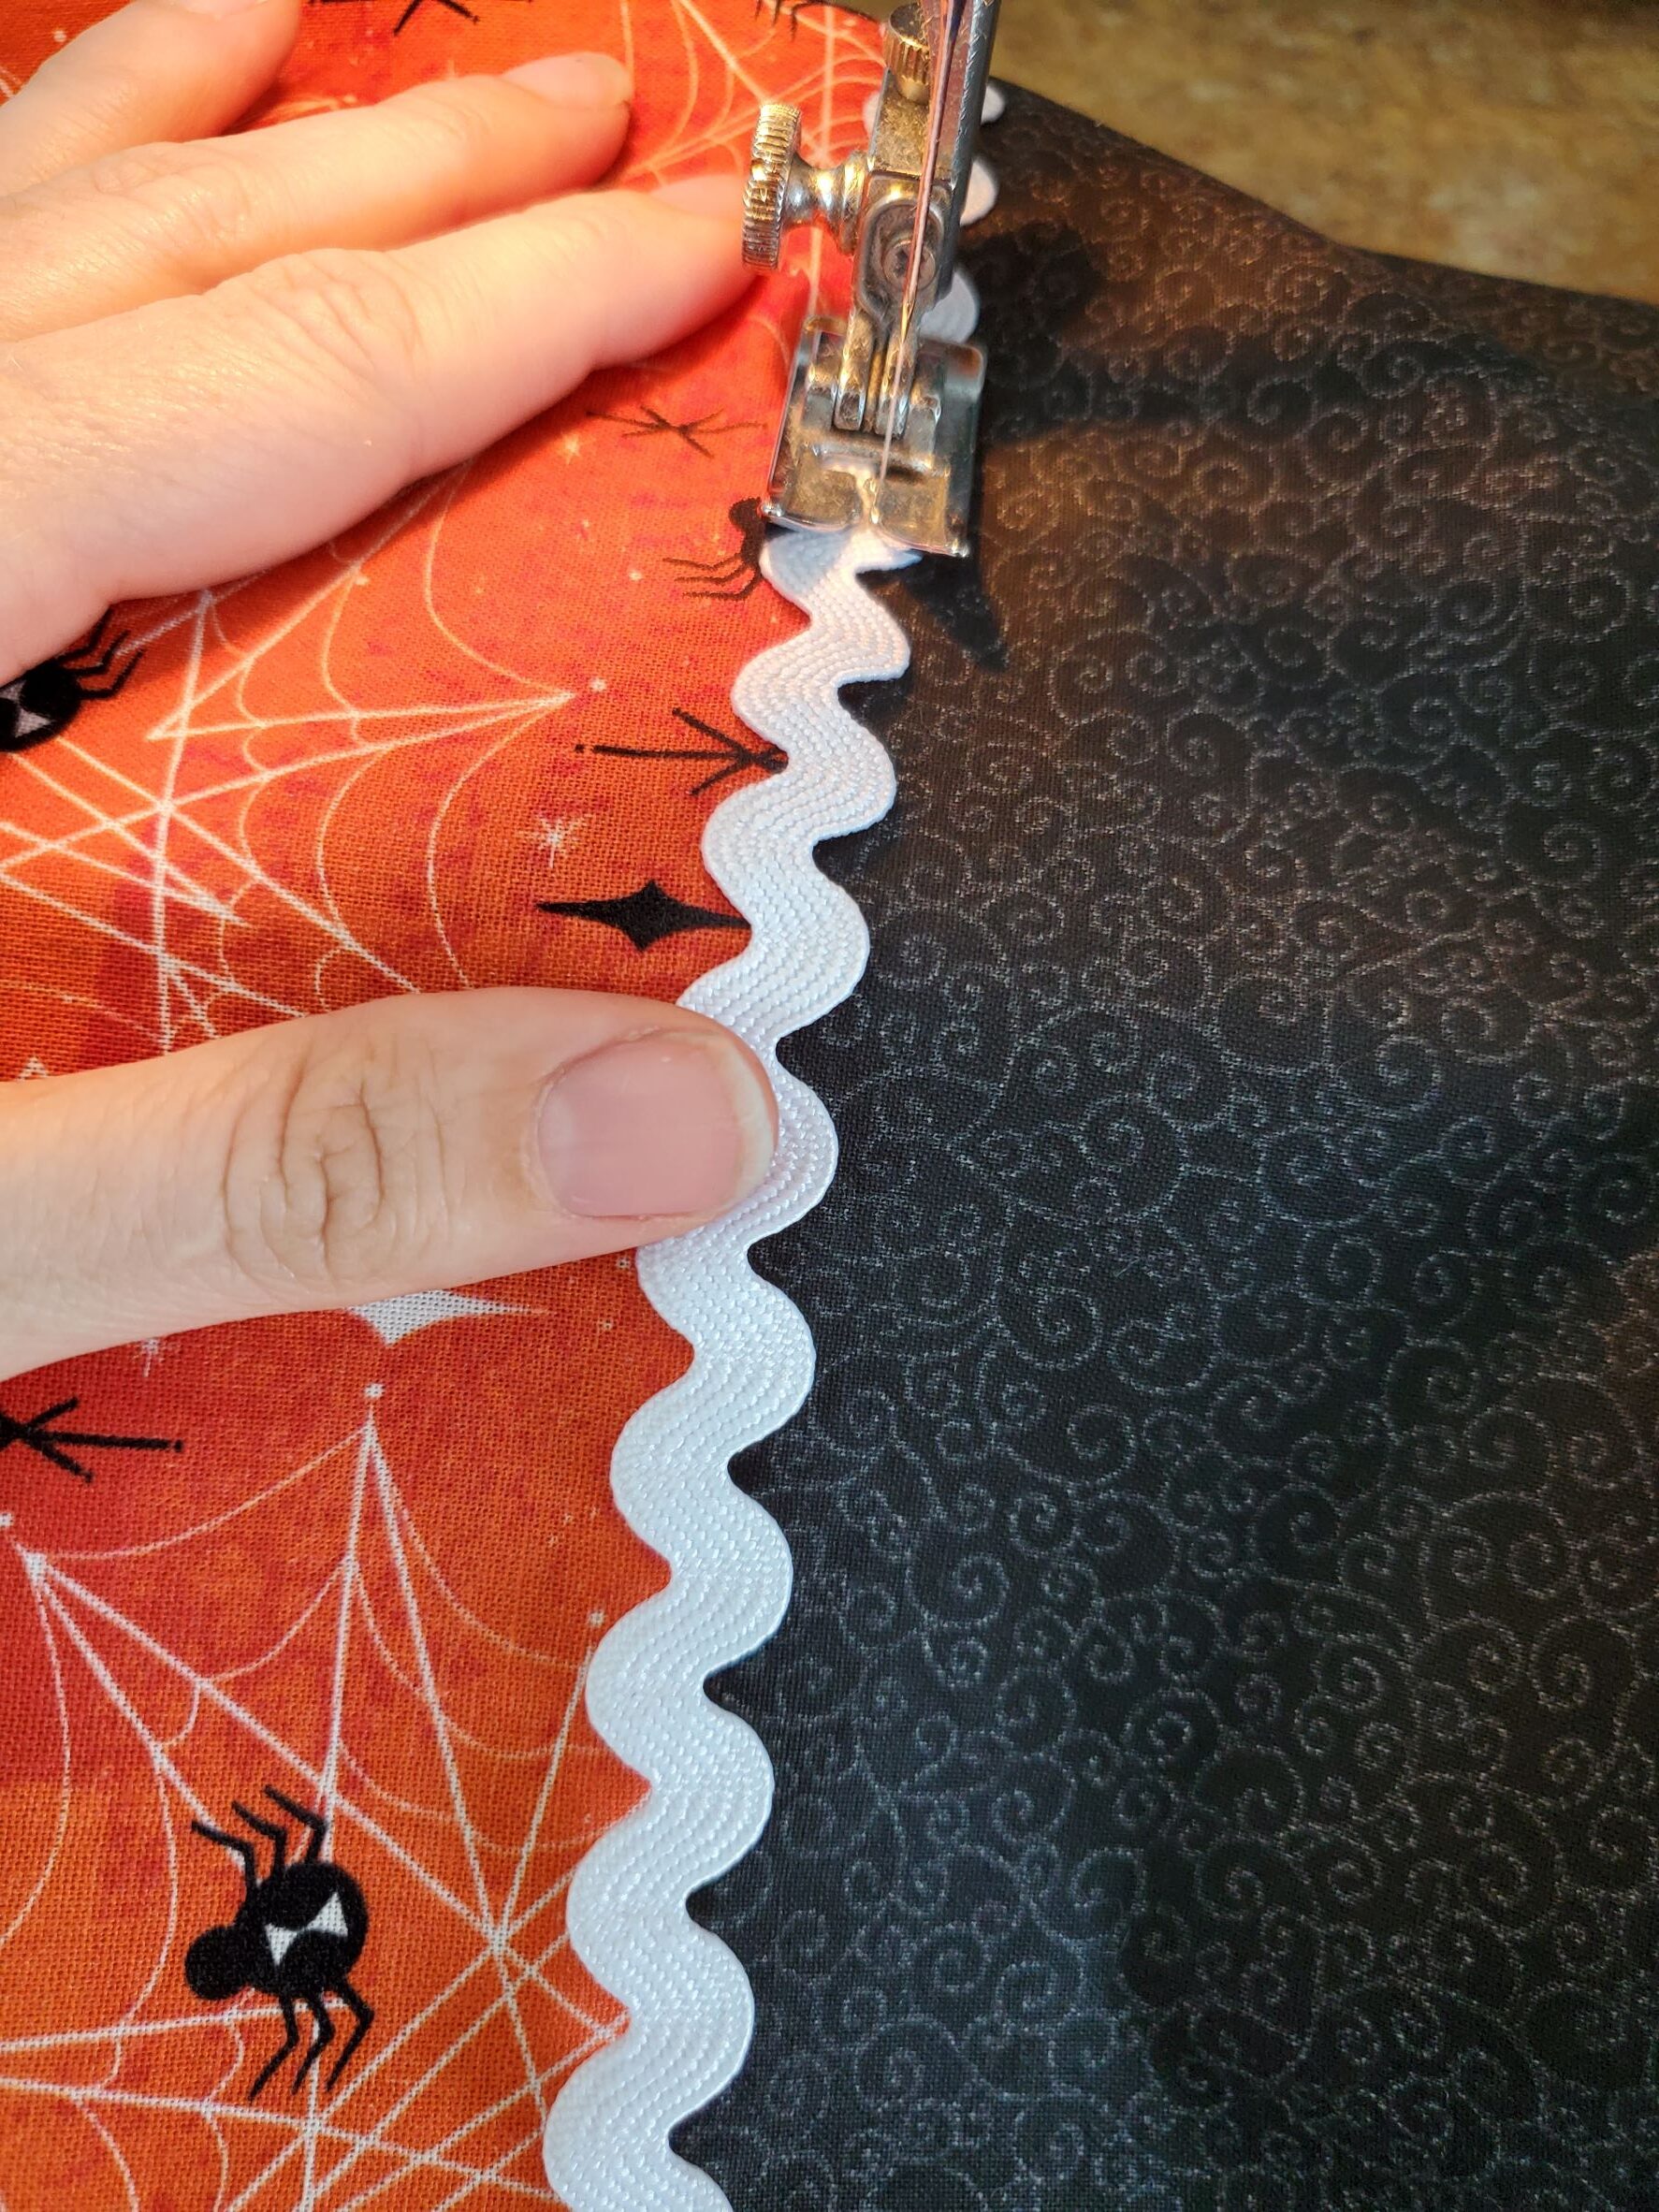
If you want to sew on rick-rack or a decorative ribbon, this is the step to do so. Lay your rick-rack out on your seamline between the skirt and the yoke. You can pin it in place if that helps, or you can hold it and move it along as you sew. I use a small zig-zag stitch when I sew on rick-rack. My length is usually just under 2, and width is somewhere around 3, but it depends on the width of the rick-rack that you use. Play around on some scraps beforehand to get the right settings.
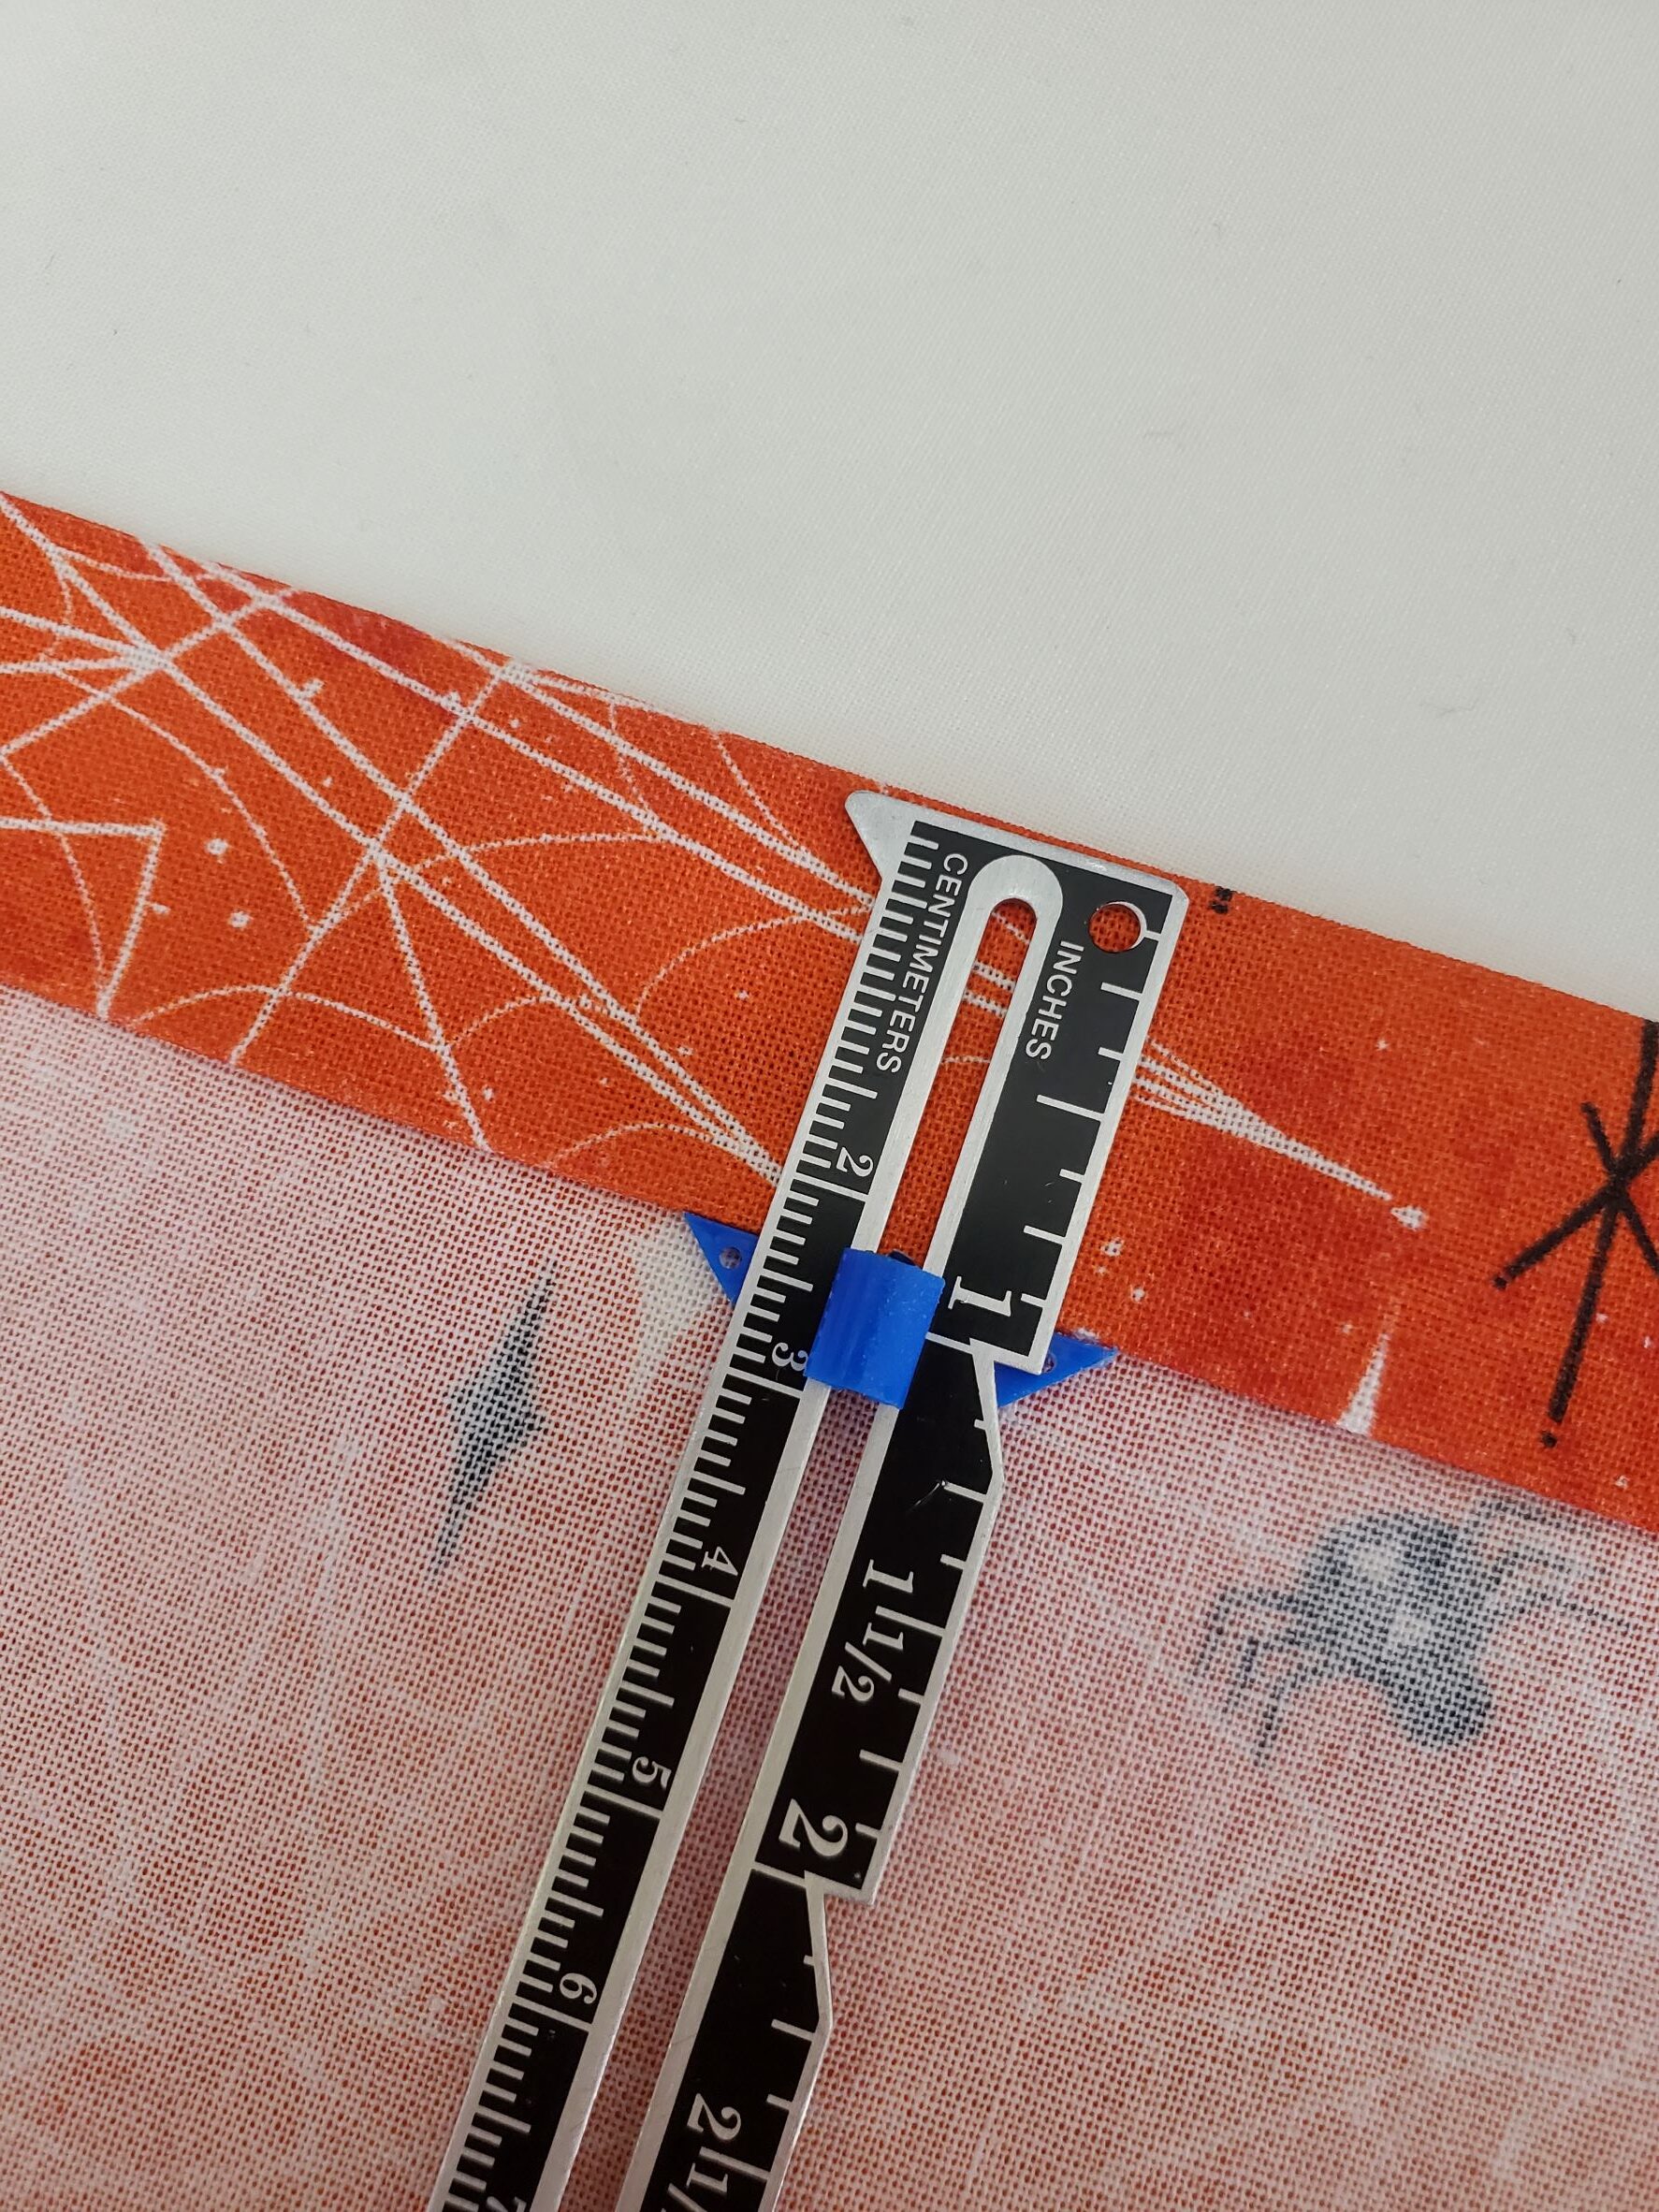
Now, it’s time to make the casing! For this project, we used 3/4″ elastic for the waistband. We want to create a casing just slightly bigger than that. I’ve known some pattern companies to create the casing at the exact measurement as the elastic, but what I have found in working with beginning students is that it’s difficult to stay exactly on the 3/4″ seamline, so the casing ends up being too small. For this reason, I always allow a little extra in my casing allowance (1/4″ to be exact). So, we will be making our casing to be 1″.
First, fold down your raw edge 1/4″, all around the top of the skirt, and press.
Now, fold it over again, this time at 1″. Press.
Stitch close to your fold line, leaving a small opening to insert your elastic.
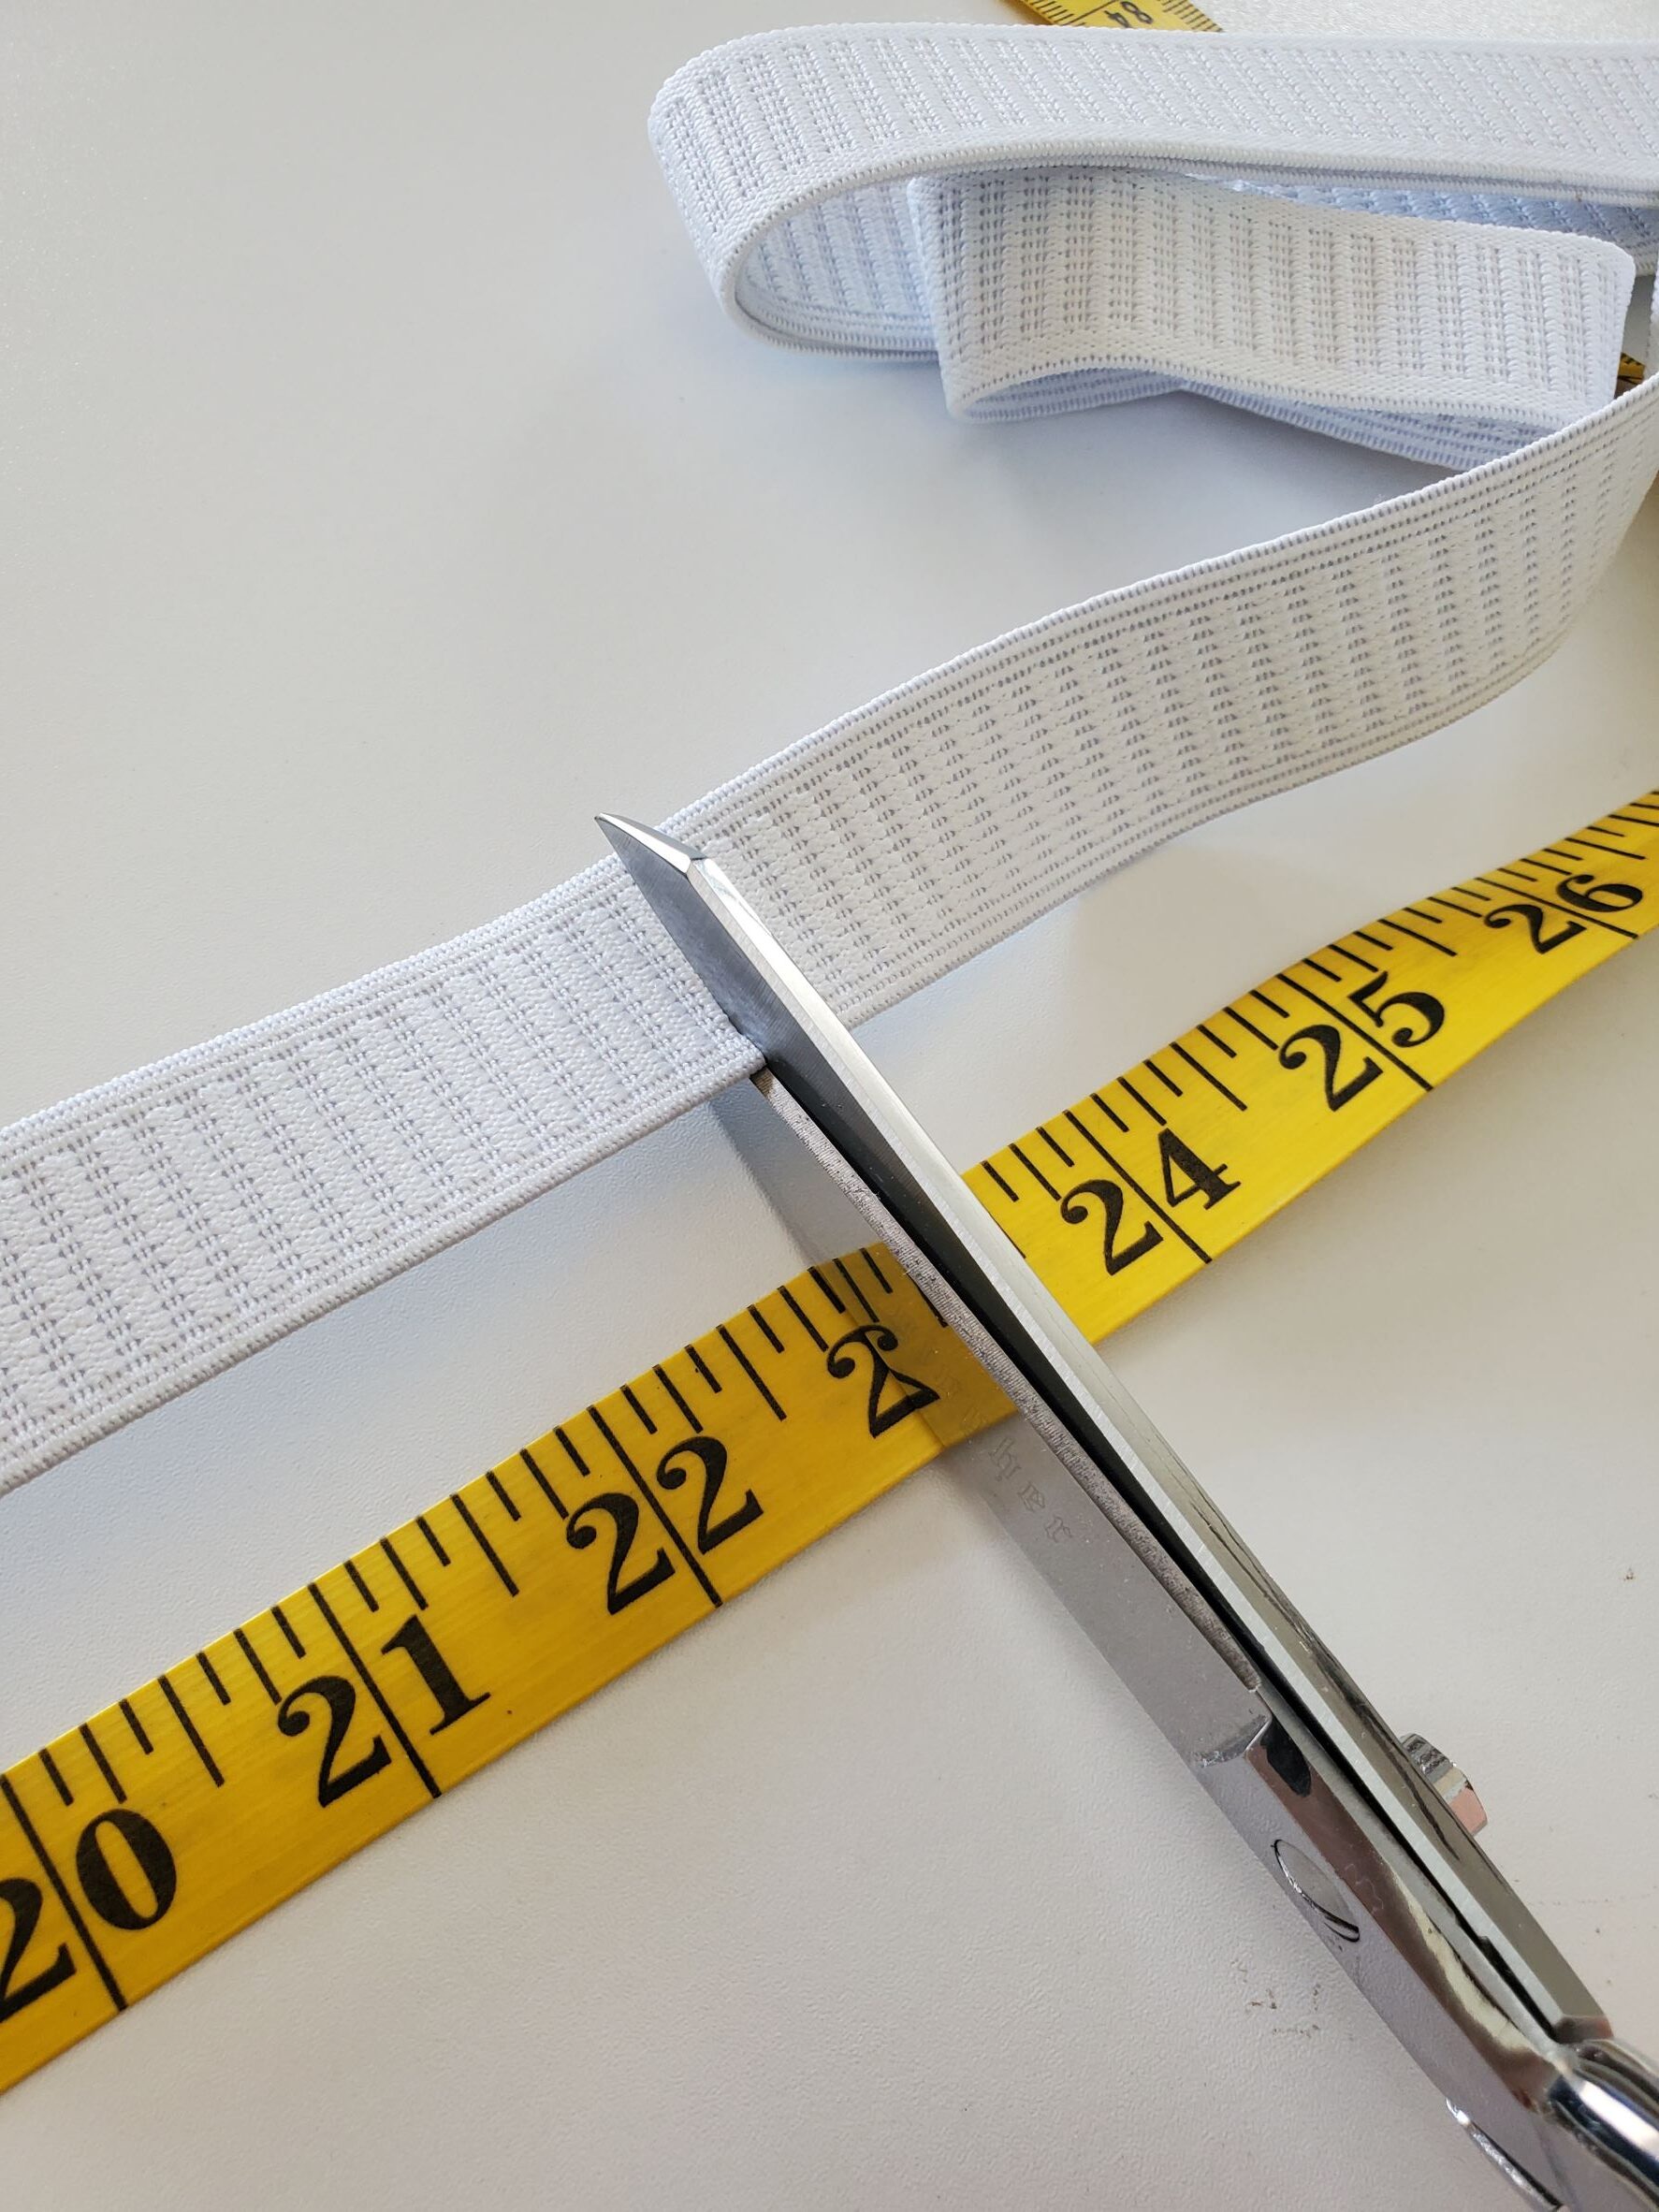
Cut a piece of elastic to your natural waist measurement PLUS 1″. For example, if your natural waist is 22″ you will cut your elastic to 23″.
Hook a safety pin on one end of your elastic and push it through your casing all the way around until you are back at the opening. Be careful not to let your other end of elastic slide through the opening! Overlap your two elastic ends 1″, and stitch together. Most machines have an elastic stitch setting. If yours does not, you can use a zig-zag to stitch the elastic. Again…I forgot to take a picture of this step. Hopefully I explained it well enough!
Stitch your opening closed, and you’re done!!

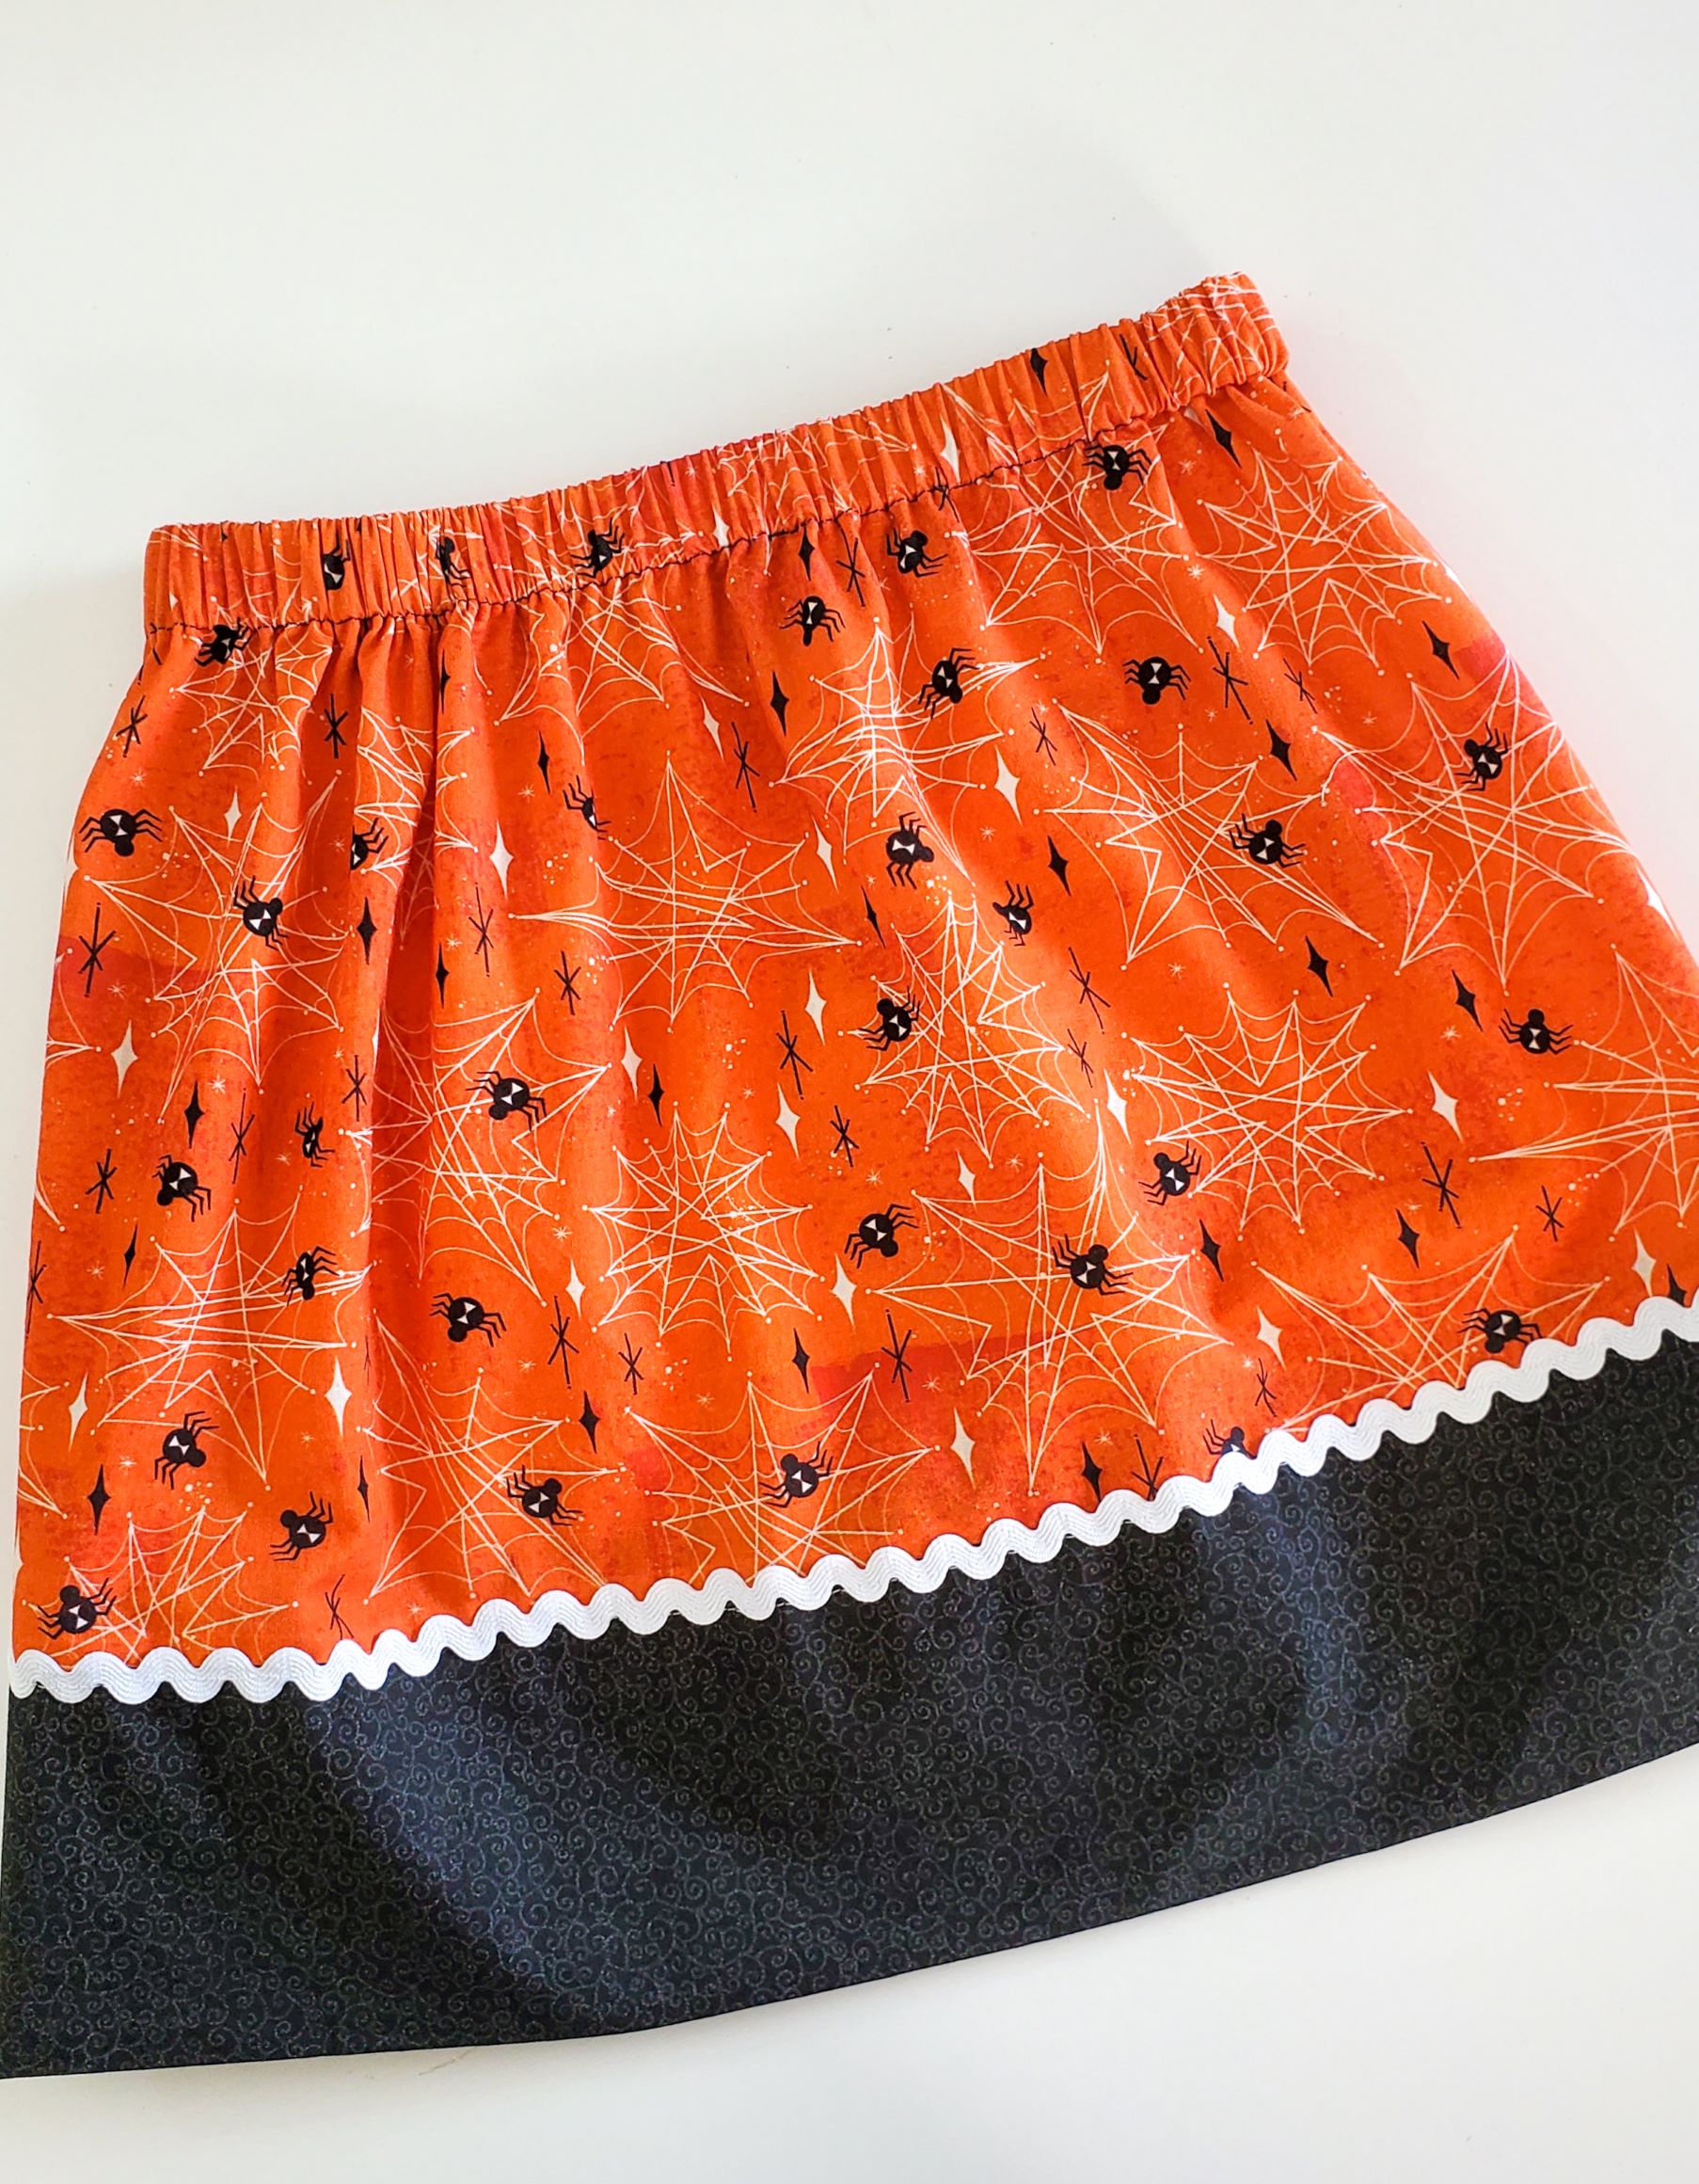
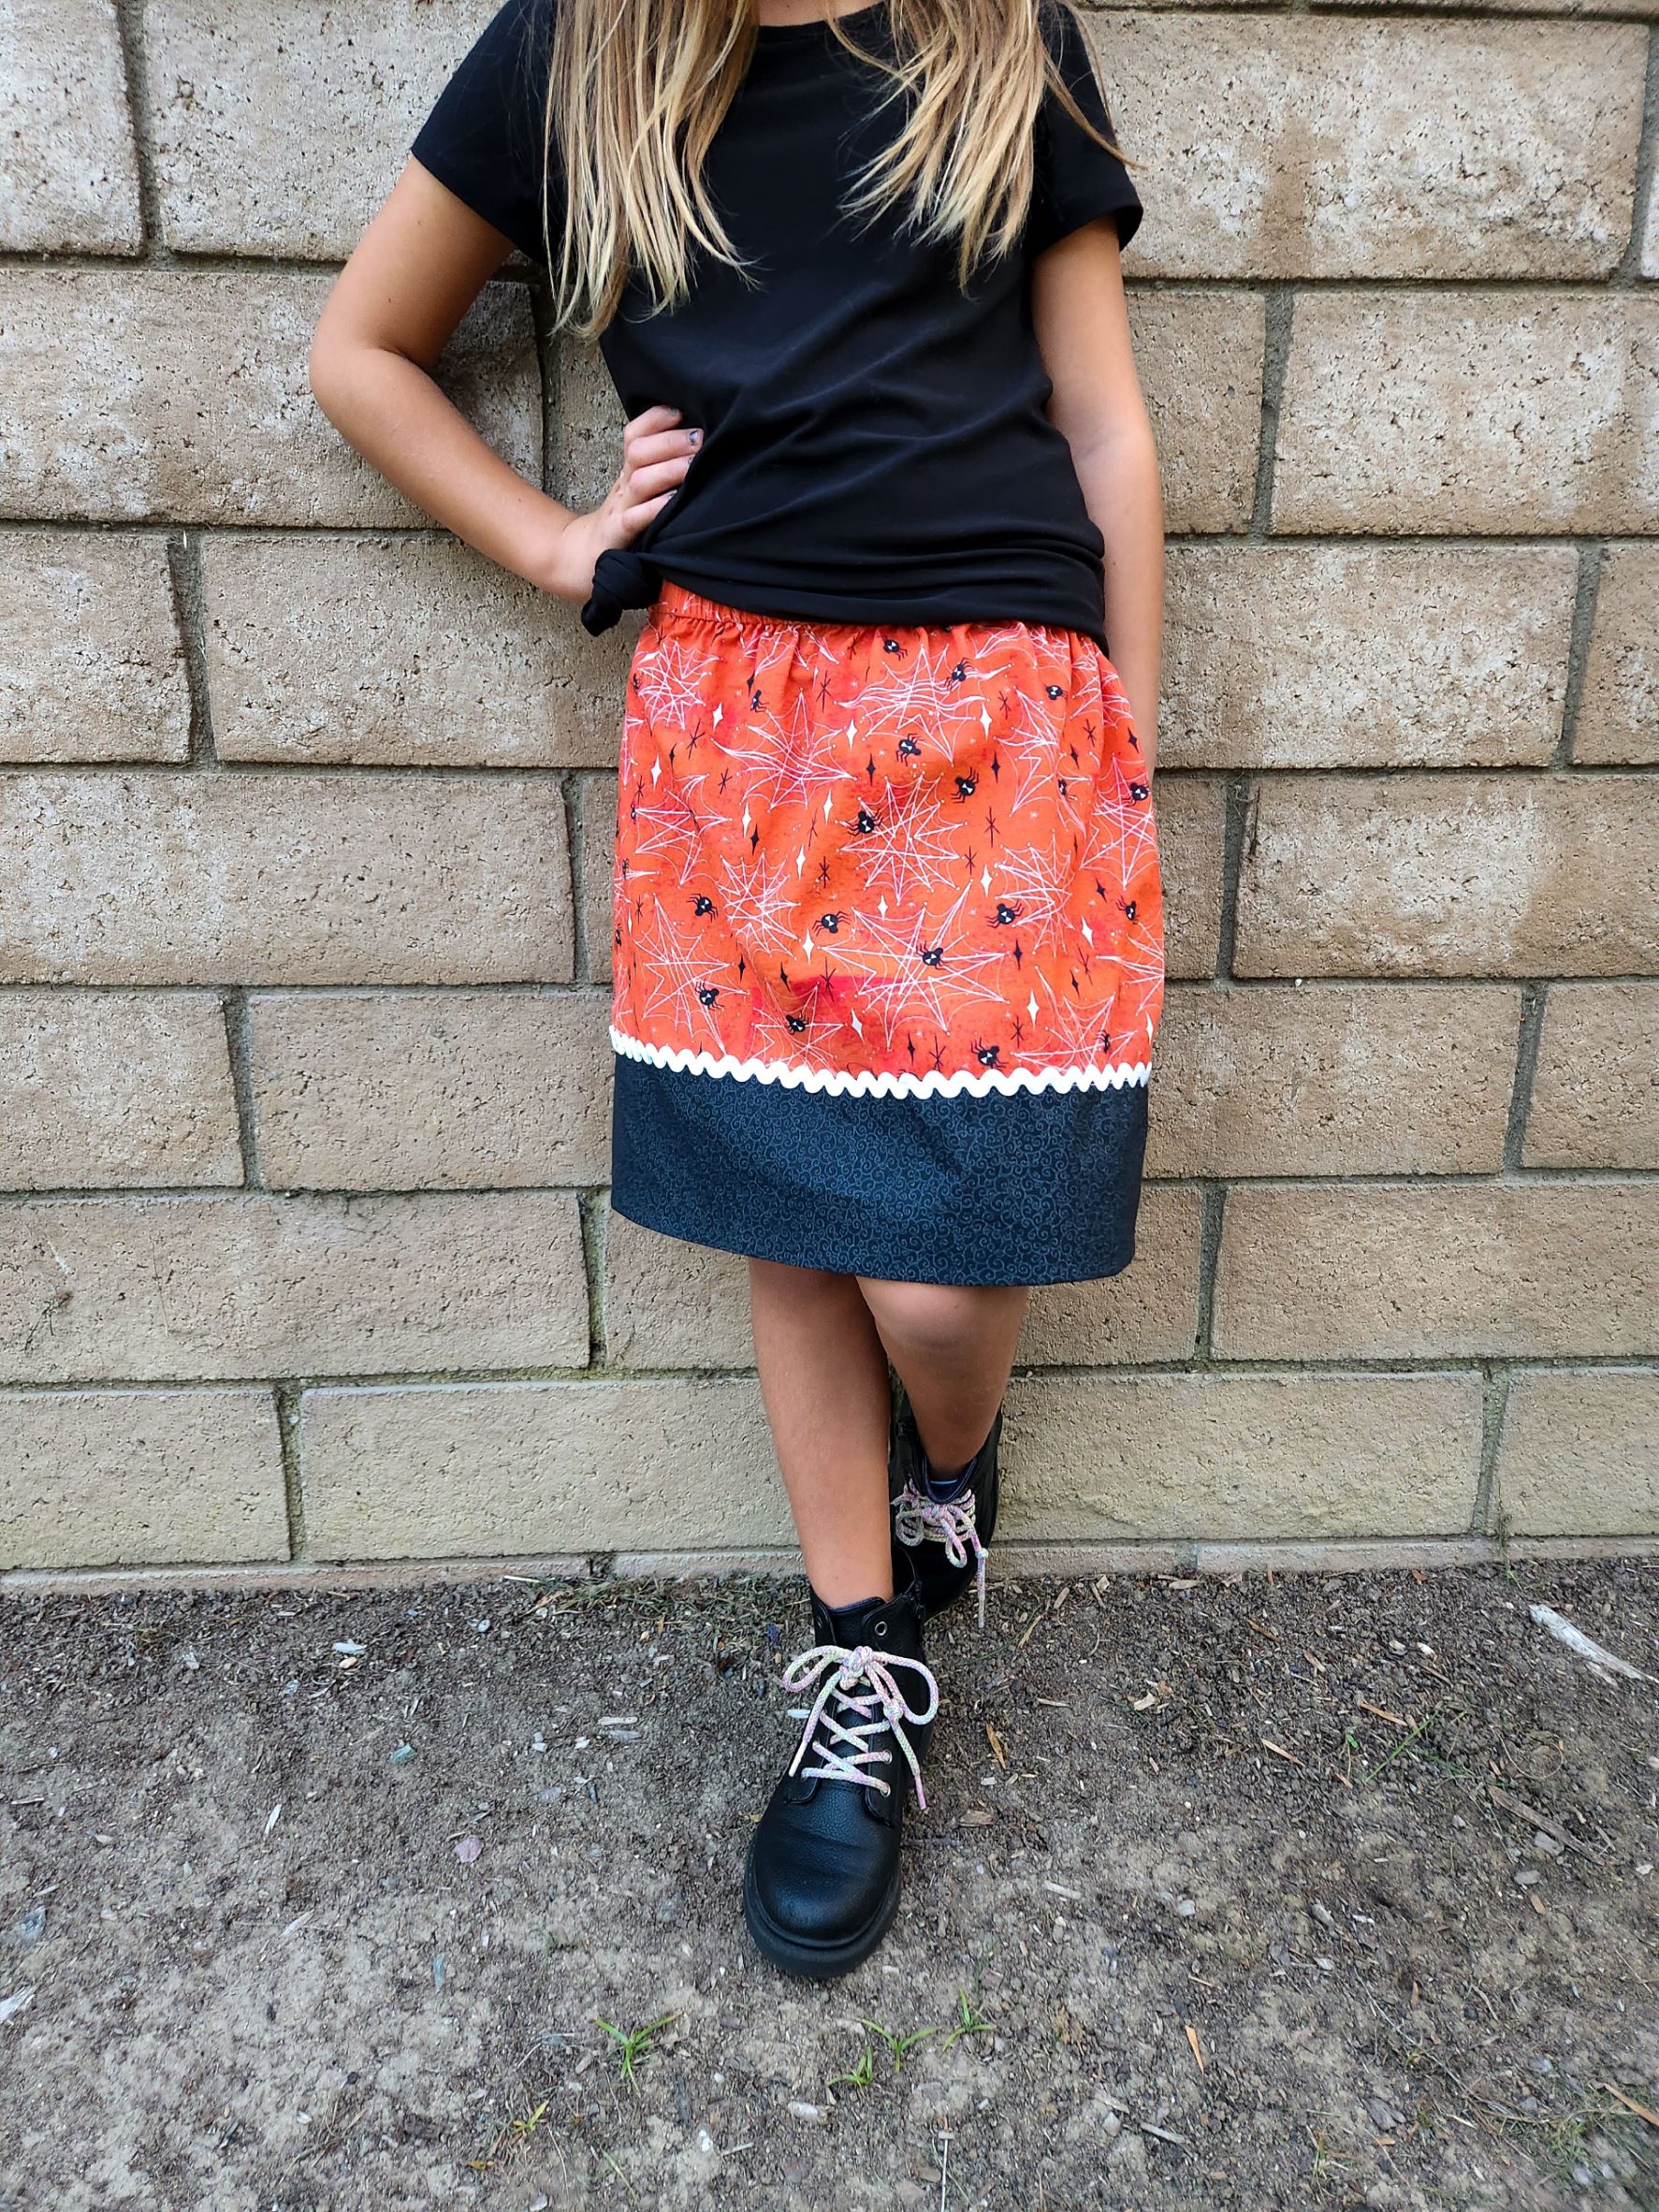
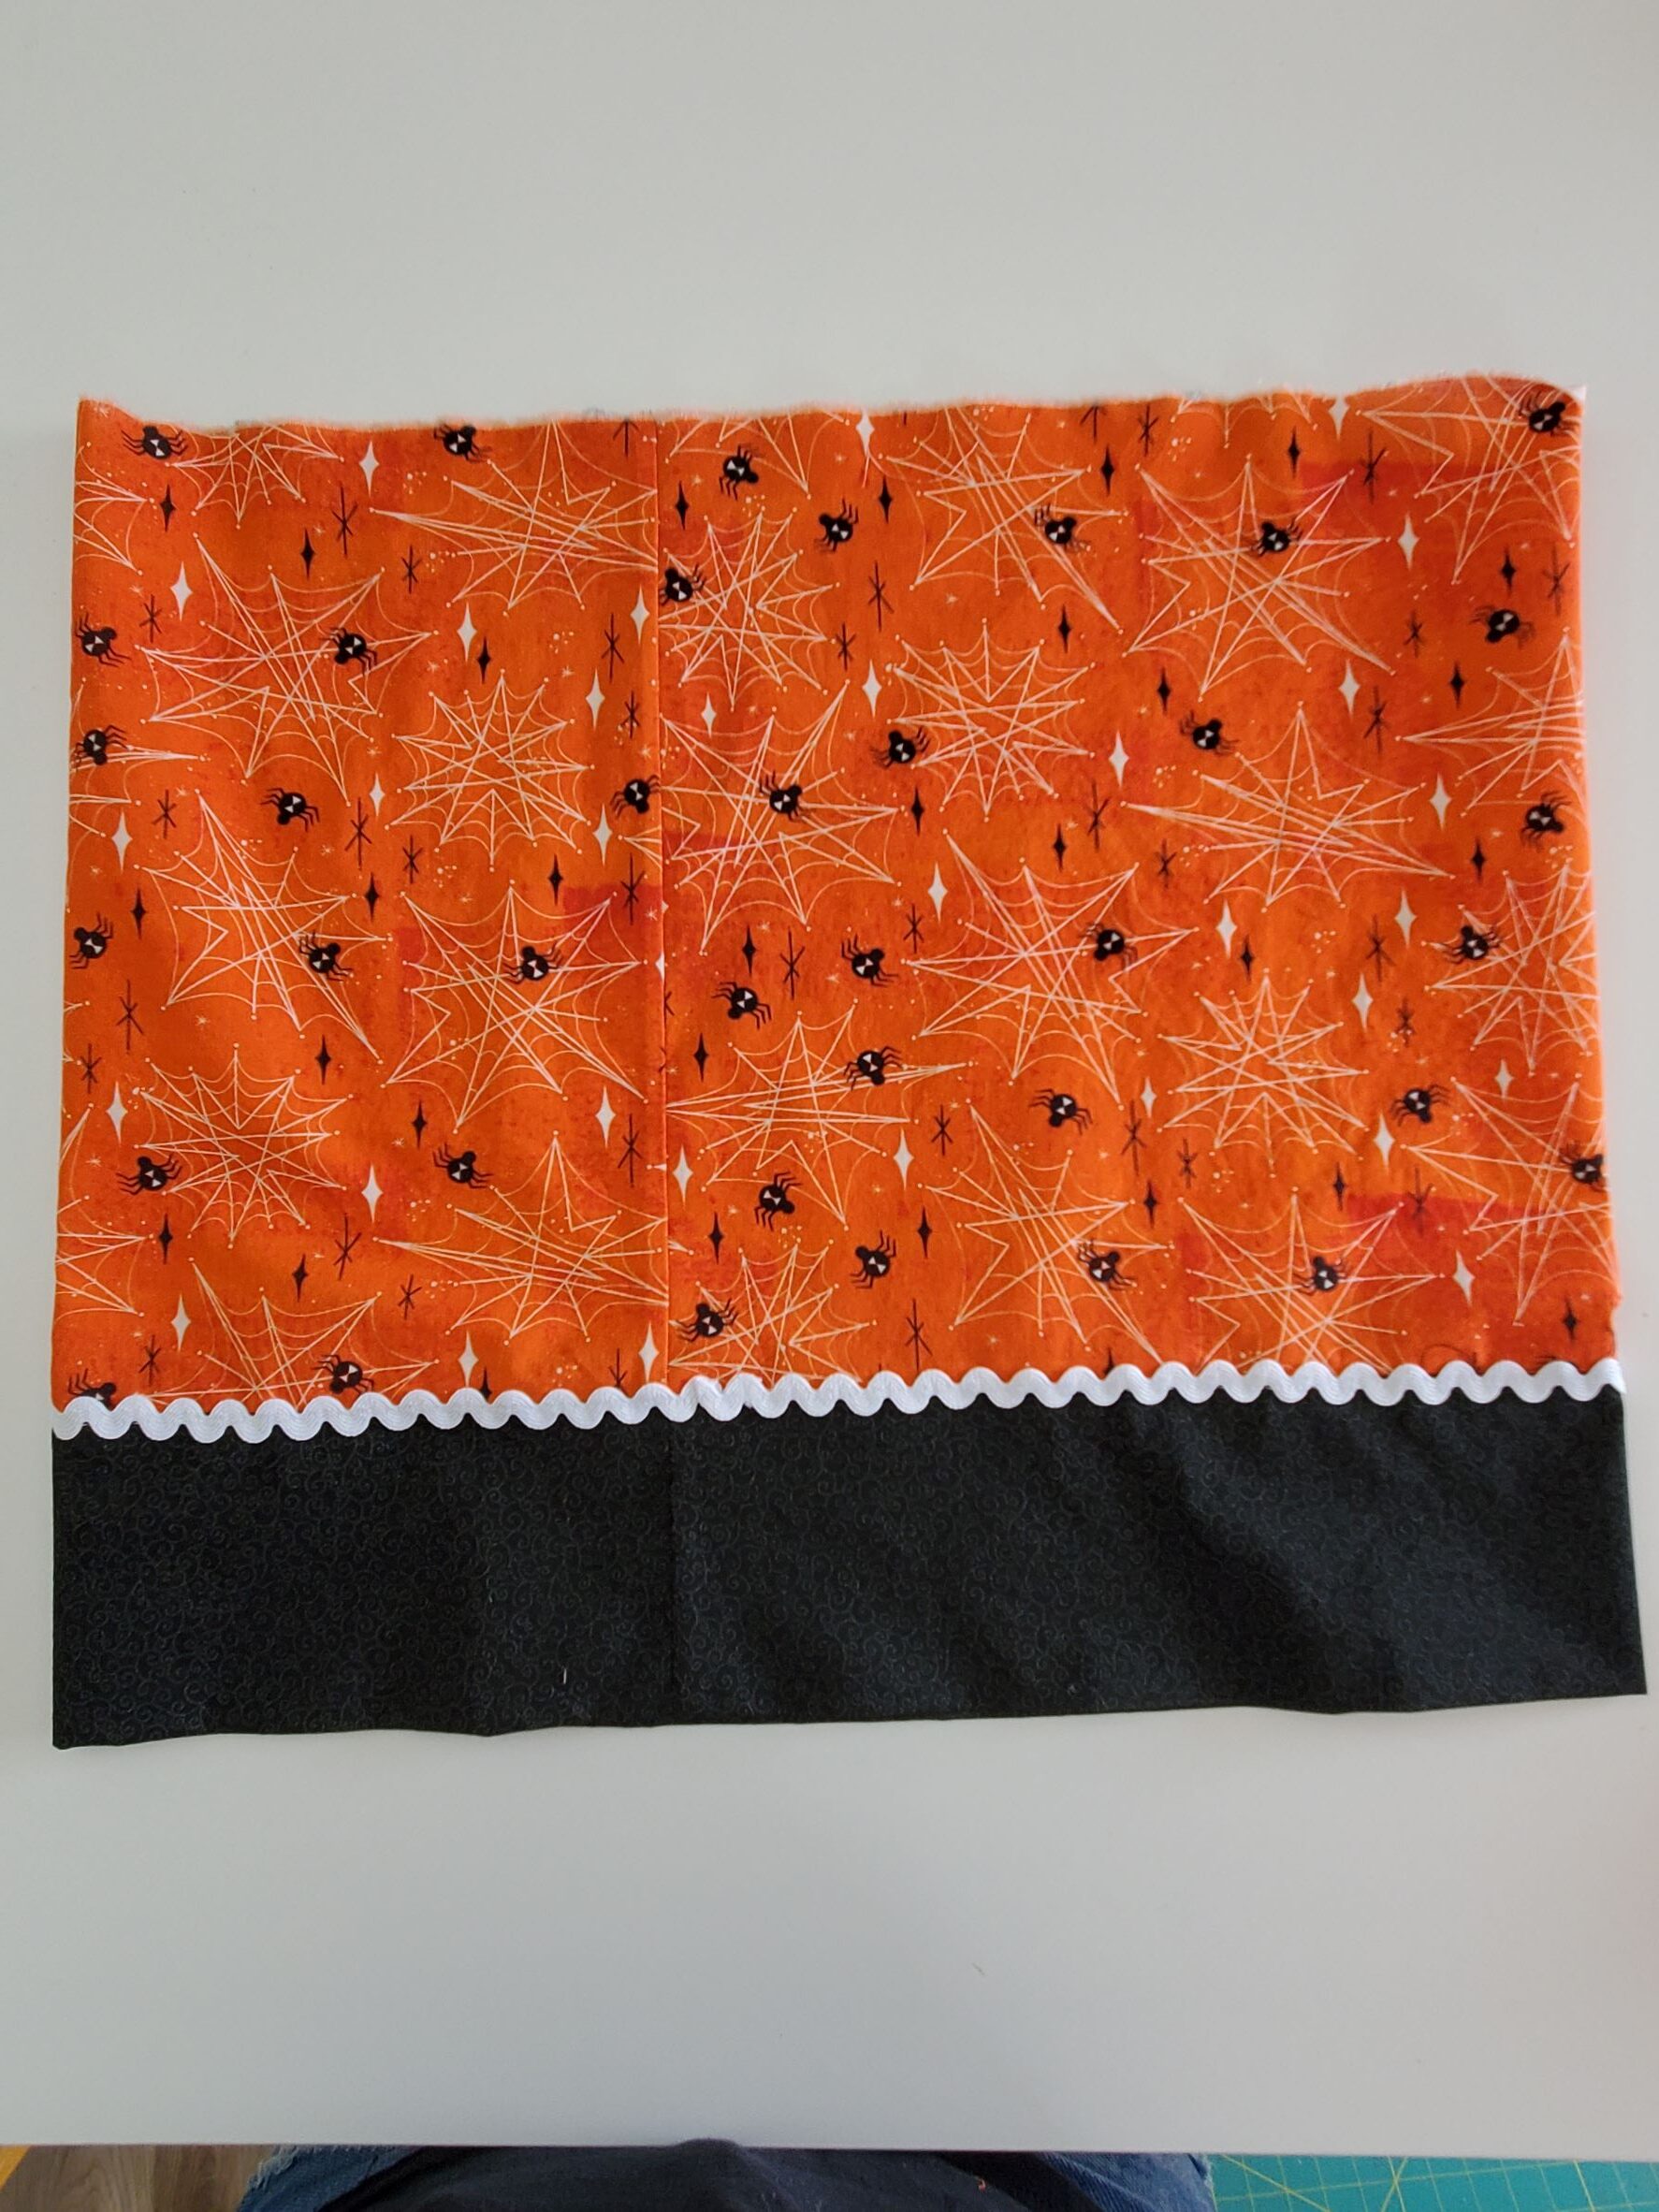
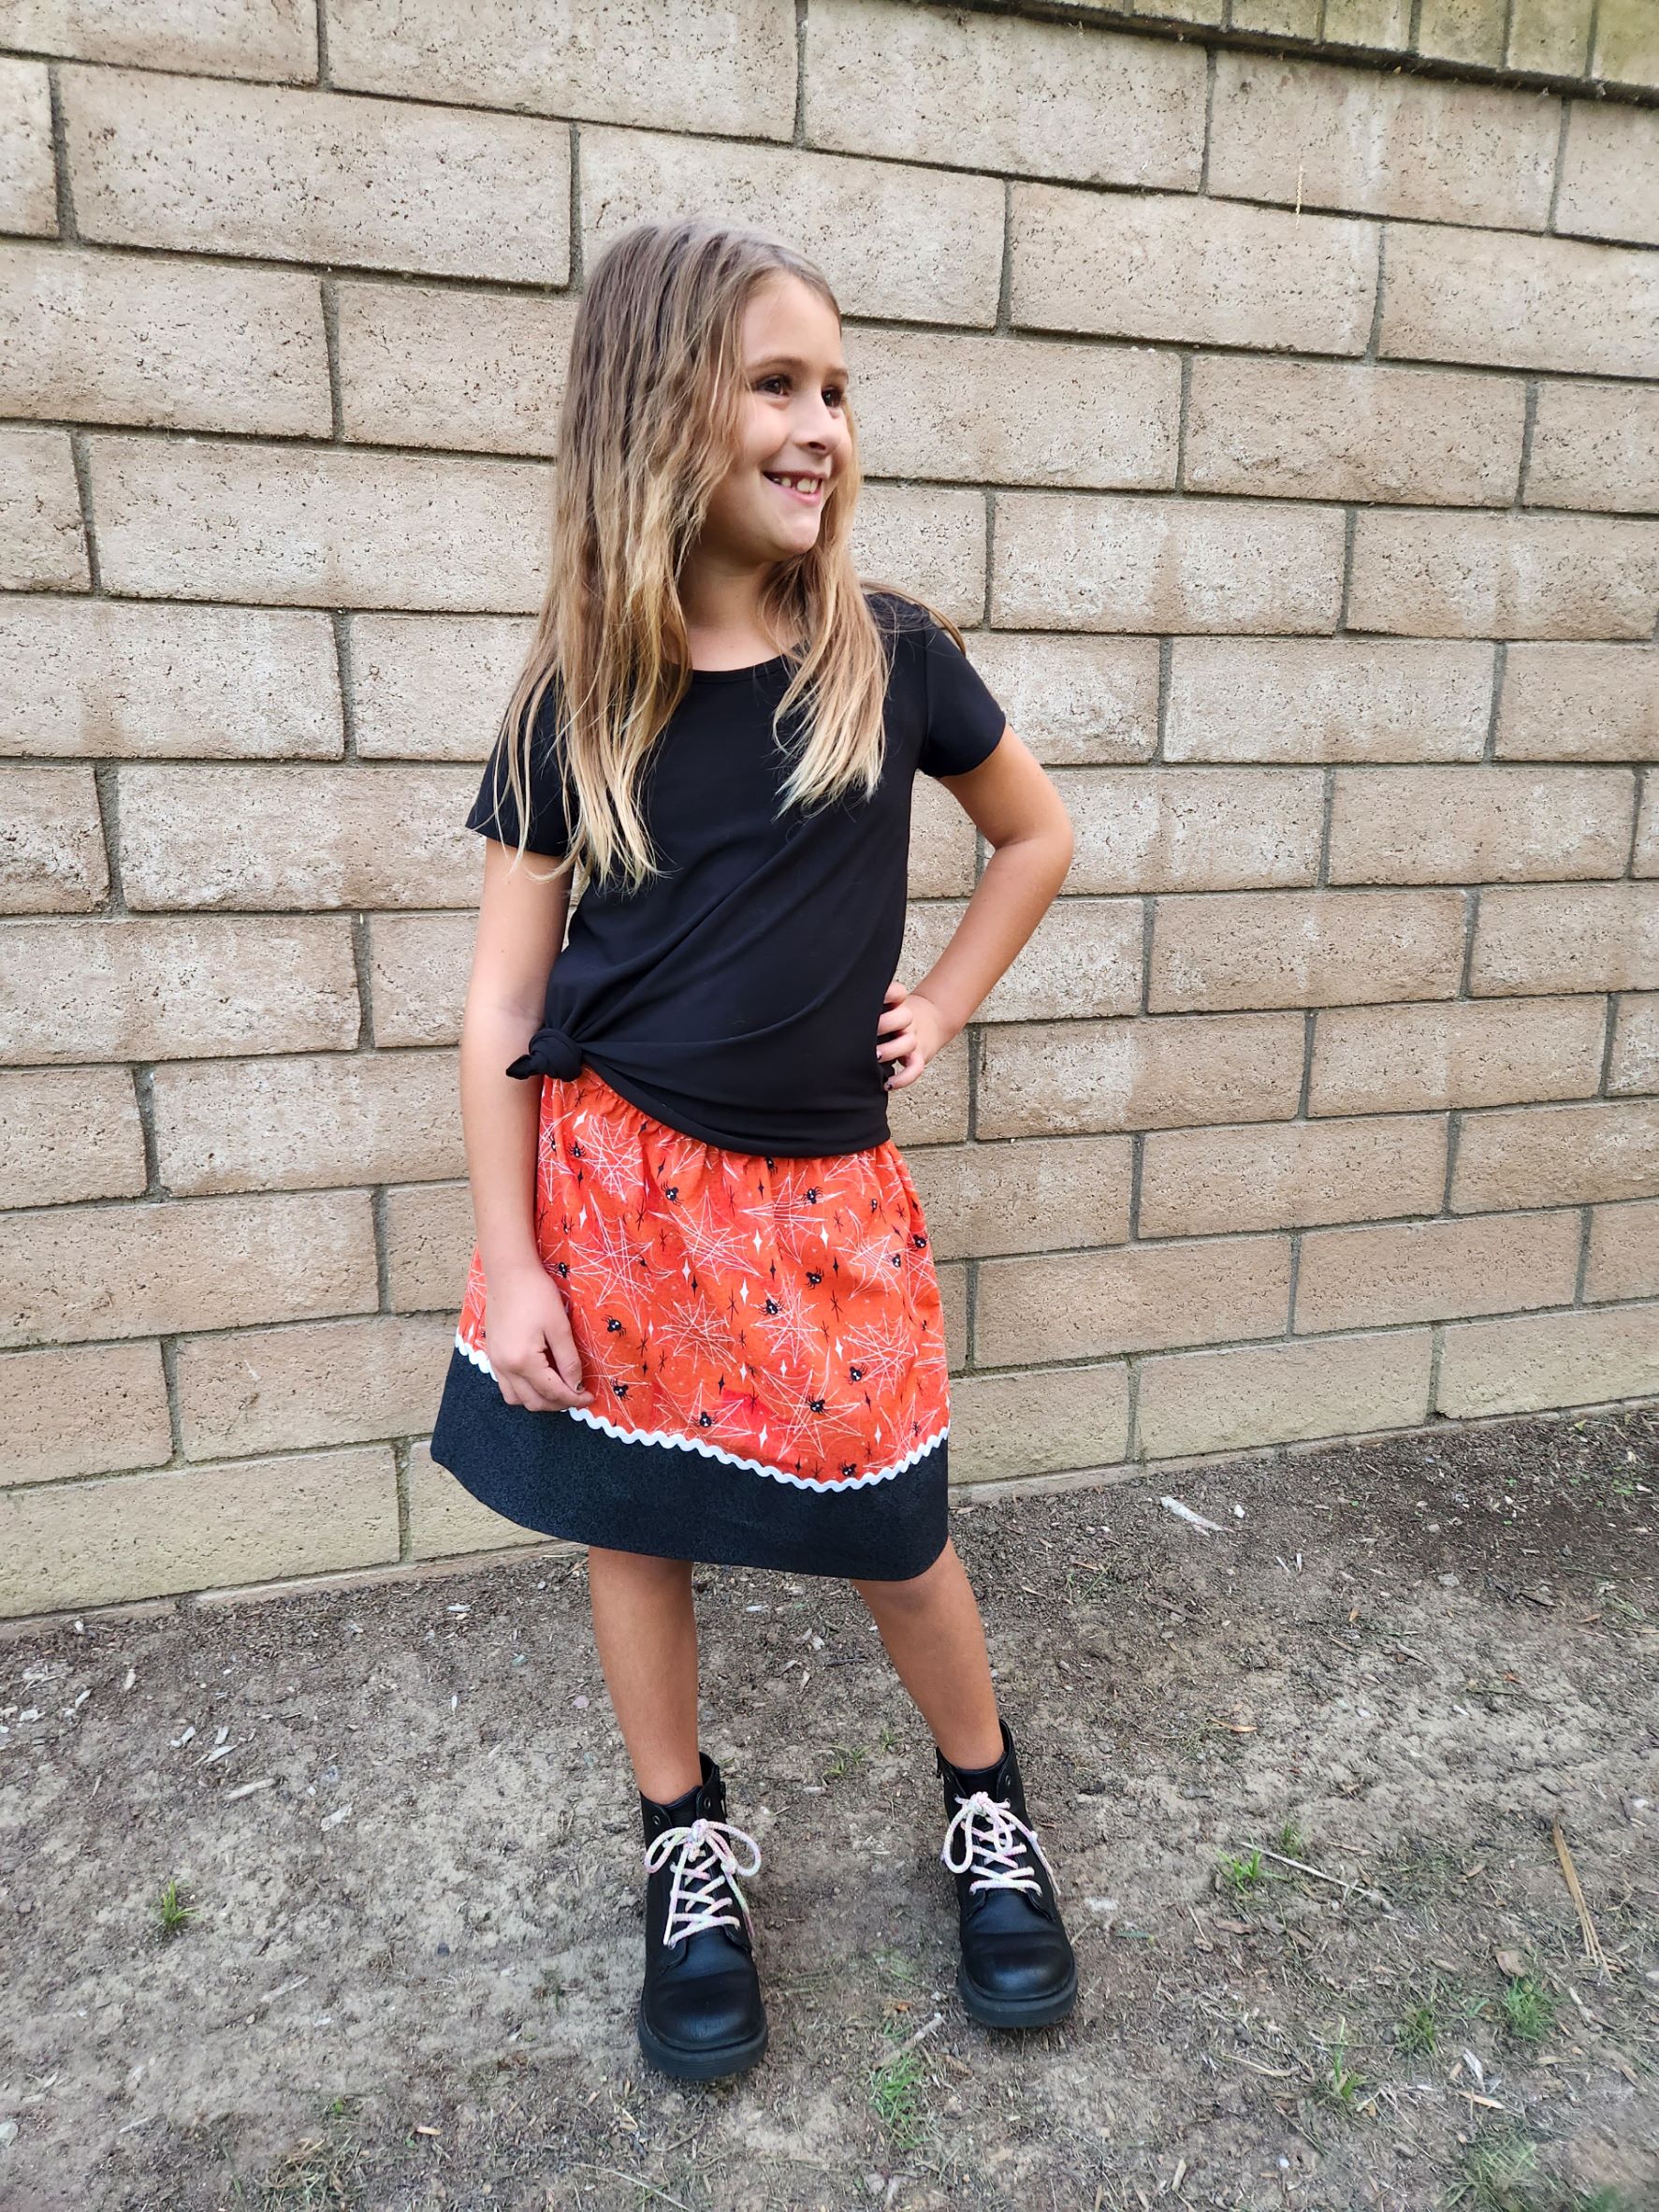
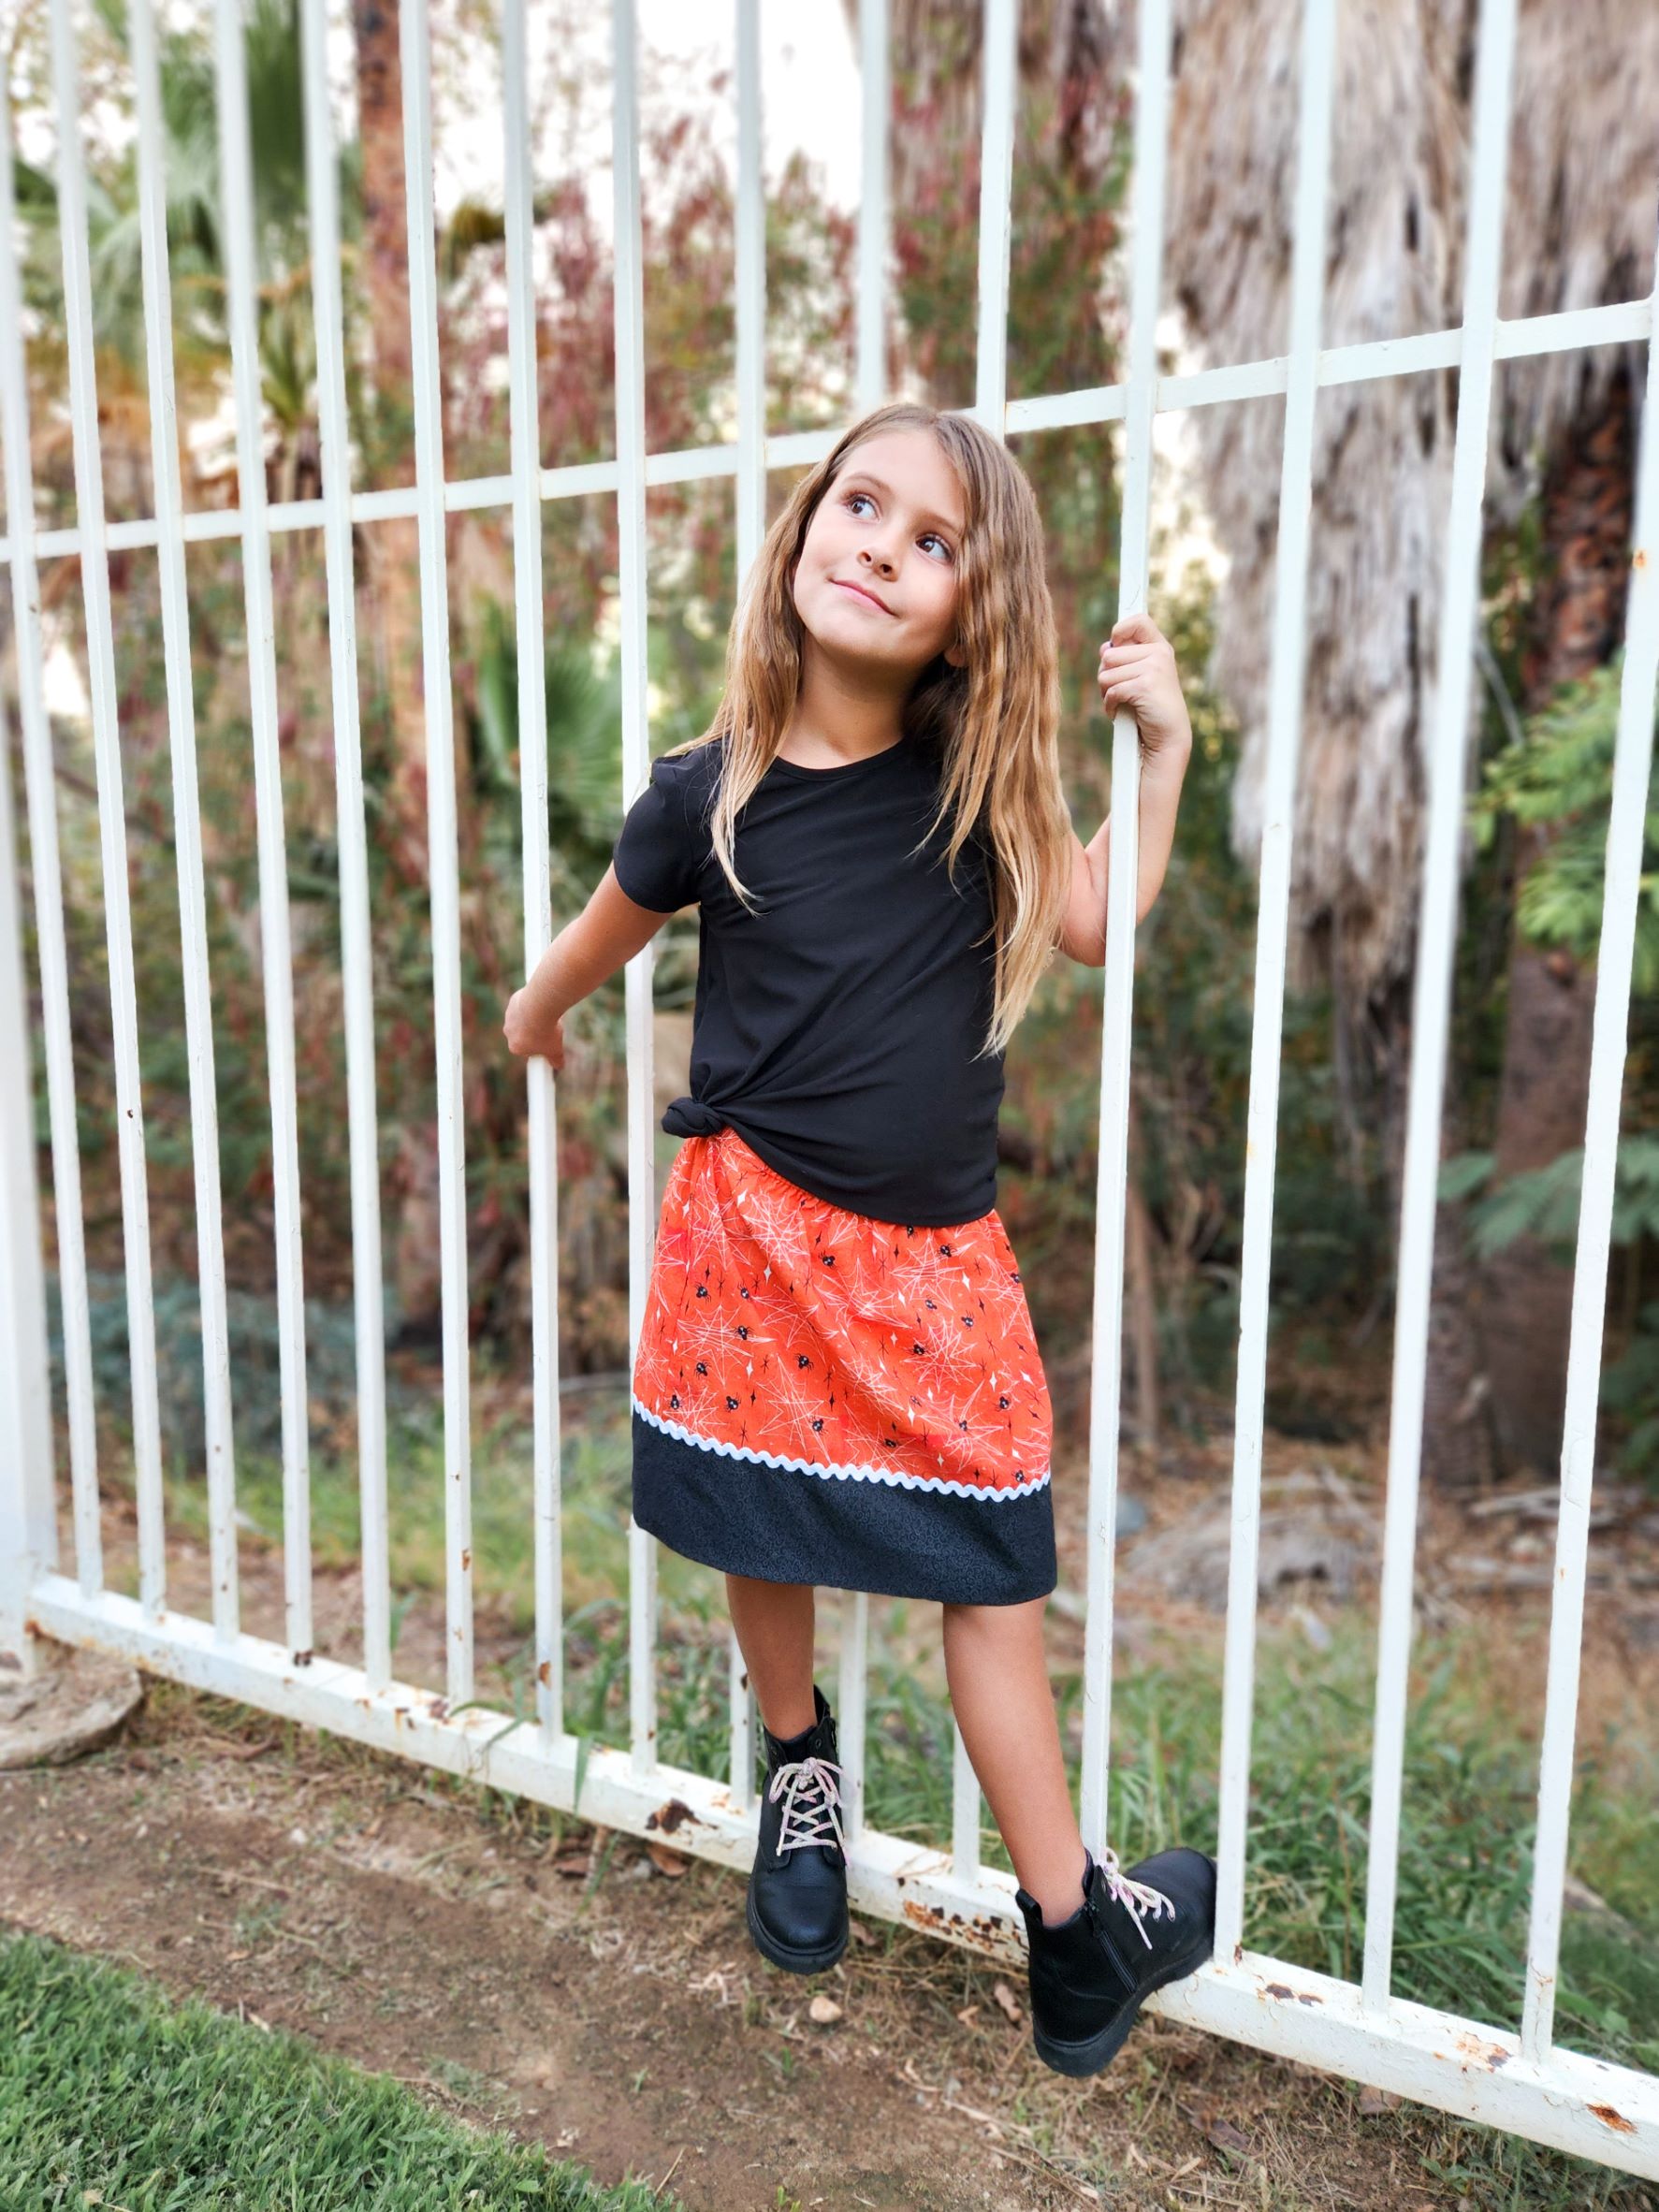
How adorable is this spooky Halloween skirt (and my model)??
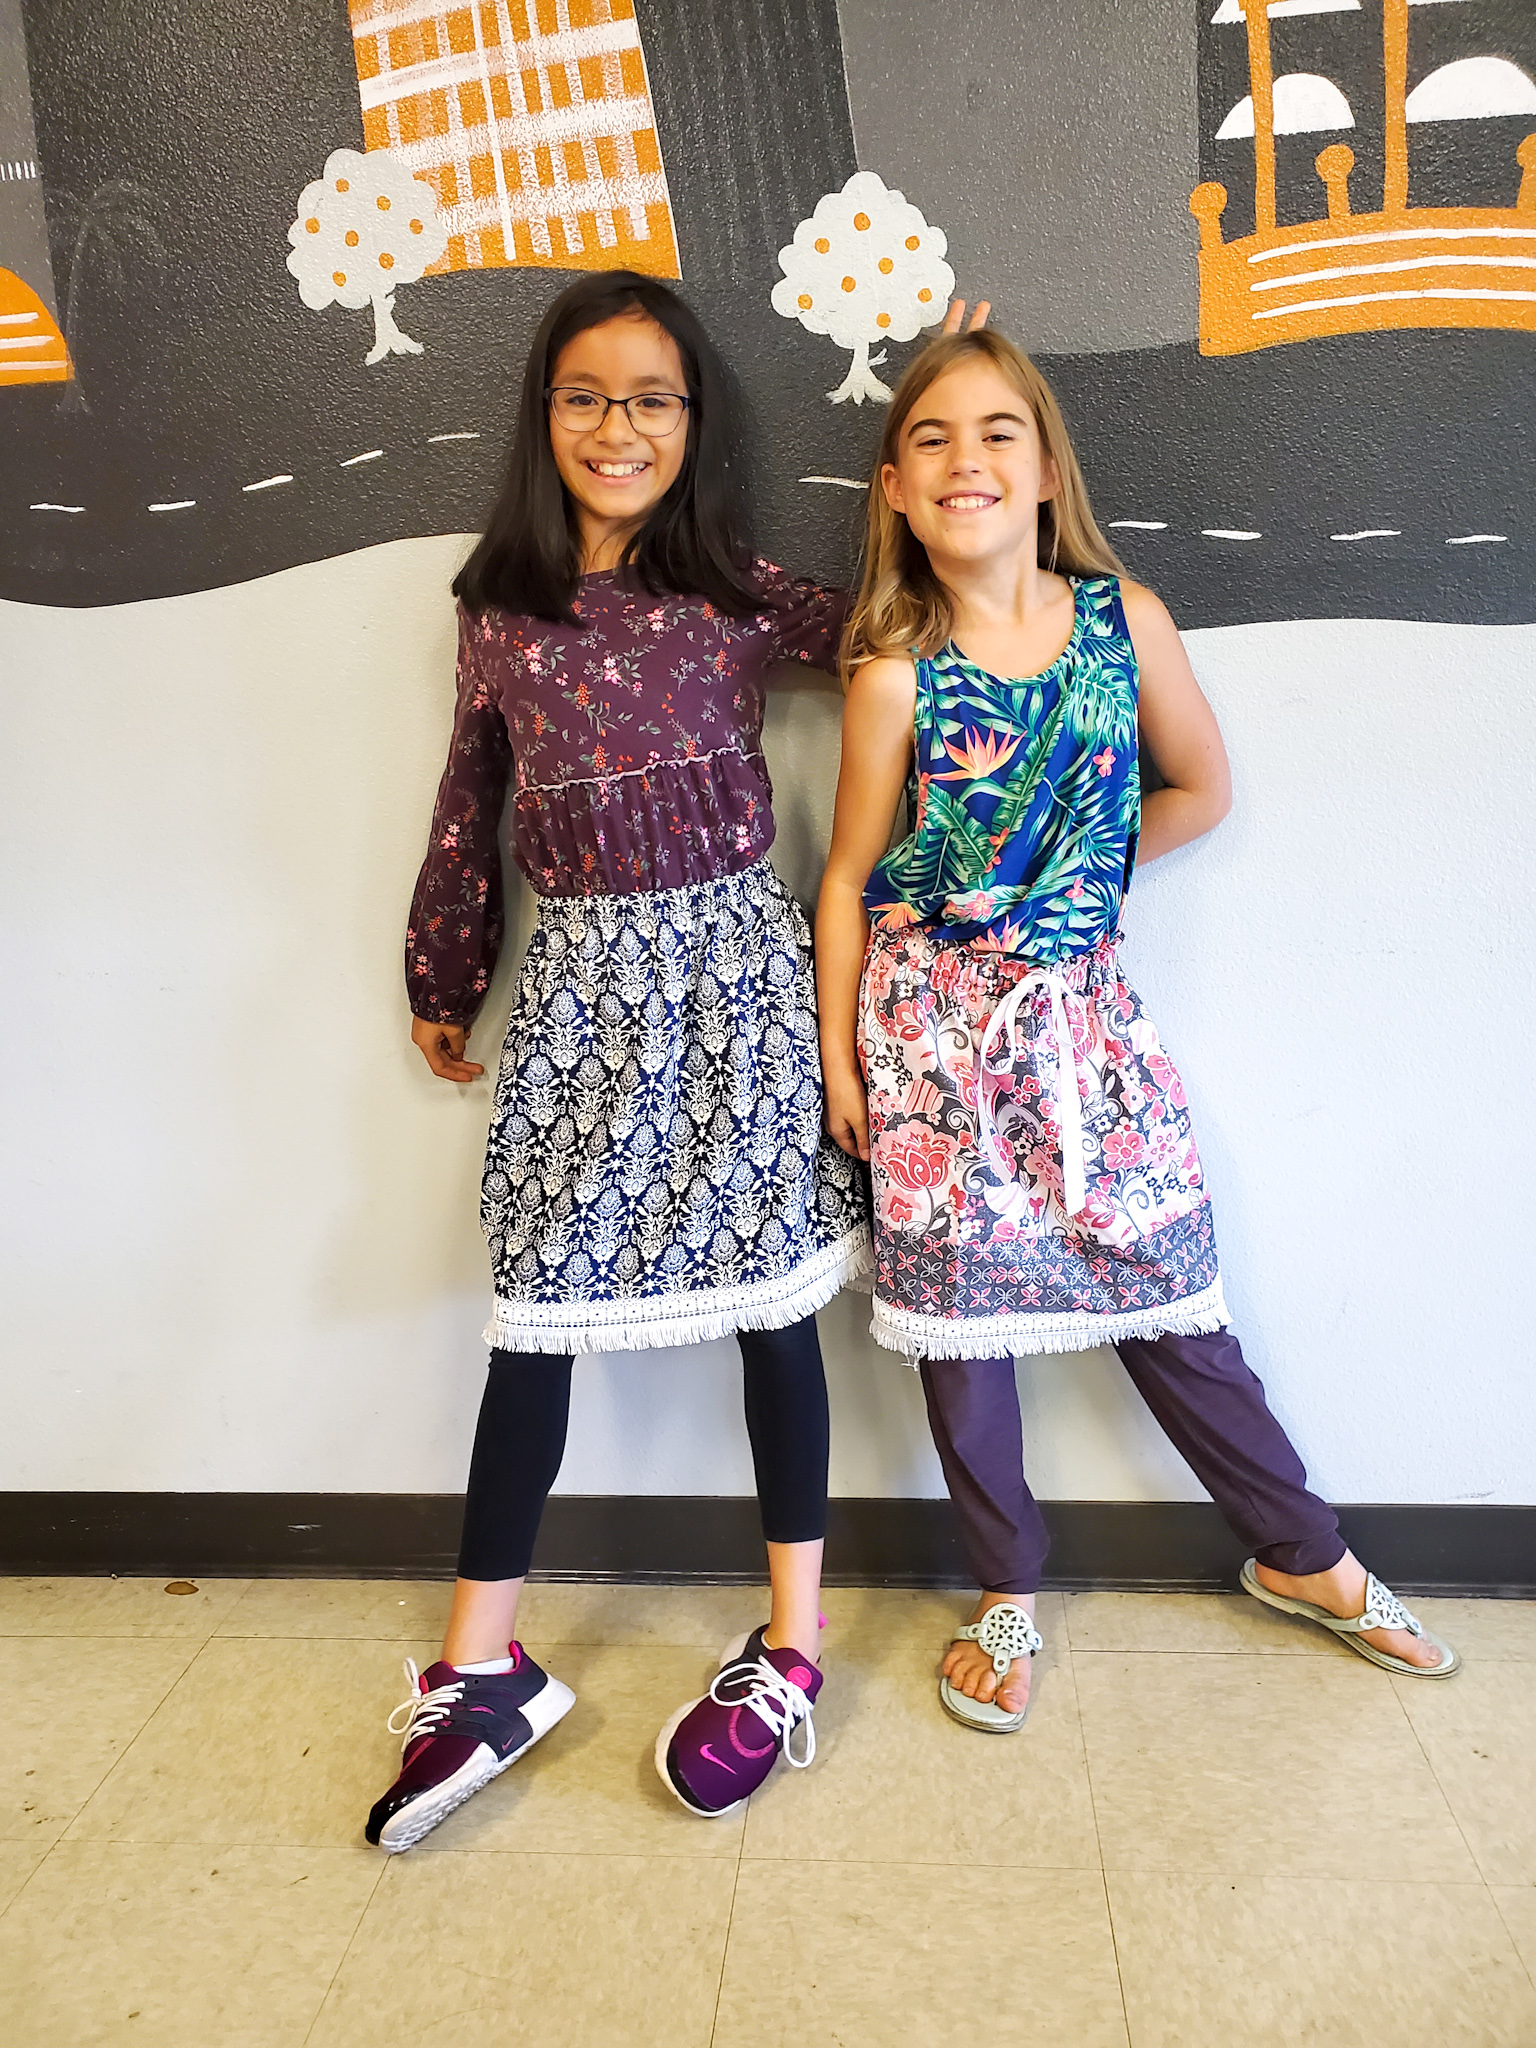
Remember that you can use this tutorial for any time of the year, not just Halloween! I’ve held several classes making skirts, and the girls love them!!
Happy Sewing!! xoxo
Shopping List:


*Sassy Cassy’s is part of the Amazon Affiliate Program, which means that if you purchase Amazon items from this website, a small commission will be earned, at no extra cost to you.
