
Happy Monday!
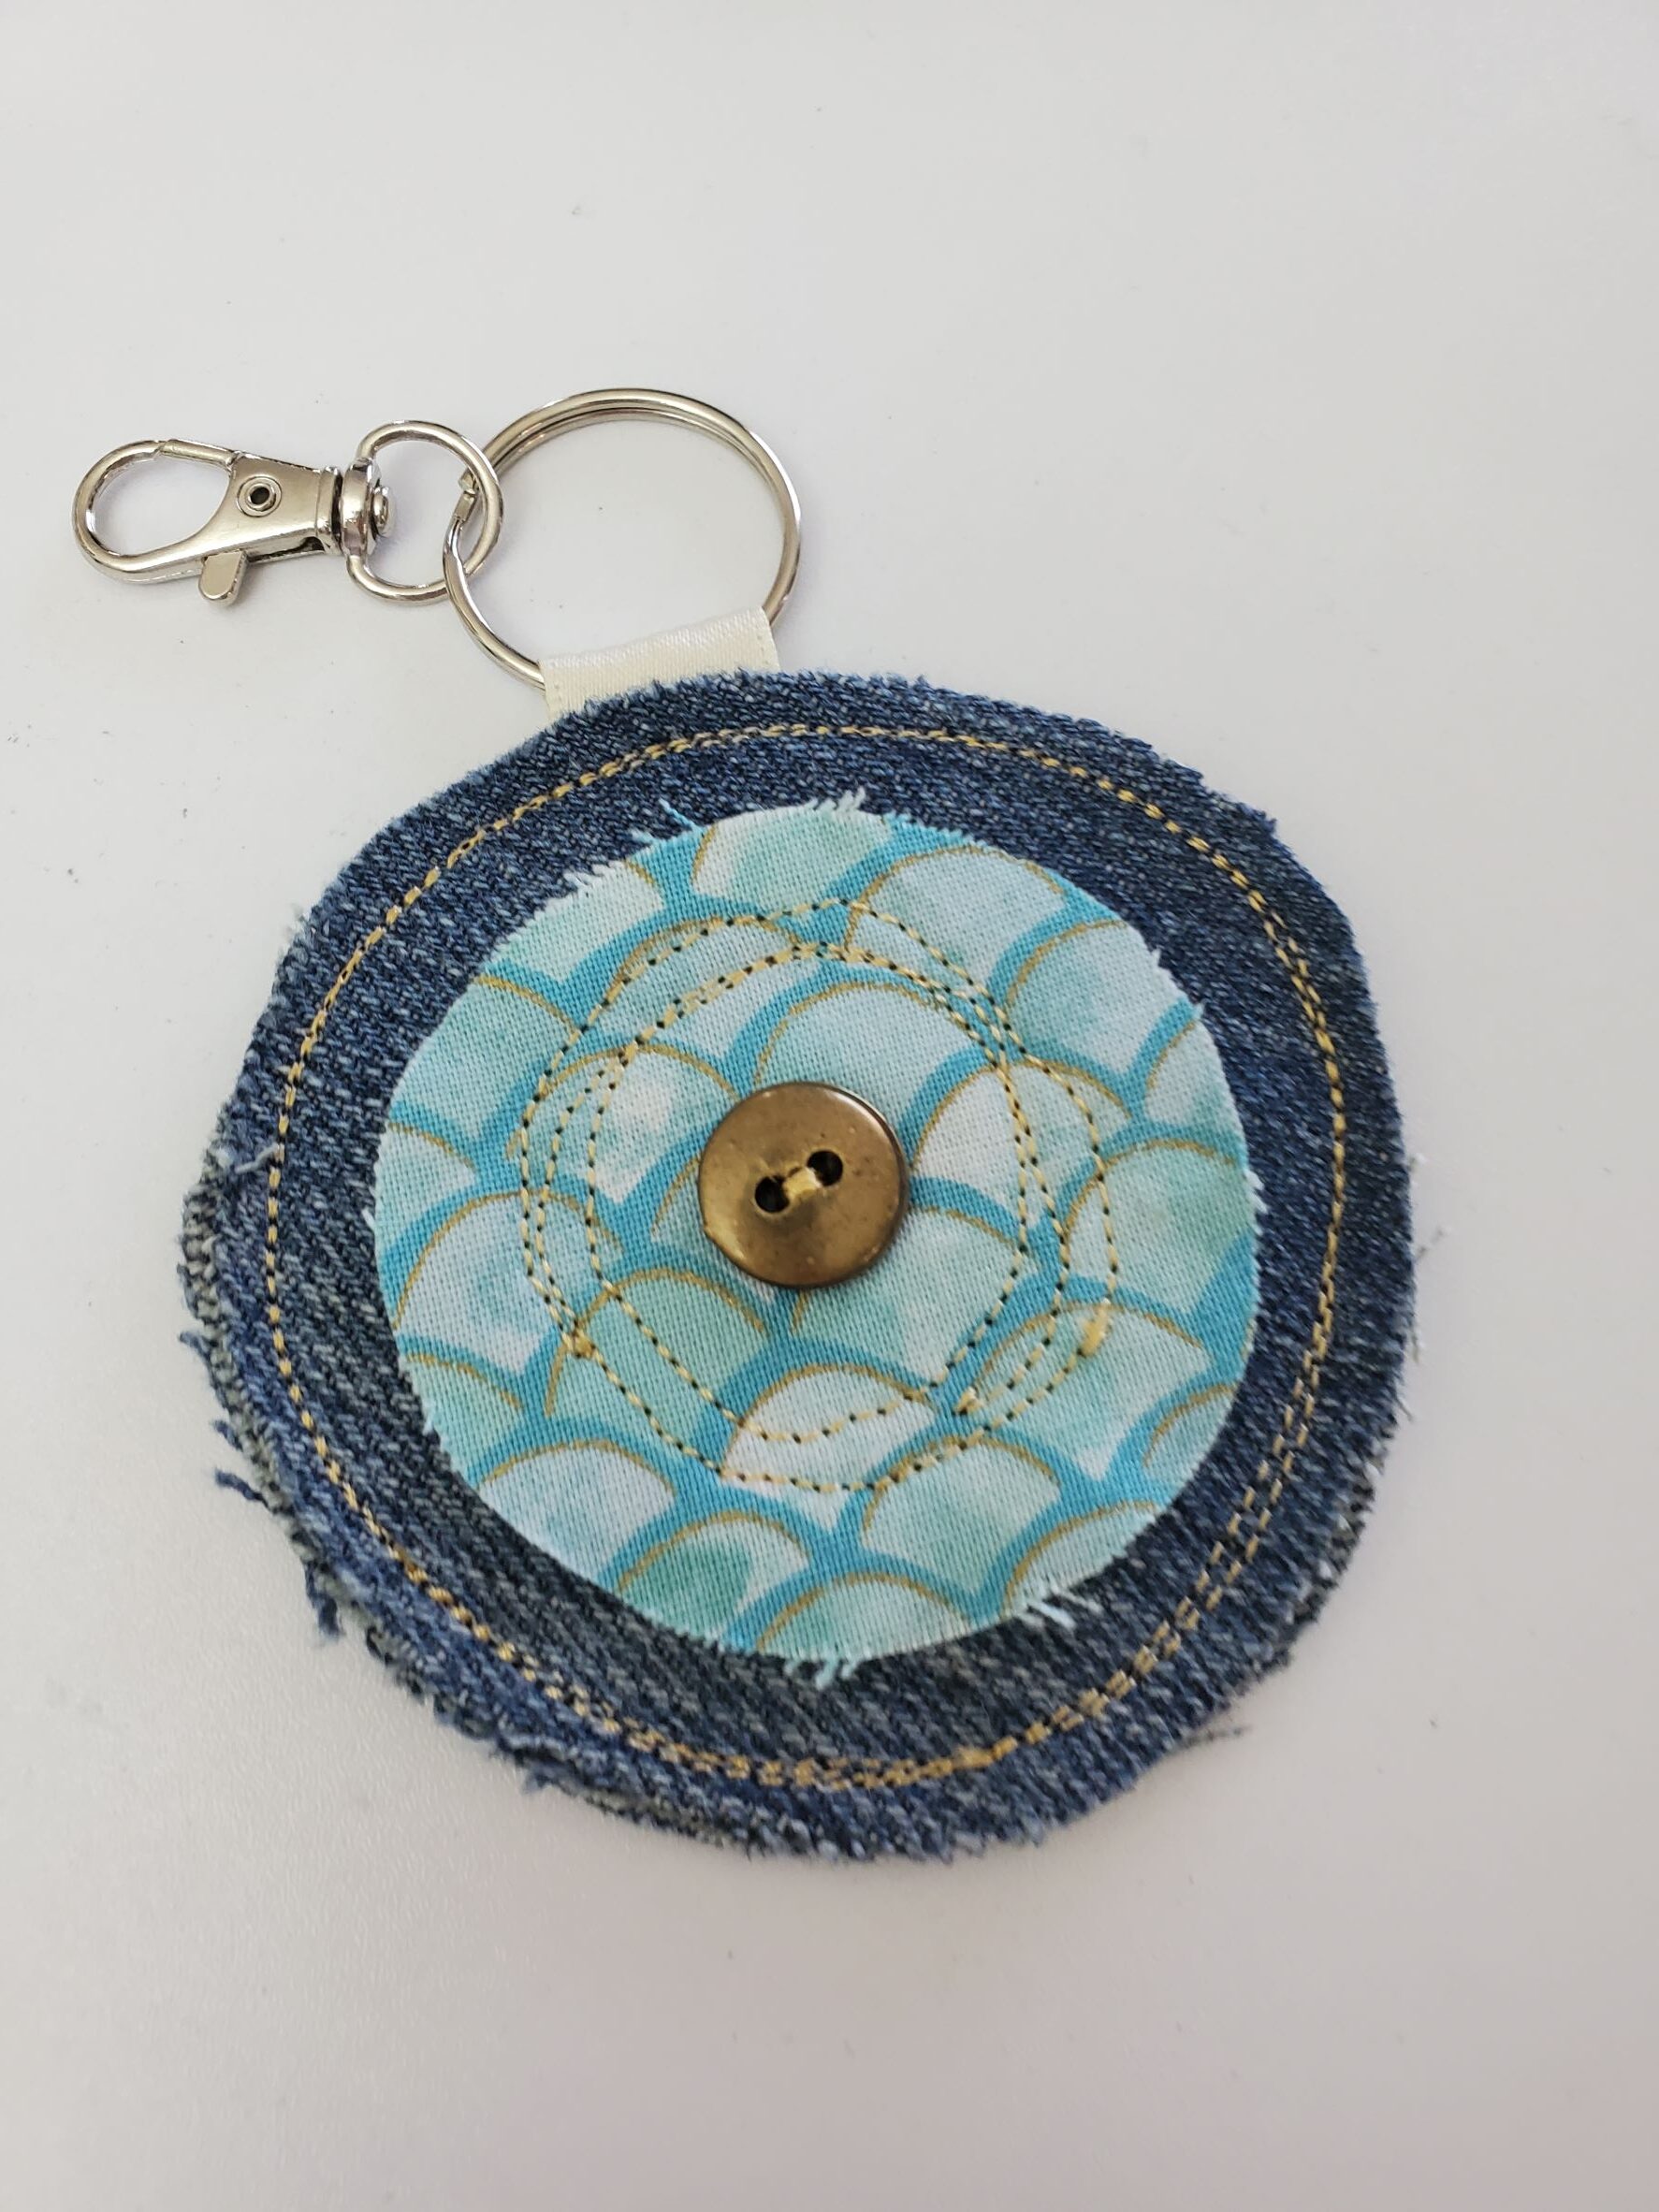
The holiday season is upon us, and I’ve been trying to keep up with posting all of my holiday tutorials, but today I wanted to share an easy, non-holiday tutorial with you (although you could totally make these holiday by using holiday fabric scraps)! I sewed these keychains, made from upcycled denim, with my students a couple of weeks ago and they loved them so much that I thought I should share the tutorial. They have a craft fair coming up at the learning center, and I thought this would be a fun, easy and inexpensive project to make up and sell! It is a really great way to use up scraps, and perfect for those holey jeans that you don’t want to throw away but are too worn to wear. The costs are very minimal!
I picked this project as a way for my beginning students to practice sewing circles, and to teach them how to sew on buttons. Both are great (and essential) skills to have in sewing! I used to teach them how to do these things on samples/scrap fabrics, but this is a way more fun way to learn it, and they get to take something home, rather than tossing a scrap into a trash bin at the end of class.
Before we get to sewing, let me share a couple of tips with you.
Tip #1: Don’t buy your notions at the craft store!! This includes ribbons, keyrings, and buttons. You will spend like 500% more on keyrings; a pack of 3 cost me $4 at Joanns, whereas I found 50 of them for $9 online! It’s the same case with grosgrain ribbon (soooo much cheaper online). You can likely find a variety pack of buttons for a good price at a craft store, but there are way more options online and I found some SUPER cute buttons online!! (Of course I found them after I made my samples). If you are going to make them to sell, buying in bulk is definitely the way to go! (I’ve linked these things at the end of this post).
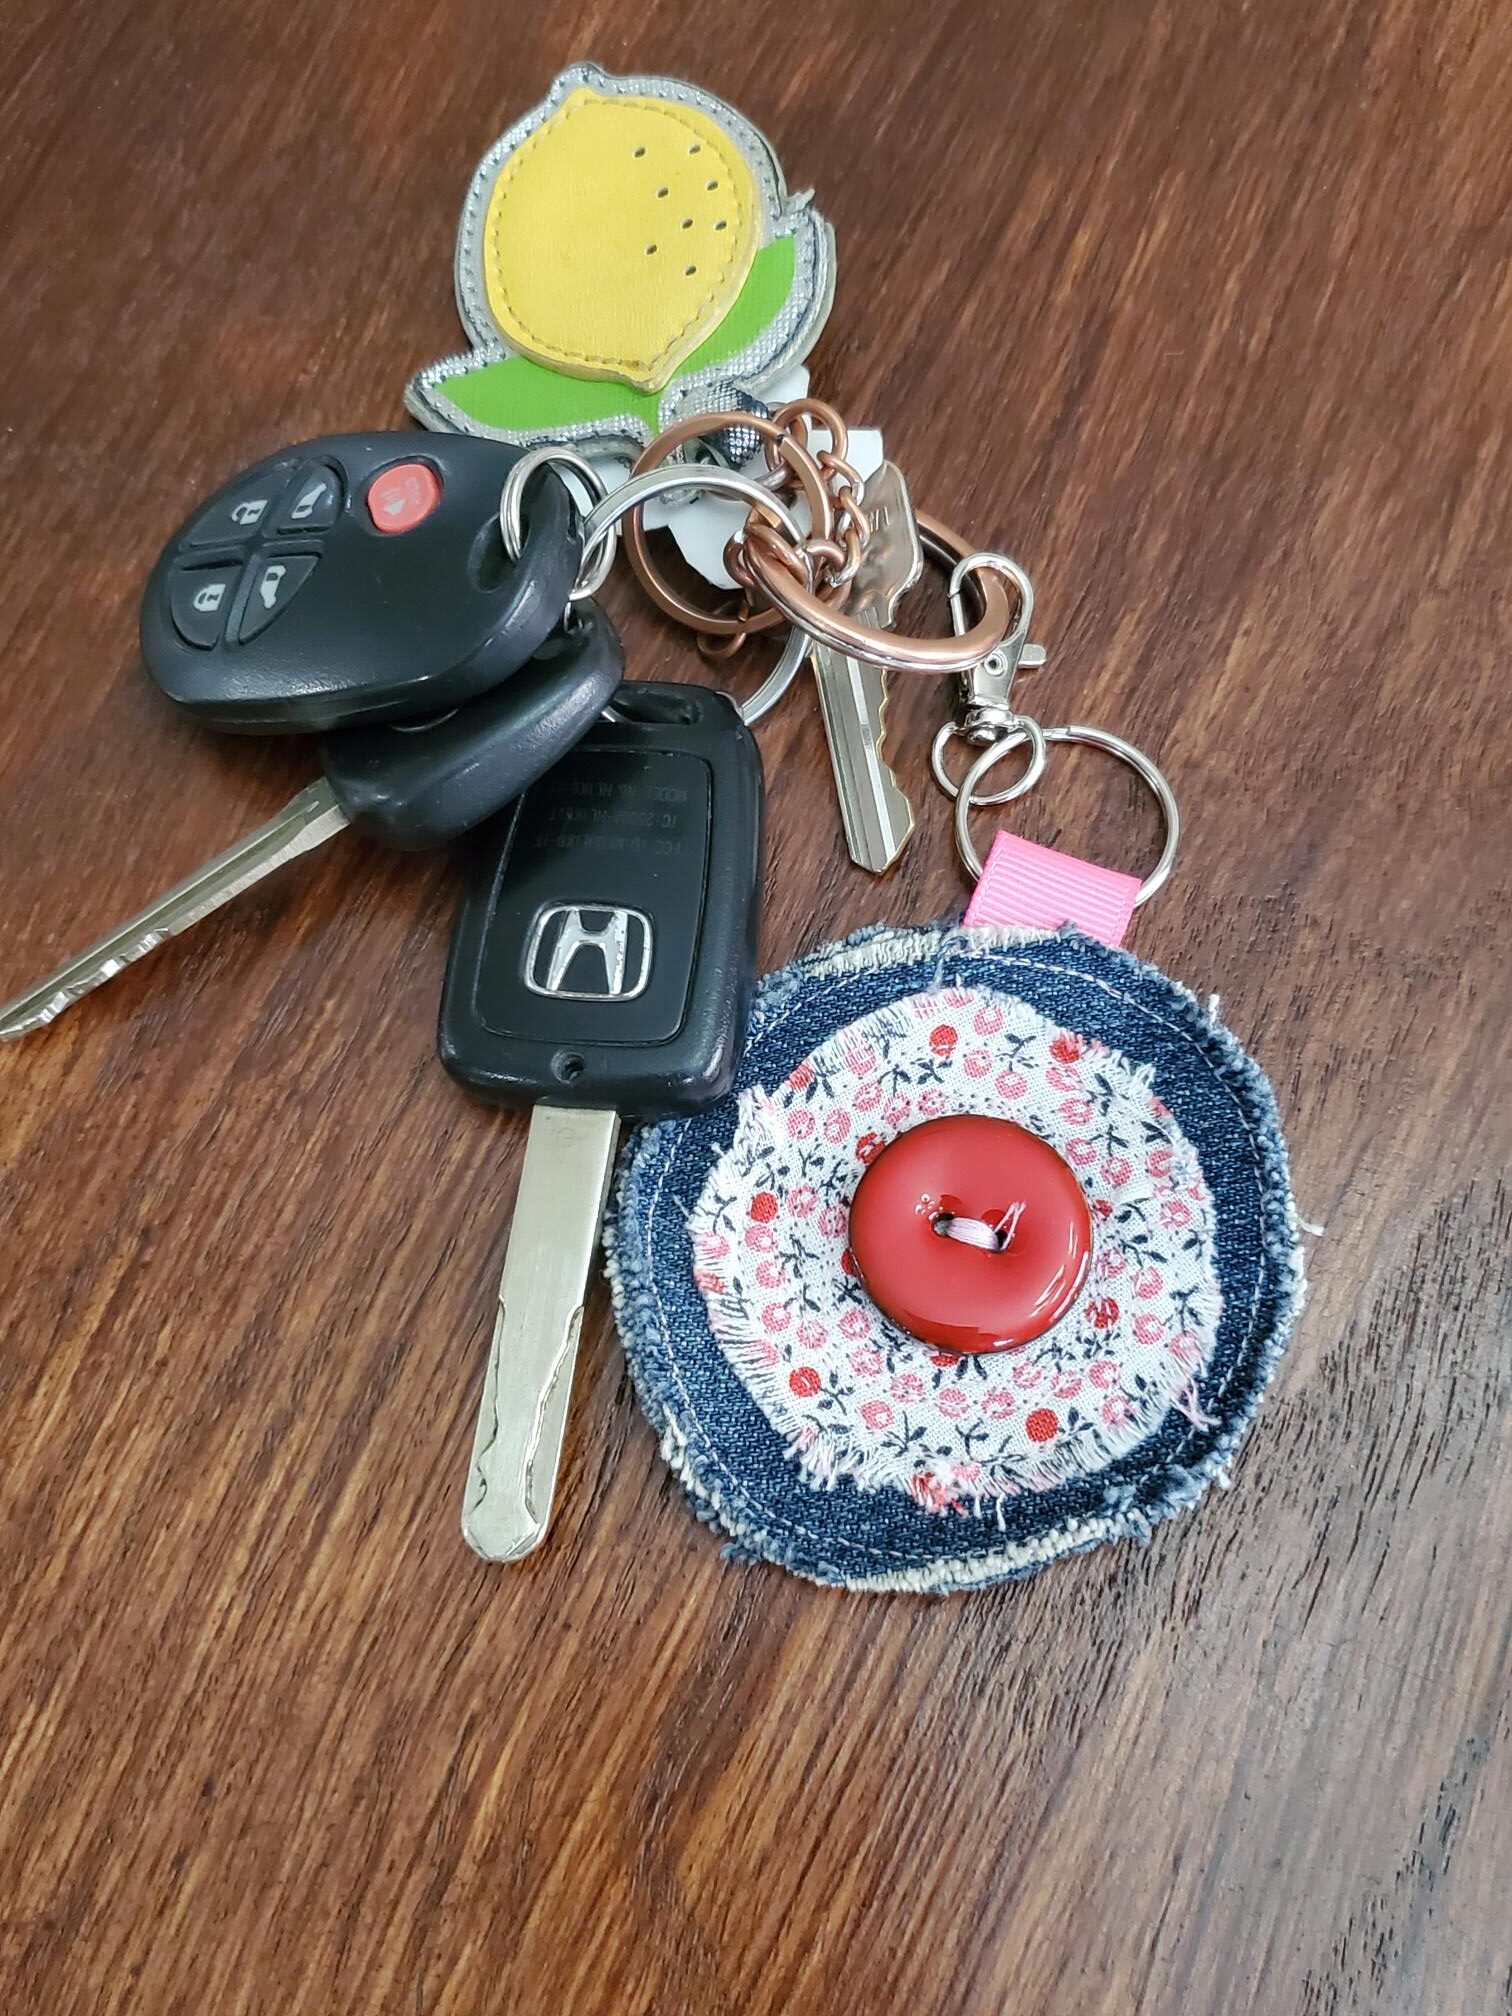
Tip #2: Your circles don’t have to be perfect!! What I love about this project is that you can practice sewing in circles without having to make them look perfect. Trust me, sewing circles is a skill that is learned by trial and error and your first ones will NOT be perfect!! The first thing I ever sewed in my life was a circle (for a doll head, which I was making as a teenager with my aunt), and it was SO bad that it didn’t even look like a circle and my aunt was laughing so hard she was nearly crying, ha ha. I love sharing that story with my students. Had I known that I would have a career in teaching sewing, I would have definitely held onto that botched circle!! Anyway, irregular circles actually look really cute on this project. In fact, I purposely made mine irregular on the center circle, as you will see in the post below.
Tip#3: If your denim is thick, you might consider using a denim needle. We didn’t switch needles for this project because the denim I had was relatively thin. When using thicker fabrics, you do need stronger needles. Again, I shared that with you at the end of of the post. Don’t forget to look!
Perfection is not necessary when sewing these adorable keychains! It’s fun to put together all the different fabrics and buttons. Let your creativity take over and have fun with this project!
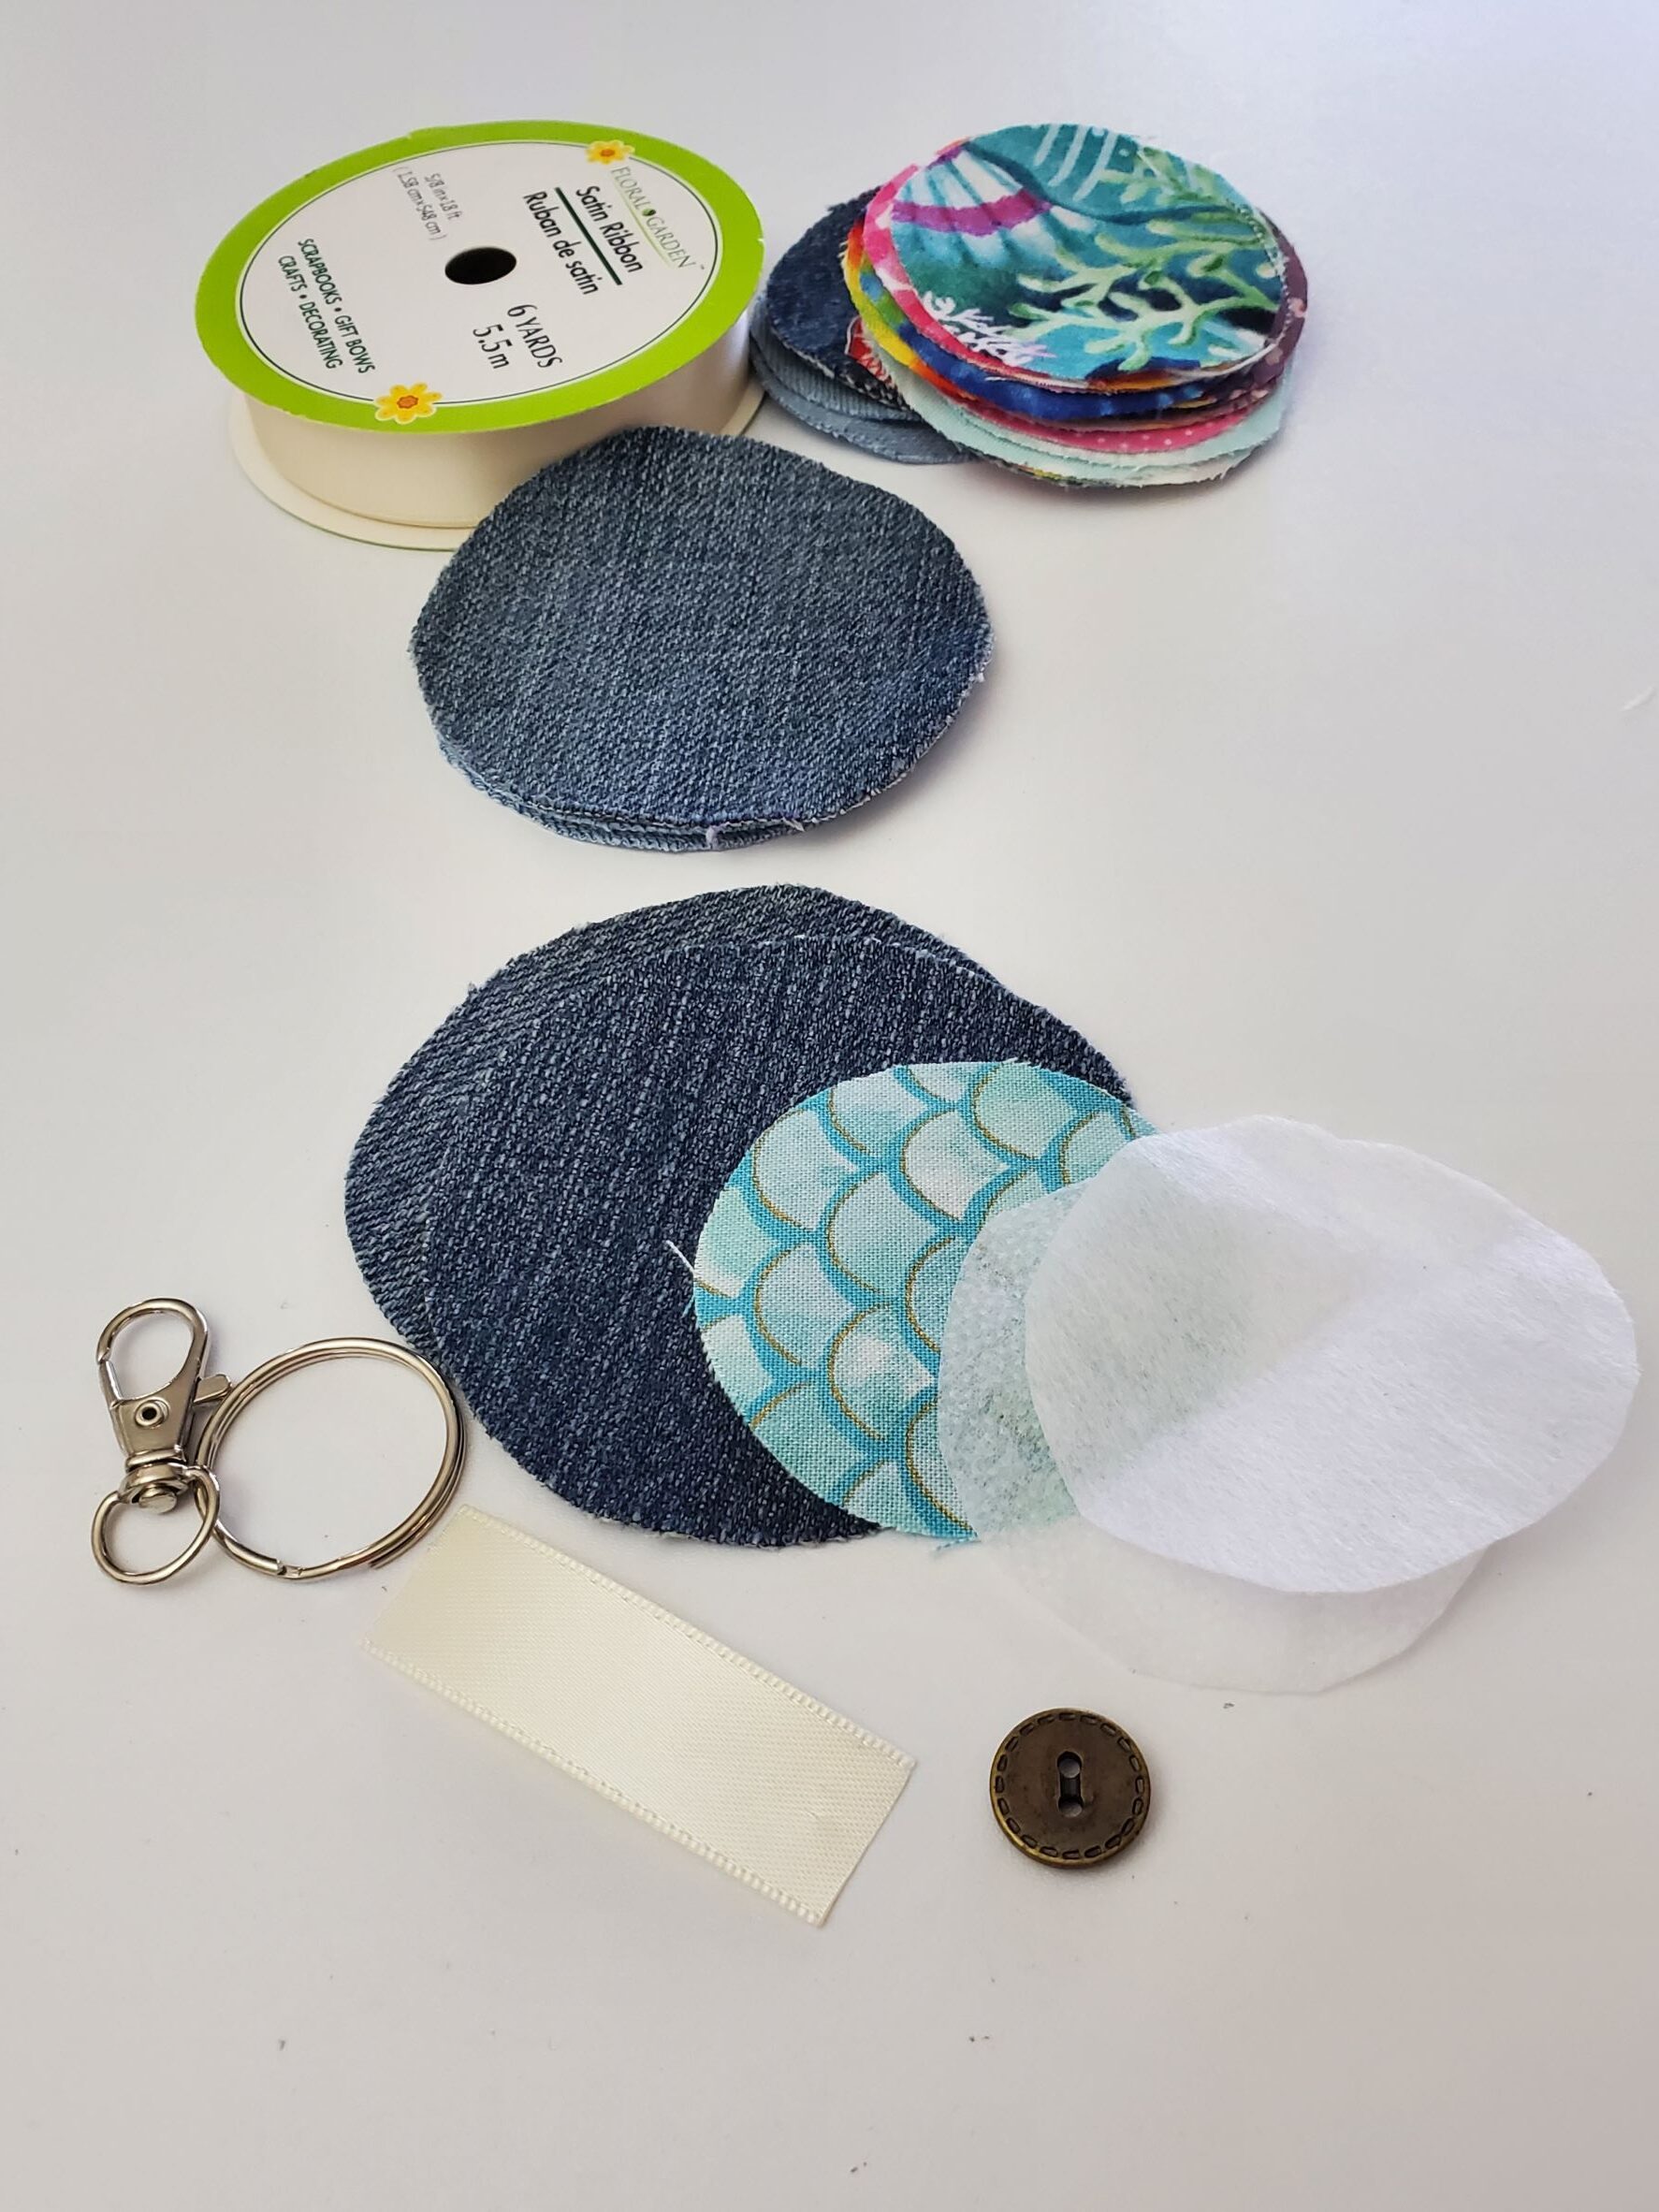
What You Need
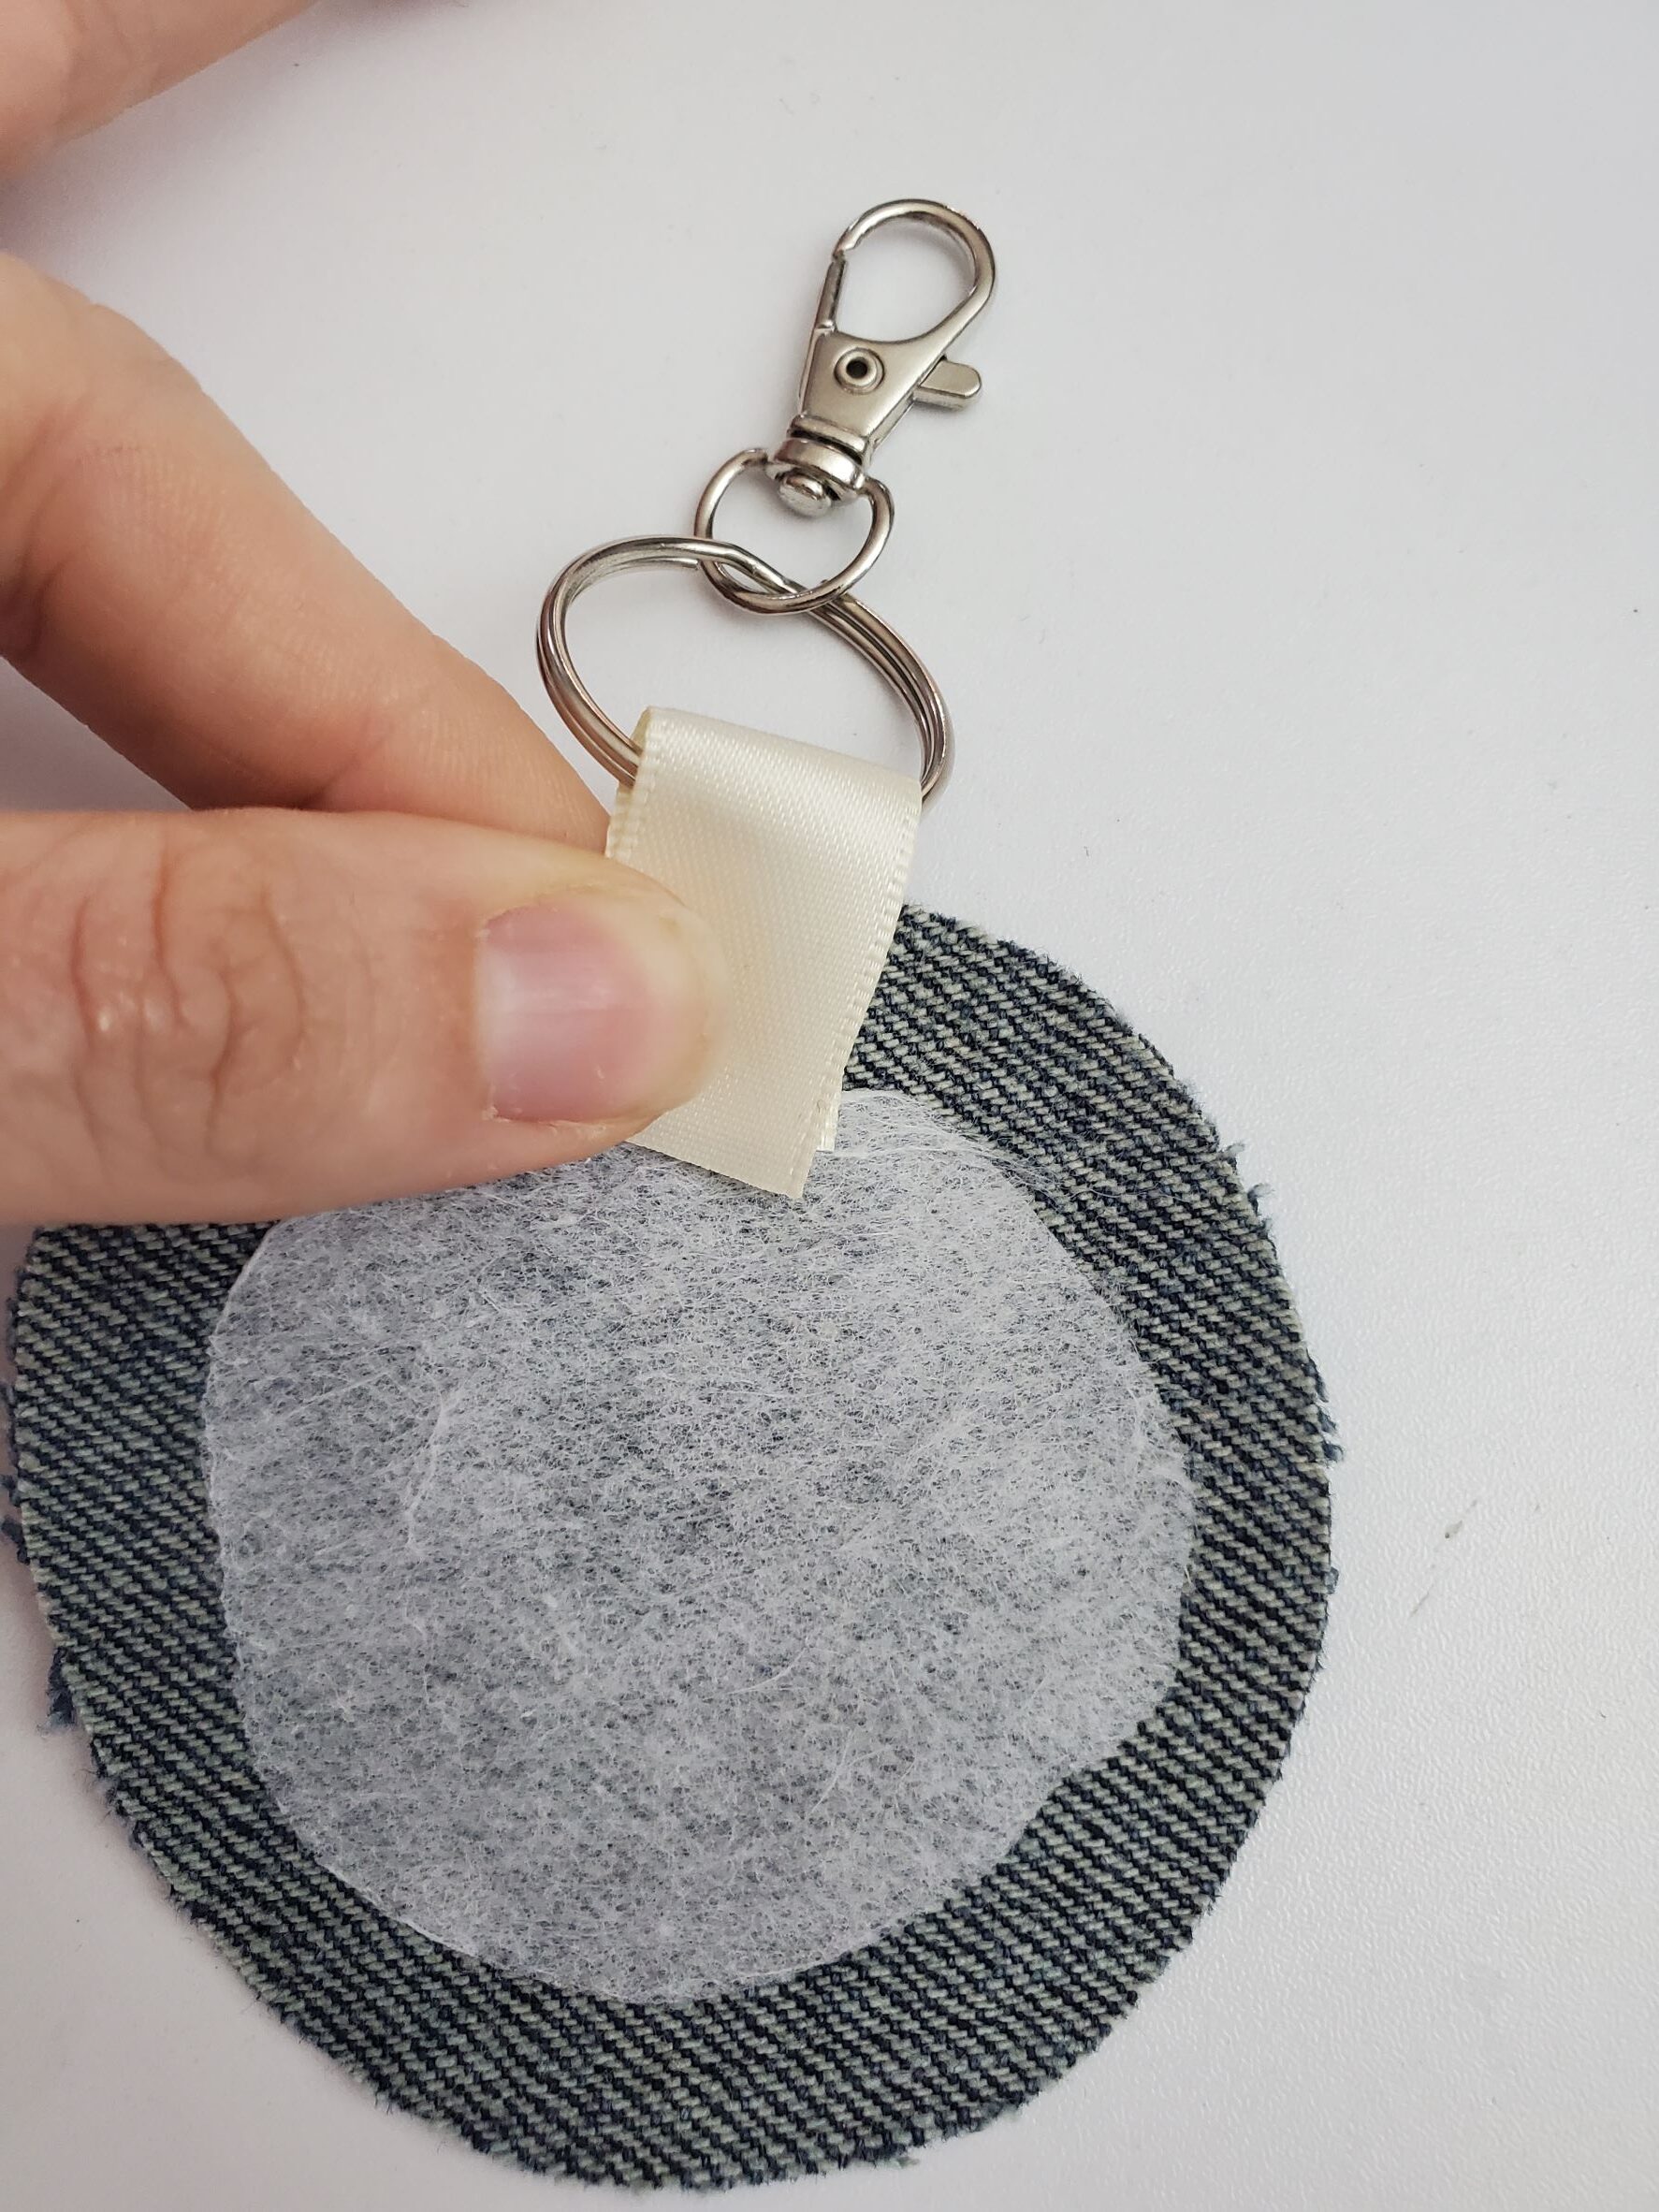
First, select 2 large (jean) circles, 1 smaller fabric circle, 2 interfacing circles (don’t skip the interfacing! It makes your keychain stronger!), one button, a 3” piece of ribbon, a keyring and a swivel hook.
Let’s Get Started!
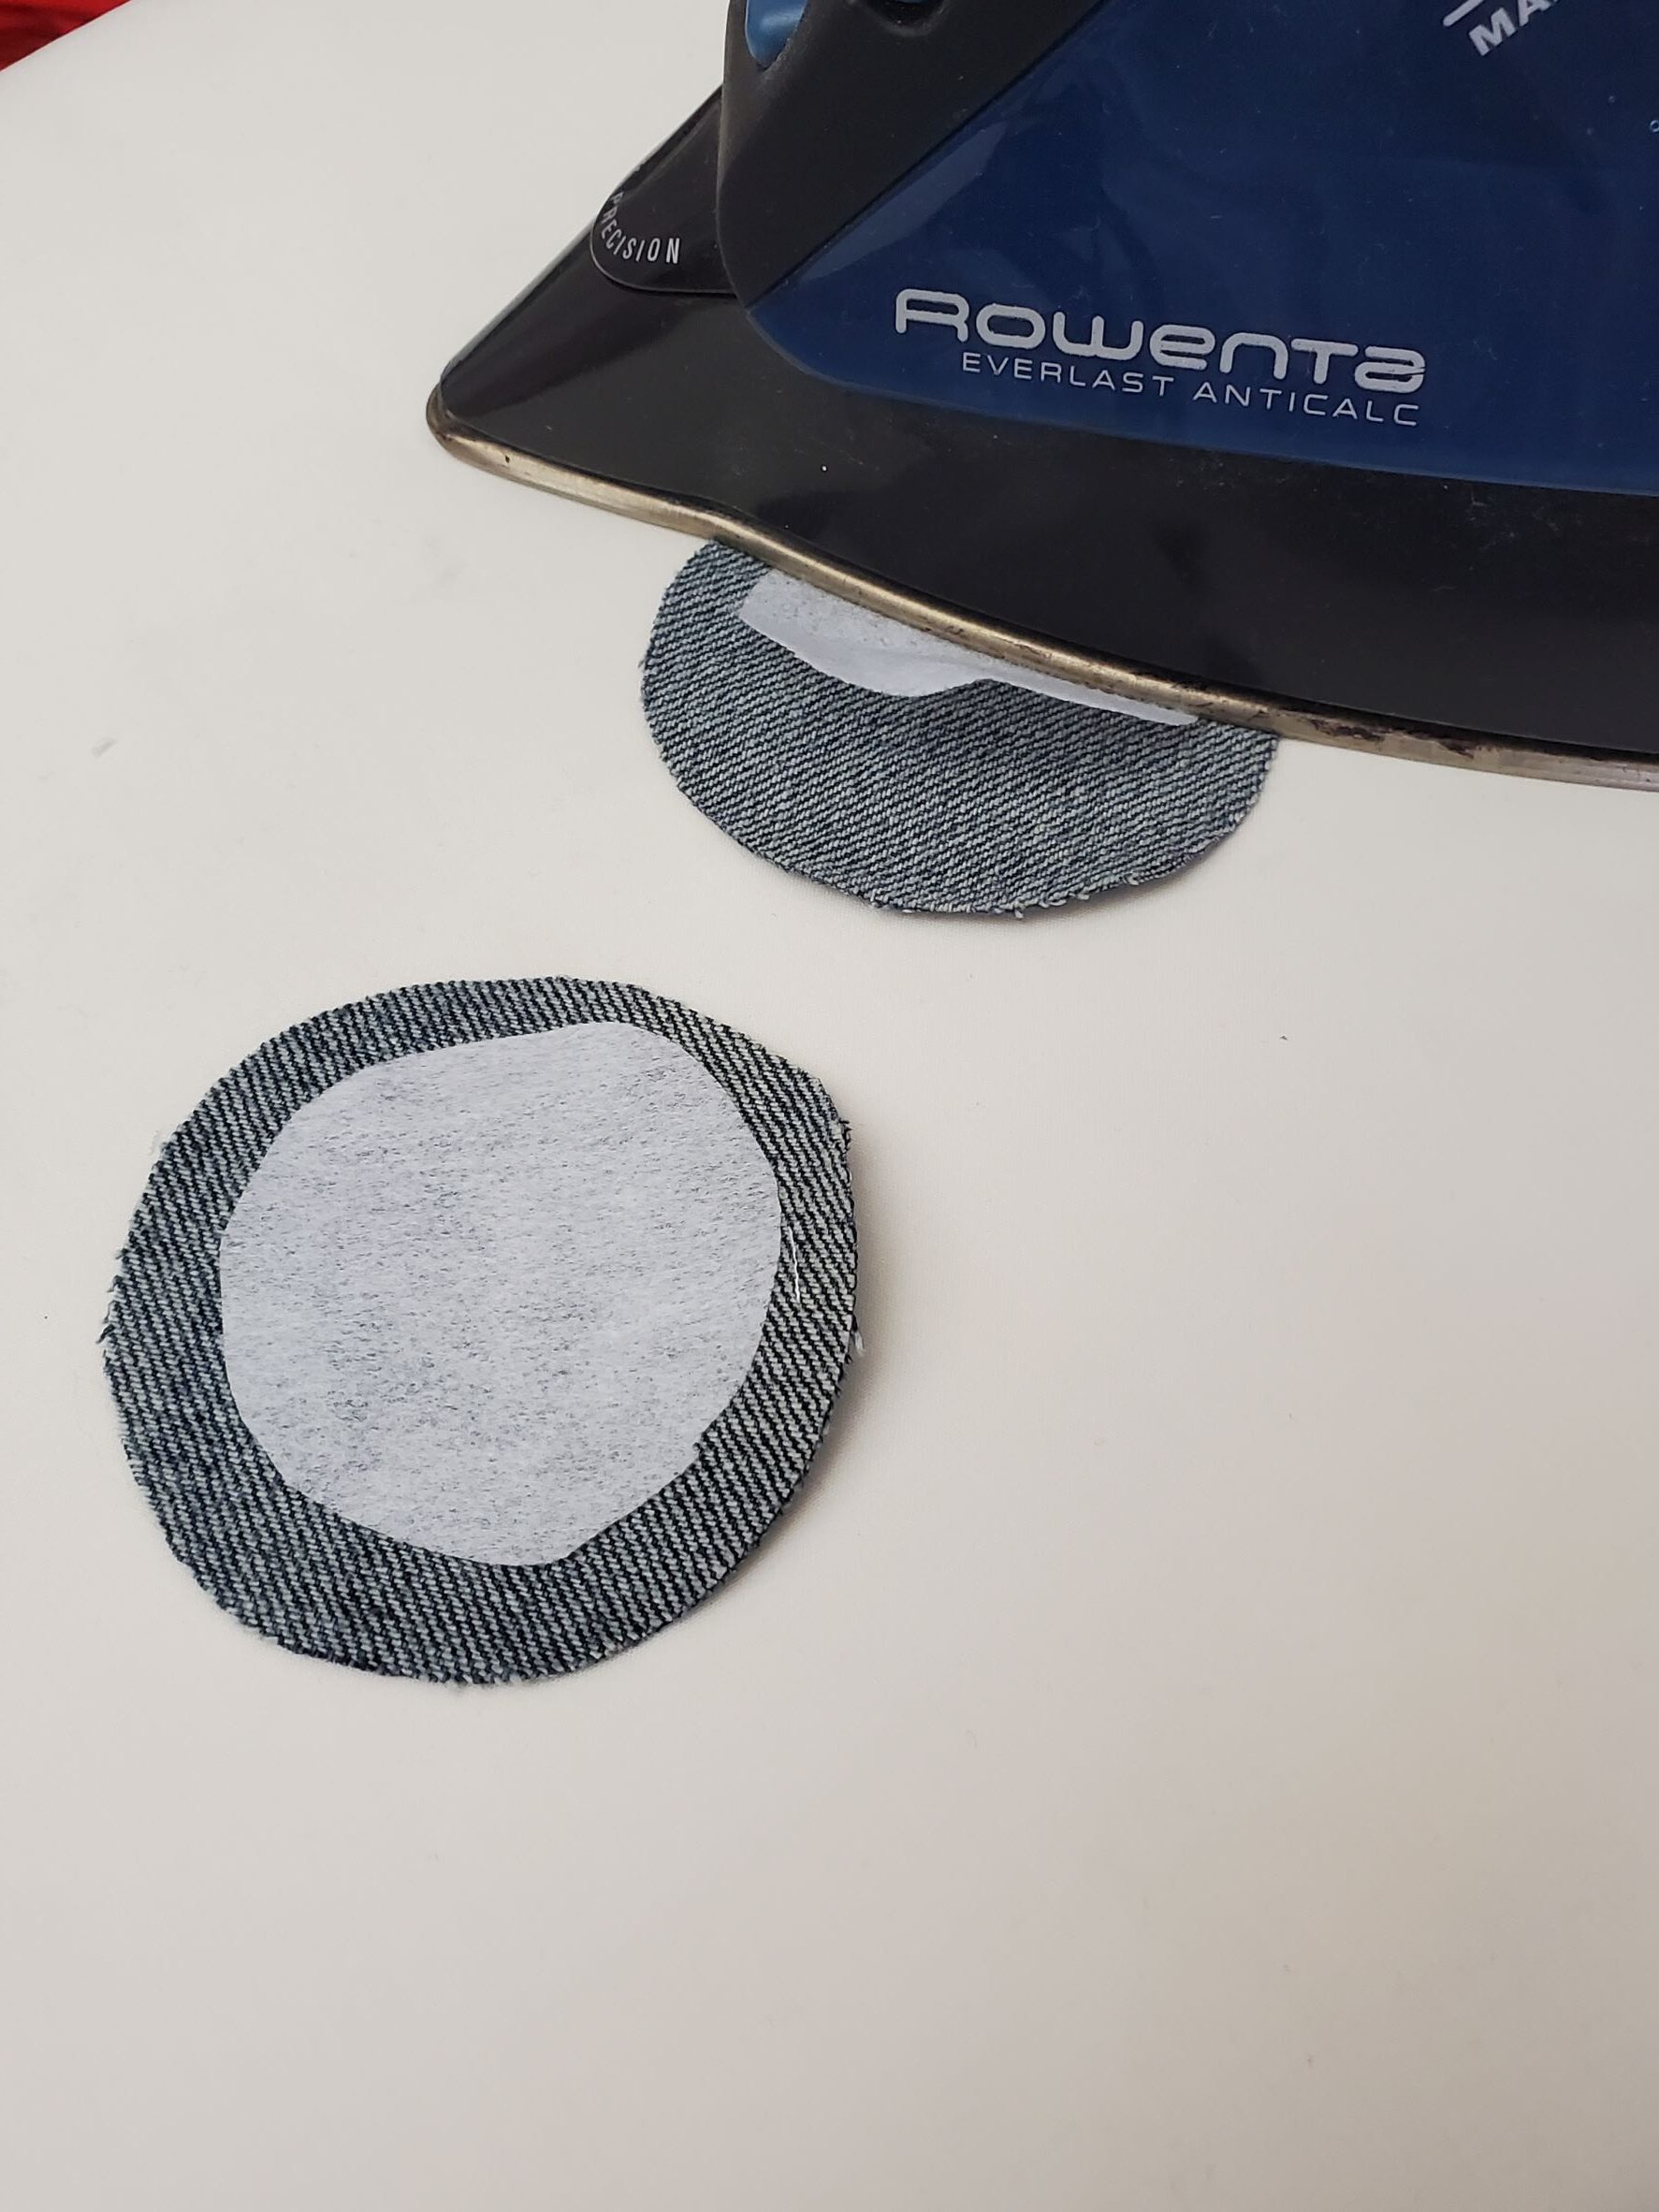
Iron your interfacing circles onto the back side of your large circles.
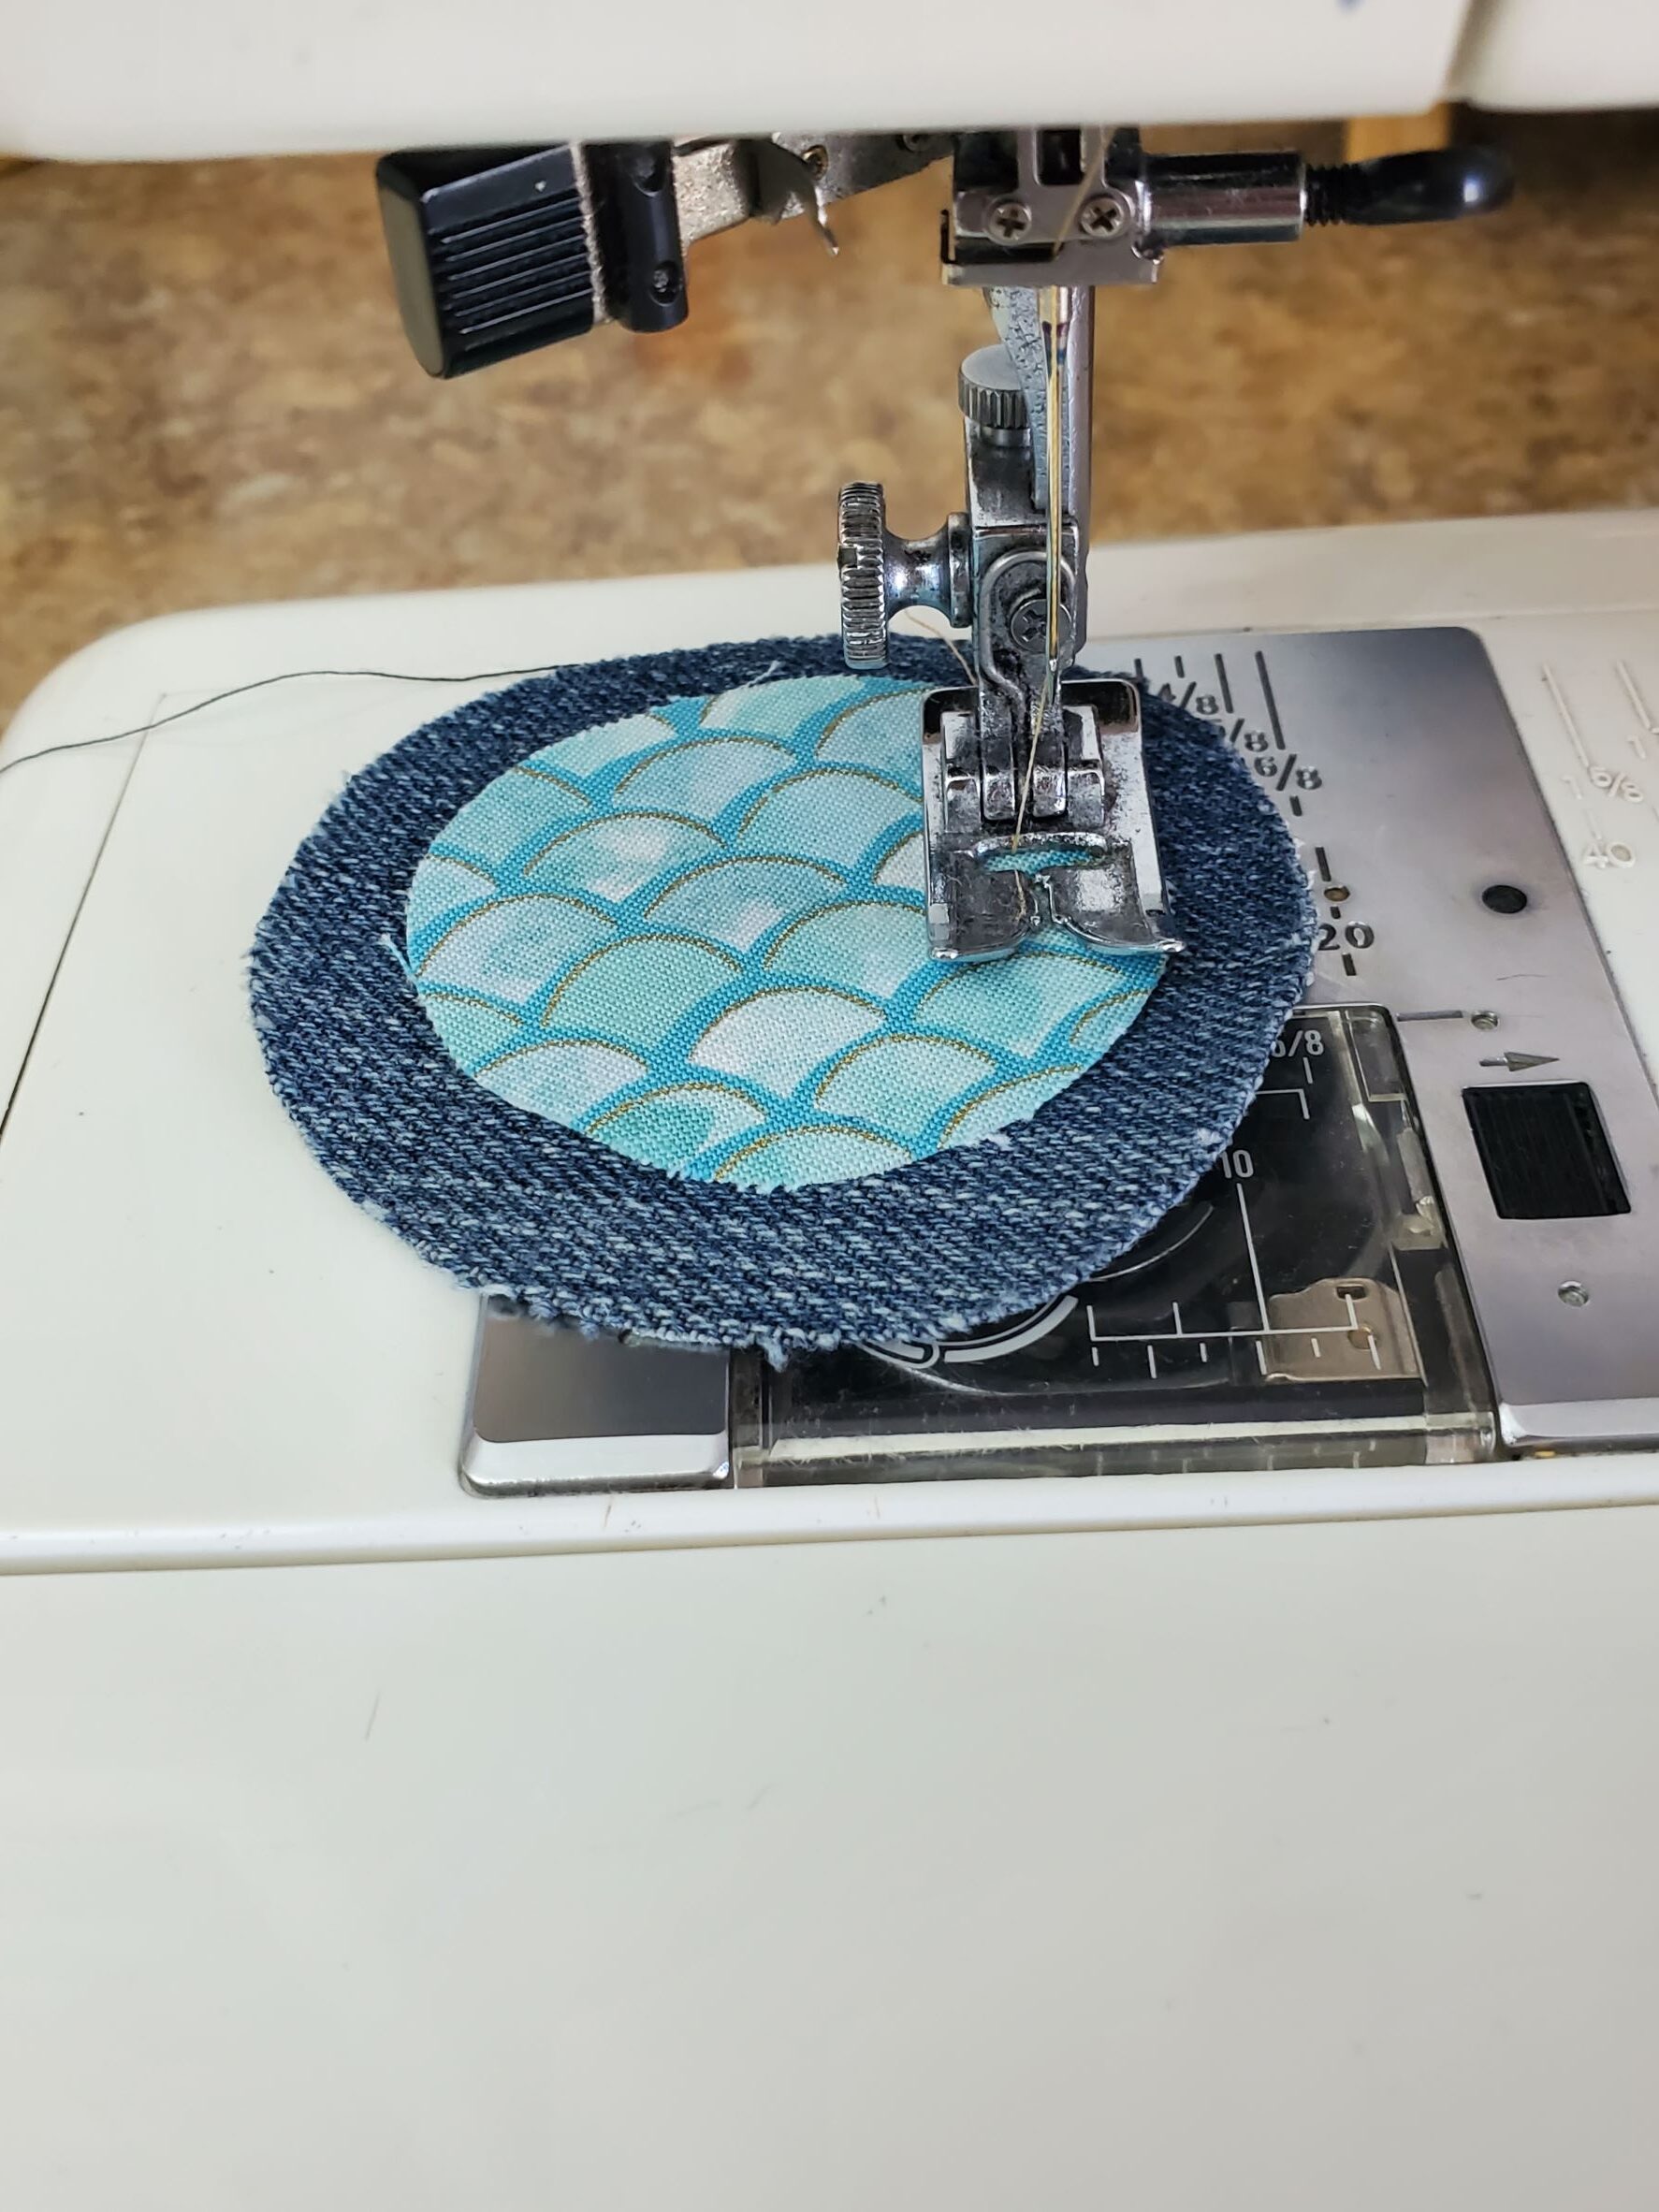
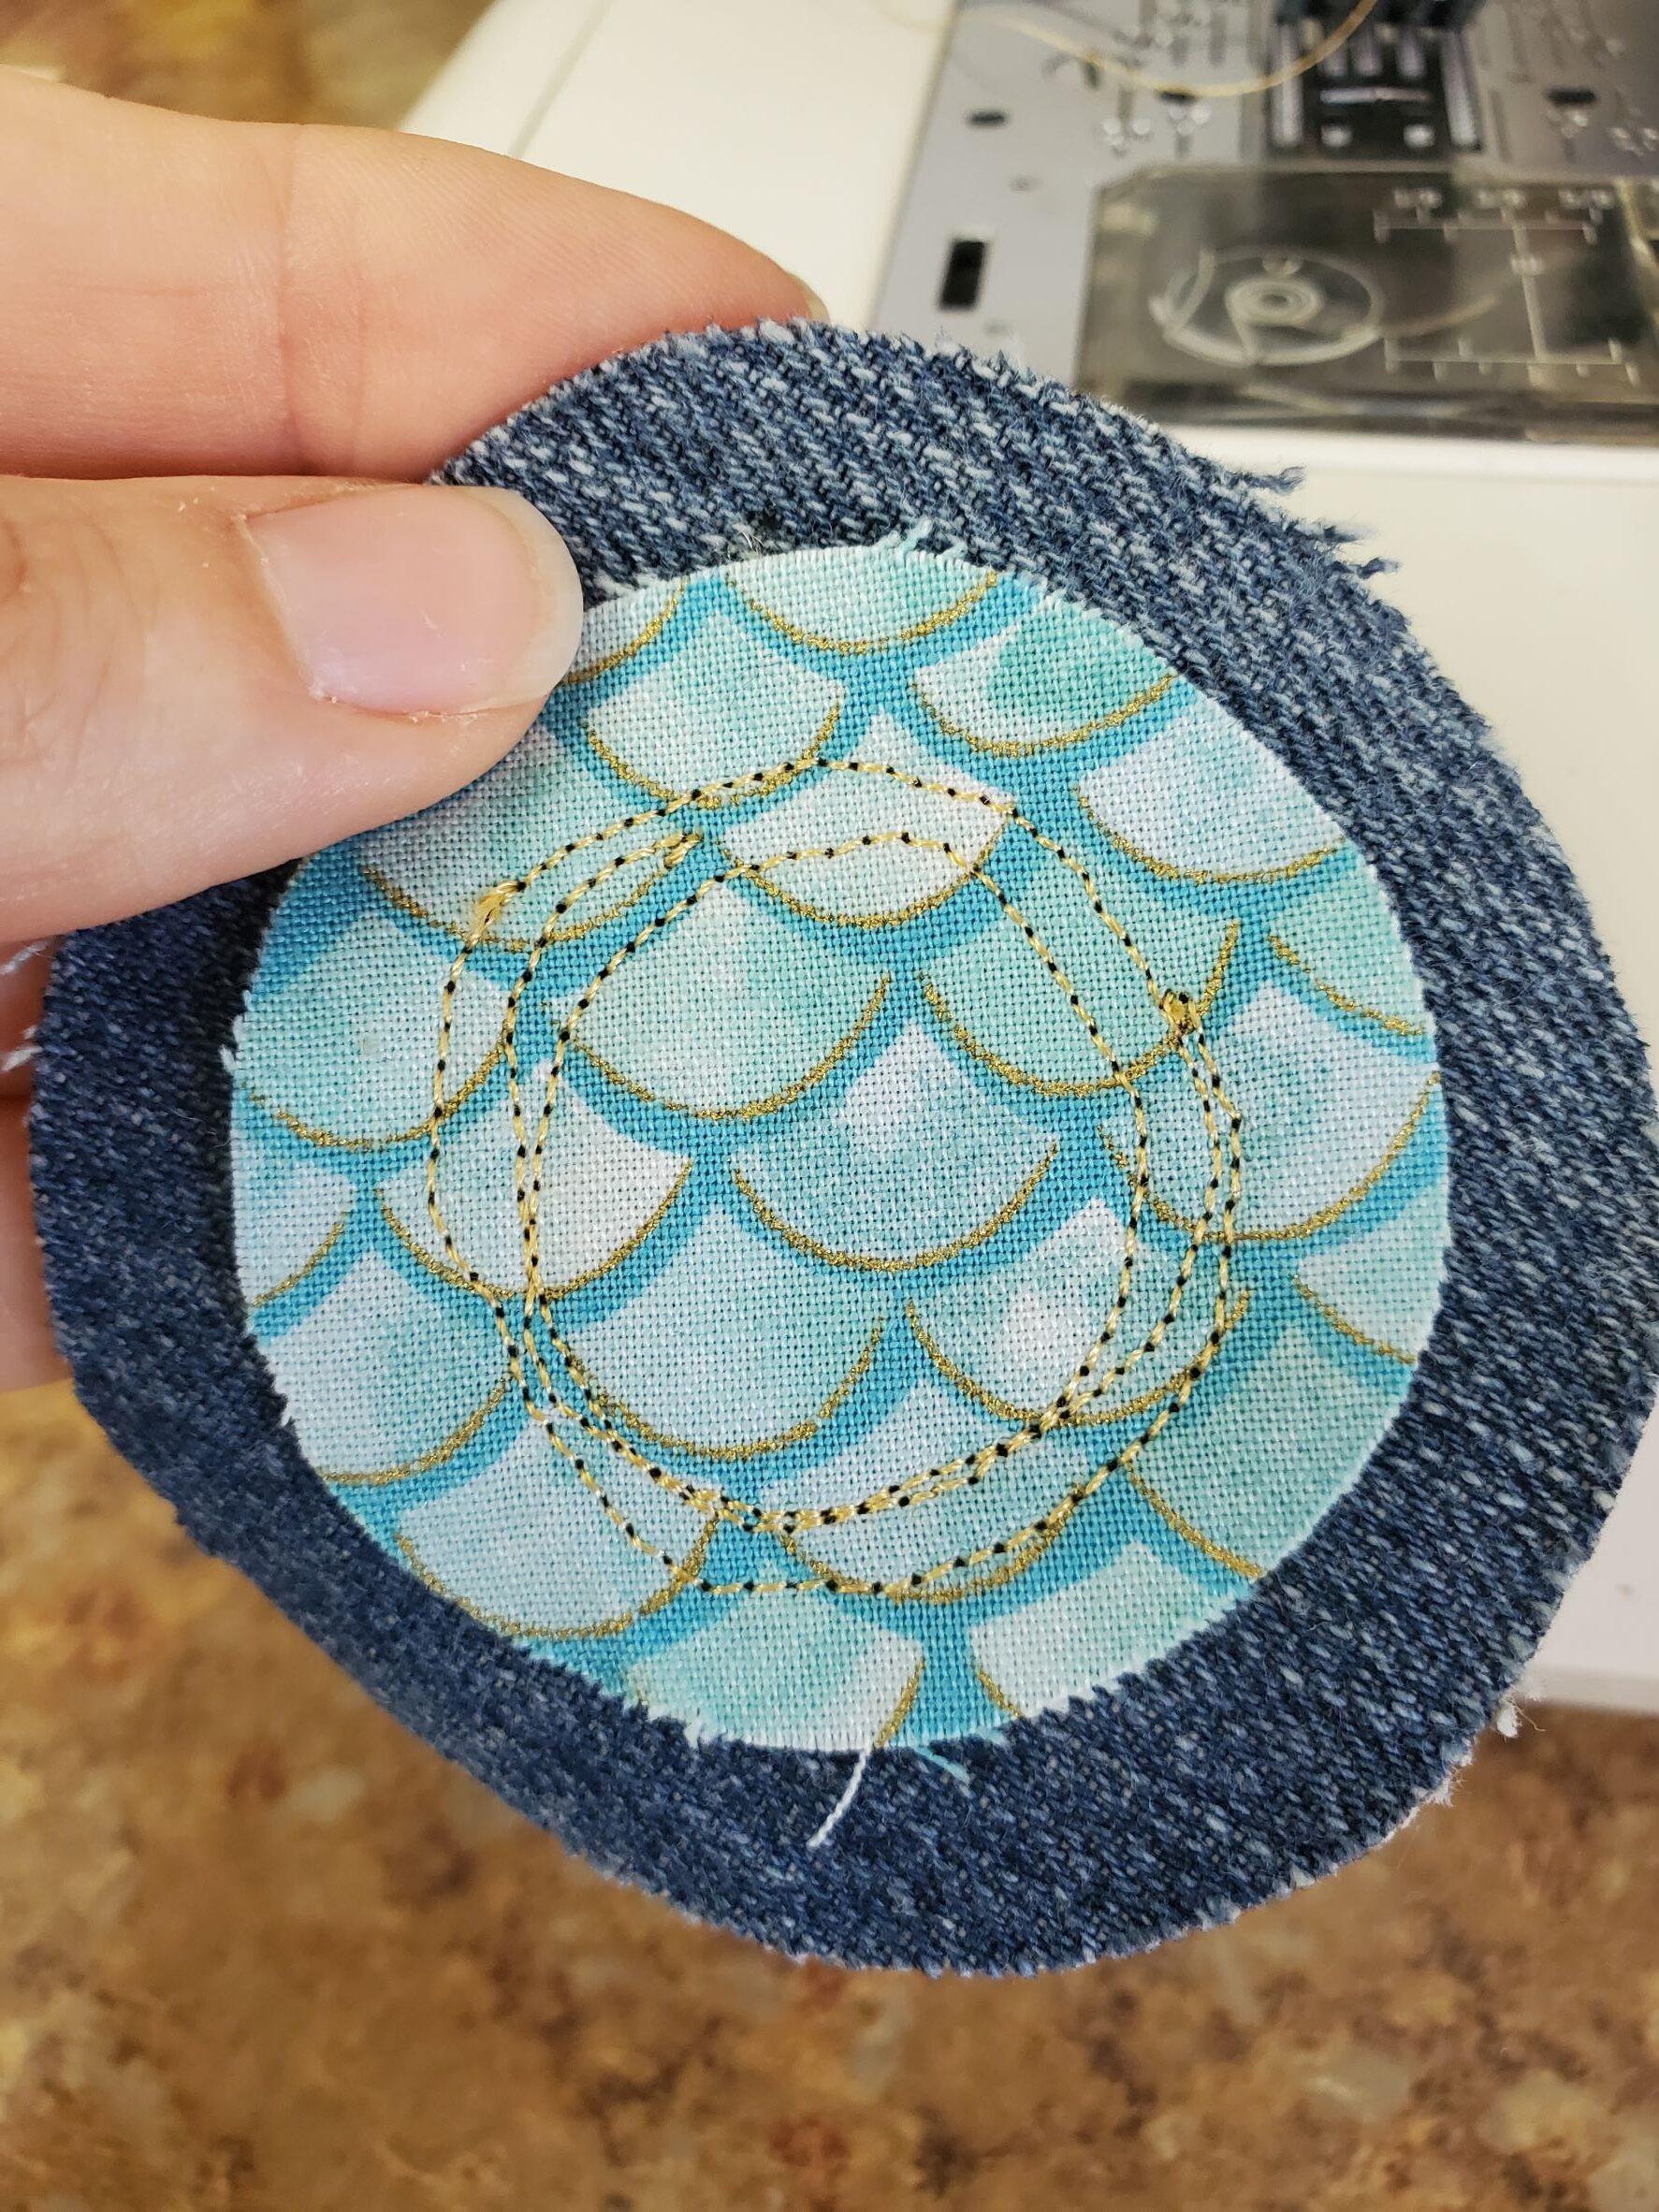
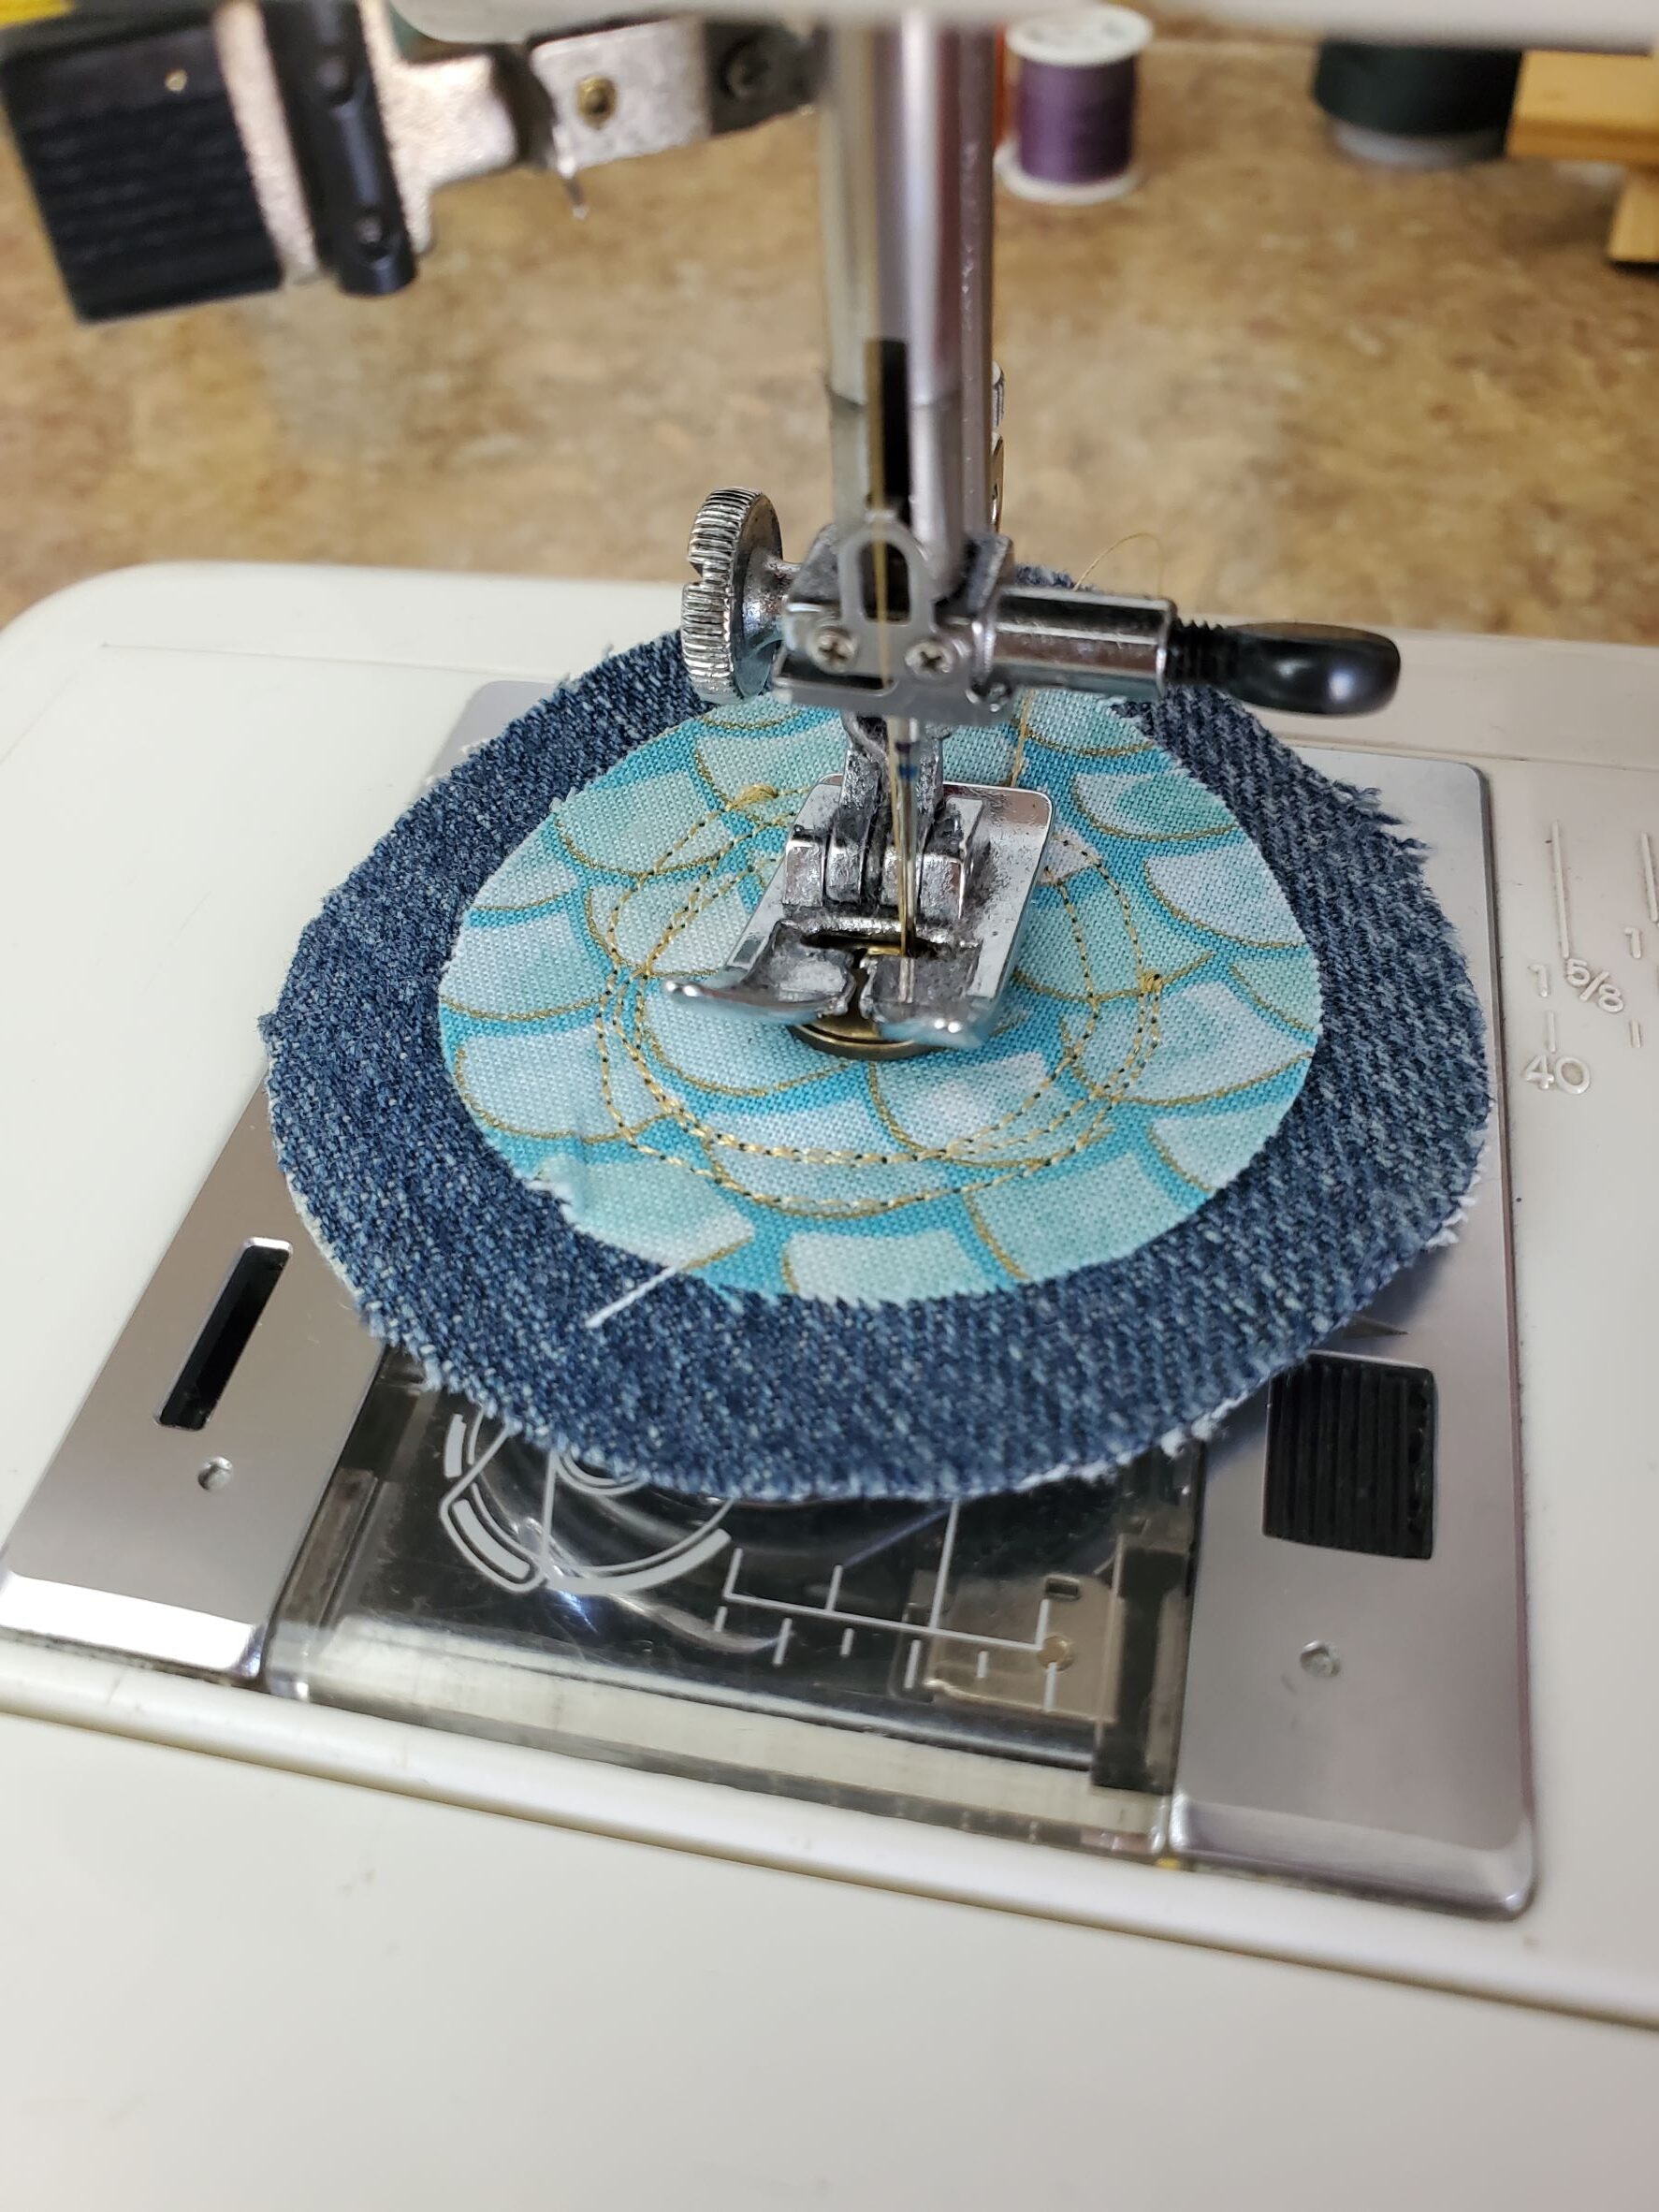
Before you start stitching, turn your stitch length to 2. A smaller stitch length will help on the small circles. Now, place your small fabric piece on the front side of one jean circle, and stitch 2 circles inside the fabric circle. You can start by placing the edge of the circle on the edge of the presser foot, and either try to stick with that on the second circle stitch or sew slightly inside the circle you just stitched. Either way, give yourself at least 1/4″ space between the edge of your circle in the needle, so that you can fray the fabric afterwards.
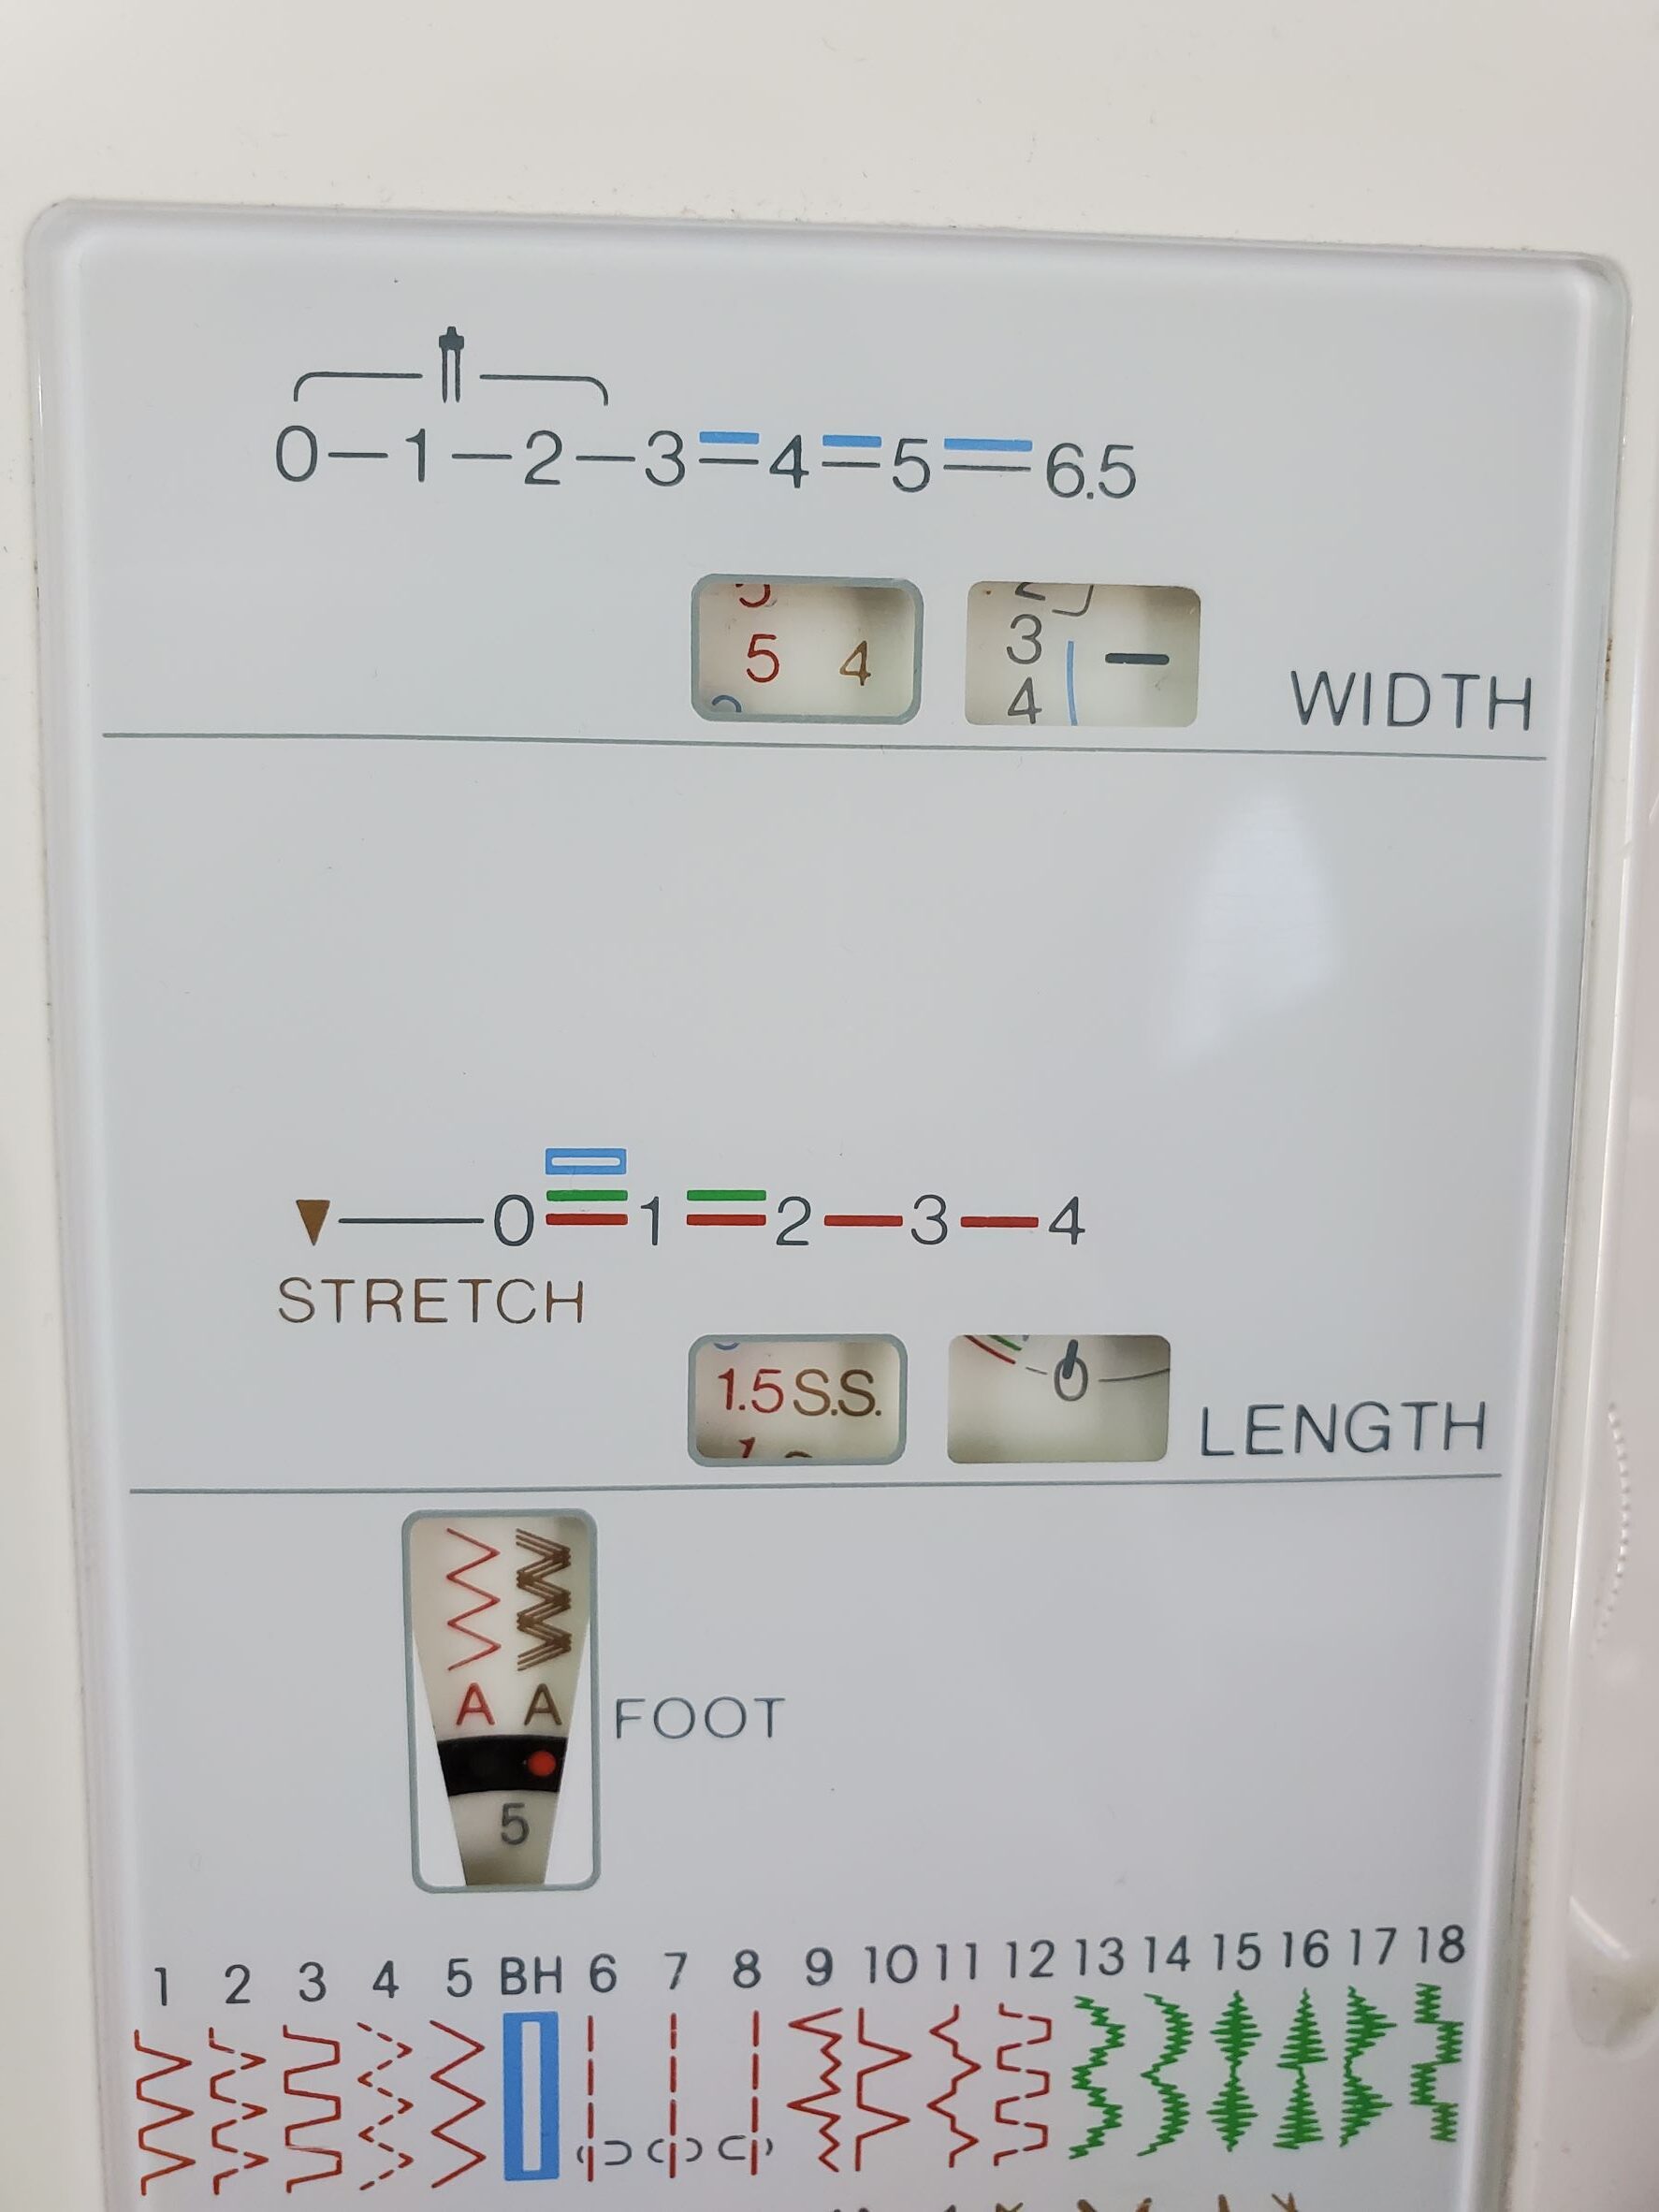
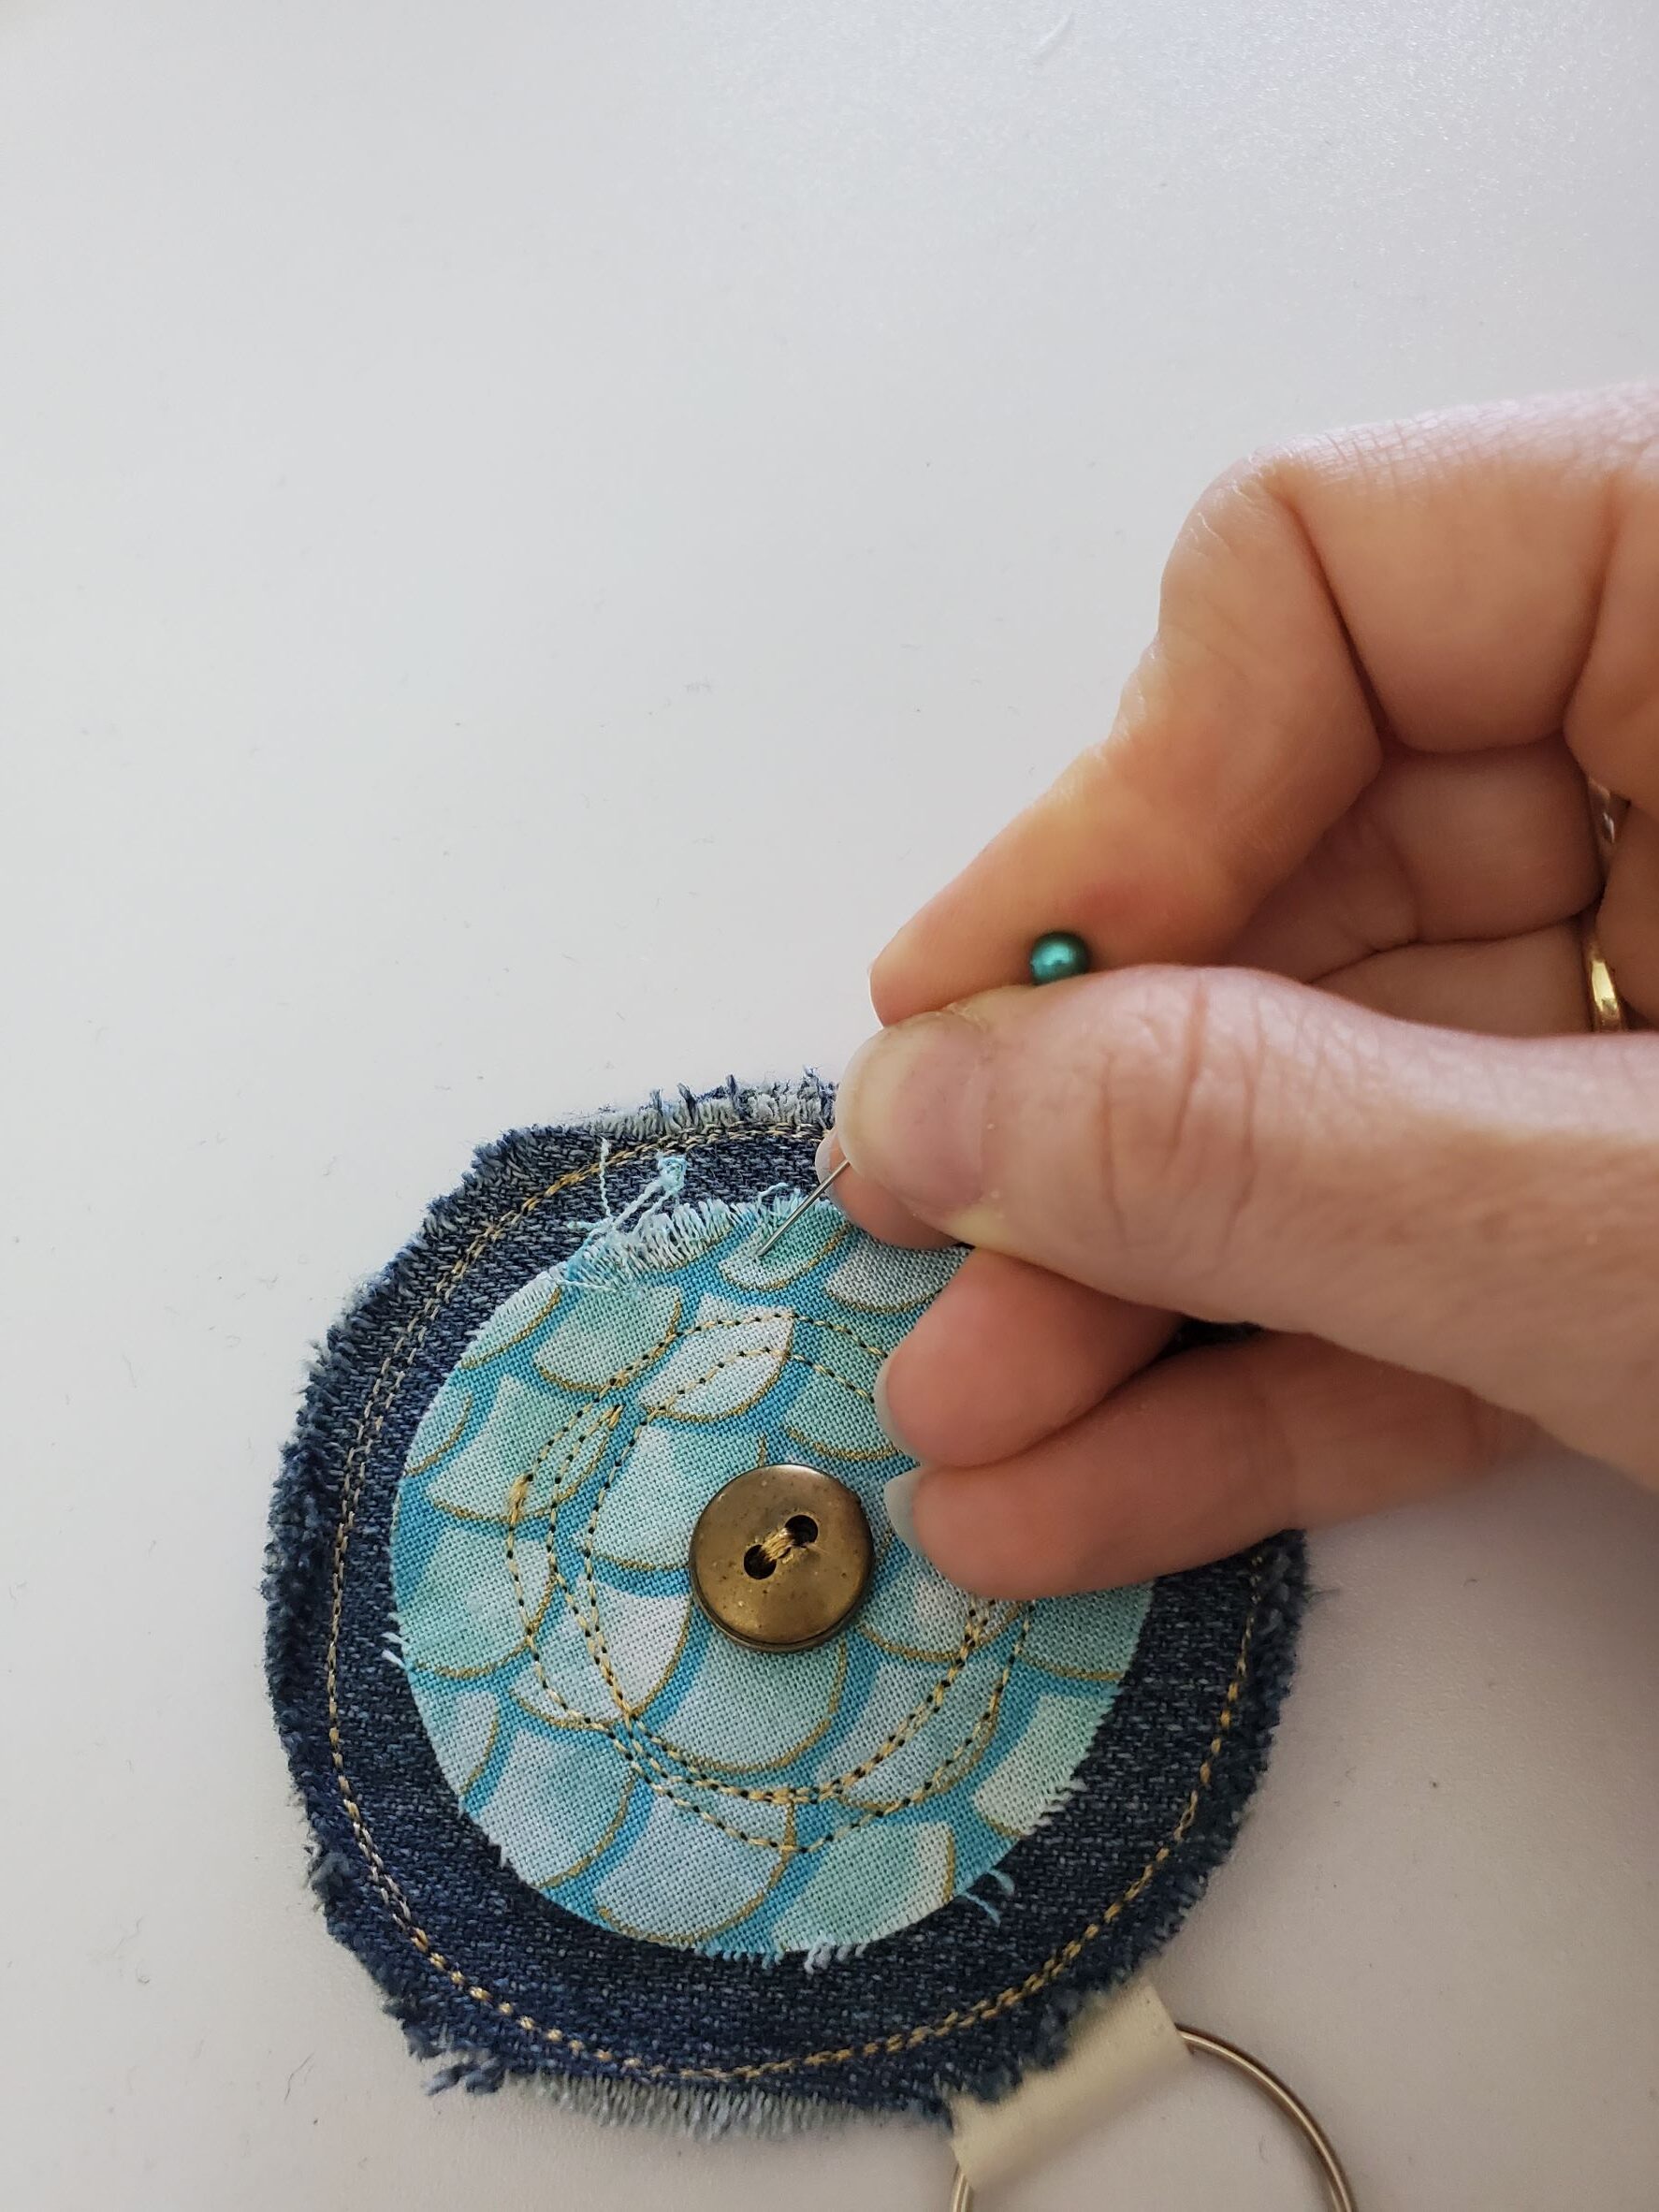
Change your stitch to a zig zag stitch. The length should be zero and you will need to adjust the width so that the needle goes side to side between the holes on the buttons. Always test this out by hand first; meaning, turn your hand wheel towards you and make sure the needle goes side to side between the two buttonholes. If it hits the button, that means your zig zag is either too wide or too narrow and you will need to adjust accordingly. Once you’ve tested it out by hand a few times, you can push down lightly on your foot pedal and sew it back and forth a few more times (maybe 8-10 stitches total).
Place the button in the center of the small circle, underneath your presser foot, and stitch between the holes with your zig zag stitch.
Fold a piece of ribbon in half and put your keyring the middle of it. Place the raw edge of your ribbon on top of the wrong side of the back circle.
Then, place the front side of the circle (the circle with the button sewn on) on top of that circle, right side facing up, so that your ribbon is sandwiched in-between the circles. Pin in place and then stitch around the large circle, being careful not to sew on the small circle that is already sewn on.
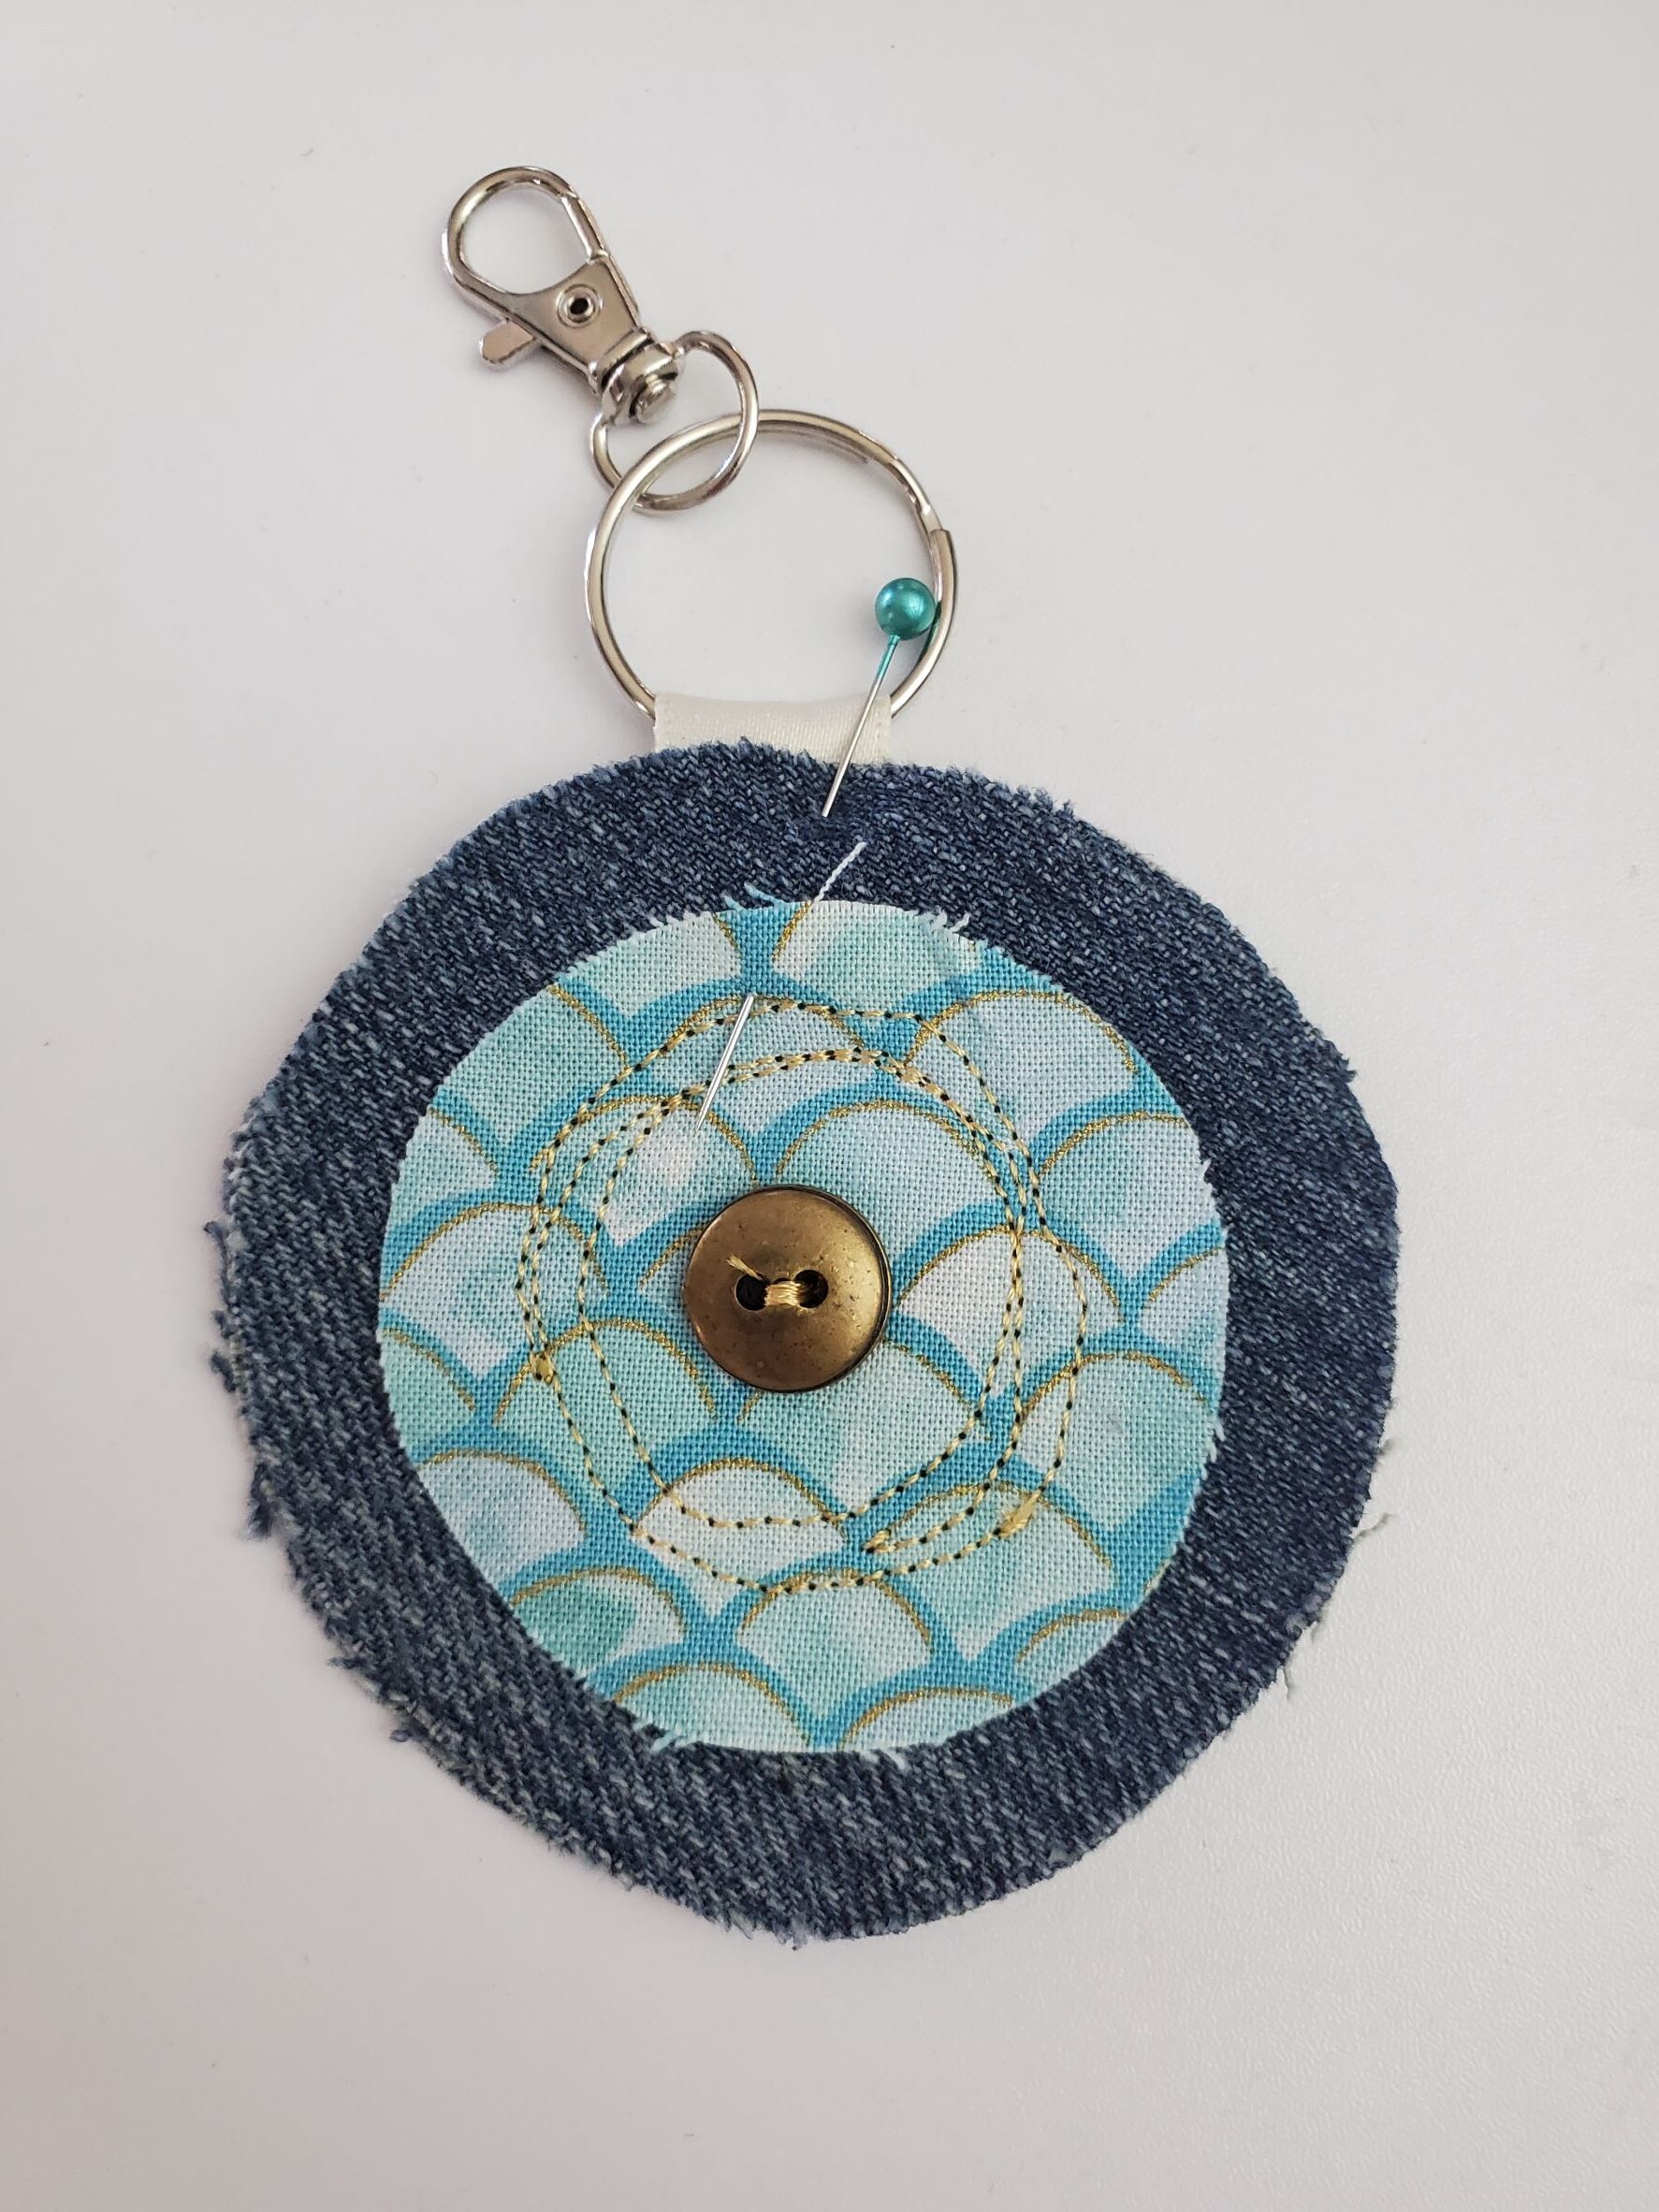
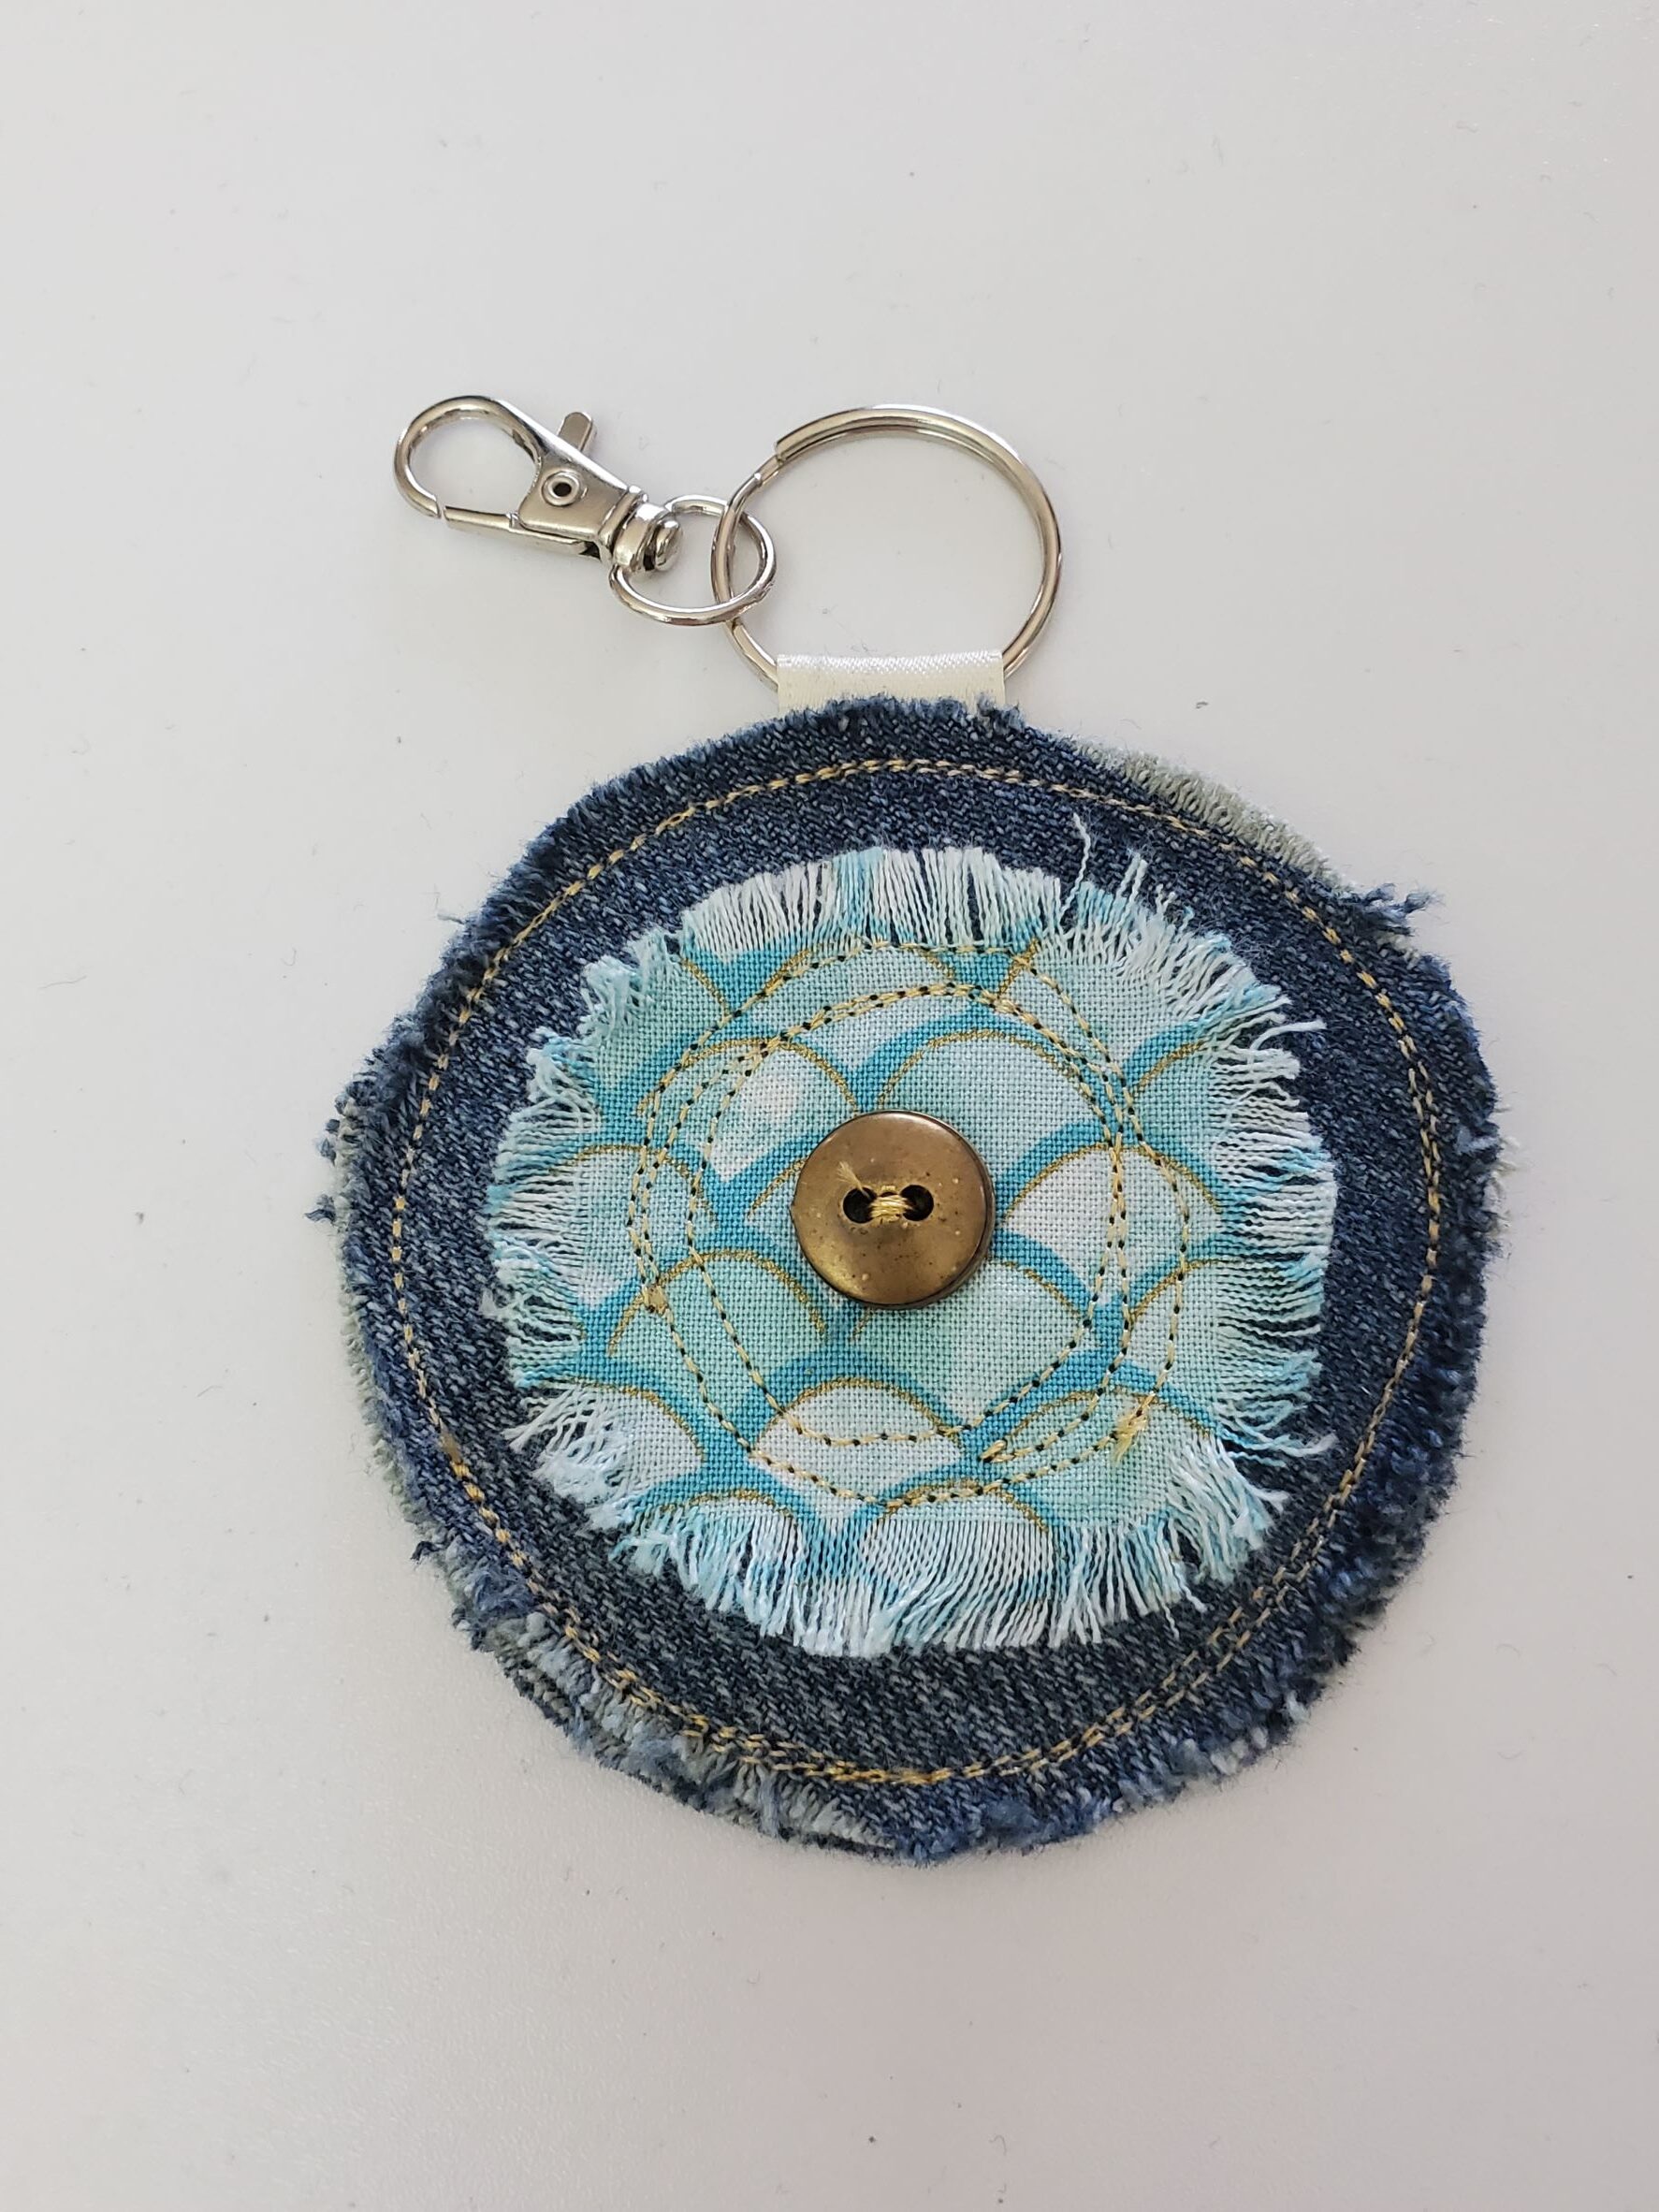
Fray the ends of the circles by using a pin to pull out some of the threads (or use your fingernails).
And that’s it! You’re done!
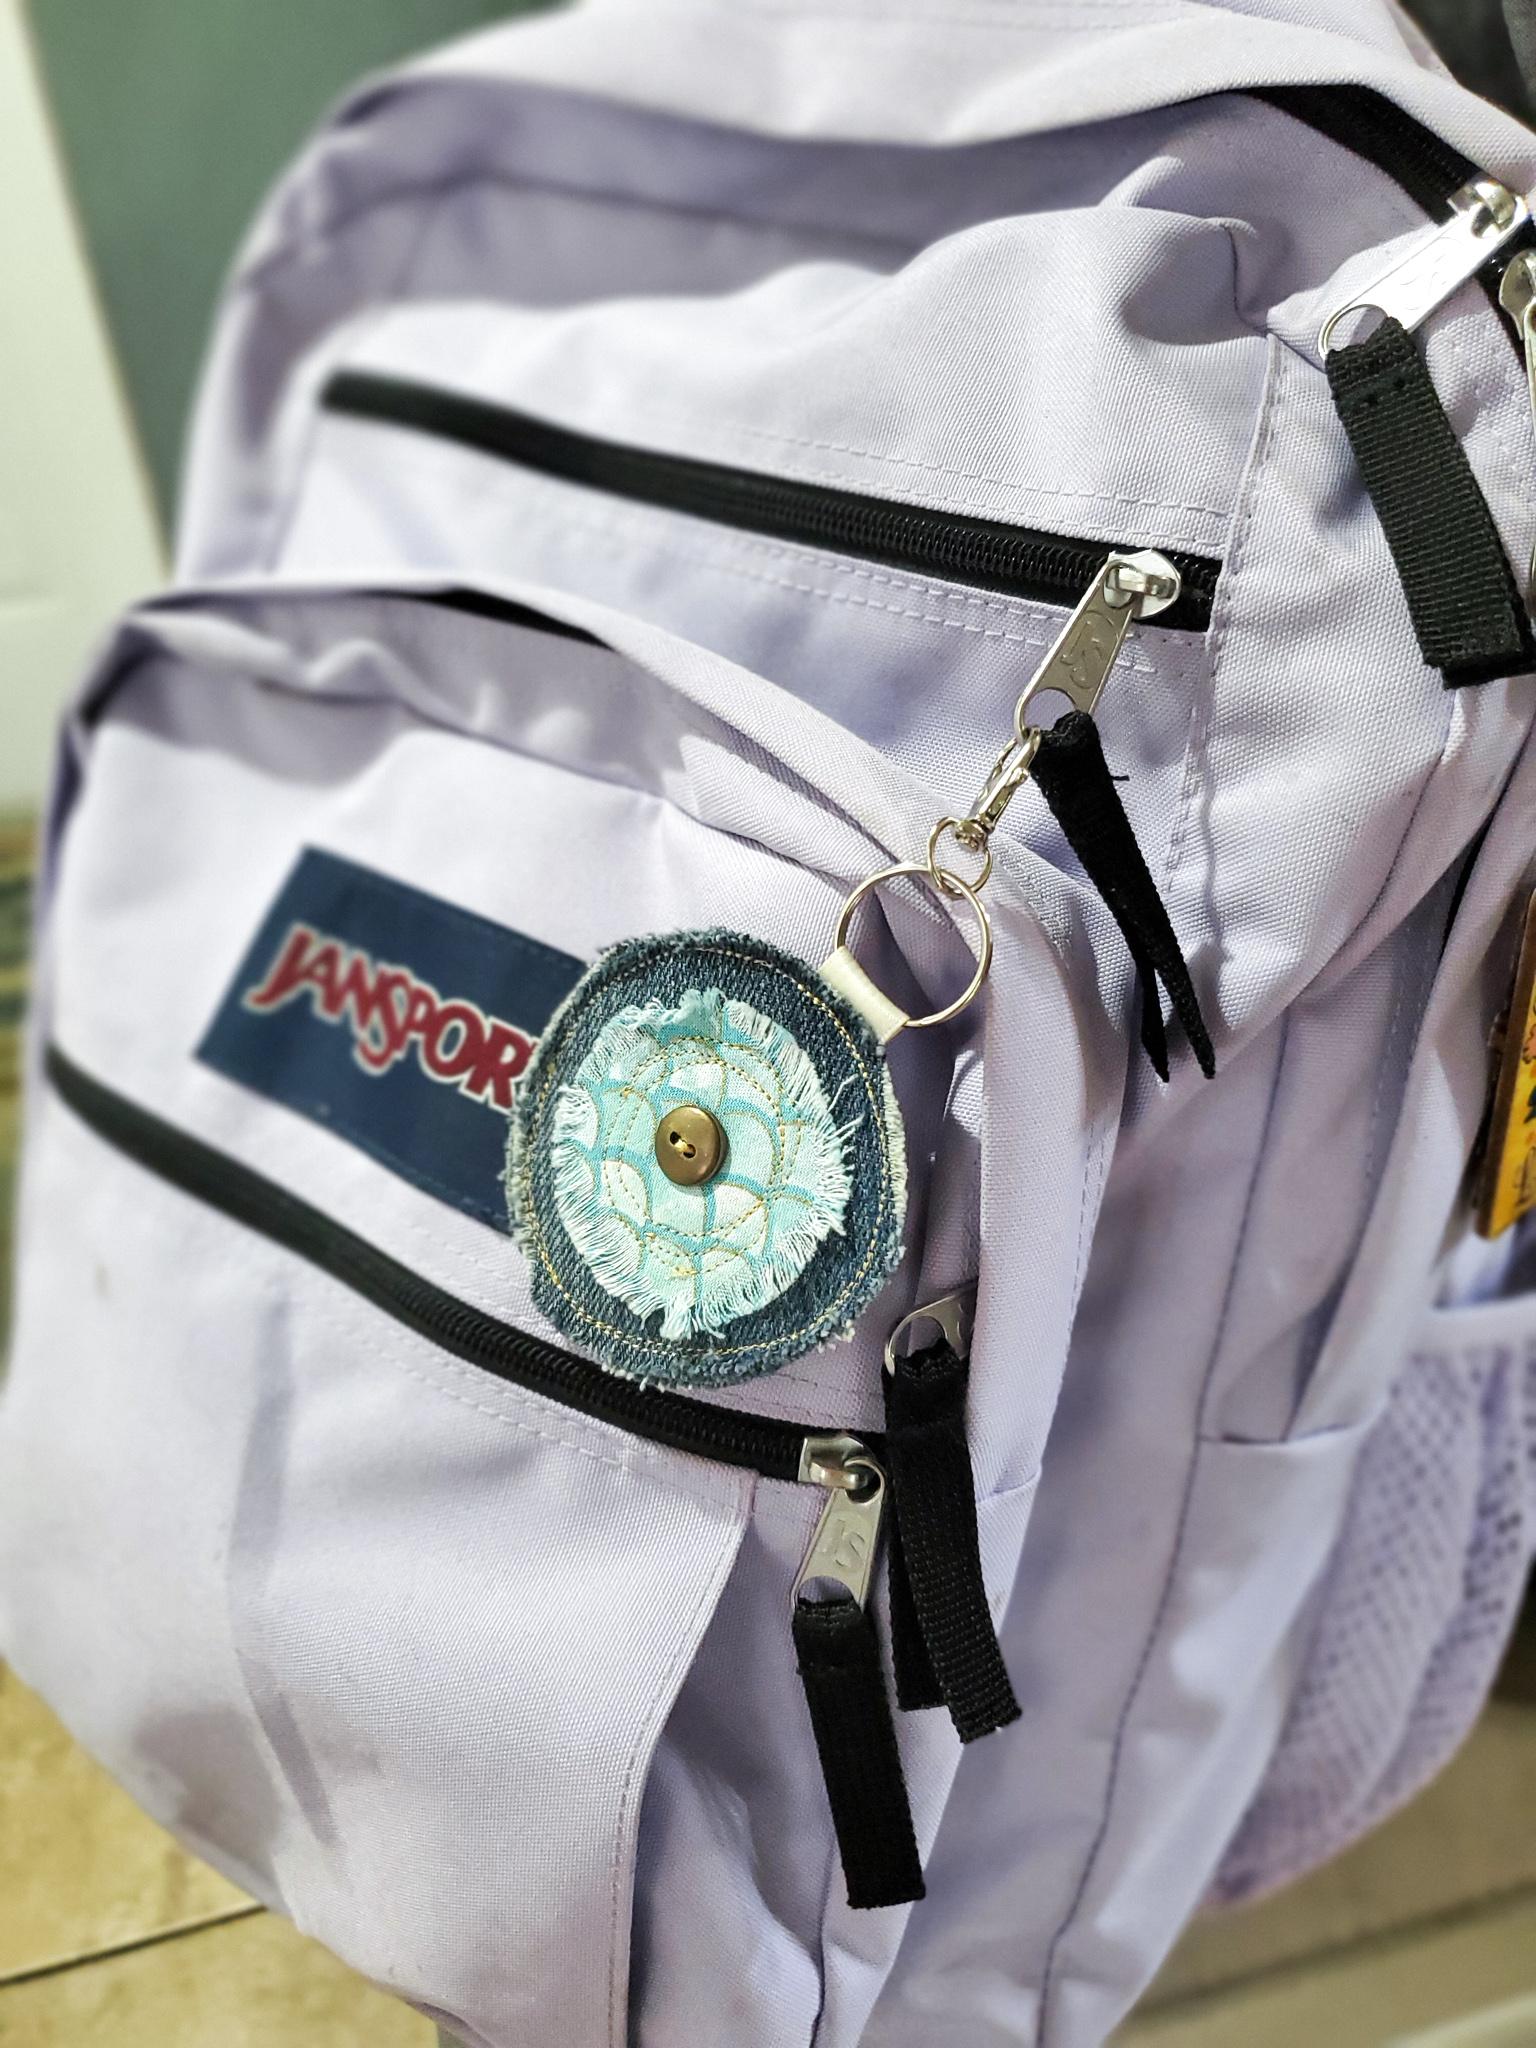
You can use them for your keys. You can use them for zippers on backpacks and other bags. Whatever you use them for, they’re super fun and super cute!!
*Sassy Cassy’s is part of the Amazon Affiliate Program, which means that if you purchase Amazon items from this website, a small commission will be earned, at no extra cost to you.
