
HaPpY OcToBeR!!
I love this time of year, with the holidays right around the corner and fall in the air (well- kind of…we don’t get too much of a fall in Southern California but the weather has cooled off a little). What is your favorite holiday? I can’t ever decide which holiday I like best. There are things I love about each one. One thing is for sure, though, and that is that I LOVE decorating for every holiday!!
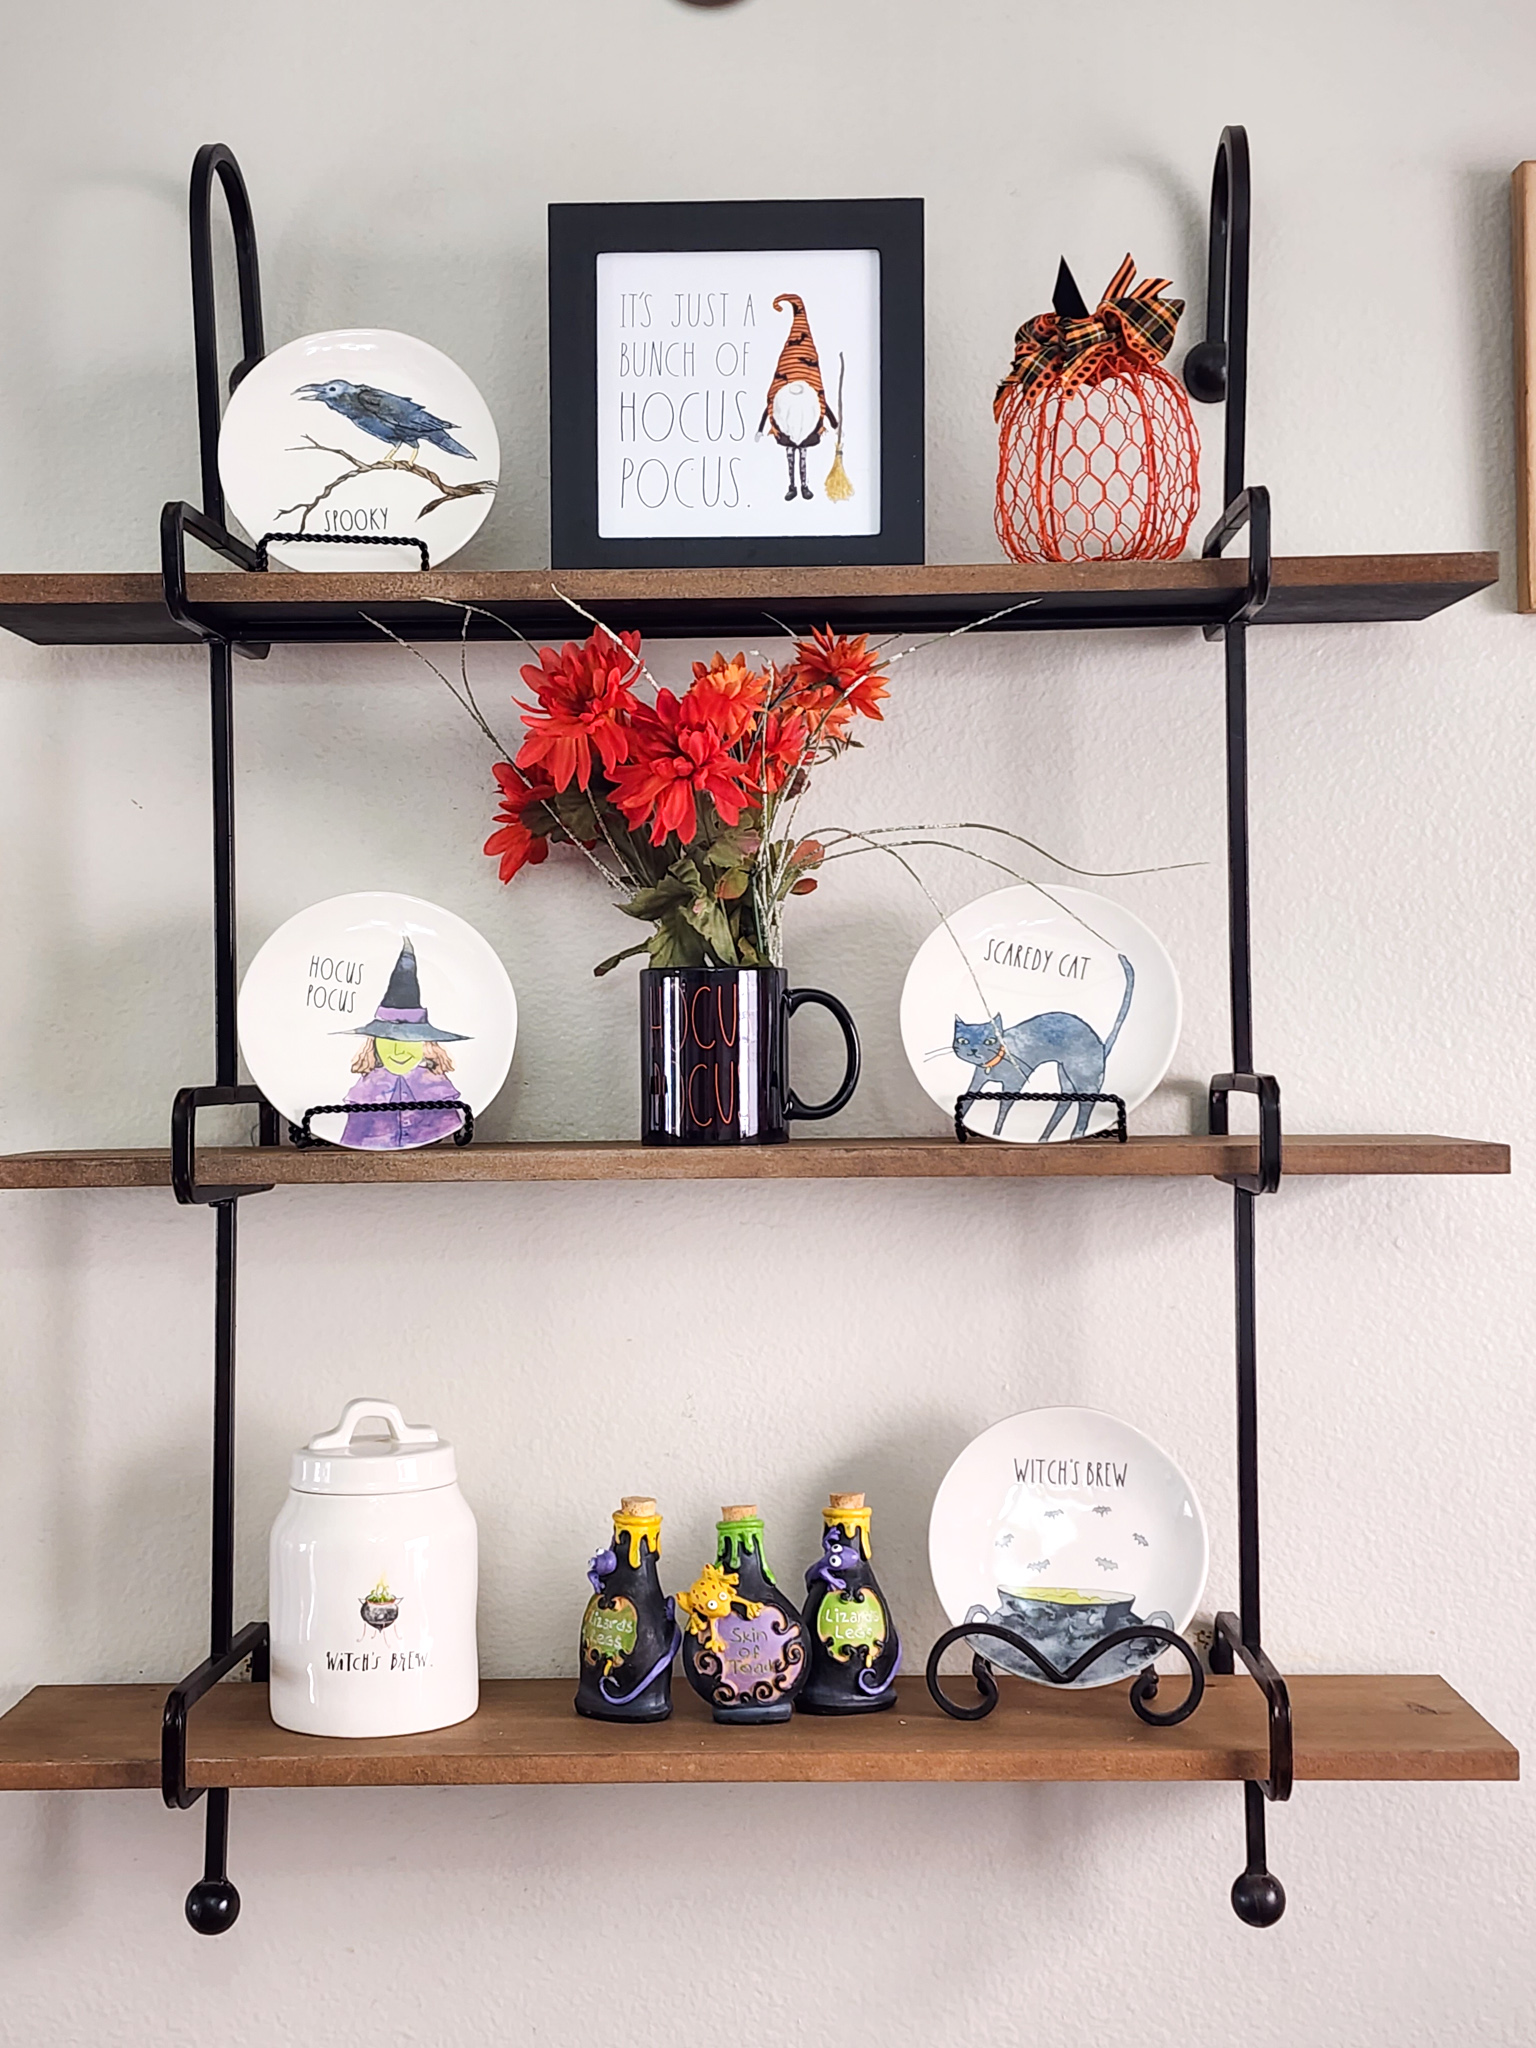
My dining room is my favorite place to change out decorations for the season. I have a shelf that changes for every season and holiday: Halloween, Thanksgiving, Christmas and even the less celebrated holidays like Valentine’s Day, St. Paddy’s Day, Easter and 4th of July (the 4th is one of my favorites to decorate!) Here’s my Halloween shelf set-up for this year.
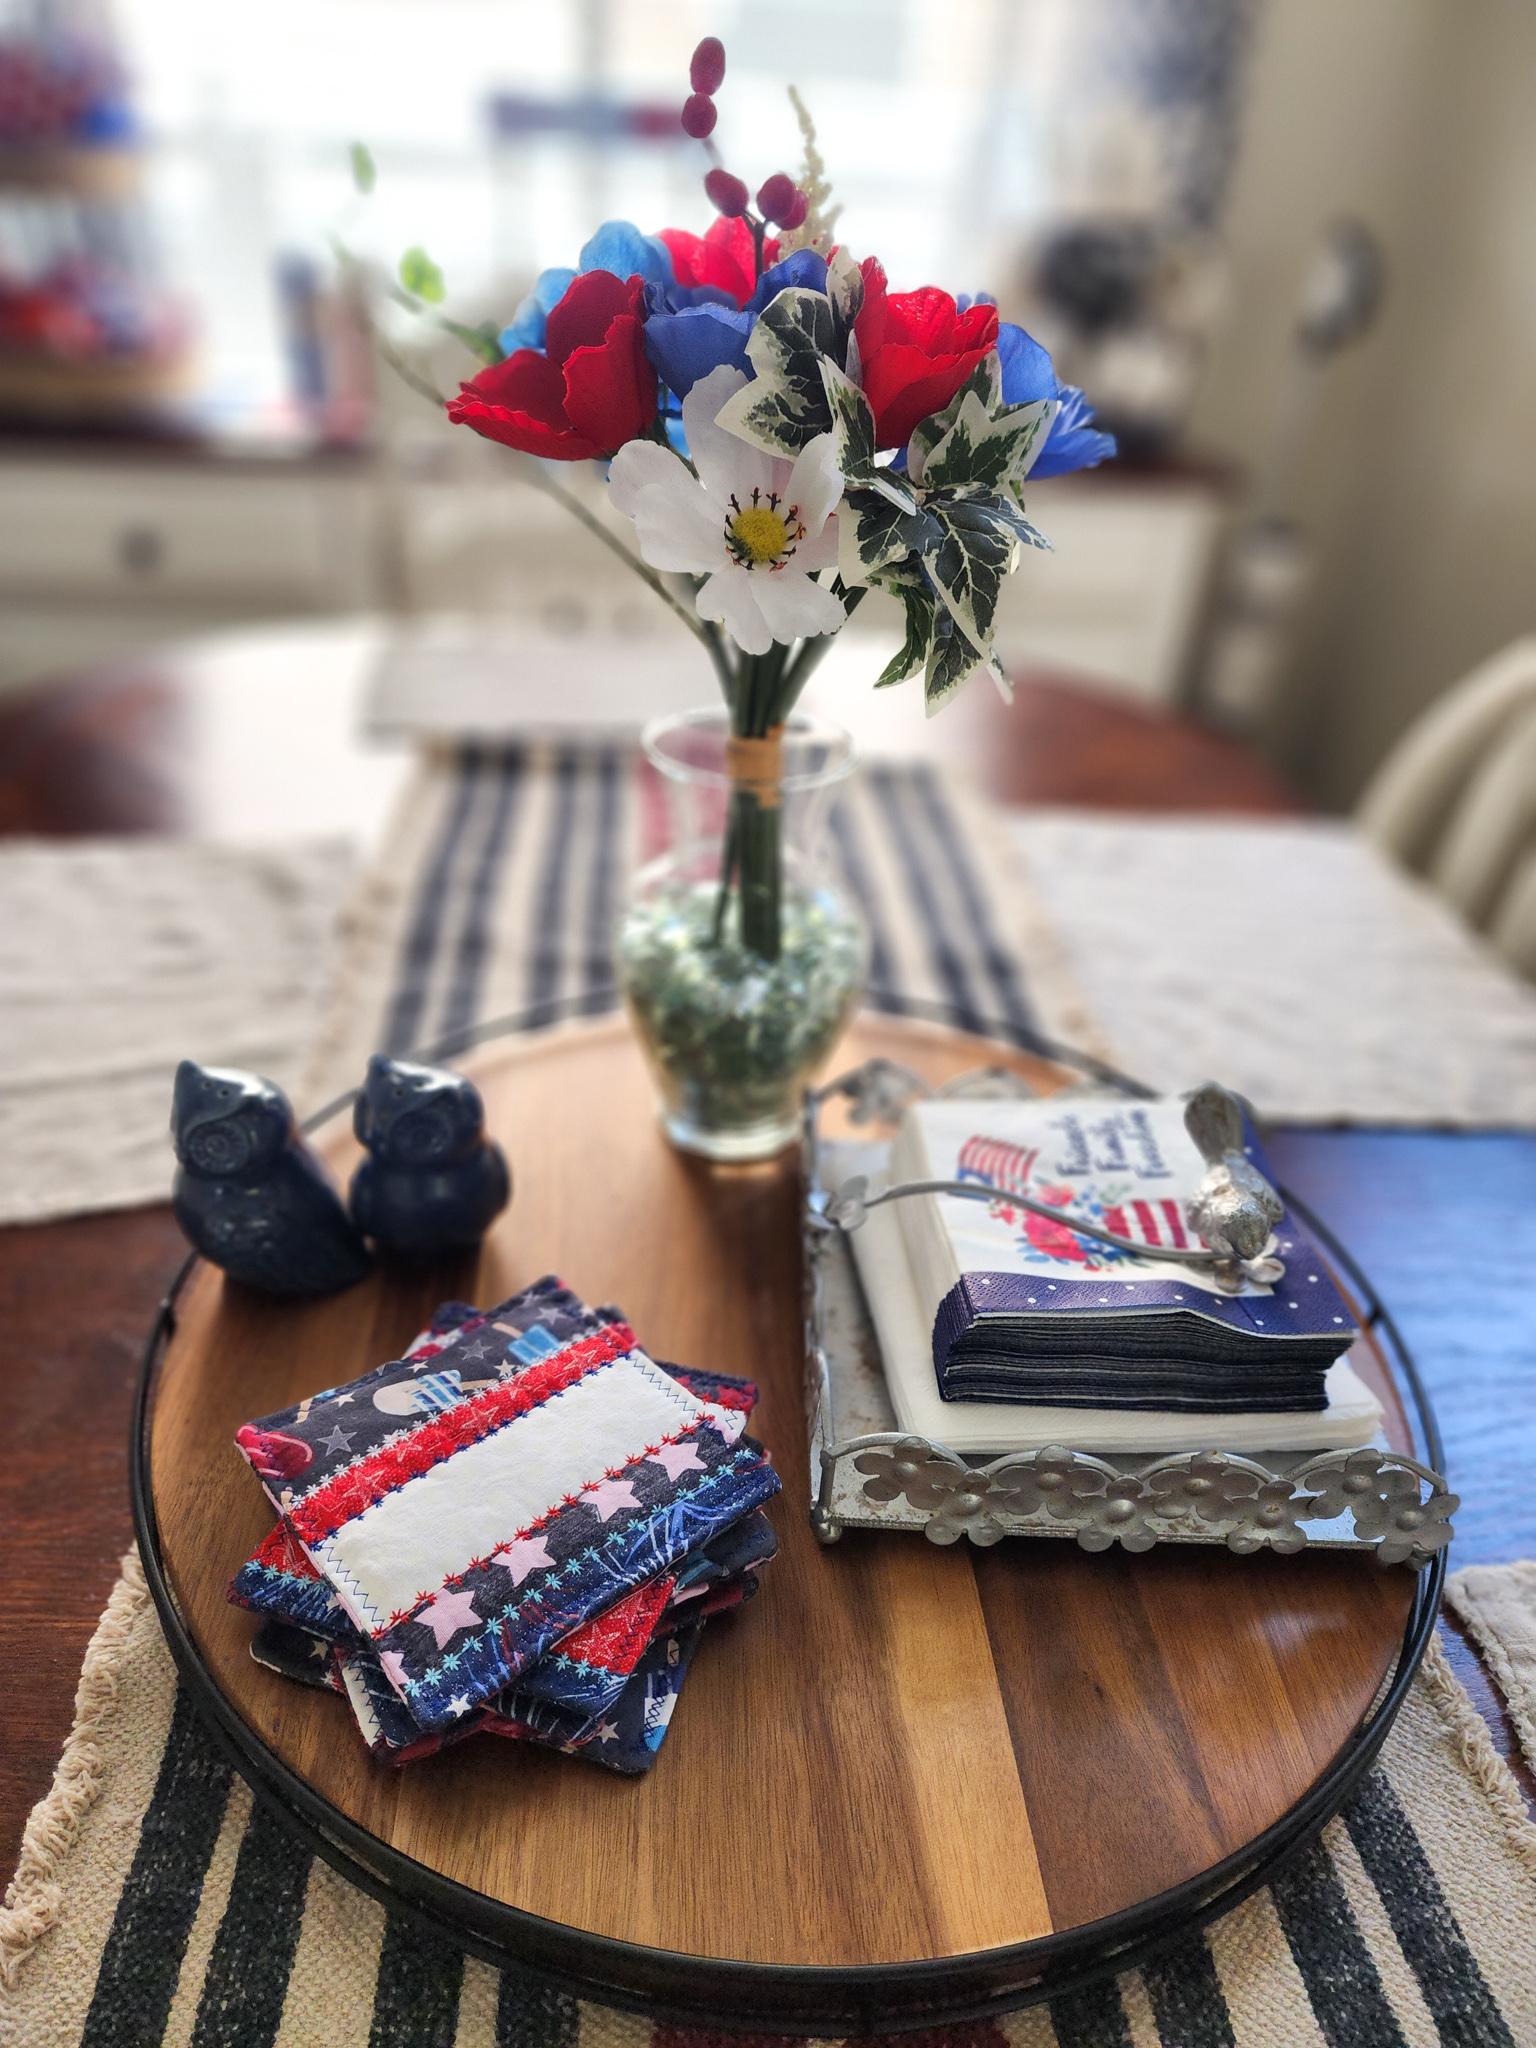
Along with my cute wall shelf that I decorate, I have a lazy susan on my dining room table that I like to change out as well. I’ve become a little obsessed with holiday napkins since I’ve gotten the lazy susan last Christmas. Napkins are such an easy (and practical) way to add a little festivity to a table. I mean, how cute are these Halloween napkins I found??

Since my table is wood and I don’t want people putting sweaty glasses down and ruining my table, I’ve also been making coasters to use. I’m slowly making them for each holiday as they approach. I’ll be sharing that tutorial here as well, since it’s made the exact same way as the placemat (just a different size).
Some might call me a little “extra” but that’s okay, it makes me happy to change things up and decorate my space.
I must say, my dining room looks super cute right now, but after decorating last weekend I felt like I was still lacking something. I finally decided what the something was: Halloween placemats!
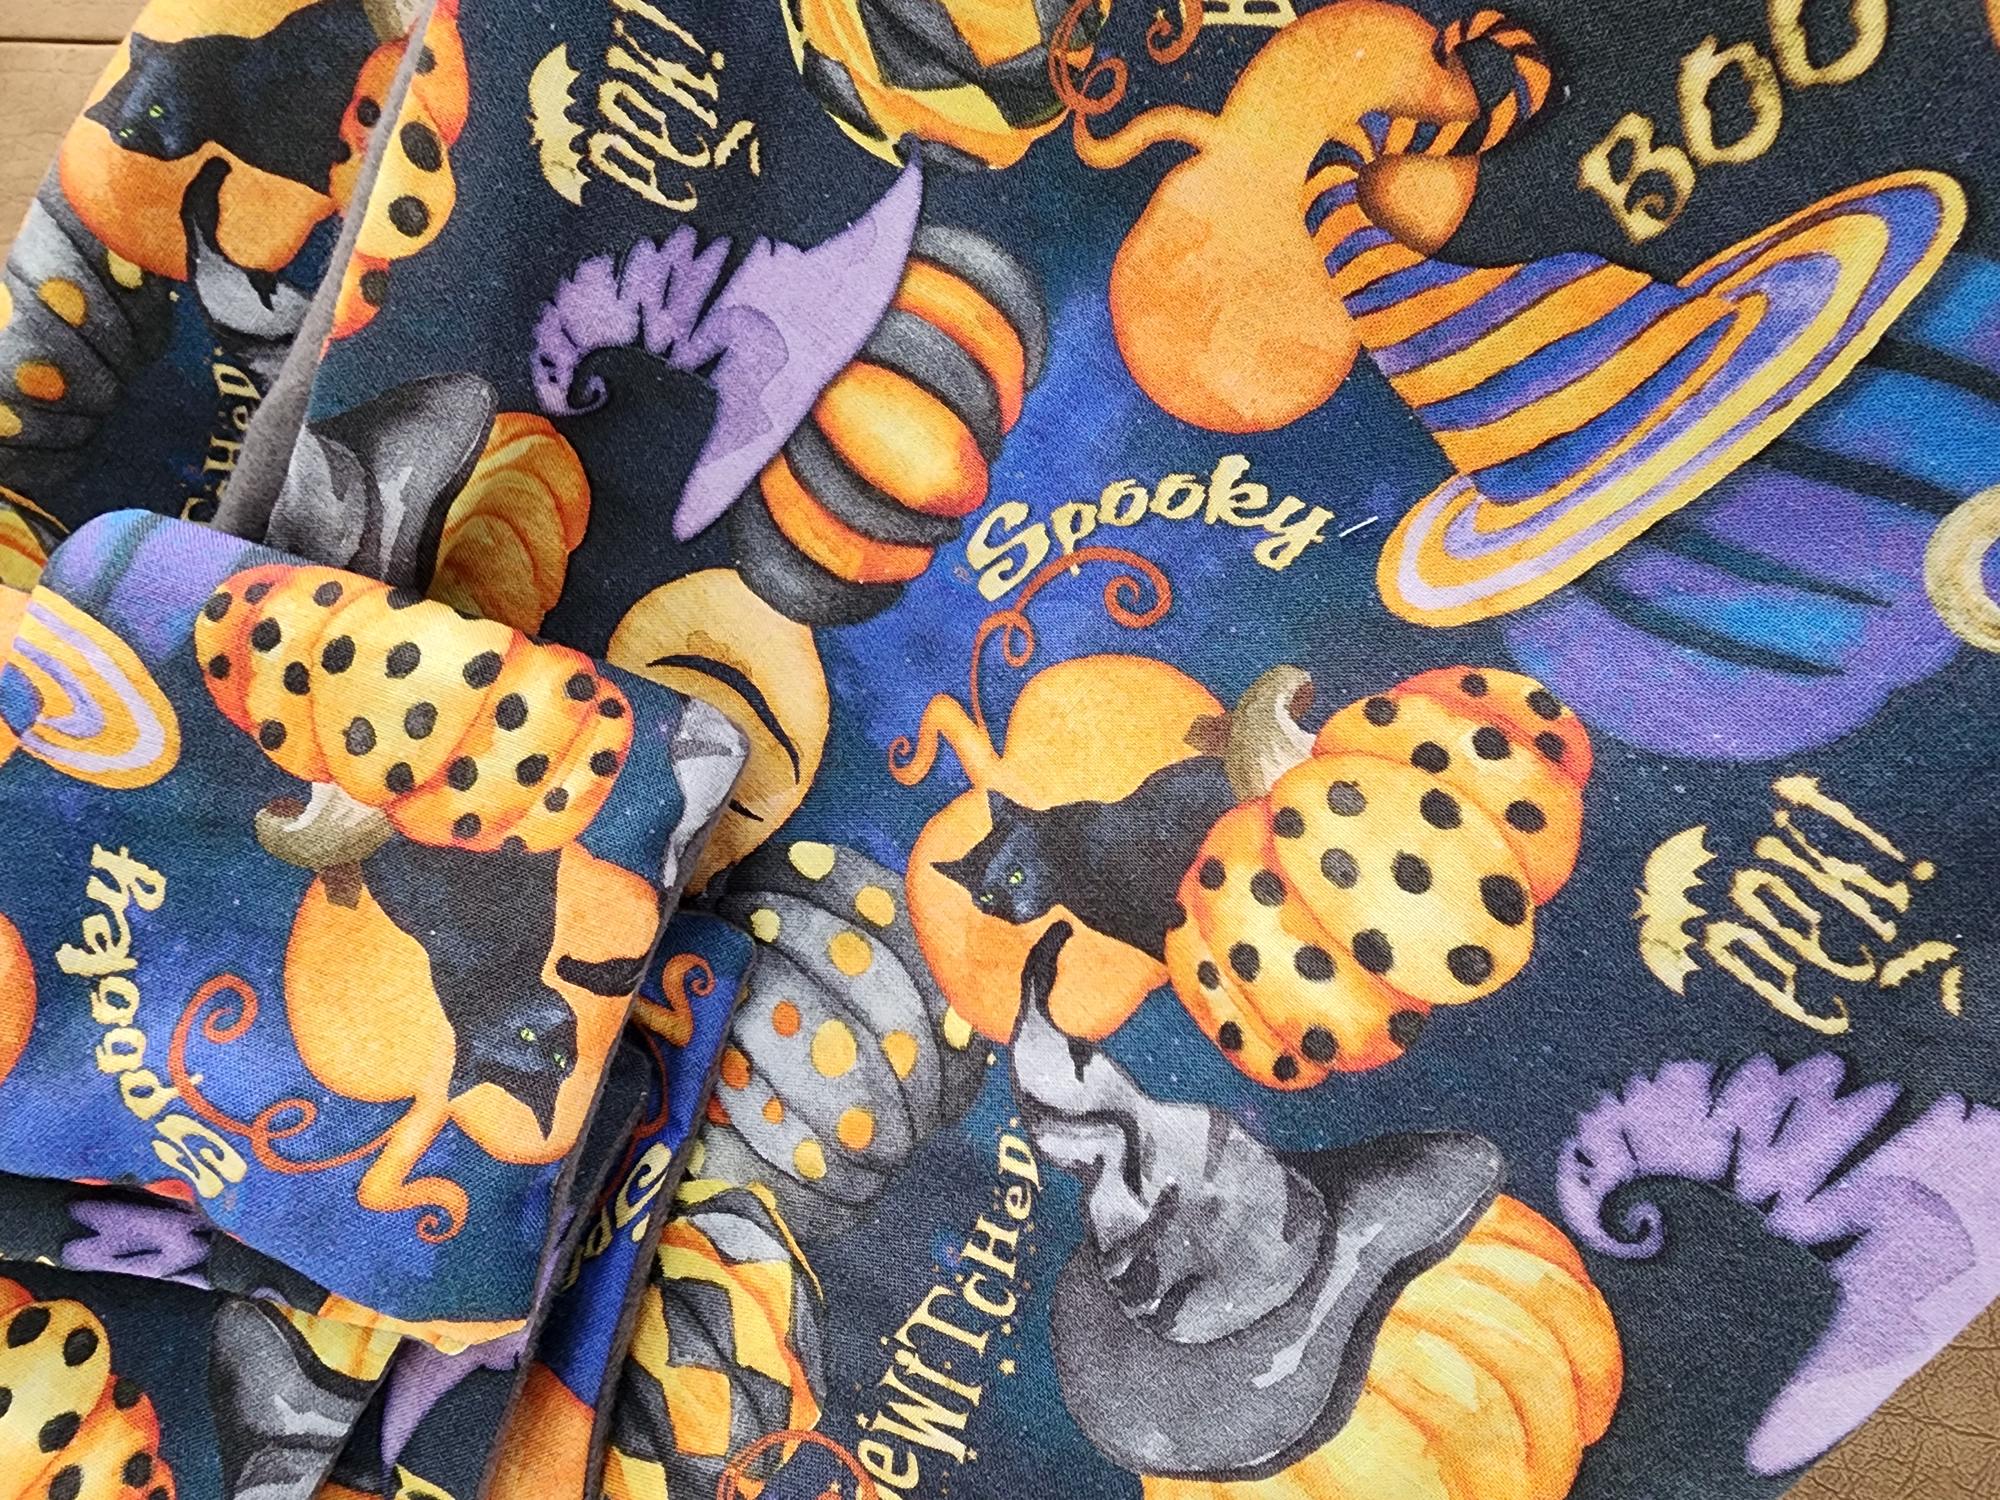
On my weekly trip to Joann’s, I ran across this adorable Halloween fabric. I was bummed that I hadn’t seen it the week before, when I was picking out trick-or-treat bag fabric for my classes. I thought of buying it to hold on to for next year, but then I remembered how I wanted Halloween placemats and coasters. So into the cart the fabric went!
The purpose of placemats (other than to make your table to look cute, duh) is to protect the table. I like to add a layer of batting or something in-between to act as a barrier between a hot plate and my wood tabletop. I knew that if I was going to sew placements for Halloween that it would have to be something quick and simple. Luckily, I have a whole bin of fleece fabric that is just waiting to be used! I decided to make the backing of the placemat out of fleece. Not only is it soft against the table, but it is fairly thick and will absorb some of that heat from plates (or food spills!)
Sewing placemats and coasters are suuuuper easy!! And now that I’ve rambled on about how much I love decorating, let’s get to the actual project!
How To Sew Fleece Backed Placemats and Coasters
First, decide on your measurements. You can make them whatever size you like, but here’s what I cut:
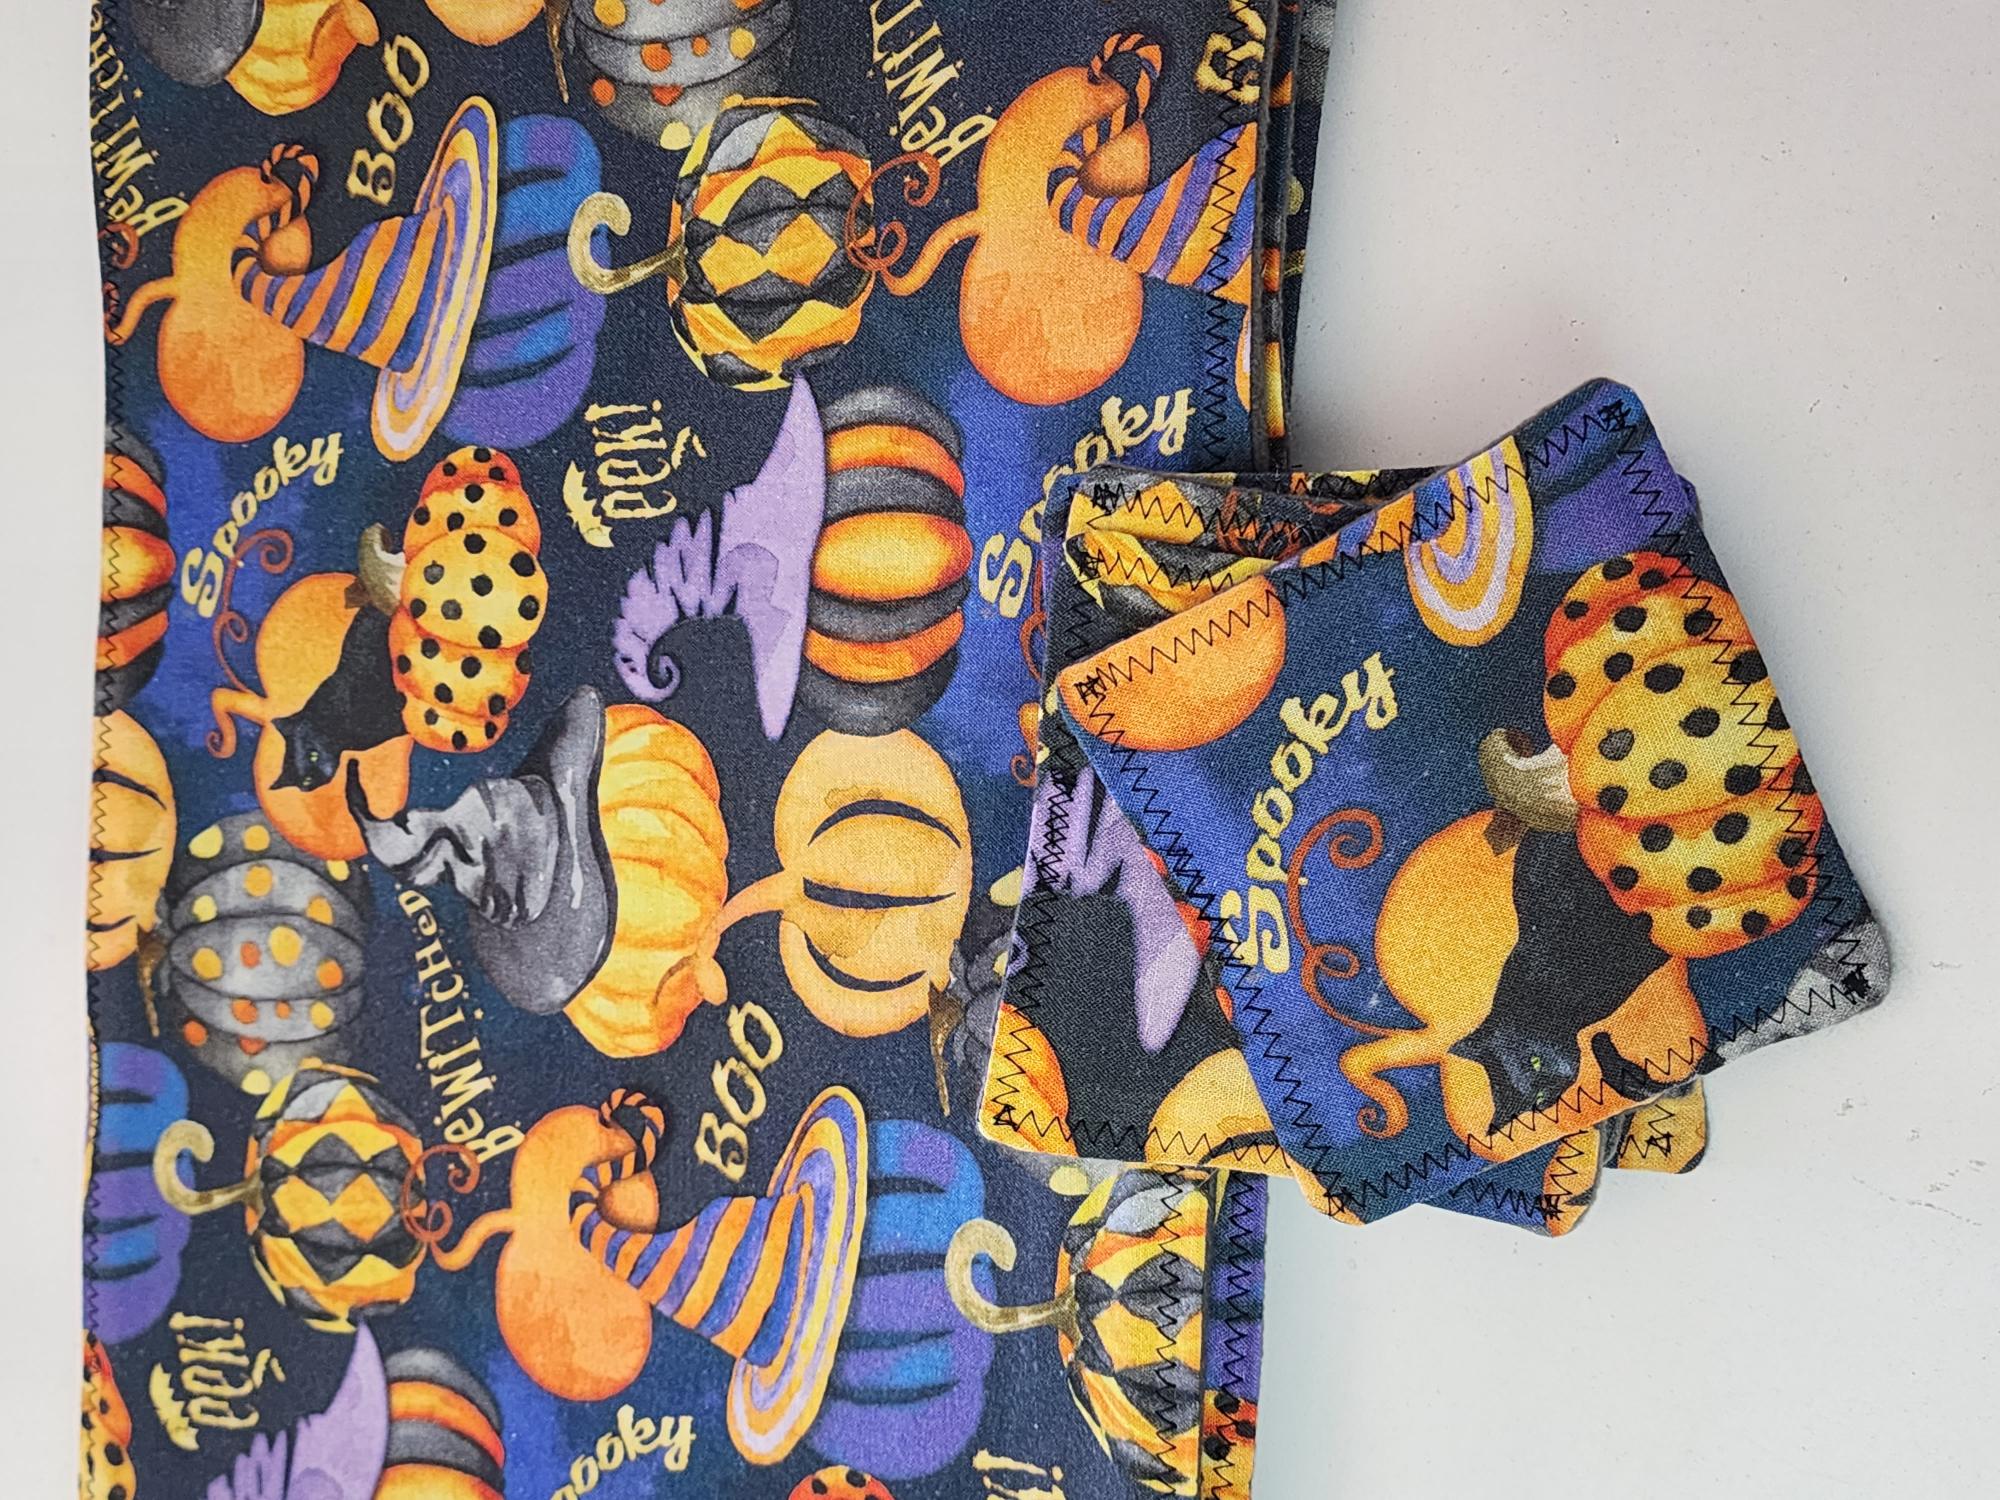
- 12″ x 16″ rectangle of placemat front material
- 12″ x 16″ rectangle of placemat back (fleece) material
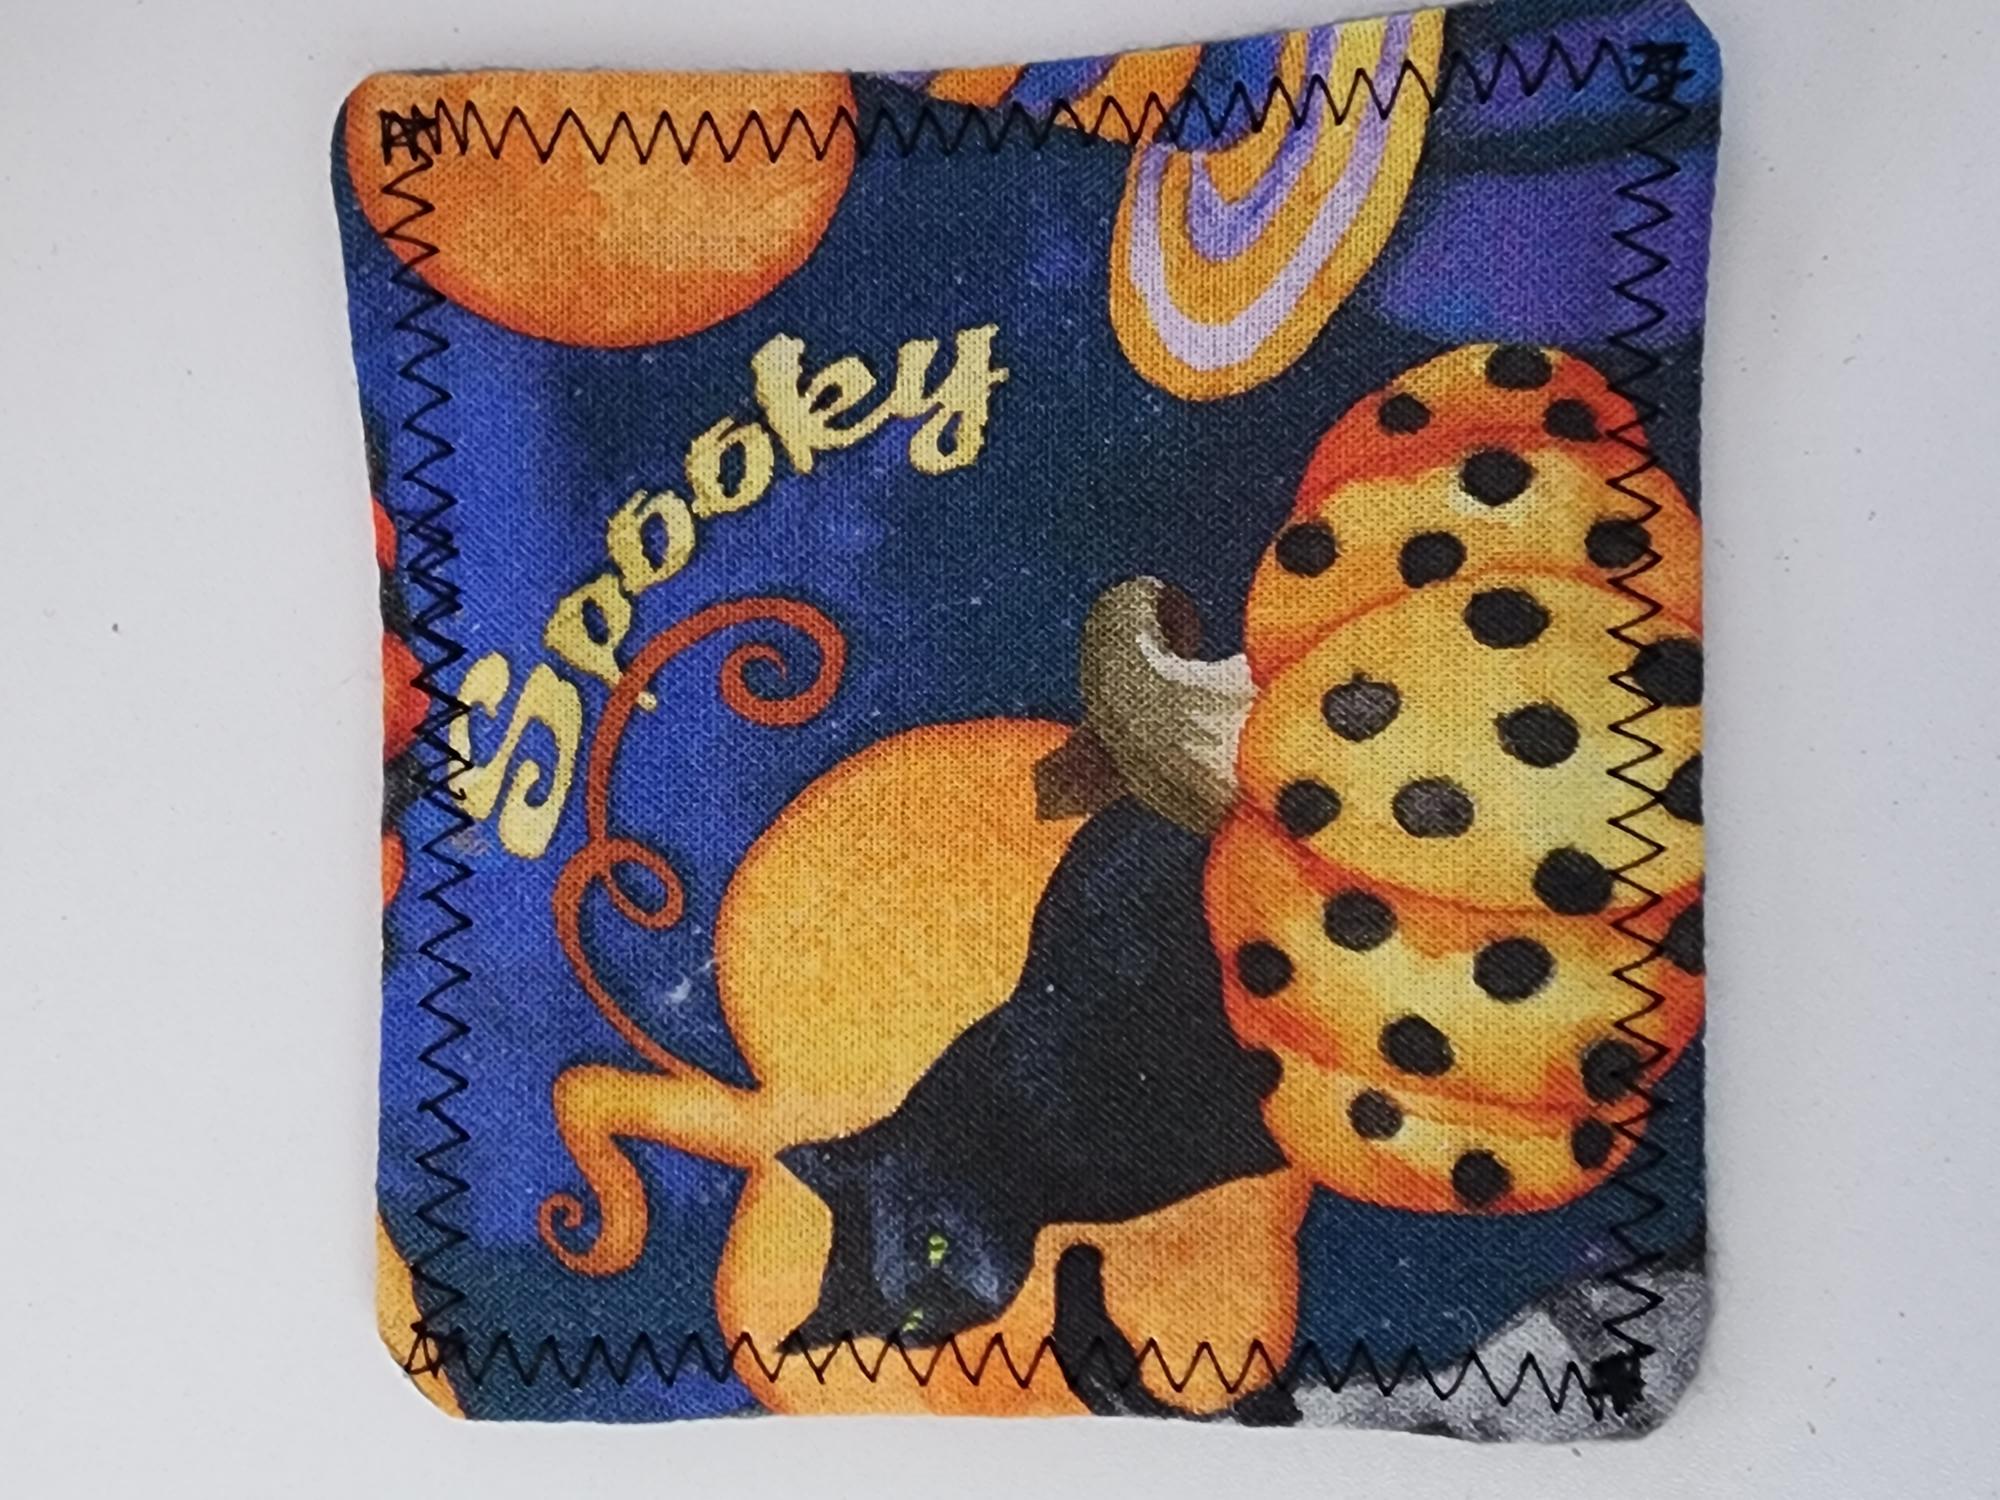
- 5″ x 5″ square of coaster front material
- 5″ x 5″ square of coaster back (fleece) material
I used a 1/2″ seam allowance on everything but in hindsight, I wish I’d used a little bit smaller (maybe 3/8″) on the coasters, just to make them a tad bit bigger. They still fit all of our cups and mugs, but next time I’ll use a 3/8″ seam allowance. Or maybe even 1/4″.
Let’s get to sewing. It’s so easy that you probably don’t even need this tutorial, lol. But I know when beginners are starting out, it’s nice to have directions to make sure you’re doing it right 😉
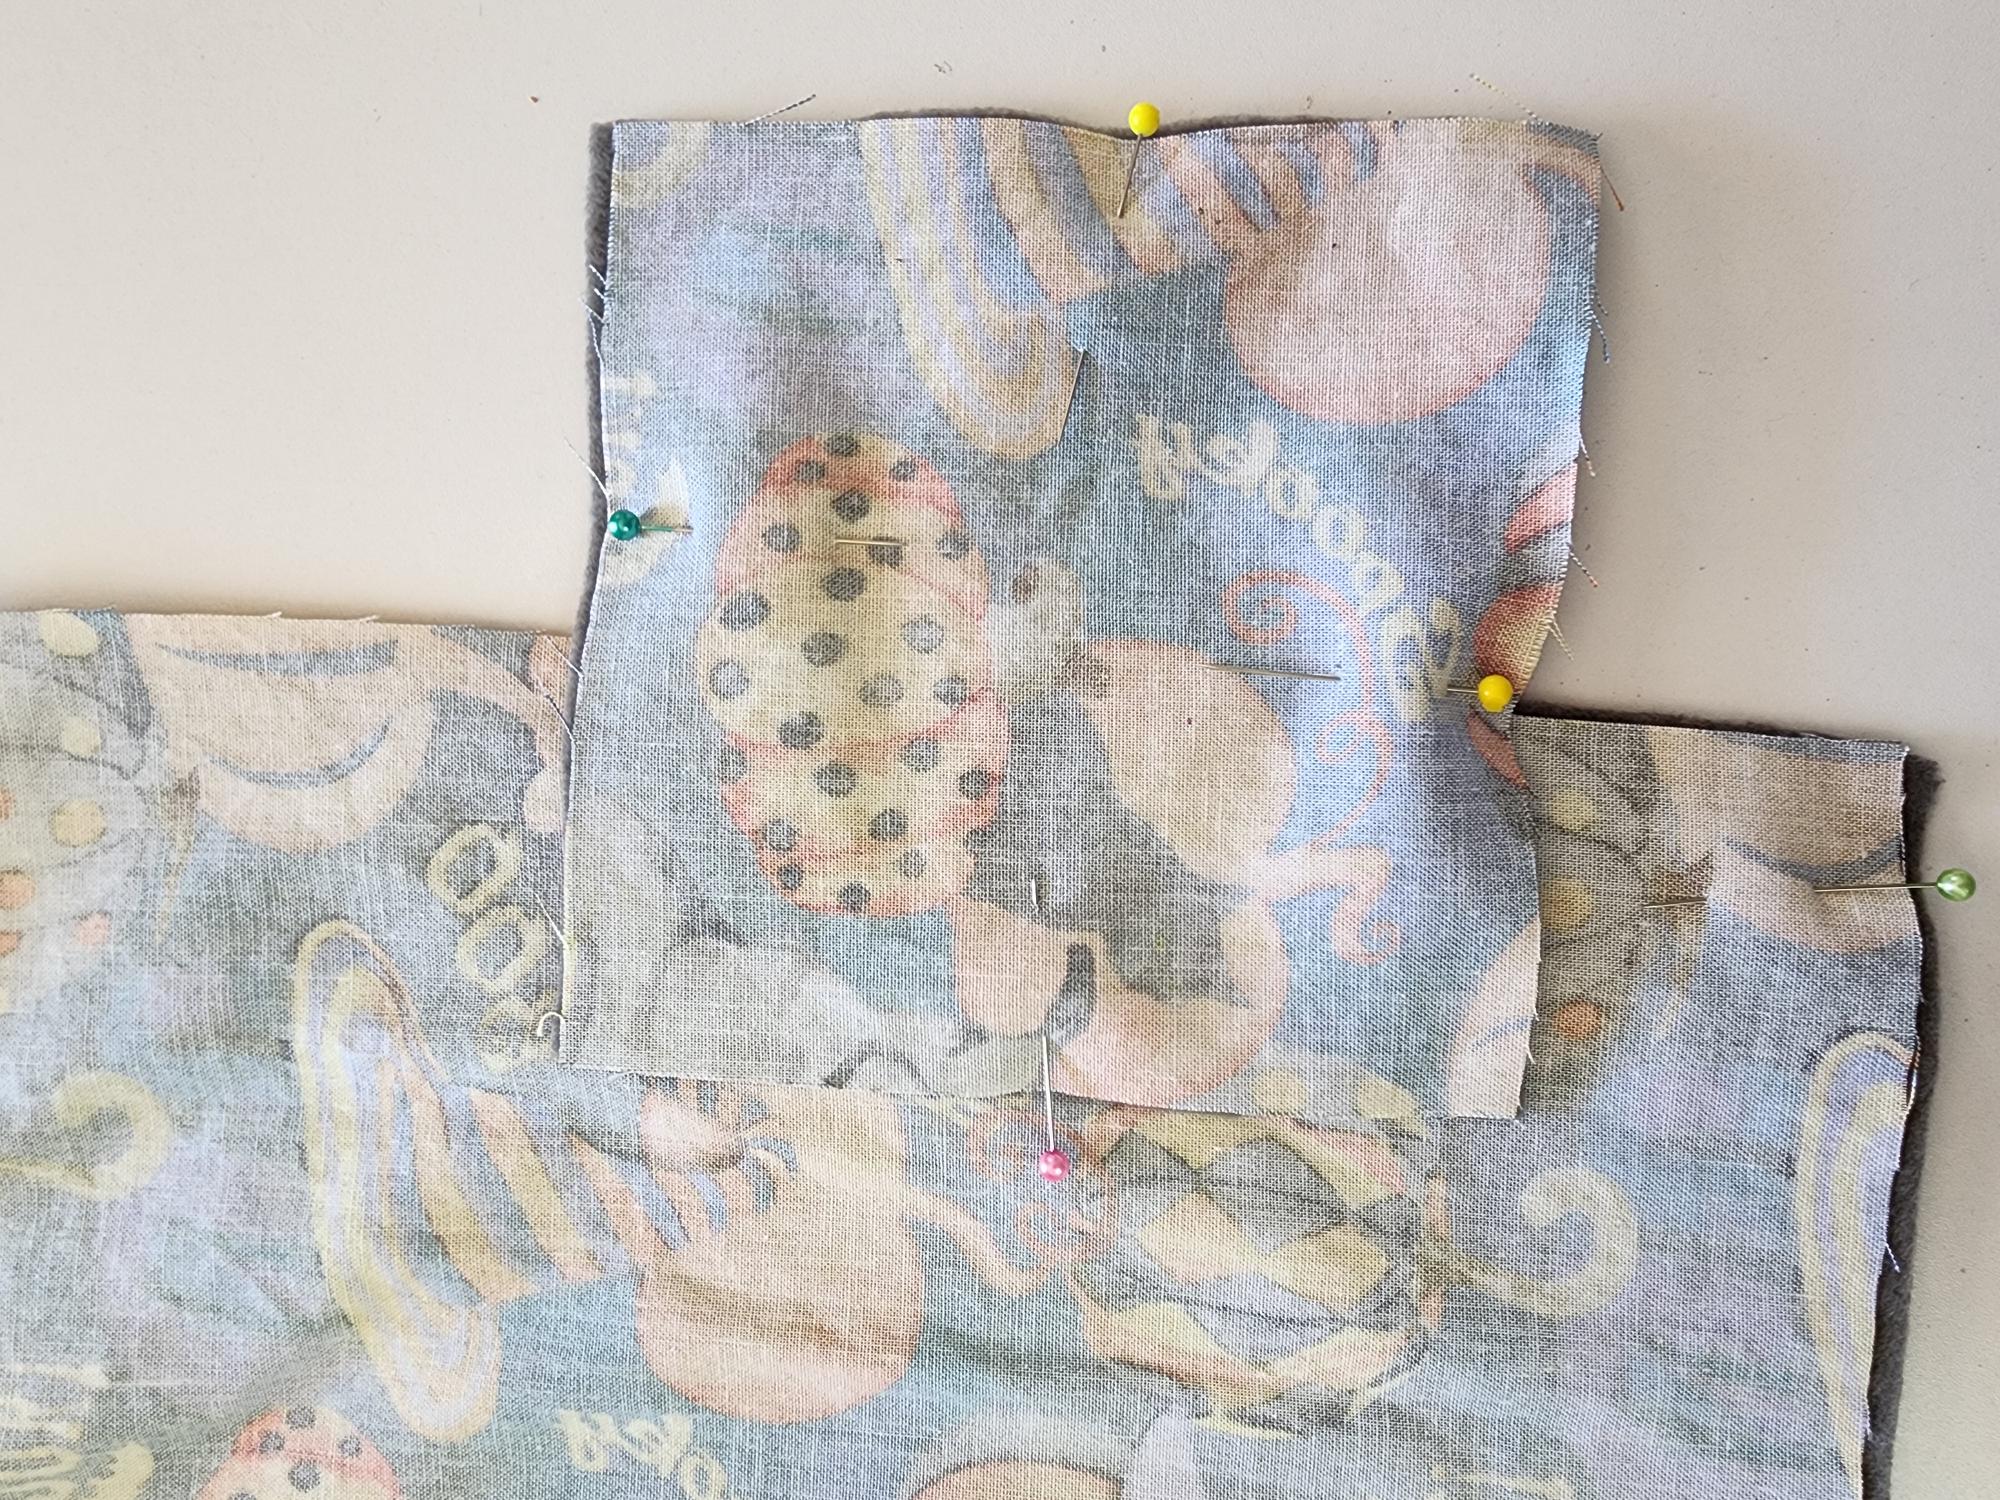
Step 1:
Place your Halloween fabric on top of your fleece fabric with the right sides together. Pin all the way around. You will do this for both the placemat as well as the coaster.
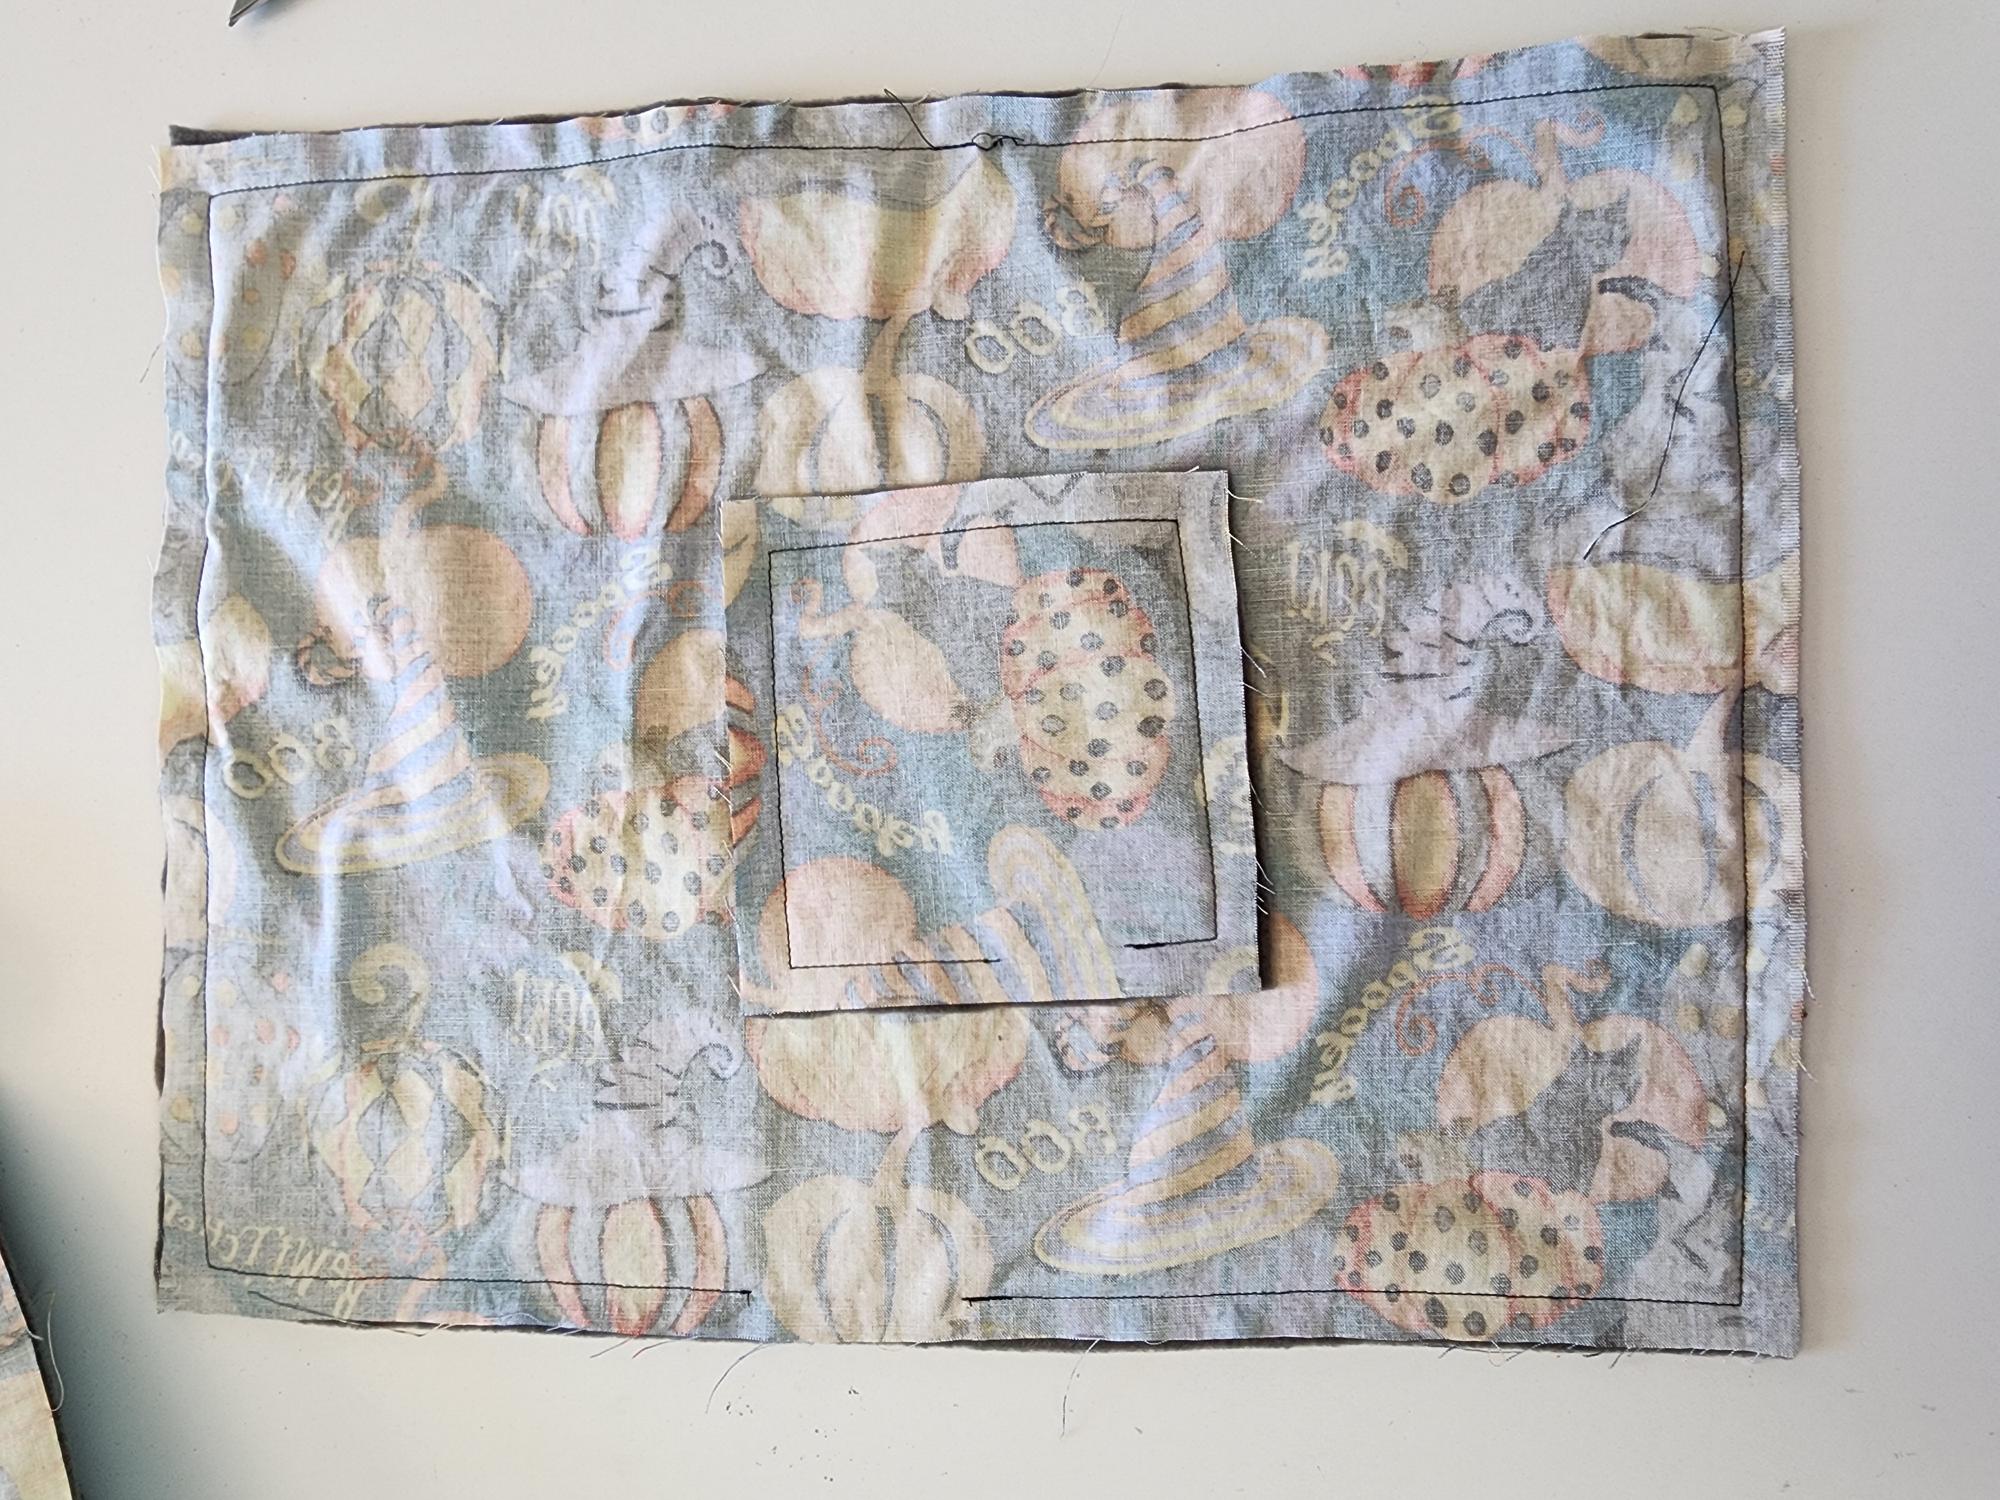
Step 2:
Using a 1/2″ seam allowance (or 3/8″ if you prefer), stitch around the perimeter of the placemat/coaster, pivoting at each corner when you are 1/2″ away from the edge of the fabric. Leave a 2″-3″ opening to flip your placemat later.
Pro tip: Make sure that you start in the middle of a seam line and not at the top corner because you are going to need to leave that opening and you want to be sure to sew your corners.
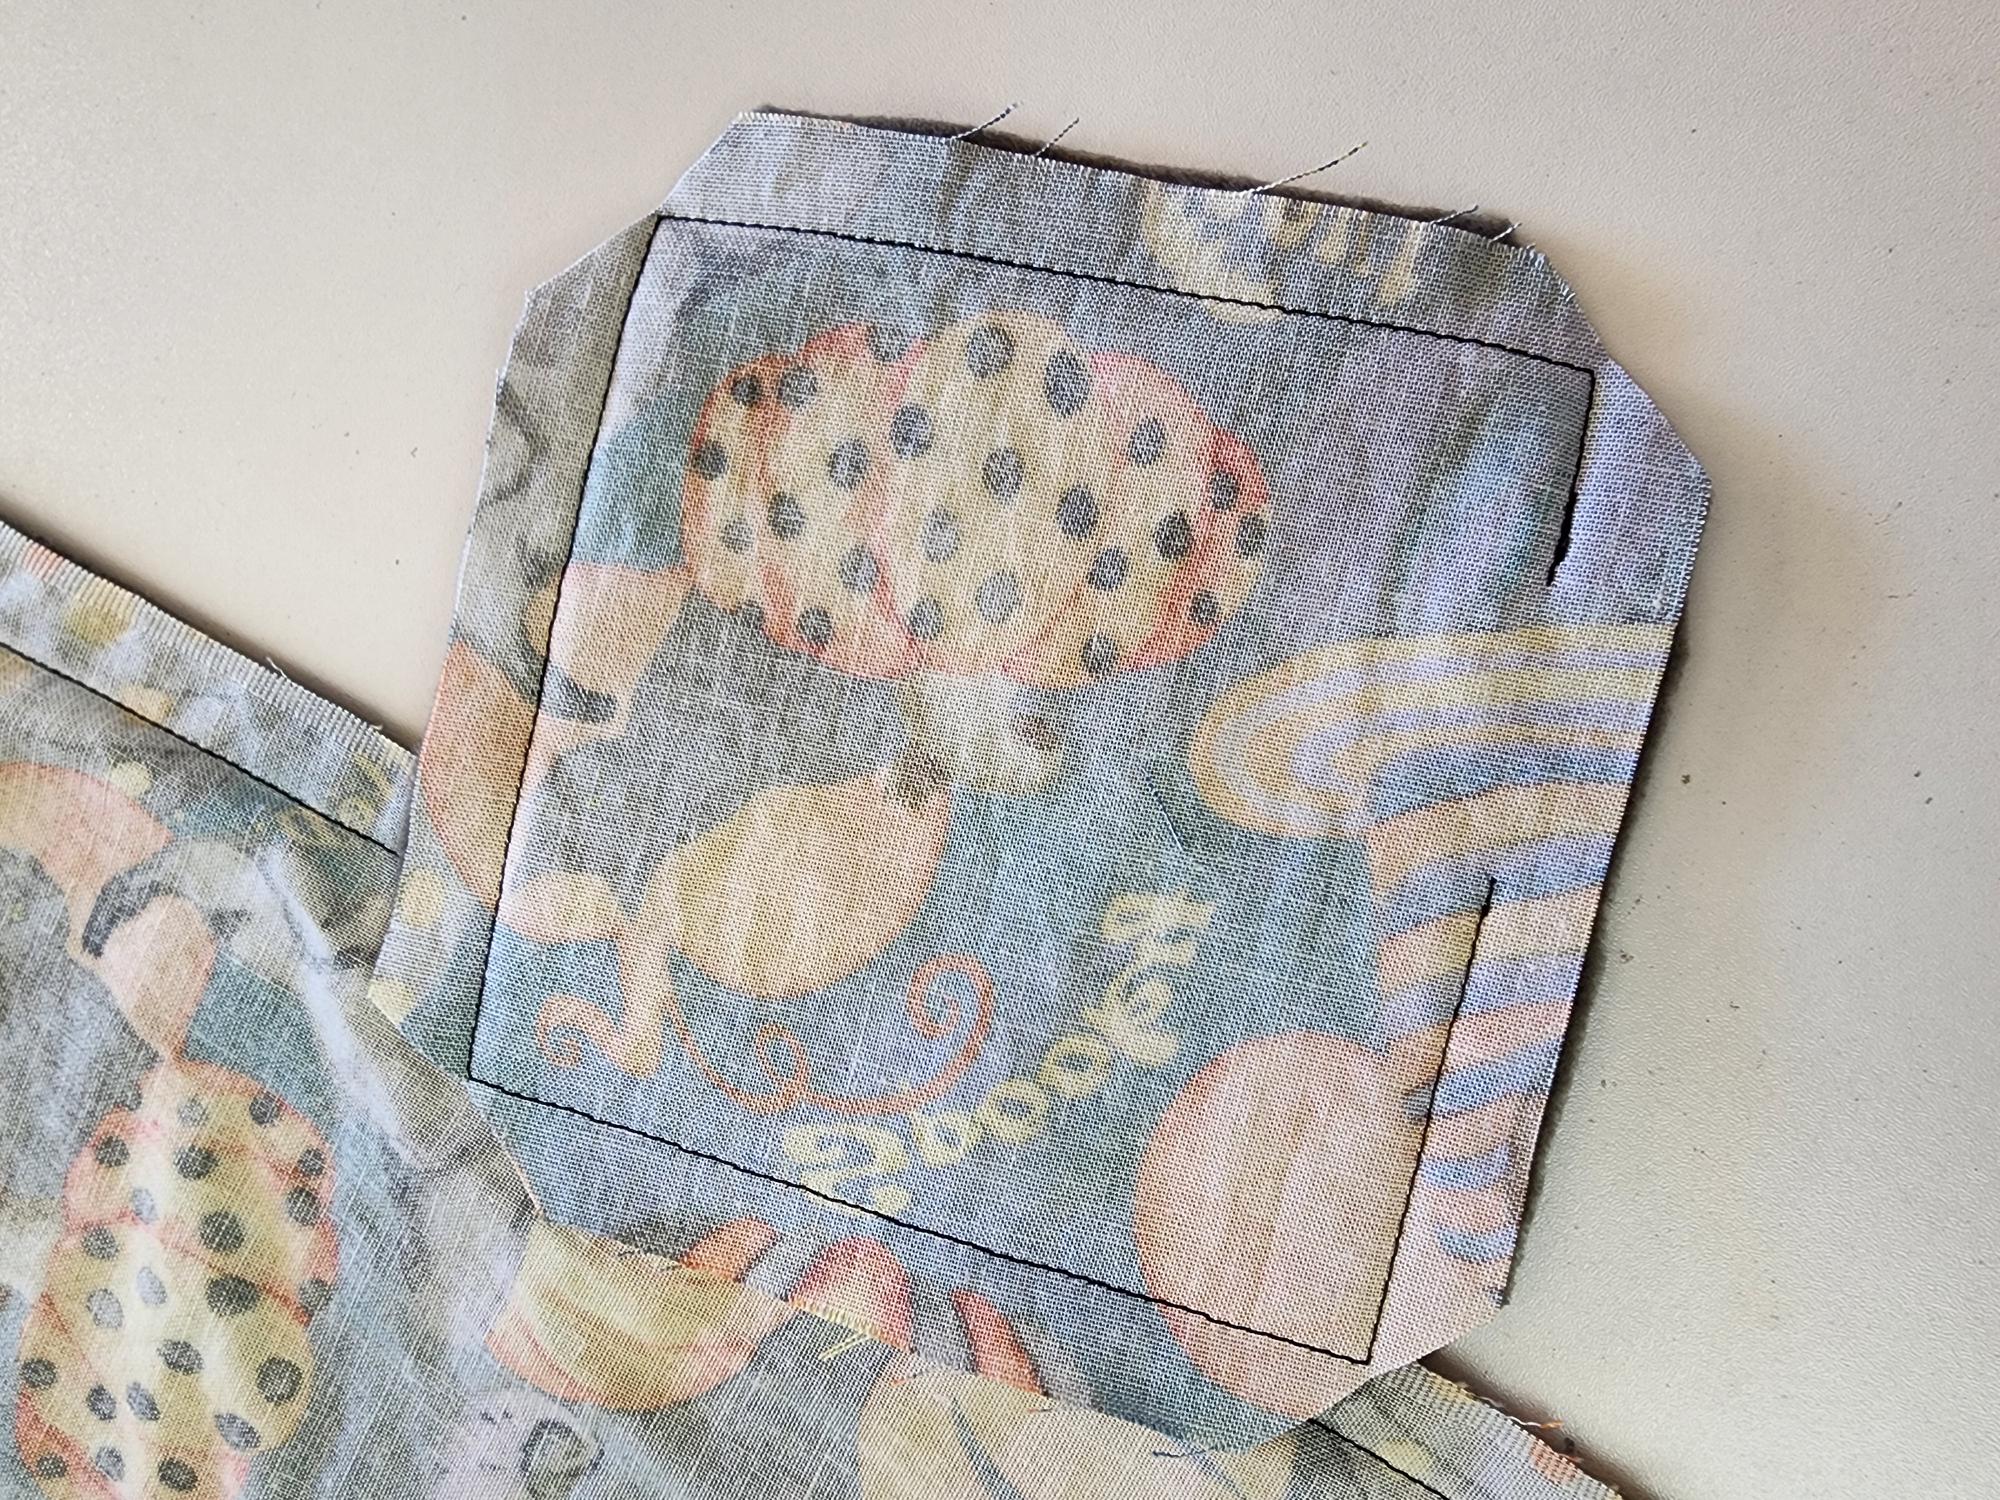
Step 3:
Clip the corners of your placemat/coasters (to reduce bulk) and then flip right side out. Iron around the edges, making sure to tuck the seam allowances in at the opening.
Step 4:
Stitch your opening shut and sew a topstitch around the edges of the placemat/coaster. I chose to do this in one step by doing a zig-zag around the entire placemat. The zig-zag was close enough to the edge that it stitched that opening shut.
And that’s all there is to it! I told you it was easy!!
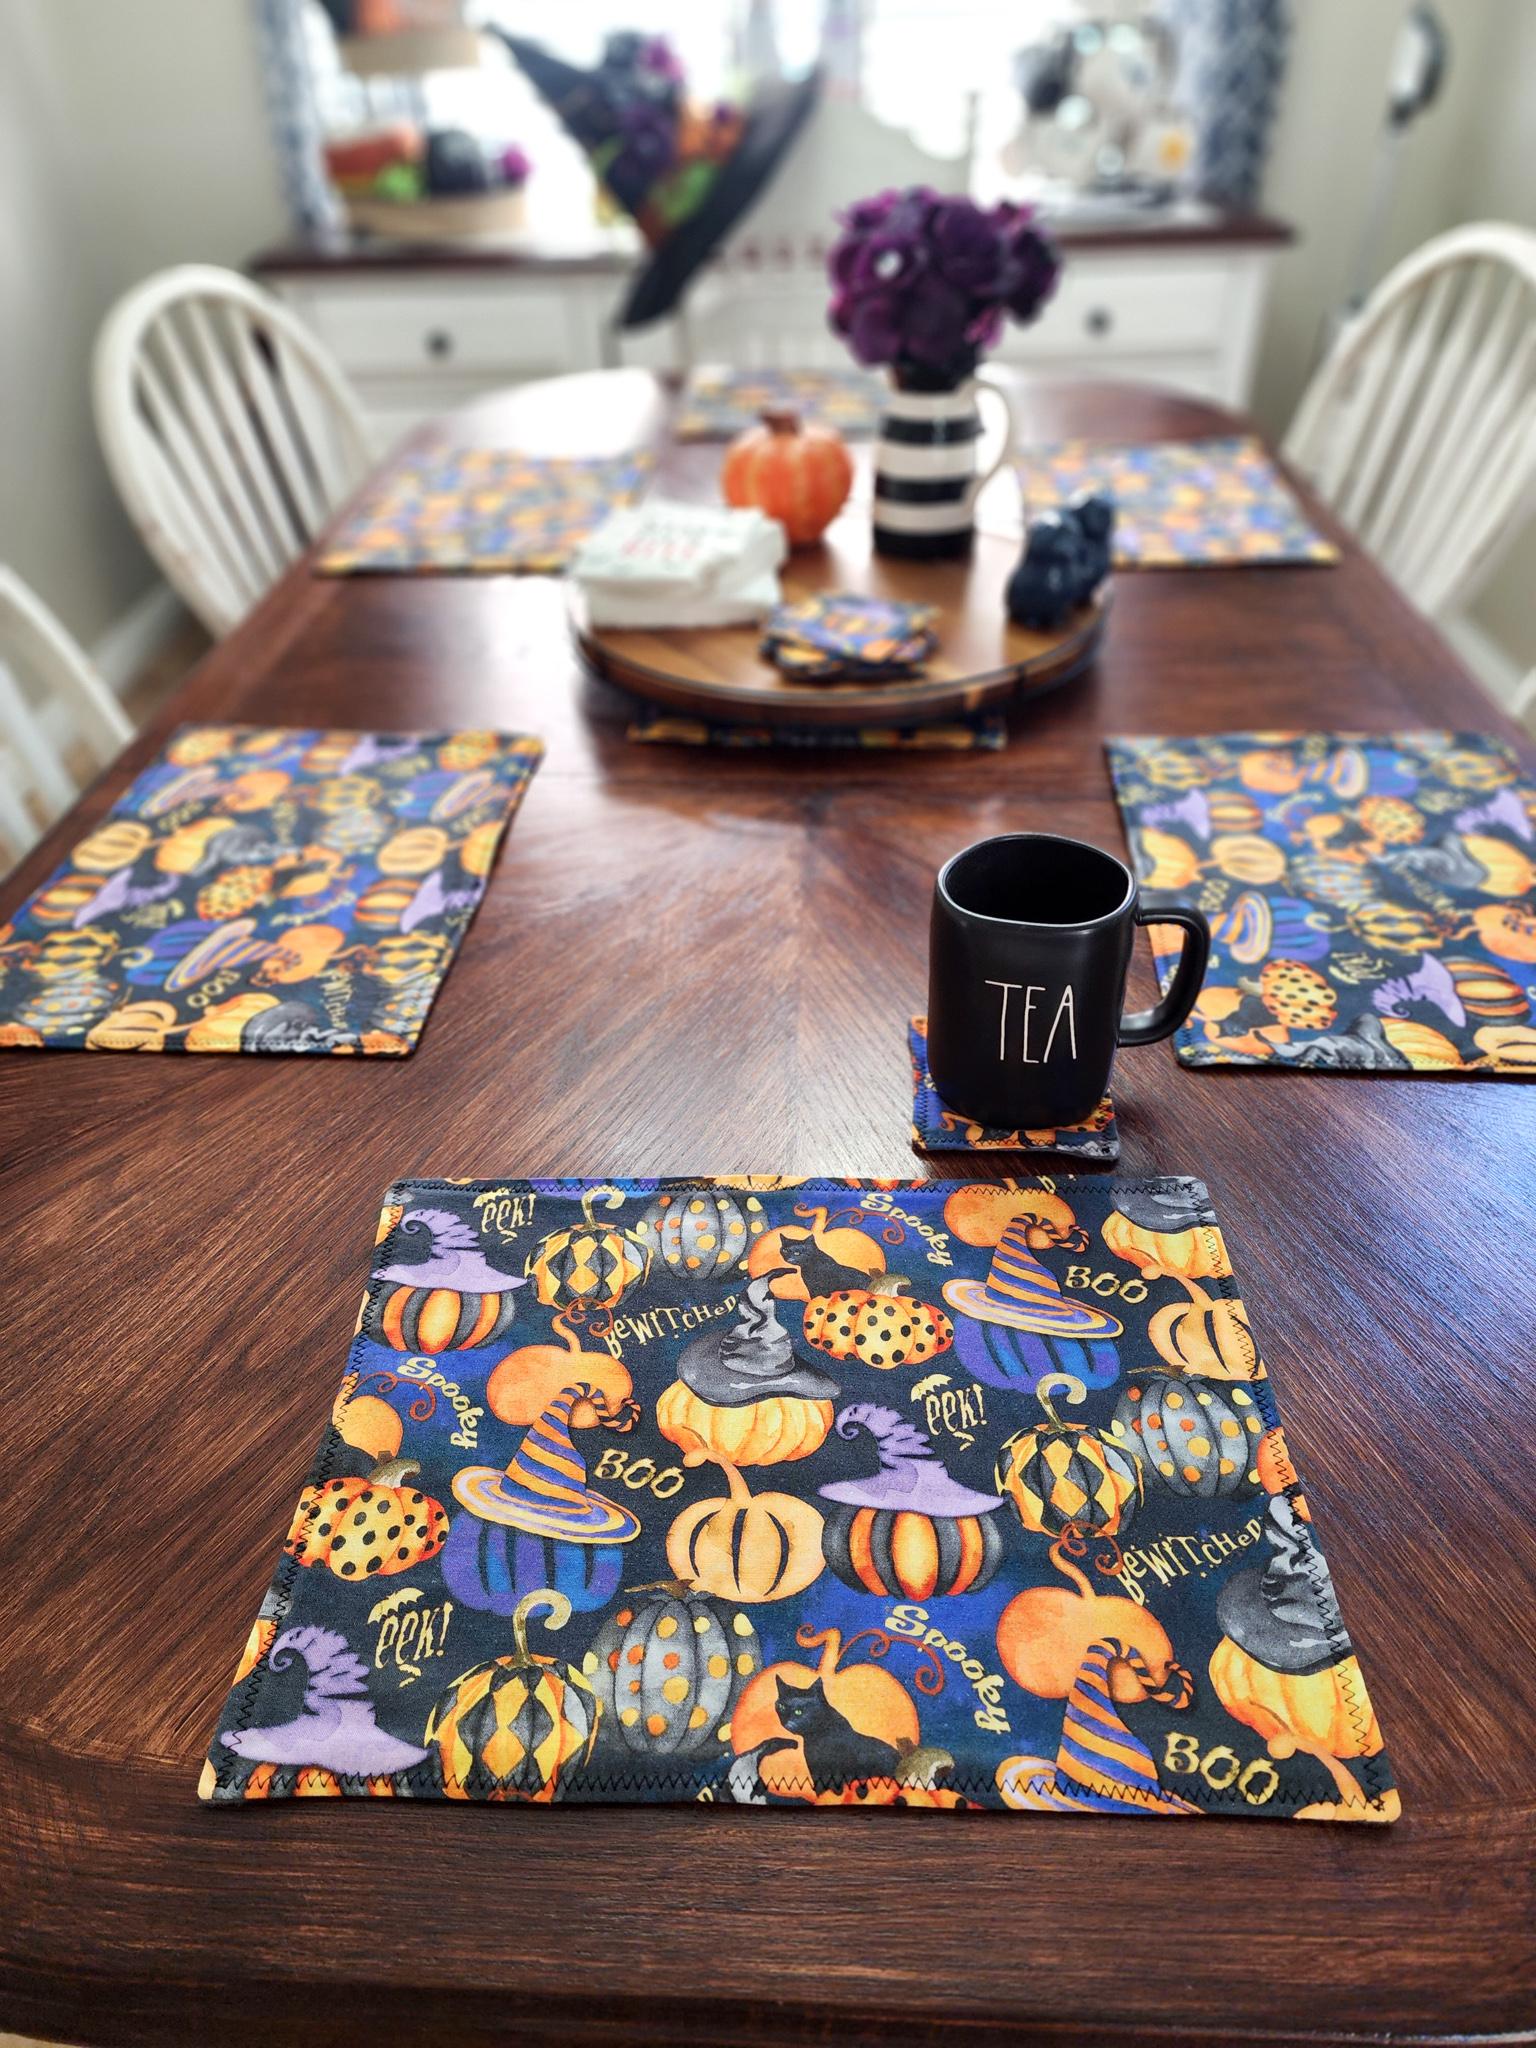
My table is all ready for spooky season and it makes me happy every time I sit down to eat (insert laughing emoji).
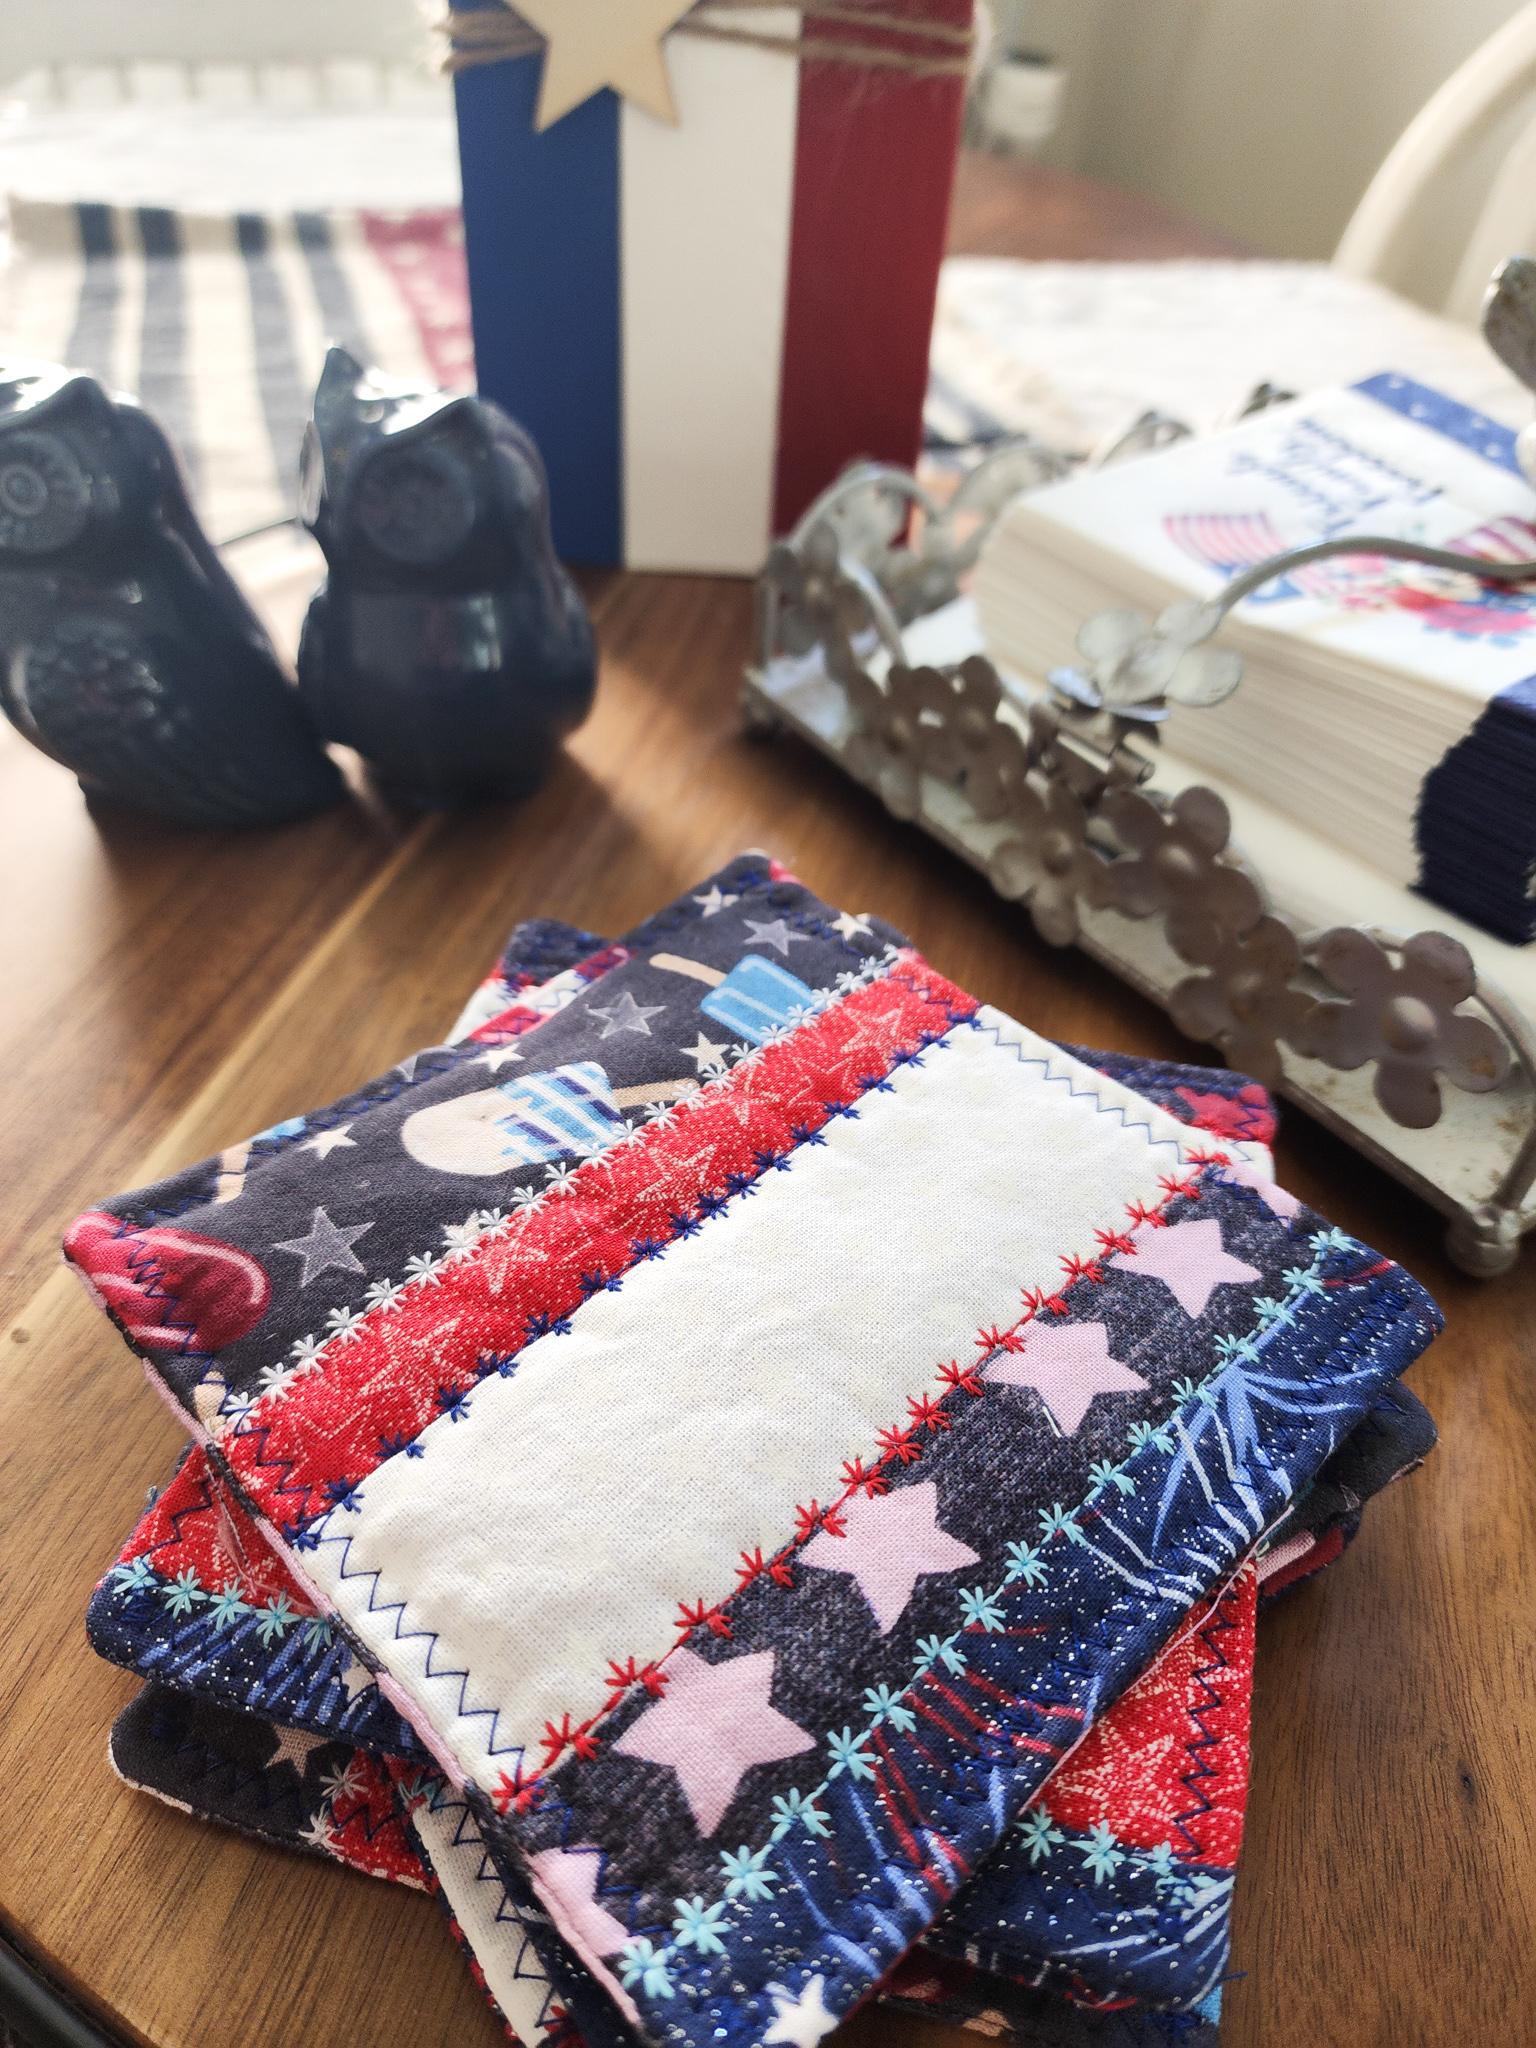
There are so many variations you can do with this project. For 4th of July, I cut different sized strips of patriotic fabric, sewed them all together, and then cut out the size of the coaster that I wanted. That became my top fabric, and then I sewed it all together like in the steps above. I chose a decorative top-stitch (that resembled stars) to go along with the patriotic theme and top-stitched along the seam lines. I love these coasters!! Feel free to be creative with this!
Have fun and happy sewing!!
Things that might help you with this project:


*Sassy Cassy’s is part of the Amazon Affiliate Program, which means that if you purchase Amazon items from this website, a small commission will be earned, at no extra cost to you.
