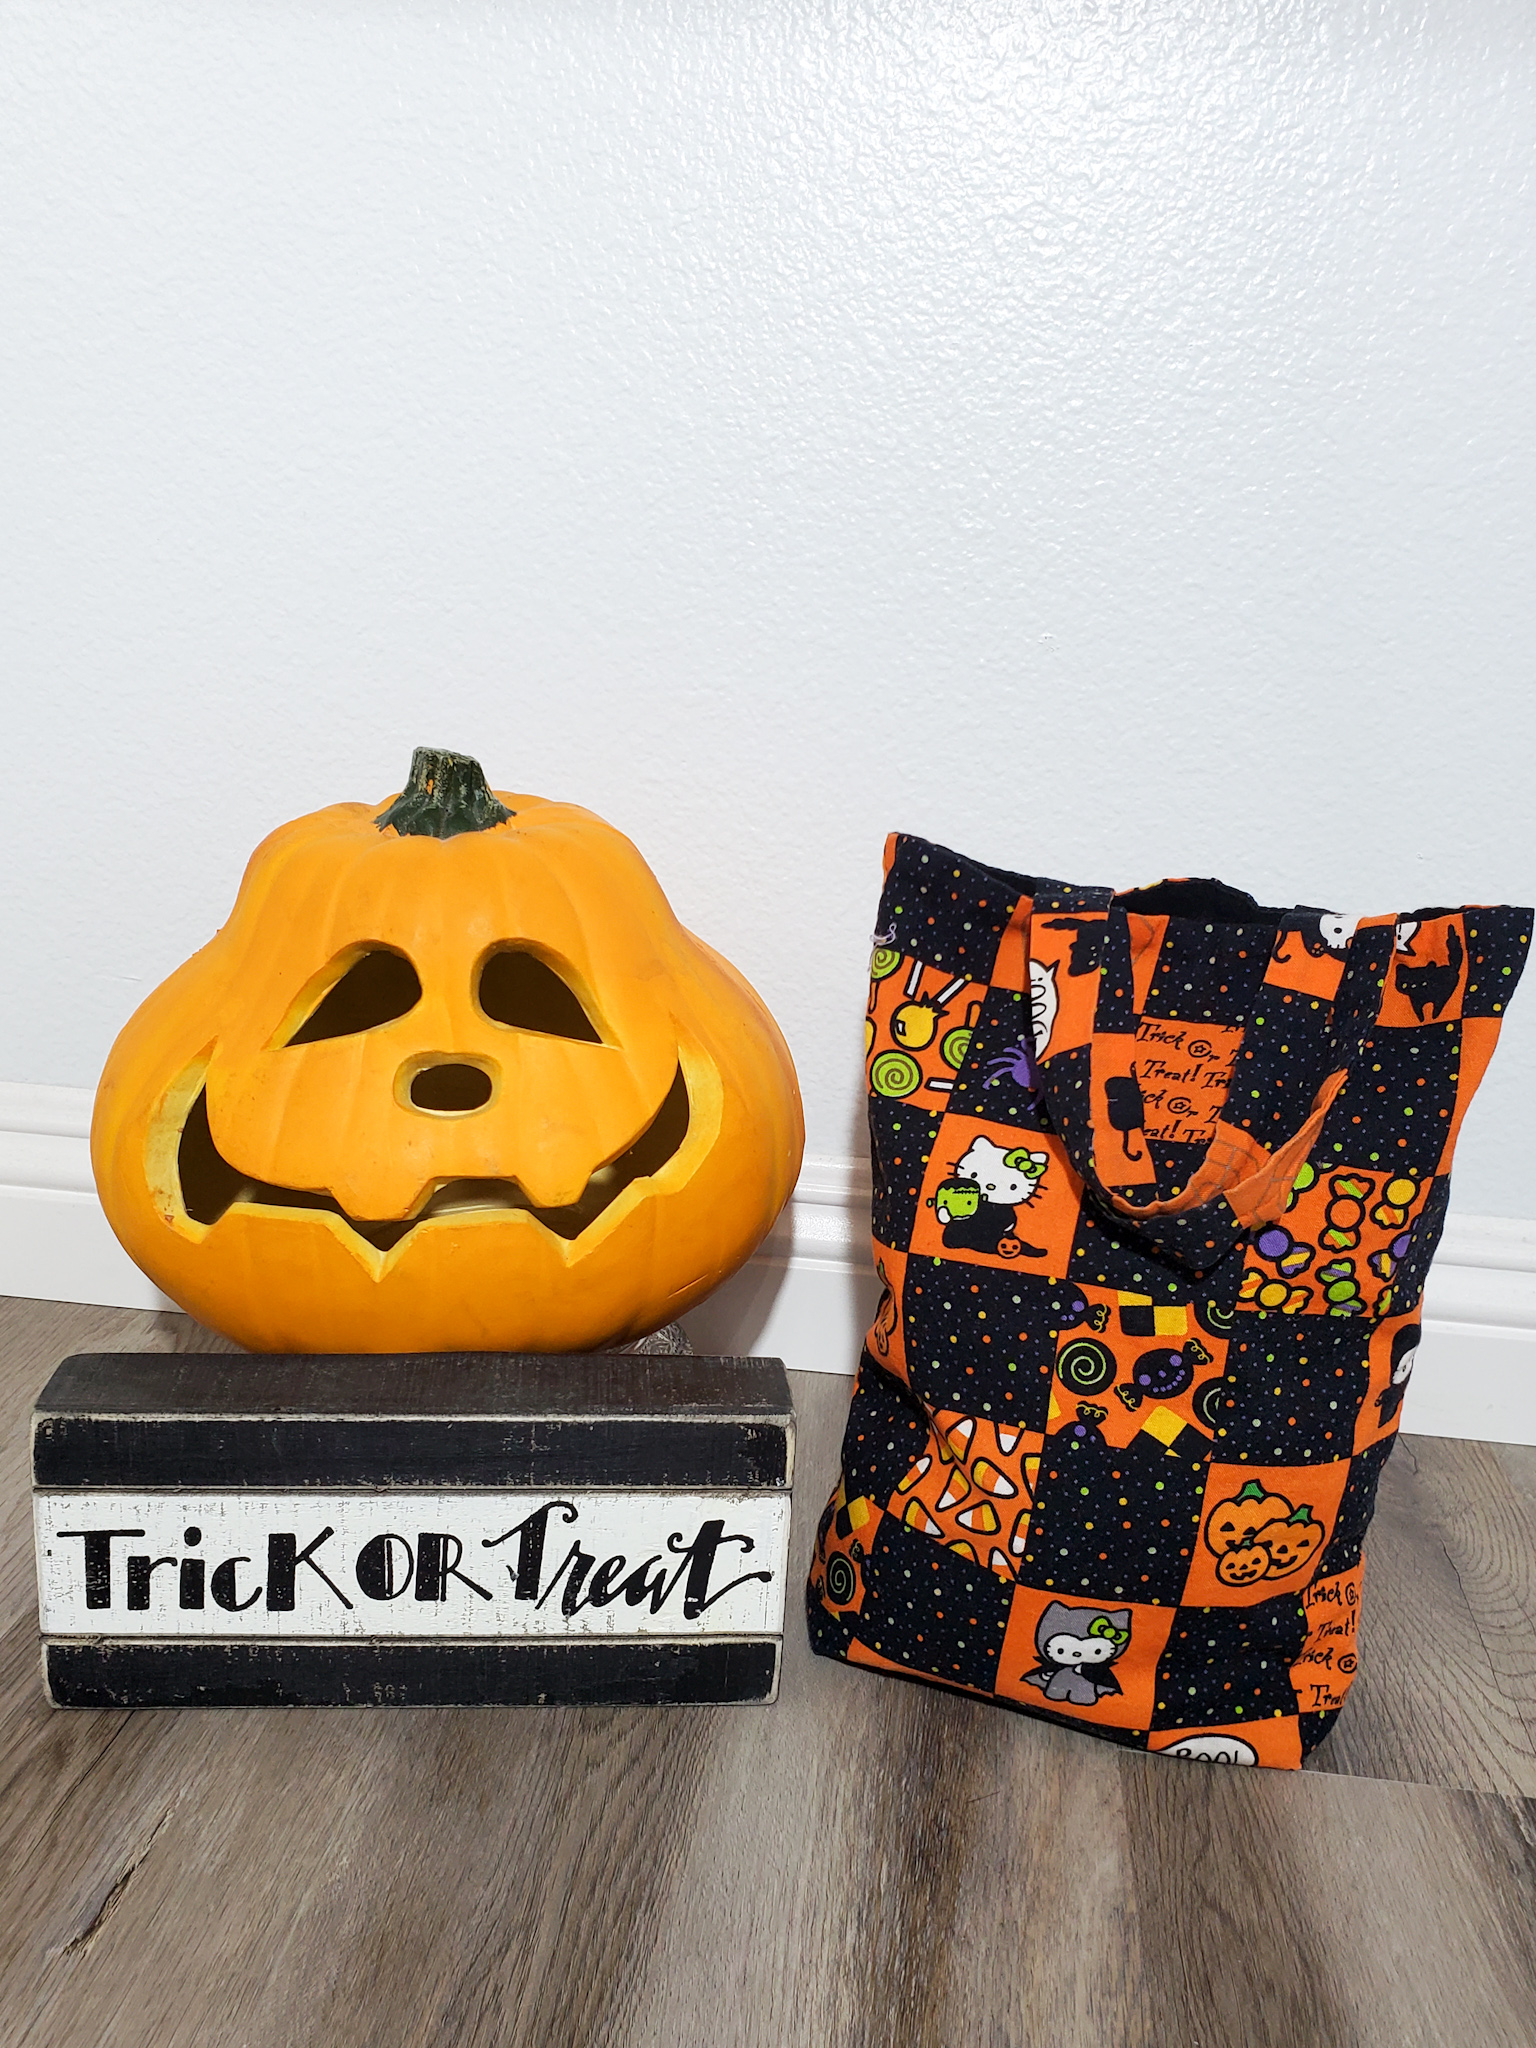
Trick-or-Treat!
Making these adorable candy bags sure was a treat for my students! Cheesy pun, I know. Ha Ha.
But in all seriousness, these cute trick-or-treat bags were a huge hit in my sewing classes! In fact, I had to open up another class time because it was so popular. They are super fun and easy to make and great for beginning sewers! I promised my students a tutorial so that they could make them again, so here it is!
What you will need:
- 1/2 yard of cotton fabric (Halloween print, or any print!)
- 1/2 yard of black cotton fabric for the lining (you could use the same half yard as the bag if you want the lining to be the same as the outer fabric)
- Thread
You can really cut out your bags any size you like, but this is what I did:
- Cut 2 of fabric and 2 of lining: 13″ tall by 11″ wide
- Cut 2 straps, 14″ x 2″ *
*To be honest, I think the straps could’ve been a little wider, especially when sewing with kids as they struggle more to stay on the seamline, which means some straps turned out smaller that they were supposed to. You might consider cutting them at 3″ instead.

Instructions
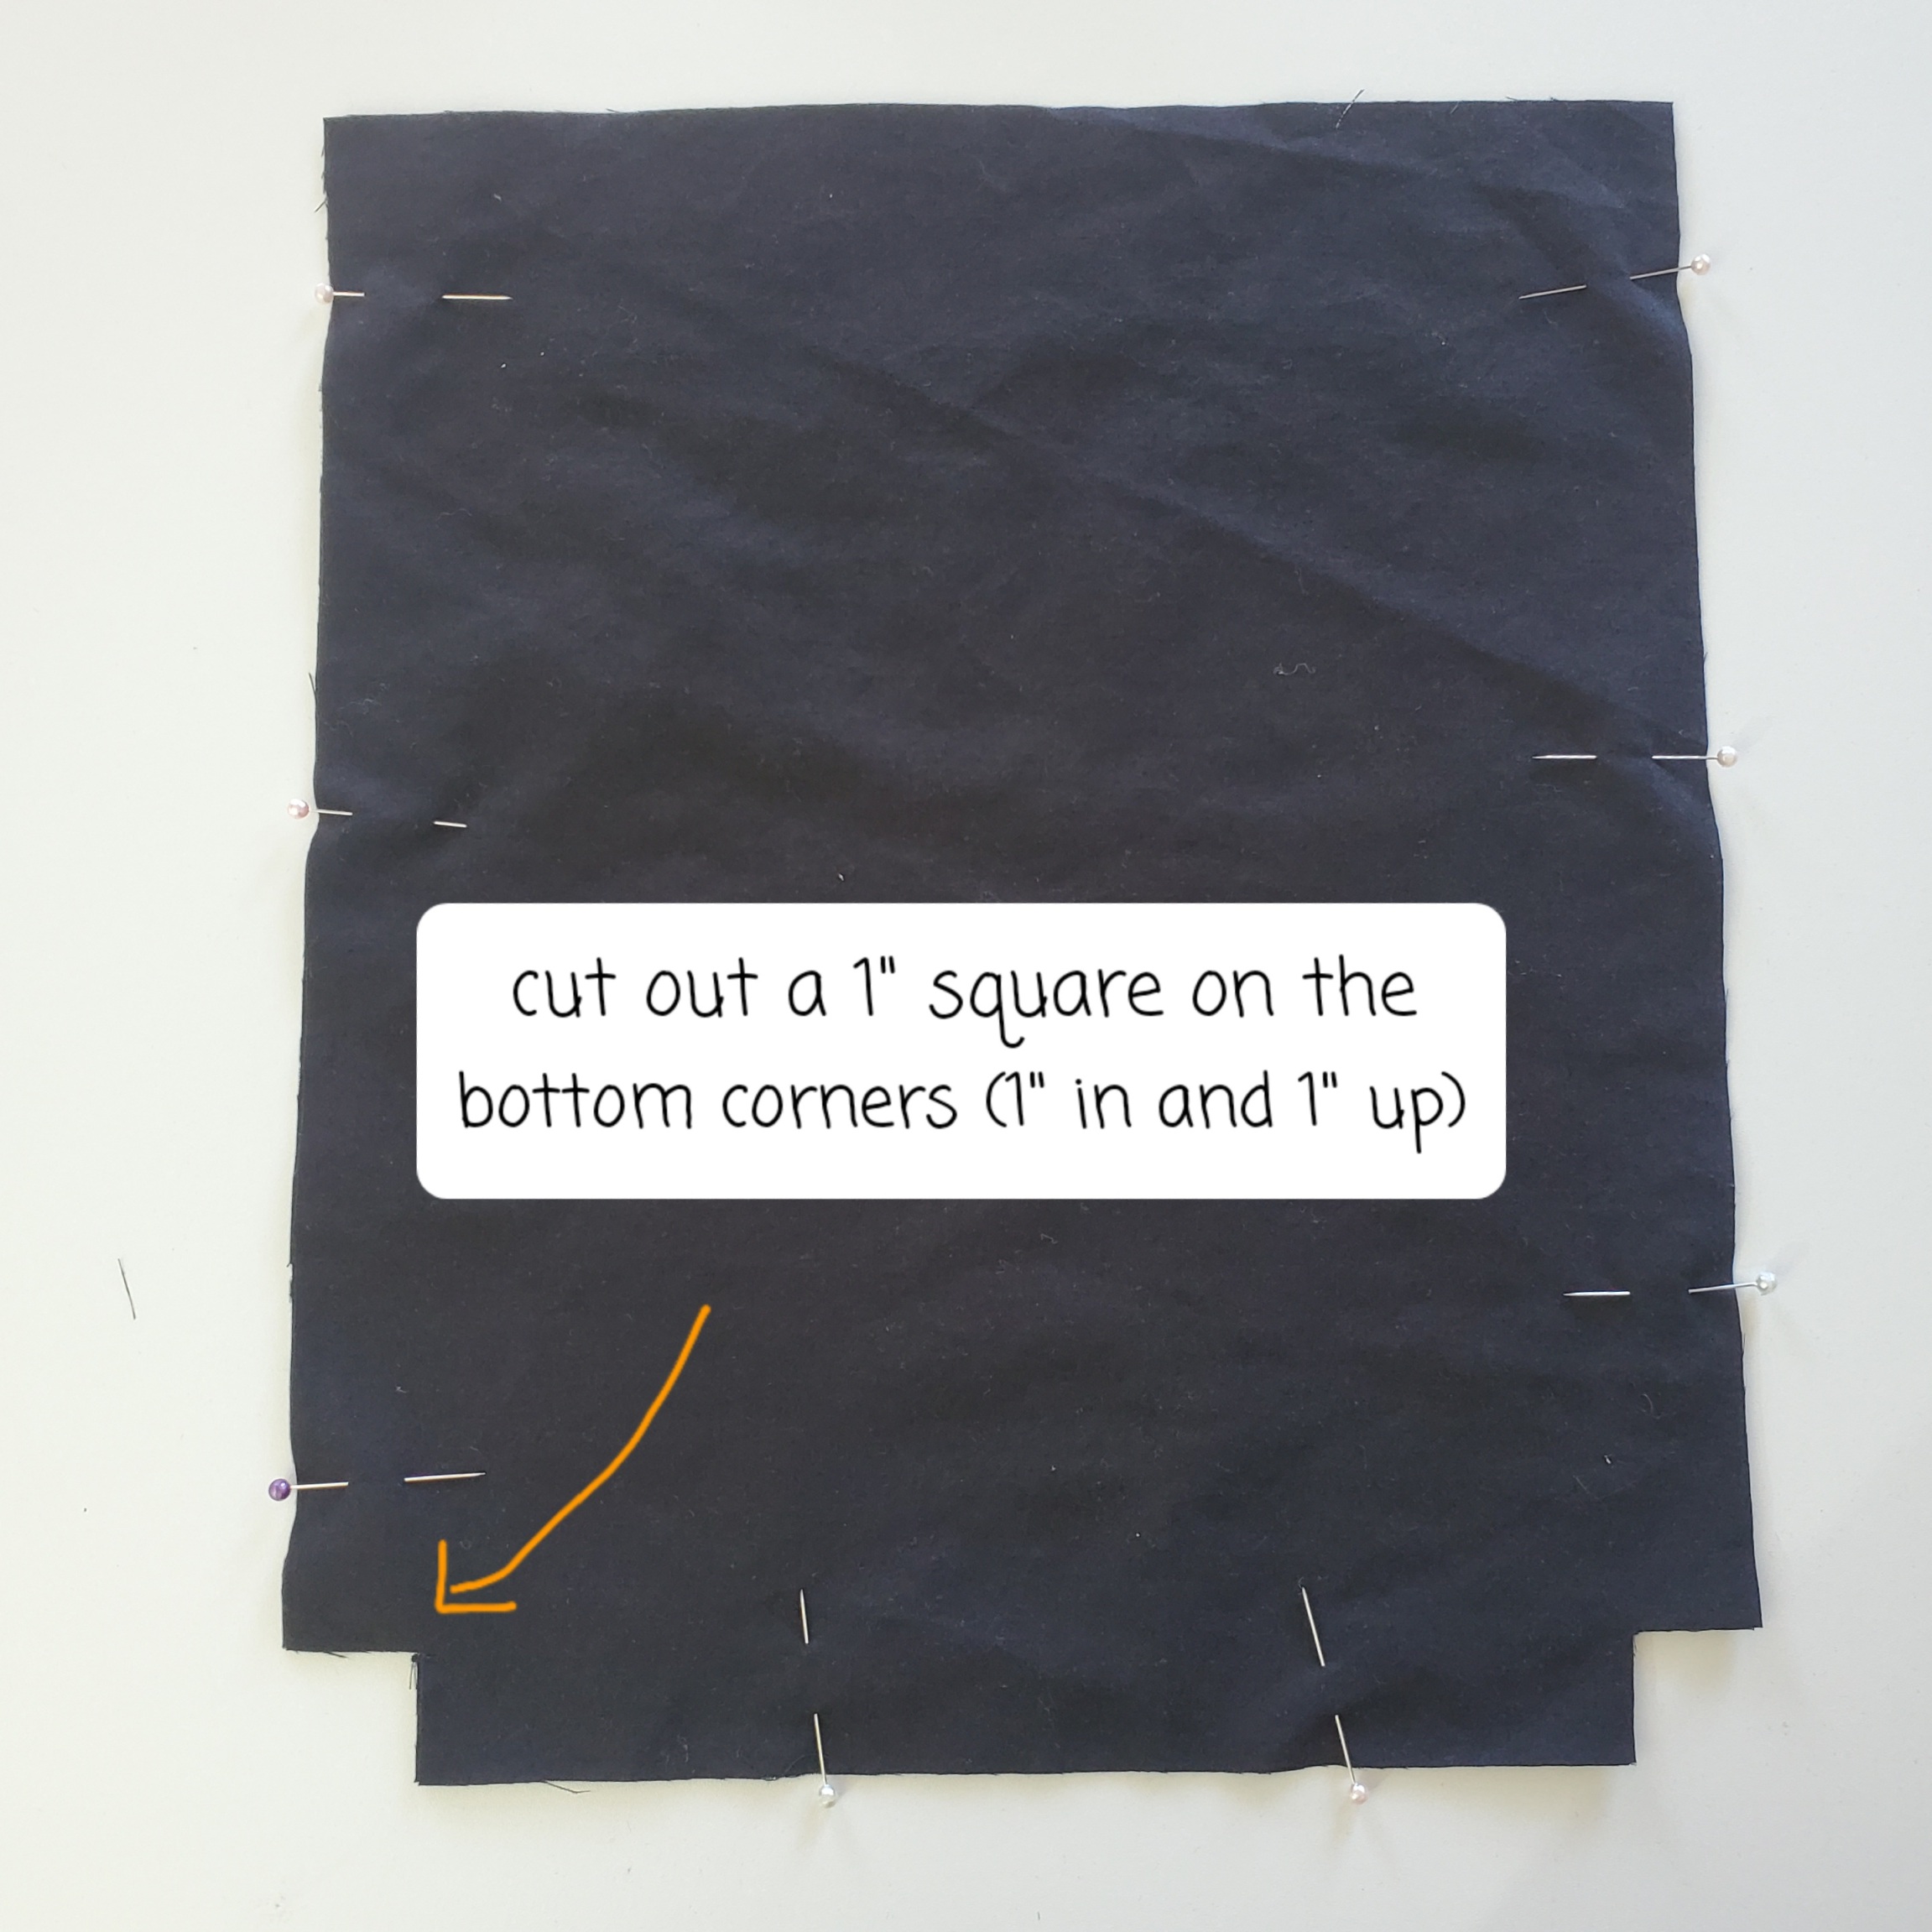
At the bottom of the bag (and lining) cut out a 1″ square (cut 1″ in and 1″ up).
To begin sewing:
**You will be using a 1/2″ seam allowance on this project!
Put your two bag pieces right sides together and pin on the sides and on the bottom. Do the same with your lining pieces.
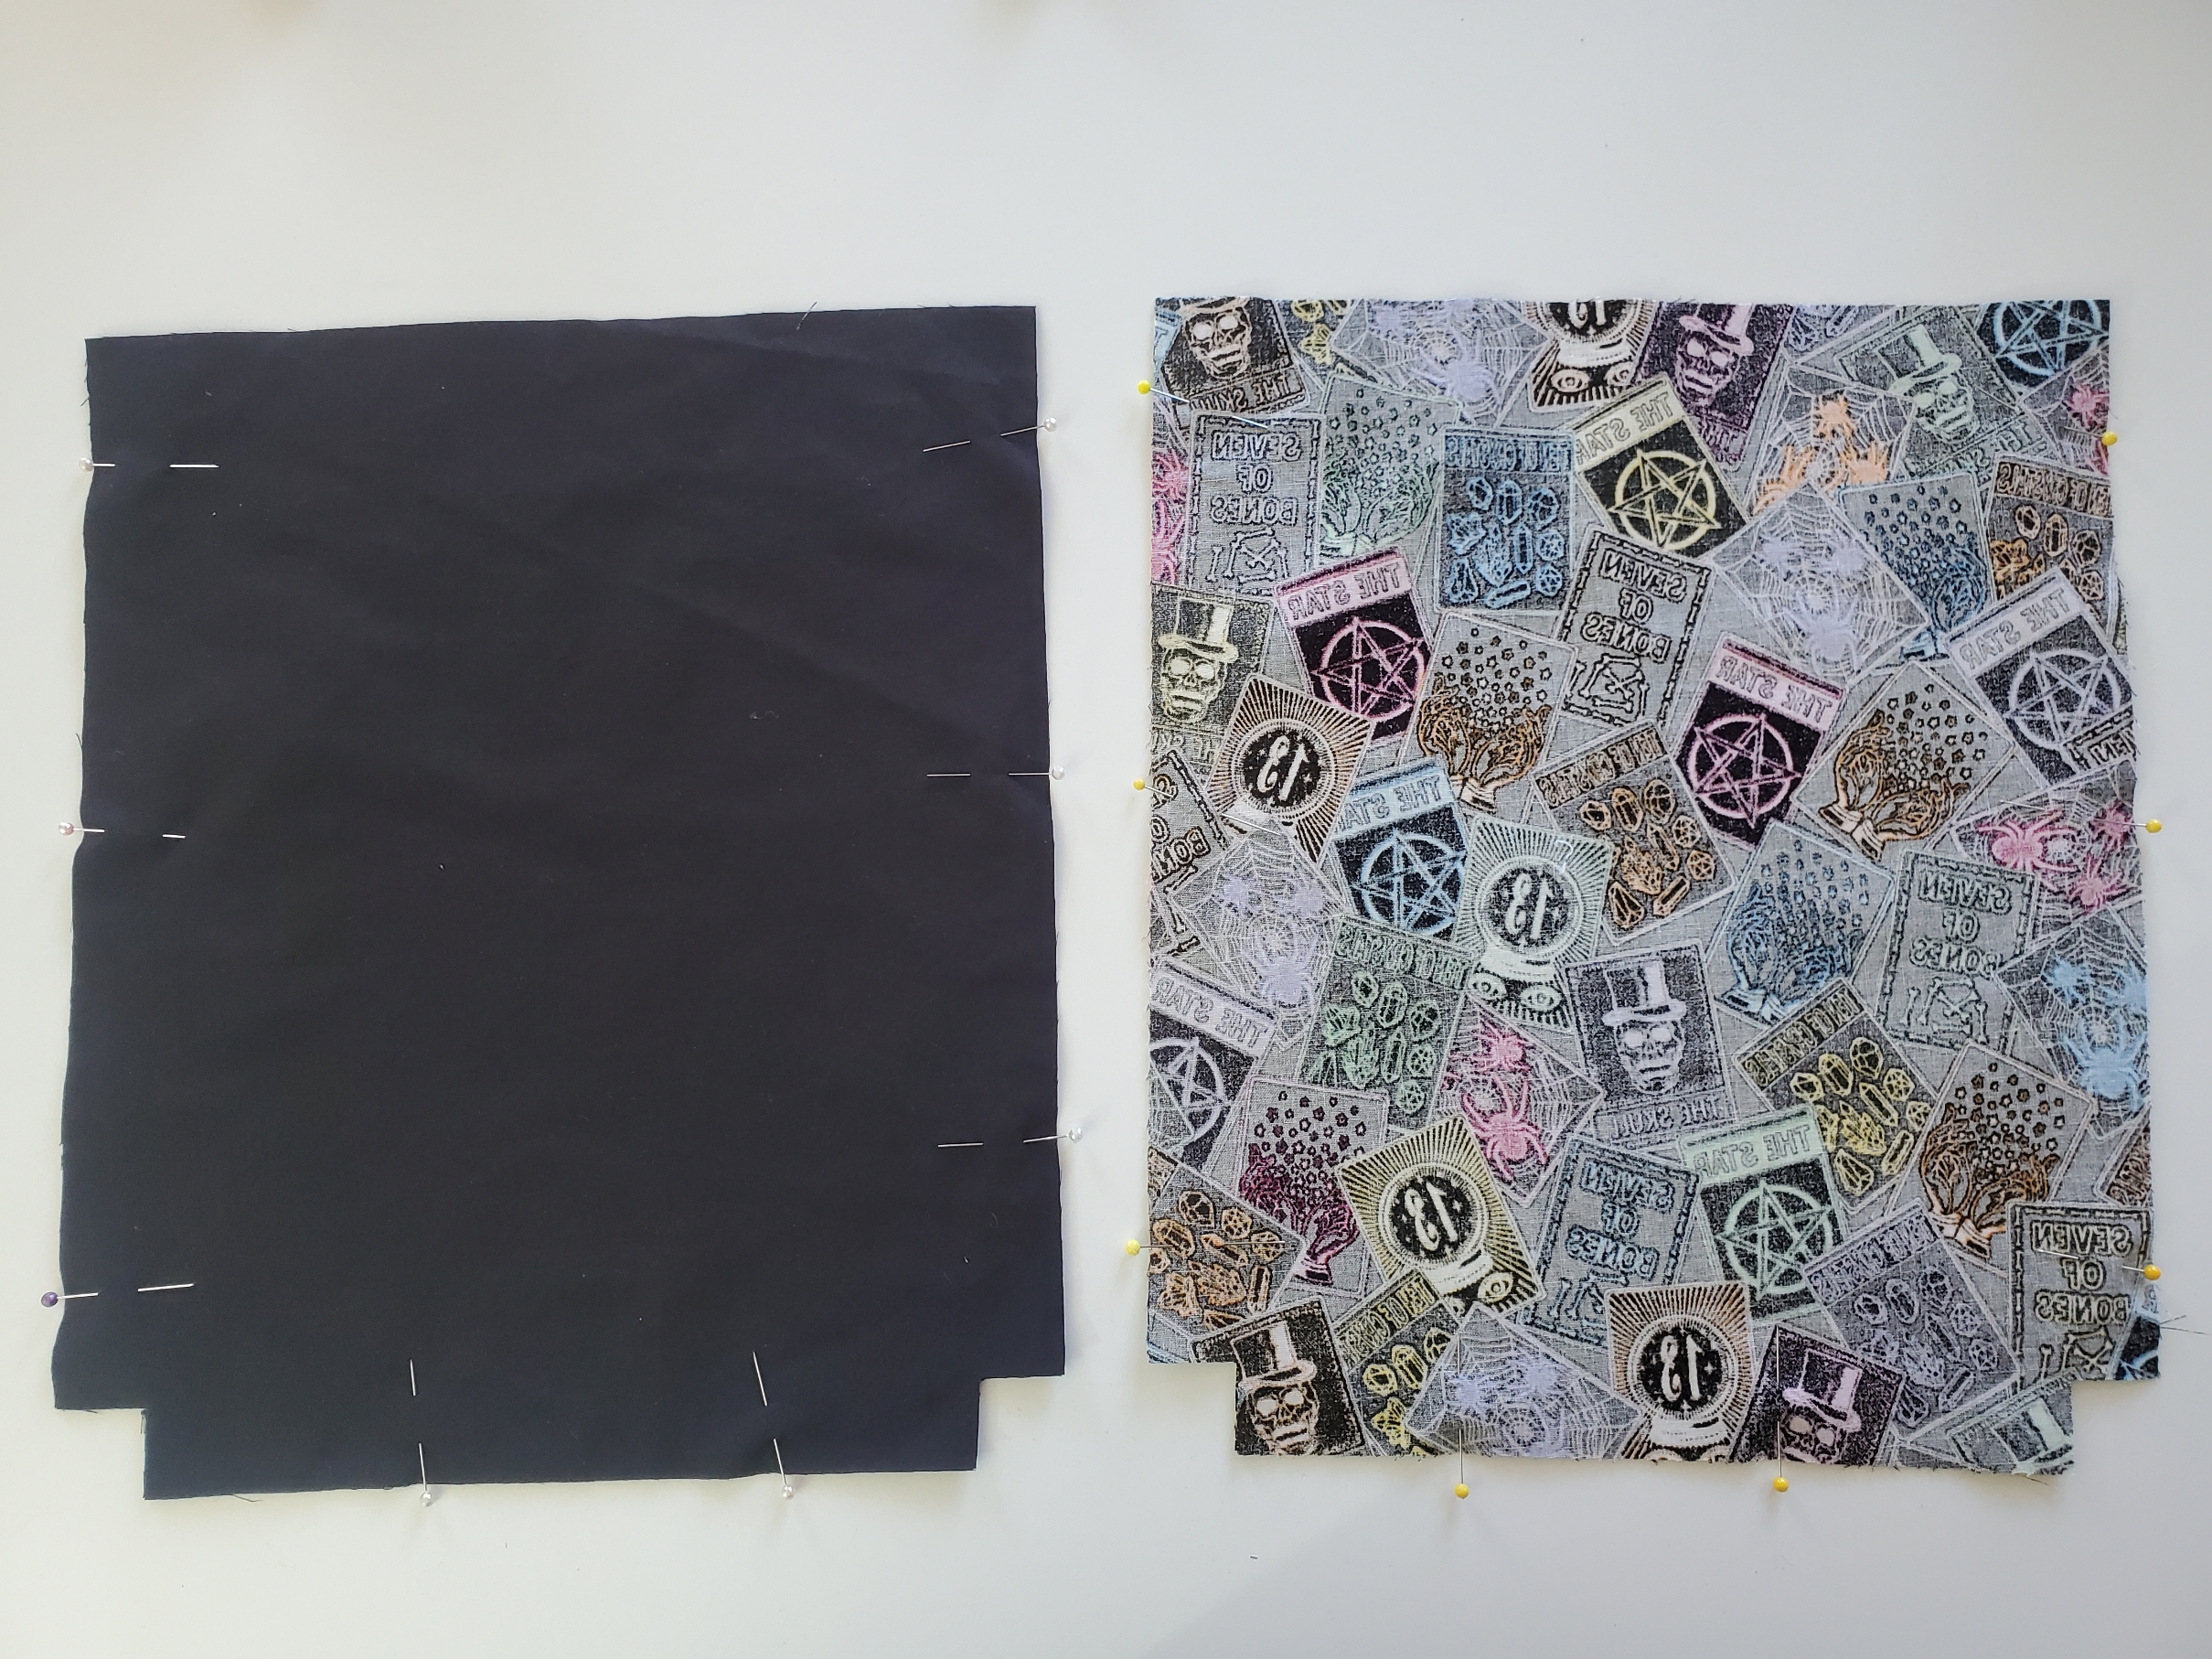
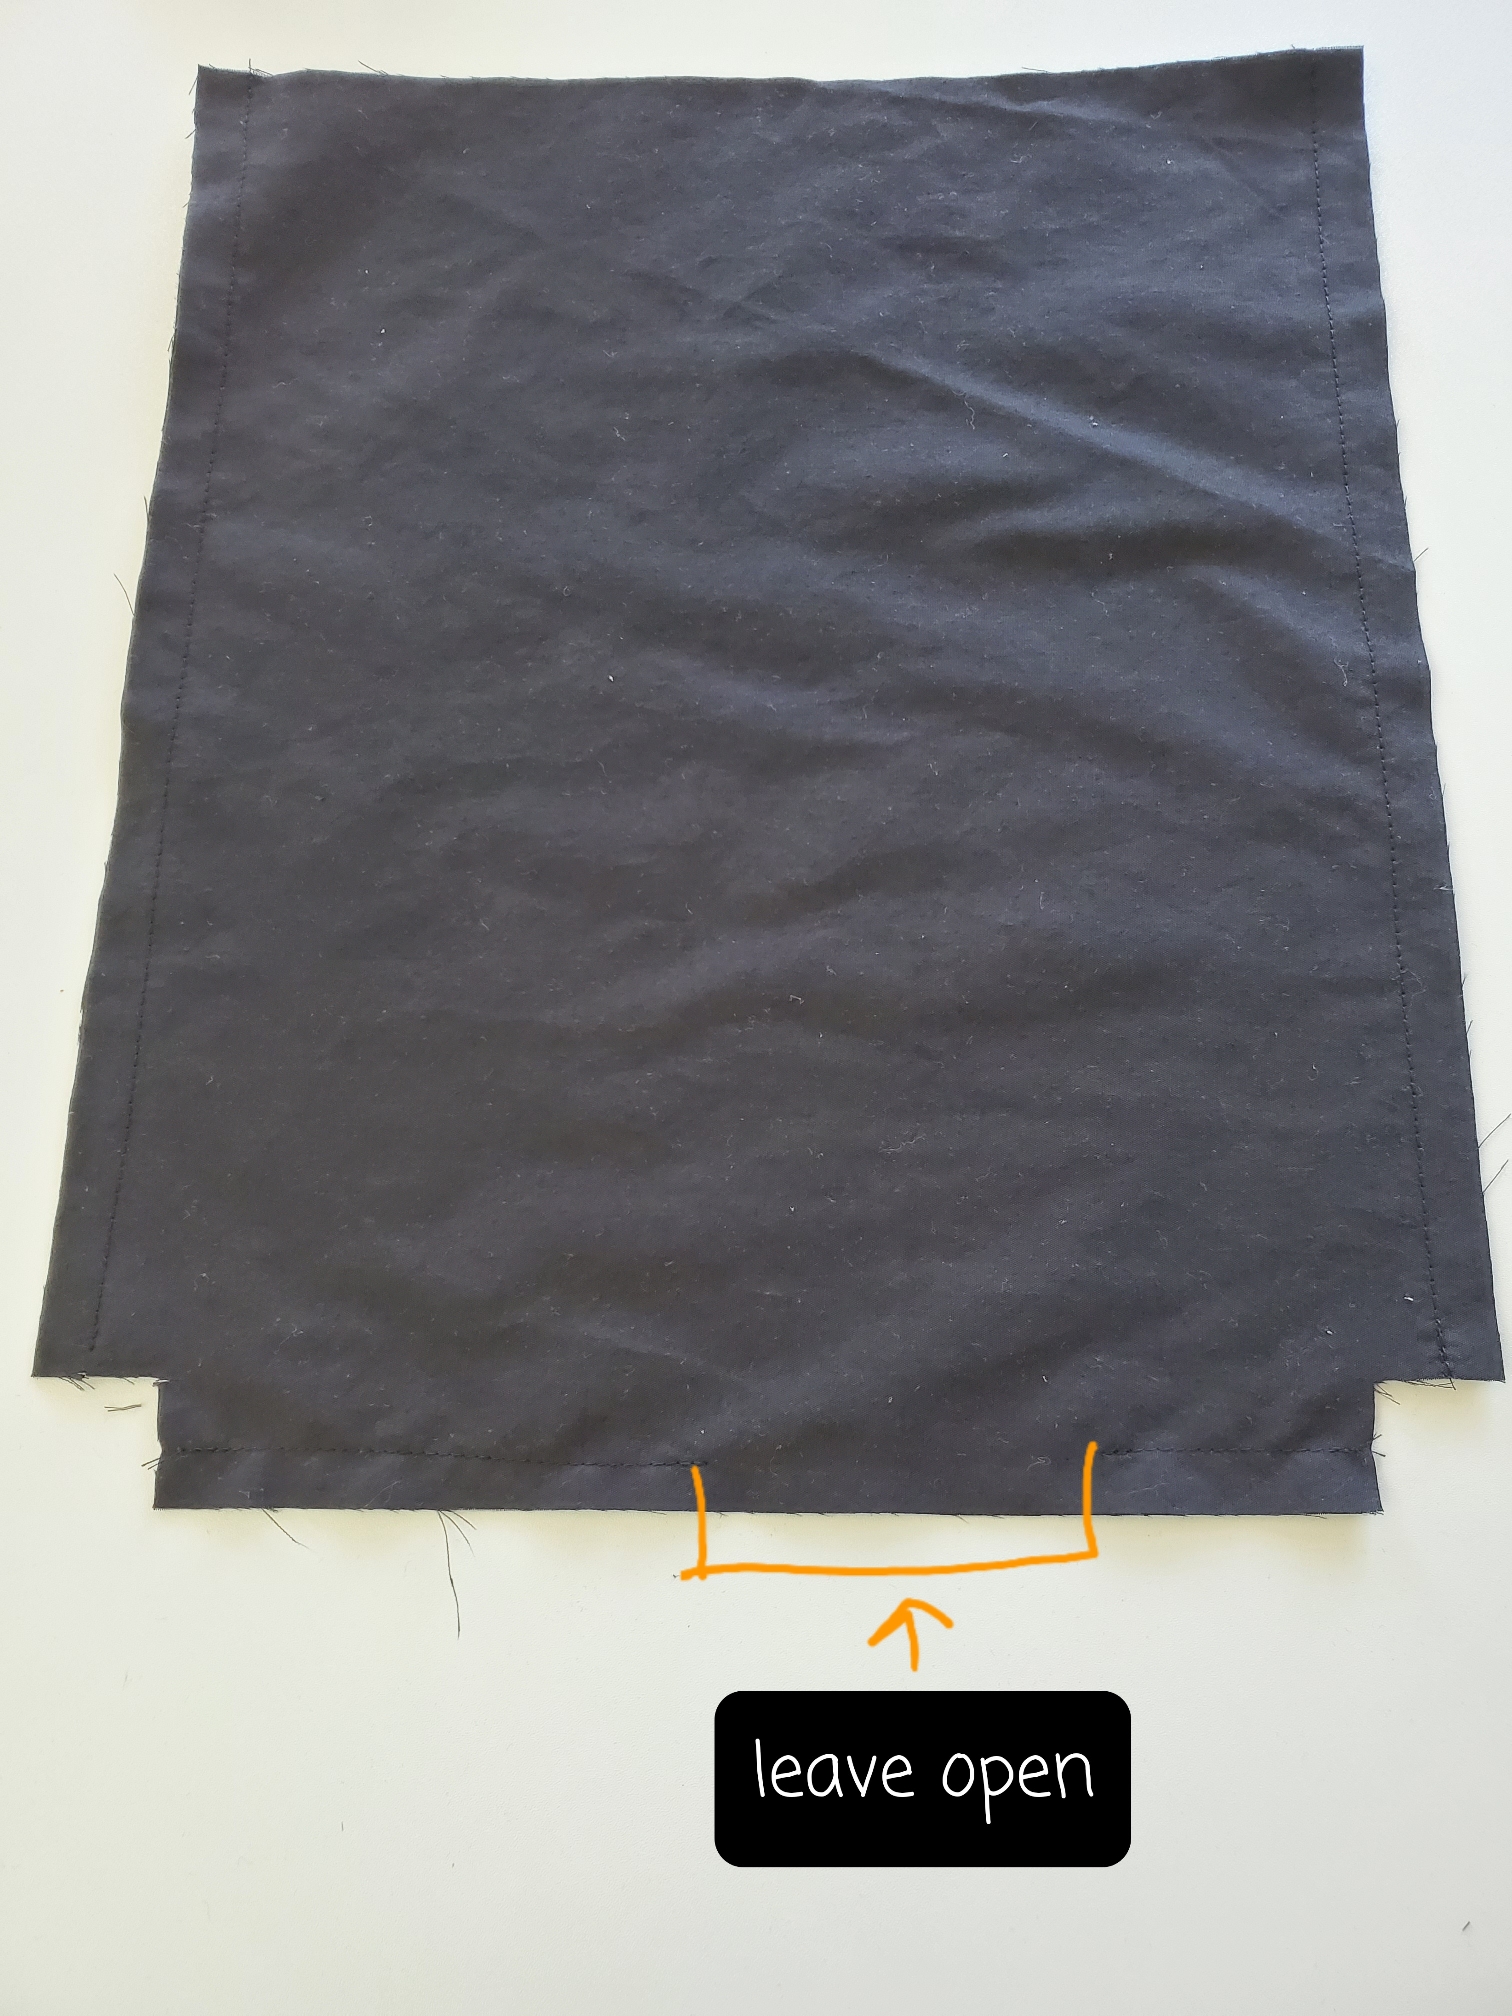
Sew the sides and the bottom on both the bag pieces and the lining pieces. On the lining piece, leave an opening (about 2-3 inches long) so that you can turn your bag at the end. Make sure to back stitch before the opening so that your threads don’t come undone.
Iron your seams open as best as possible. Pressing your seam makes them look nice and crisp and professional. Always iron open your seams when possible!

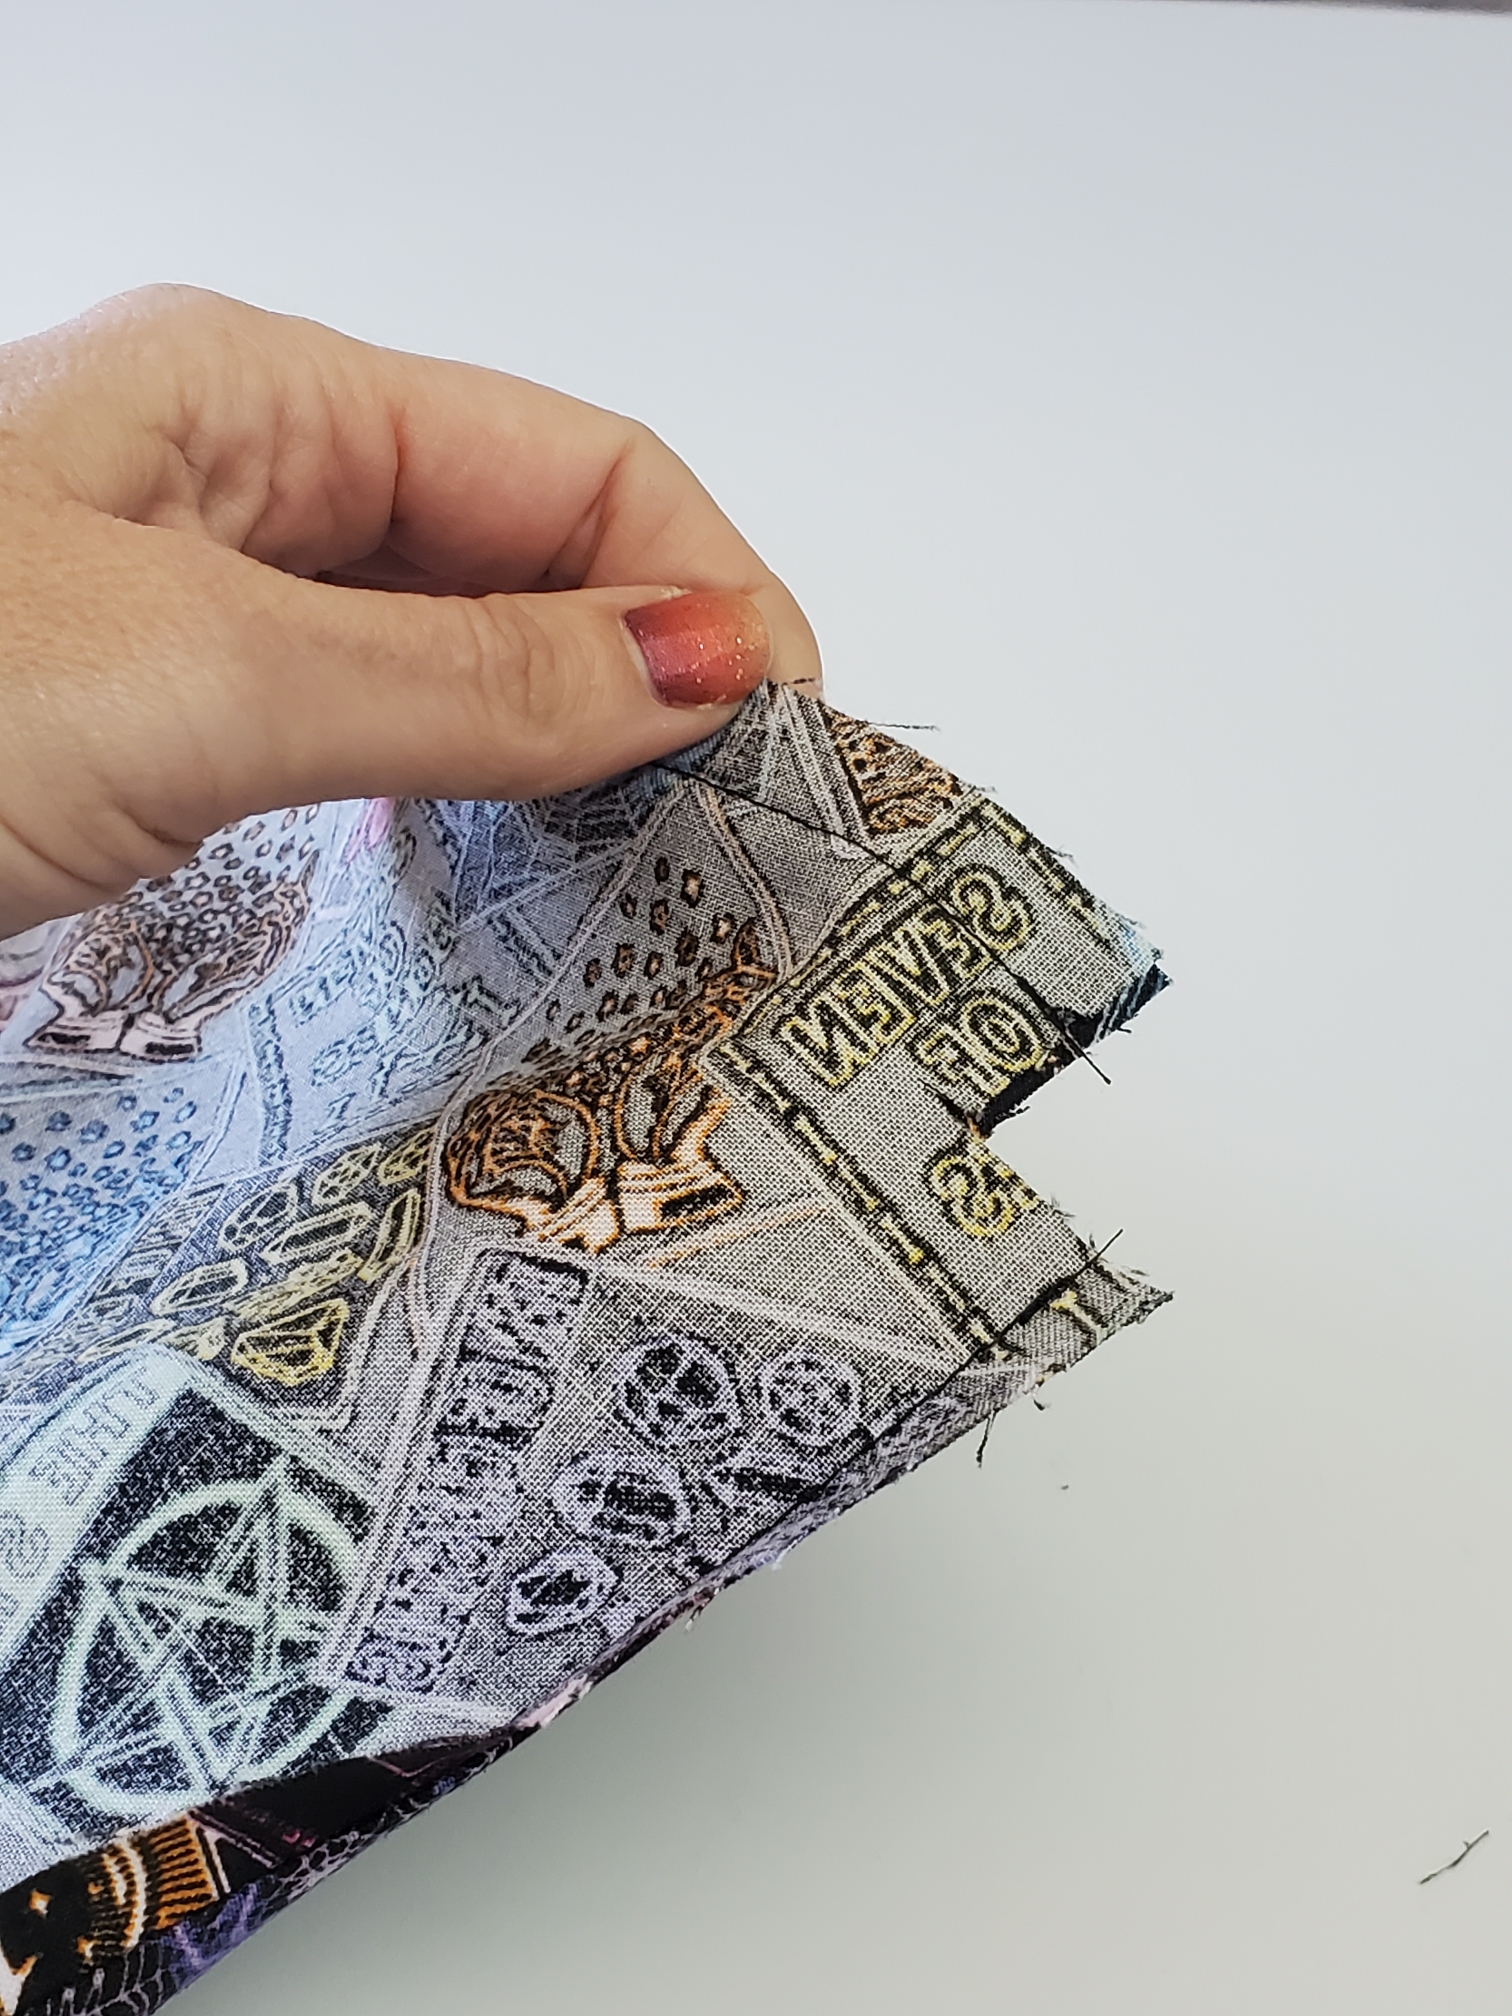
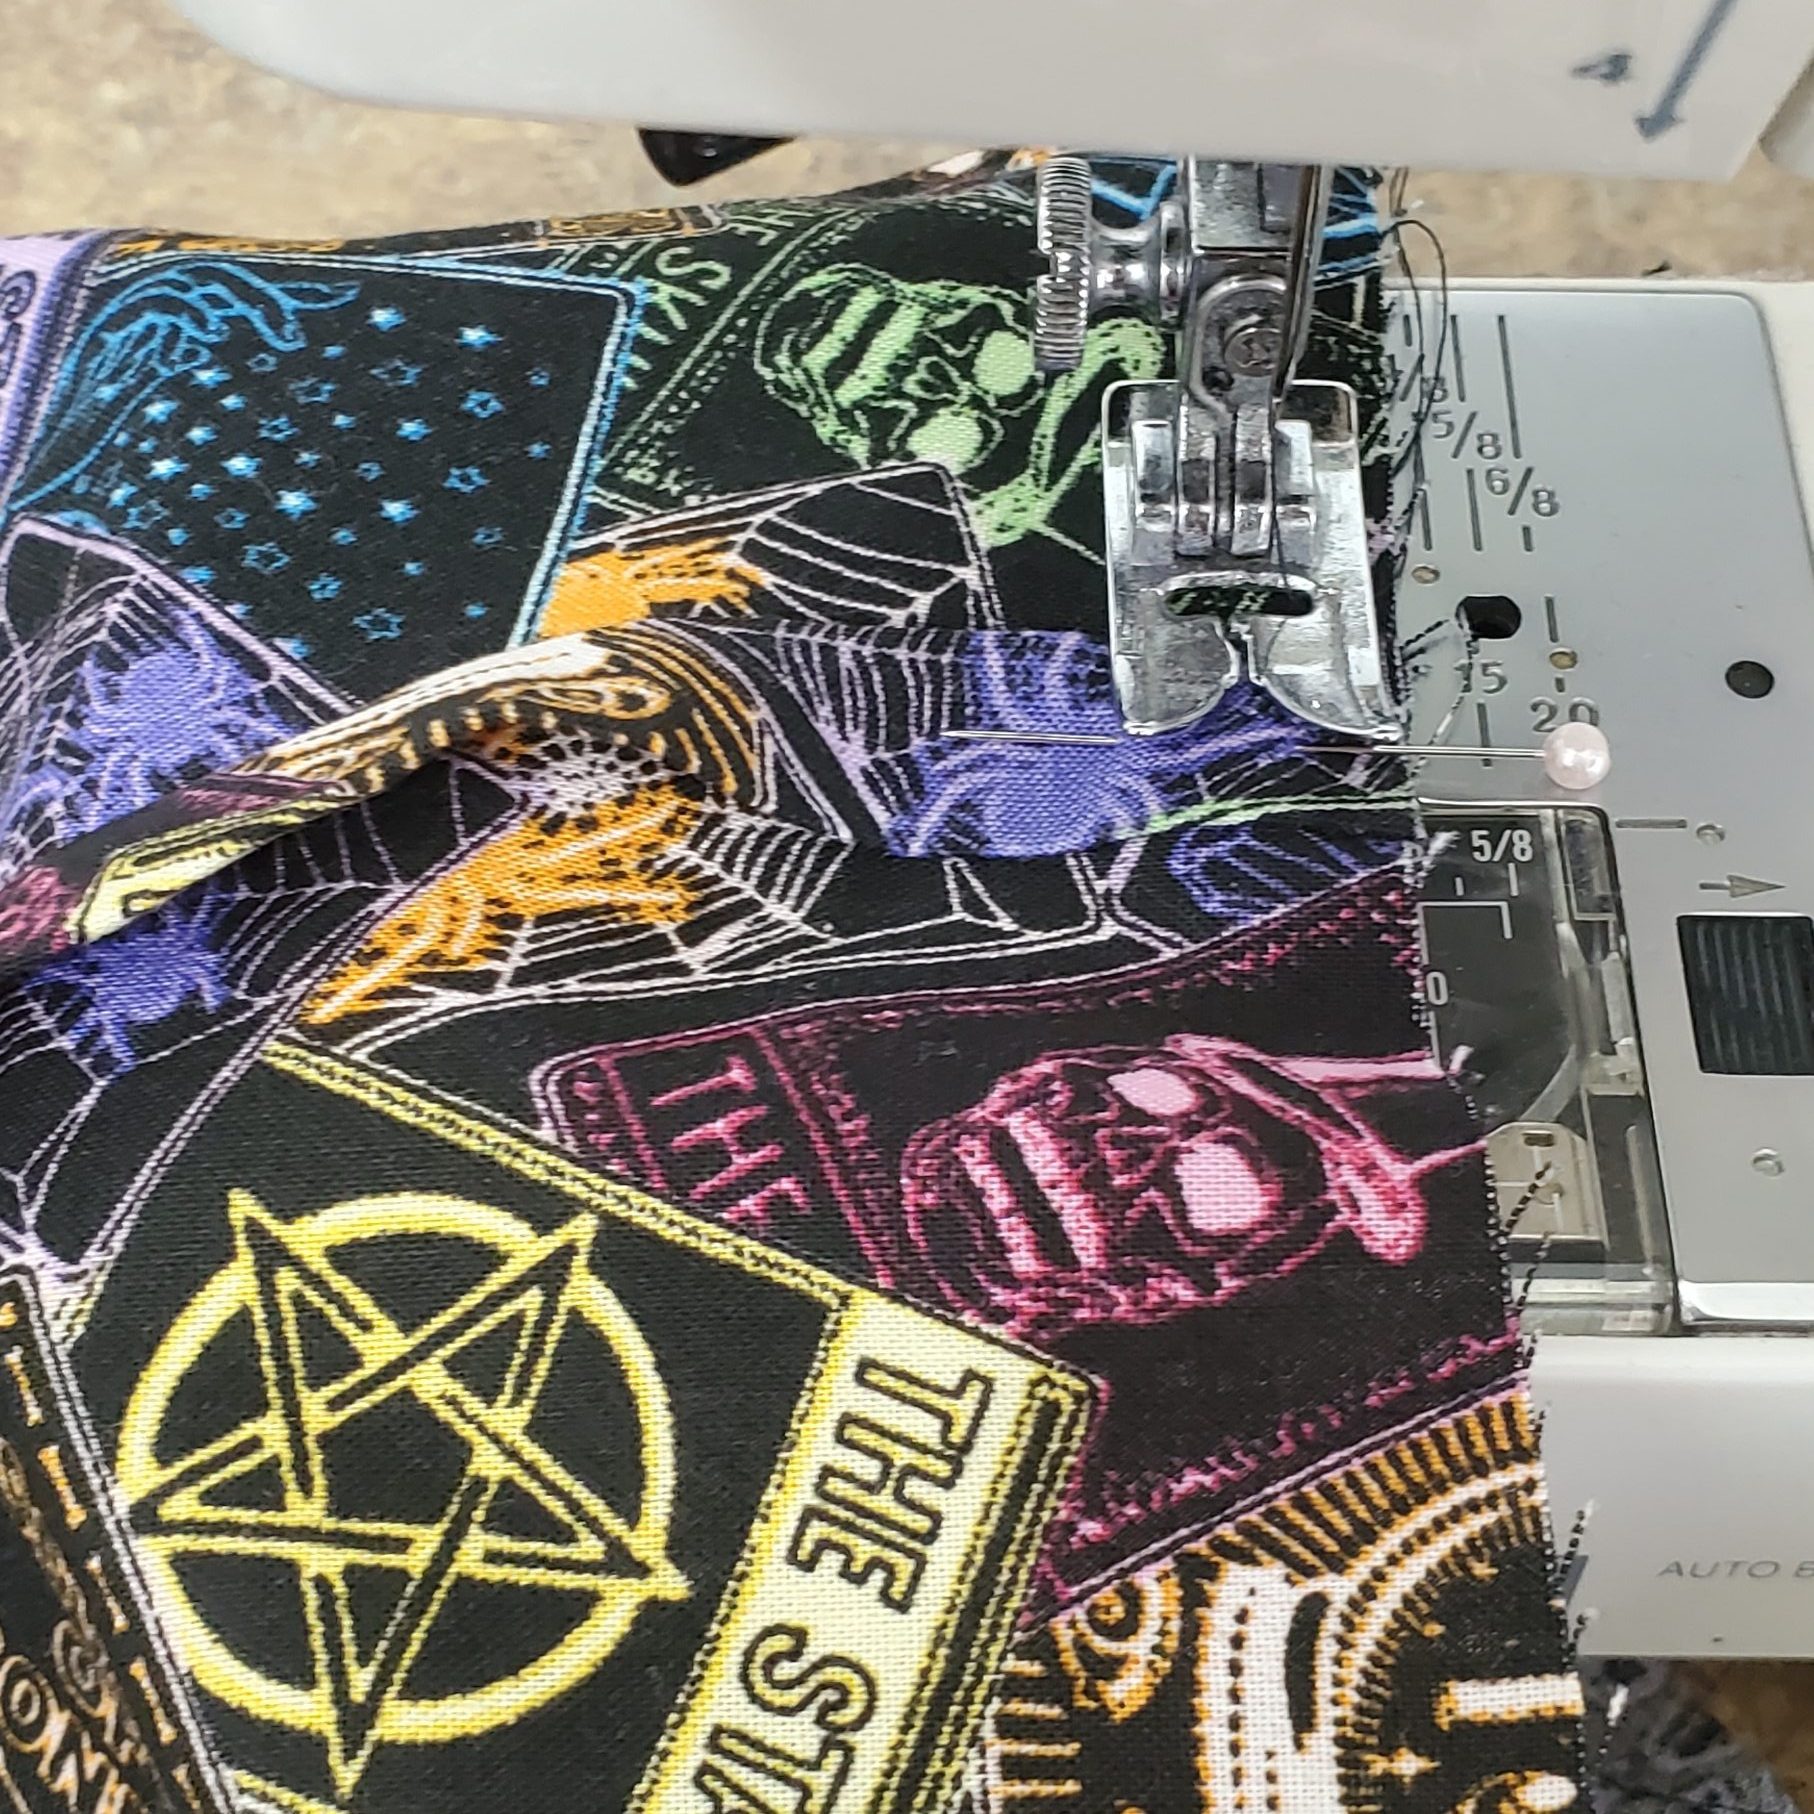
Now for the tricky part. (Actually, it’s not that tricky; it’s just hard to describe in writing). We want to create a boxed seam on the corners. To do this, you are going to pinch the corners of your fabric and pull them out so that your side seam and your bottom seam or sitting right on top of each other, right sides together. That’s not confusing at all, right? I made a video for this step because it’s much easier to understand when I can show-explain it to you. Click on the video, and I included some still shots as well.
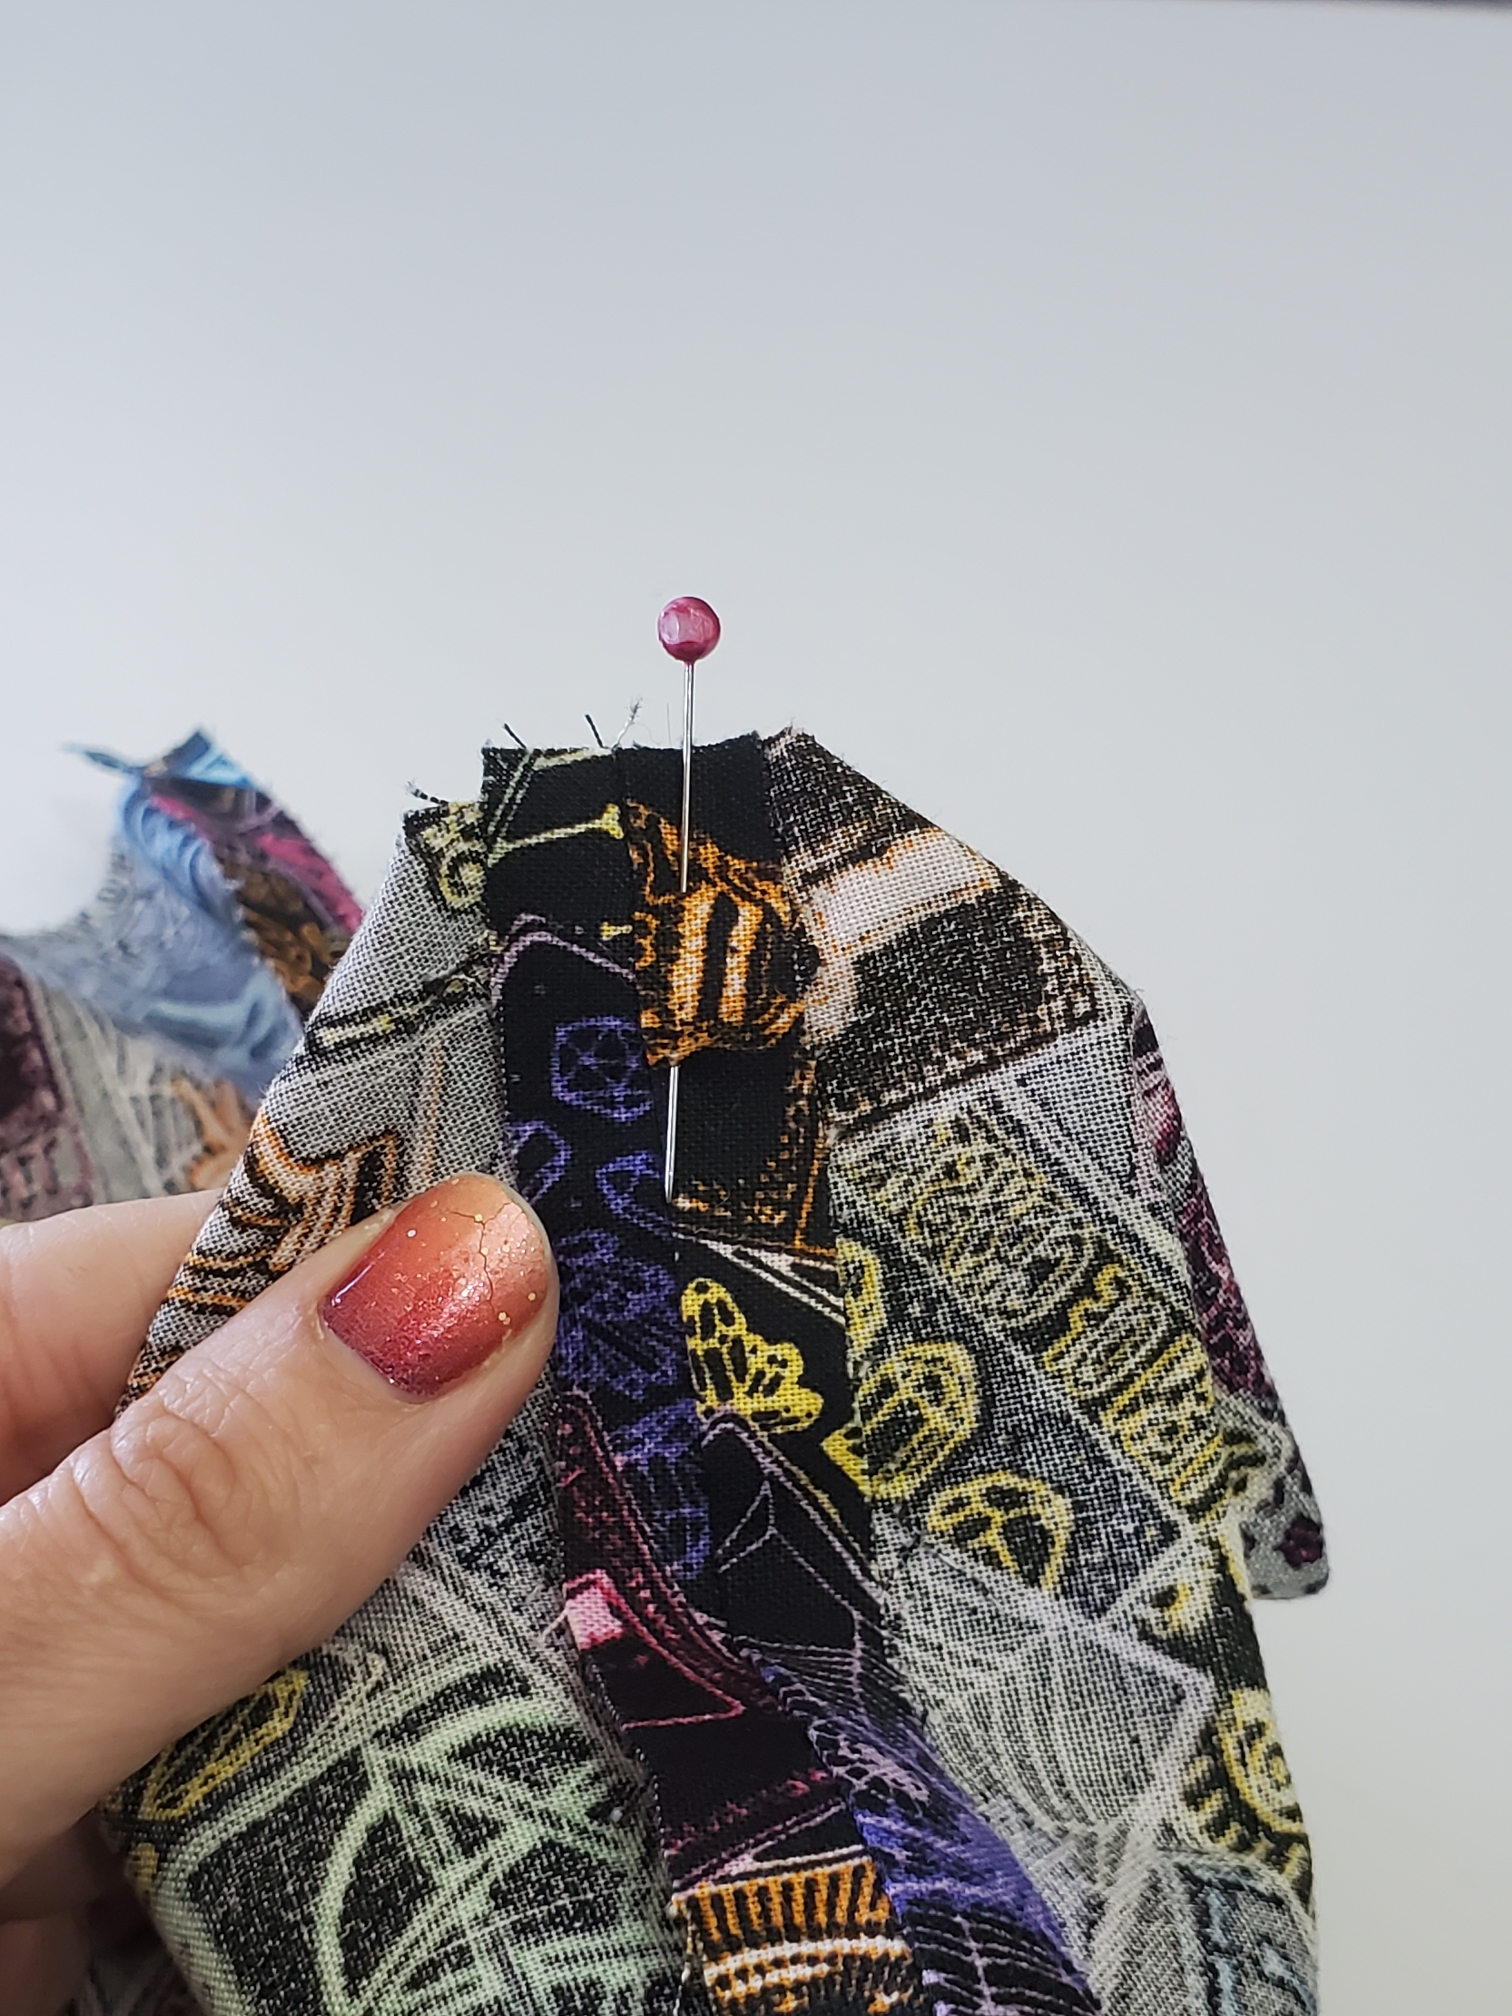
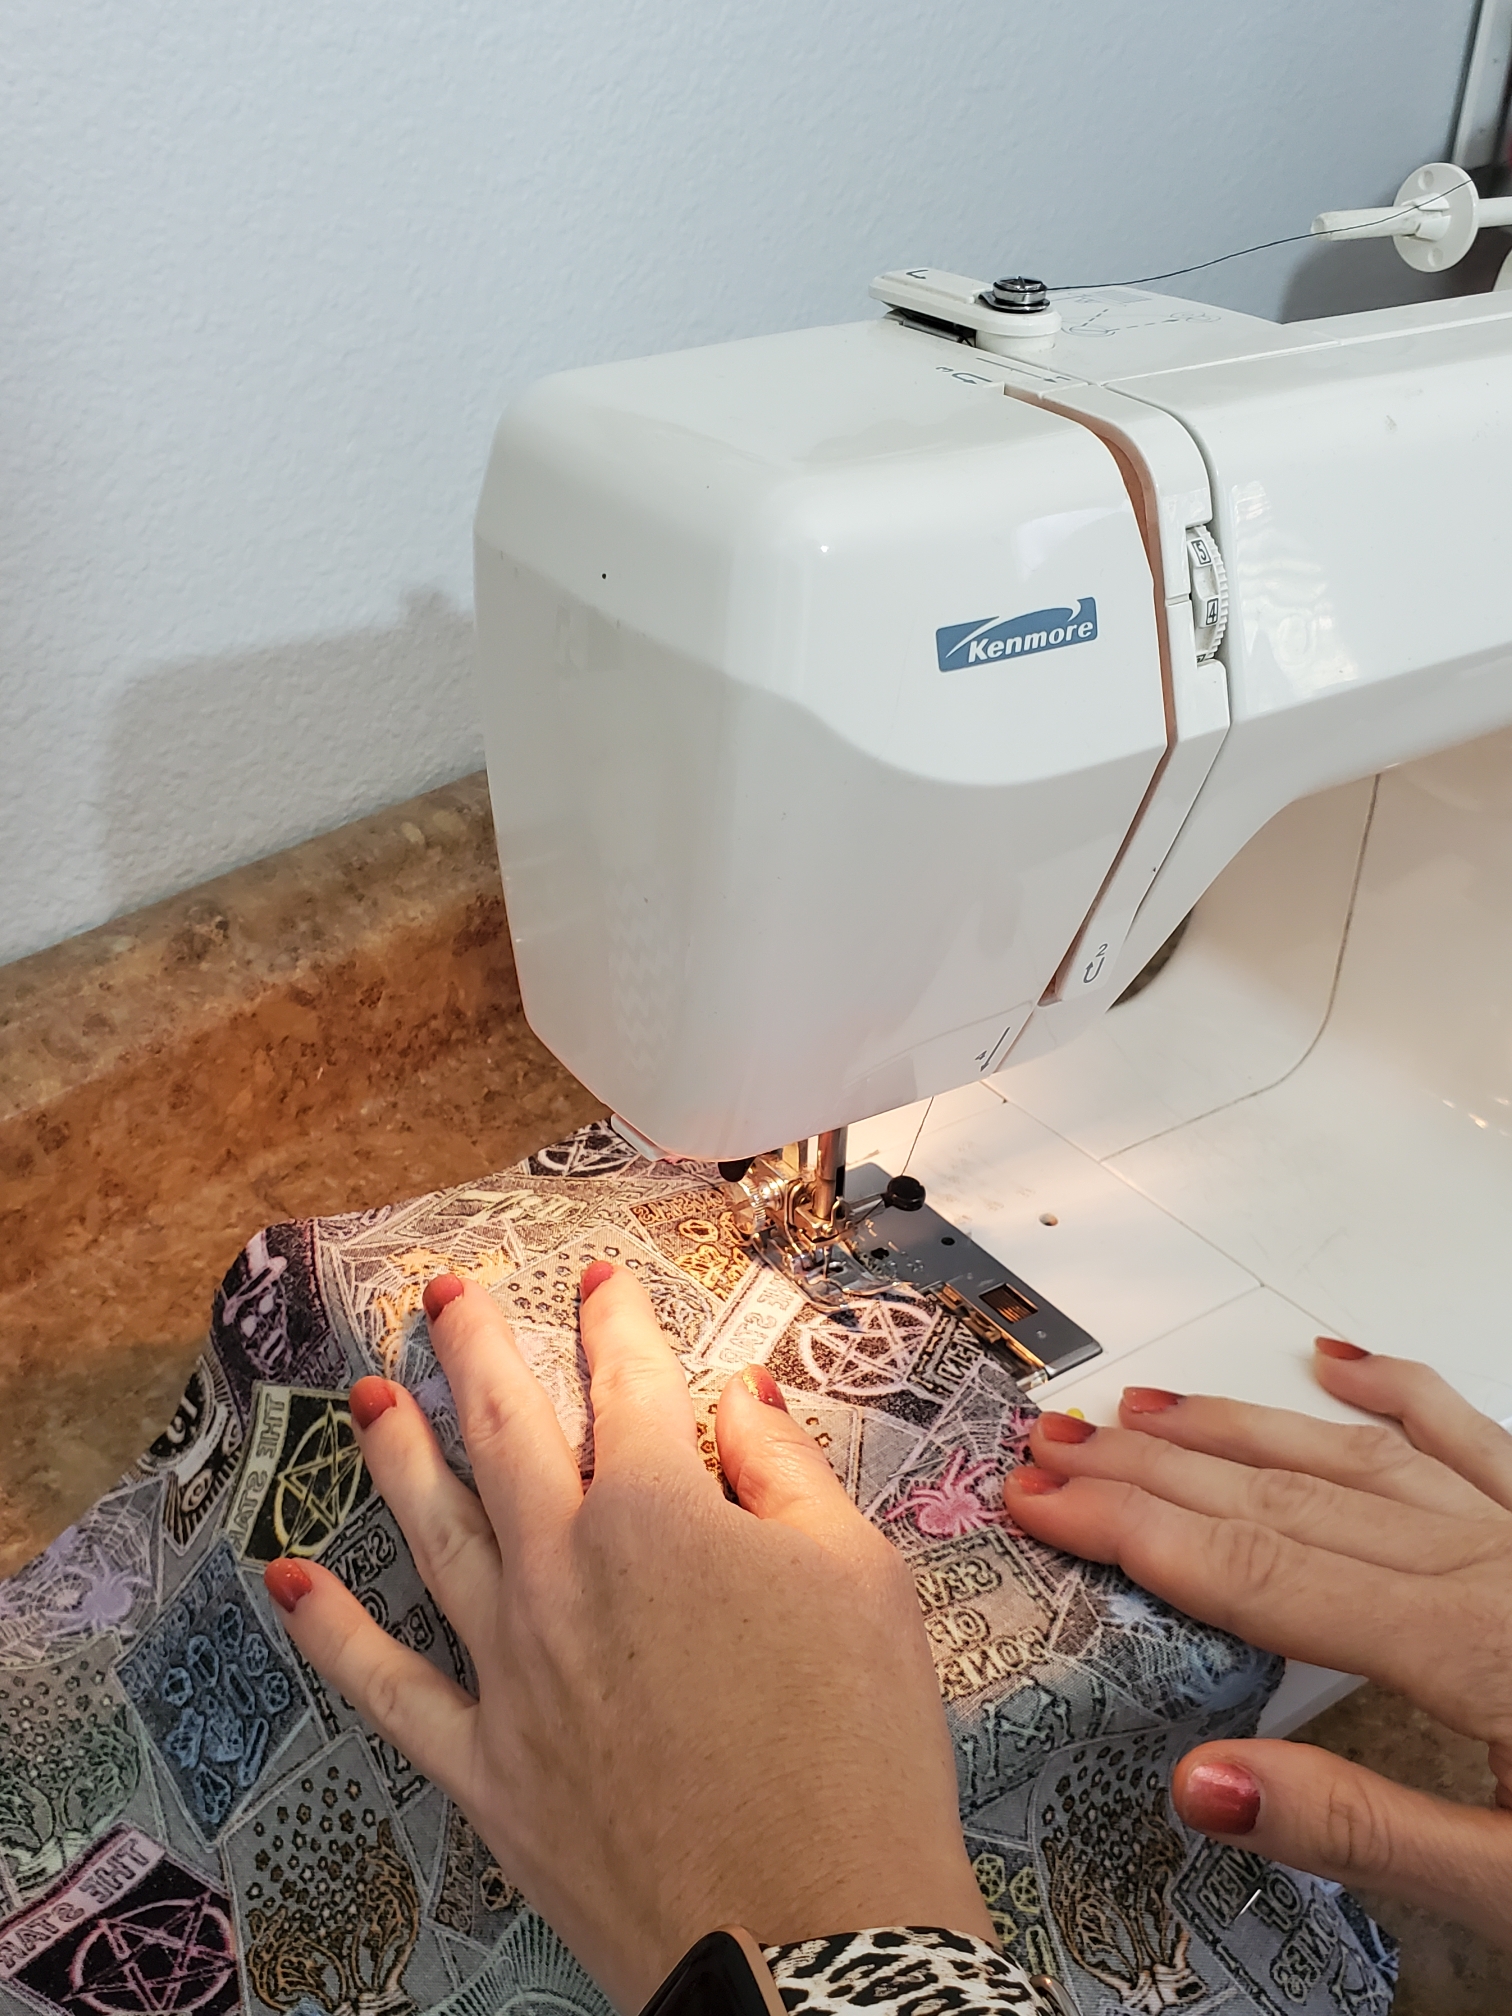
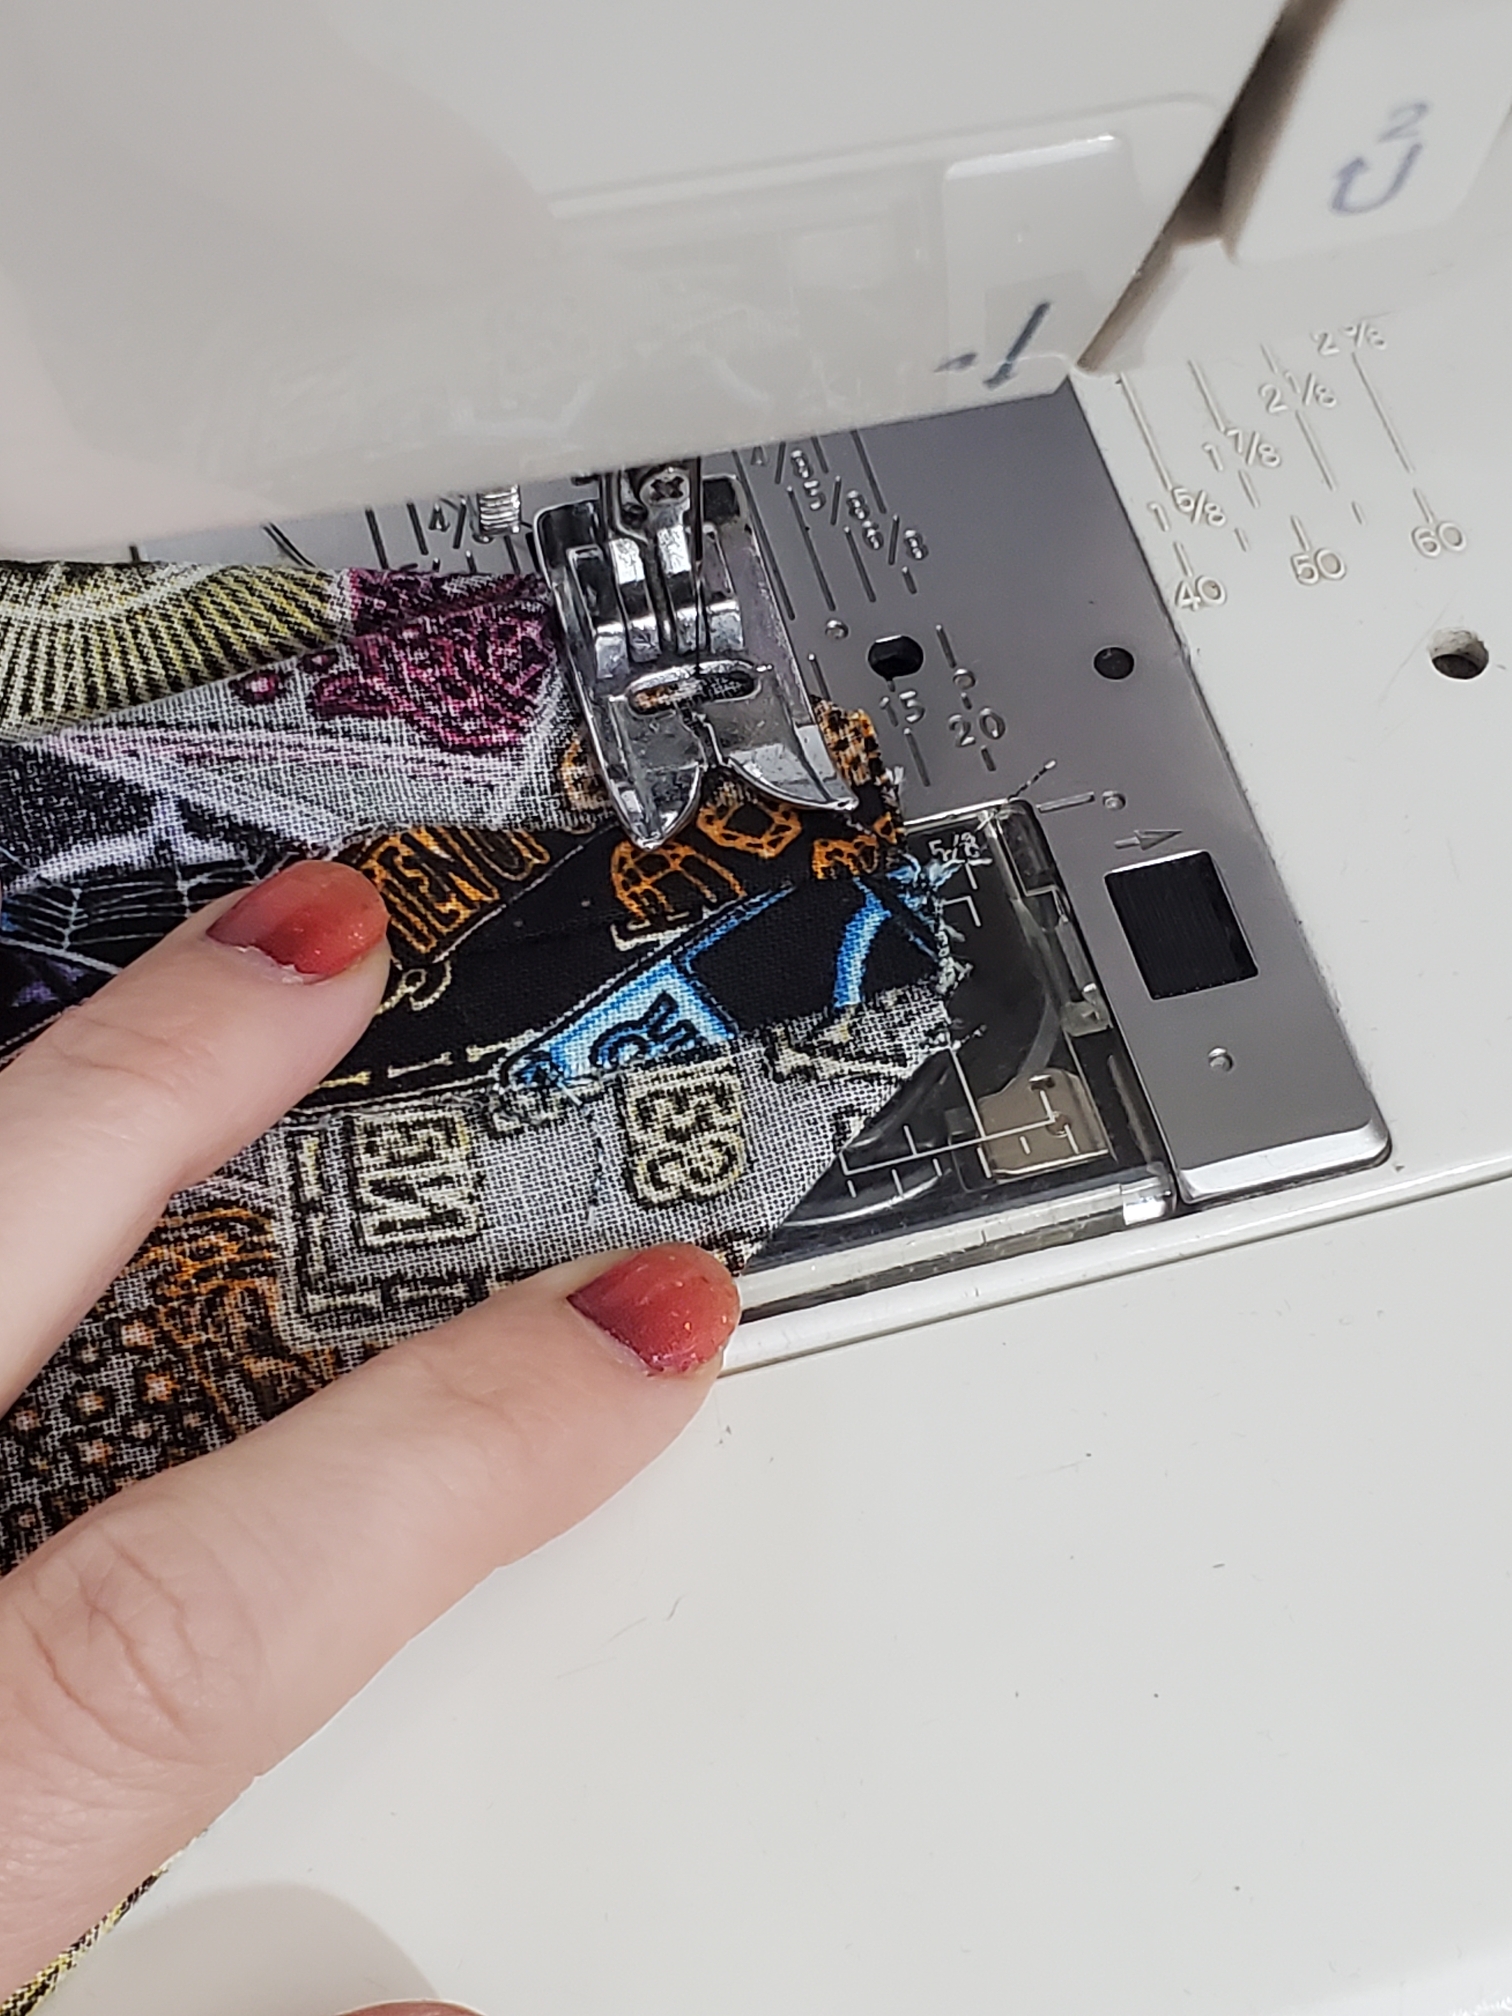
And now you will sew the box seam, using a 1/2″ seam allowance.
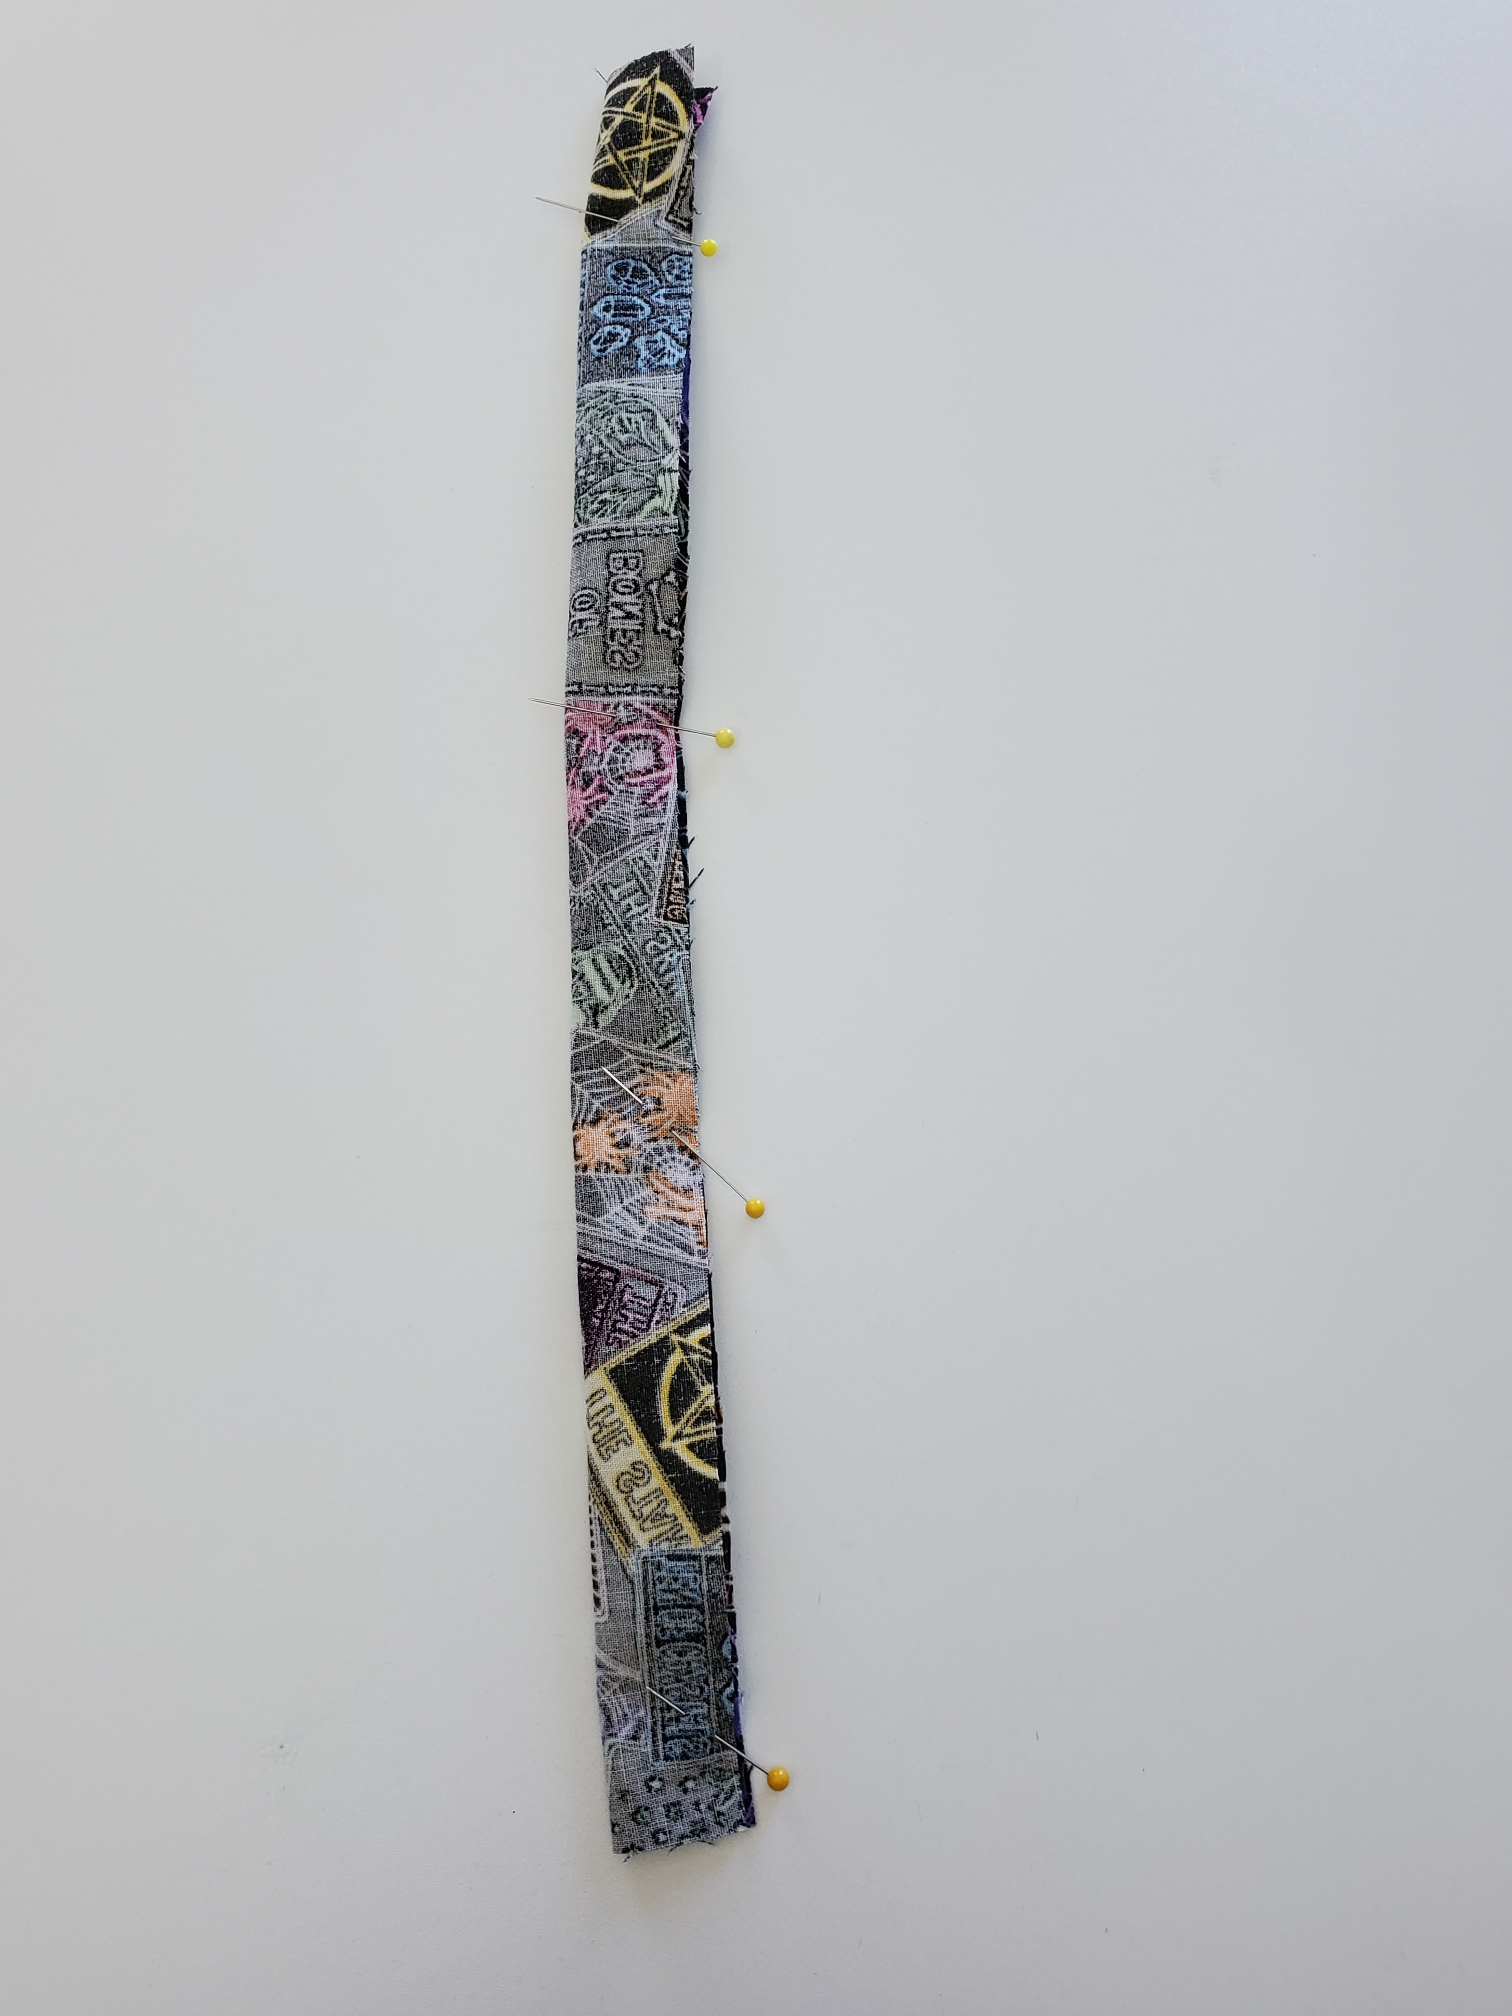
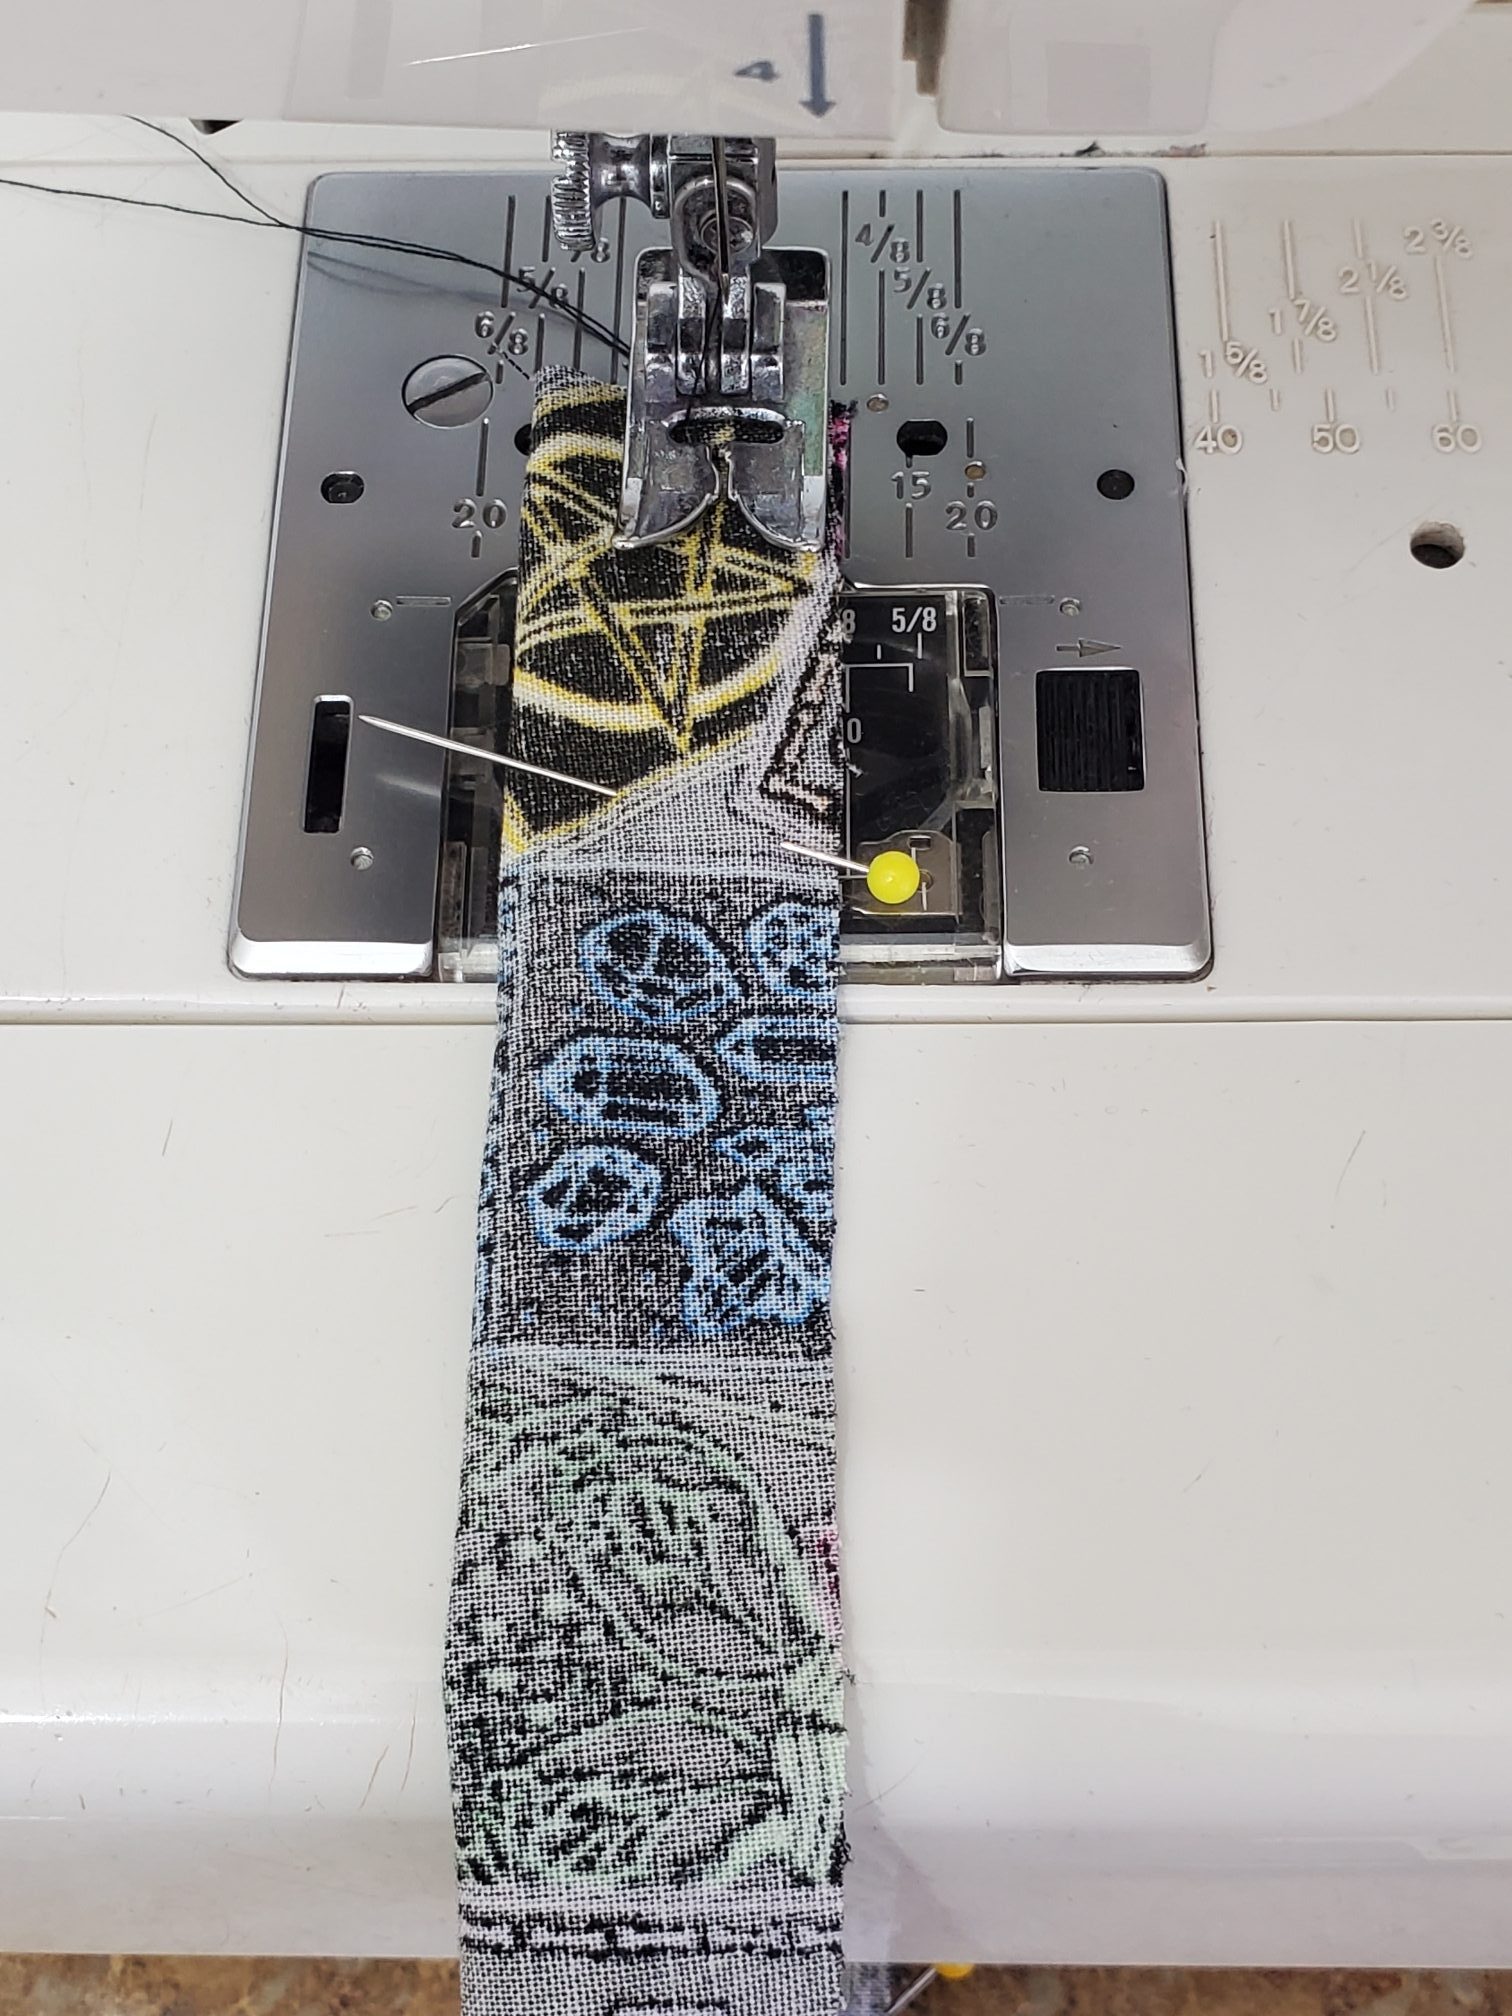
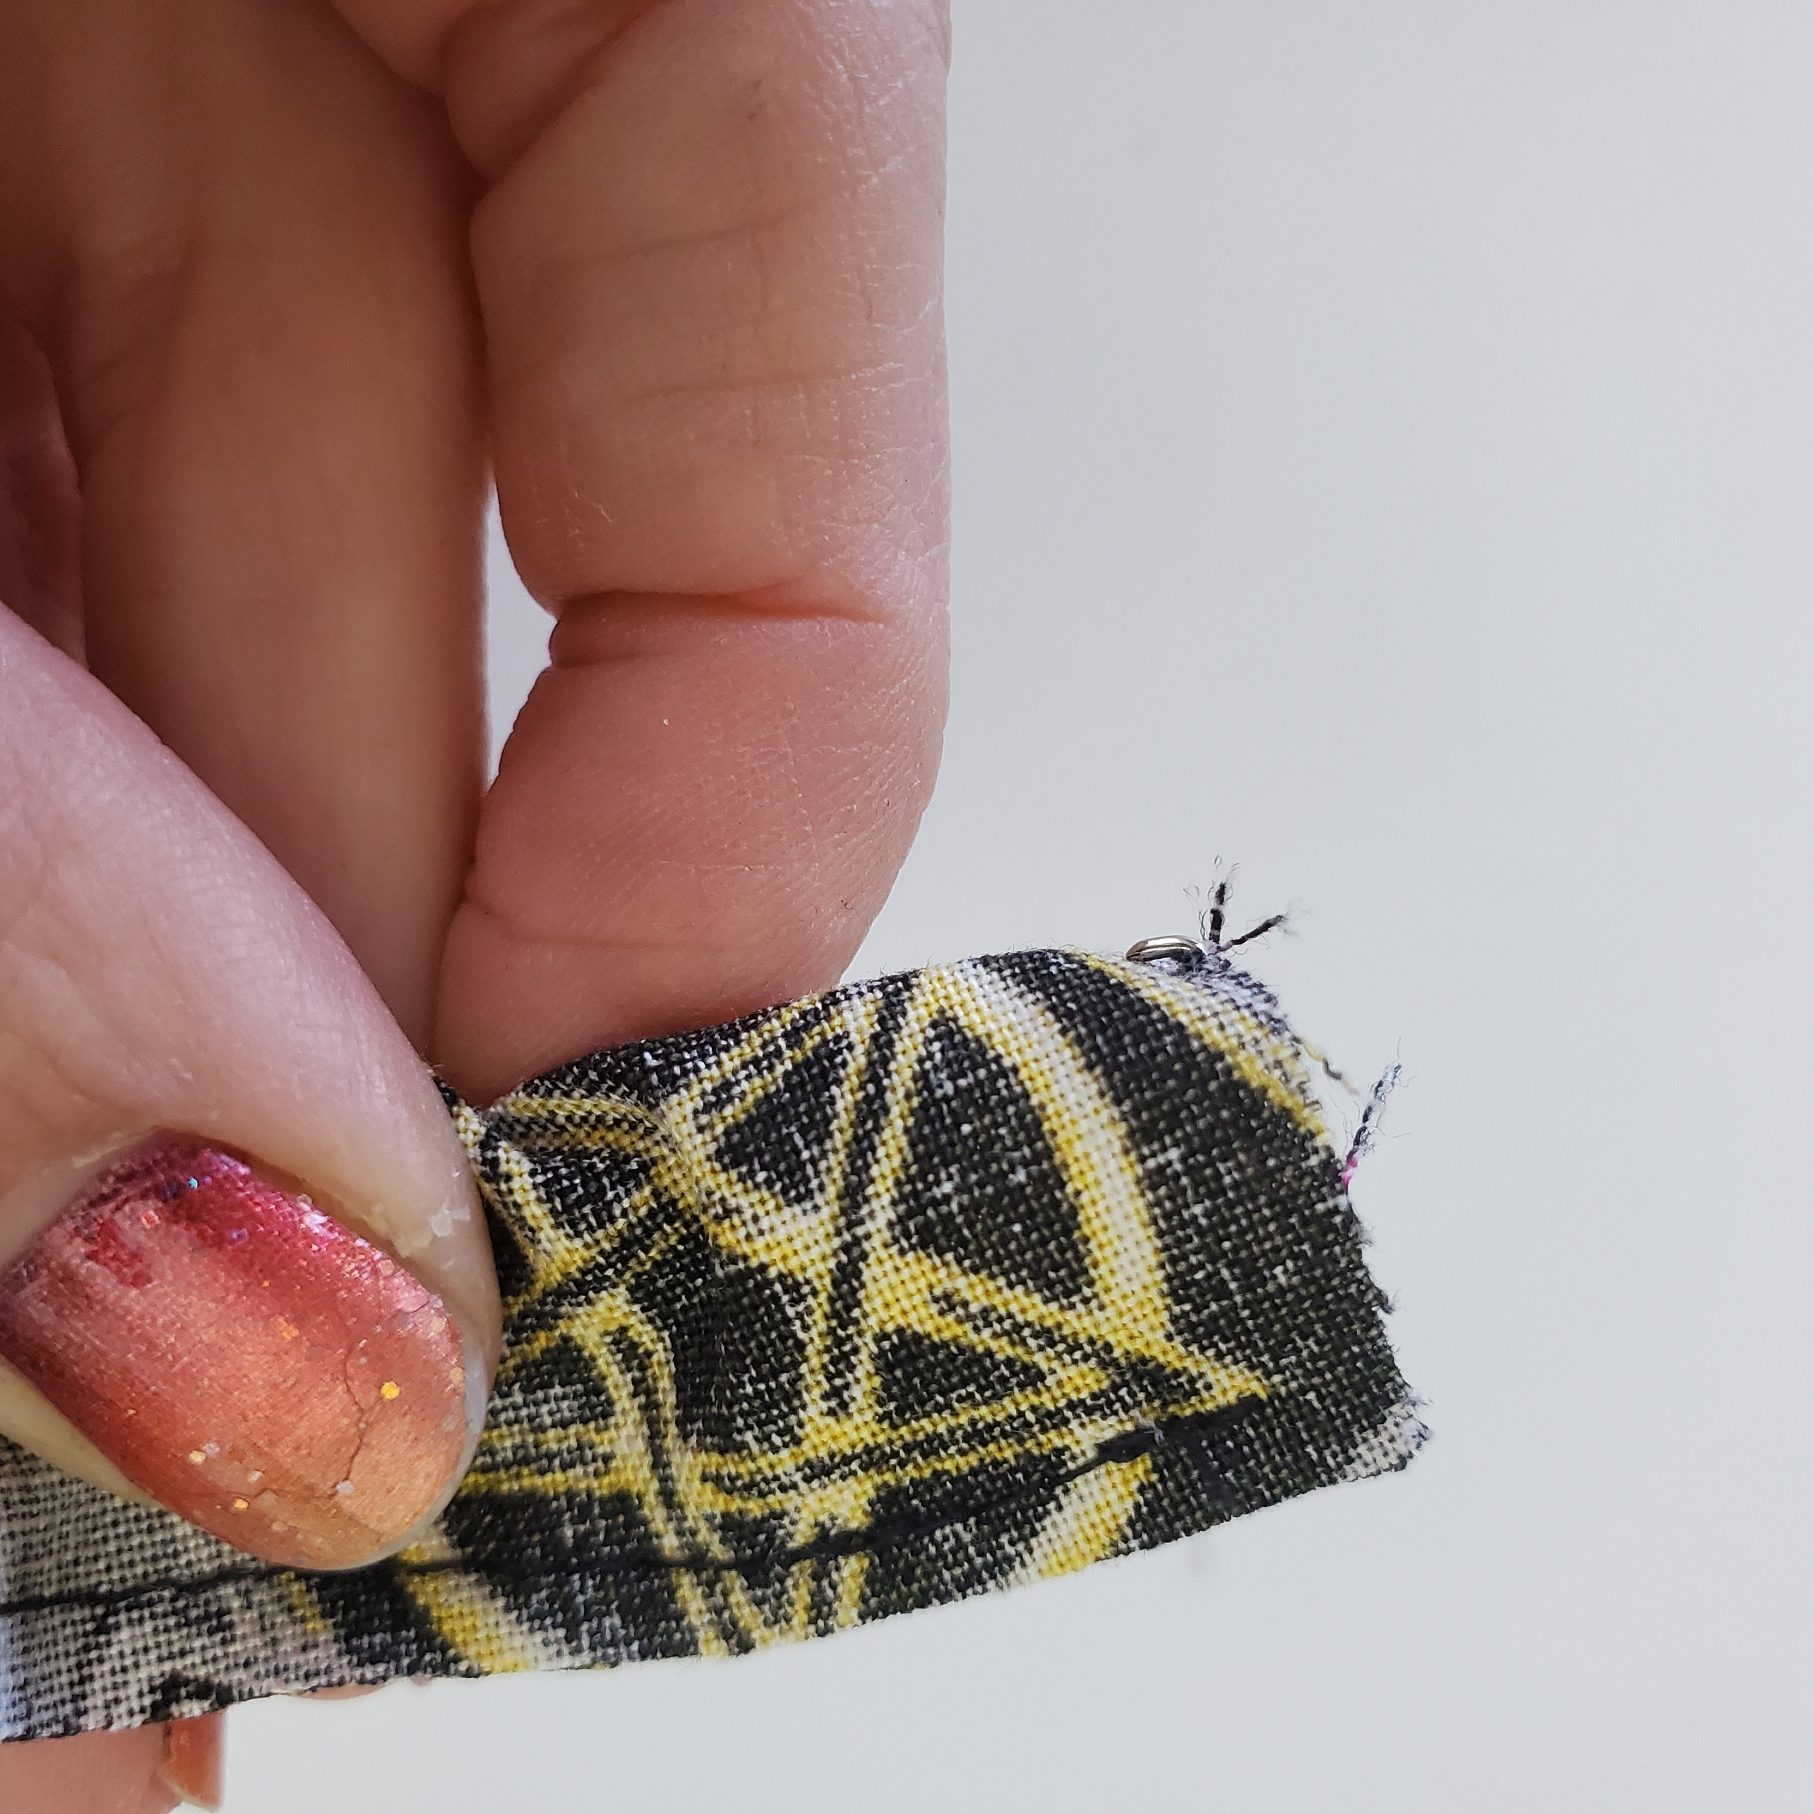
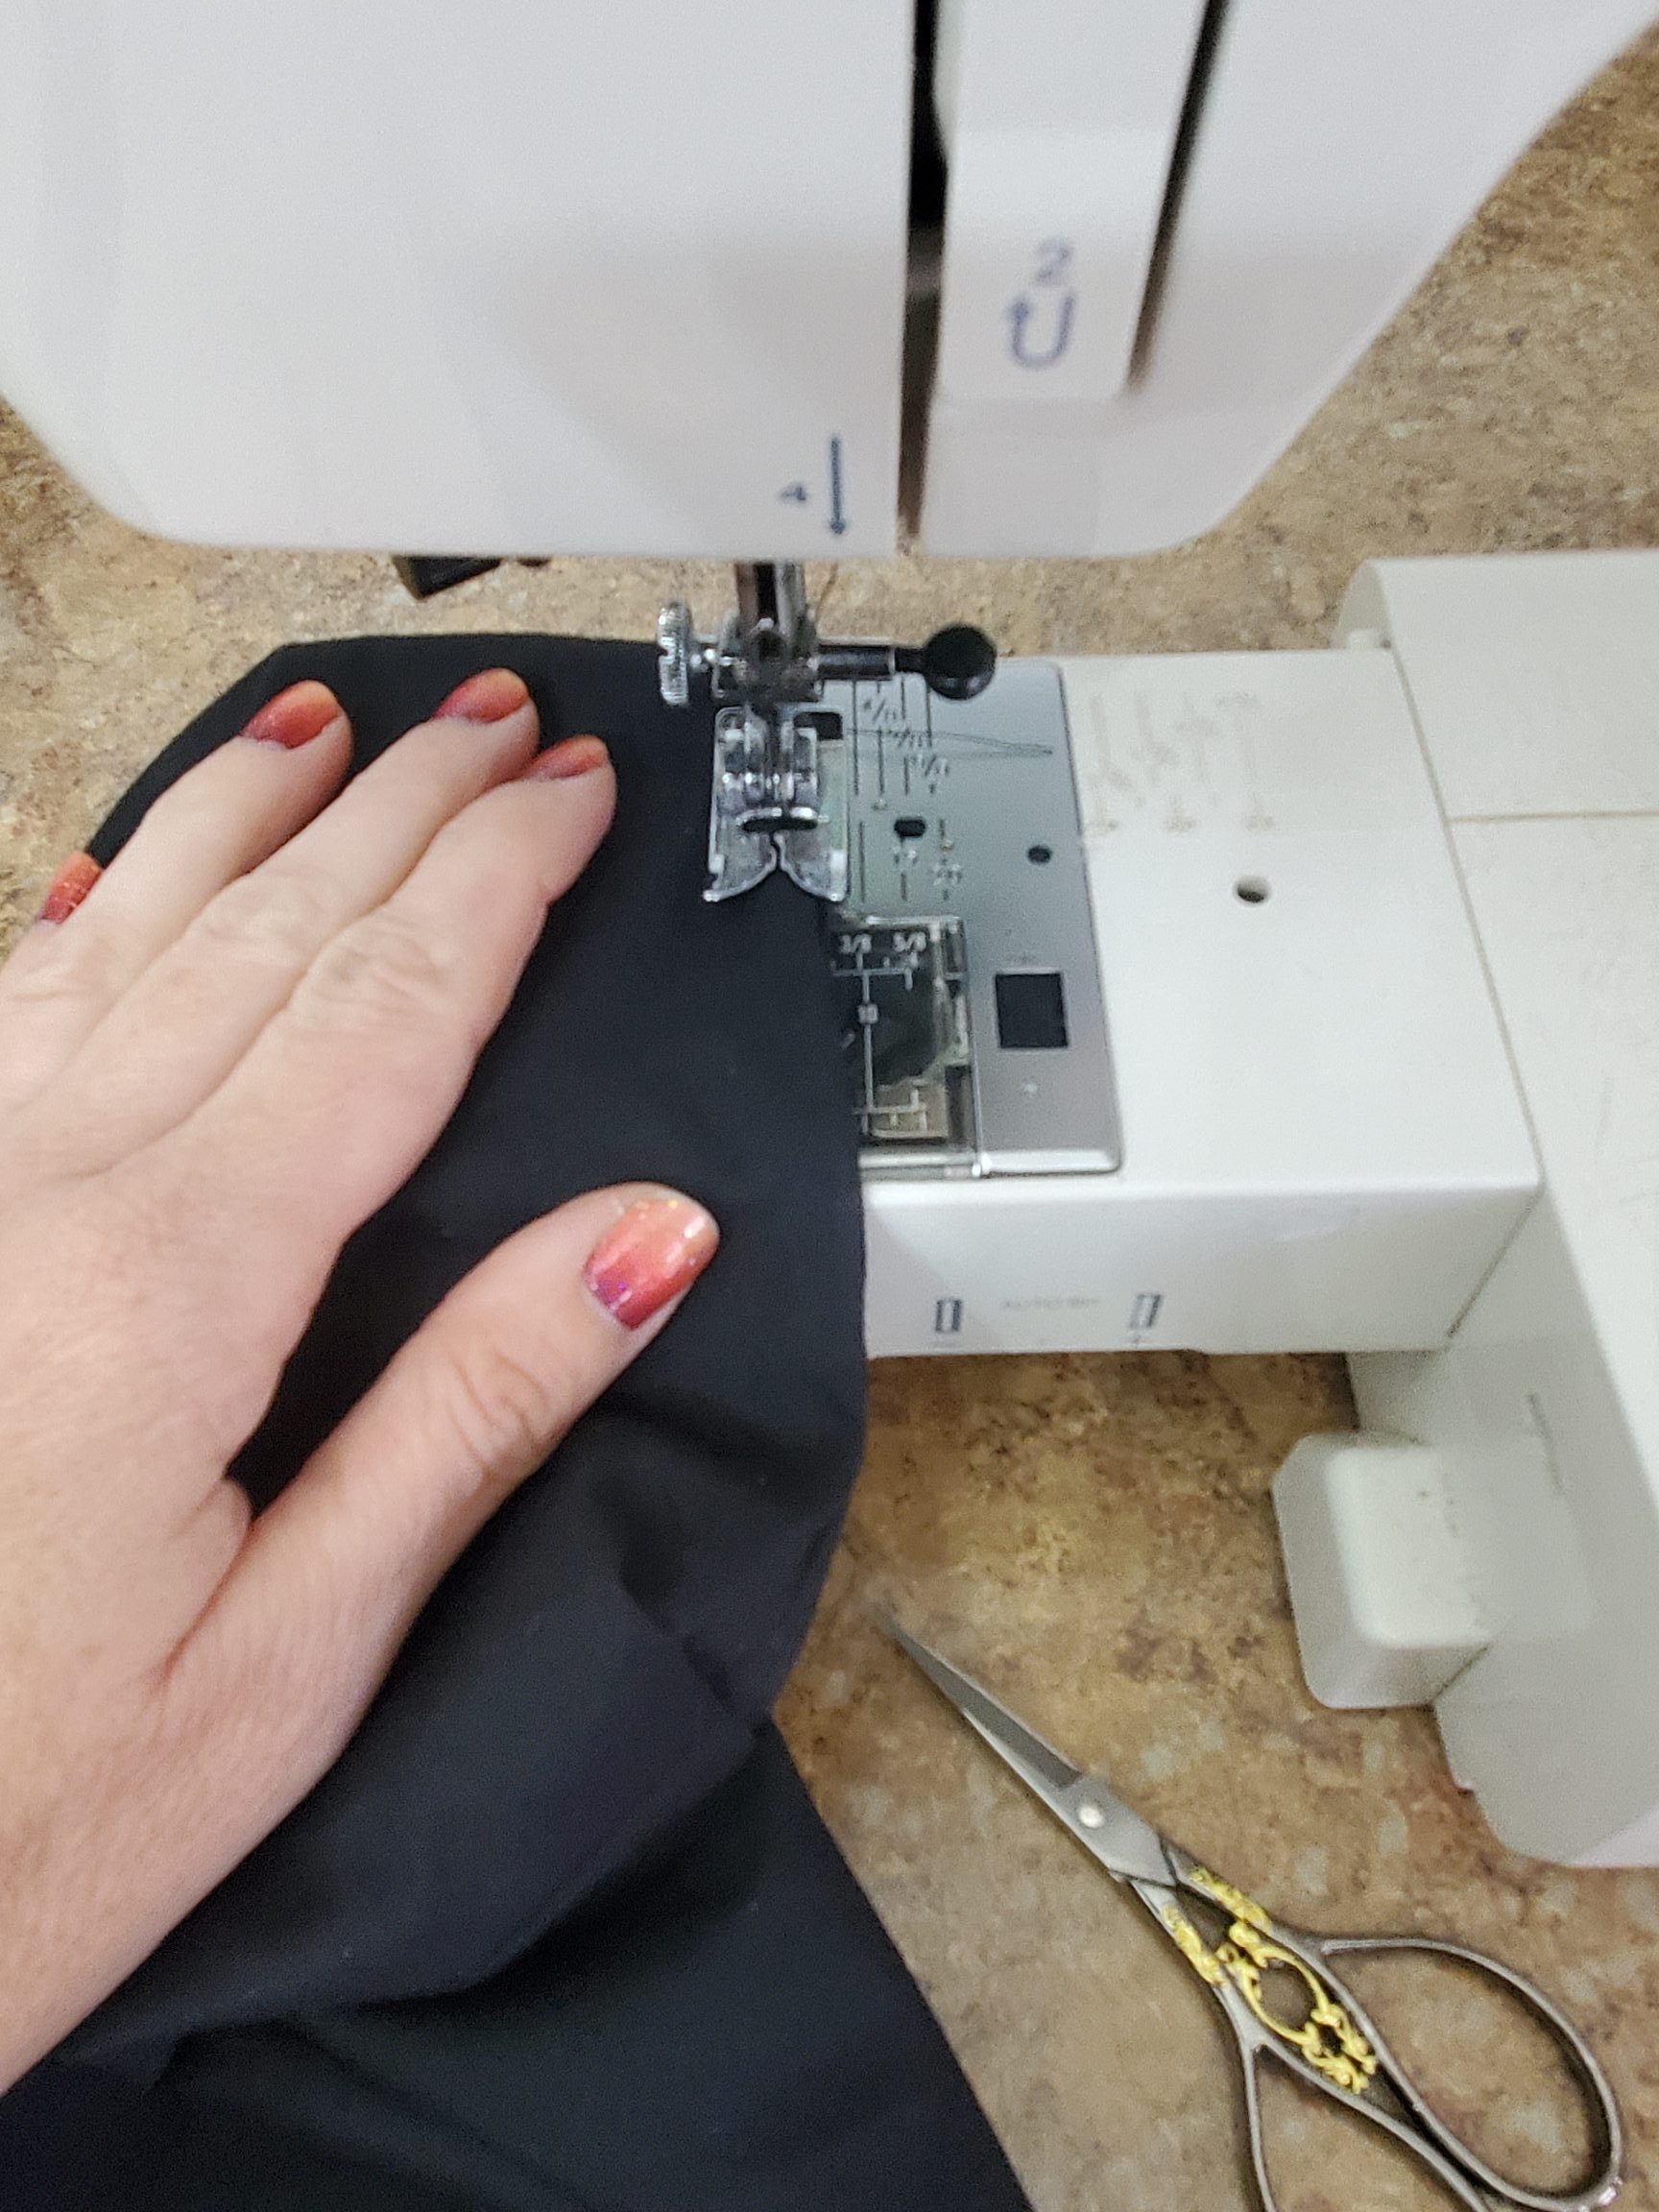
Now for the handles. Fold each handle in half lengthwise, right sides together. Pin and then stitch using a 3/8″ seam allowance.
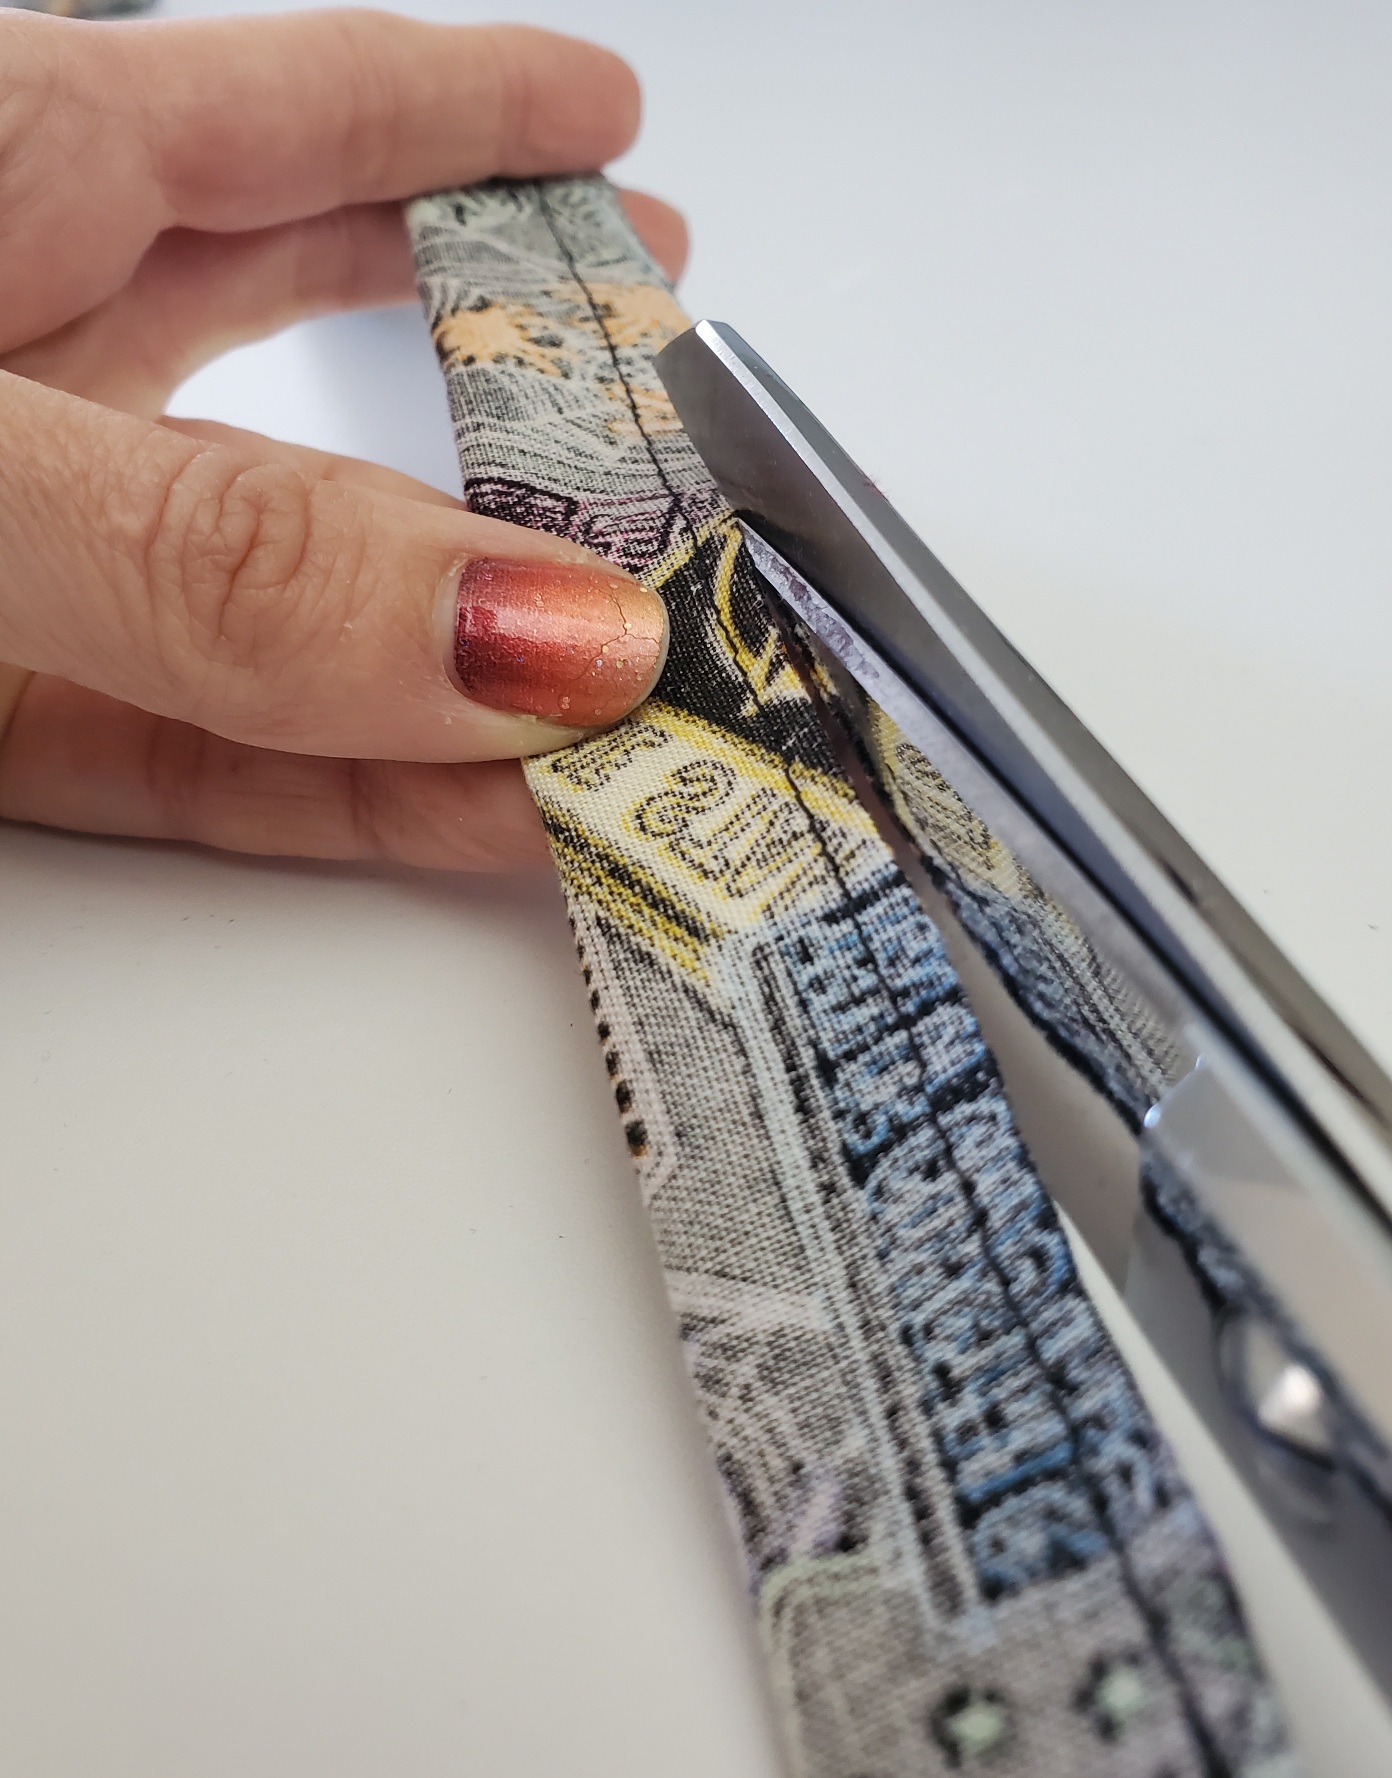
Trim close to the seam (to reduce bulk when you turn it).
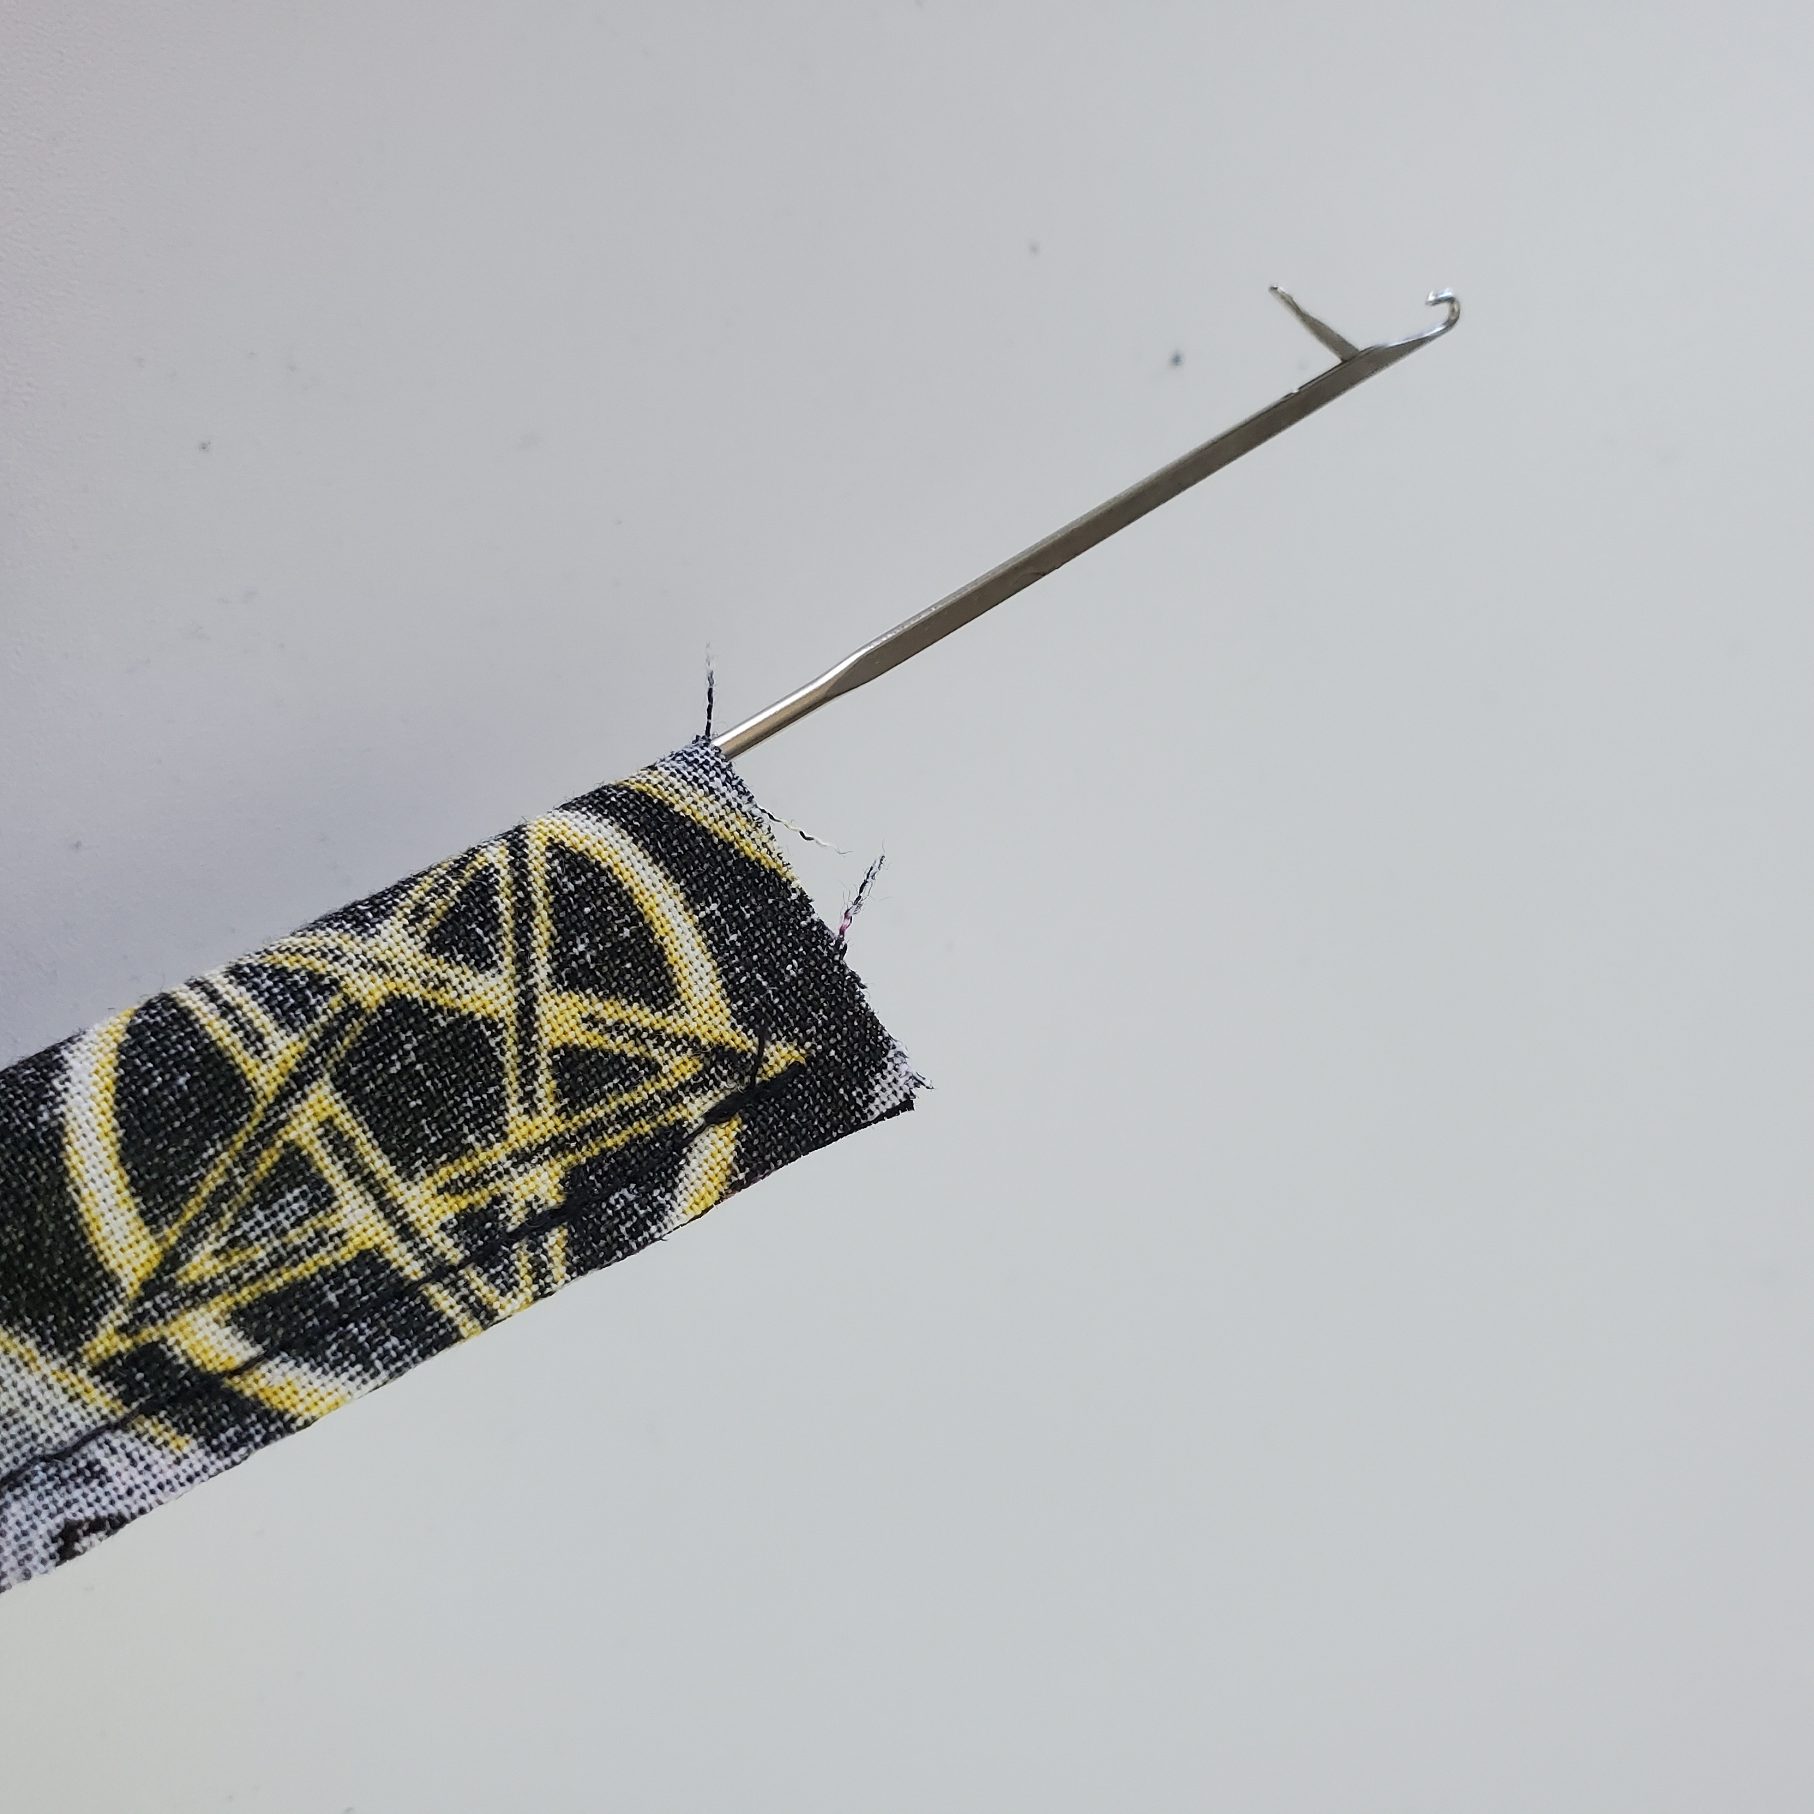
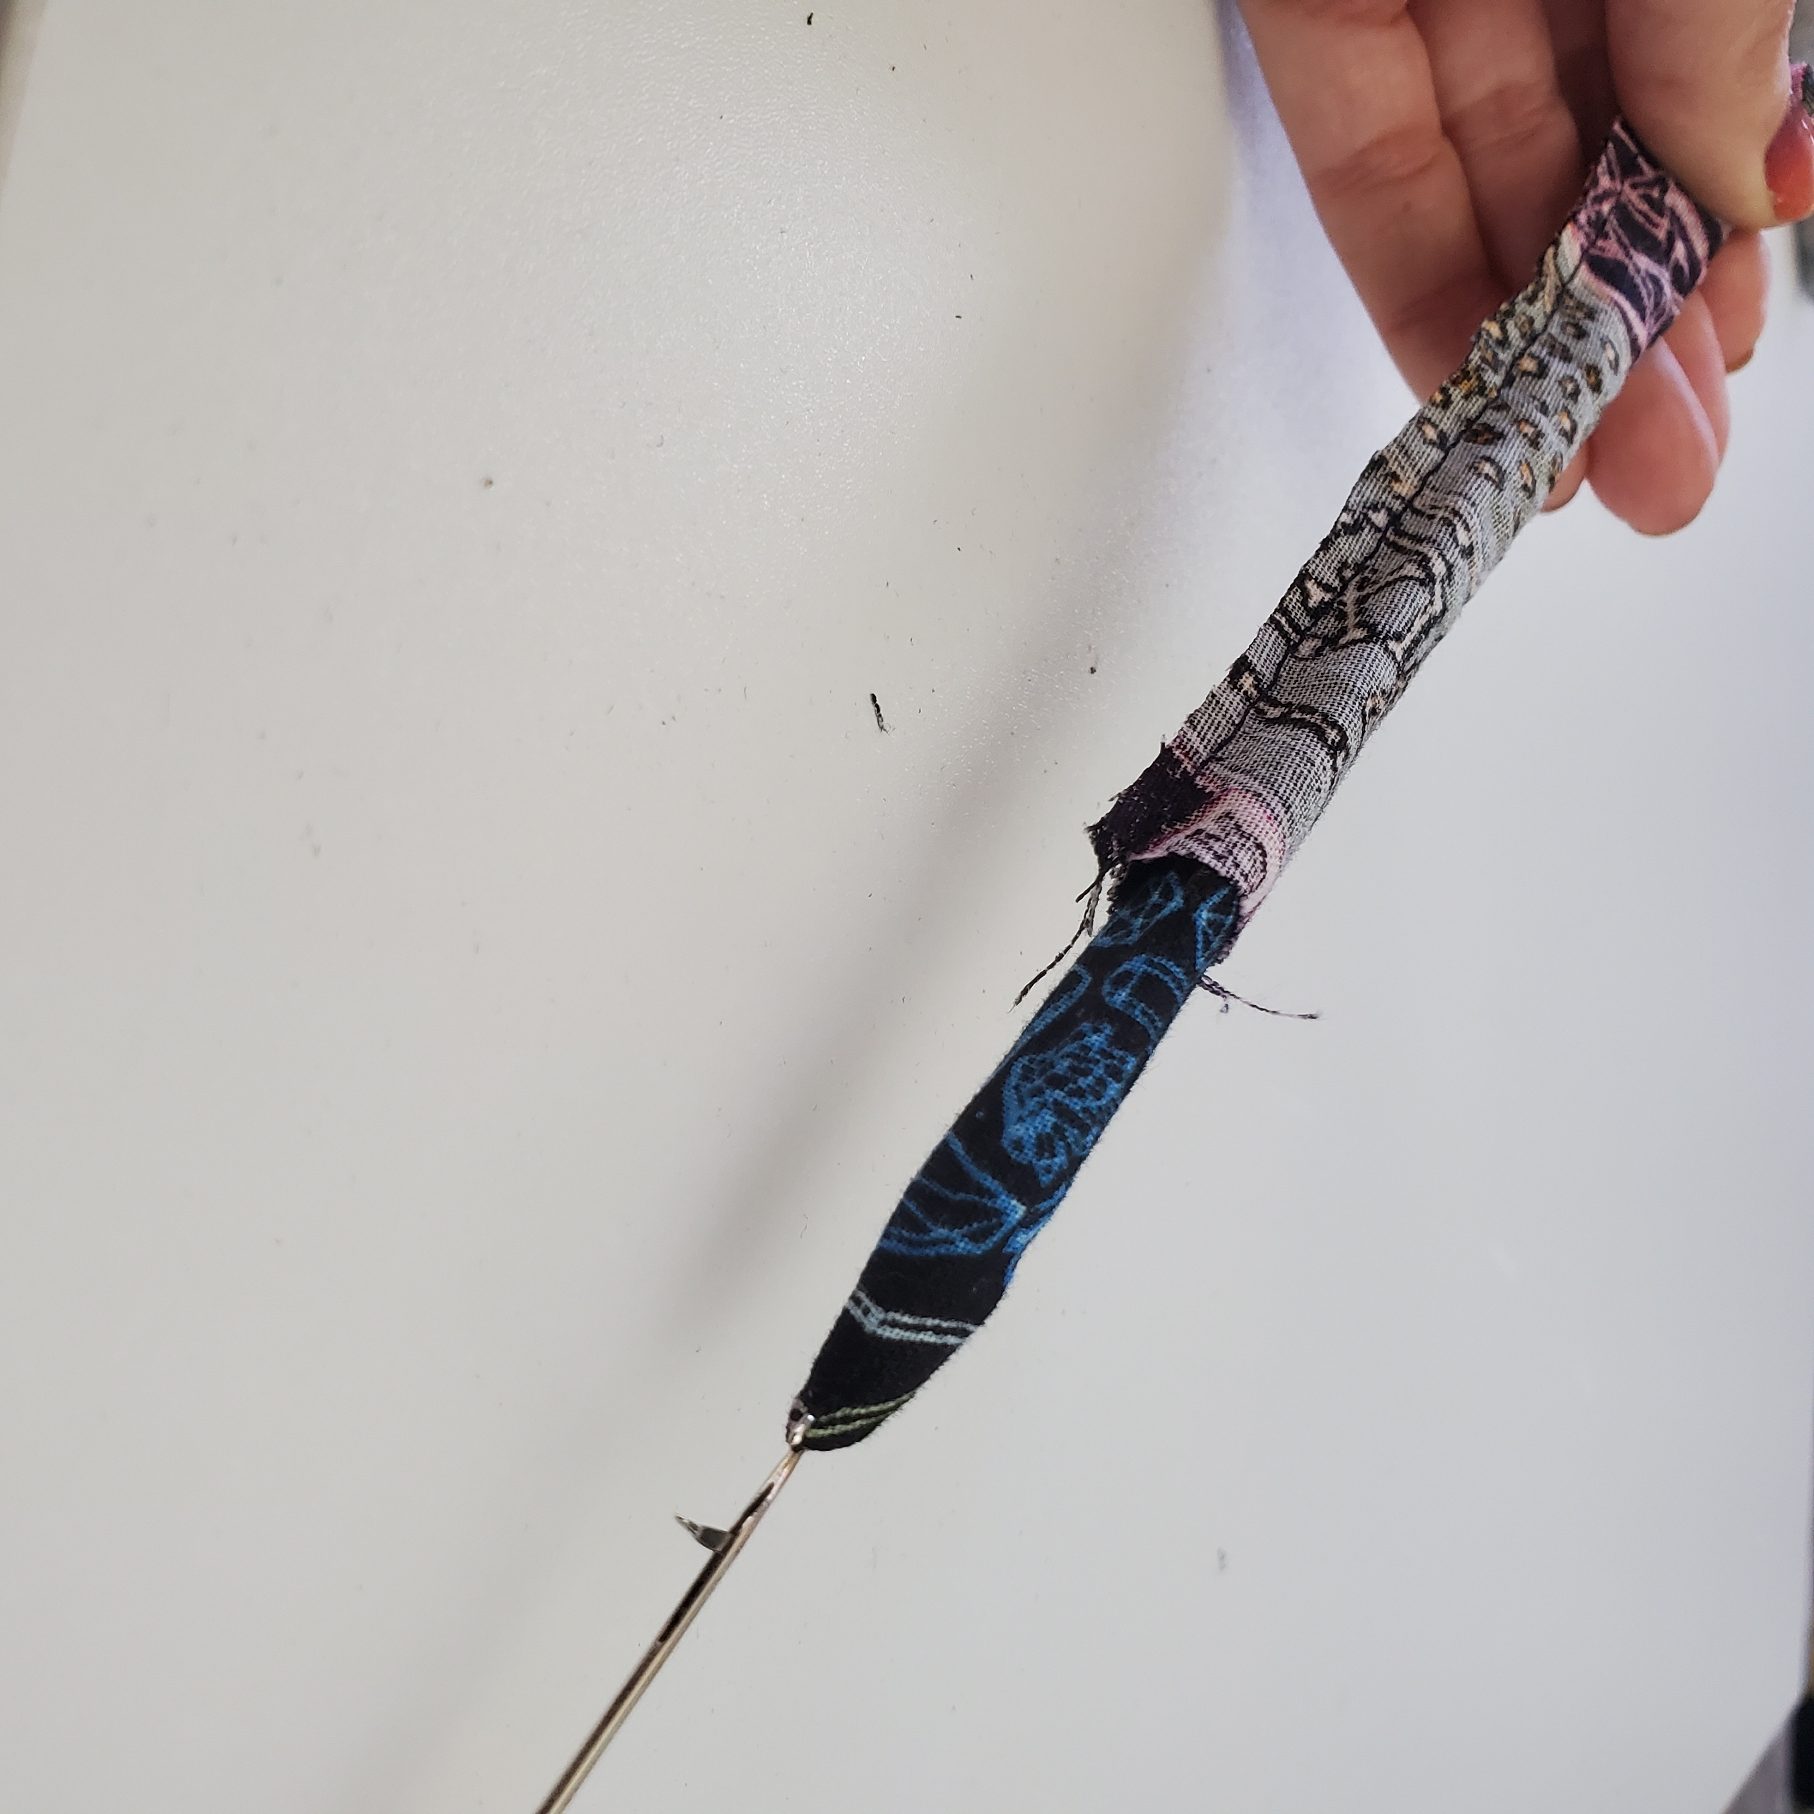
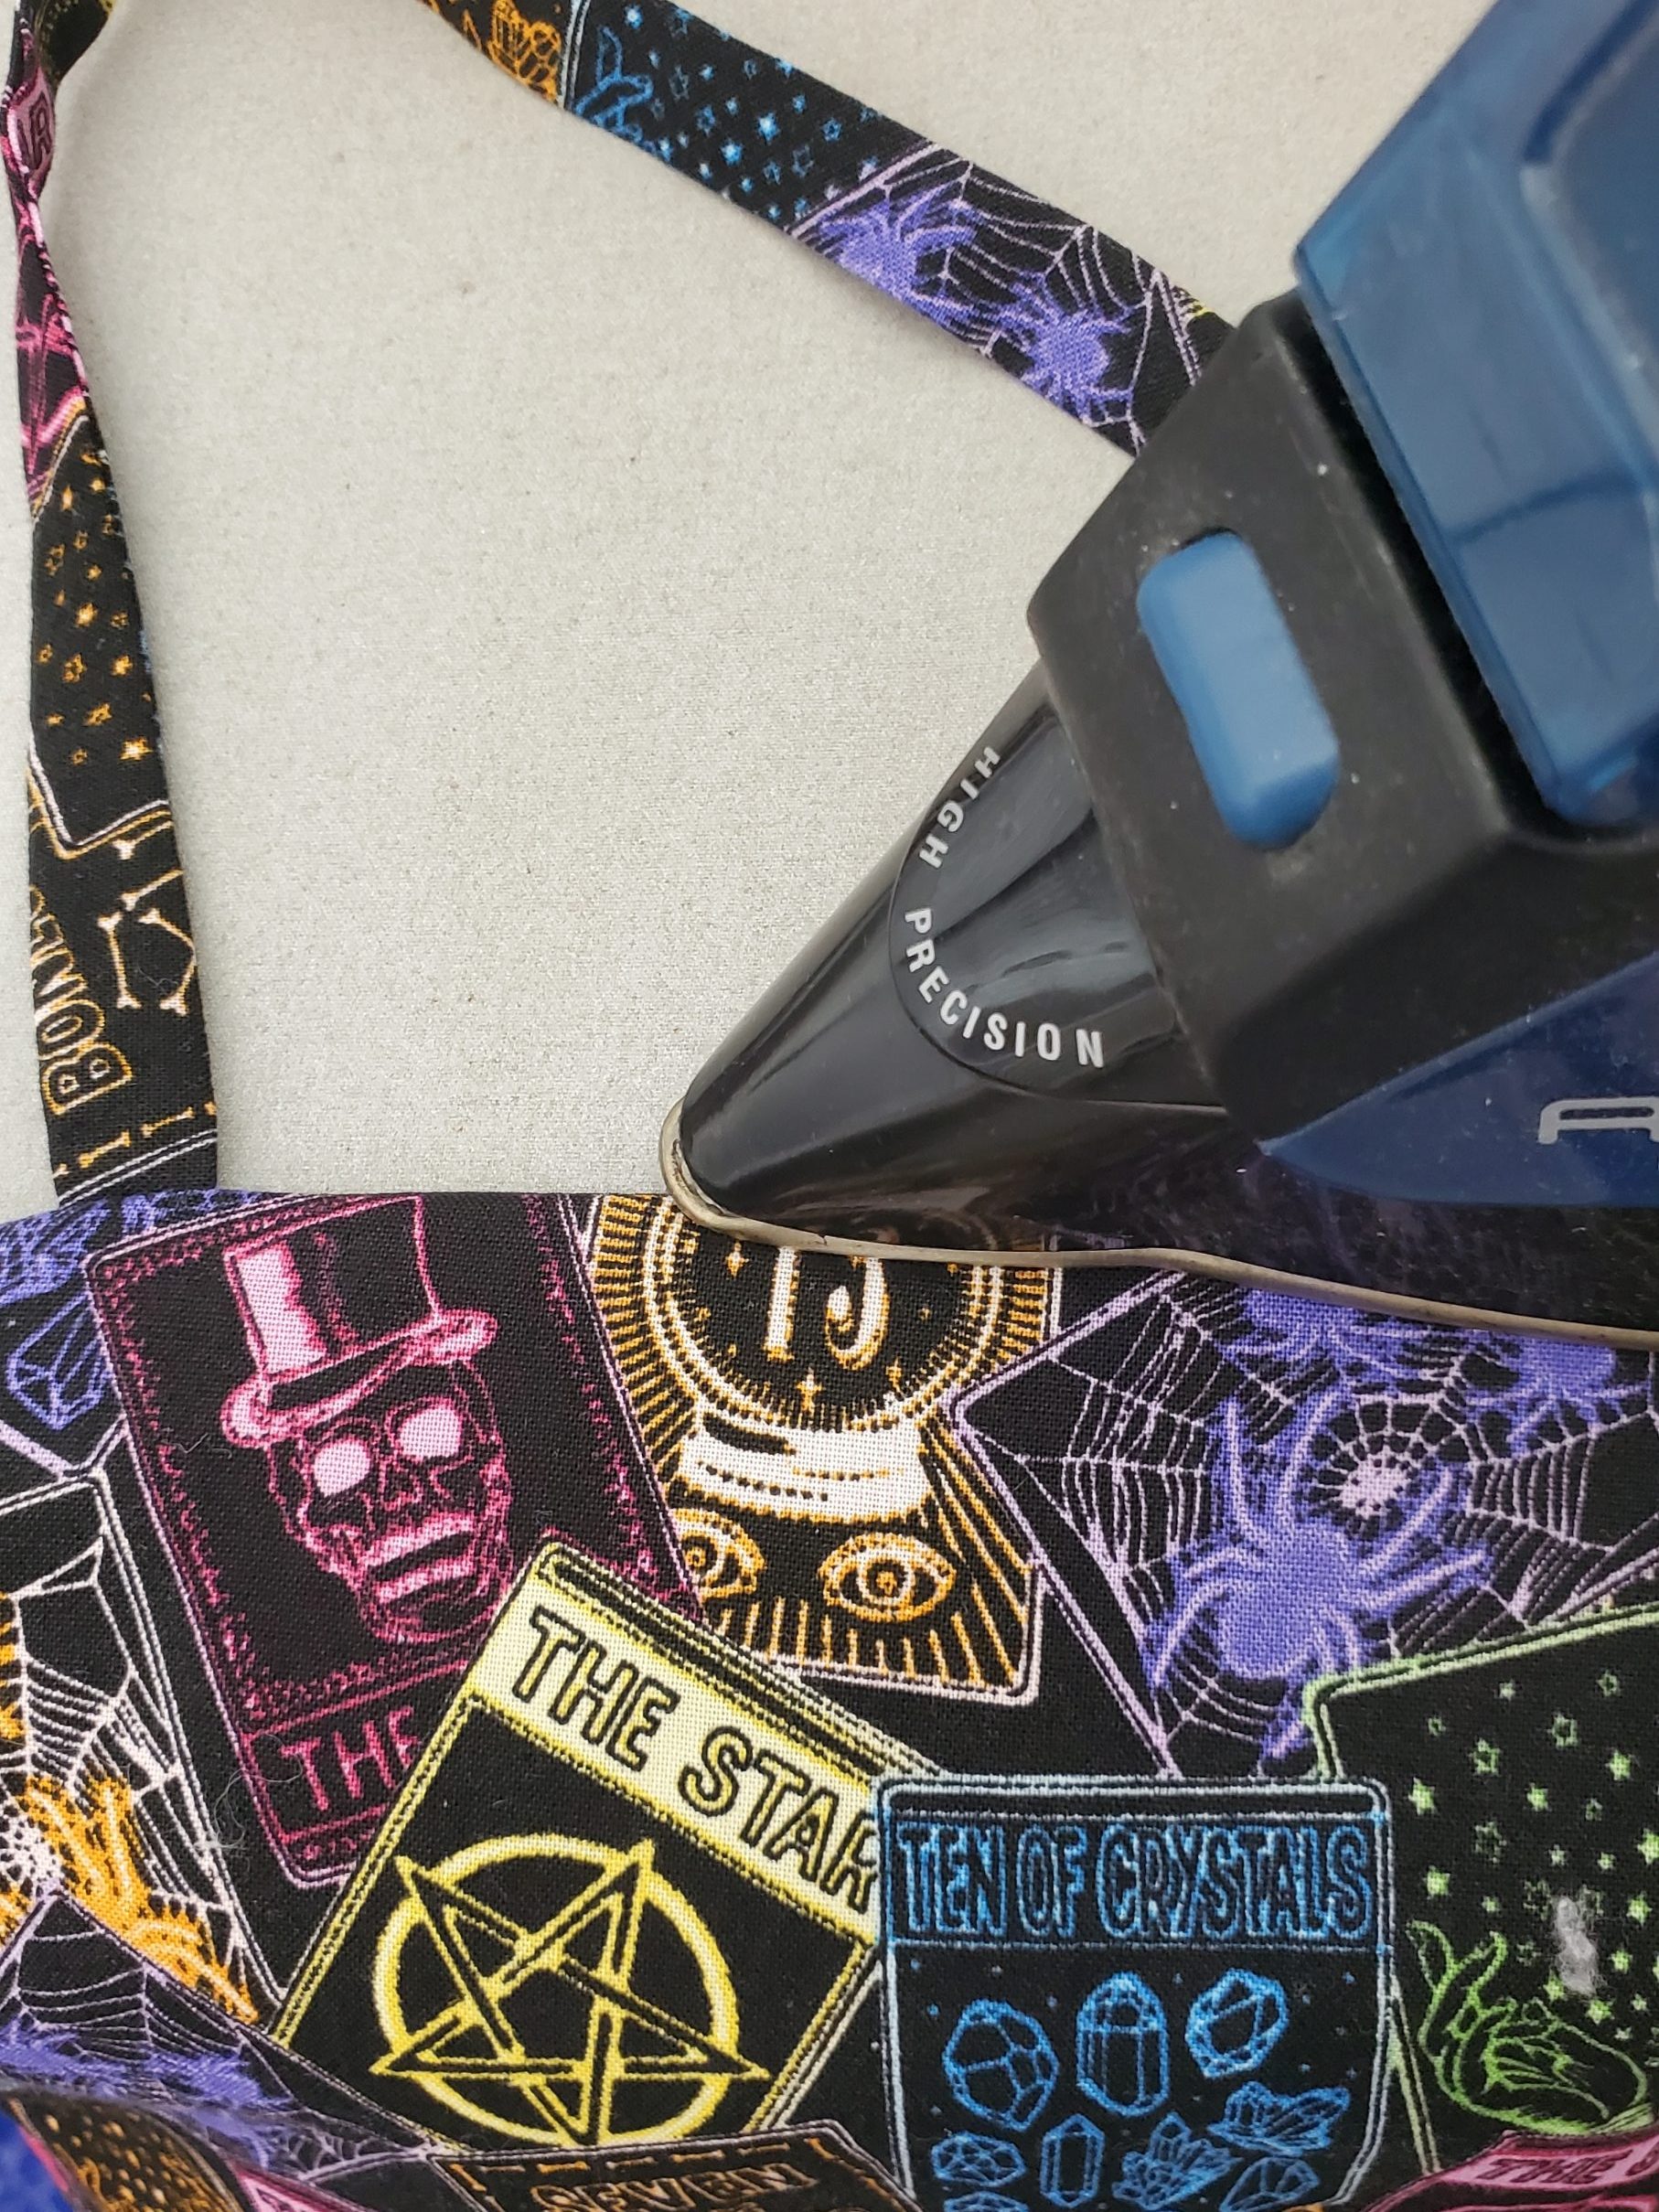
Turn your handles right side out. To do this, you can use a safety pin (pin it to one end and push the safety pin through to the other open end, pulling the handle right side out as you go). Or, you can use a loop turner, which is what I used. It’s the easiest way! But if you don’t have a loop turner and you don’t want to buy one, a safety pin will do! Since I used a loop turner, this is what I photographed. (I’ve linked the loop turner at the end of this post for those interested).
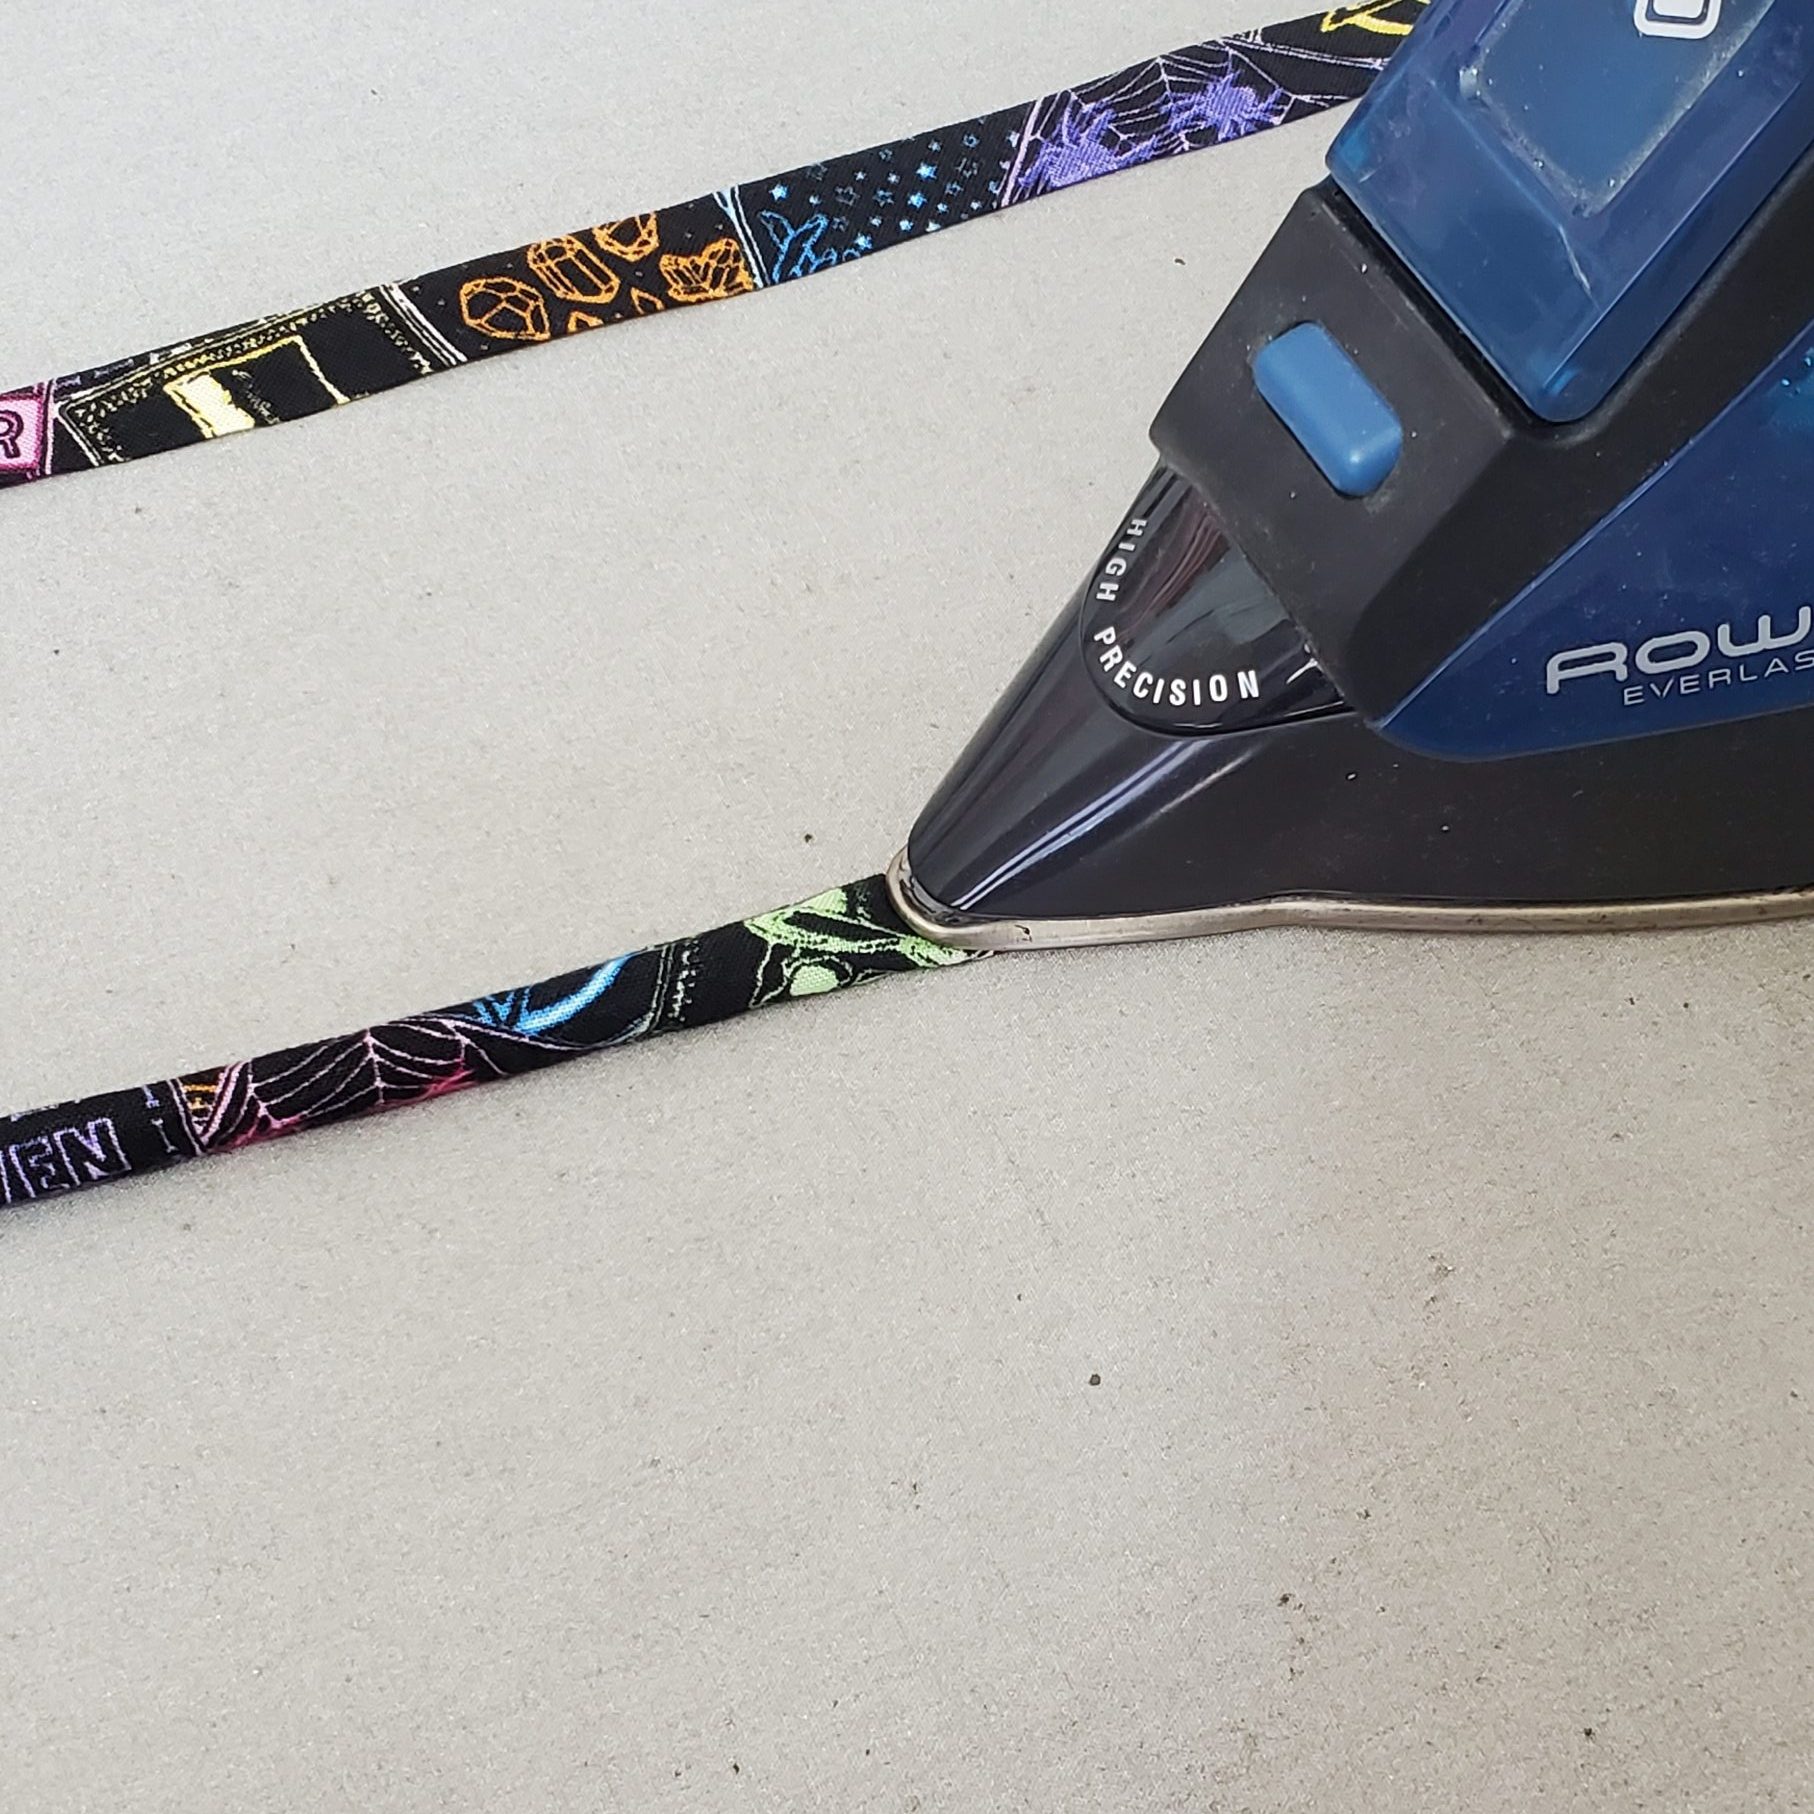
Smooth out your handles and iron them flat.
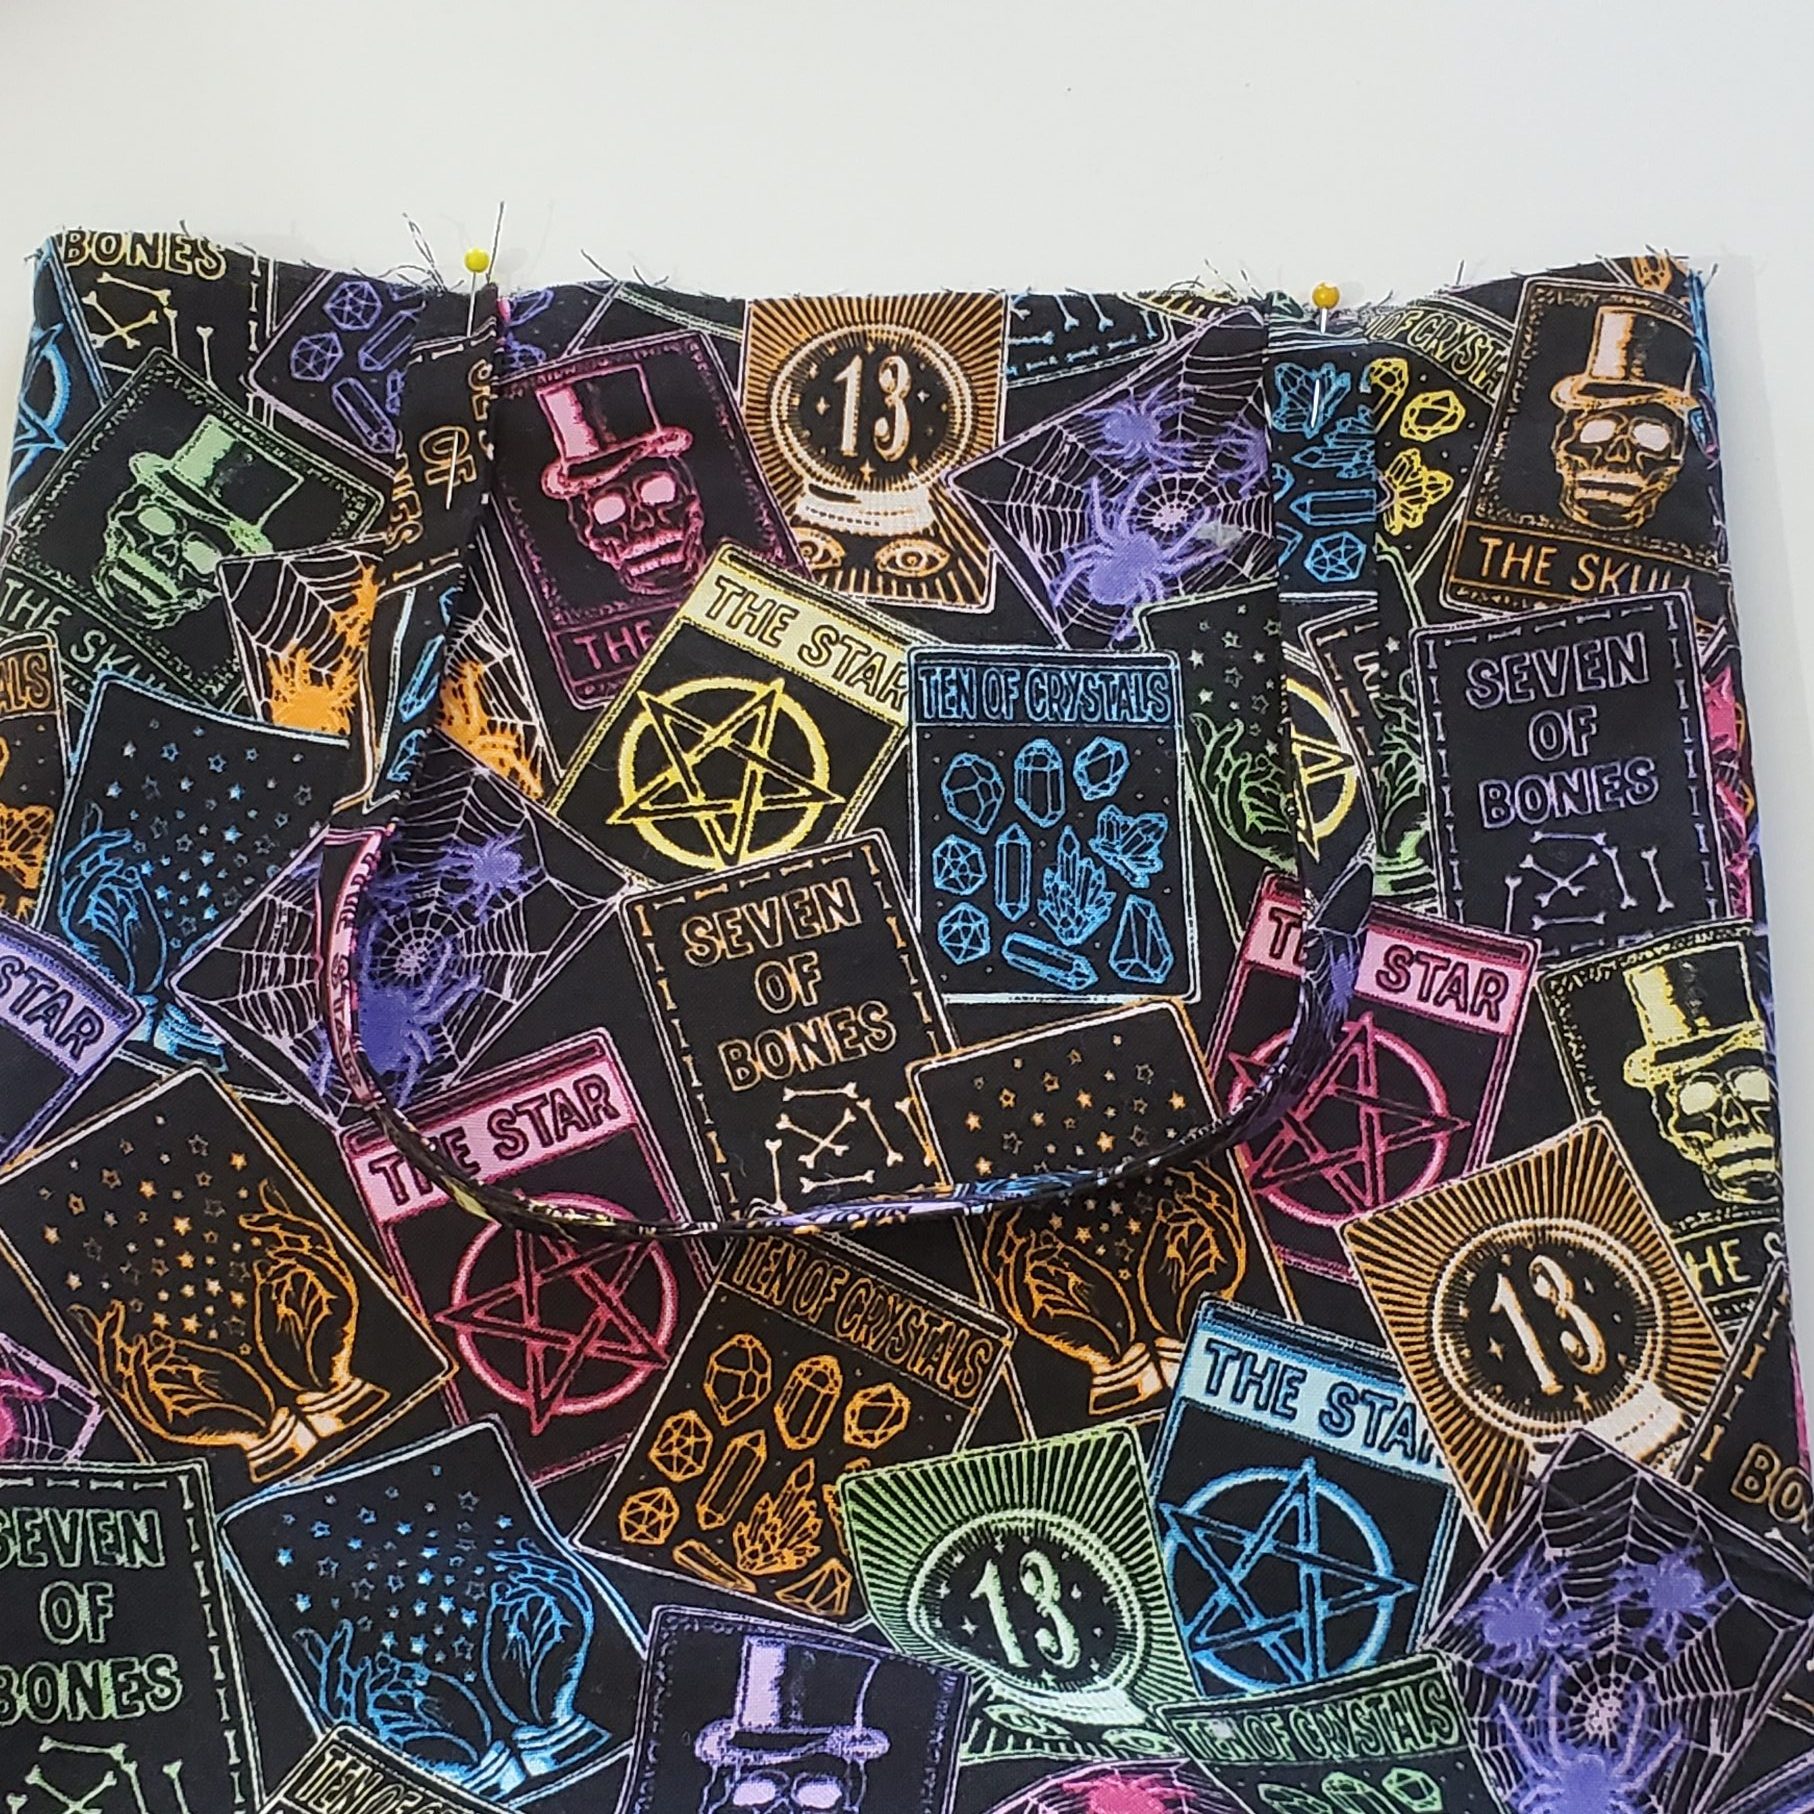
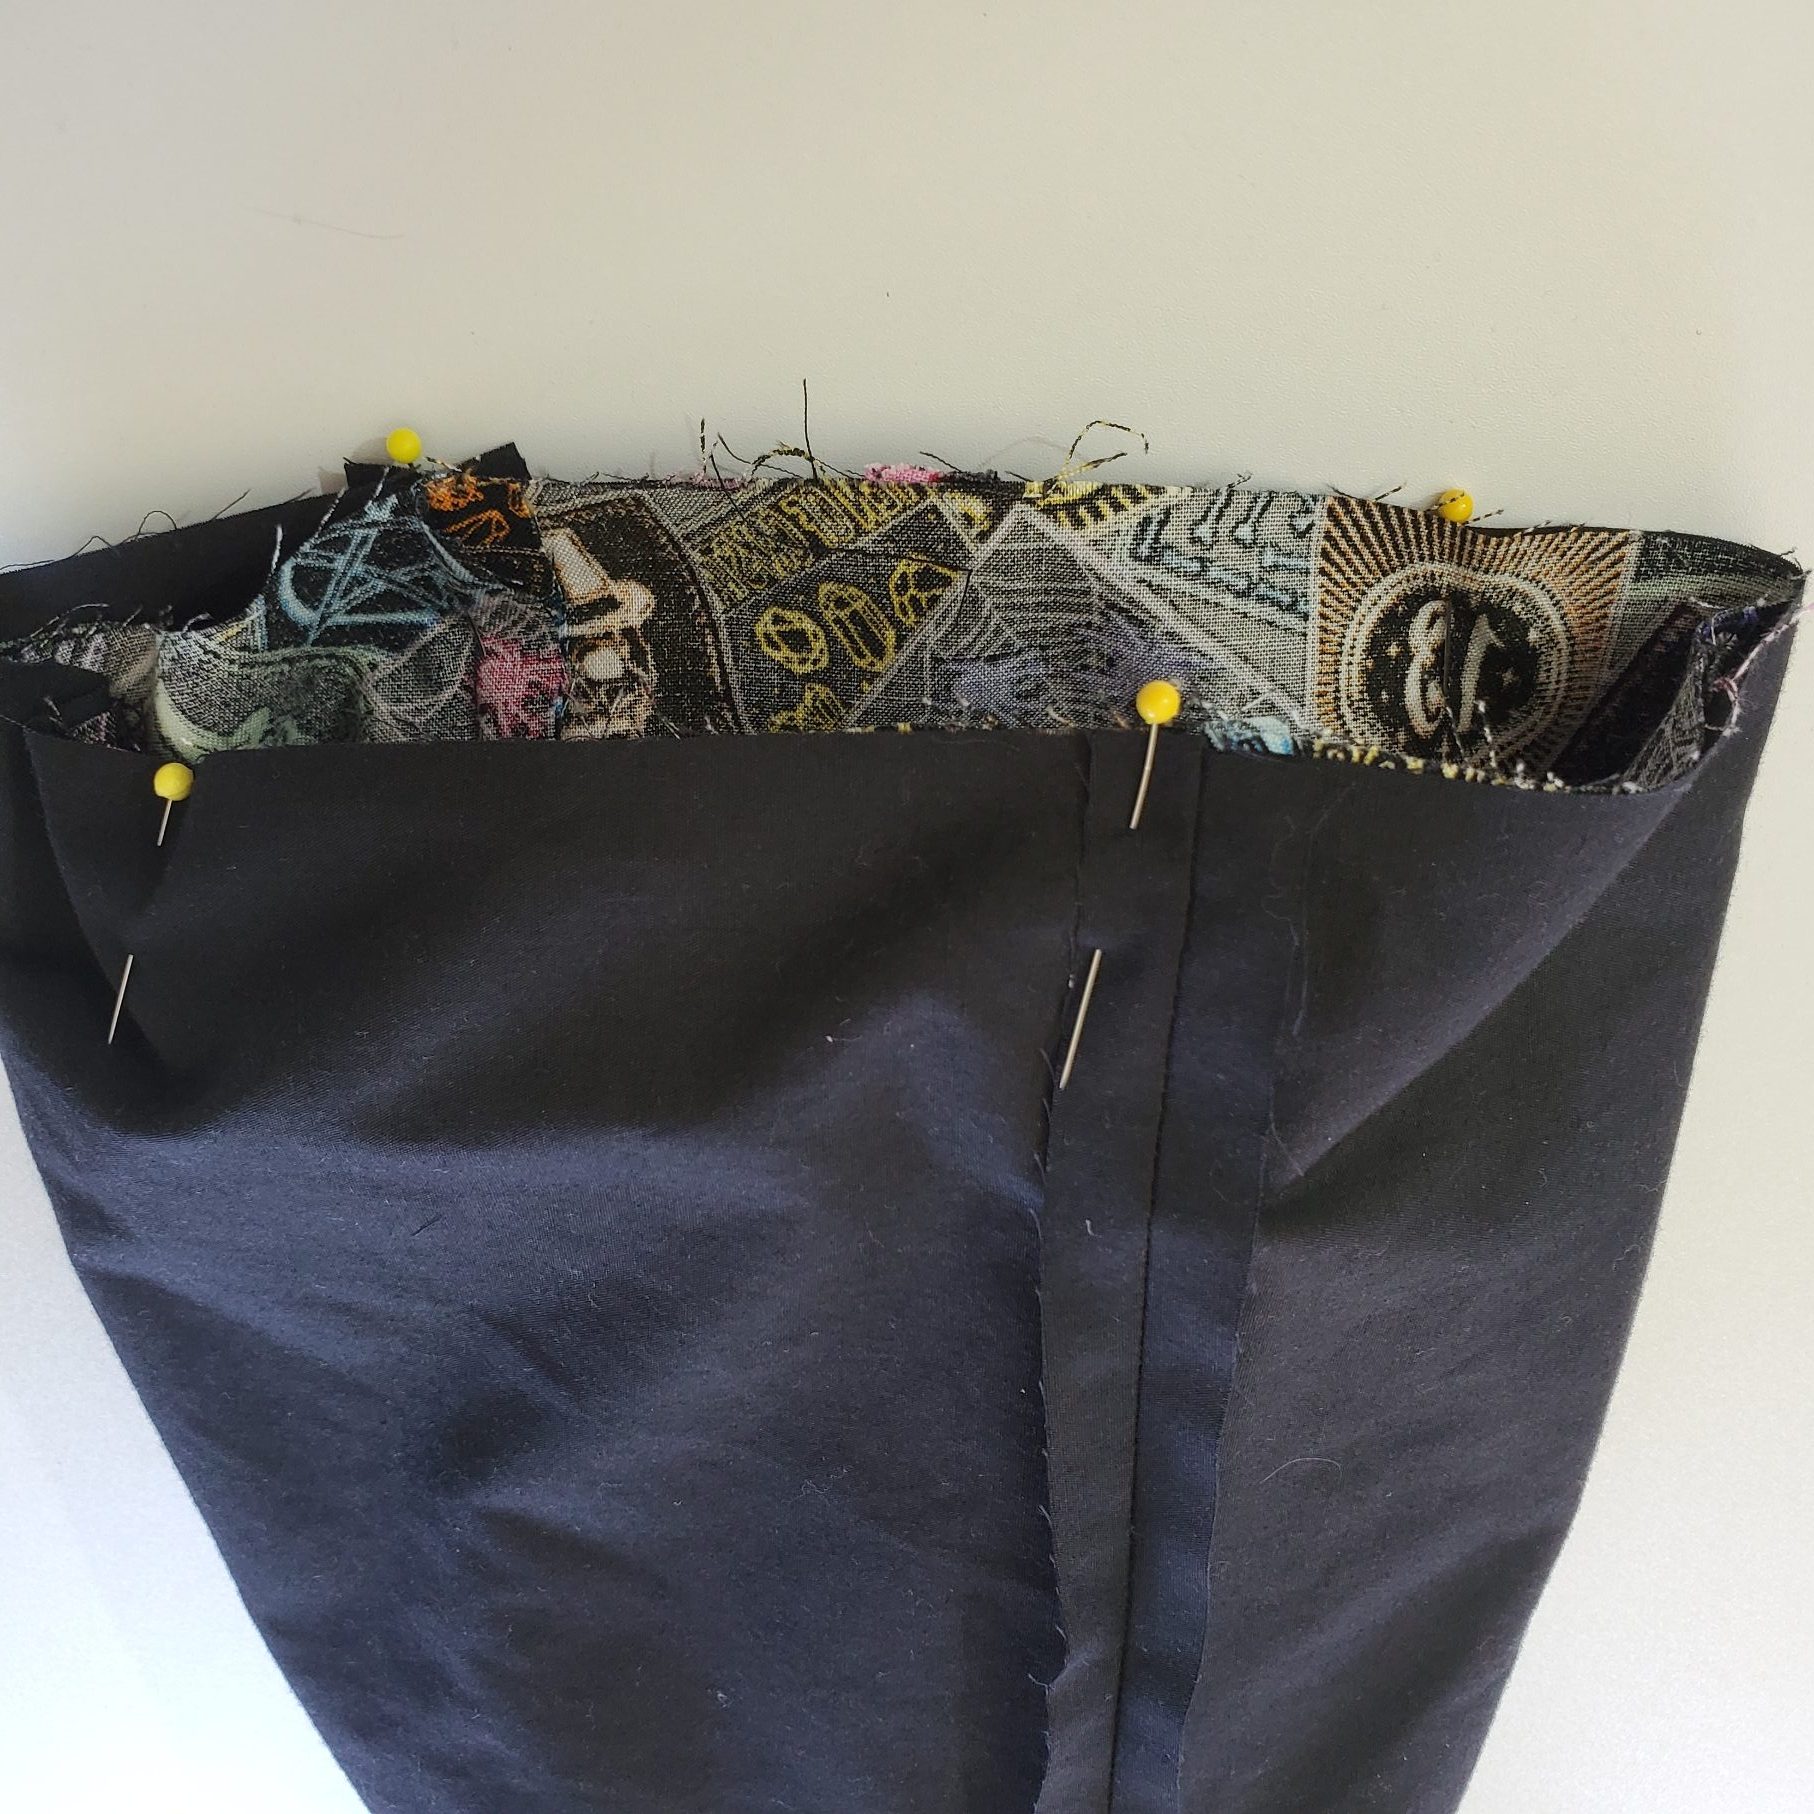
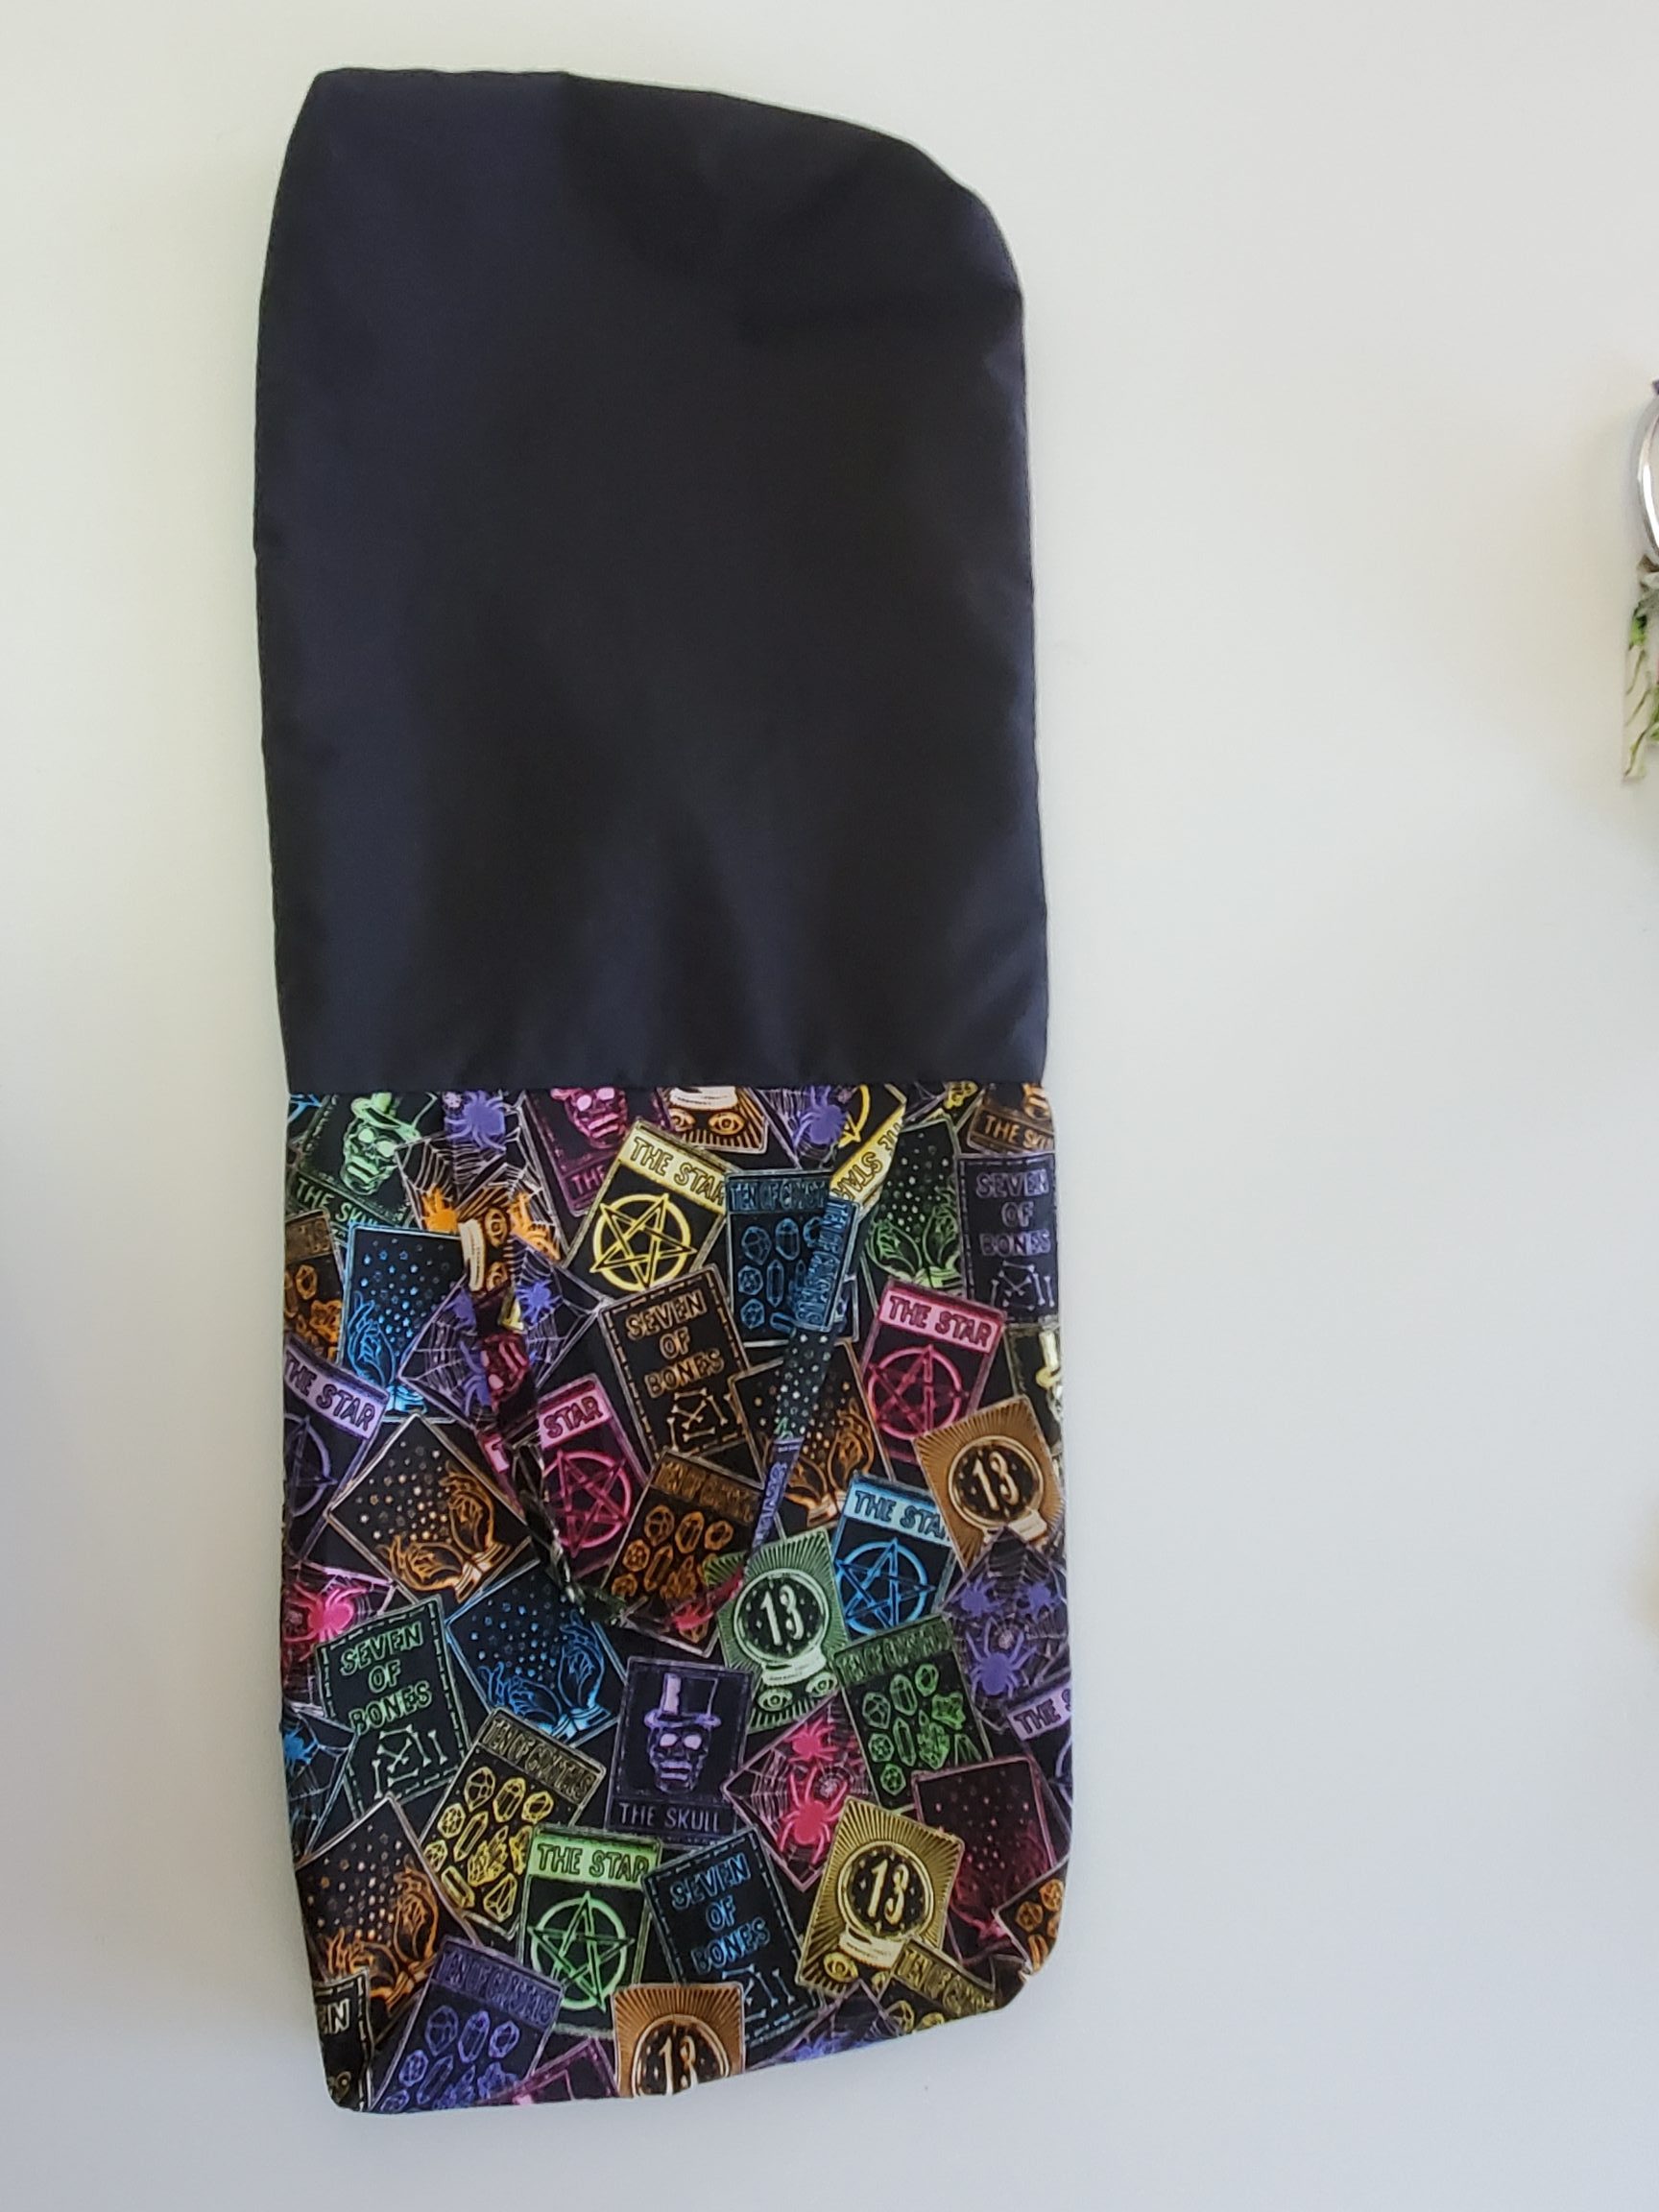
Turn your bag right side out and lay your handles on top of the bag as pictured, with the raw edges meeting. Space them a couple of inches in from the side seams and pin them in place. Make sure that you are only pinning through the front side of the bag and not the back side. Also, make sure that your handles are not twisted when you lay them out. You will repeat this on the back side of the bag with your second handle. Stitch across the handles (only through one layer; don’t sew your top shut!), keeping your raw edges on the 3/8″ seam line.
With your bag right side out, and your lining still inside out, put your bag inside your lining. Your bag and your lining are now facing each other (right sides together). Line up the side seams of the bag and the lining and pin in place, keeping the top edges of your bag even. Pin in place around the entire top of the bag. Stitch.
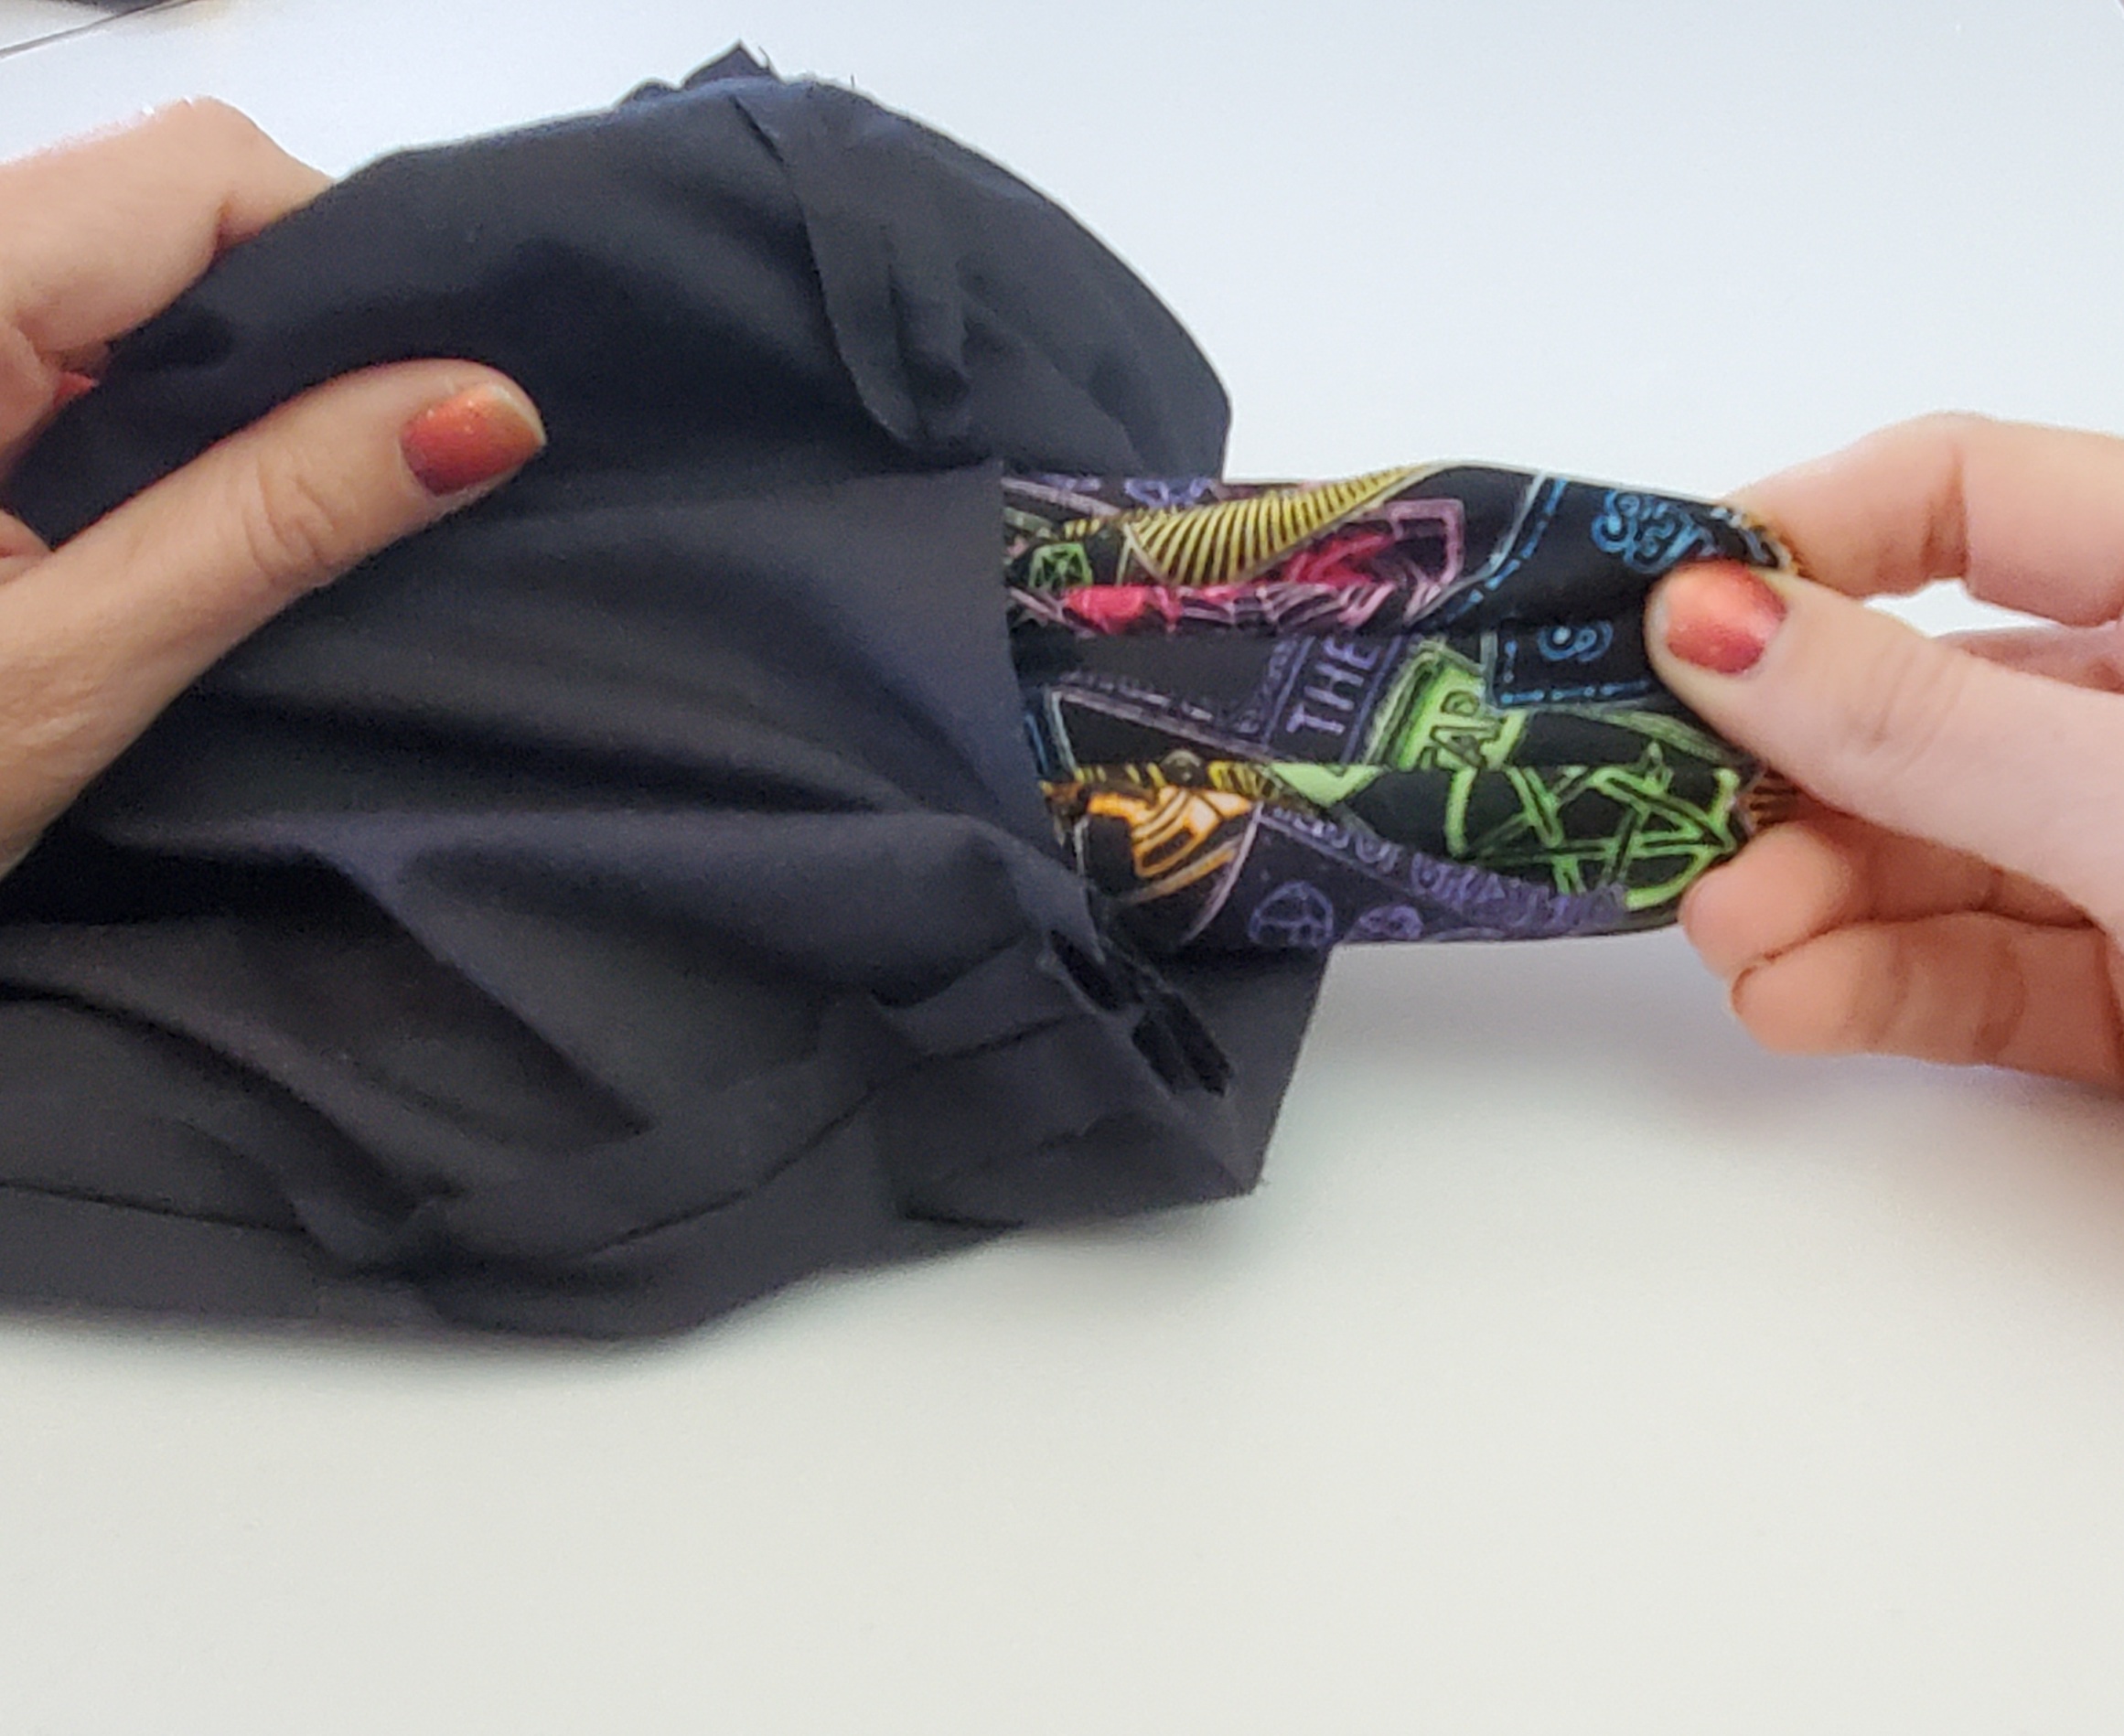
Turn your bag right side out by gently pulling your bag through the opening in your lining.
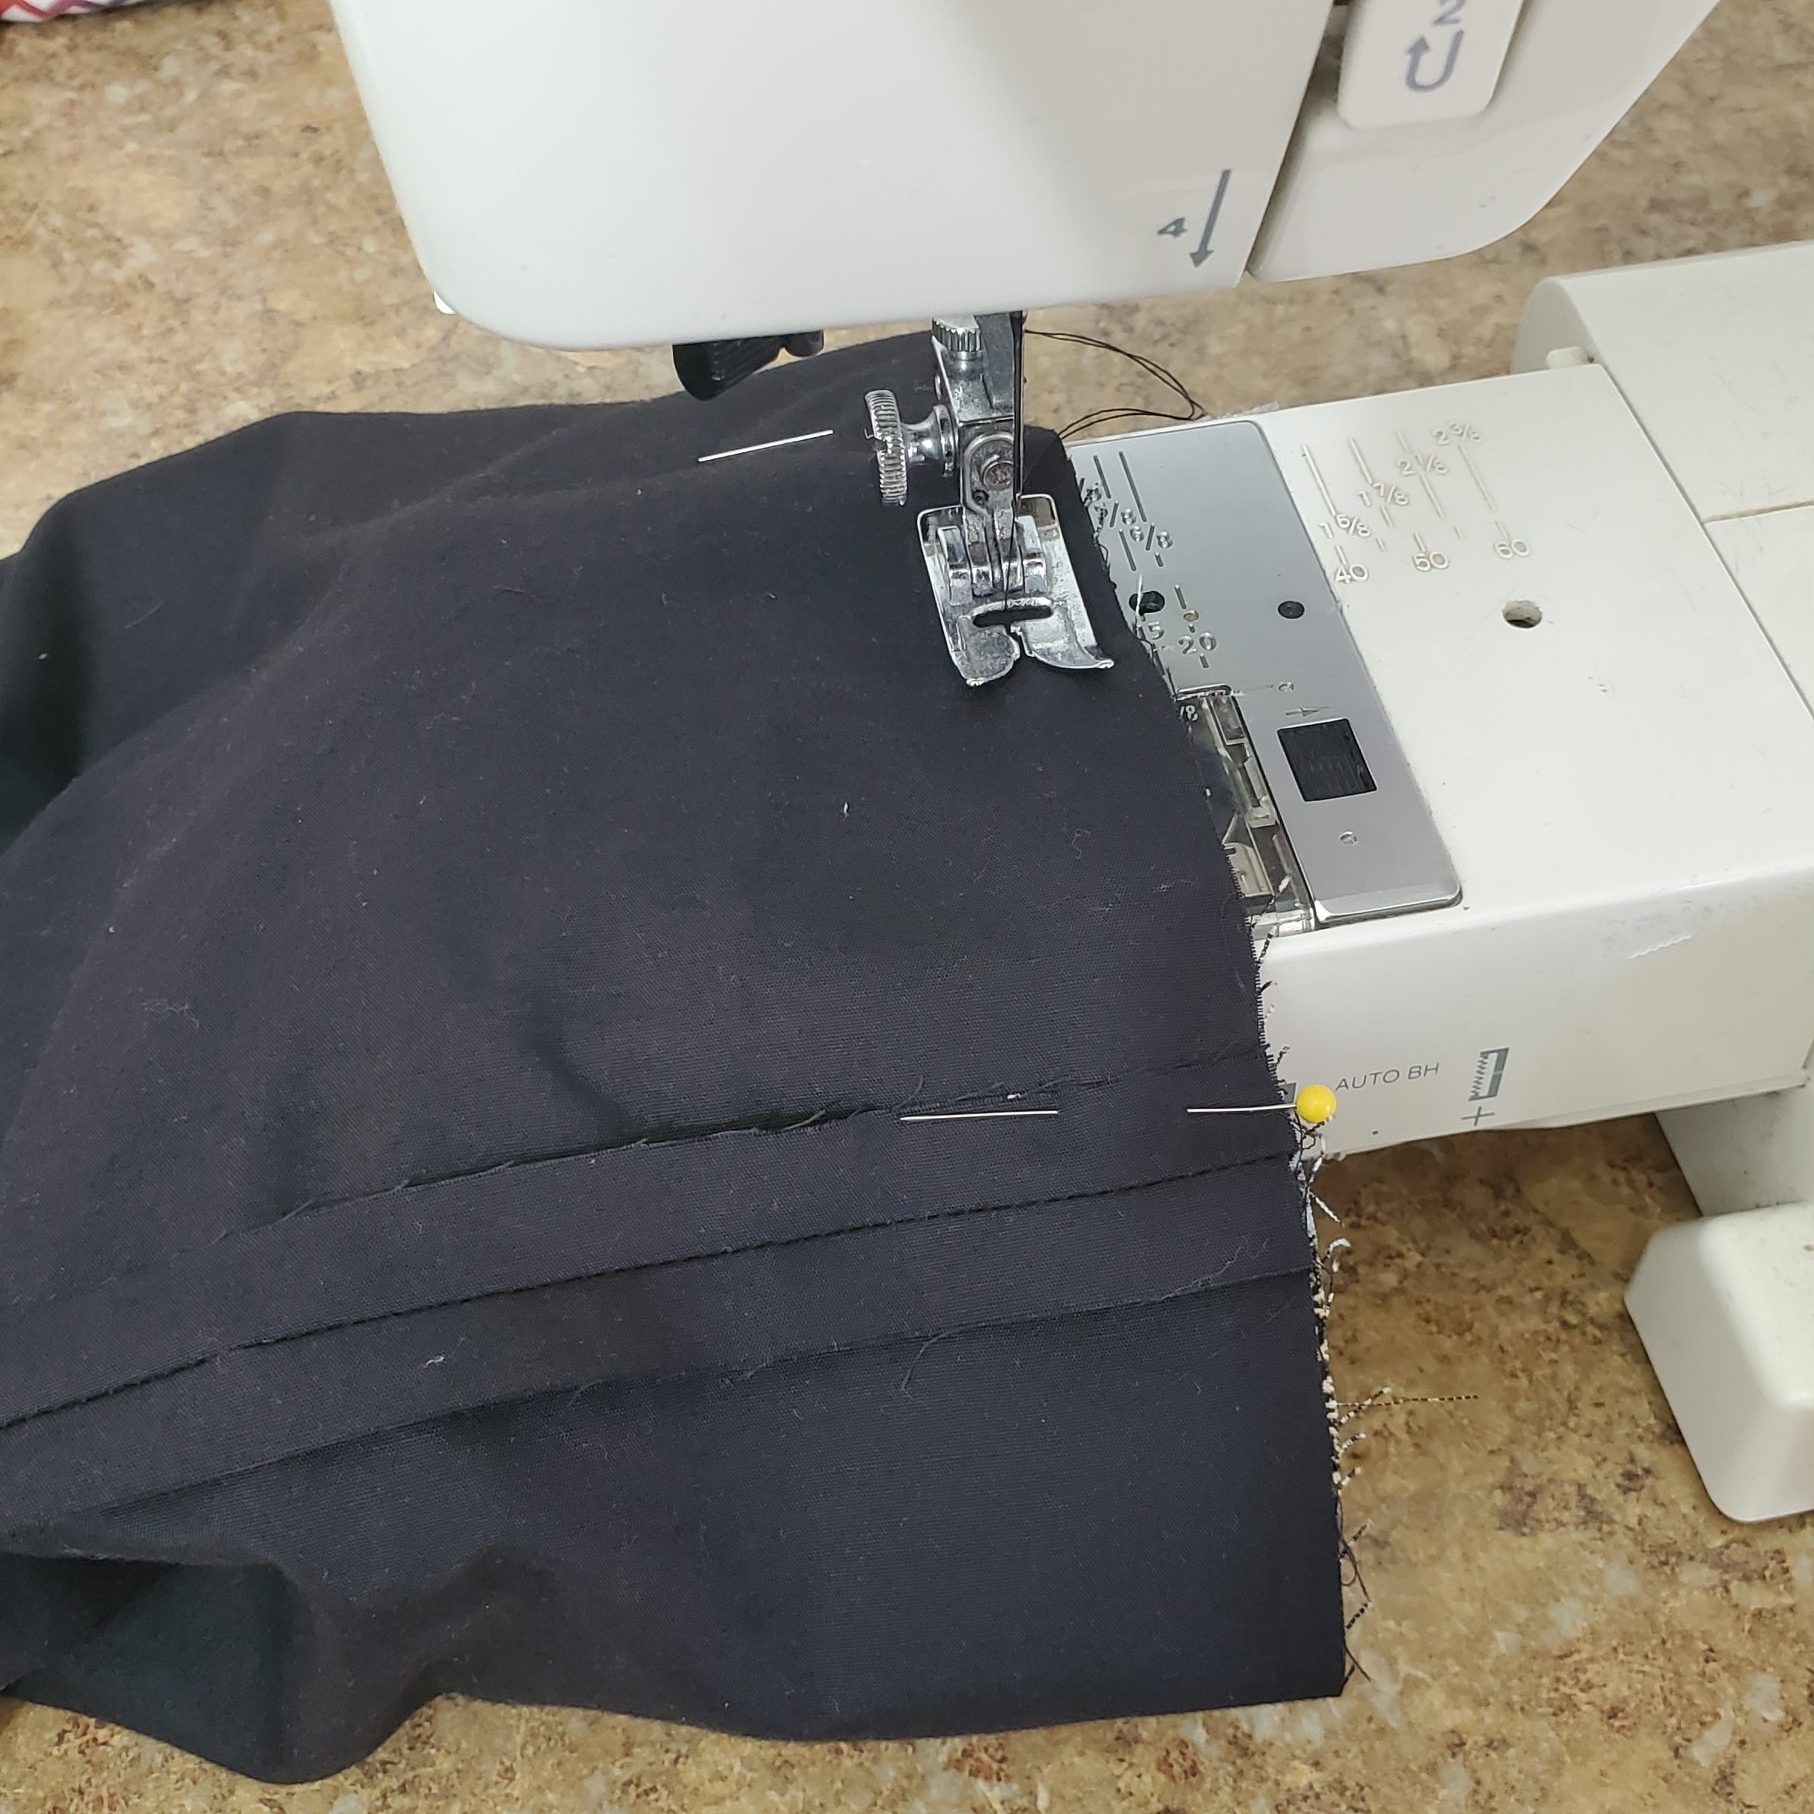
Sew your lining closed; sew close to the folded edges of the fabric so that you don’t have any raw edges exposed.
Stuff your lining into your bag and straighten out the seam on the top of the bag. Iron down the fabric on the top of your bag so that the lining remains inside and isn’t pulling up and into the front (does that make sense?) Basically, your seam line is directly on top of the bag and you are ironing it down neatly.

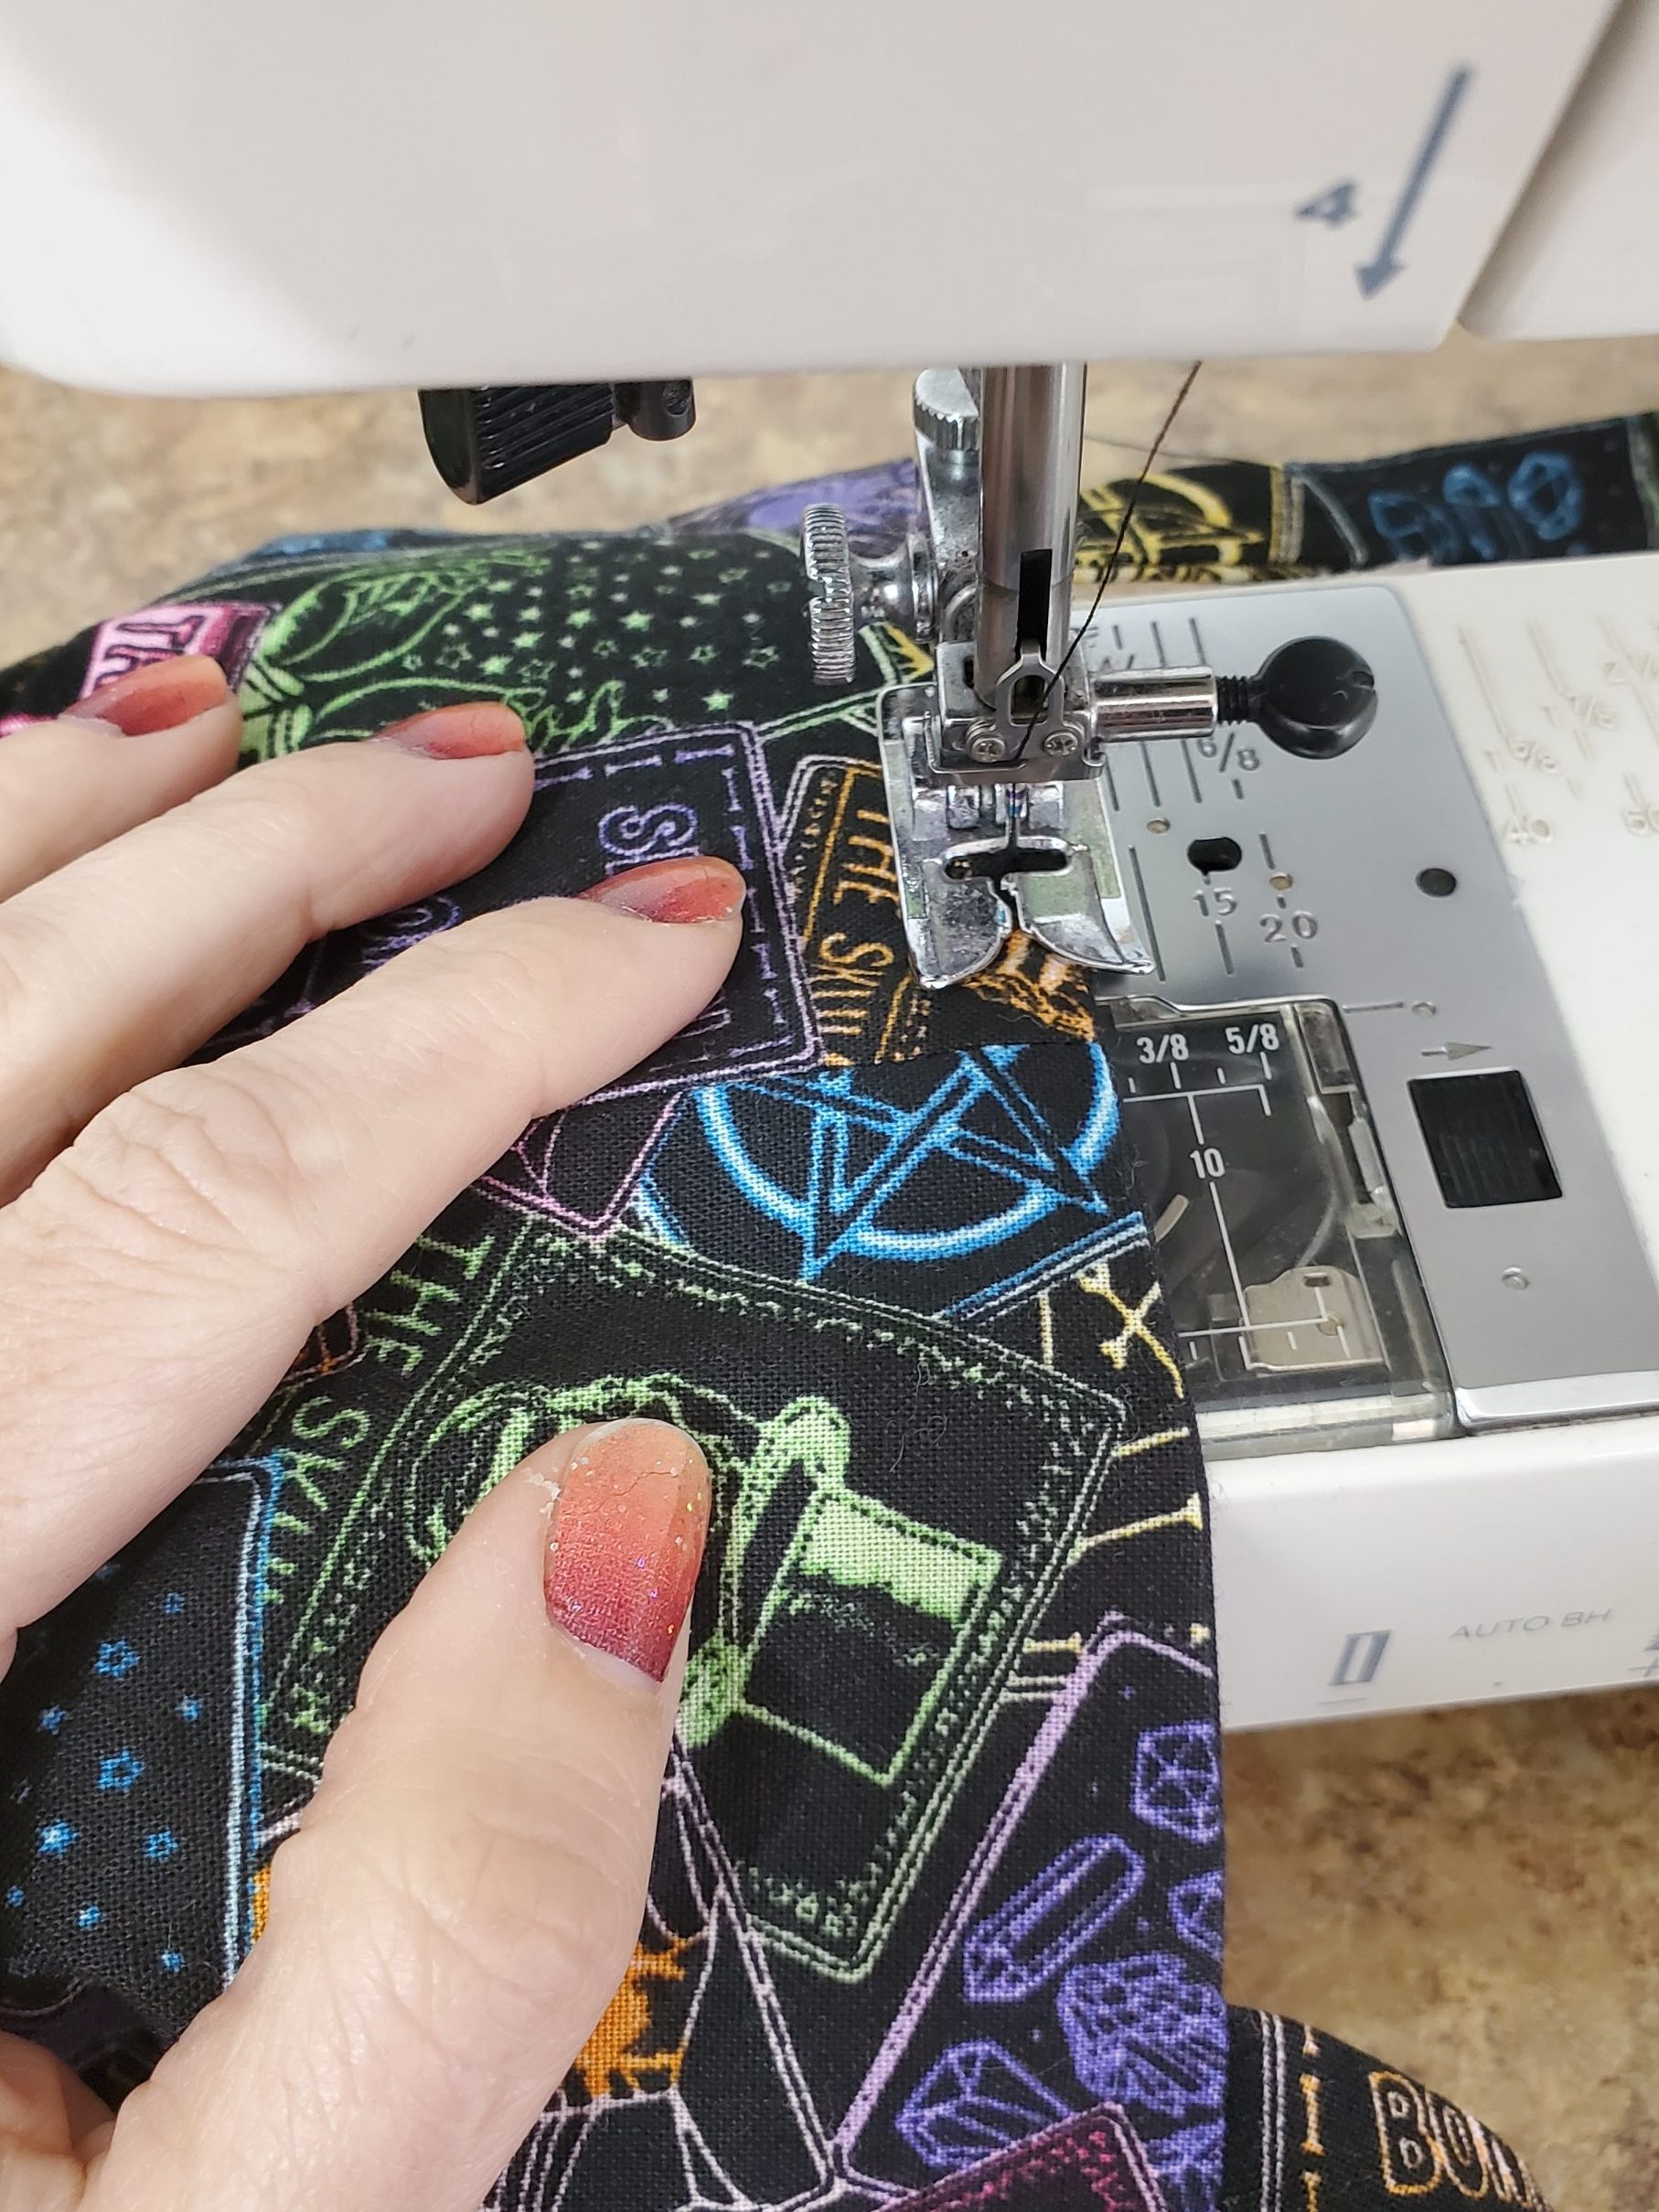
Finish your bag by topstitching around the entire top. This will help keep the lining from coming up and folding over into the front, and it’ll give your handles another secure stitch.
Voila! You are done with your bag!

What do you think? Was this tutorial easy to understand? Let me know in the comments! Thanks for stopping by!
Grab your loop turner here!

*Disclaimer: I am an Amazon affiliate which means that any purchases made through this site earns me a small commission from Amazon.