
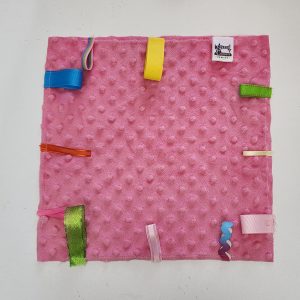
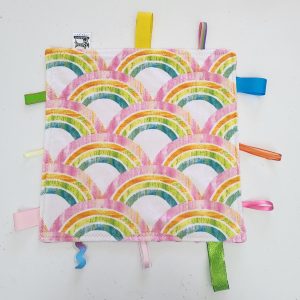
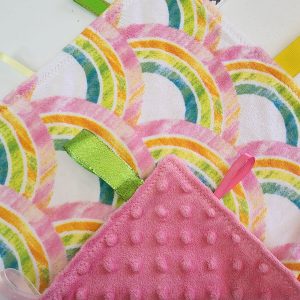
Do you remember a few years back when little, bitty taggie blankets were all the rage? I remember seeing them in every baby section of every department store! You know, the ones that have little tags, or ribbons, all around them for sensory. The little taggies provide sensory to baby through touch, sight, and even taste…because you know that babies put everything in their mouths!!
I started making these bitty taggie blankets for baby shower gifts and they’re always a huge hit! My own babies loved their bitty blankies and held onto them while they were sleeping or trying to self-soothe. The thing I always liked about these bitty blankies is that they weren’t too big, so I didn’t have to worry about my babies getting tangled up in them or becoming overheated in the summertime. In fact, bitty blankies are PERFECT to have around during that summer heat. Baby can still have something soft and comforting to hold onto when it’s too hot to handle a full-sized blankie!
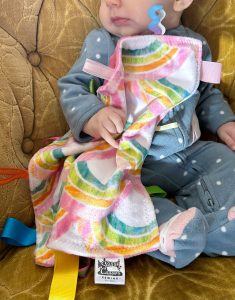
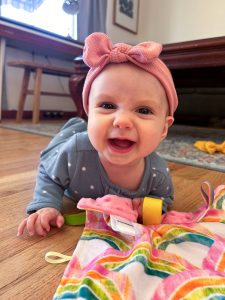
I recently made one for my adorable granddaughter. I don’t know what’s cuter, the blankie or the baby (okay, that’s a no-brainer, it’s obviously the baby!) She looks so happy with the blankie Nonna sent her!
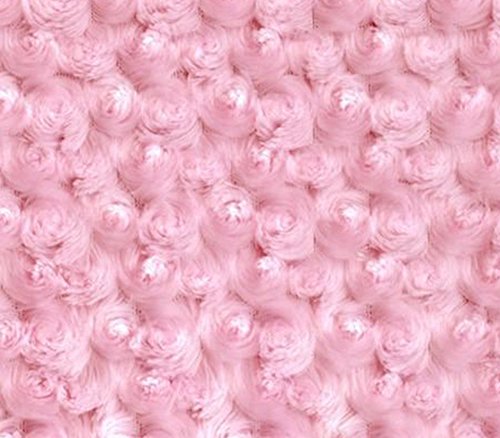
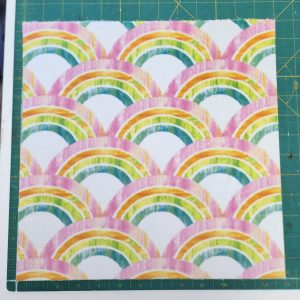
The most important part of the bitty blankie is the fabric; you could really use whatever fabric you like, but what’s better than a super soft, plush minky fabric? That’s right. Nothing. Nothing is better! Minky and cuddle fabrics are perfect for baby blankies. They are so soft and luxurious. I’ve even had my teenage kids ask me for minky blankets!! Who doesn’t love them??
Like I said, you could technically use any fabric. You could use a cotton or flannel fabric for the front size of the blankie, and a minky on the back. And there are lots of different kinds of minky: minky with dots, smooth minky, plush minky, rosebud minky…there are so many possibilities! Choose whatever you like!
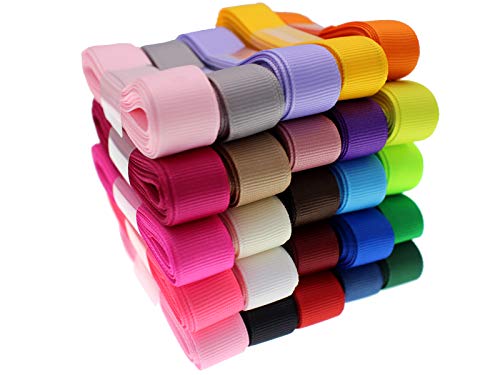
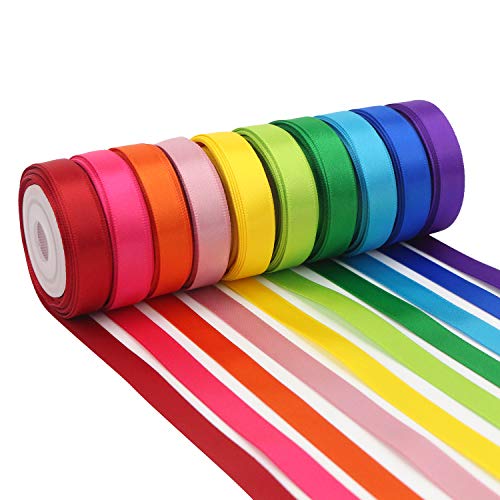
When it comes to the “taggies”, you can use whatever size ribbons you want. I use all different kinds. I use satin ribbons, grosgrain ribbons, even rick rack! It’s fun to have a variety of sizes and textures of ribbon. Just make sure that you always keep baby’s safety in mind while selecting ribbons; stay away from wired ribbons, or ribbons with resin or designs painted/printed on them.
Making a bitty taggie blankie is super easy to do! The most challenging part could be the stretchiness of the fabric, but it’s really not too bad! I’ve had beginning students make these during class and they’ve done a great job!
Let’s get to sewing our bitty taggie blankies!
Materials Needed:
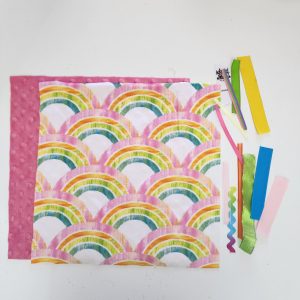
- 2 pieces of contrasting minky fabric, cut into a 13” x 13” square
- 12 cut ribbons, between 6”-8” each
- Thread, pins, scissors
Rosebud MinkyDot Minky
Smooth Minky
Ribbon bundle
Ribbon bundle
Grosgrain Ribbon
Satin Ribbon
Rick Rack
Sewing thread
Fabric Scissors


Steps to Sewing Your Bitty Taggie Blankie
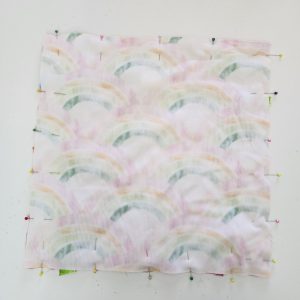
First, cut out your 2 squares (front and back) to the size you want it to be. I cut mine in a 13” square, but you can make them as big or as small as you want. The same goes for the tags; you can cut as many or as few as you like. I usually use 12 “tags” and keep them between 6”-8” long.
On the right side of one square, fold your ribbons in half and pin them around the perimeter of the blankie, lining up the edges of the ribbons on the edges of the blankie.

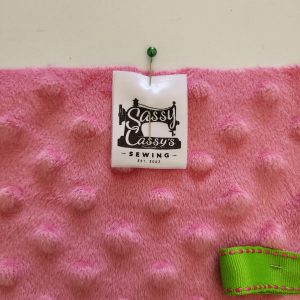
I like to add in my own tags when I make these, so if you have any custom tags feel free to add those in as well!
Baste over the ribbons to hold them in place.
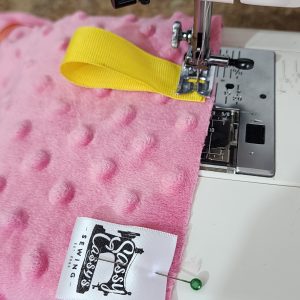
Place your second square of fabric on top of the square with the basted ribbons, right sides facing each other, and match up your corners and edges evenly. Pin in place.
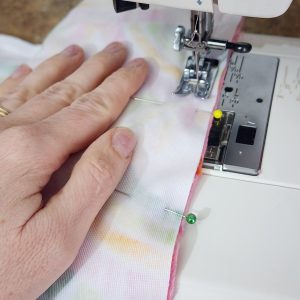
With a ½” seam allowance, stitch around the perimeter of the blankie, pivoting at your corners. Make sure that you start in the middle of one side of the blankie, and NOT at the top corner. This is because you need to leave an opening to flip the blankie, so be sure to stop 2”-3” before your starting point.

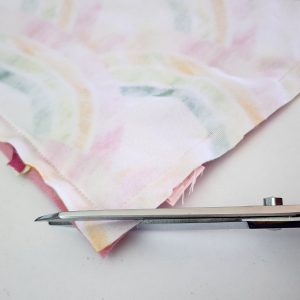
Cut off the corners of your blankie. Be sure to cut to [and not through] the corner stitches. This will make it easier to get a pointed corner when you flip your blankie.
Turn your taggie blanket right side out through the opening.
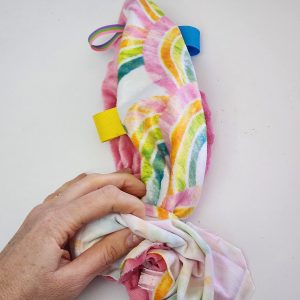
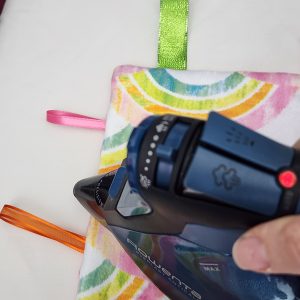
Lightly press the side seams around the edge of the blanket.
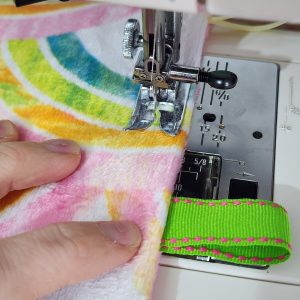
The last step is stitching that opening shut. I like to add a top stitch around the entire taggie blankie, so I use a zig-zag stitch and stitch around the whole thing. Doing that will also stitch that opening shut without drawing attention to that one area.
That’s it!!
Making a taggie blankie is so easy!
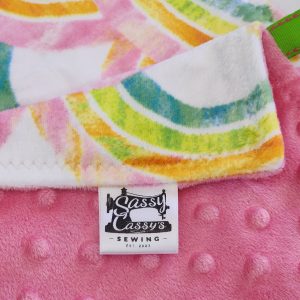
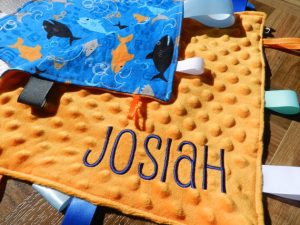
You can even customize your taggie blankies before sewing the pieces together. I love adding names with my embroidery machine.
If you don’t have a way to add customization, don’t fret! These bitty taggie blankets are sure to be a hit with baby and with the parents-to-be!
*Sassy Cassy’s is part of the Amazon Affiliate Program, which means that if you purchase Amazon items from this website, a small commission will be earned, at no extra cost to you.
