
I’m really excited to share this fun project with you today! I have been wanting to offer a class making fabric bins/boxes, and with Valentine’s Day coming up, it seemed like a fun time to do it! I remember making boxes in elementary school (and again with my own kids) to hold our valentines in. They were usually made with cardboard and construction paper and they always ended up in the trash afterwards. What better idea than to make a fabric box that you can use again and again??
Even though I am posting this as a Valentine’s Day box idea, you can certainly sew these up with any fabric you like! I have been wanting to make some of these for storage in my sewing room, and even in the boys room. I don’t know why it’s taken me so long to try whipping these up (well…I do know why…it’s because I’m so busy, lol) but they are actually pretty quick to make. I would say that once you know what you’re doing, you can easily sew one of these fabric boxes up in under an hour. Not too bad, right?
Something to note: the measurement I used for this box is a 16″ square and I took up the corners 2 1/2″ (which you’ll see below in a minute). You can adjust your box size to whatever you like. If you want it smaller, cut a smaller square and take down your corners. If you want it bigger, cut a bigger square and increase your corner cuts. There’s no right or wrong measurements, really. Just play around with it and see what you like!
Let’s get sewing!!
Steps To Sew A Fabric Box
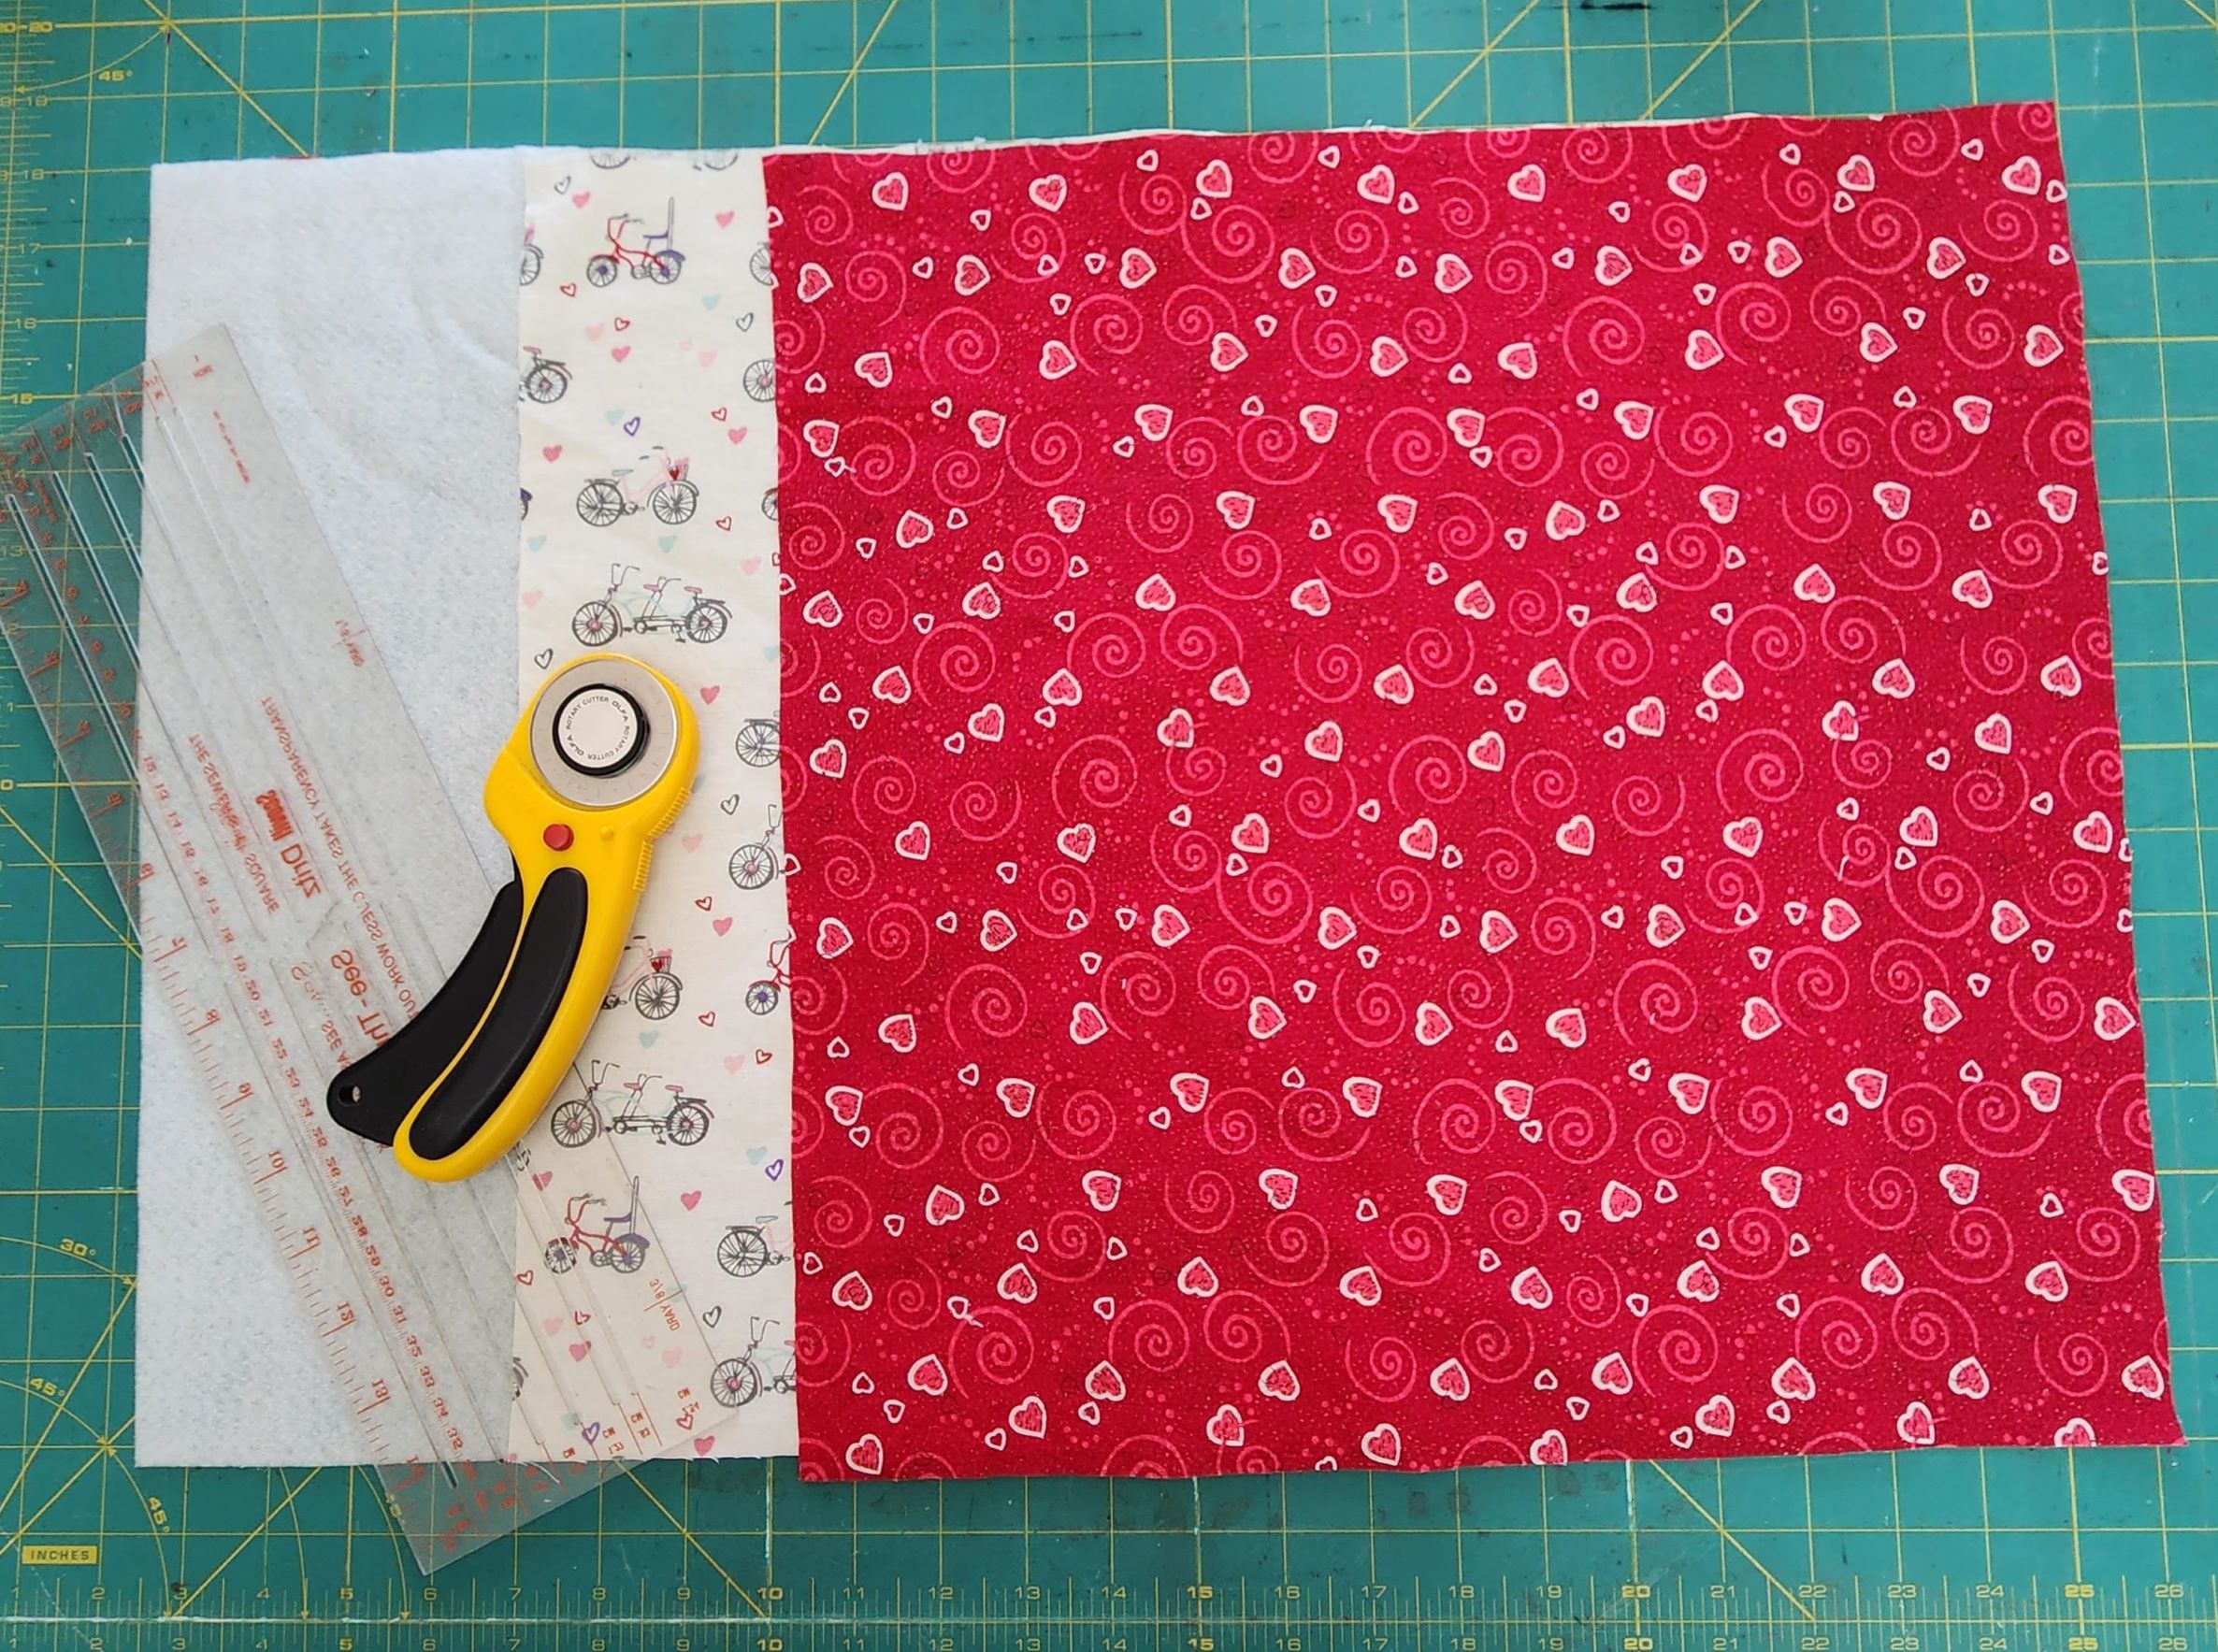
First, cut your fabric to 16″ squares. You will need one fabric for the outside of your basket, one for your lining, and one piece of fusible fleece.
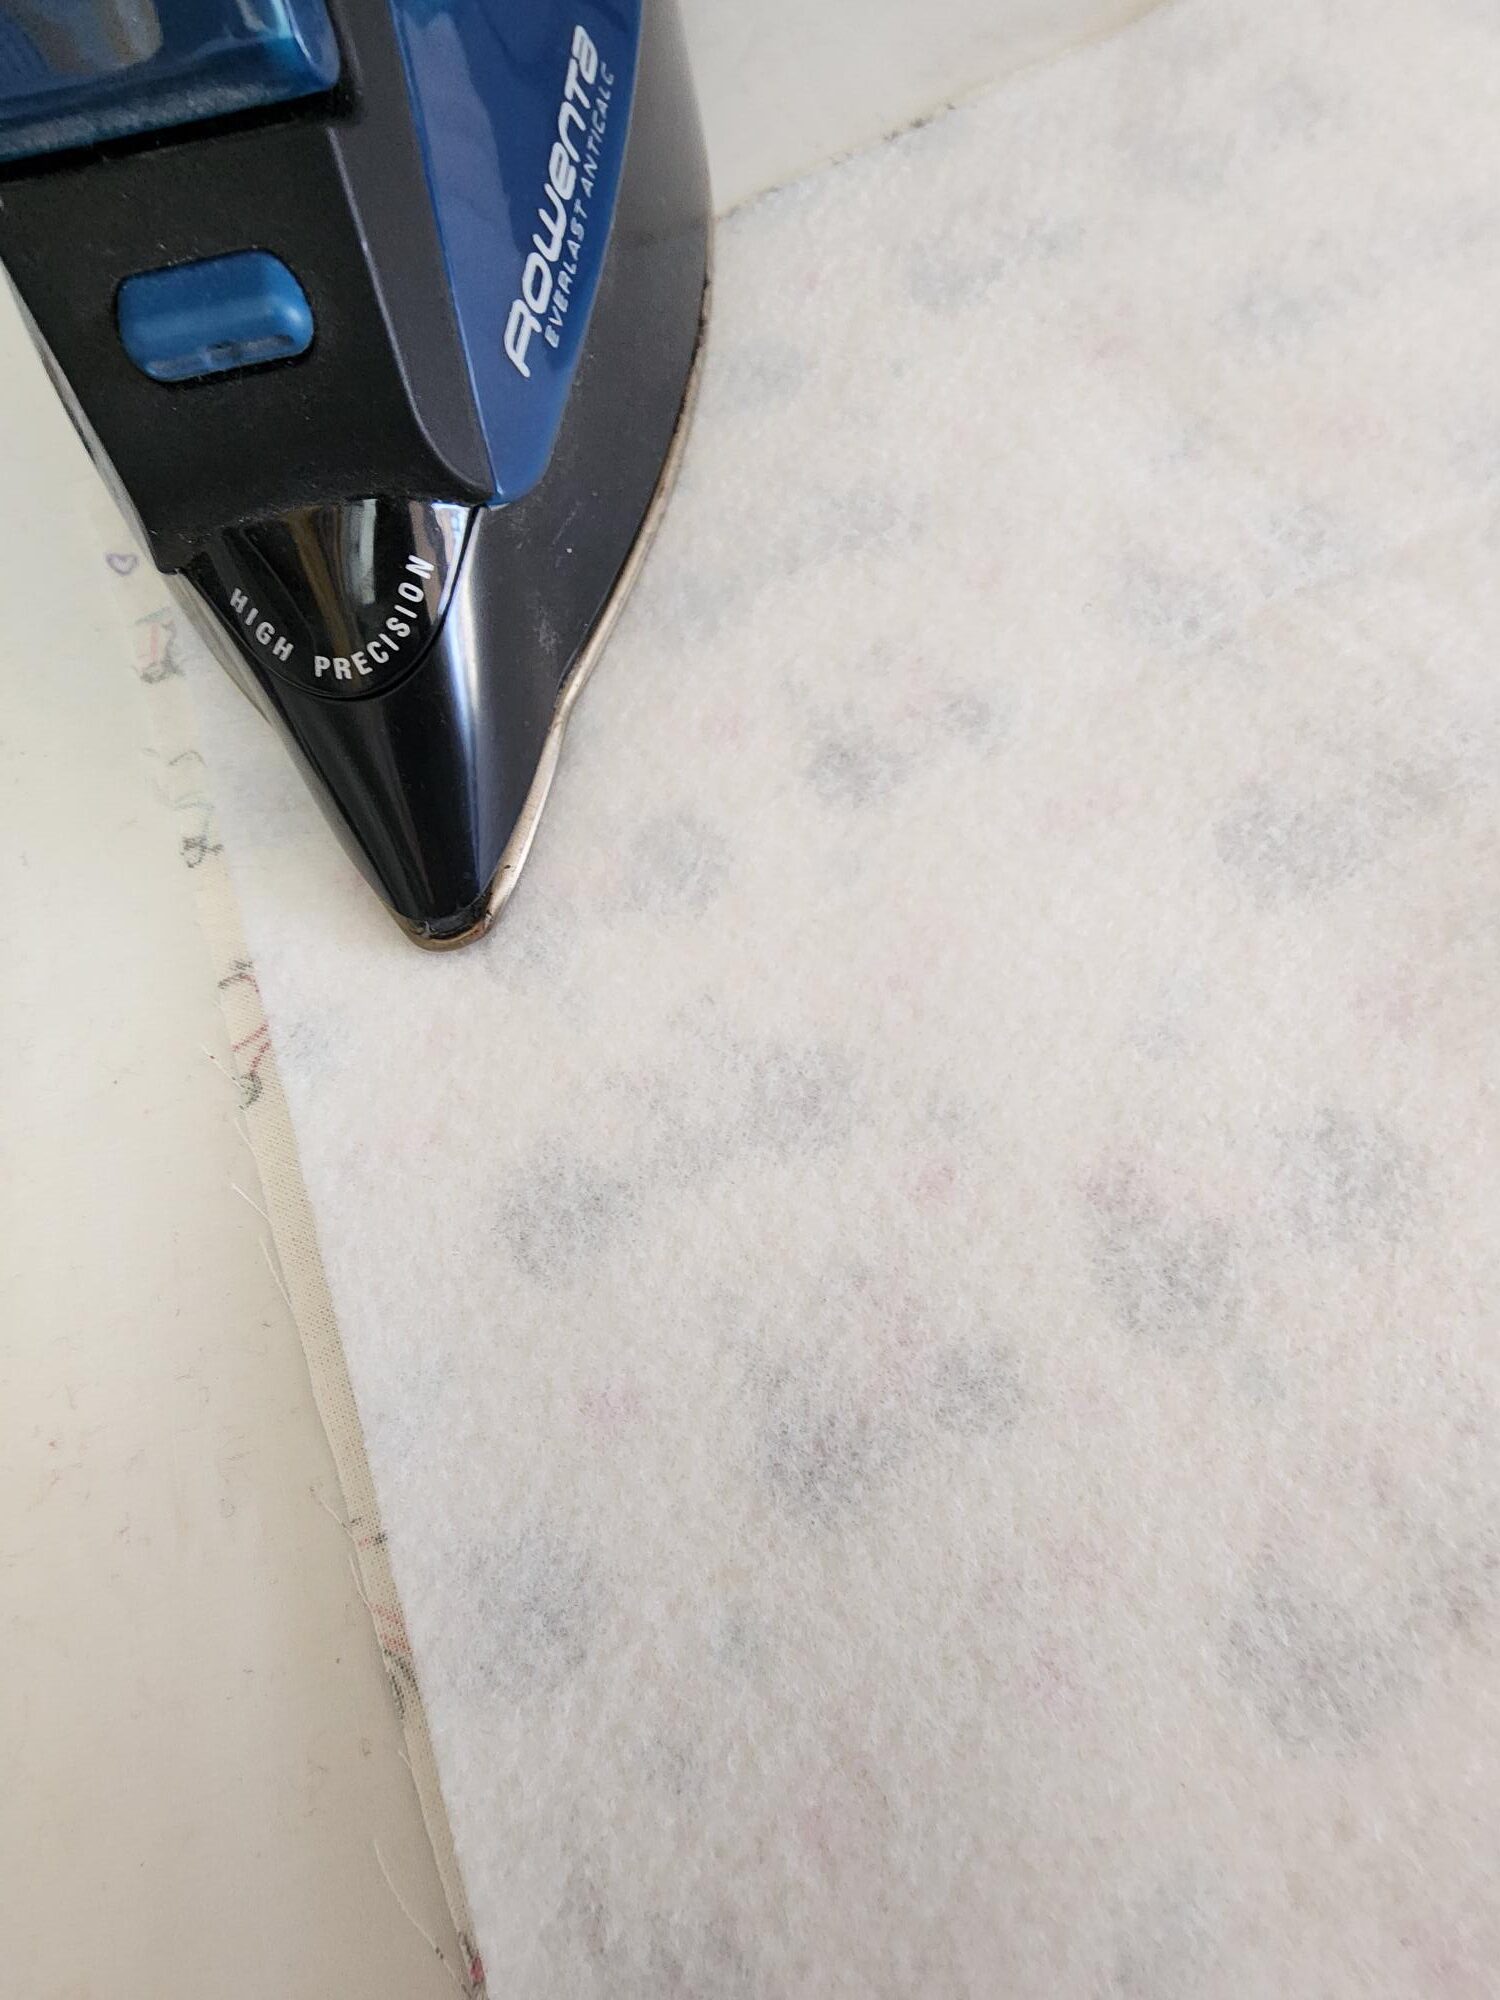
Place the bumpy (resin) side of your fleece down on the wrong side of your outside fabric. With a hot iron (no steam), press the fleece for about 10-15 seconds, fusing it onto your fabric.
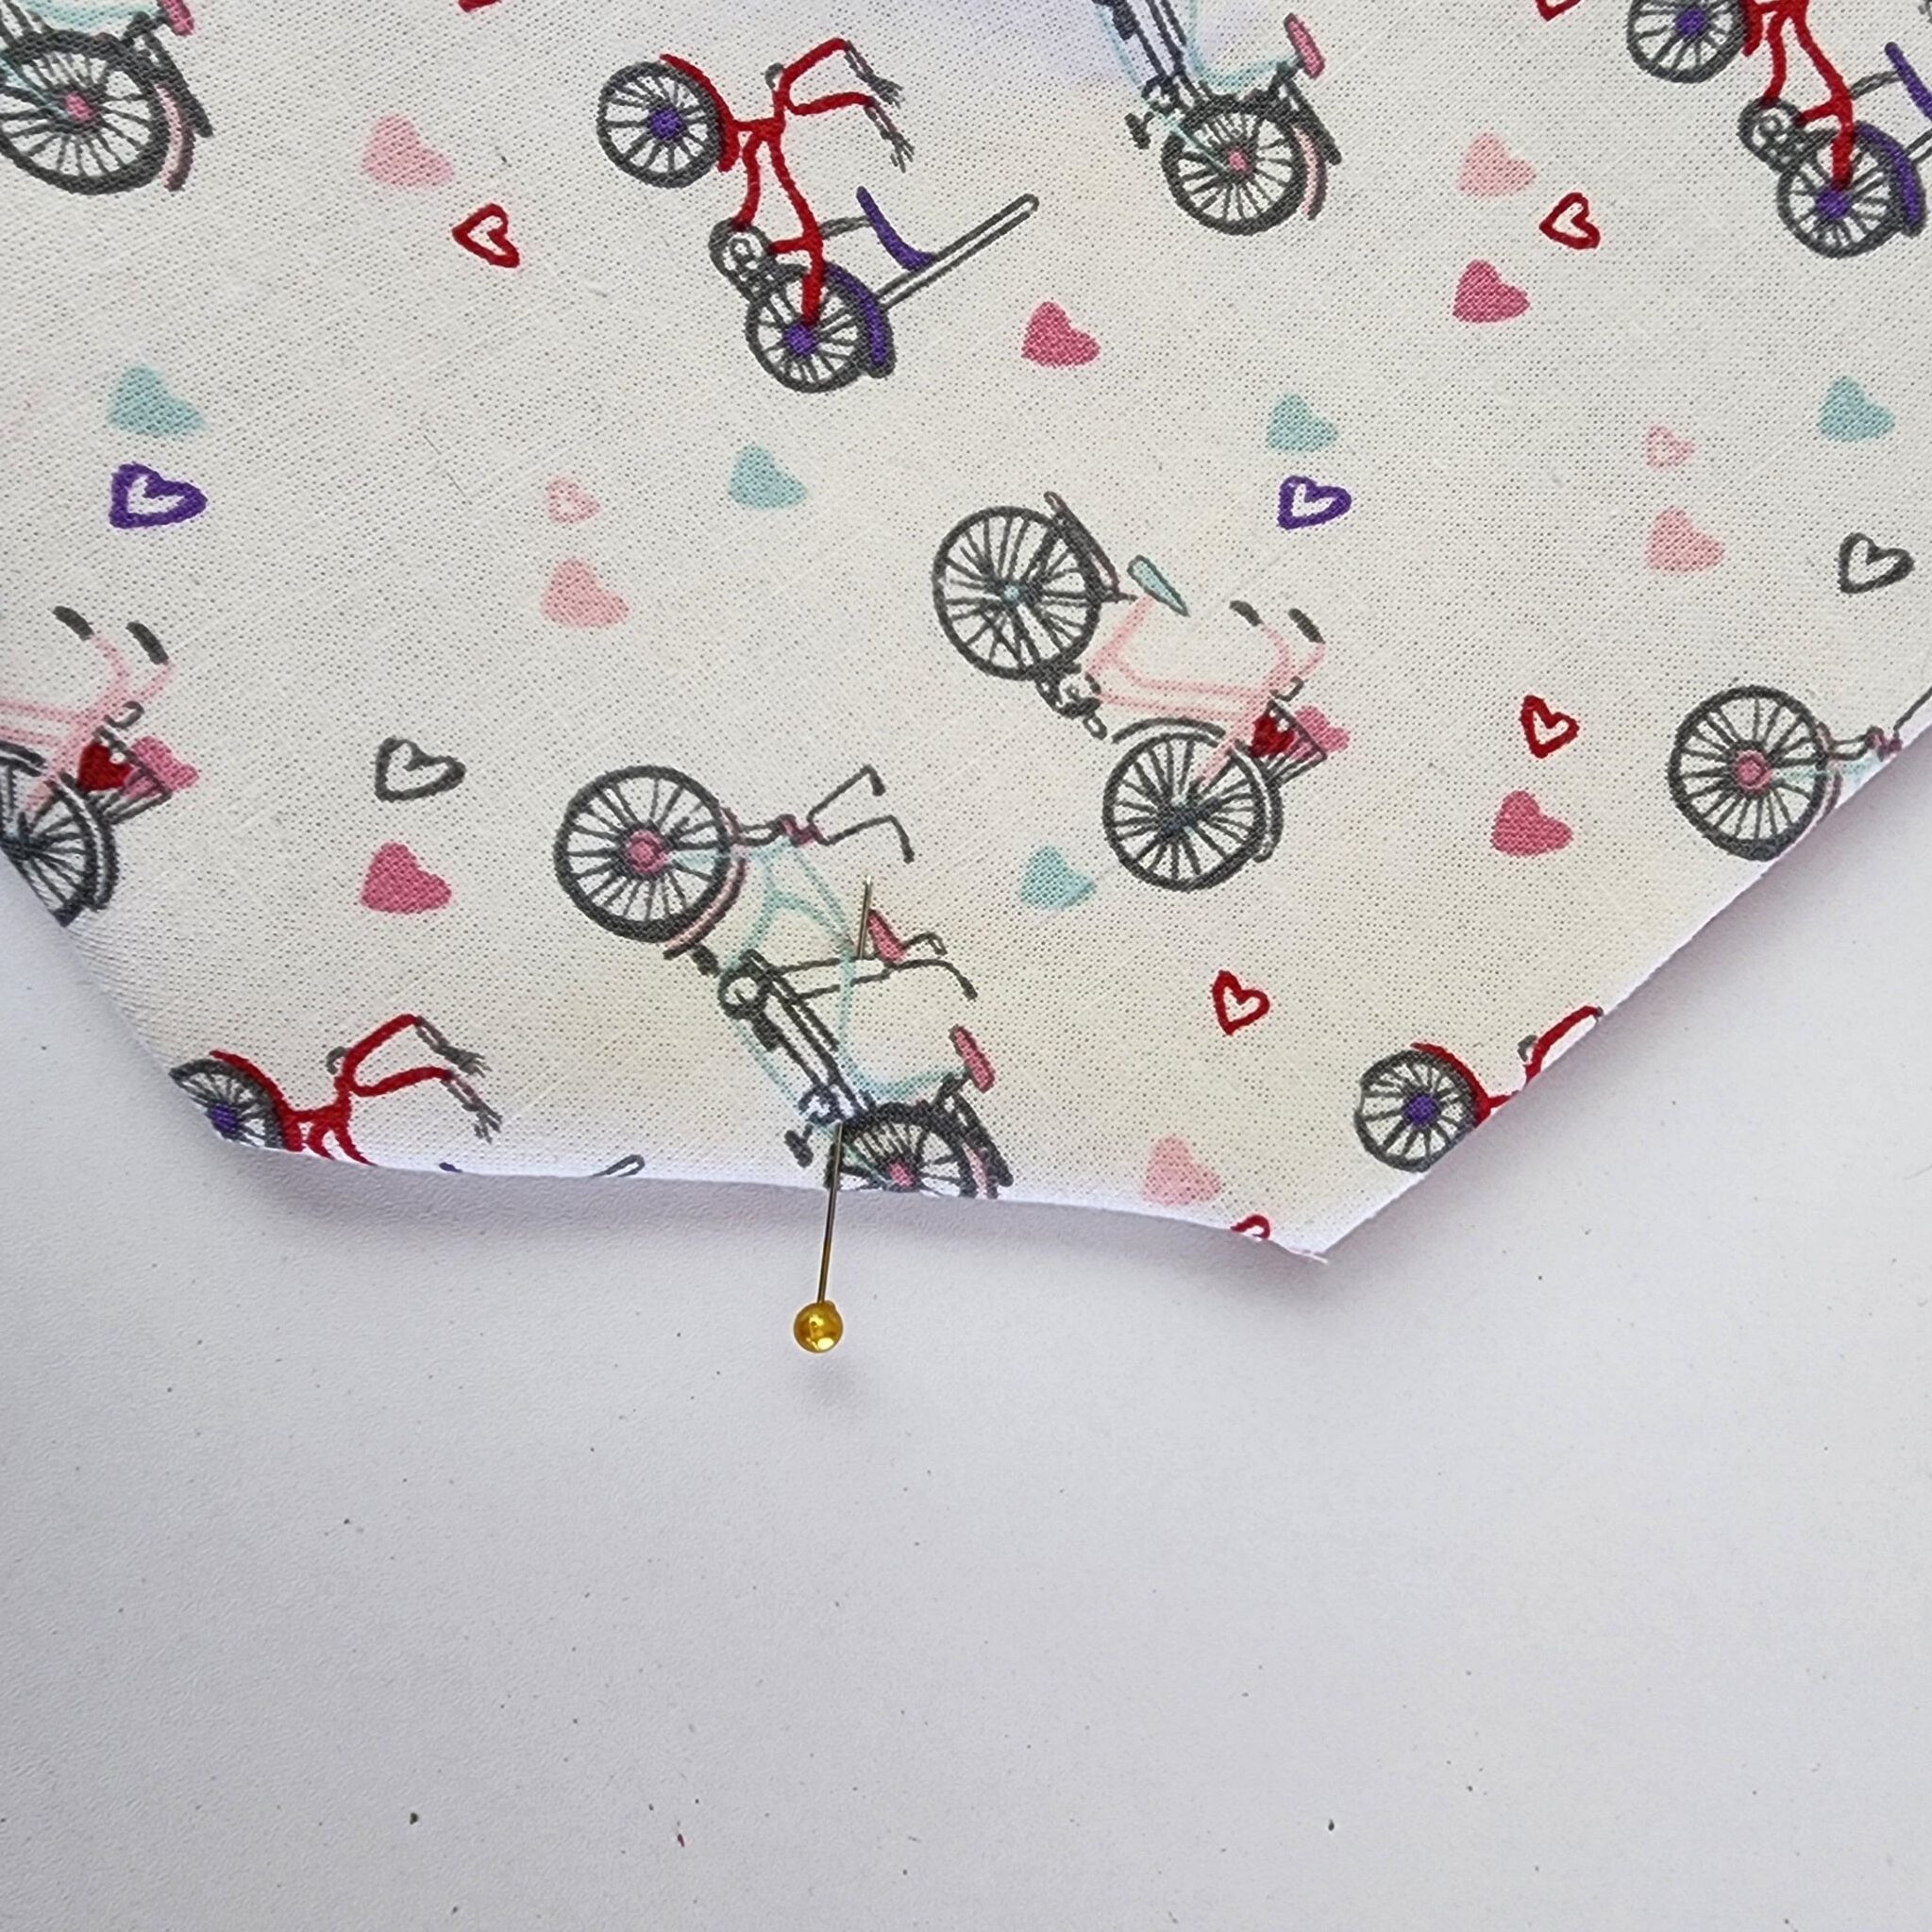
Place your lining piece of fabric on top of your main fabric, right sides together and pin on all four sides.

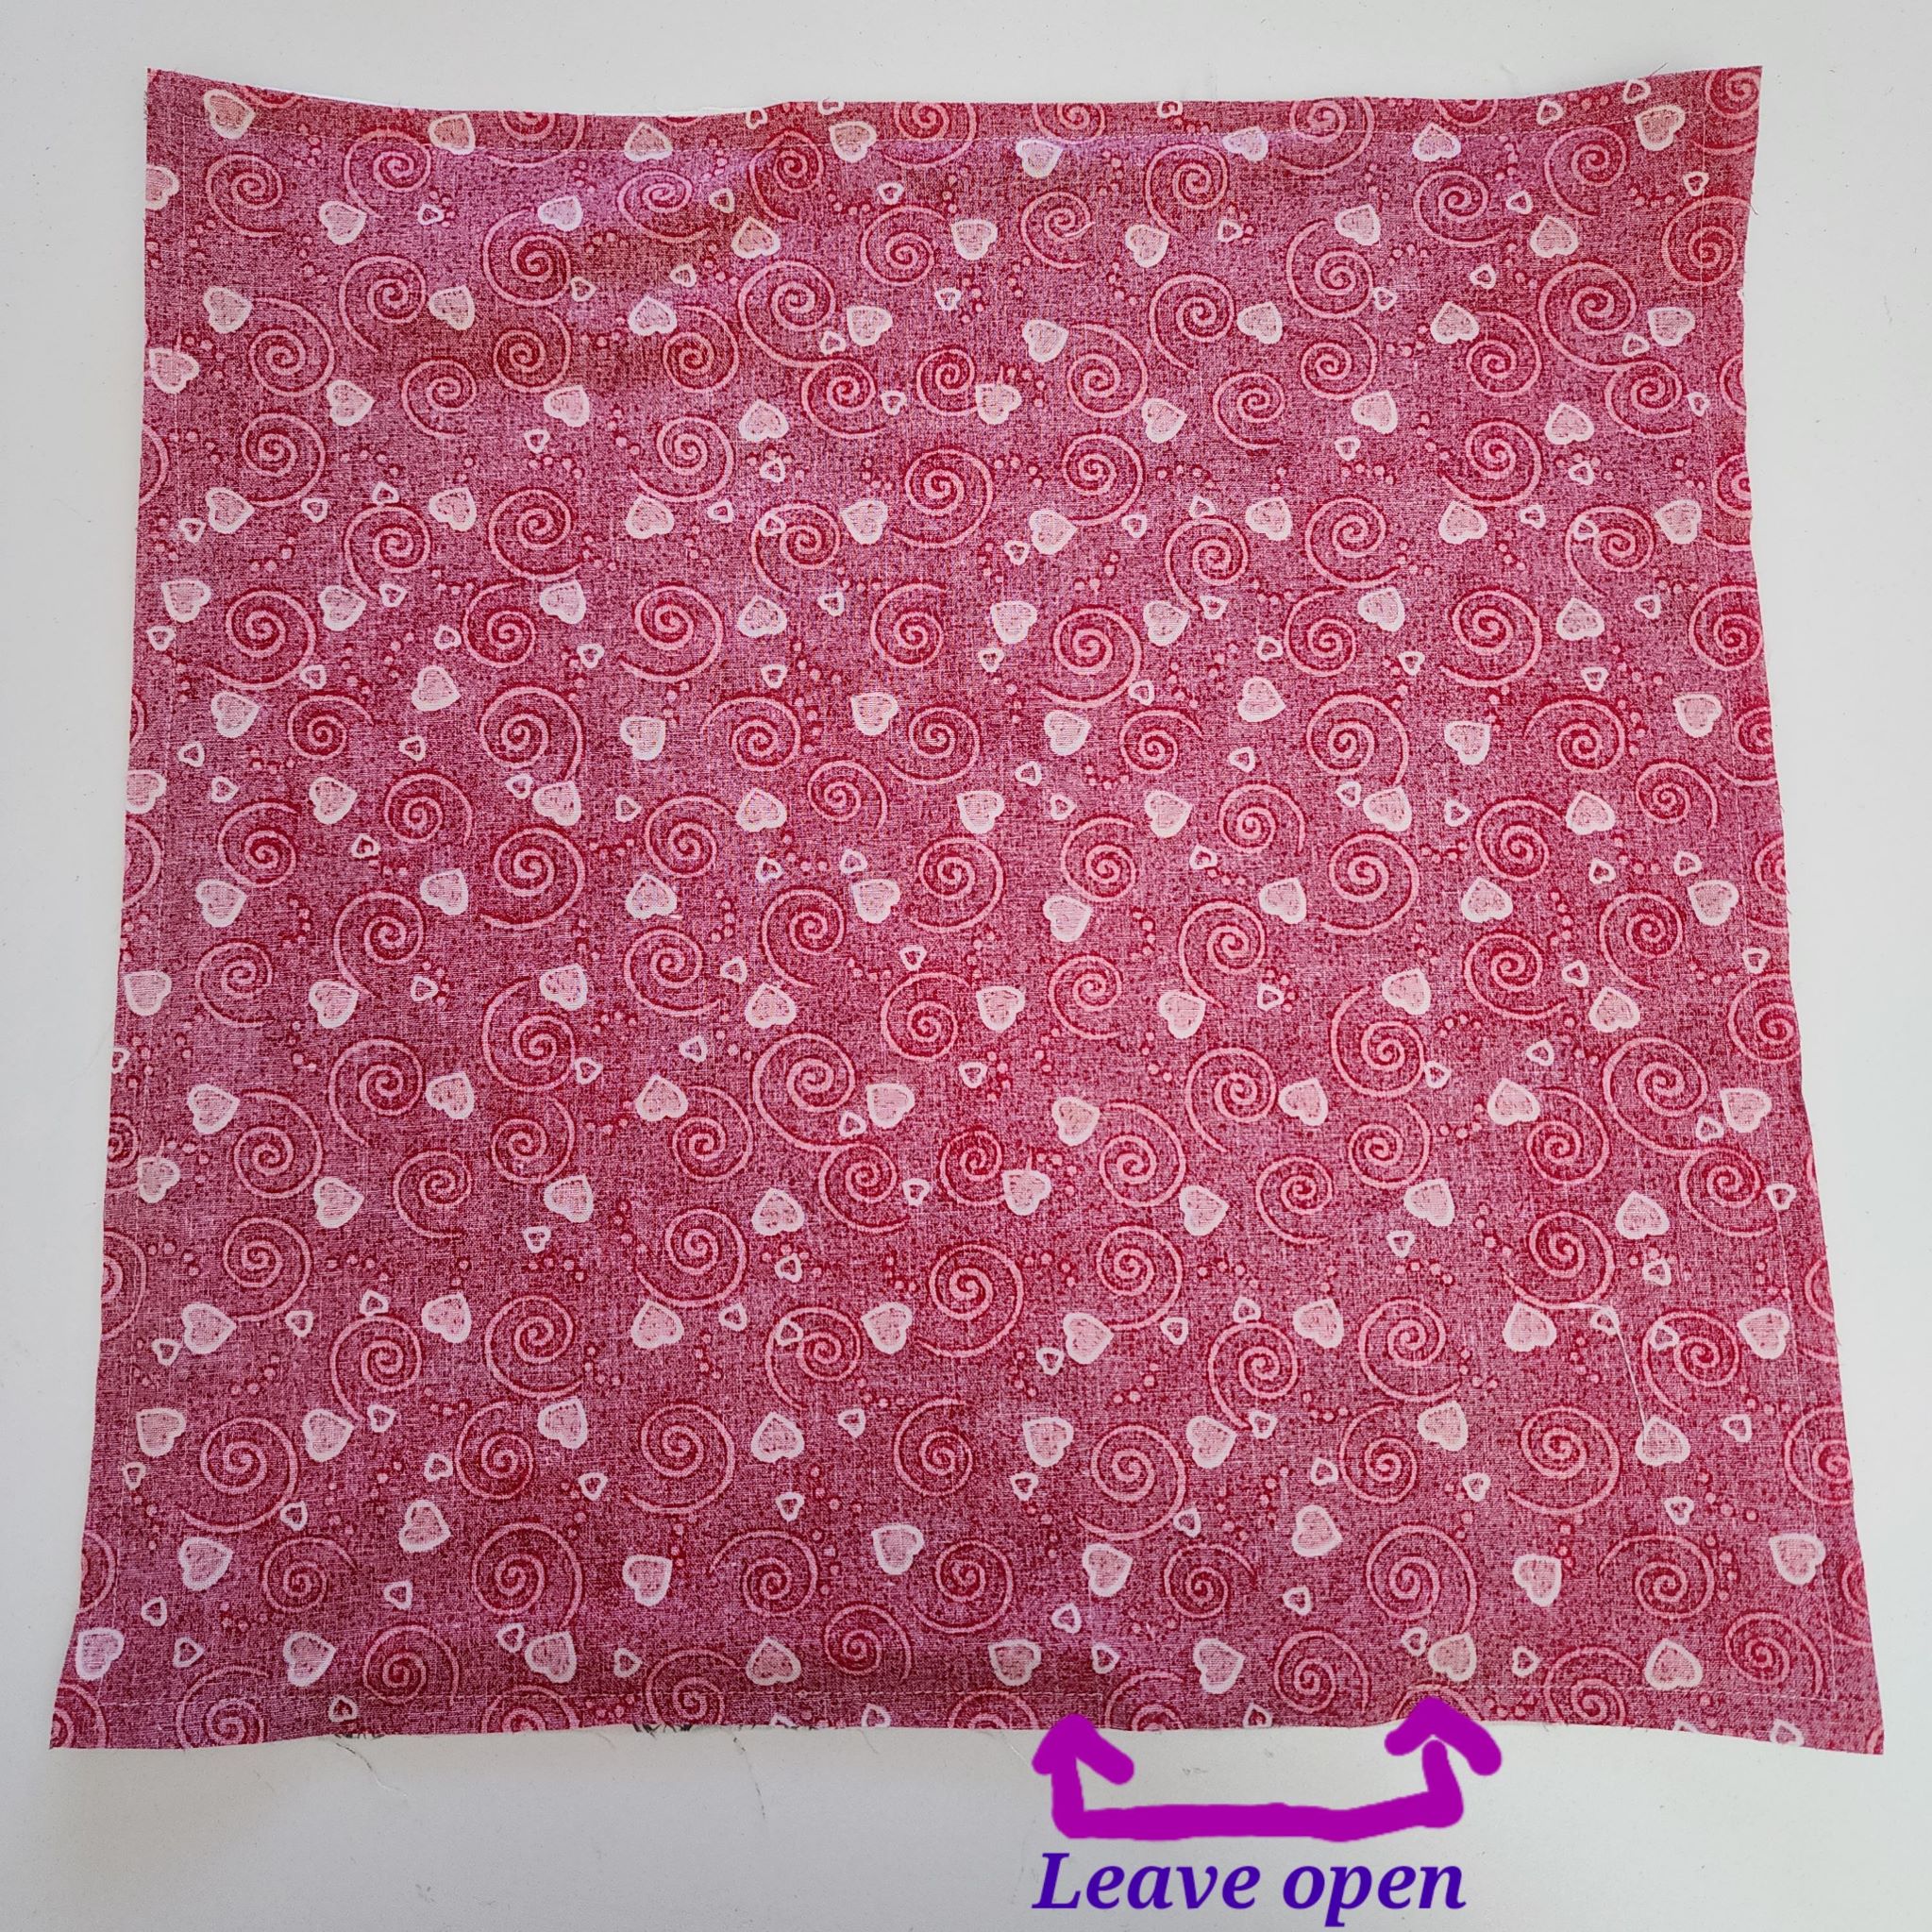
Starting in the middle of any side, stitch around the perimeter of the square using a 3/8″ seam allowance, pivoting at the corner. Yes, you will back stitch! (my students always ask me this!) Make sure to stop a few inches before your starting point, to leave an opening to turn.
Clip the corners (to reduce bulk) and turn your fabric right side out. Stitch your opening shut, sewing close to the edges of the fabric opening. Iron the side edges, making sure to pull out the seam to be right alongside the edge.

Now that your project is right side out, fold the square in half from bottom to top. If you want your seams to be on the outside of the box, then you’ll start with your fabric right side up, folding it in half so that your lining side is what ends up showing. This is what I did. If you want your seams on the inside the box, then you’ll do the opposite; you’ll fold it so that the lining ends up on the inside and the outer fabric is what is showing when folded. We are doing french seams, so this might not make sense to you at first, but you’ll understand in the next steps. I forgot to take a picture of the fabric folded before the next steps, so just scroll down if you aren’t understanding which way to fold.
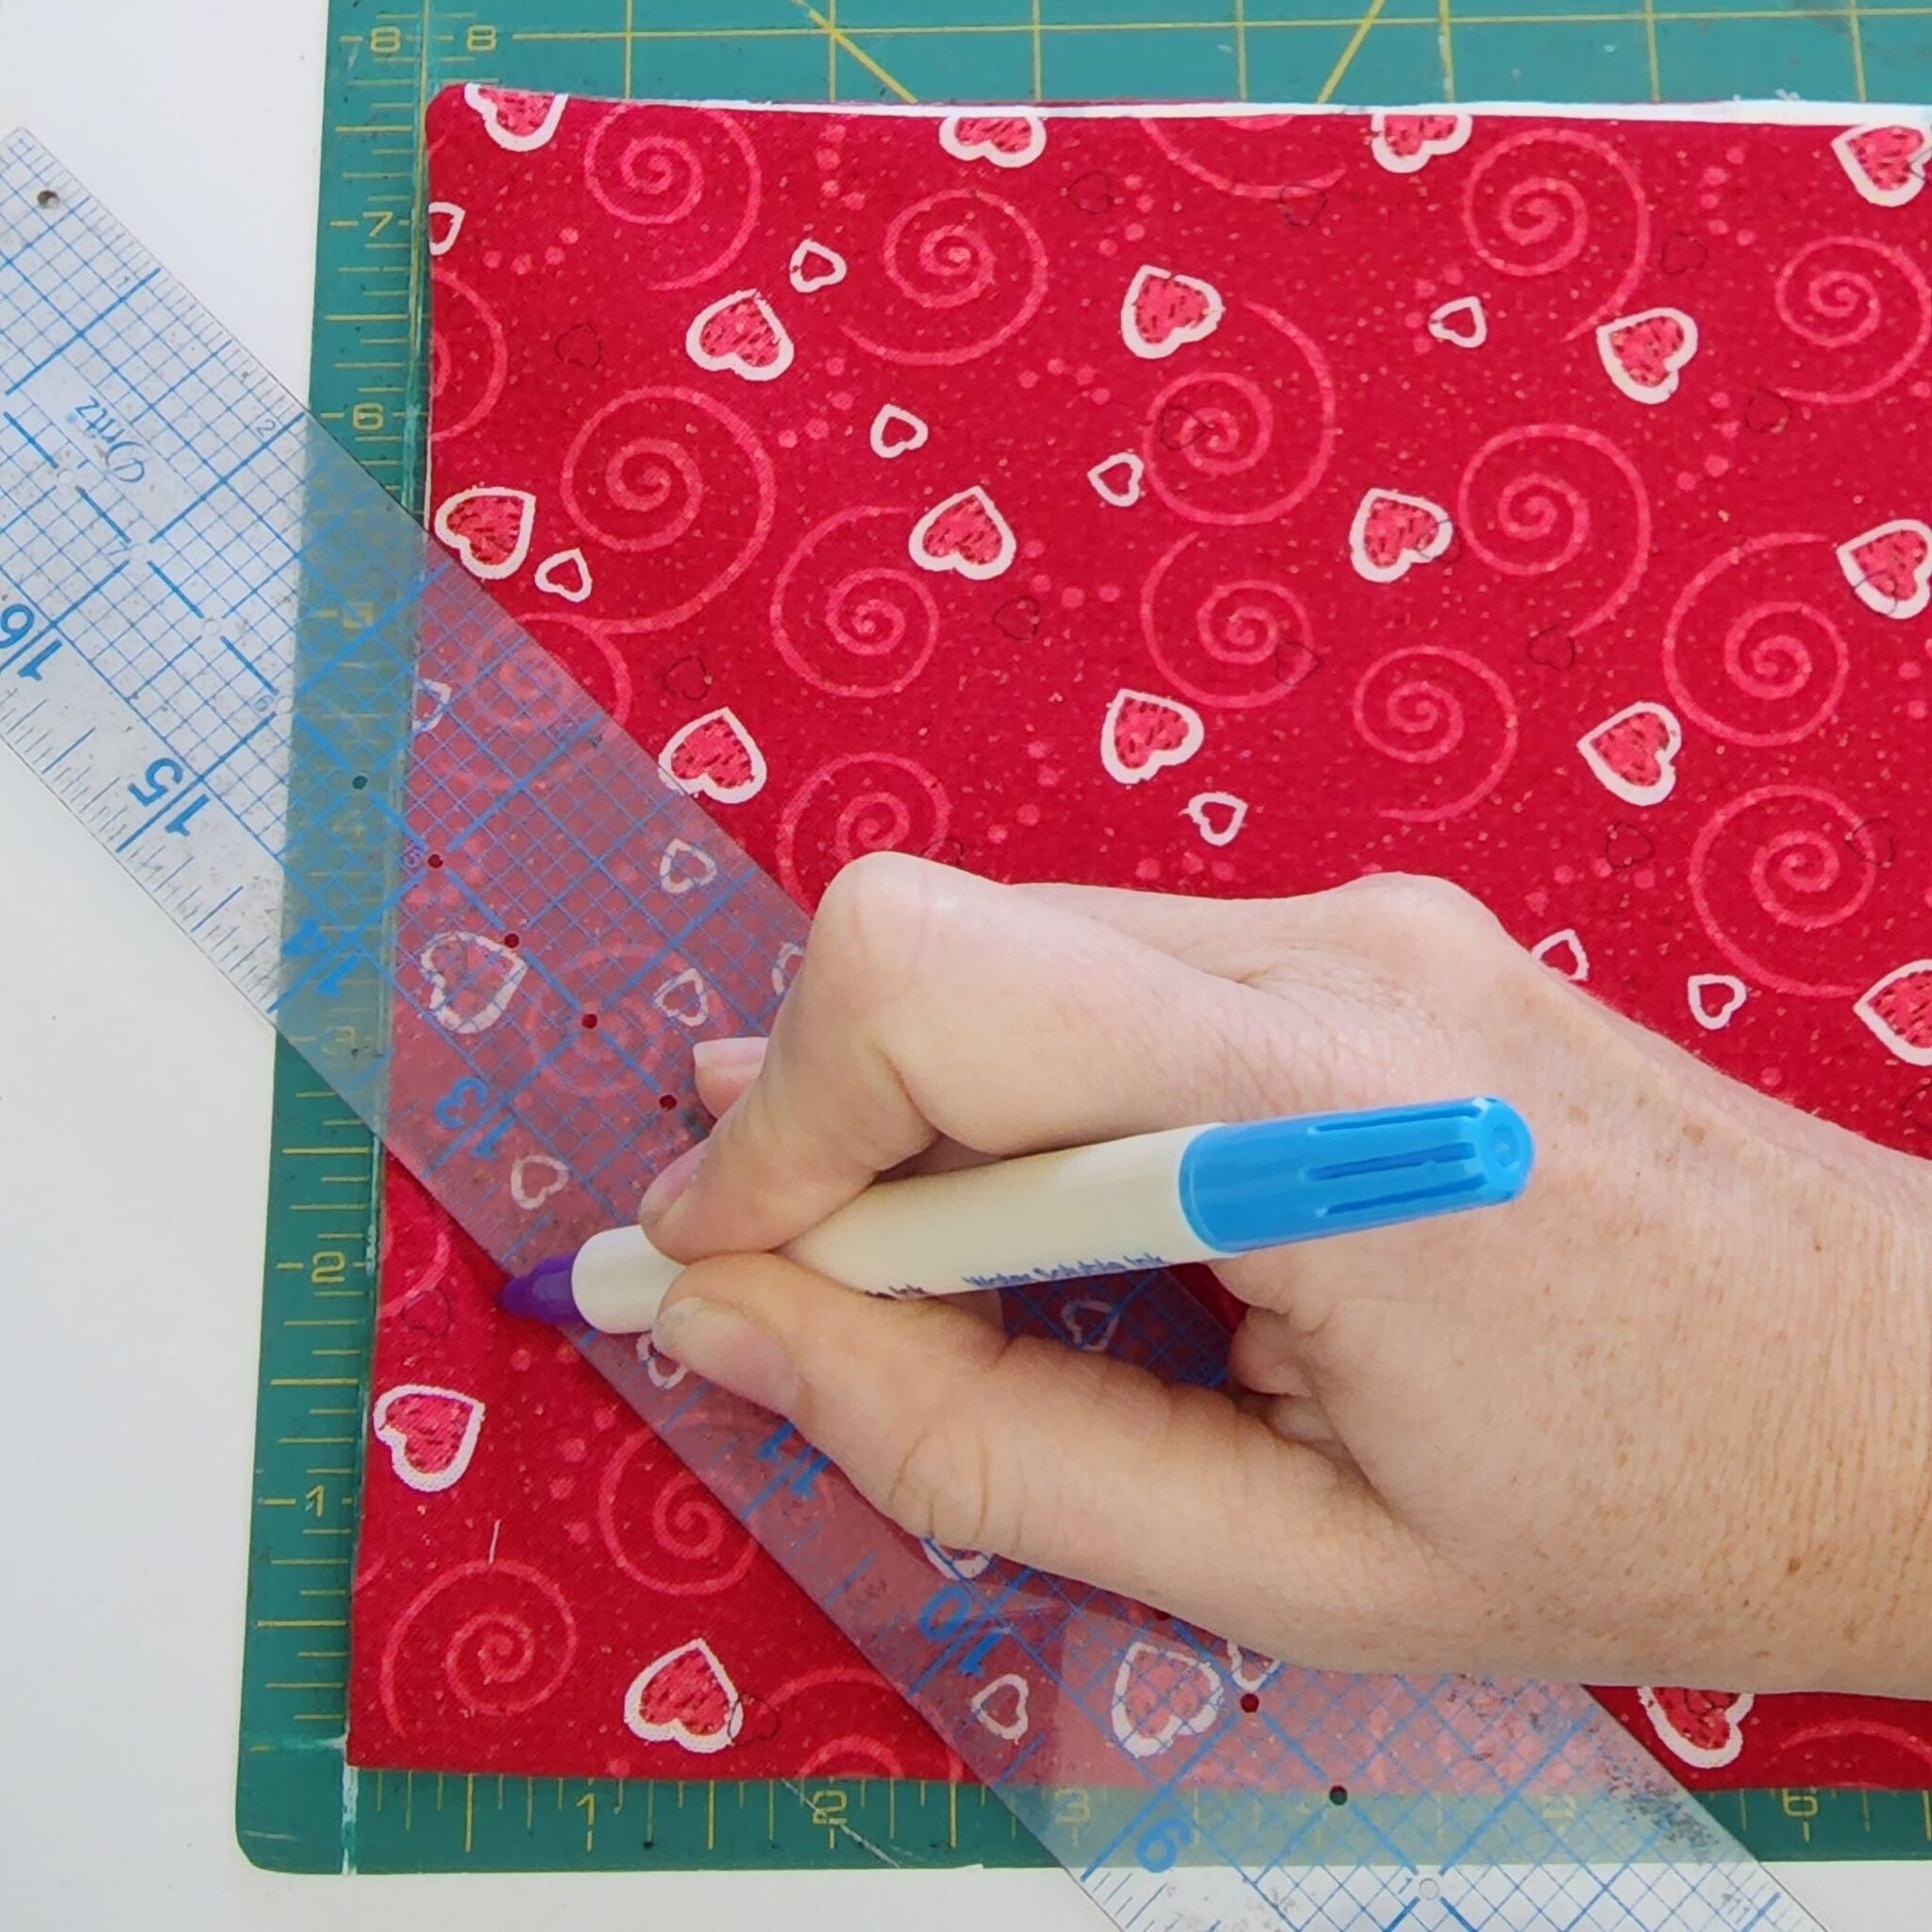
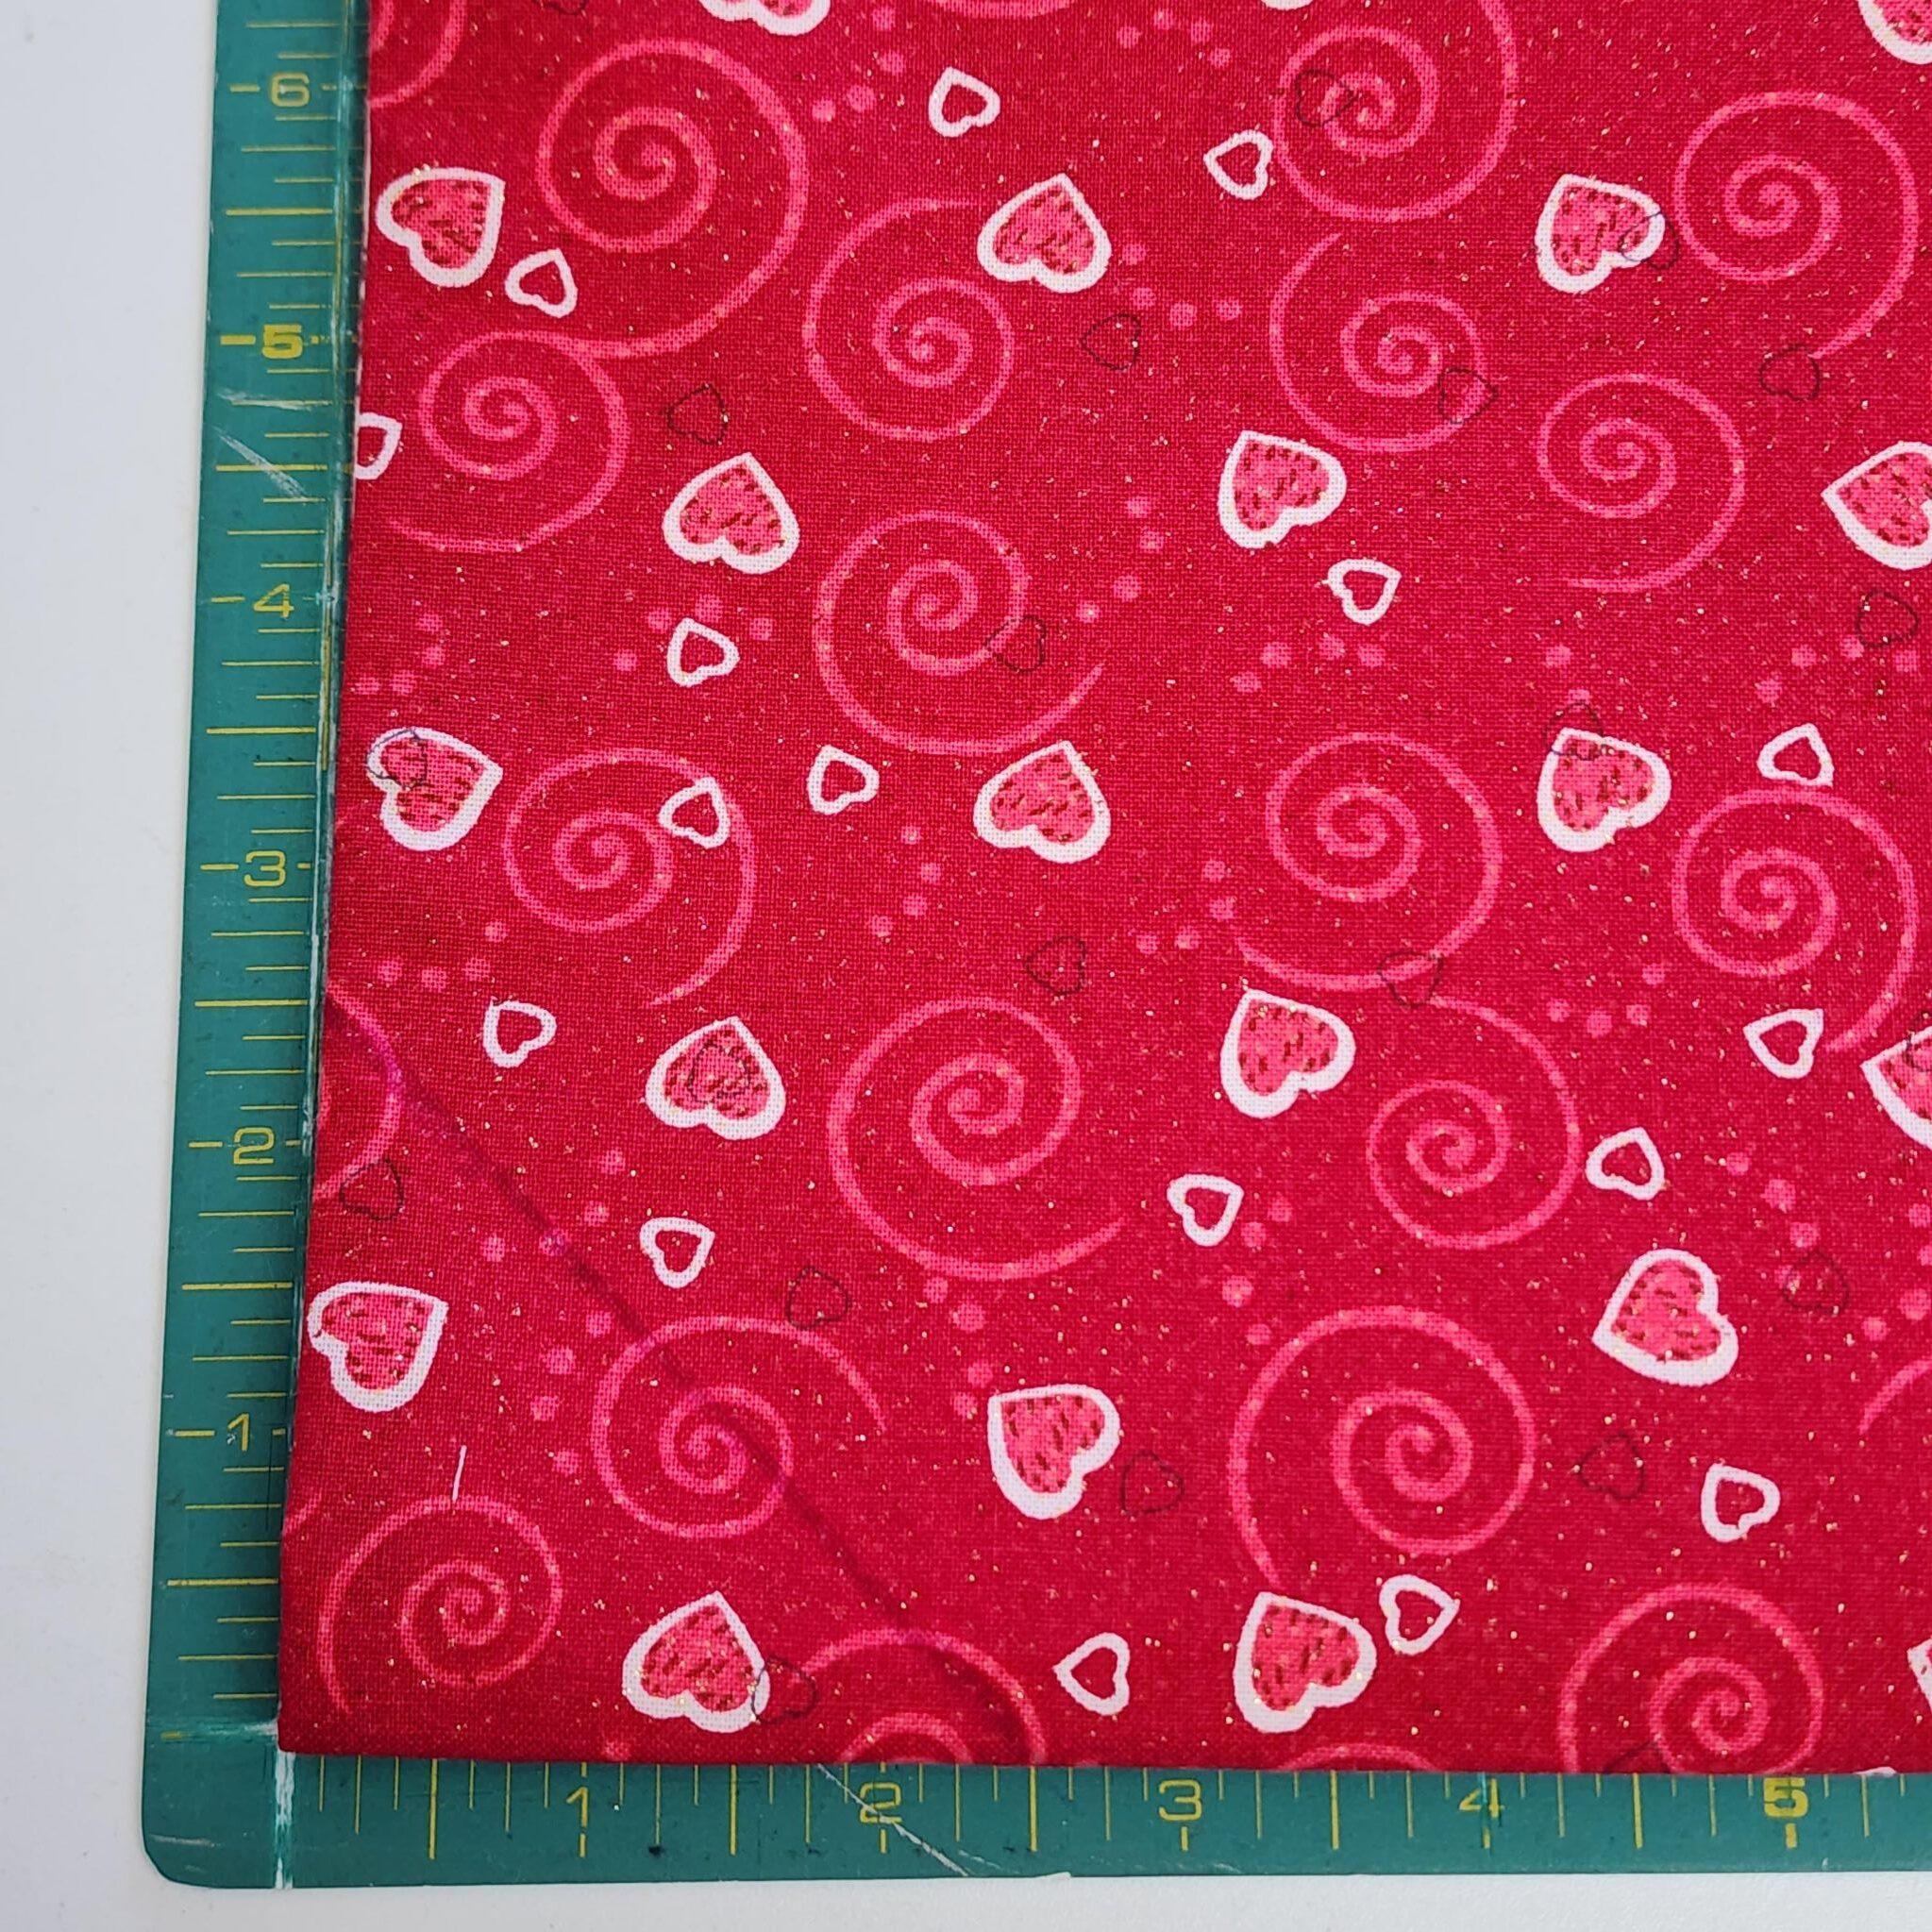
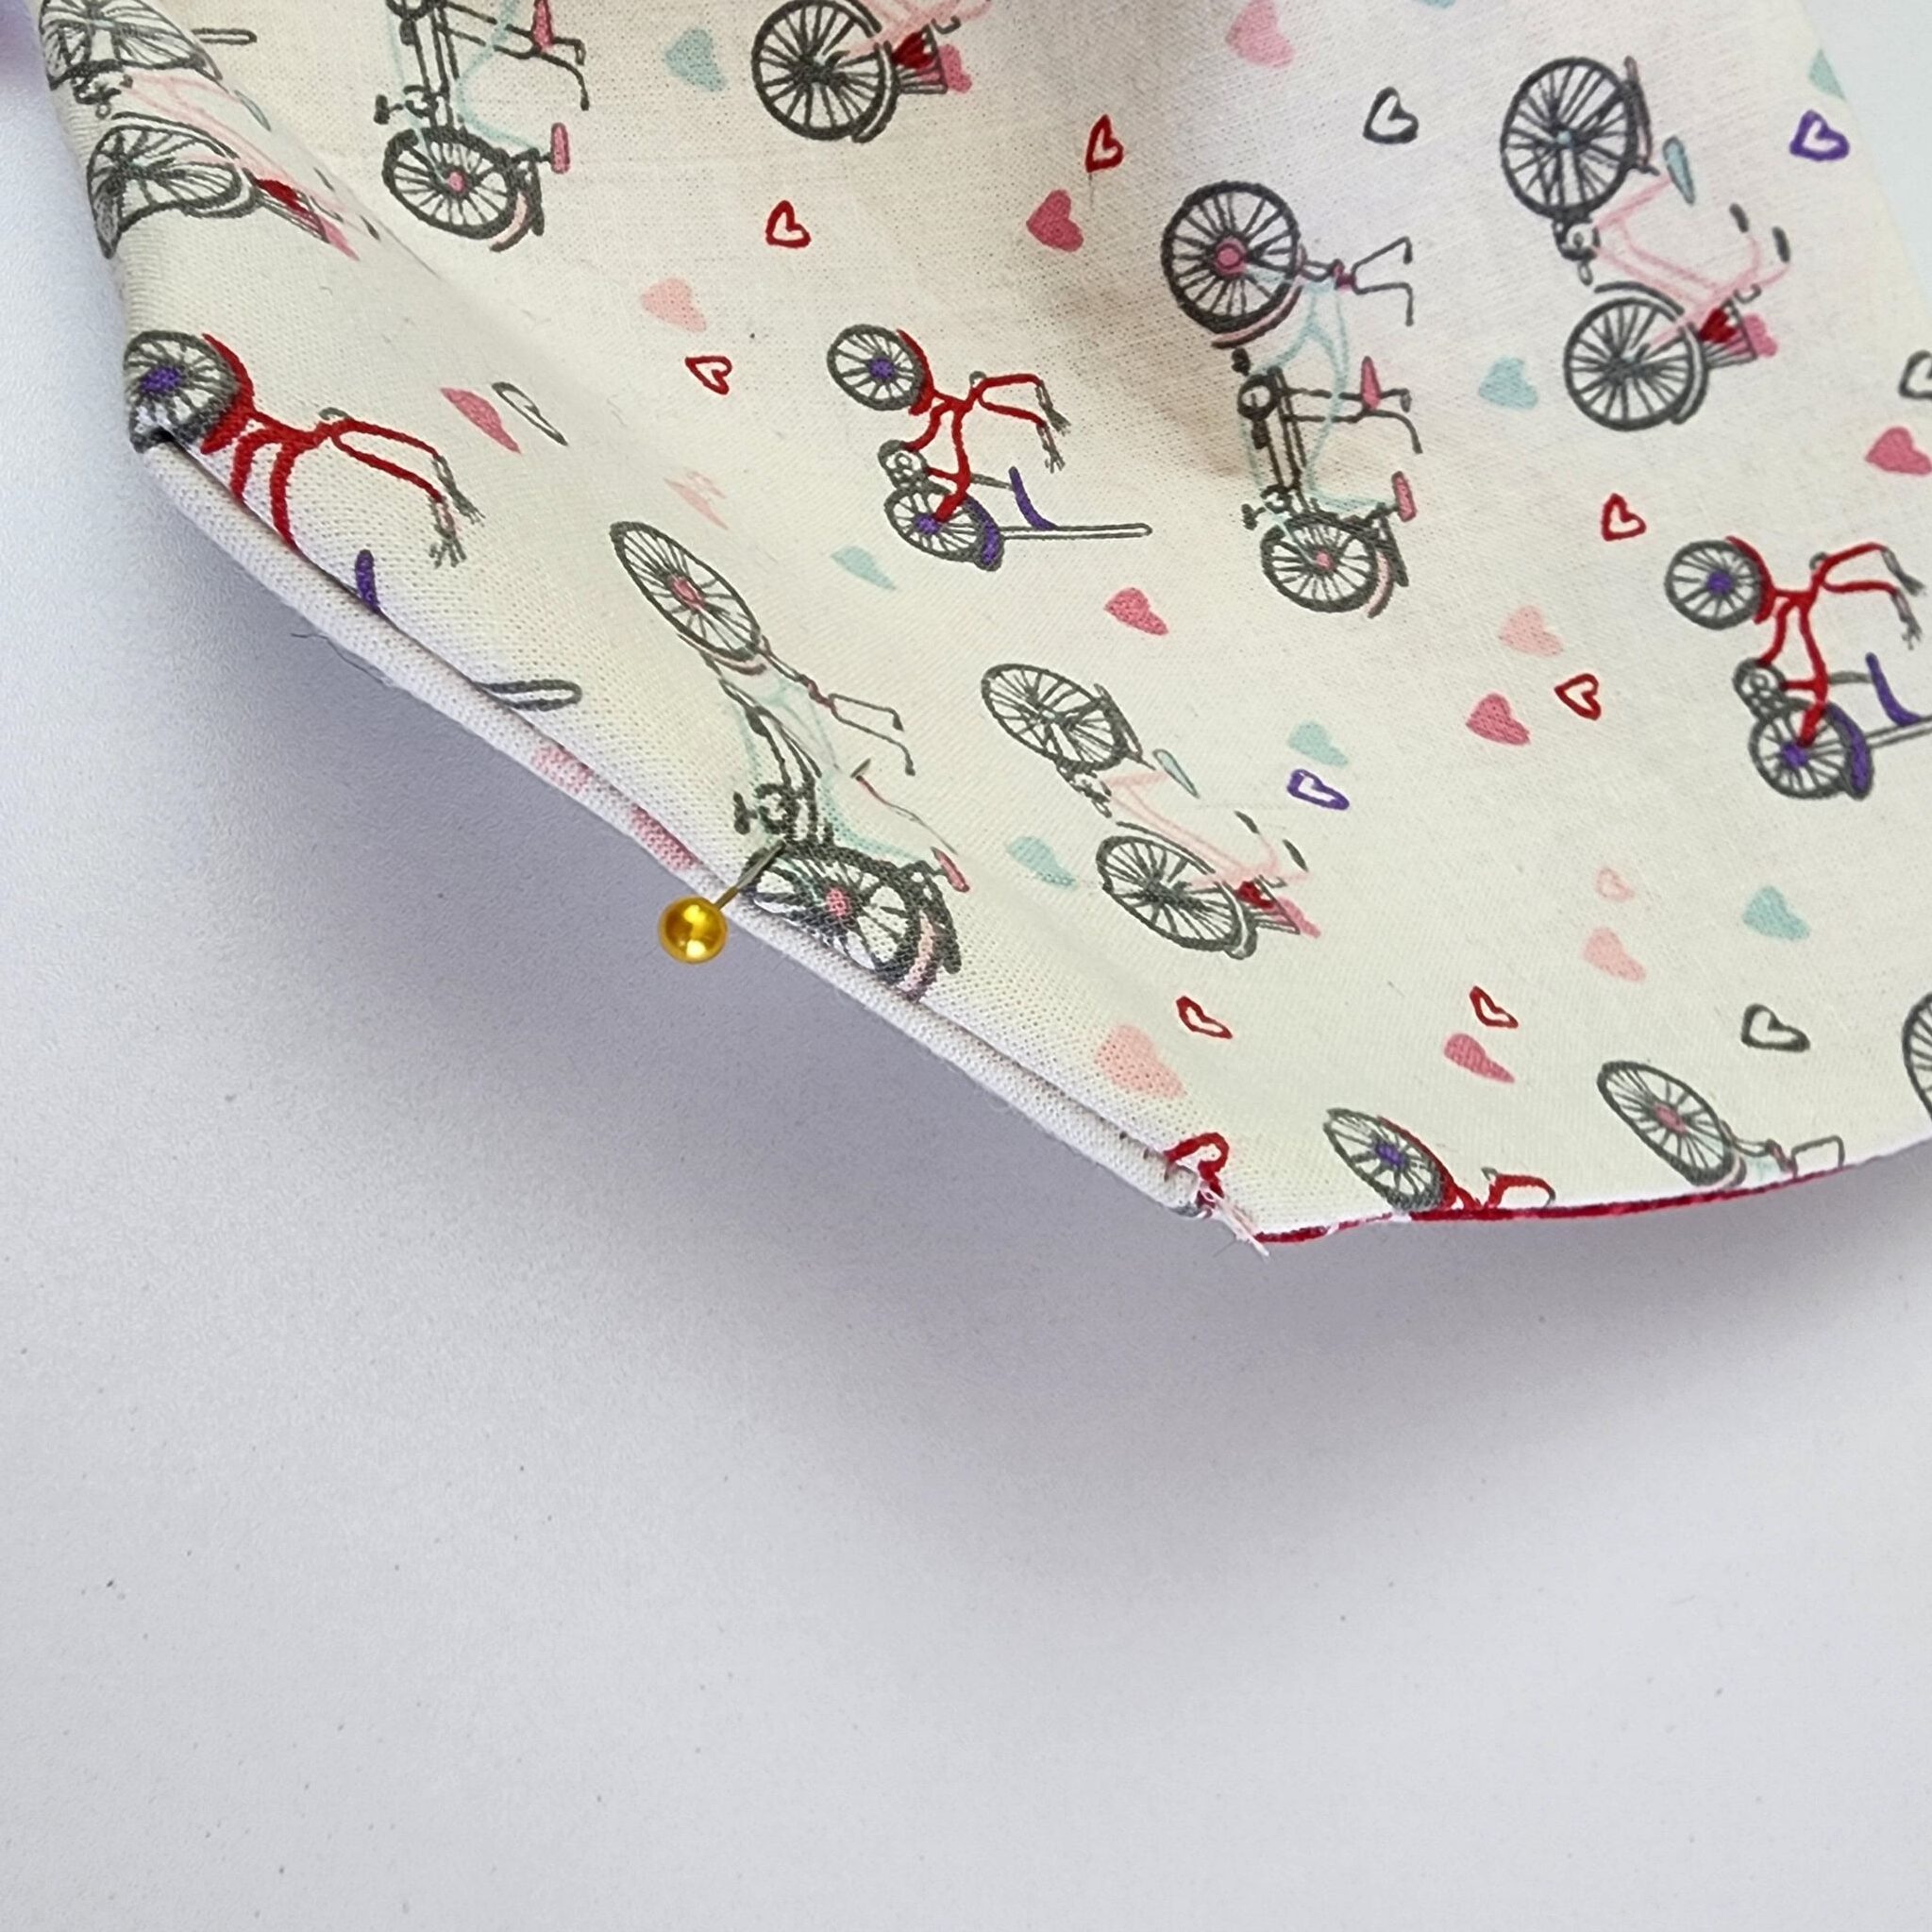
On each bottom corner (where the fold is), measure 2 1/2″ over to the side (from the corner), and 2 1/2″ up from the bottom corner, and mark each with a dot. Then, draw a line connecting the dots. If you have a rotary mat, you can see how I just marked each place on the 2 1/2″ mark and drew my line. If you don’t have a rotary mat, measuring with a ruler will be just fine.
Stitch on top of that line that you just drew. This is what it will look like.
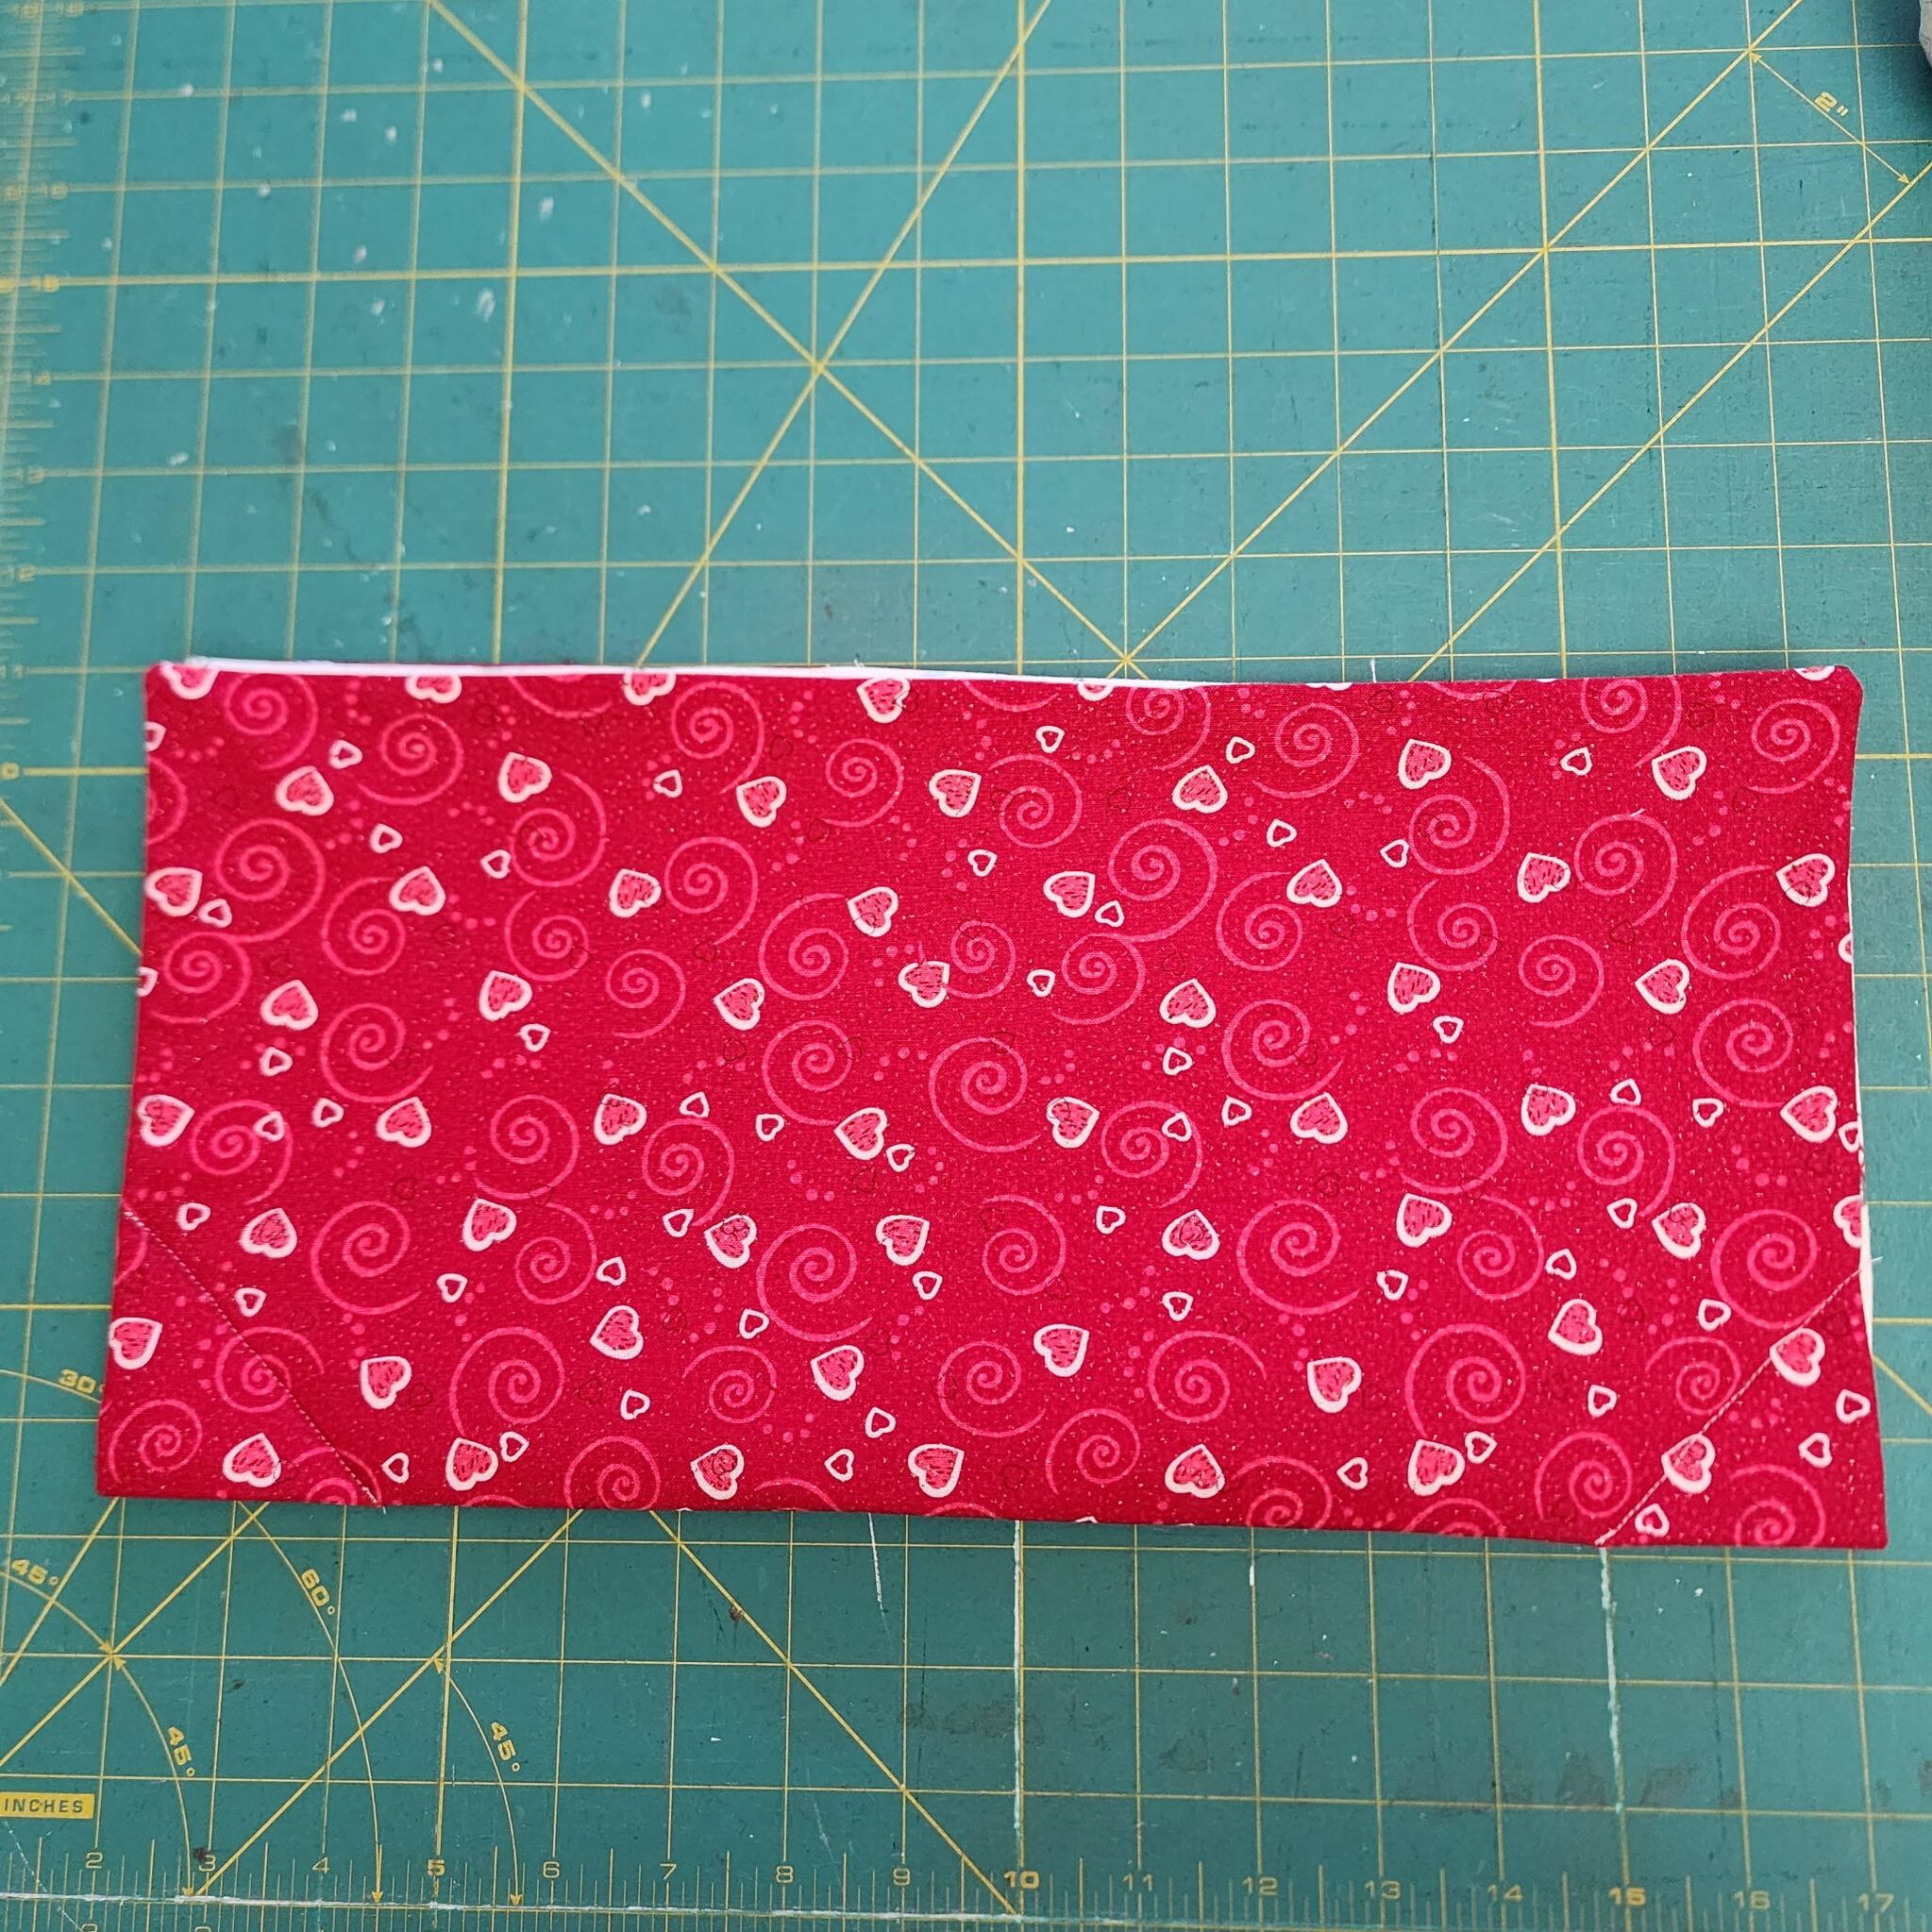
Now, fold the fabric in the opposite direction so that the lines you just stitched are in the top center. Pin both sides of the fabric.
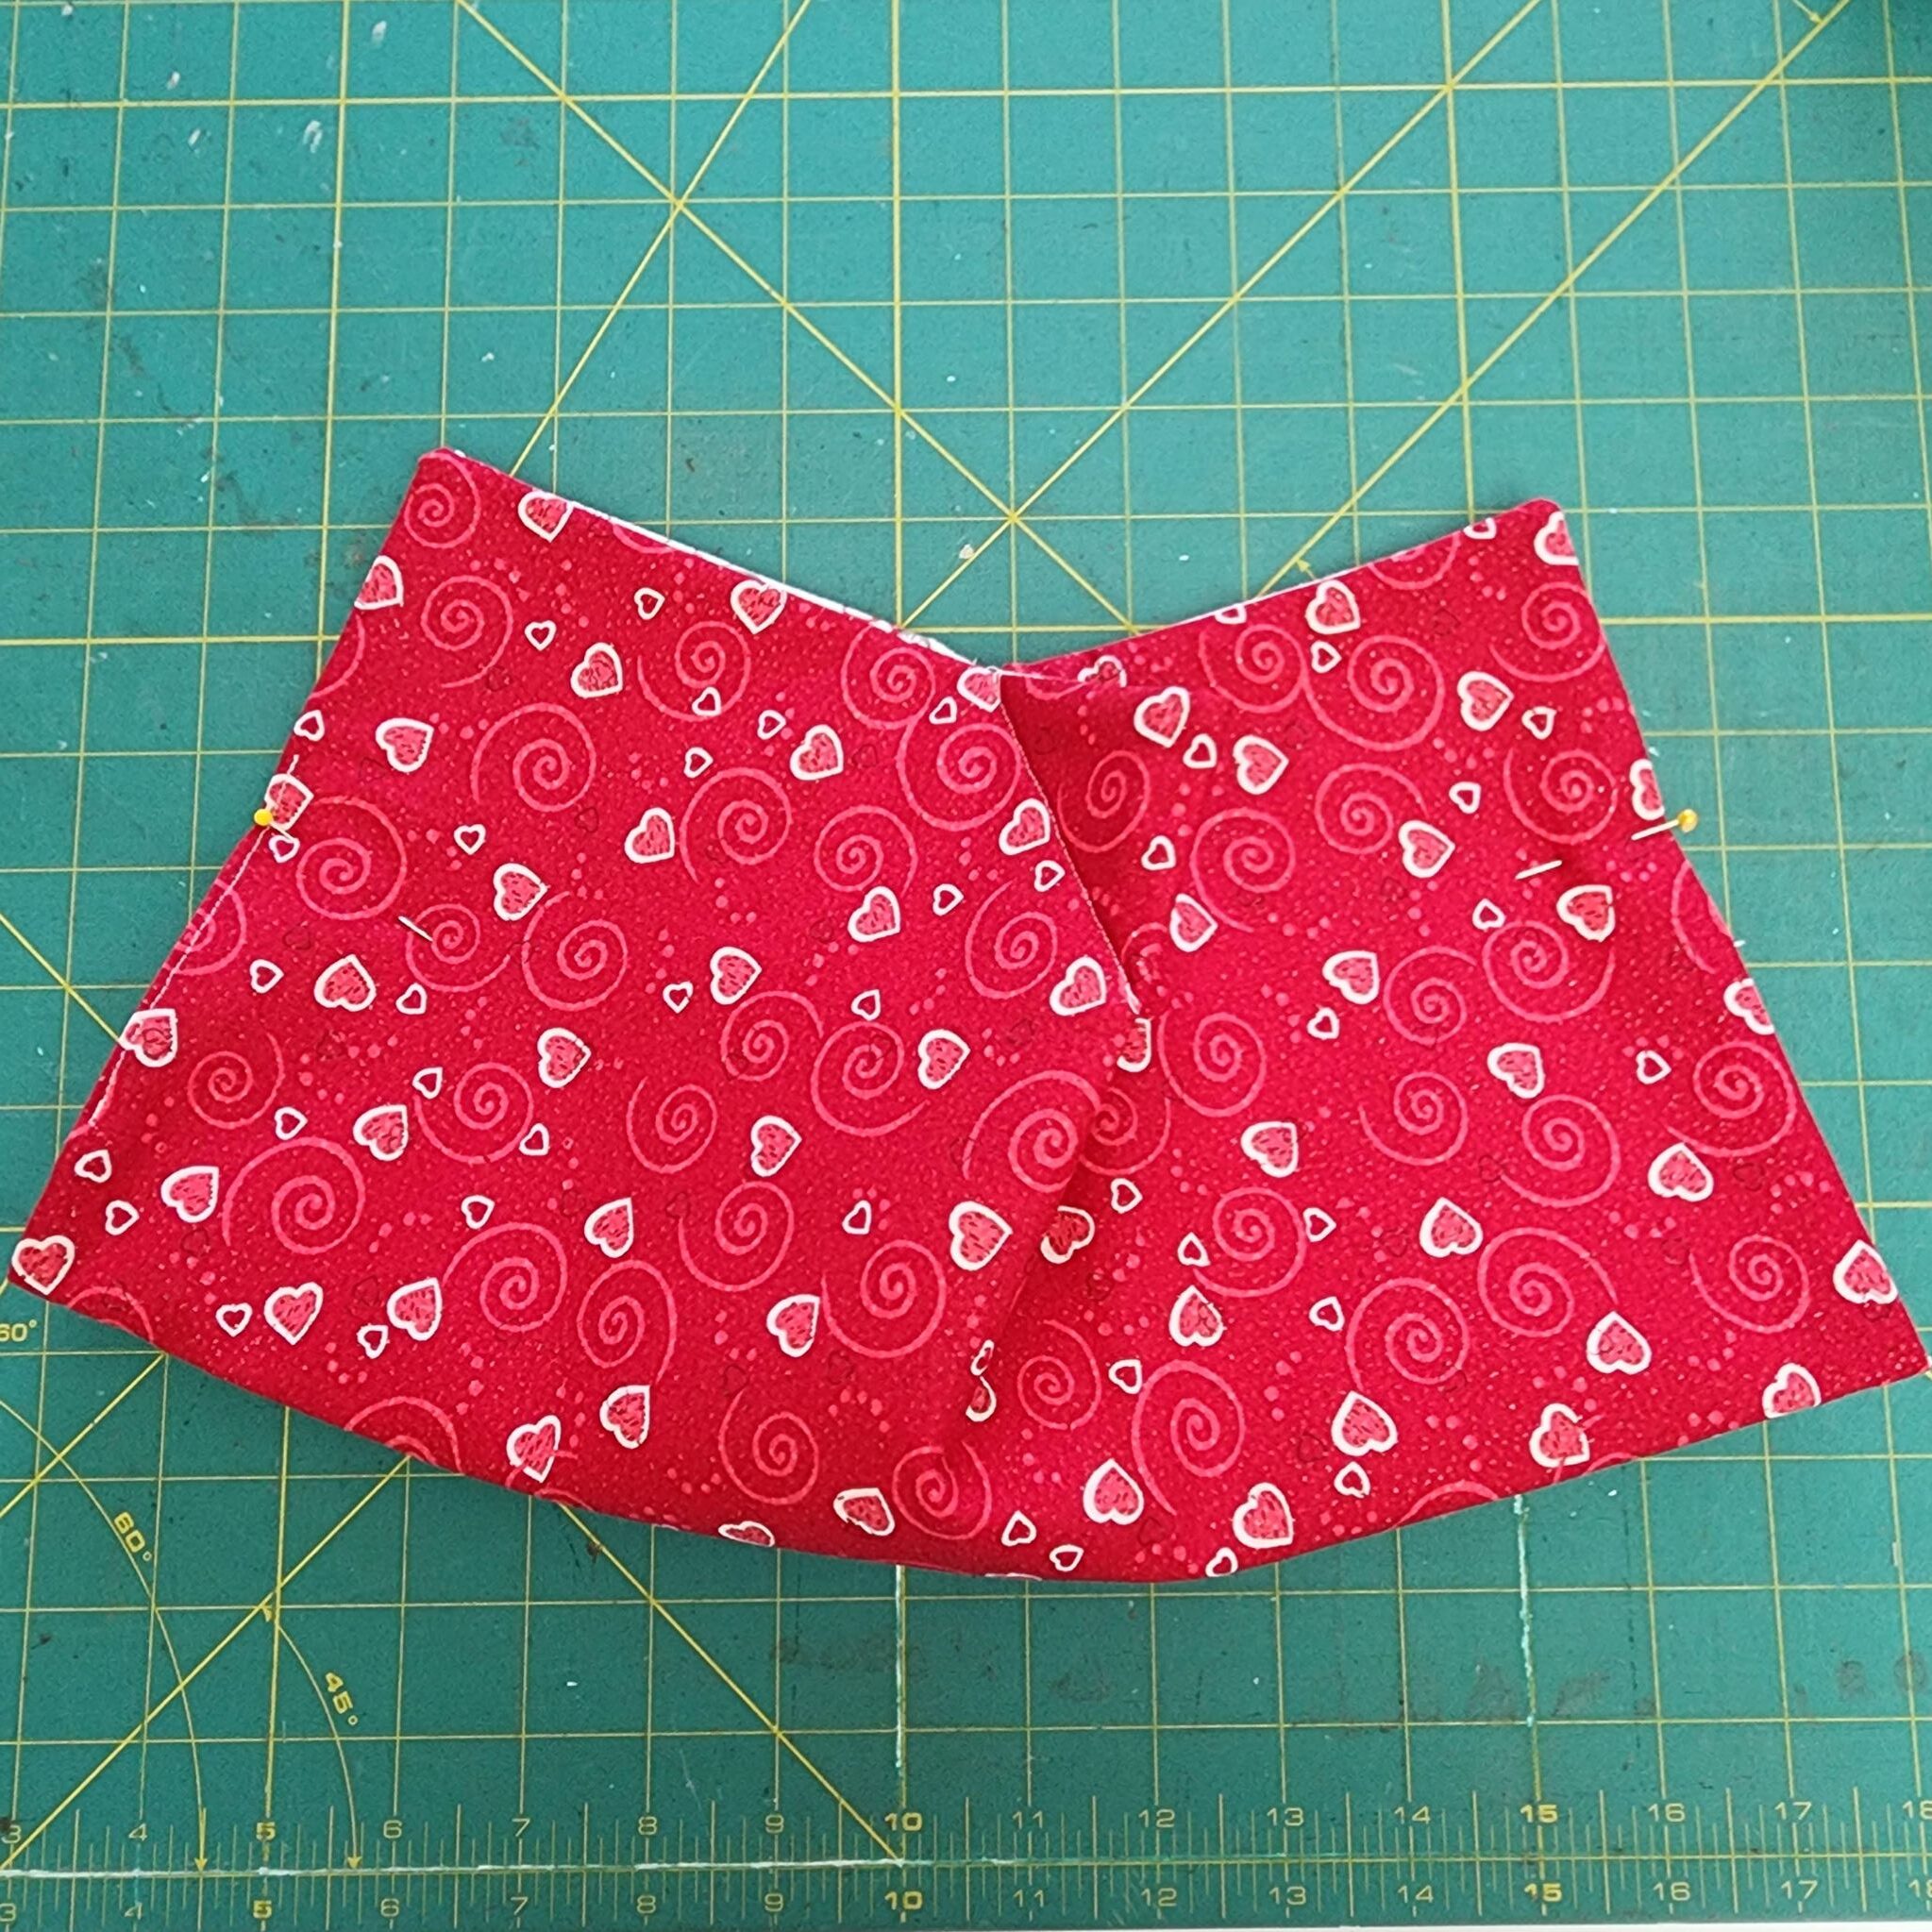
This is a view from the top, just so you understand what it is looking like at this point.

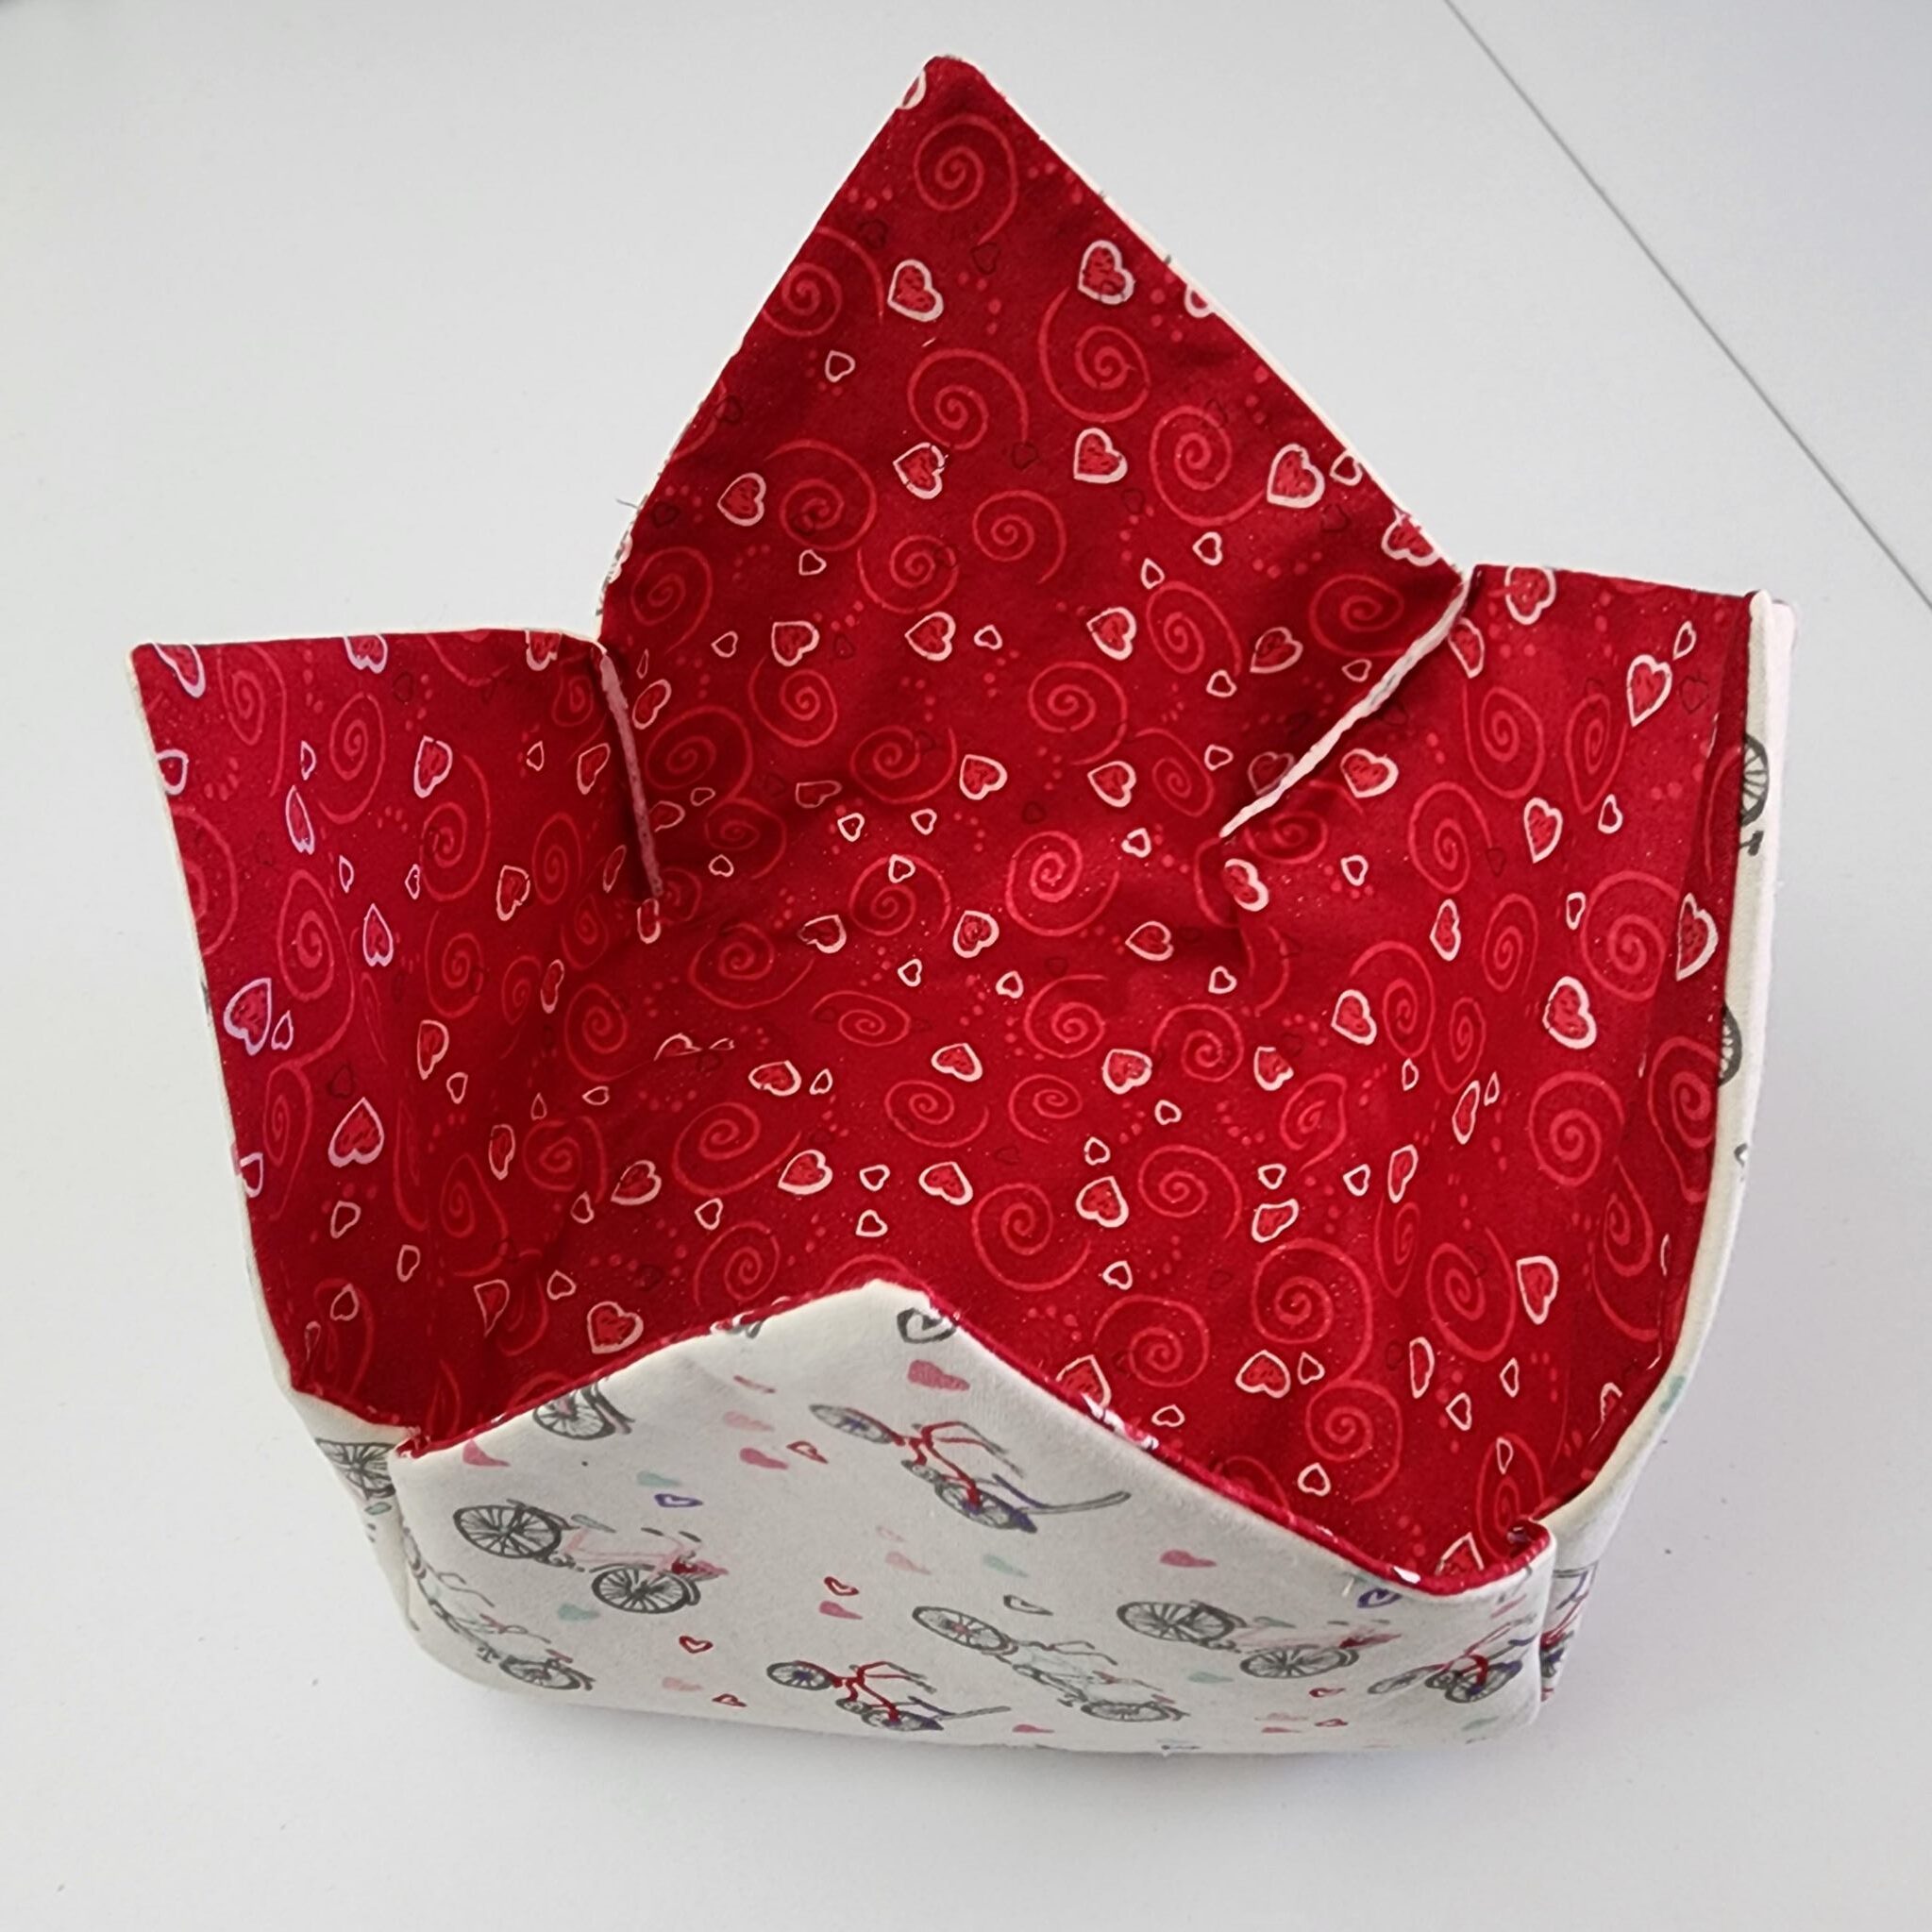
Again, you will draw your lines on the corner edges at 2 1/2″ from the side and from the bottom, and stitch on top of the lines. When you are done, it’s kind of going to look like a take-out box.
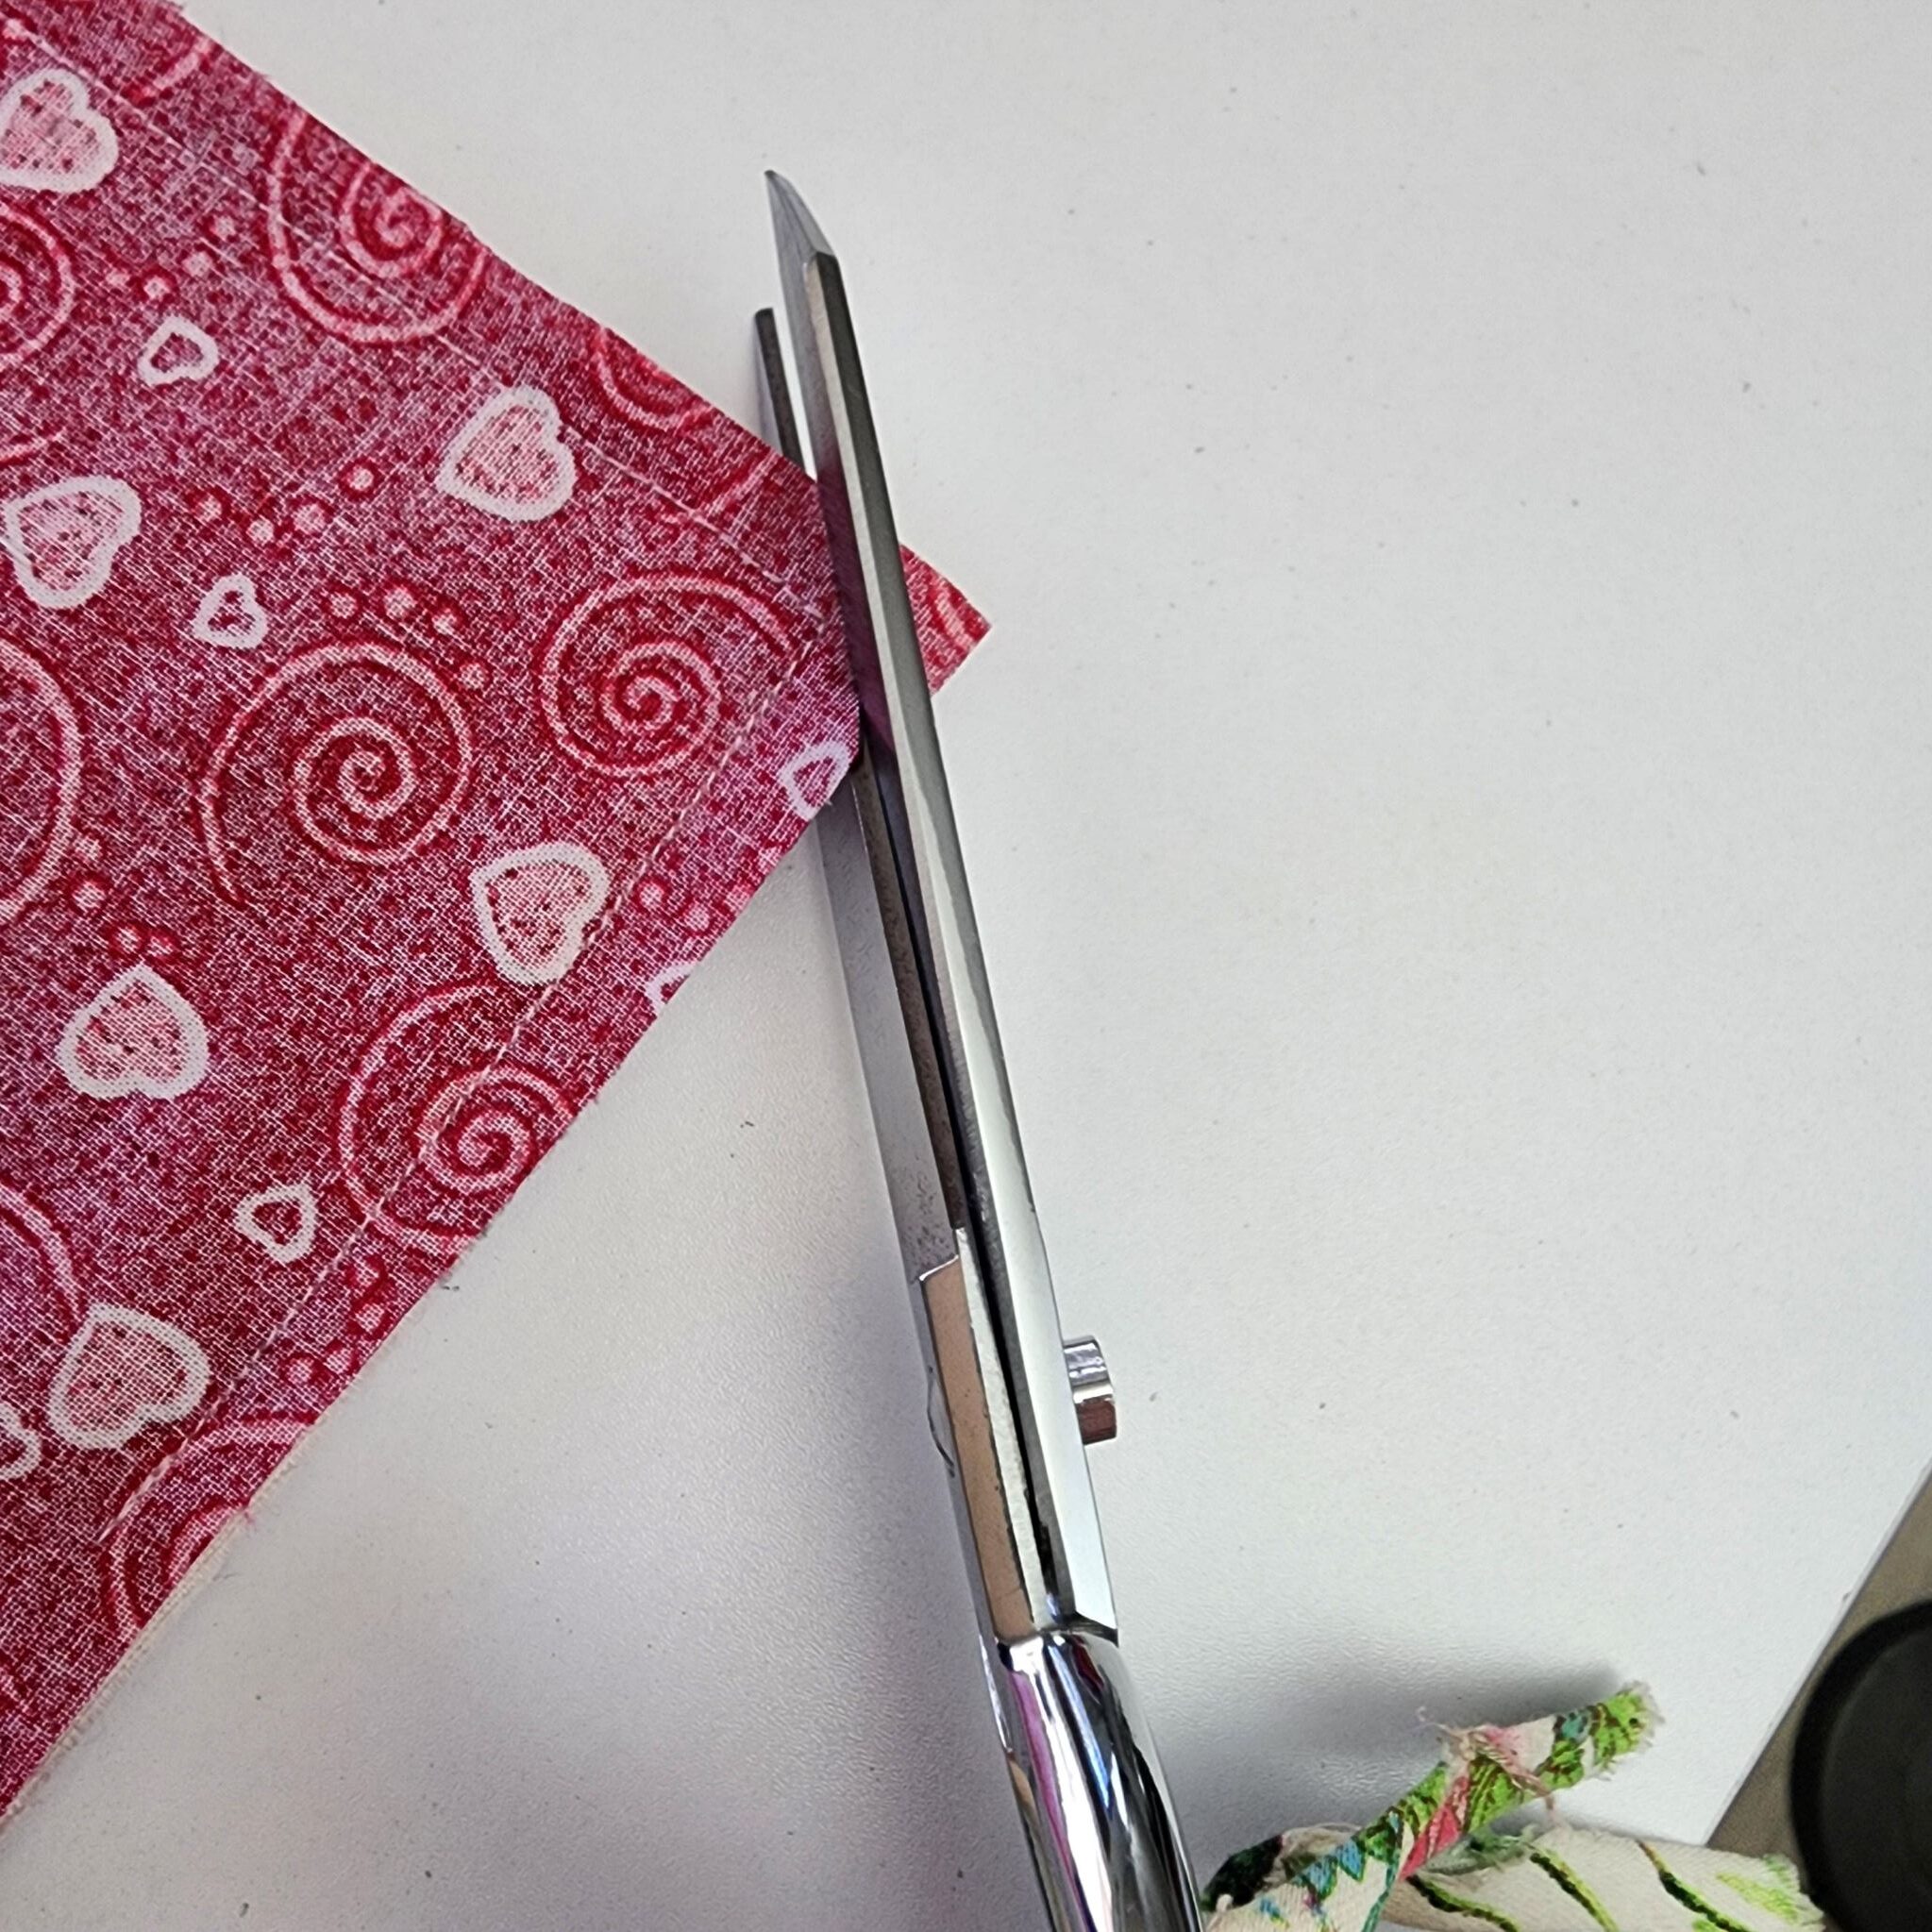
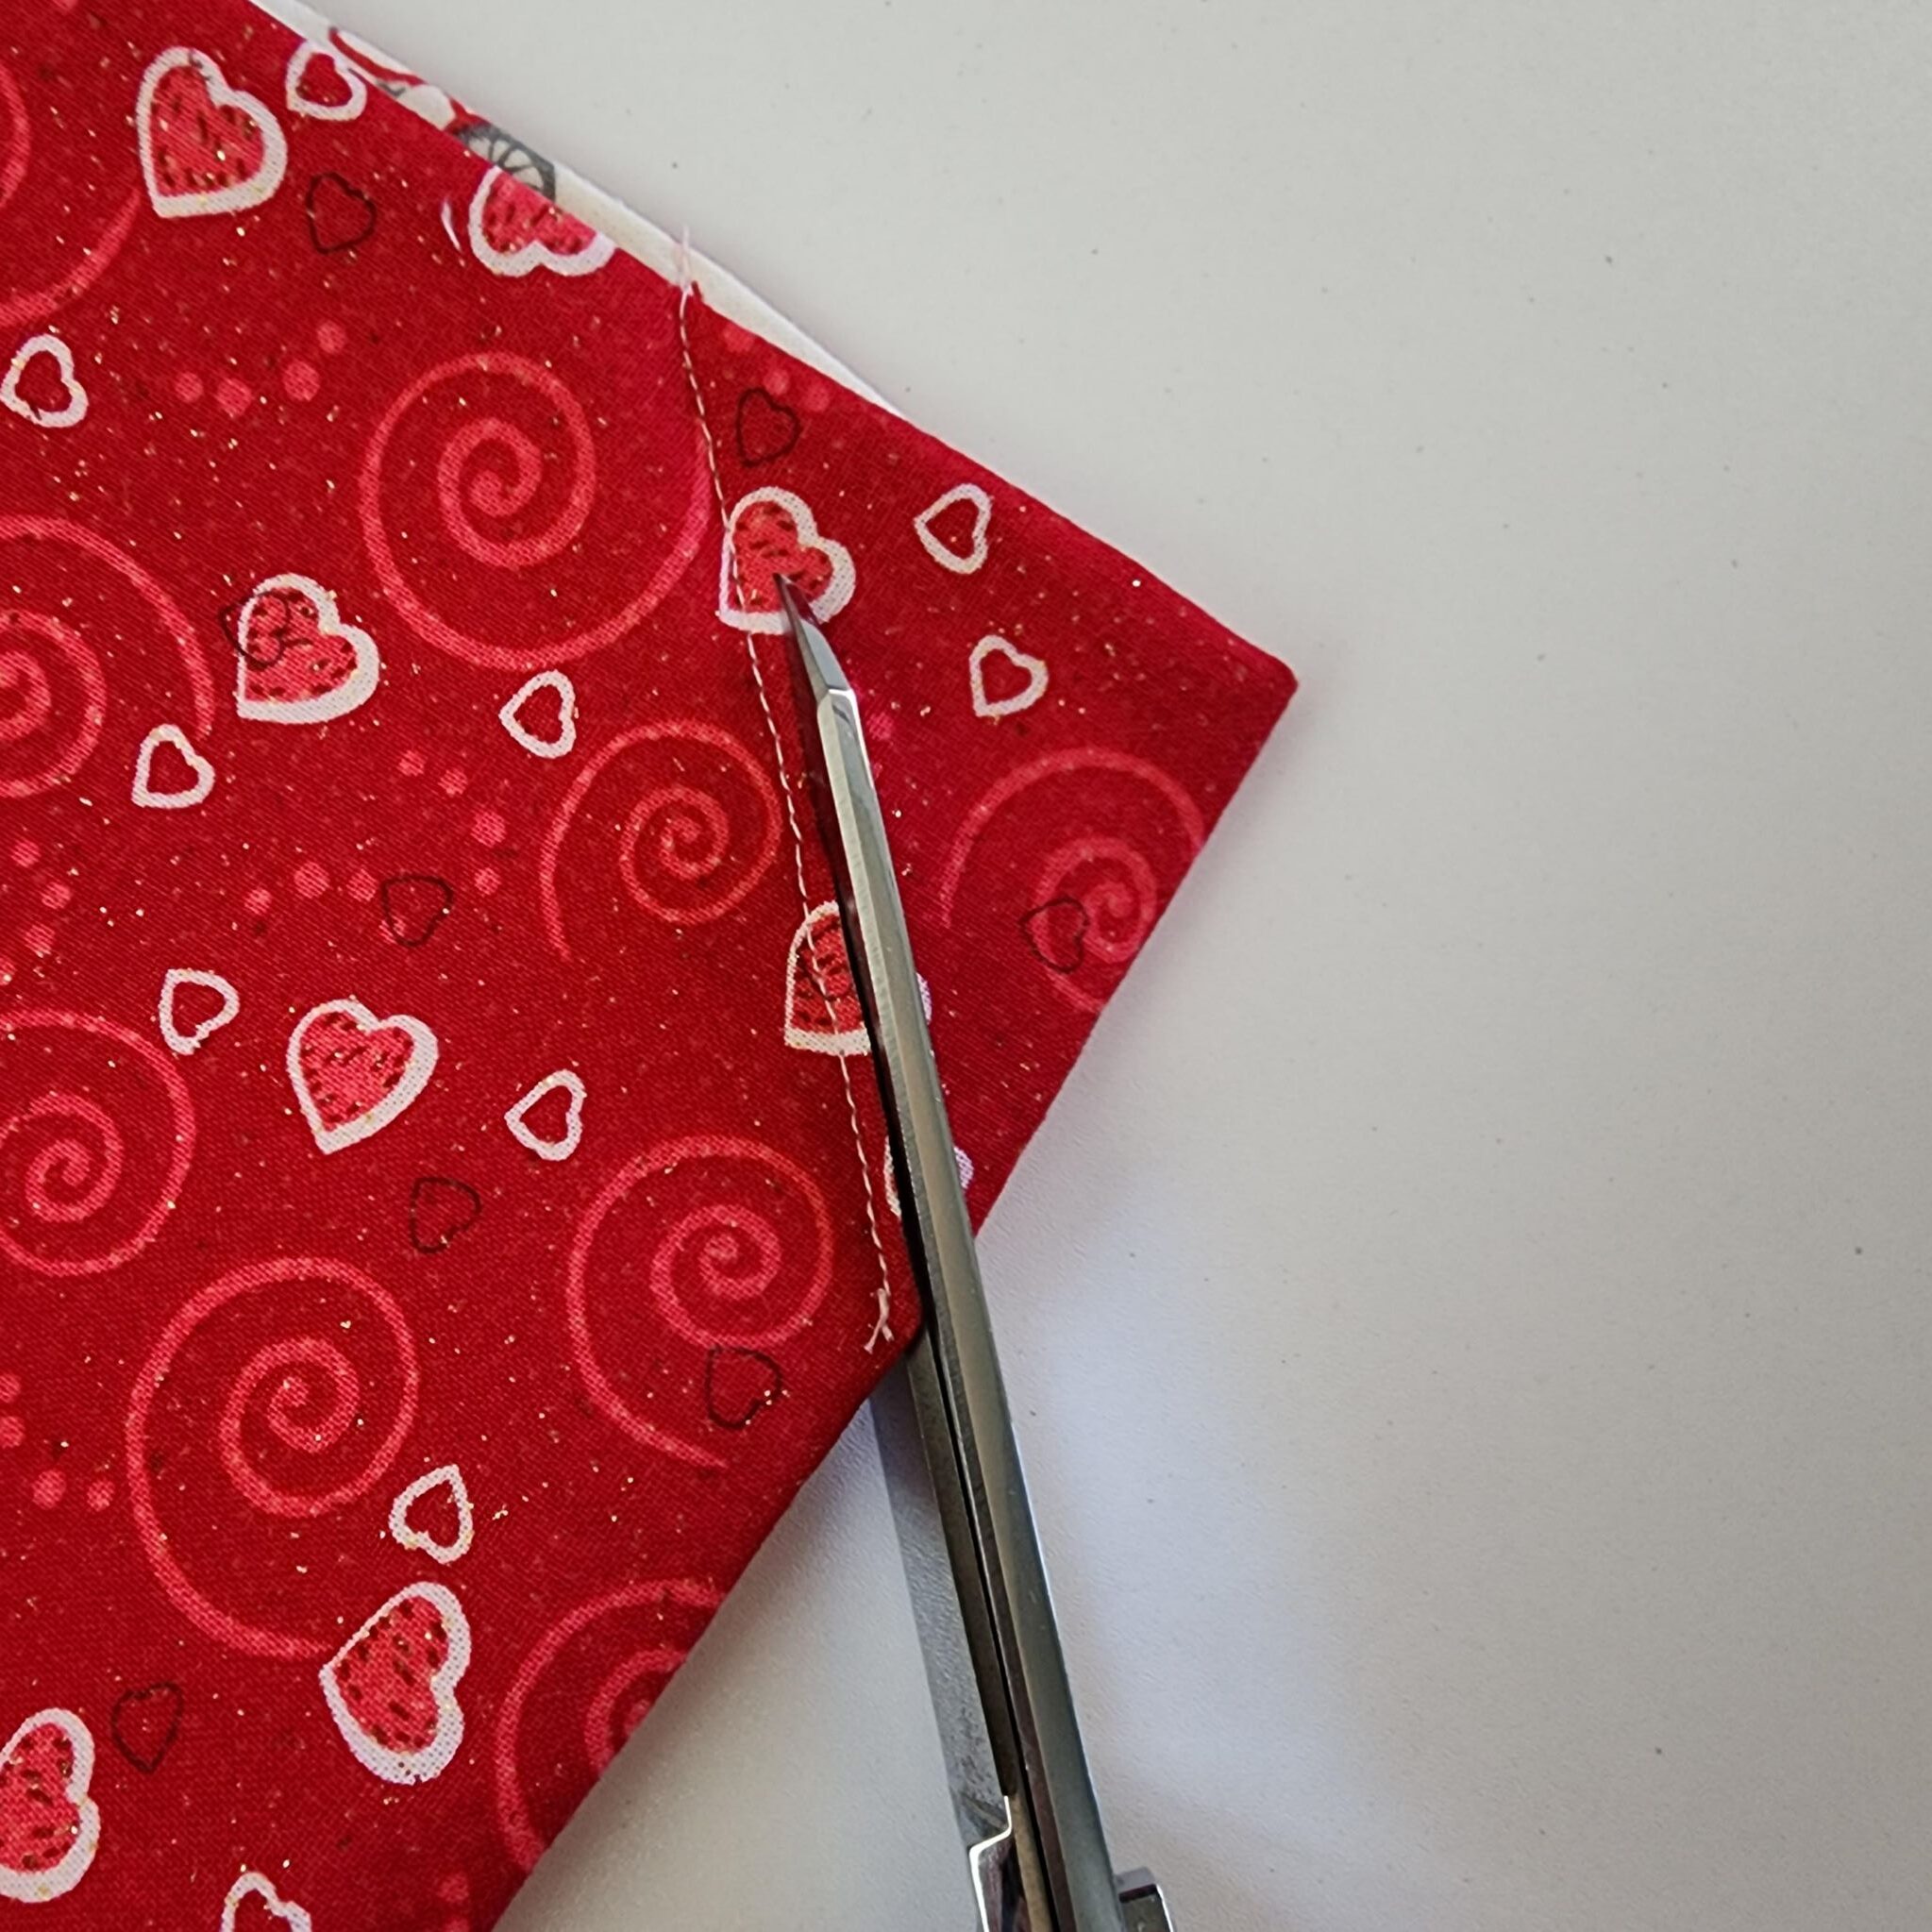
Trim close to each of the lines you just stitched.
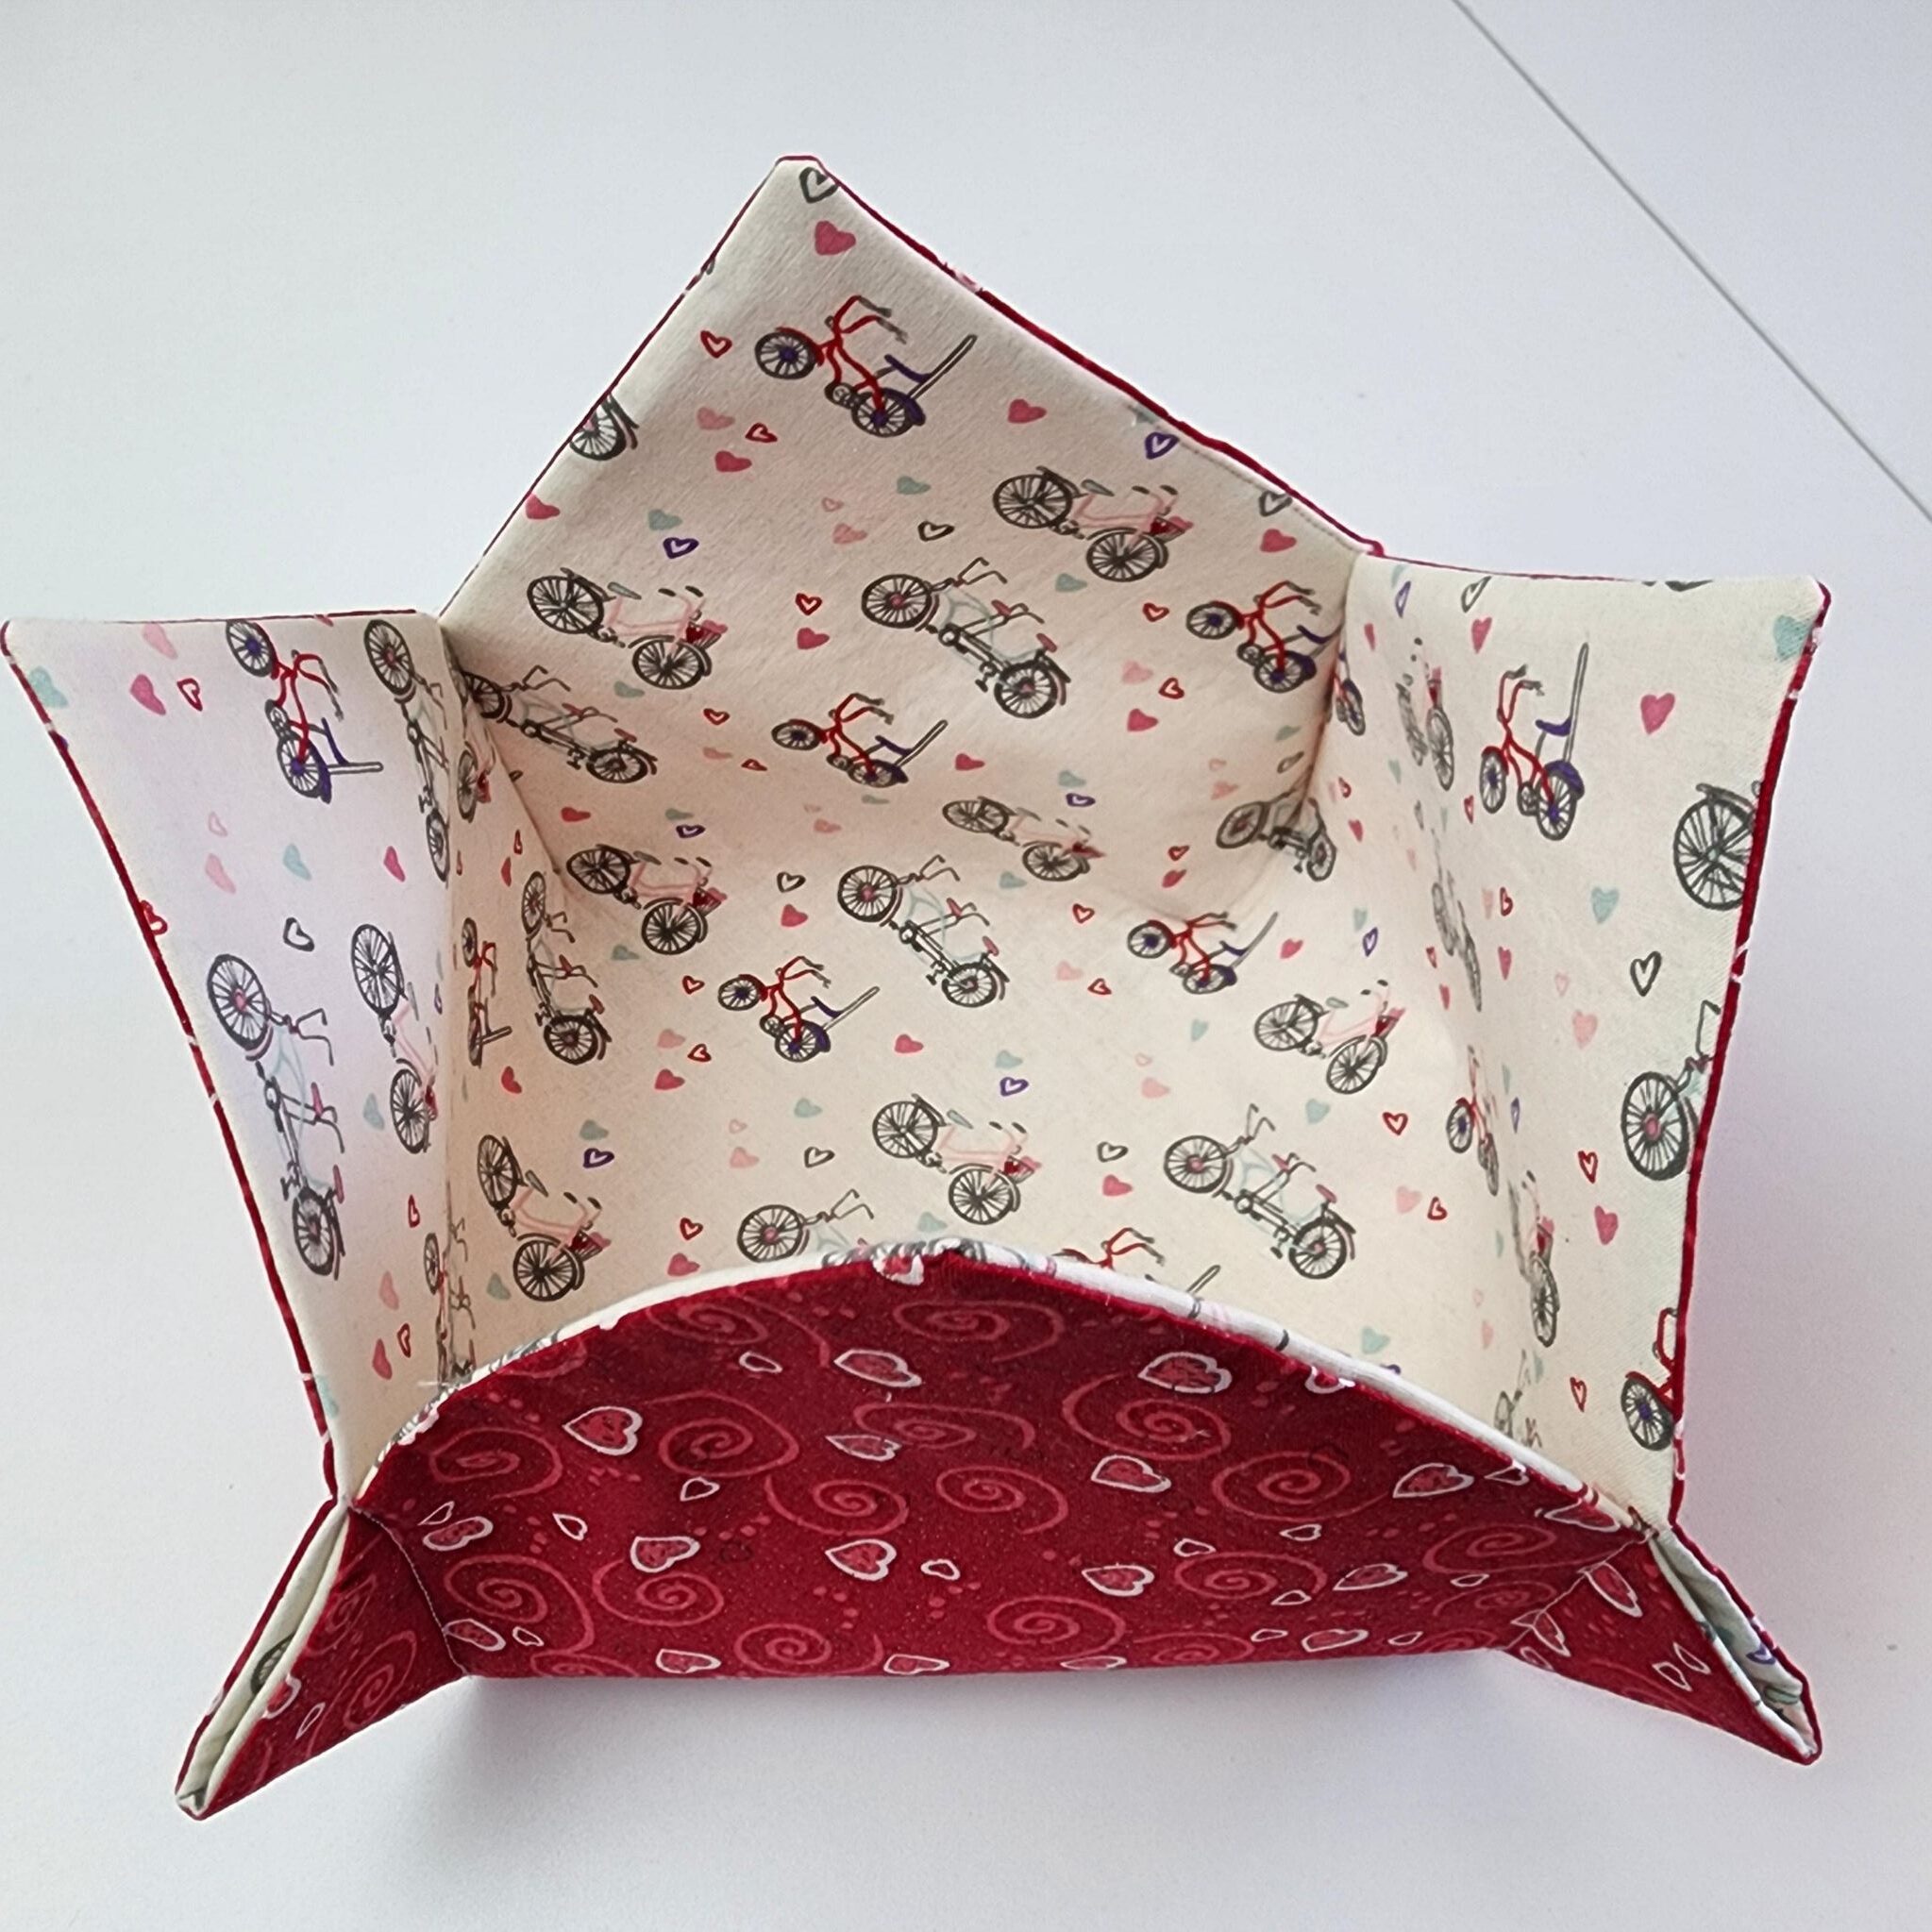
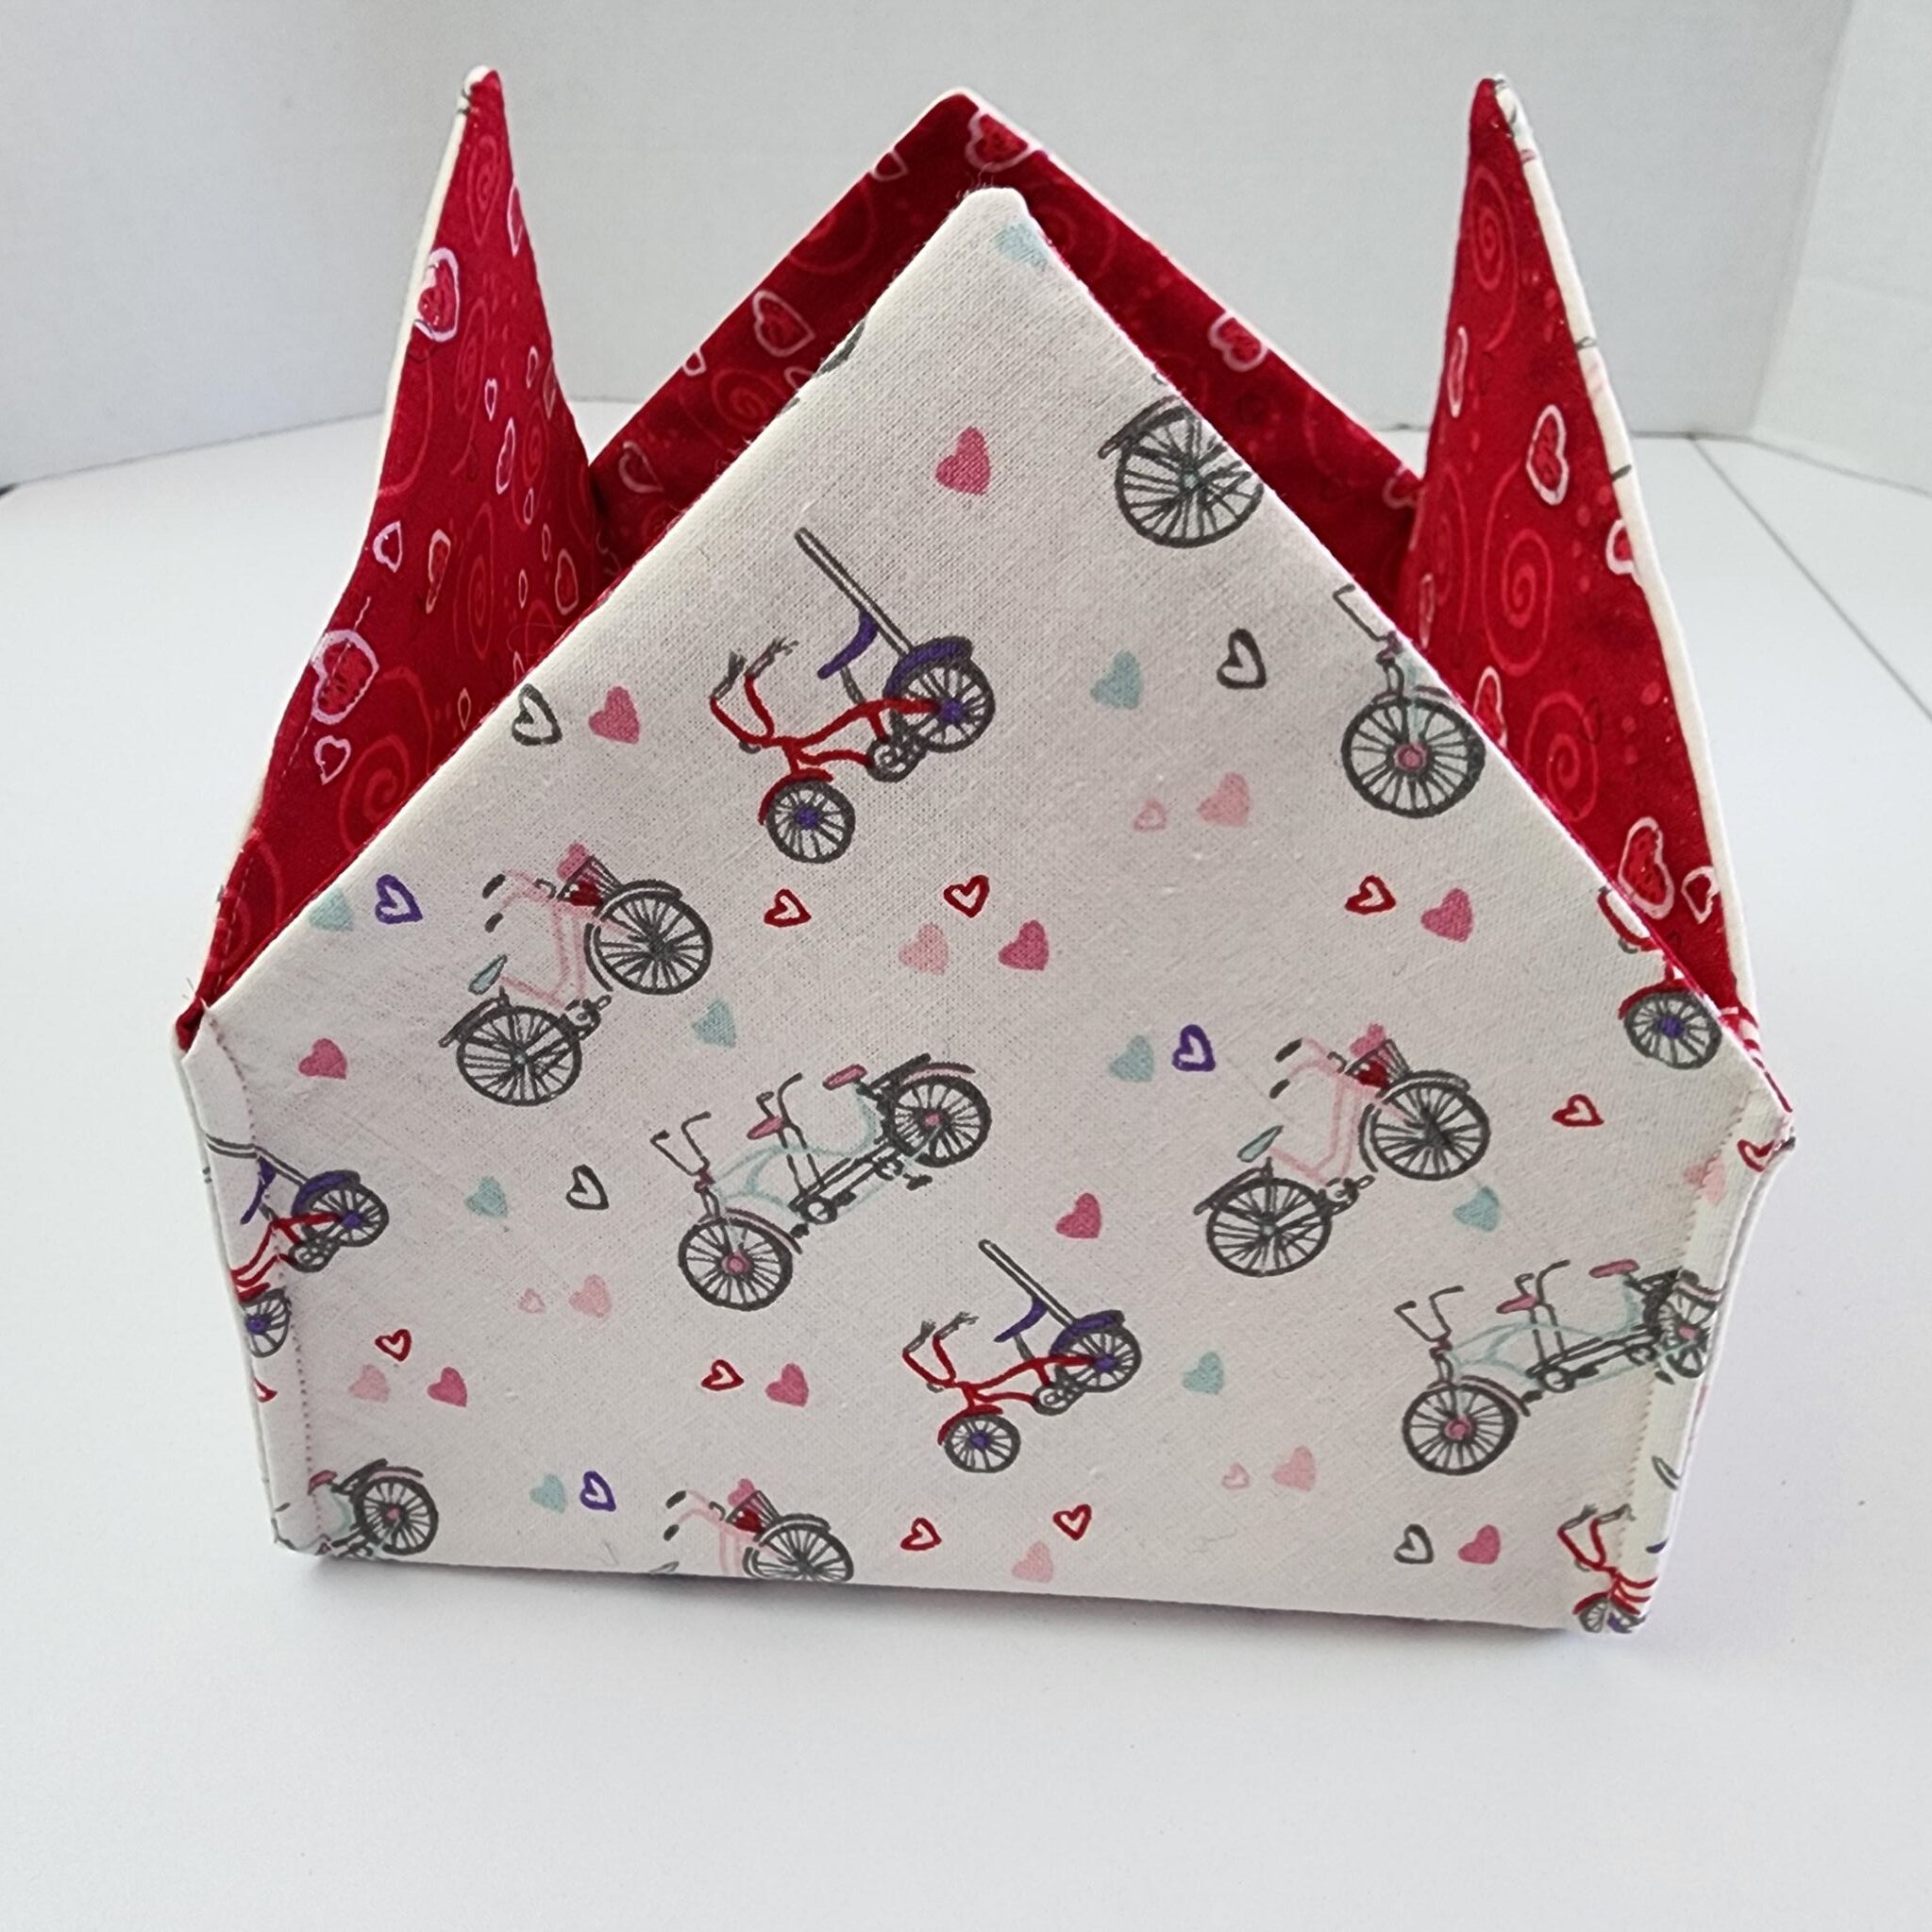
Flip your box right side out. This is what it’s looking like; the lining is on the inside and the outer fabric is on the outside (or, if you’re sewing so the seams are on the inside, it will look opposite of this).
Fold along the seam lines and give it a good press. Pin, holding that seam in place.
Stitch along that seam line, using a 1/4″ seam allowance (if 1/4″ is too hard for beginners, it will be totally fine at 3/8″). This is what it will look like (notice the french seam on the outside).
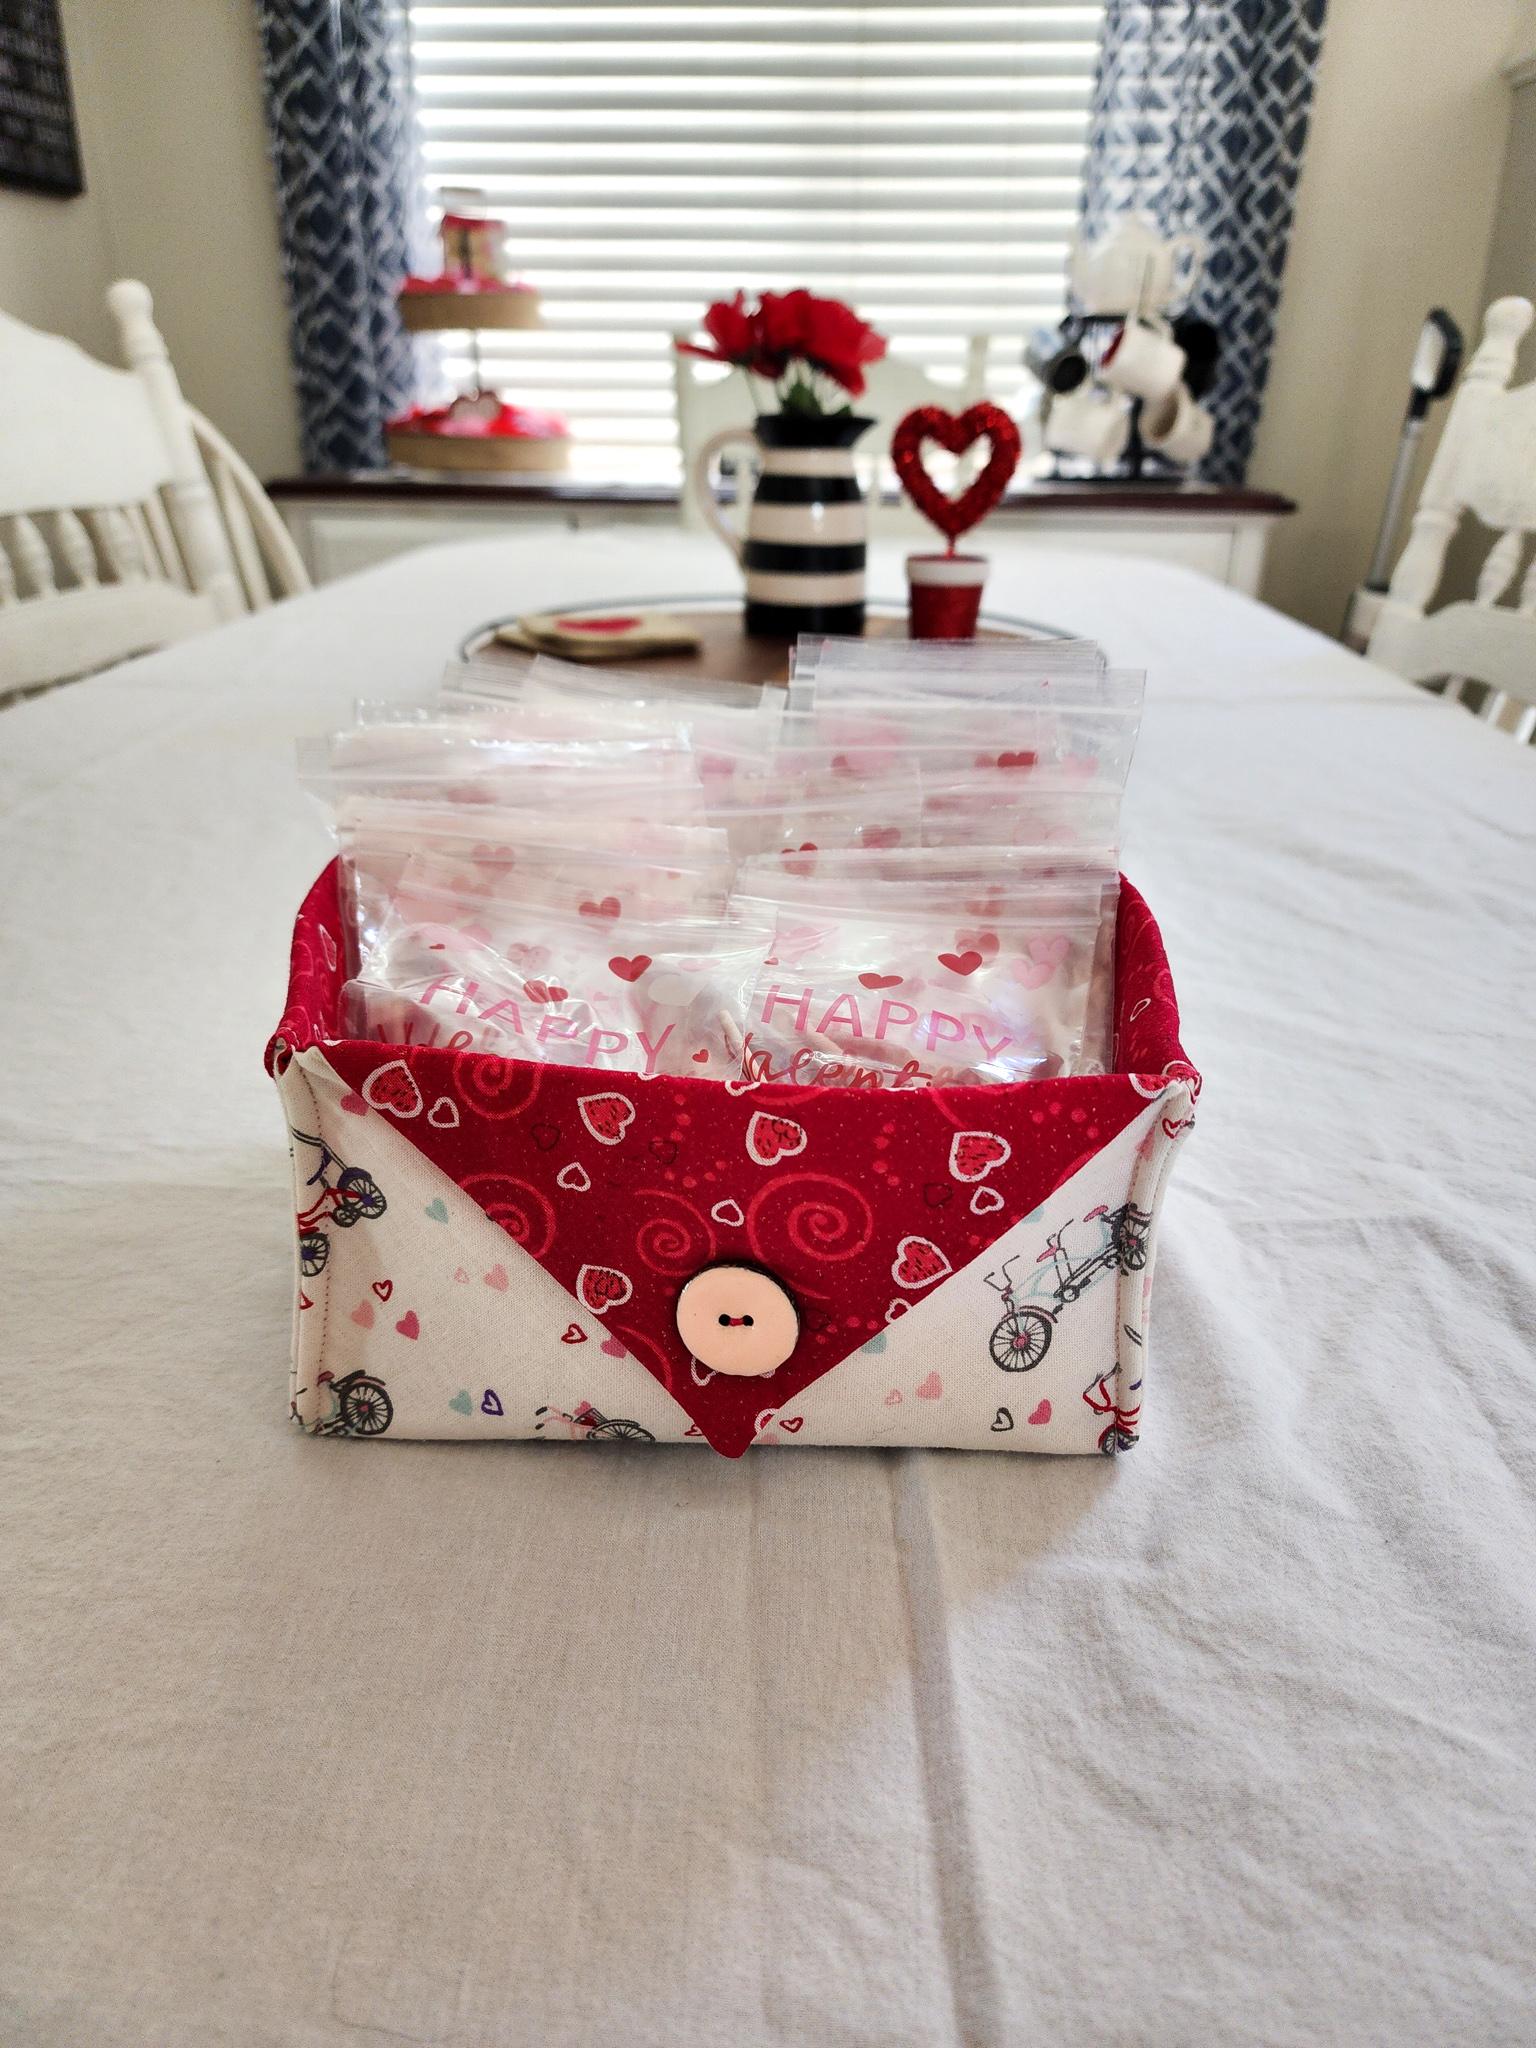
Flip your corners down to the front side of your box. At this point, you can hand-tack the three corners in place, and hand-stitch a button for decoration on the front side of your box.

And that’s all there is to it! It’s really so easy to make! Just for reference, we put together 30 little bags full of treats for my son’s class (pictured below) and we still have room for more. These boxes are the perfect size to hold those classroom valentines!!

Shopping List:
*Sassy Cassy’s is part of the Amazon Affiliate Program, which means that if you purchase Amazon items from this website, a small commission will be earned, at no extra cost to you.
