
Thanksgiving is right around the corner!! I don’t know about you, but I love decorating for ALL holidays, including Thanksgiving. As soon as Halloween is over, my son is ready to put up the Christmas tree, but I always tell him NO! Let the turkey have his holiday!!
An easy way to spruce up any holiday is to change out table settings. I posted a couple weeks ago about how I love to decorate my table, including my placemats and coasters. Last year, I made a table runner as part of my Thanksgiving decor. I took pictures and documented the process so that I could write a tutorial, but I never got around to doing that! I decided to make it a priority to do that for you all this year!
Even though this table runner is for a Thanksgiving runner, you can use this same method for any holiday!! Simply trade out the pumpkins for whatever you want- Christmas trees, hearts, shamrocks, Easter eggs…you get the idea! Be creative and have fun with it!!
Let’s get busy!
But first, a couple notes:
*For your convenience, I’ve linked everything at the end of this post; you can shop from that list or at least see examples of my recommendations.
*You can cut your runner to any measurements you want. I’ve listed the measurements I used below.
Materials Needed
- Burplap (you can purchase by the yard, or buy in a roll-see link at the end of this post) measuring: 14″ x 52″
- Contrasting fabric (I used Homespun checkered cotton; Homespun cotton frays up easily if you like that look!) measuring: 9 1/2″ x 47″
- White fabric (or whatever color you like; I prefer a heavier weight fabric like linen or Kona cotton) measuring: 6 1/4″ x 44″
- Fabric Scraps (or fat quarters) for appliqued shapes (pumpkins and stumps)
- Wonder Under
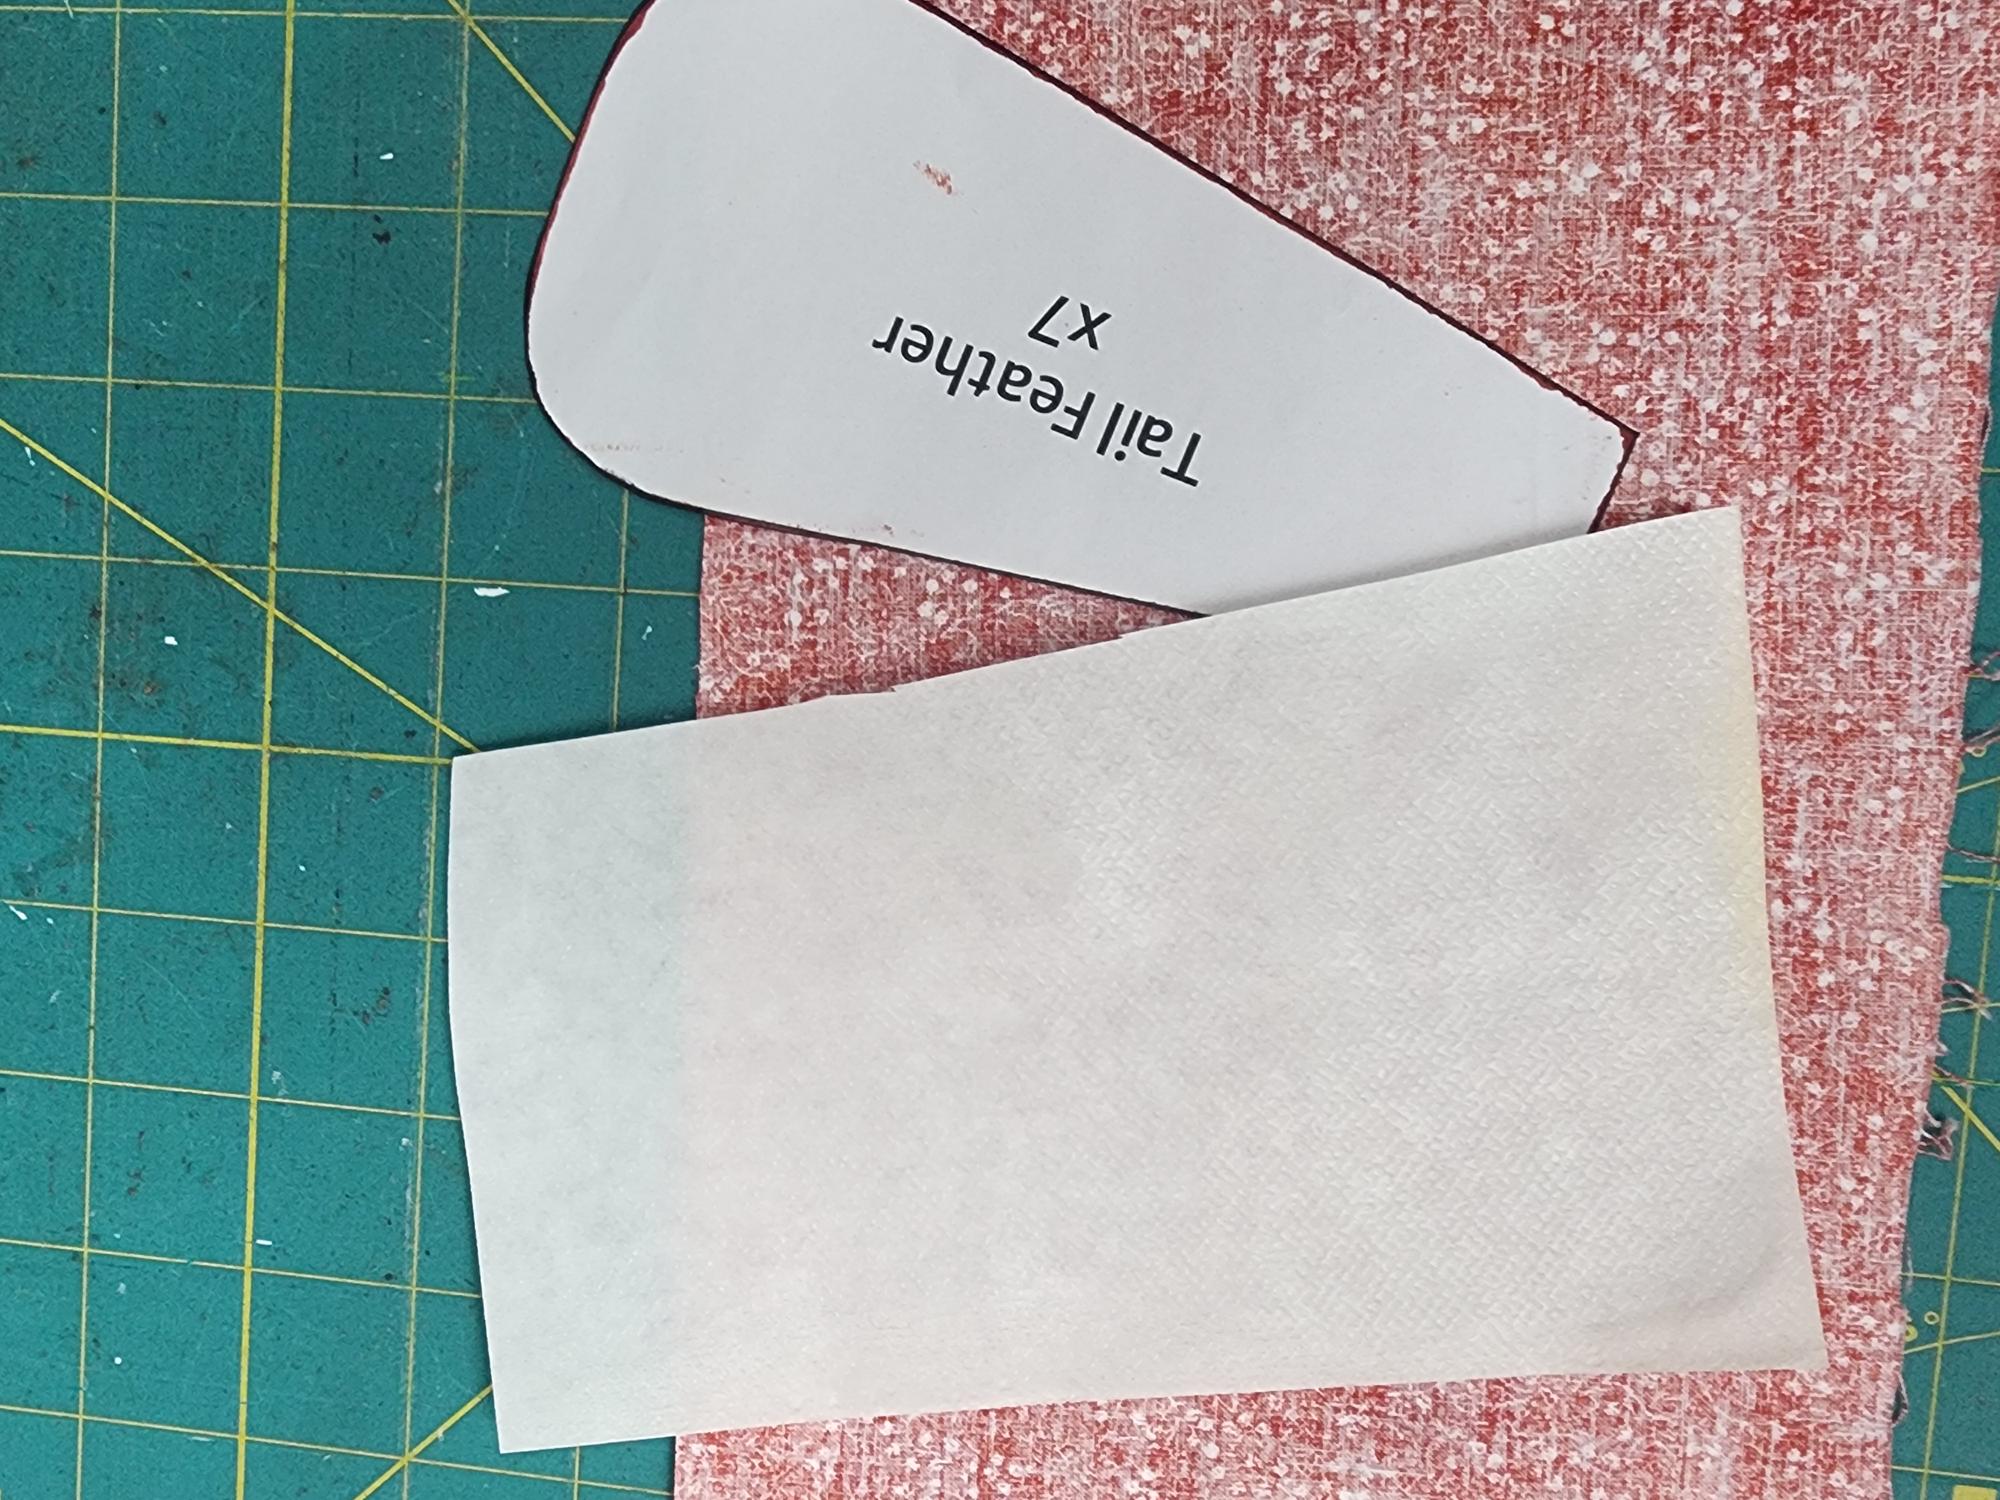
- Pumpkin Template
**I used linen for my runner, only because I was trying to quickly make a sample for my class and I didn’t have any burlap on hand. My class made burlap and I love that look. I’m going to refer to it as burlap in this tutorial, even though we know the fabric I used was linen 😉
How To Applique With A Sewing Machine
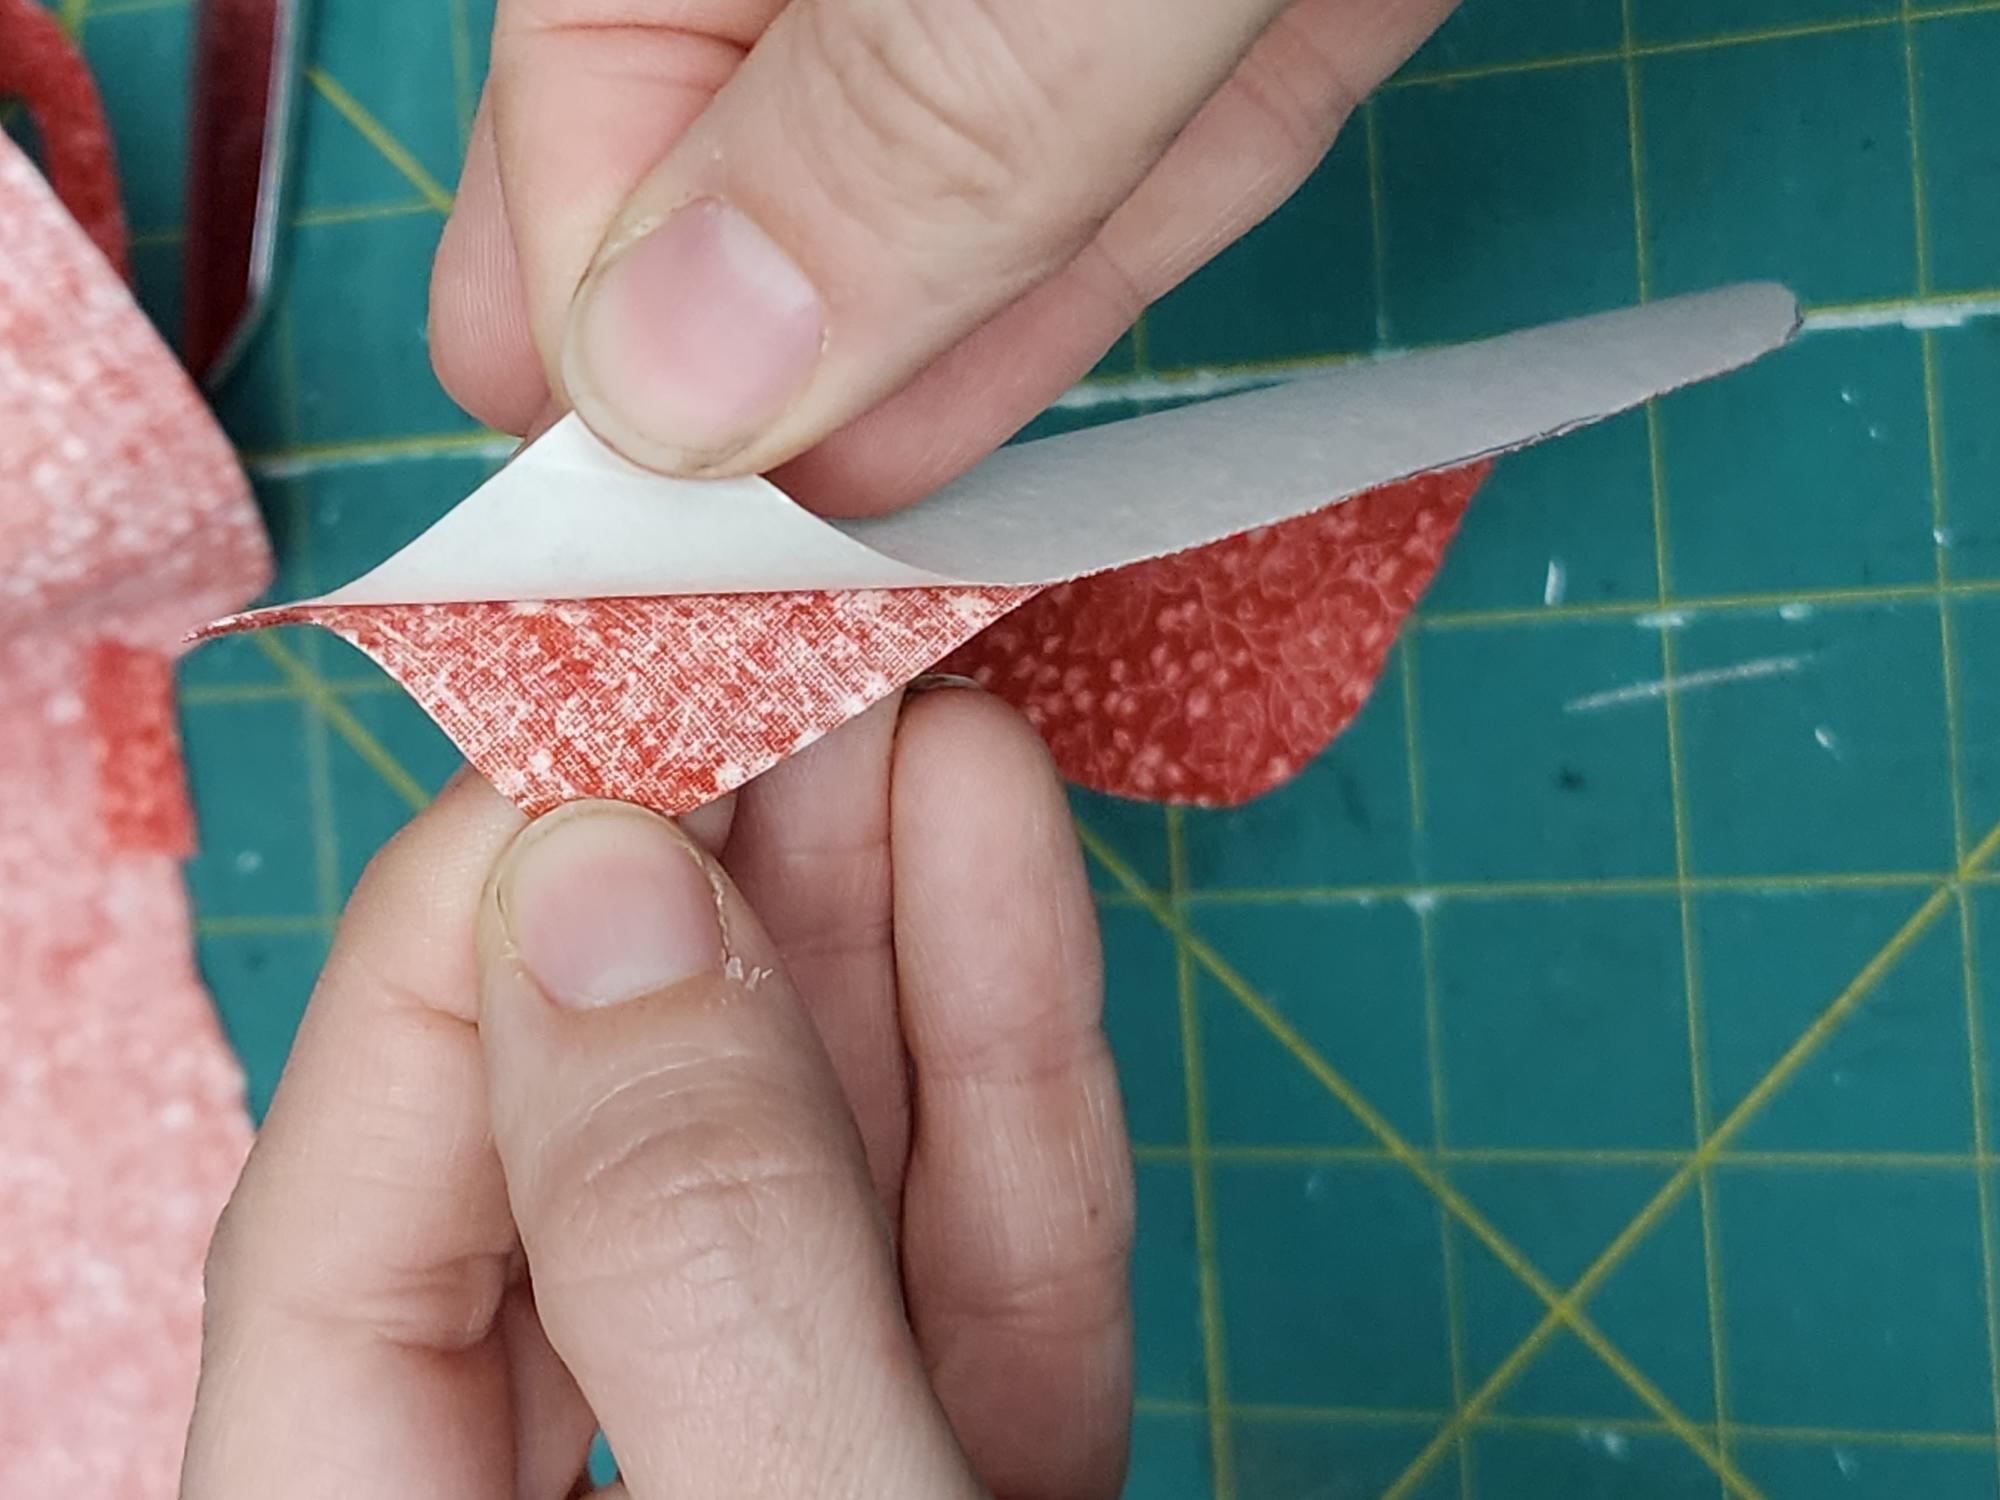
**I forgot to get pictures for steps 1-3 while making this project, but fortunately I’ve been working on other applique projects, so I will use pictures from that. It will help you understand the steps (it doesn’t really matter that they’re different shapes); just don’t get confused that you aren’t seeing pumpkins in those first 3 pictures.
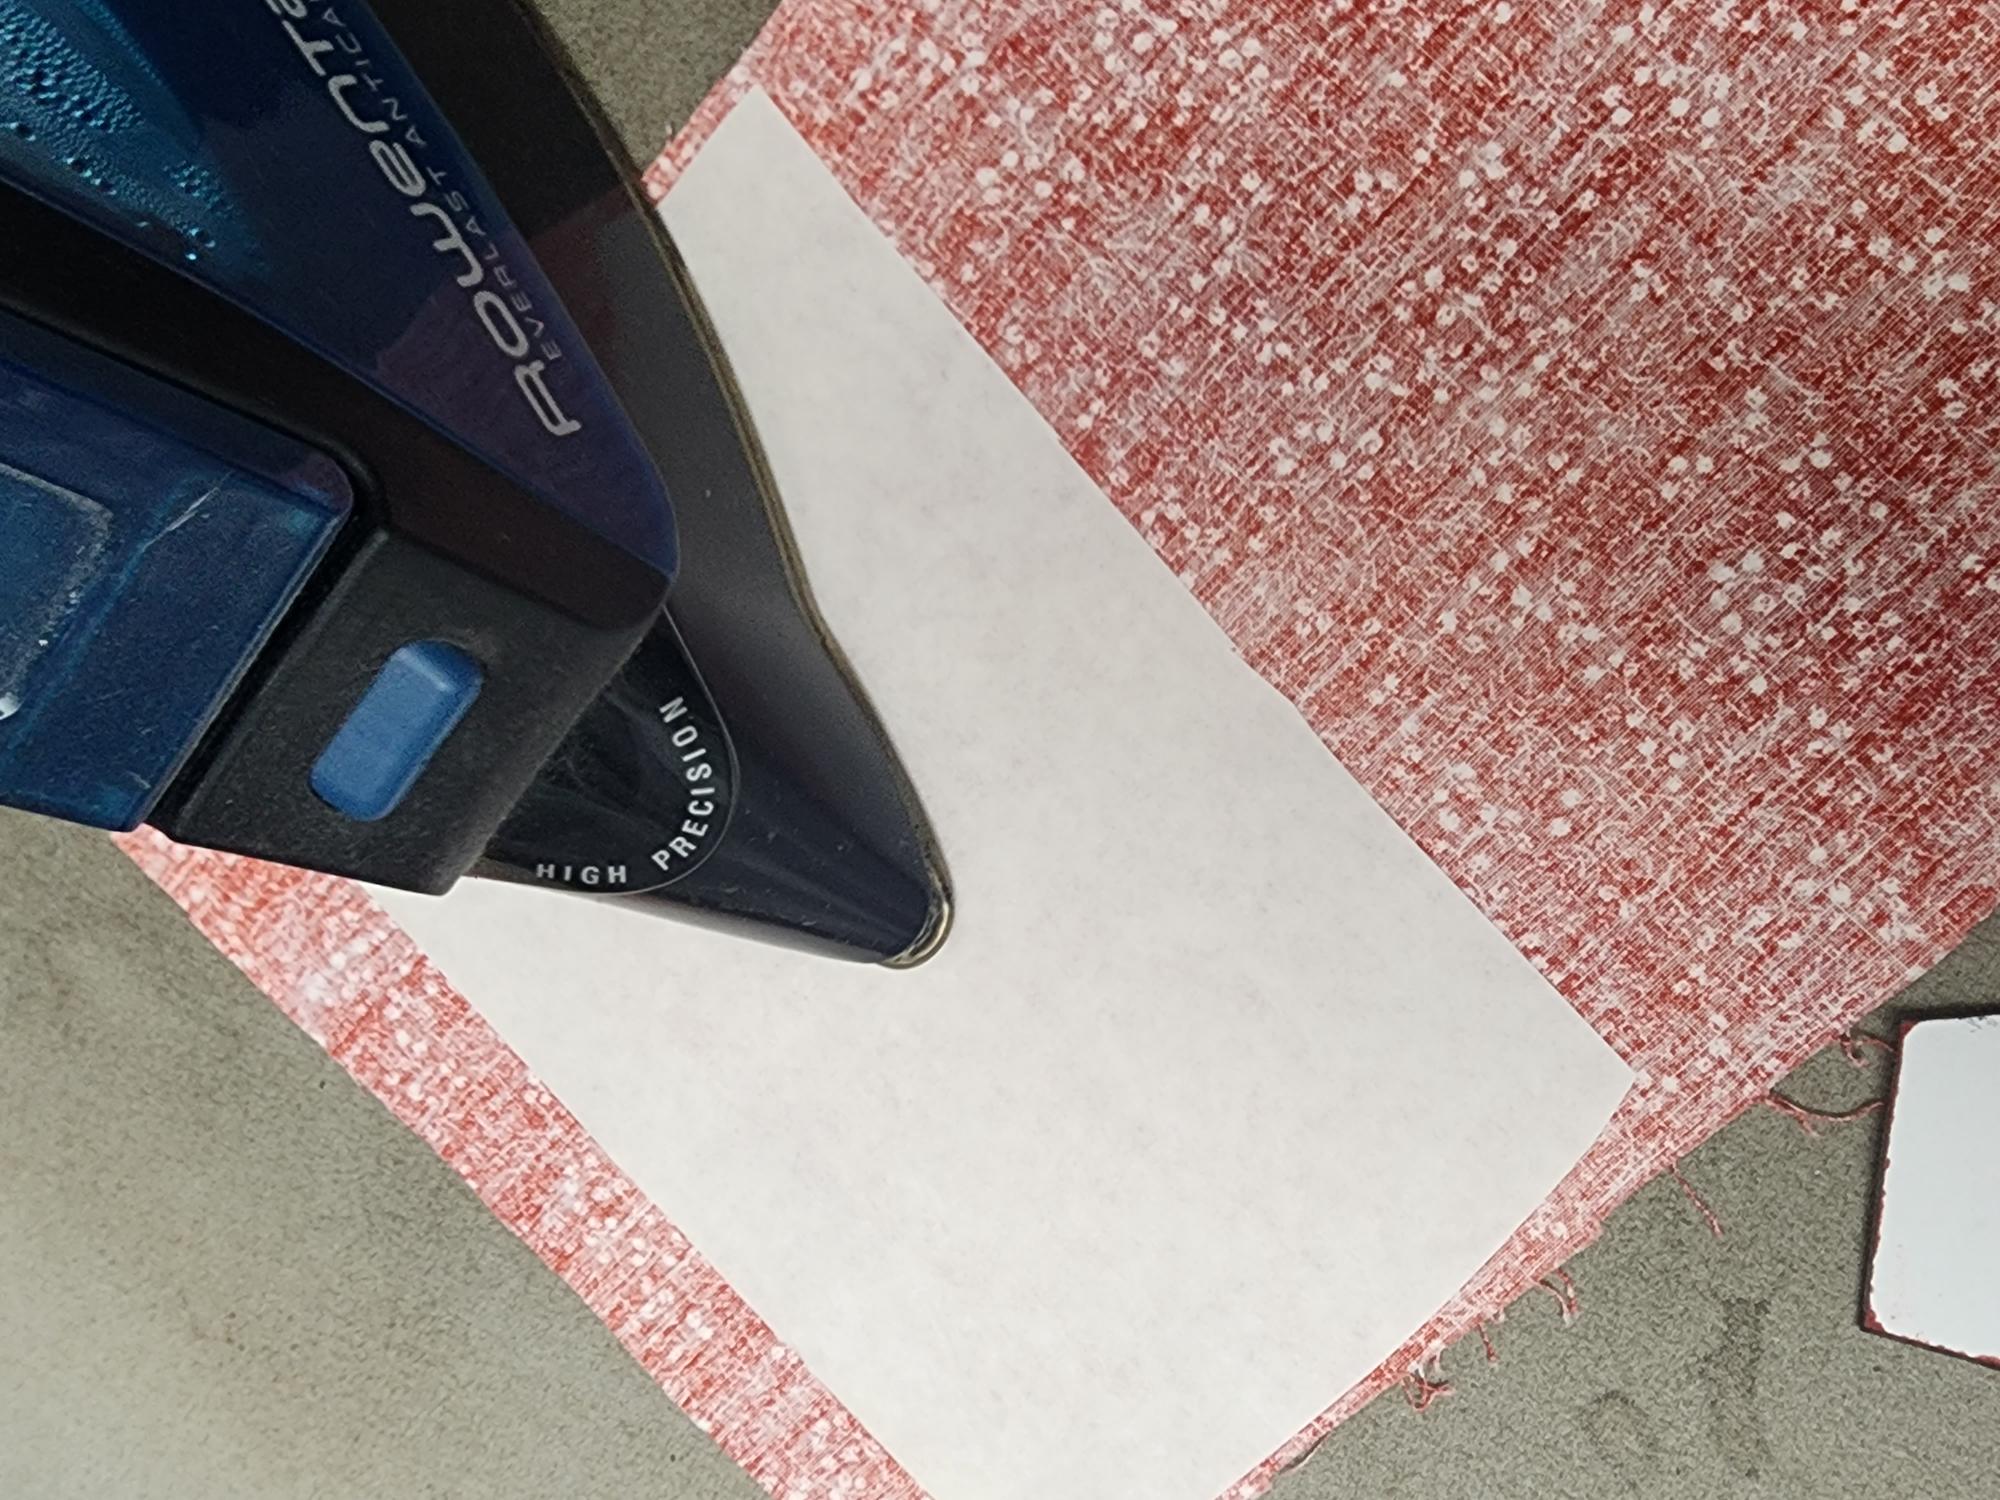
Step 1: Iron your wonder under onto the wrong side of your fabric for the shapes you want to use (in this case, pumpkins). The directions should be on the back of your wonder under package, but you’ll want the smooth side to face up and the rougher side to face down on the fabric. Iron (with no steam!) for about 5 seconds, until the wonder under is adhered to the fabric. Don’t over-iron!
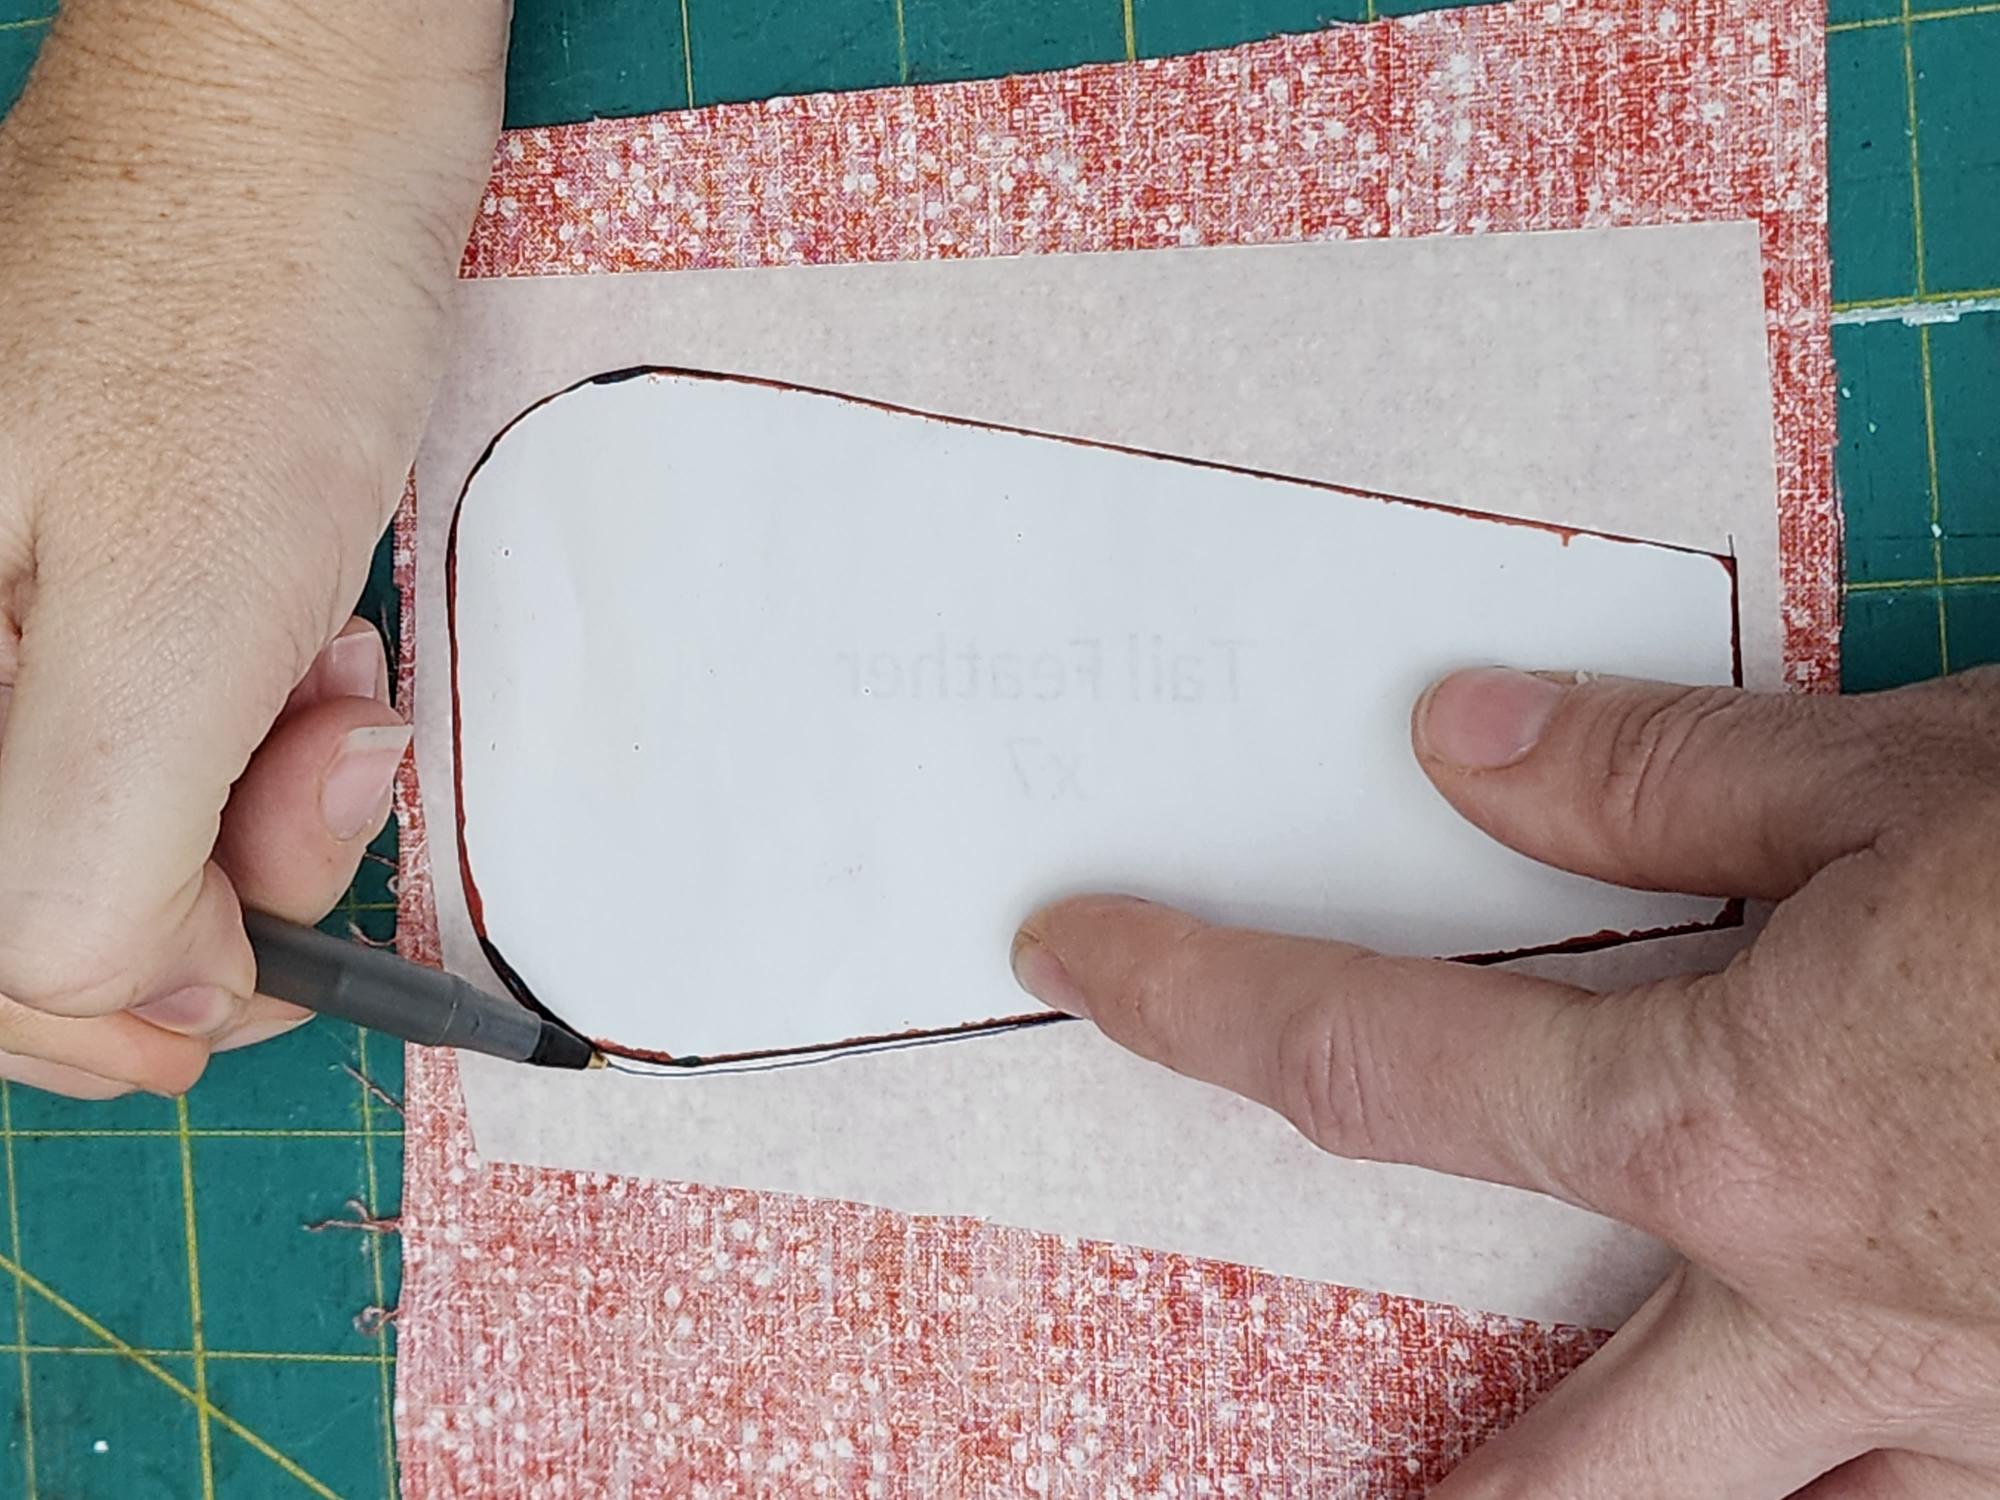
Step 2: Trace your shape right side down on the wonder under. This is especially important if you are doing letters or anything that has a specific direction. If you trace with the shape facing right side up, it will be backwards, or upside down, after you cut out the fabric. For a pumpkin, it probably doesn’t matter a whole lot 😉 Tip: I’ve found that tracing with a marker gives best results.
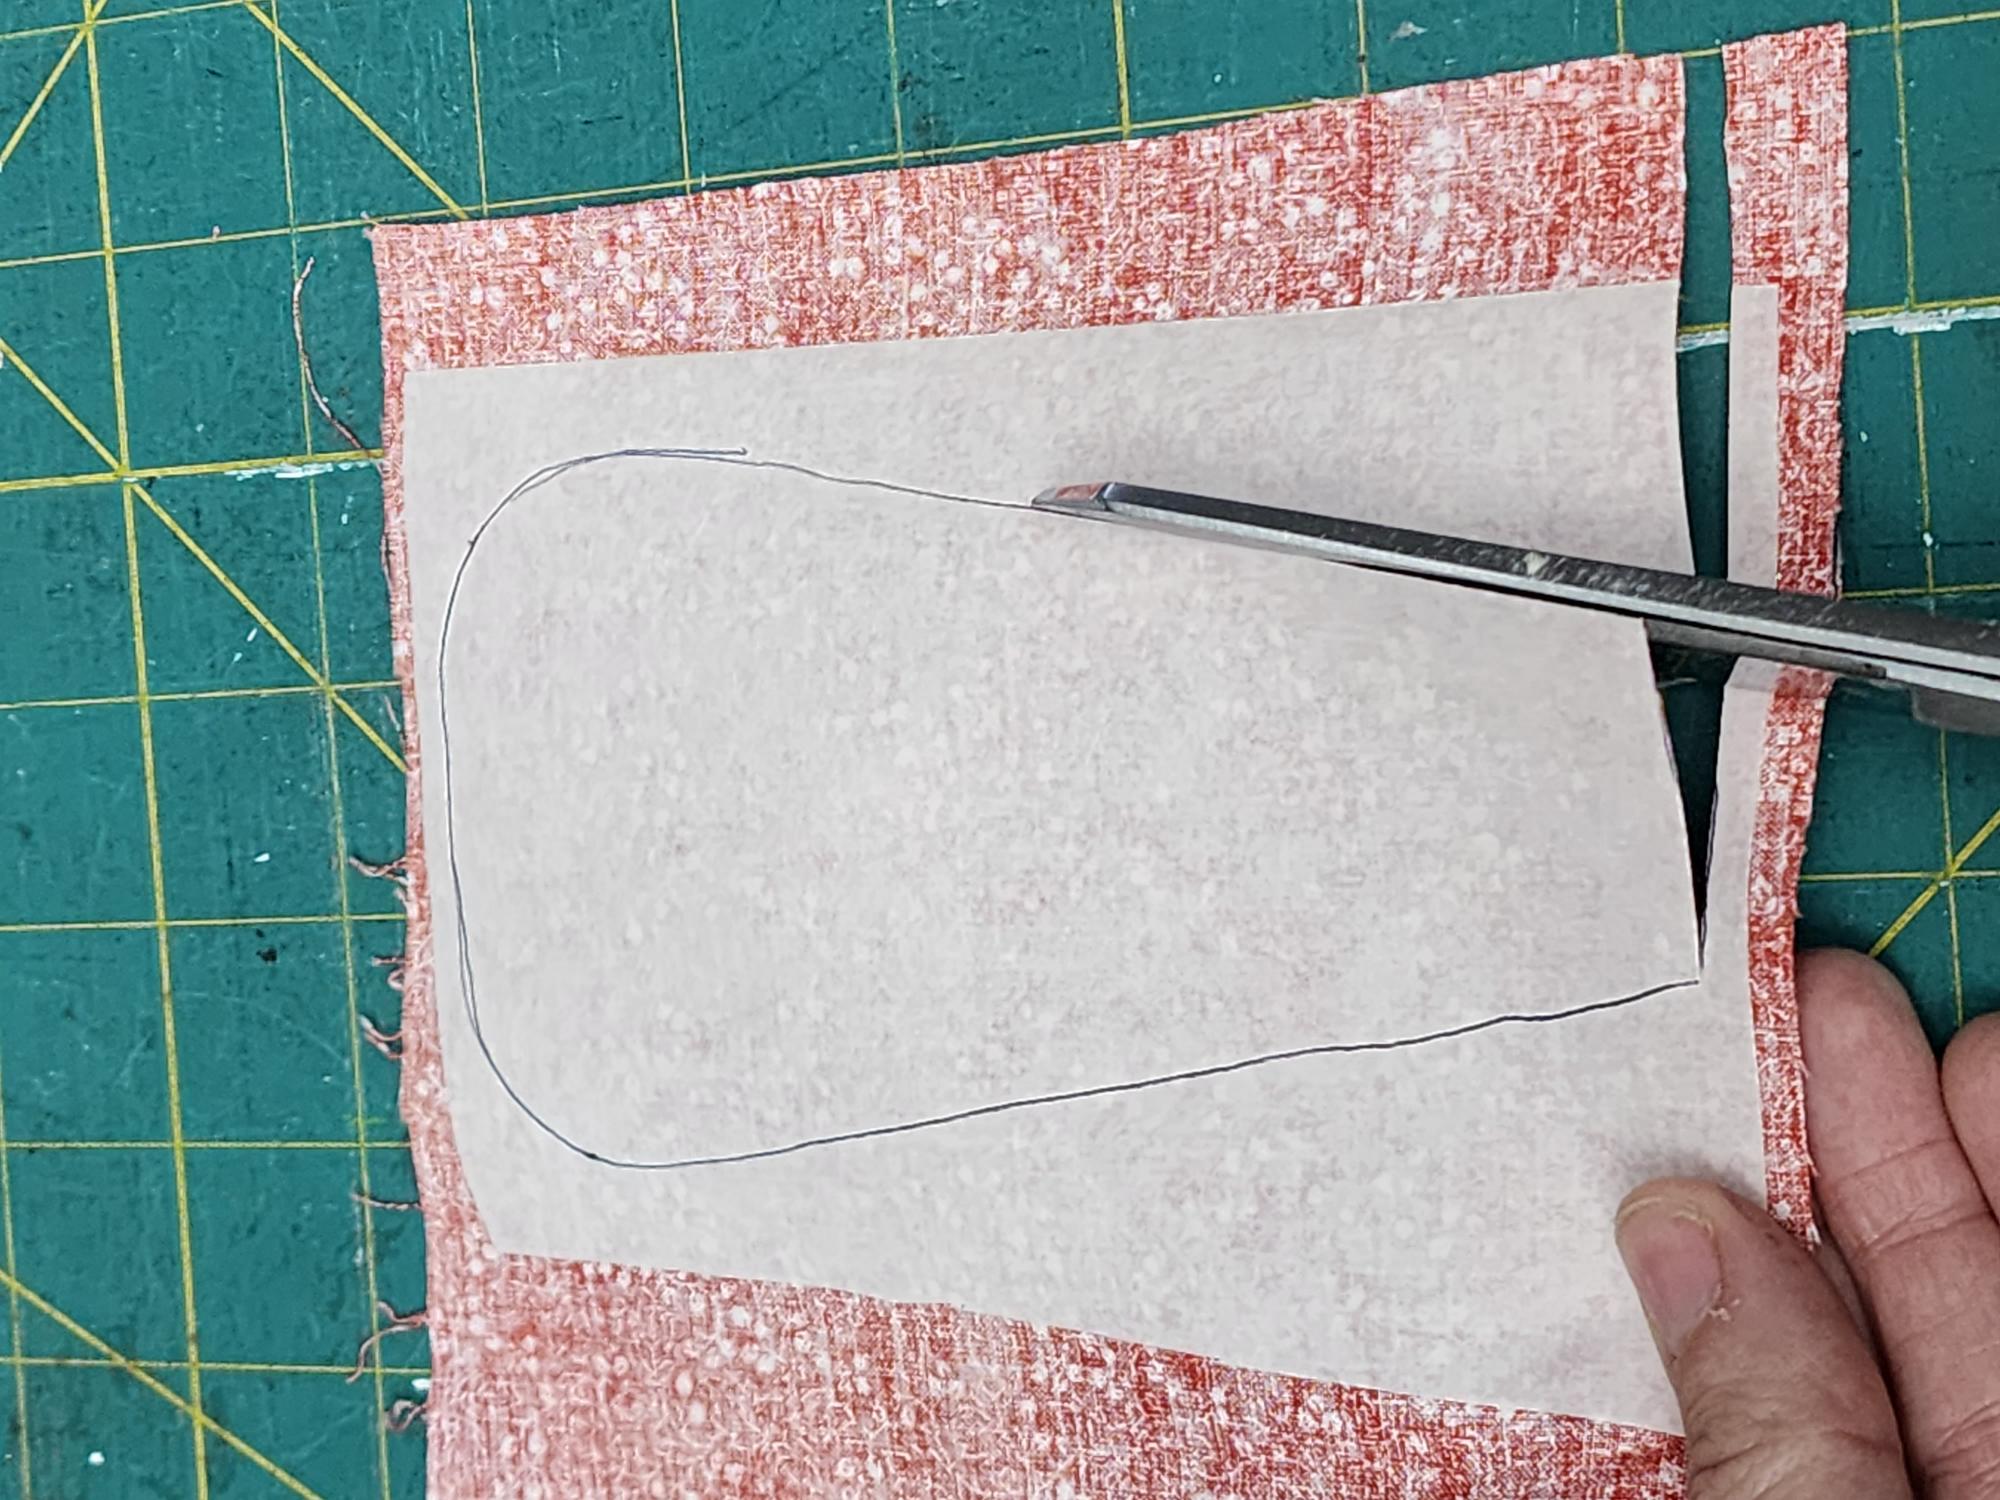
Step 3: Cut out your pumpkins and carefully peel off the paper backing. You should have a film left on the fabric. If that starts to peel up with the paper, that means you need a couple more seconds of ironing.
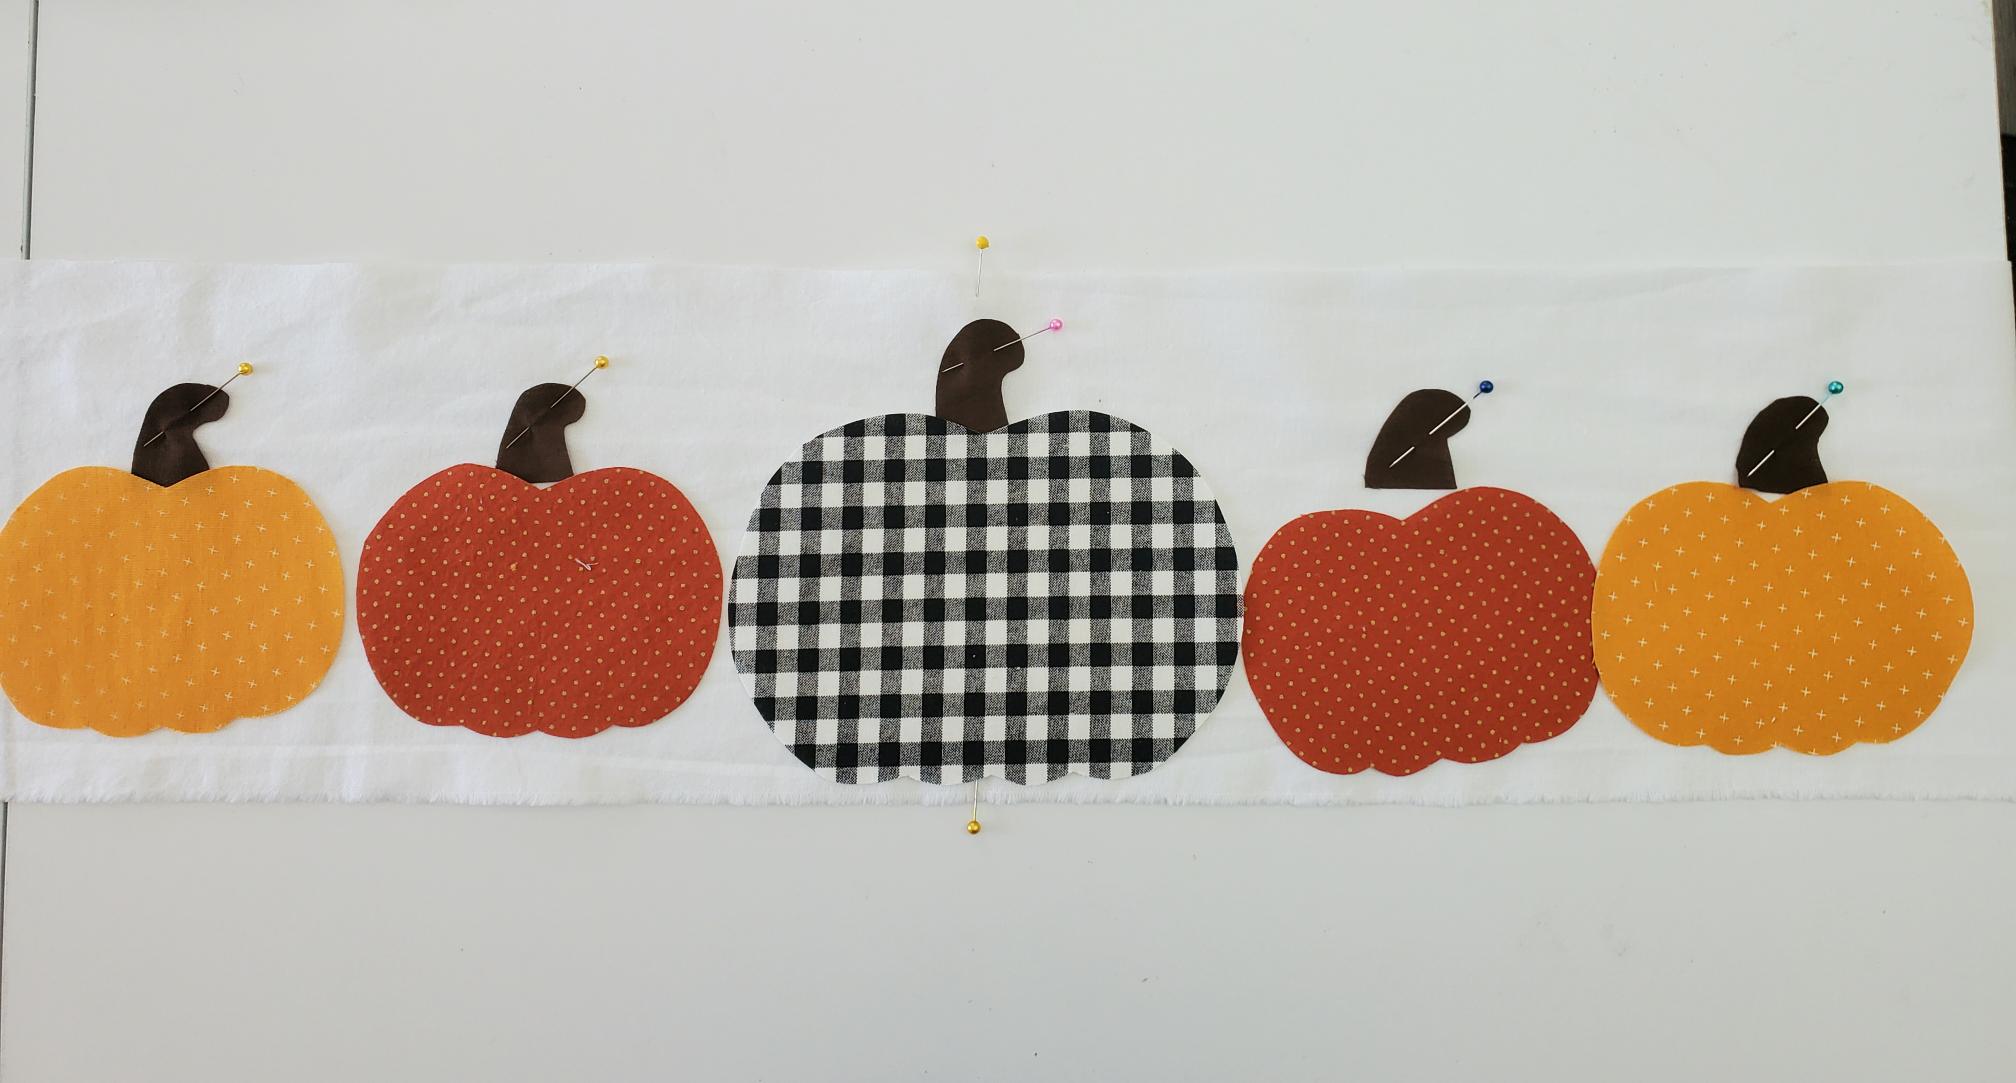
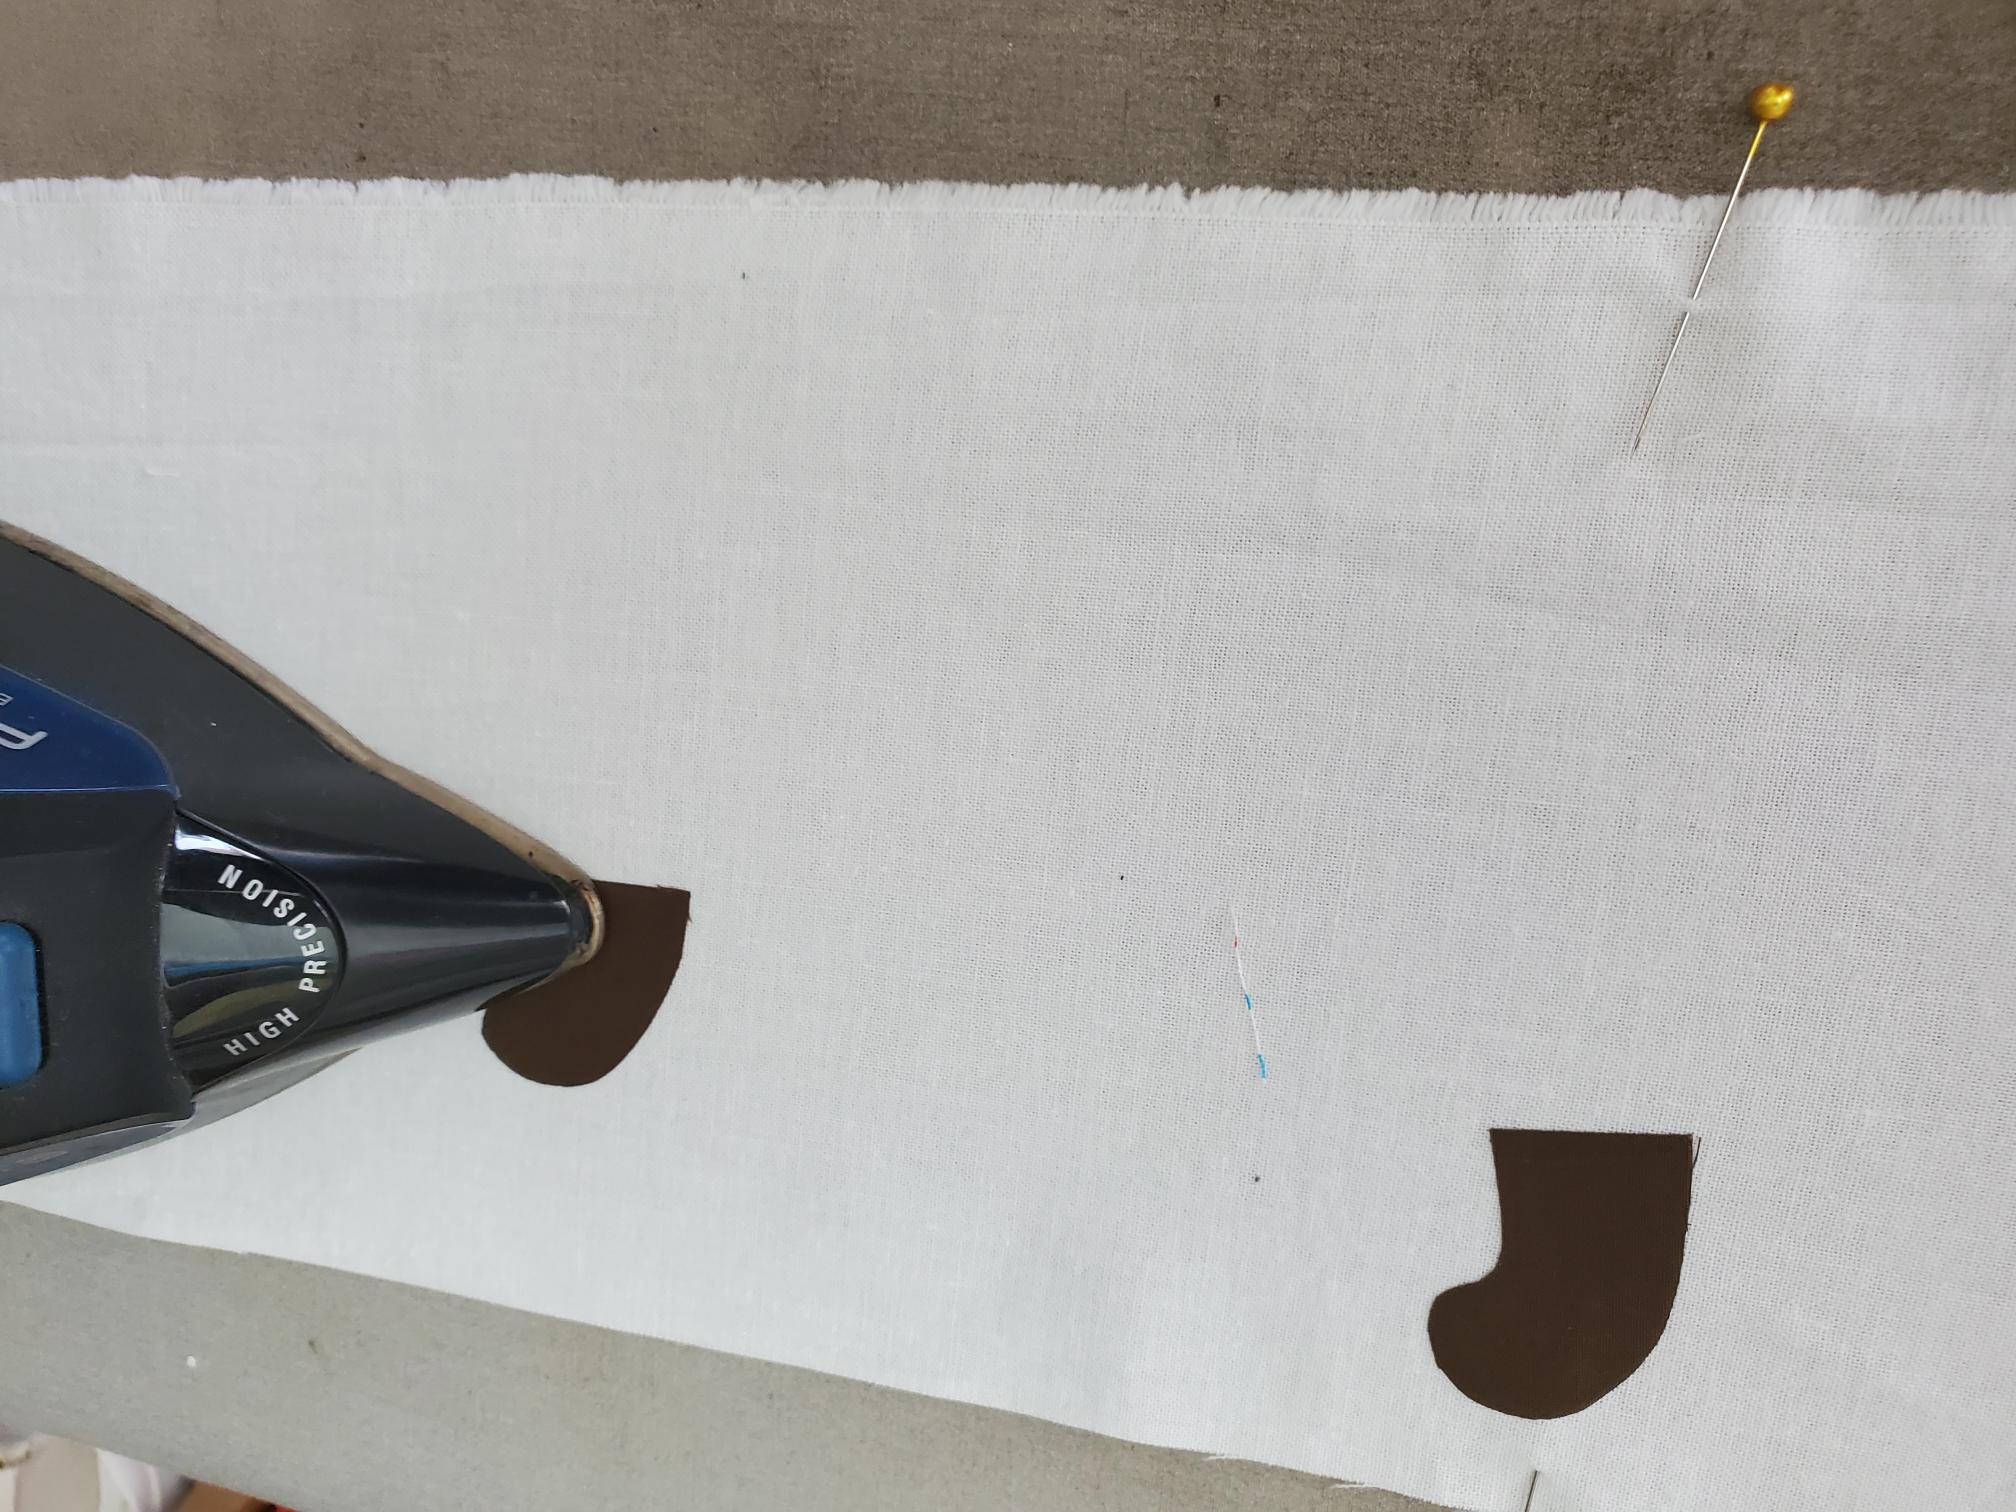
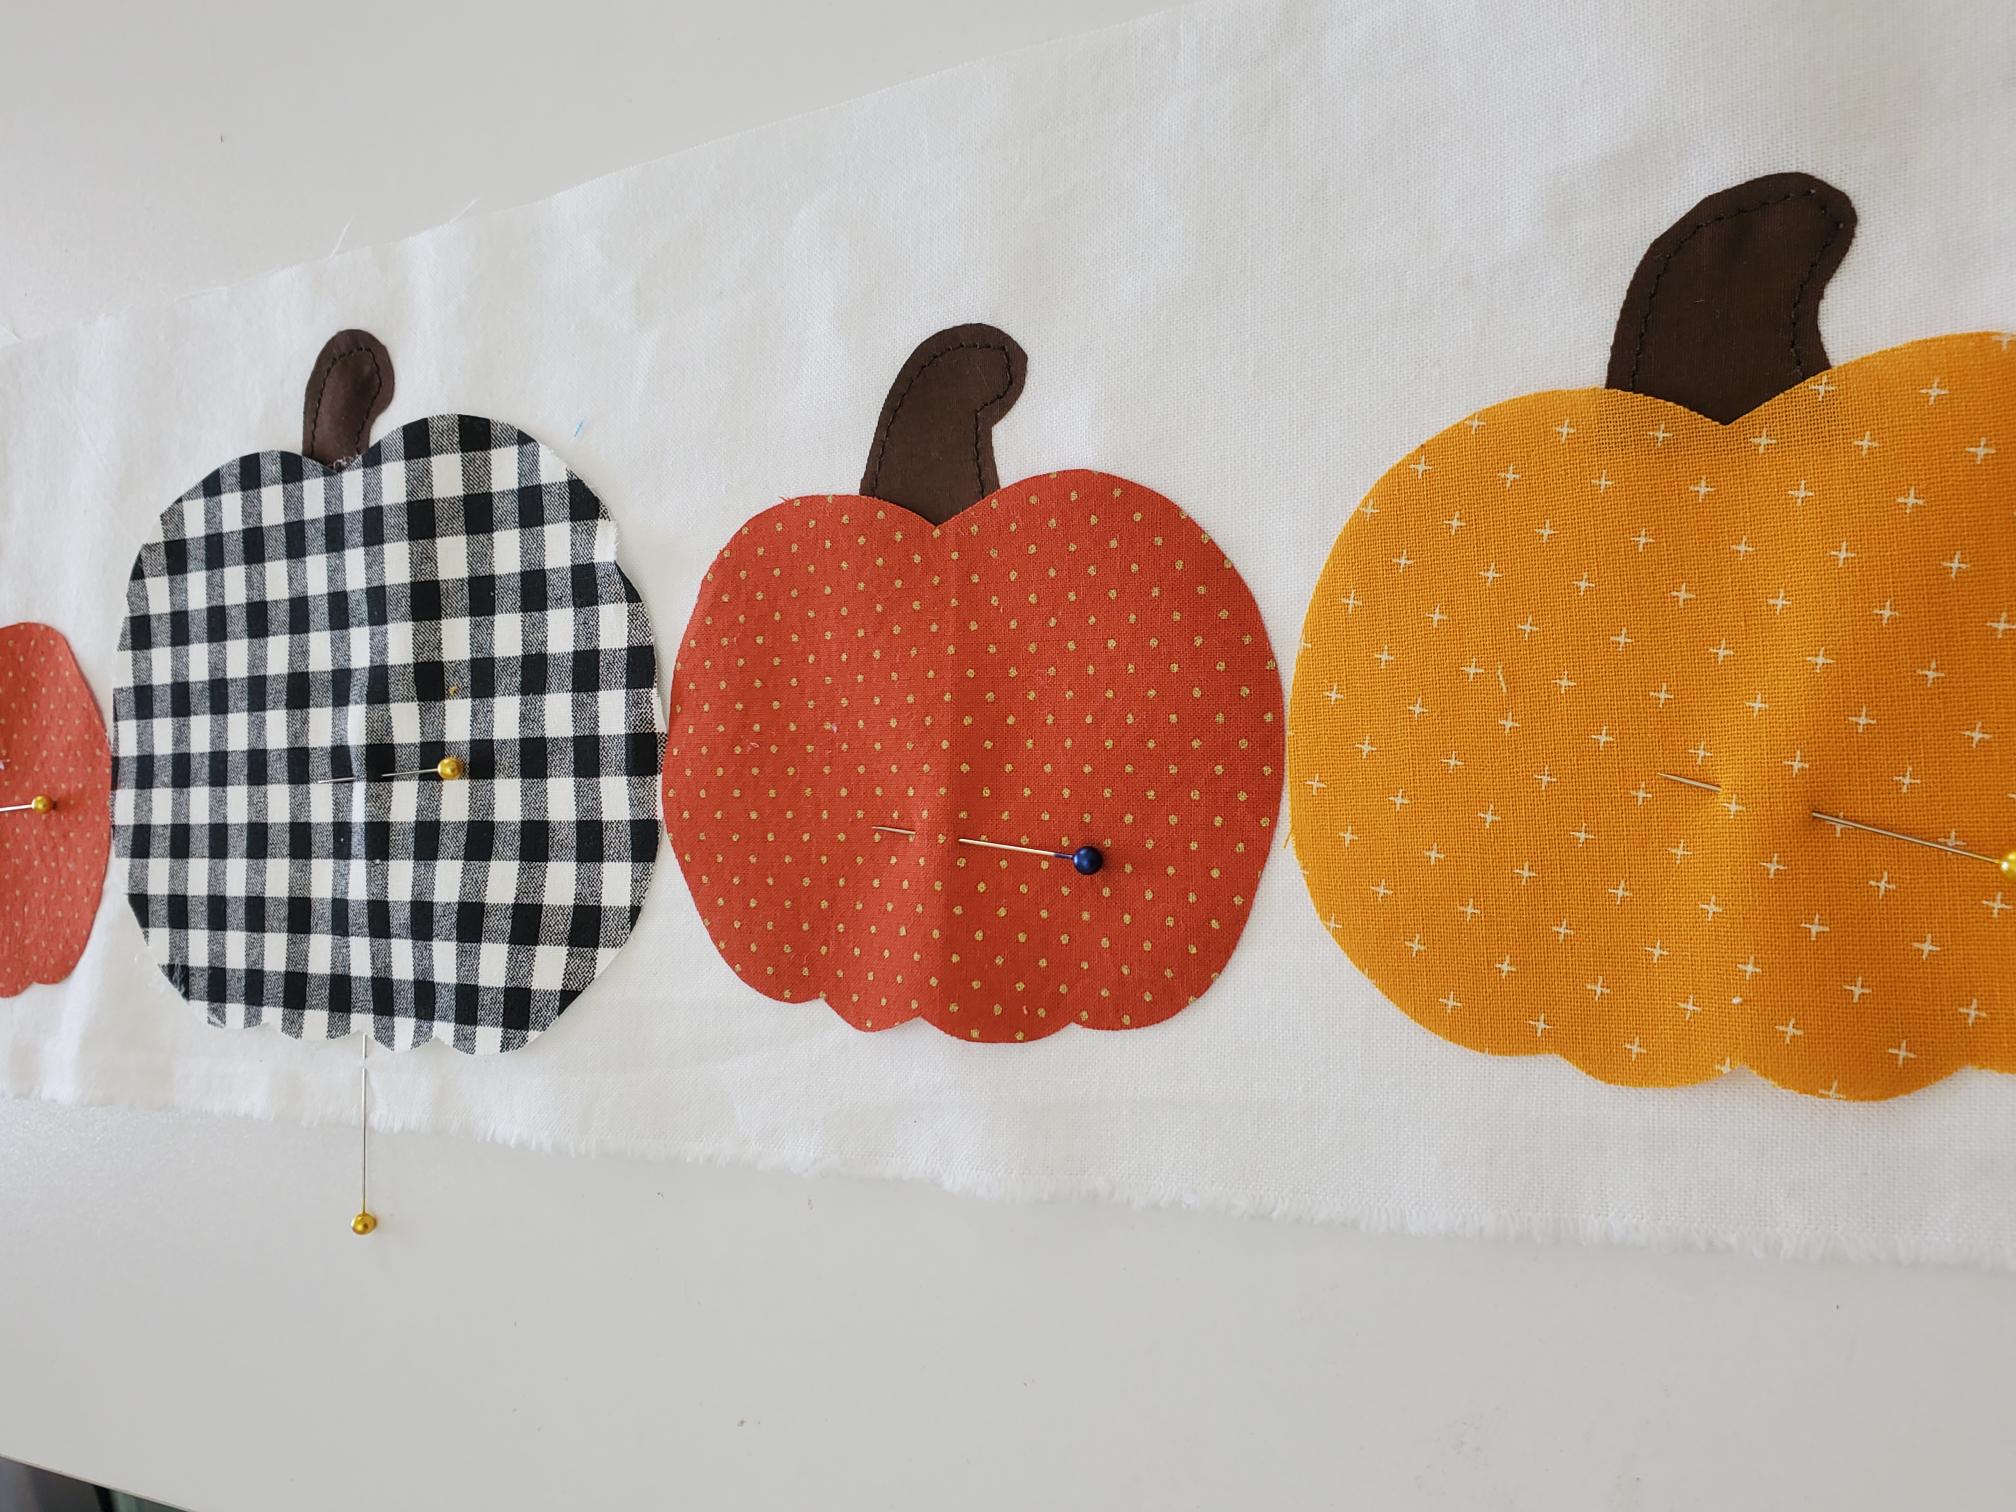
Step 4: Place your pumpkins and your stumps wherever you want them on your white (top) layer of fabric. Make sure that your stumps are underneath your pumpkins. Pin stumps in place (or mark with a small dot where you want them placed) and remove the pumpkins. Iron your stumps for about 10 seconds. They will now stay in place for you.
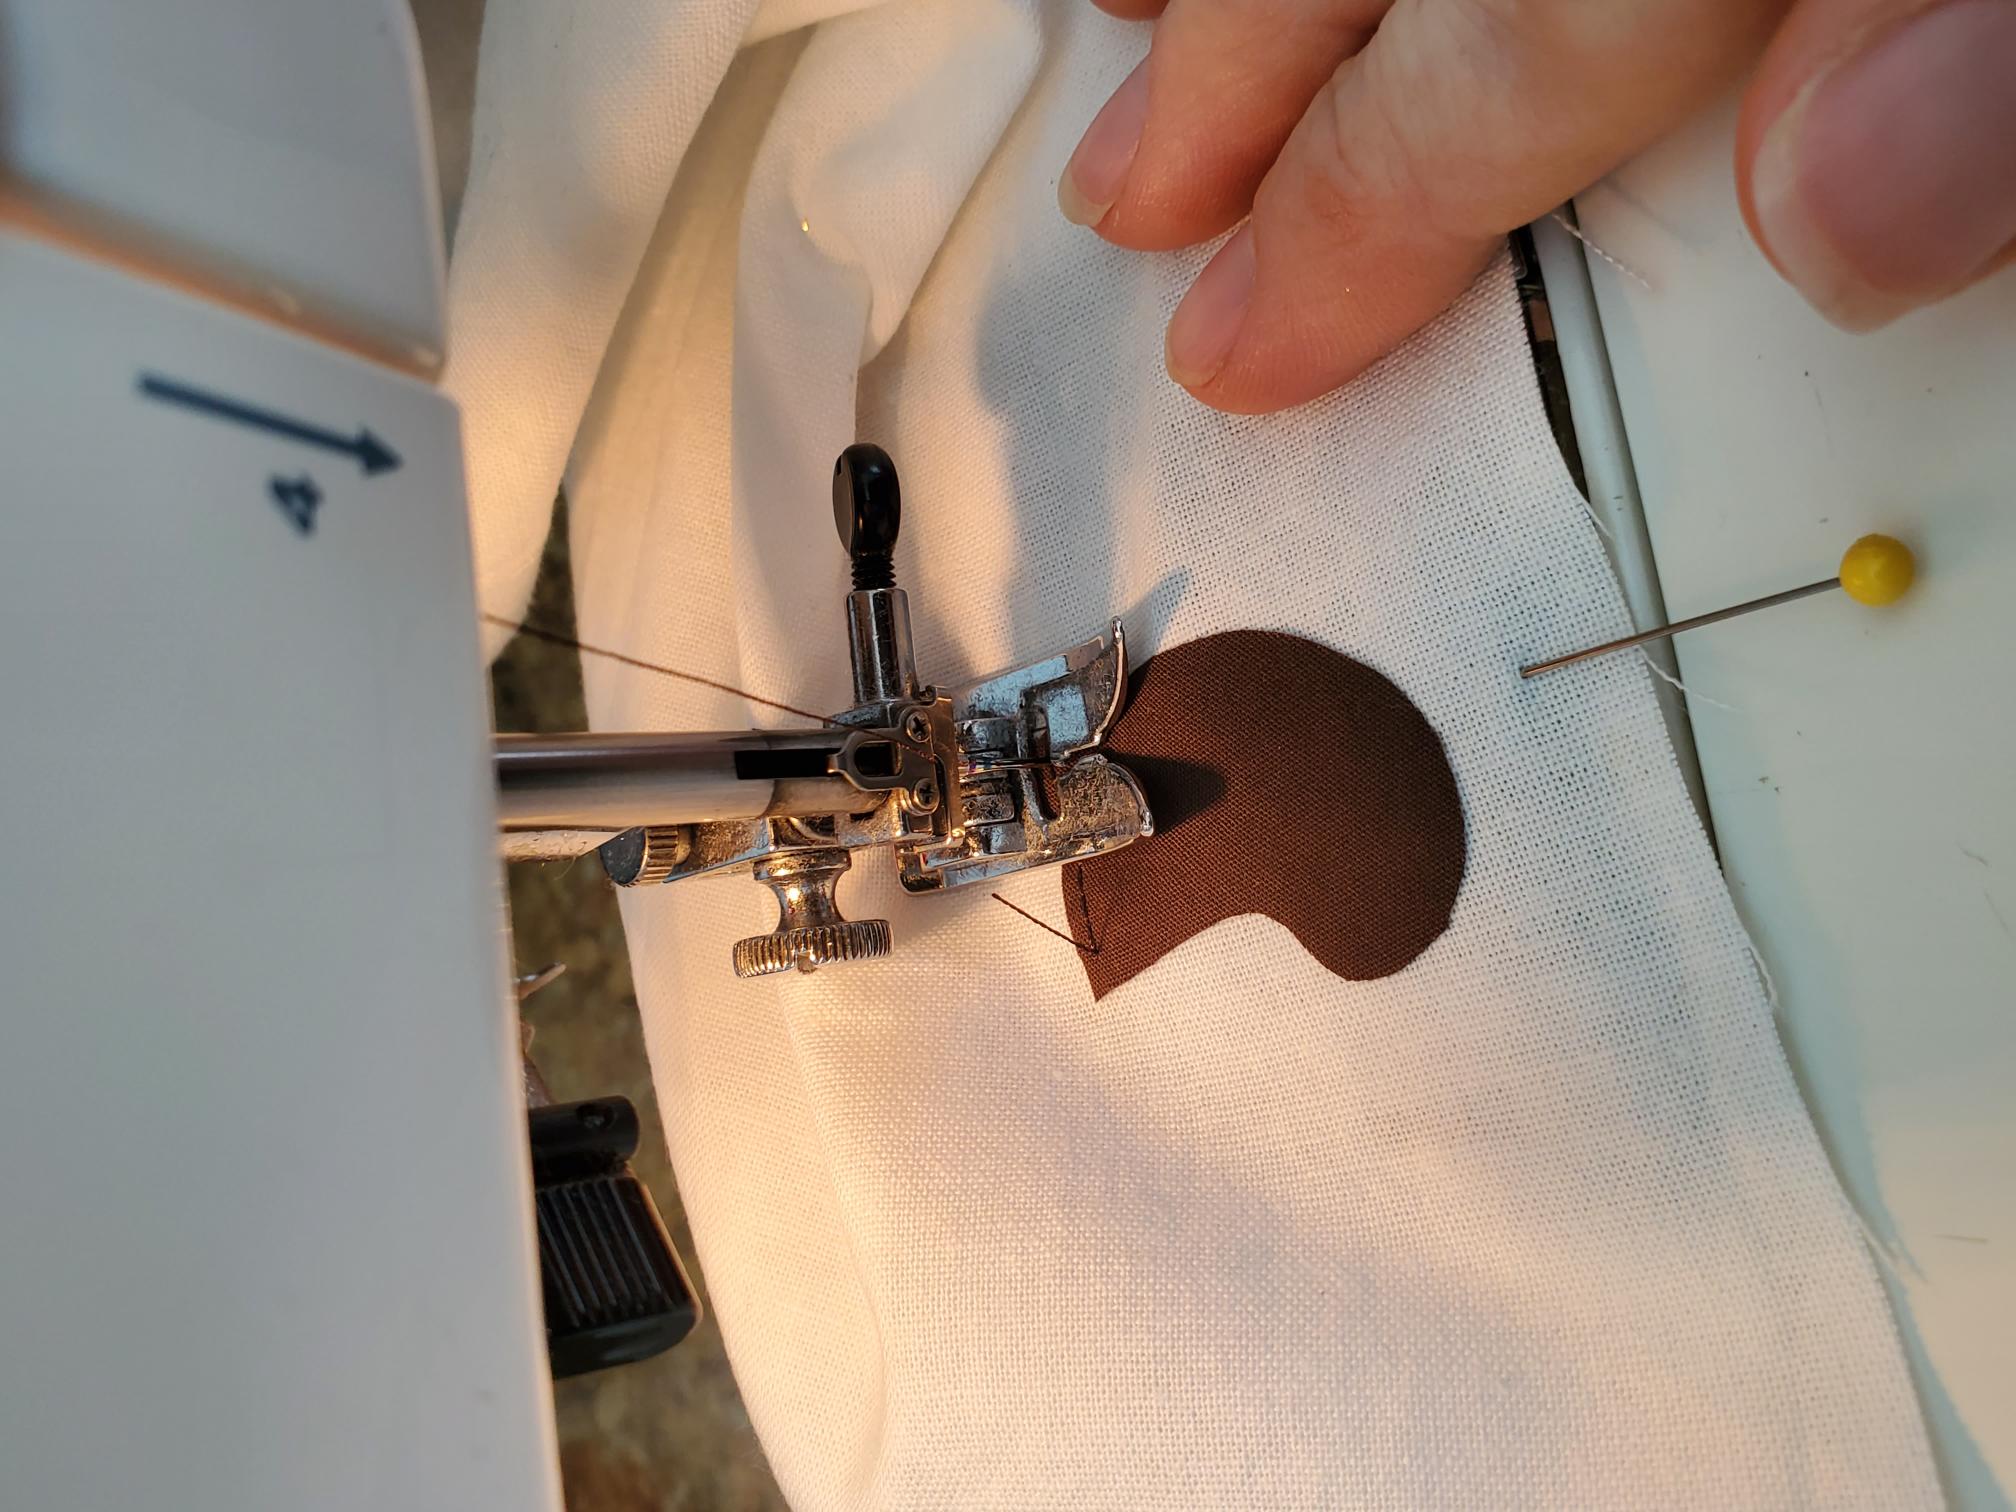
Step 5: Stitch around the stumps. You can either use a straight stitch or a zig zag. If you use a straight stitch, there is a chance that the the edges might peel up over time and fray. This can be a cute style (and what I chose for this runner), but if you don’t want fraying, use a zig zag stitch right along the edge of the stumps.
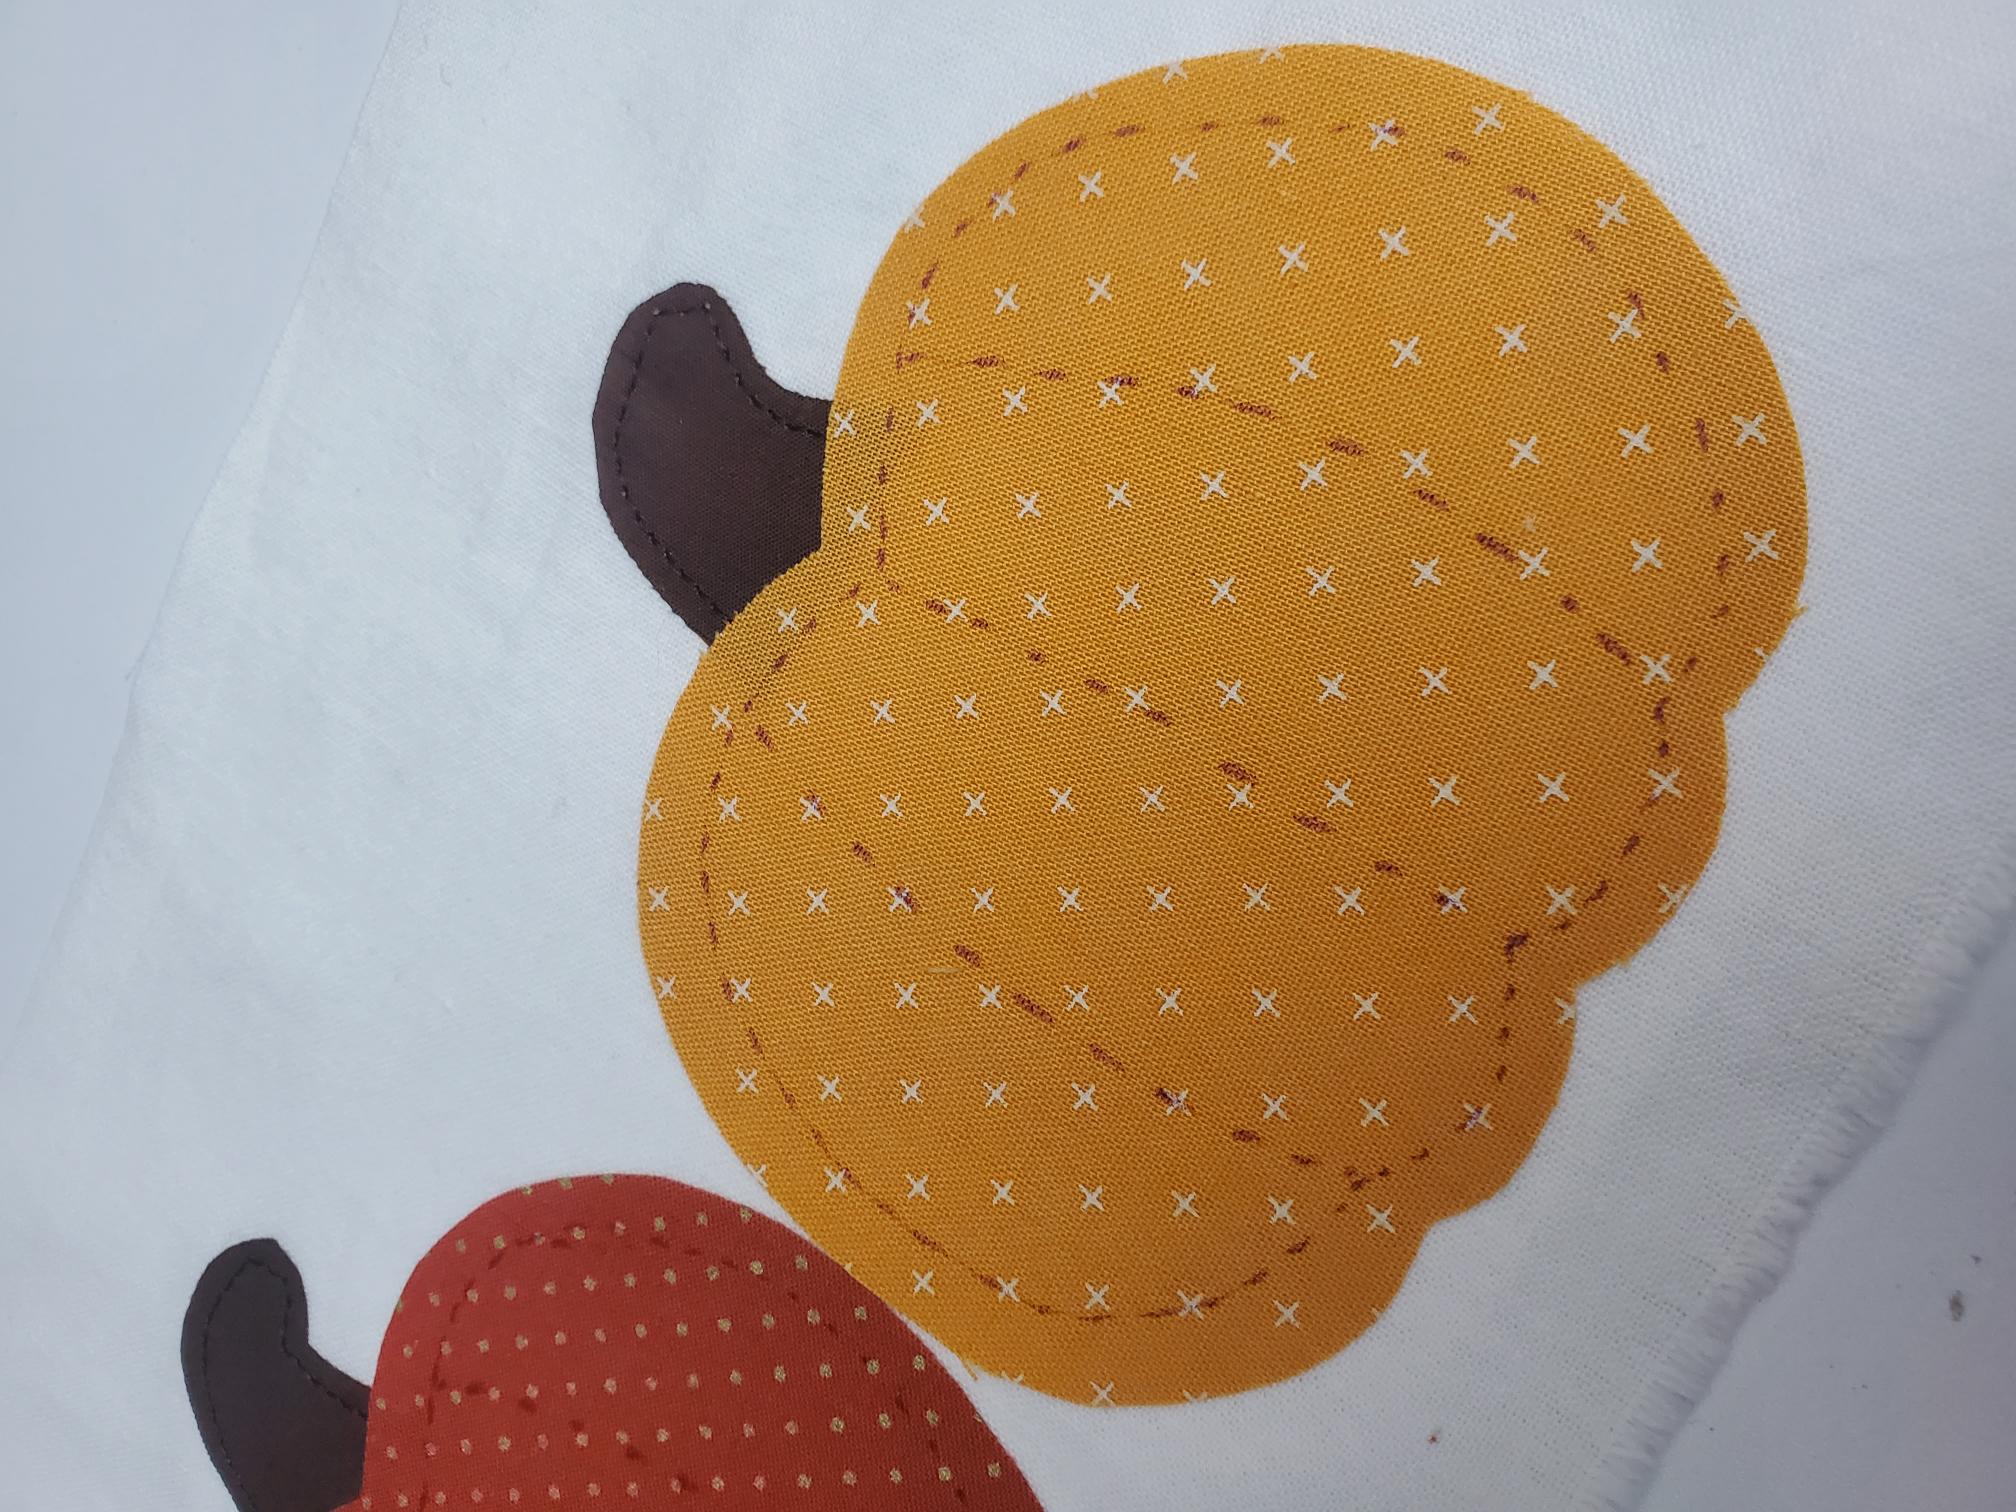
Step 6: Place your pumpkins back where you want them, slightly overlapping the stumps. Iron the pumpkins and stitch, just like you did with the stumps. I stitched lines into the pumpkins, as you can see. You can use your fabric marker to draw in those lines if that’s easier to follow than just winging it!

That’s all there is to applique! Now, let’s stitch the runner together! This is the easy part 😉
Sewing the runner Together
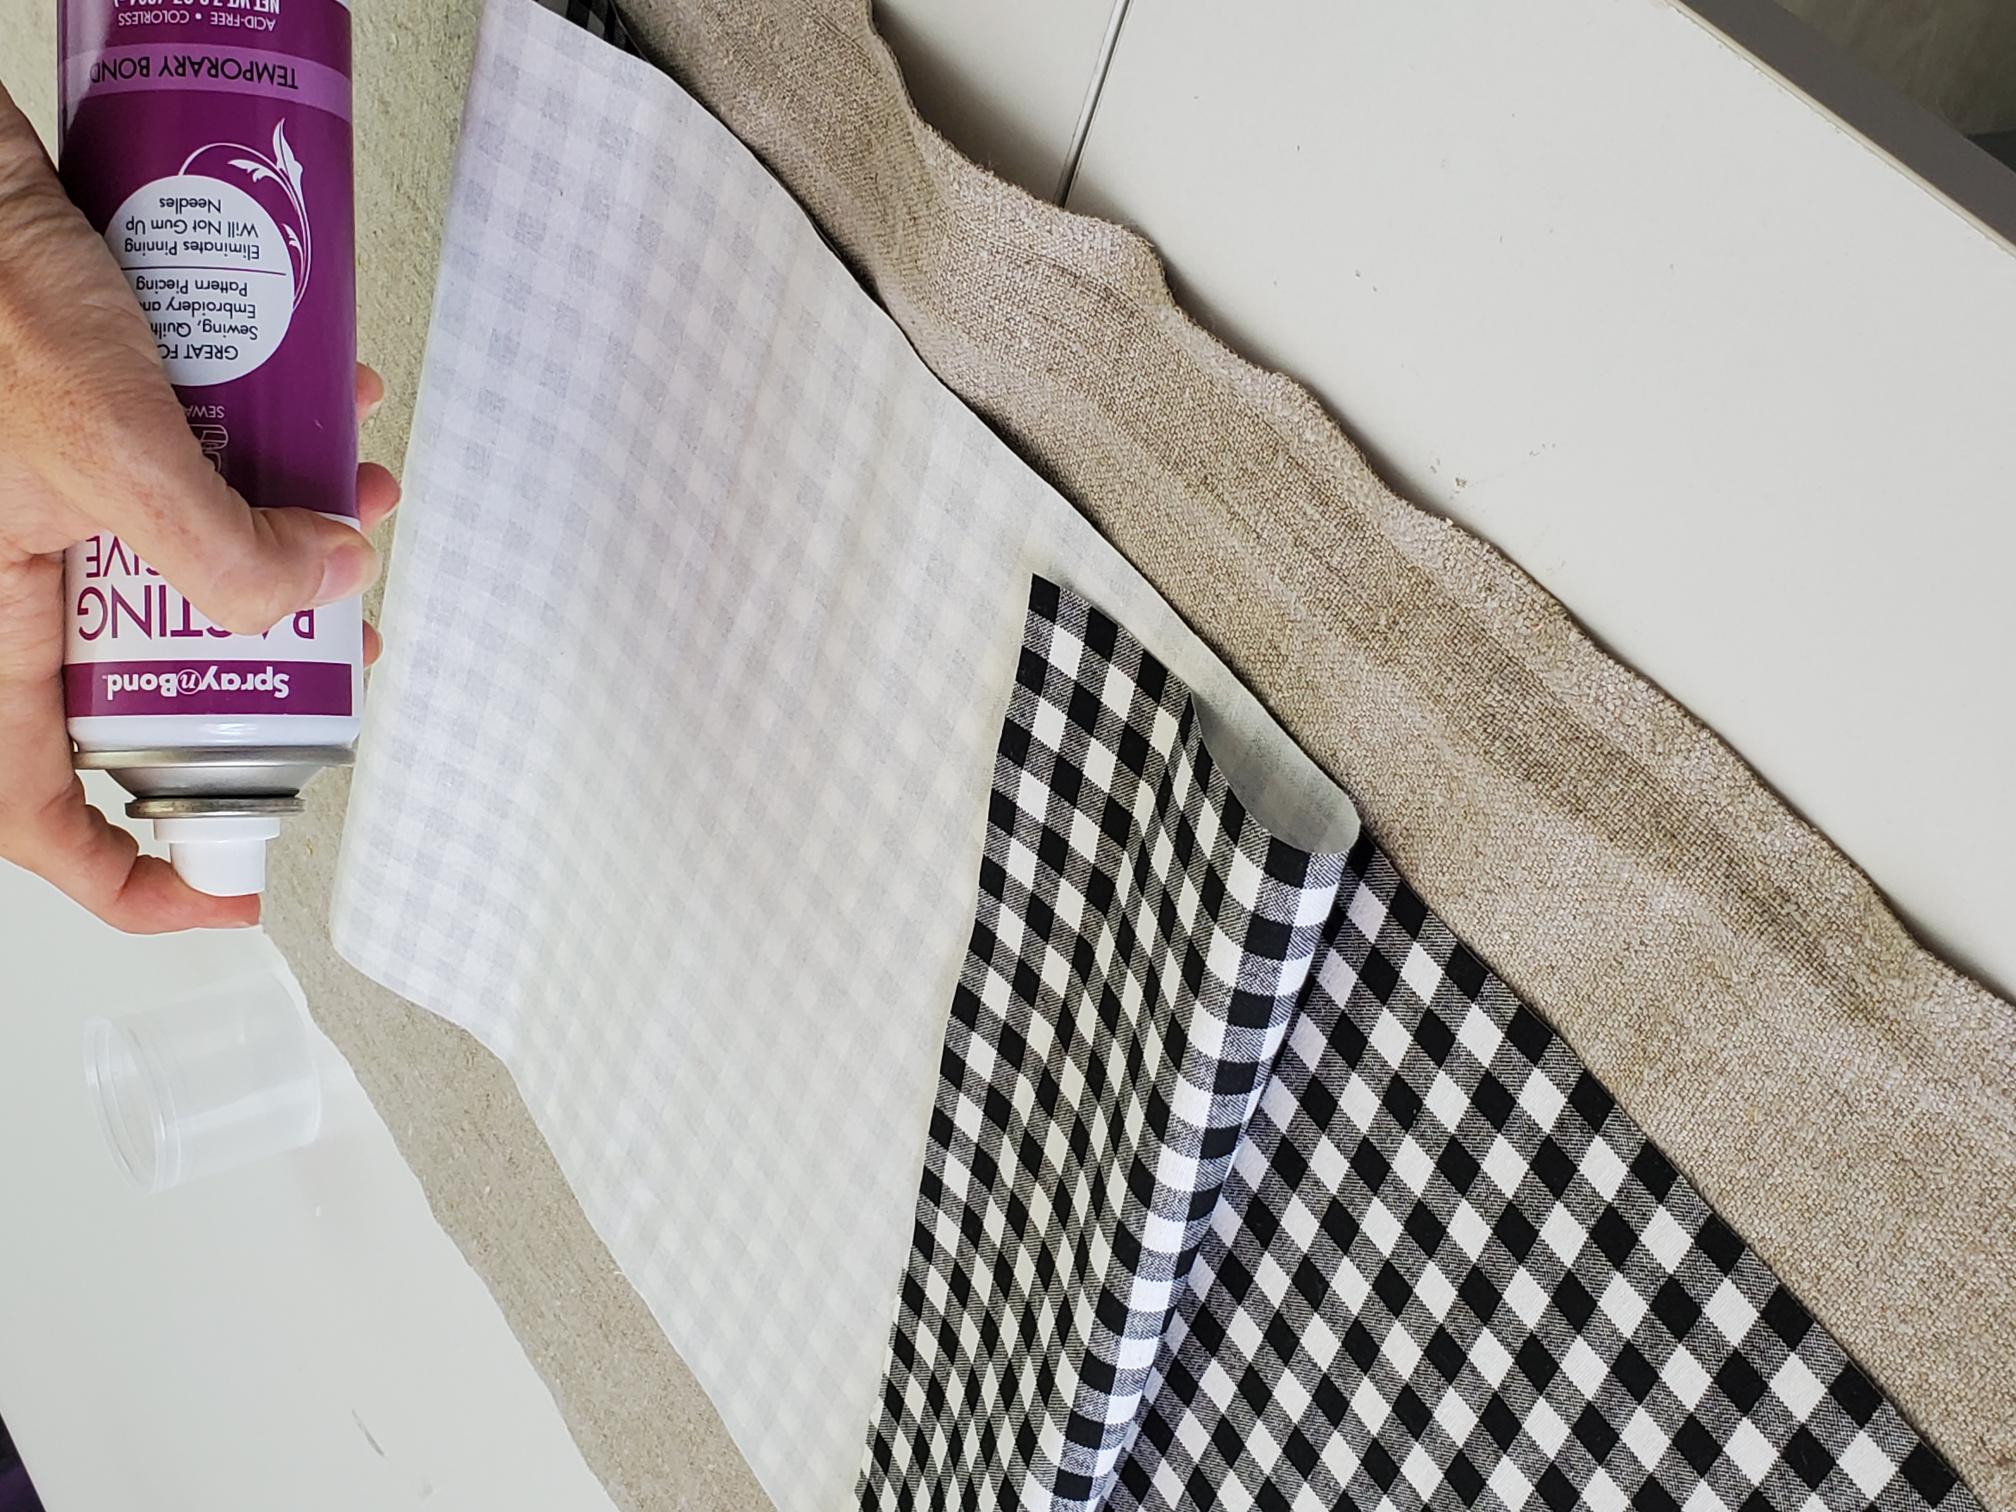
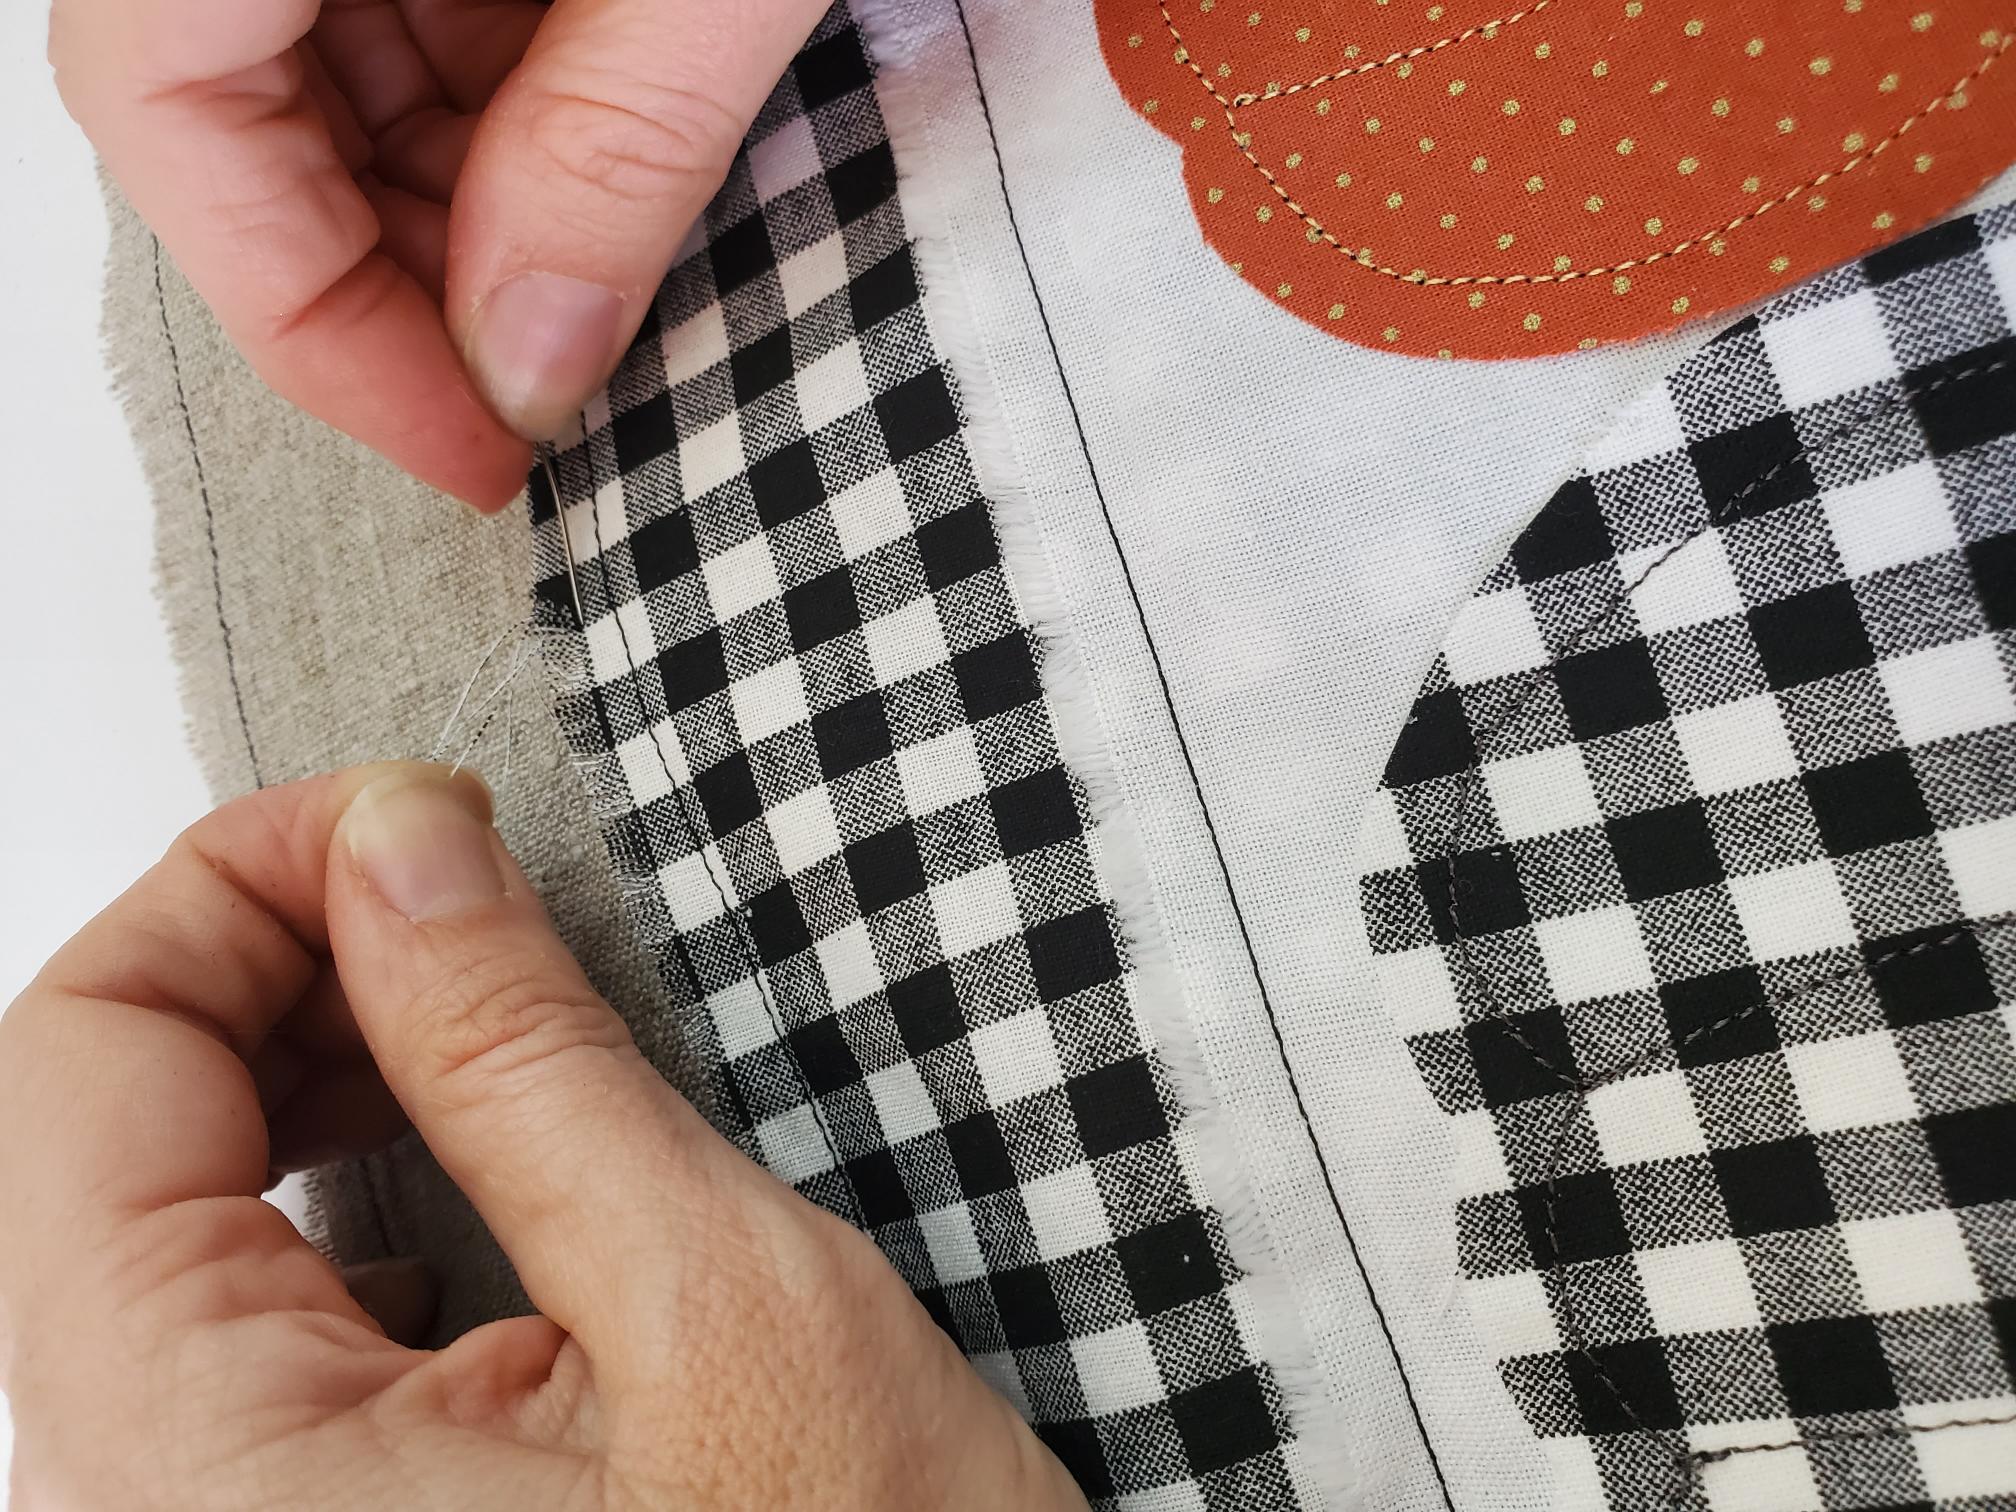
Lay your checkered (middle) fabric on top of your burlap (bottom) fabric. Make sure it’s centered and pin in place. Also, you can use a basting spray if you’d like. Simply spray the burlap fabric (don’t go crazy with the spray, a little goes a long way) and then place your checkered piece on top. The spray gives it a temporary hold and helps it to not slide around while sewing. Even if you spray baste, I would still add pins around the edges of your checkered fabric to hold it together with your checkered piece. Stitch around the checkered fabric, about 1/2″ away from the edge to allow for fraying.
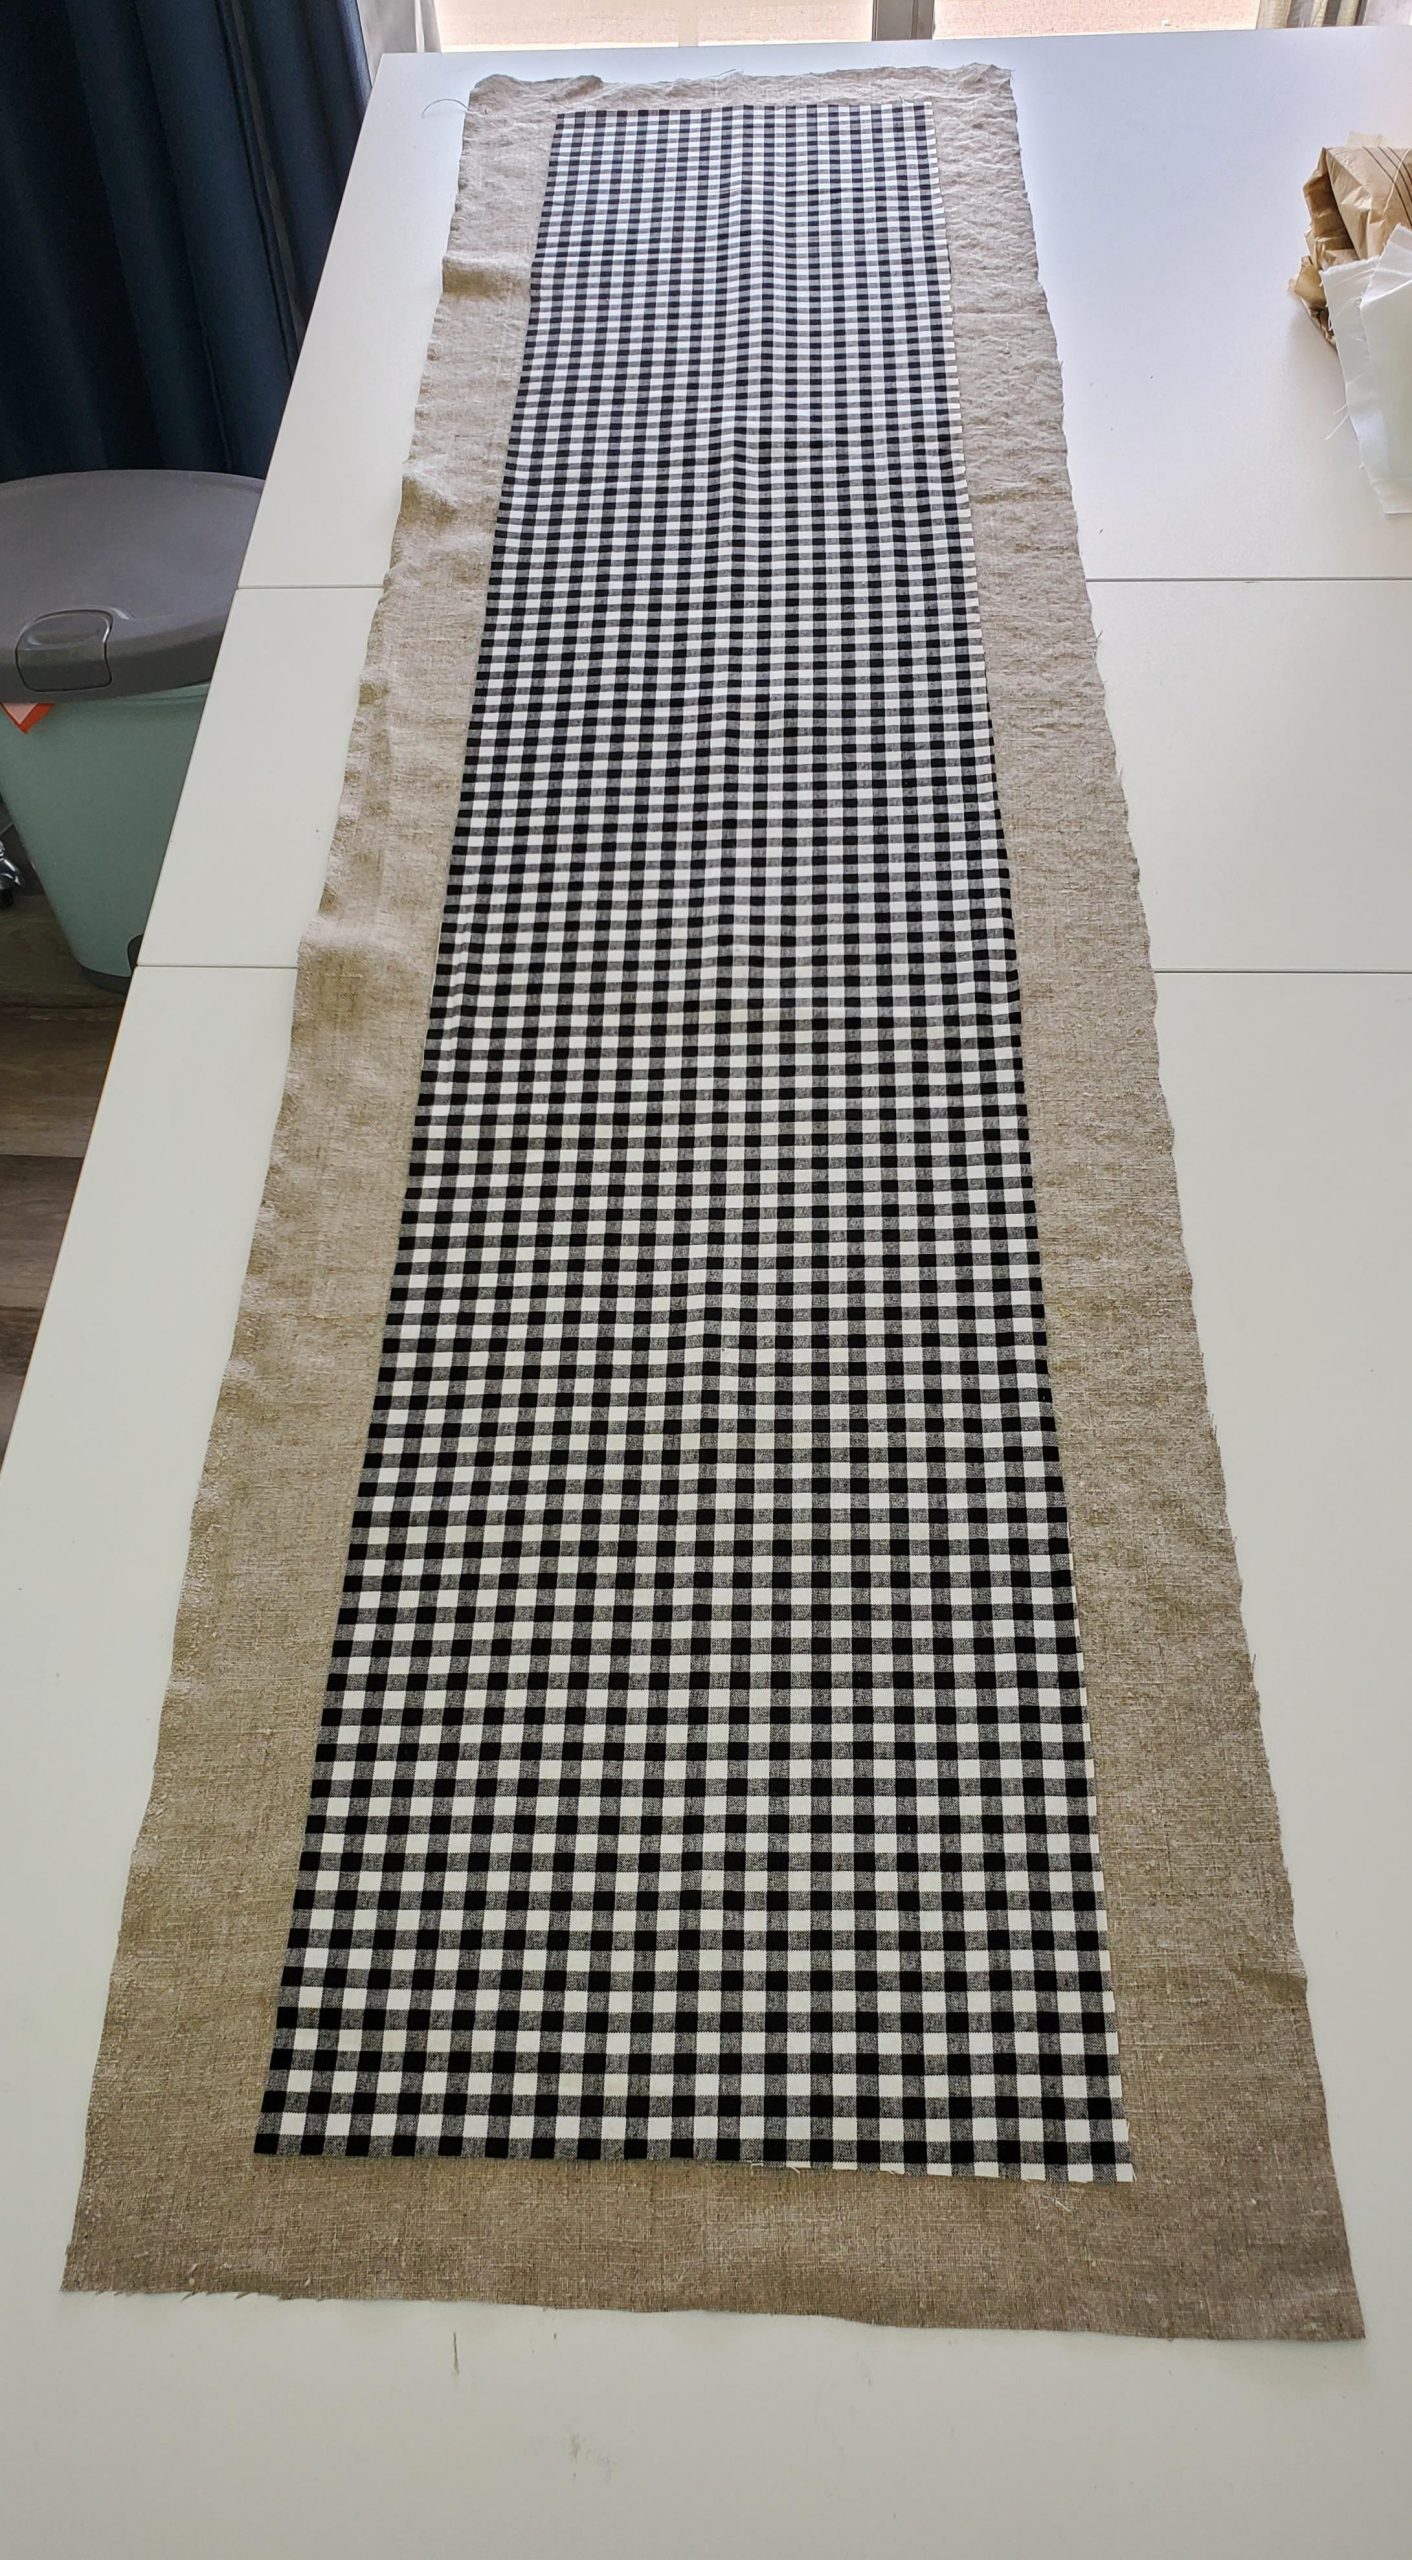
Lay out your white piece (with the appliqued pumpkins) on top of the checkered fabric, the same way that you just did your first two layers. Spray baste (if desired) and pin. Stitch around the perimeter of the white fabric.
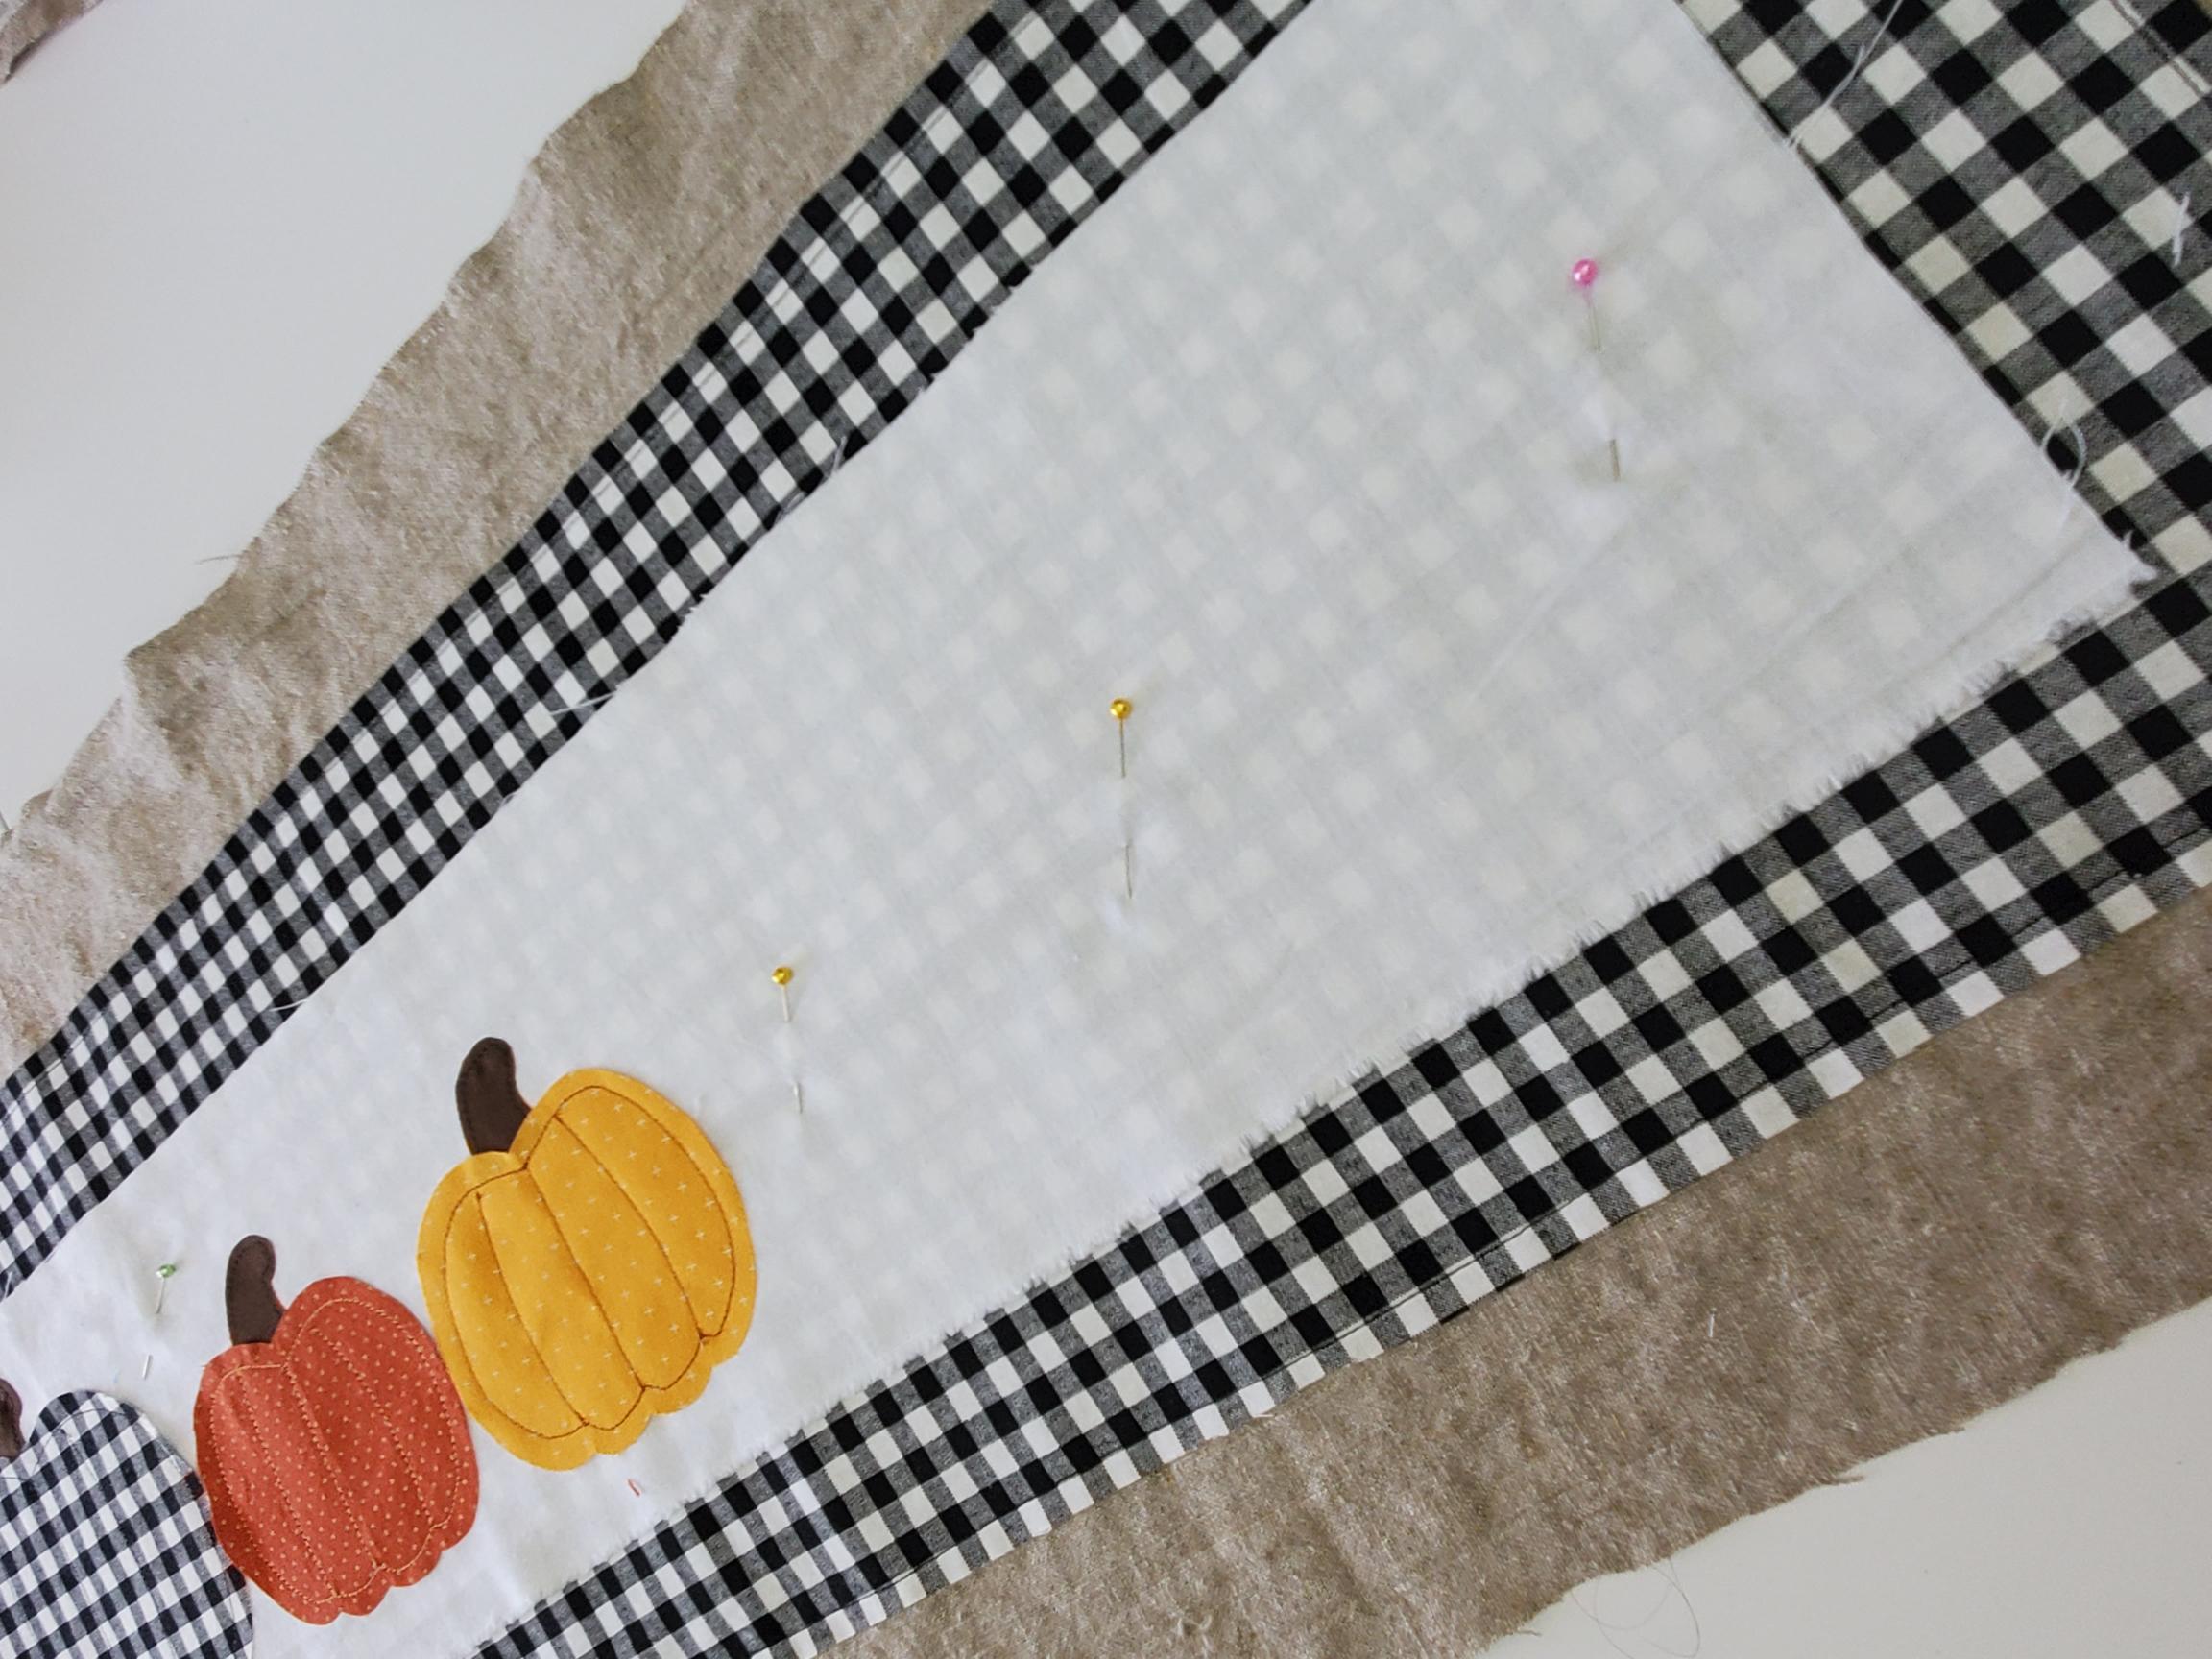
Add a stitch line around the perimeter of the burlap as well. This will help the fraying to stop at that point.

Last, but not least, you’ll want to fray up your fabric a little bit. It will fray up some more when you put it in the wash, but if you want to give it a head start, take a pin and pull some of the threads out along the raw edge. This may take a while – take the runner over to the couch and work on it while you watch a show 😉 Like I said, it will fray up some more once you put it in the wash.
That’s it! It wasn’t too hard now, was it?

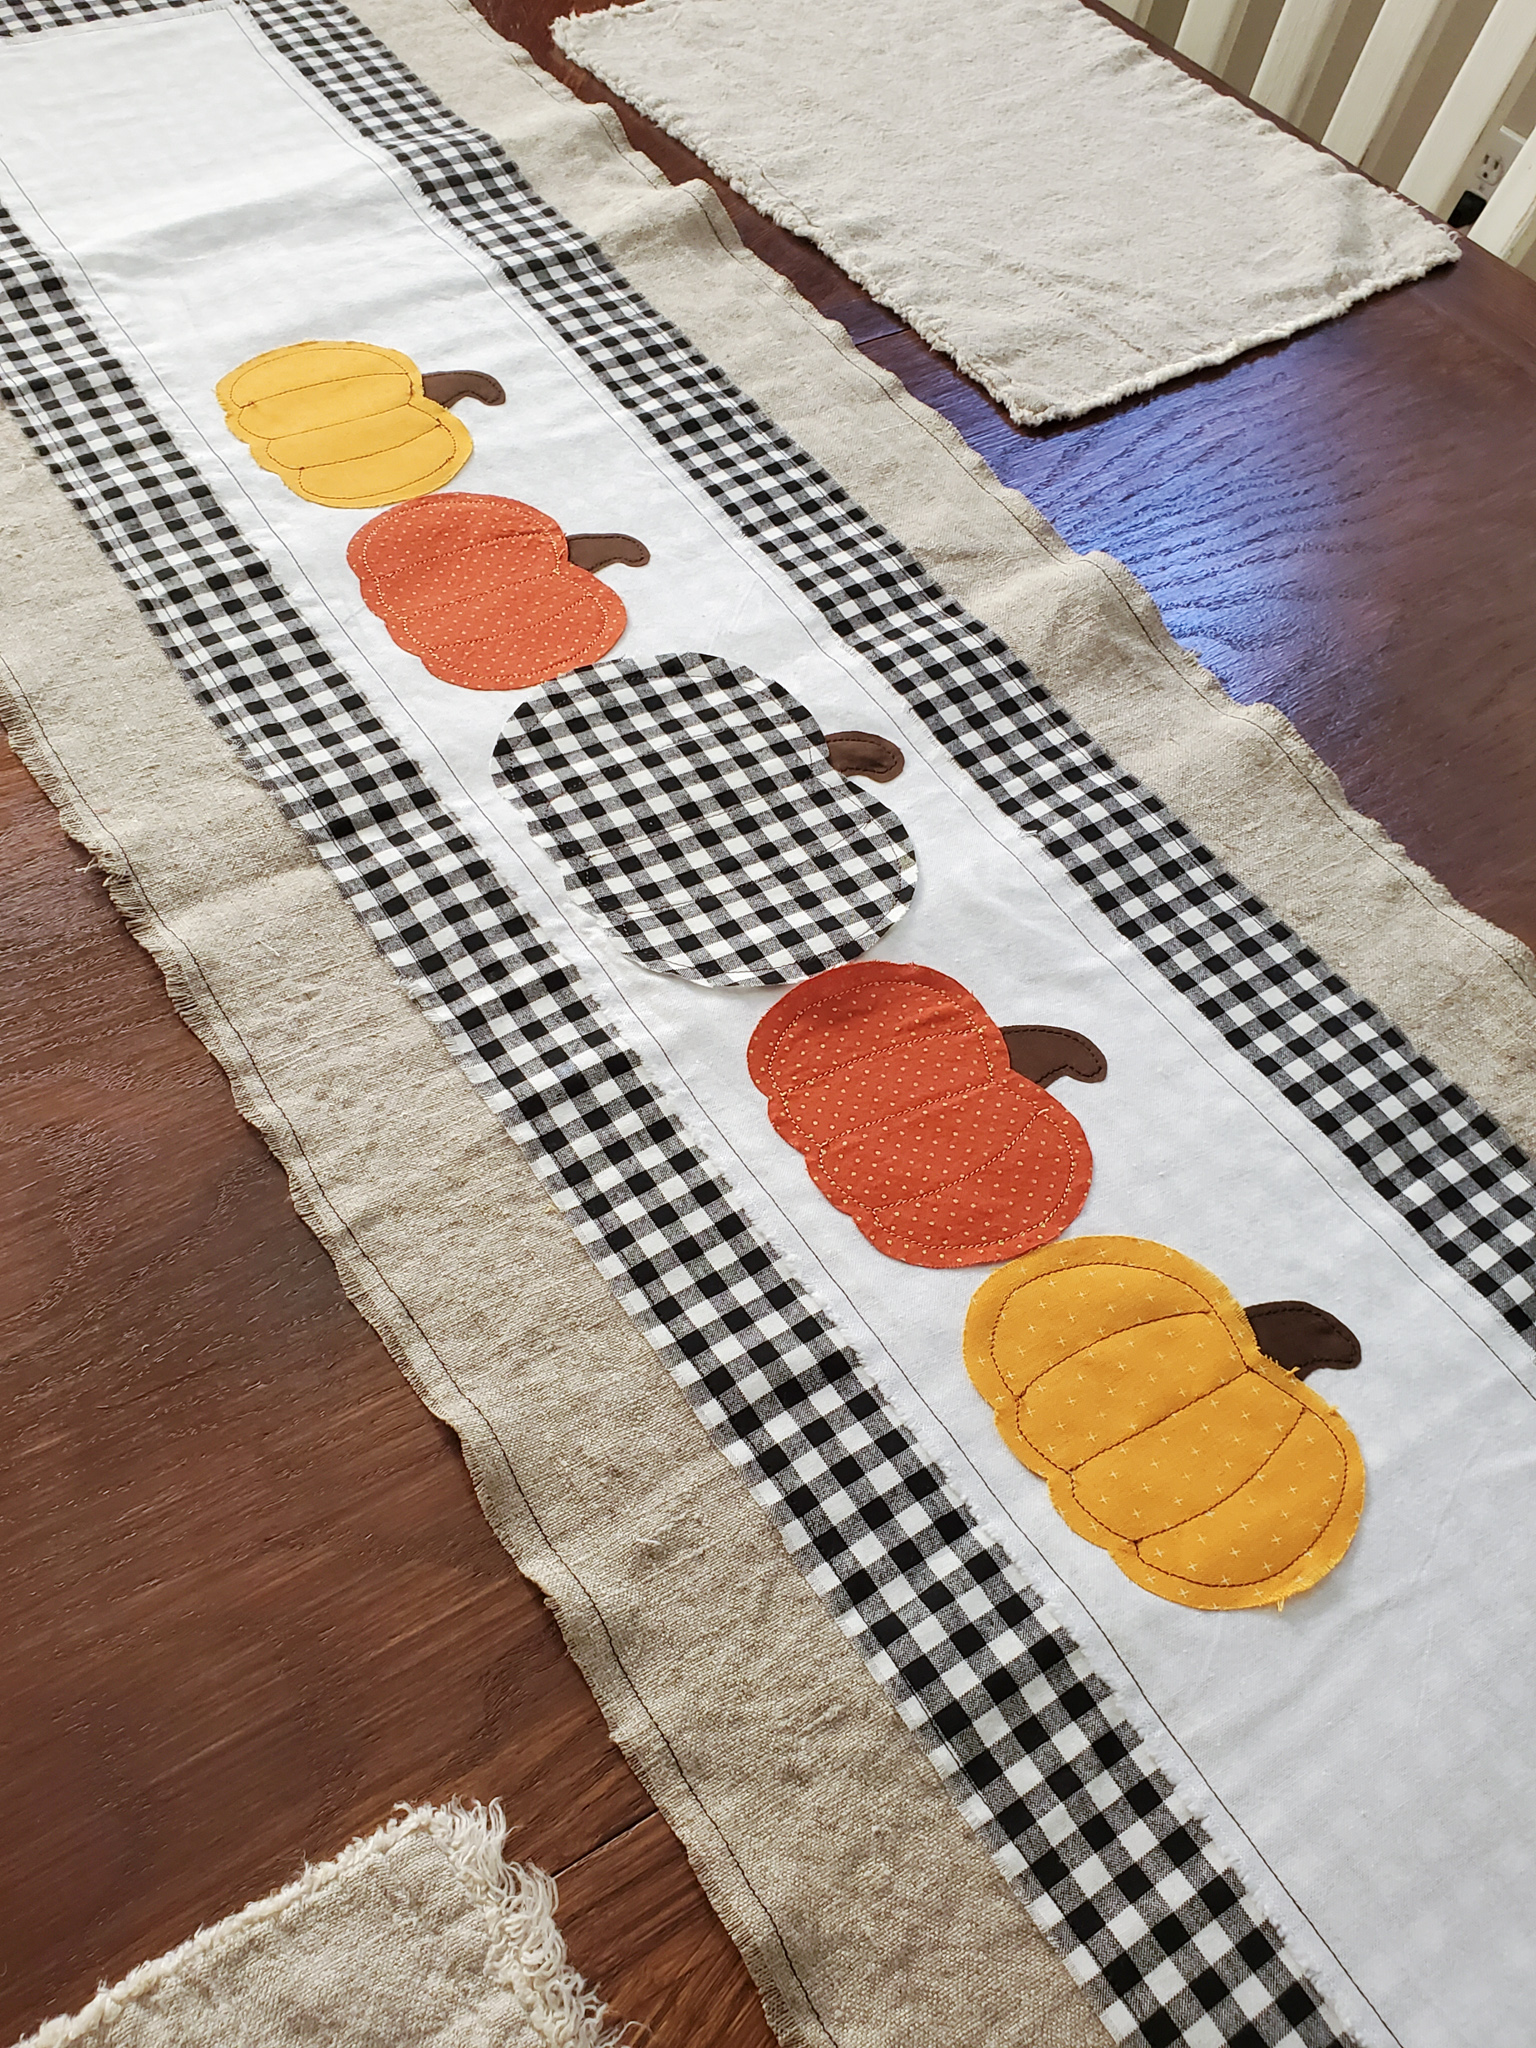
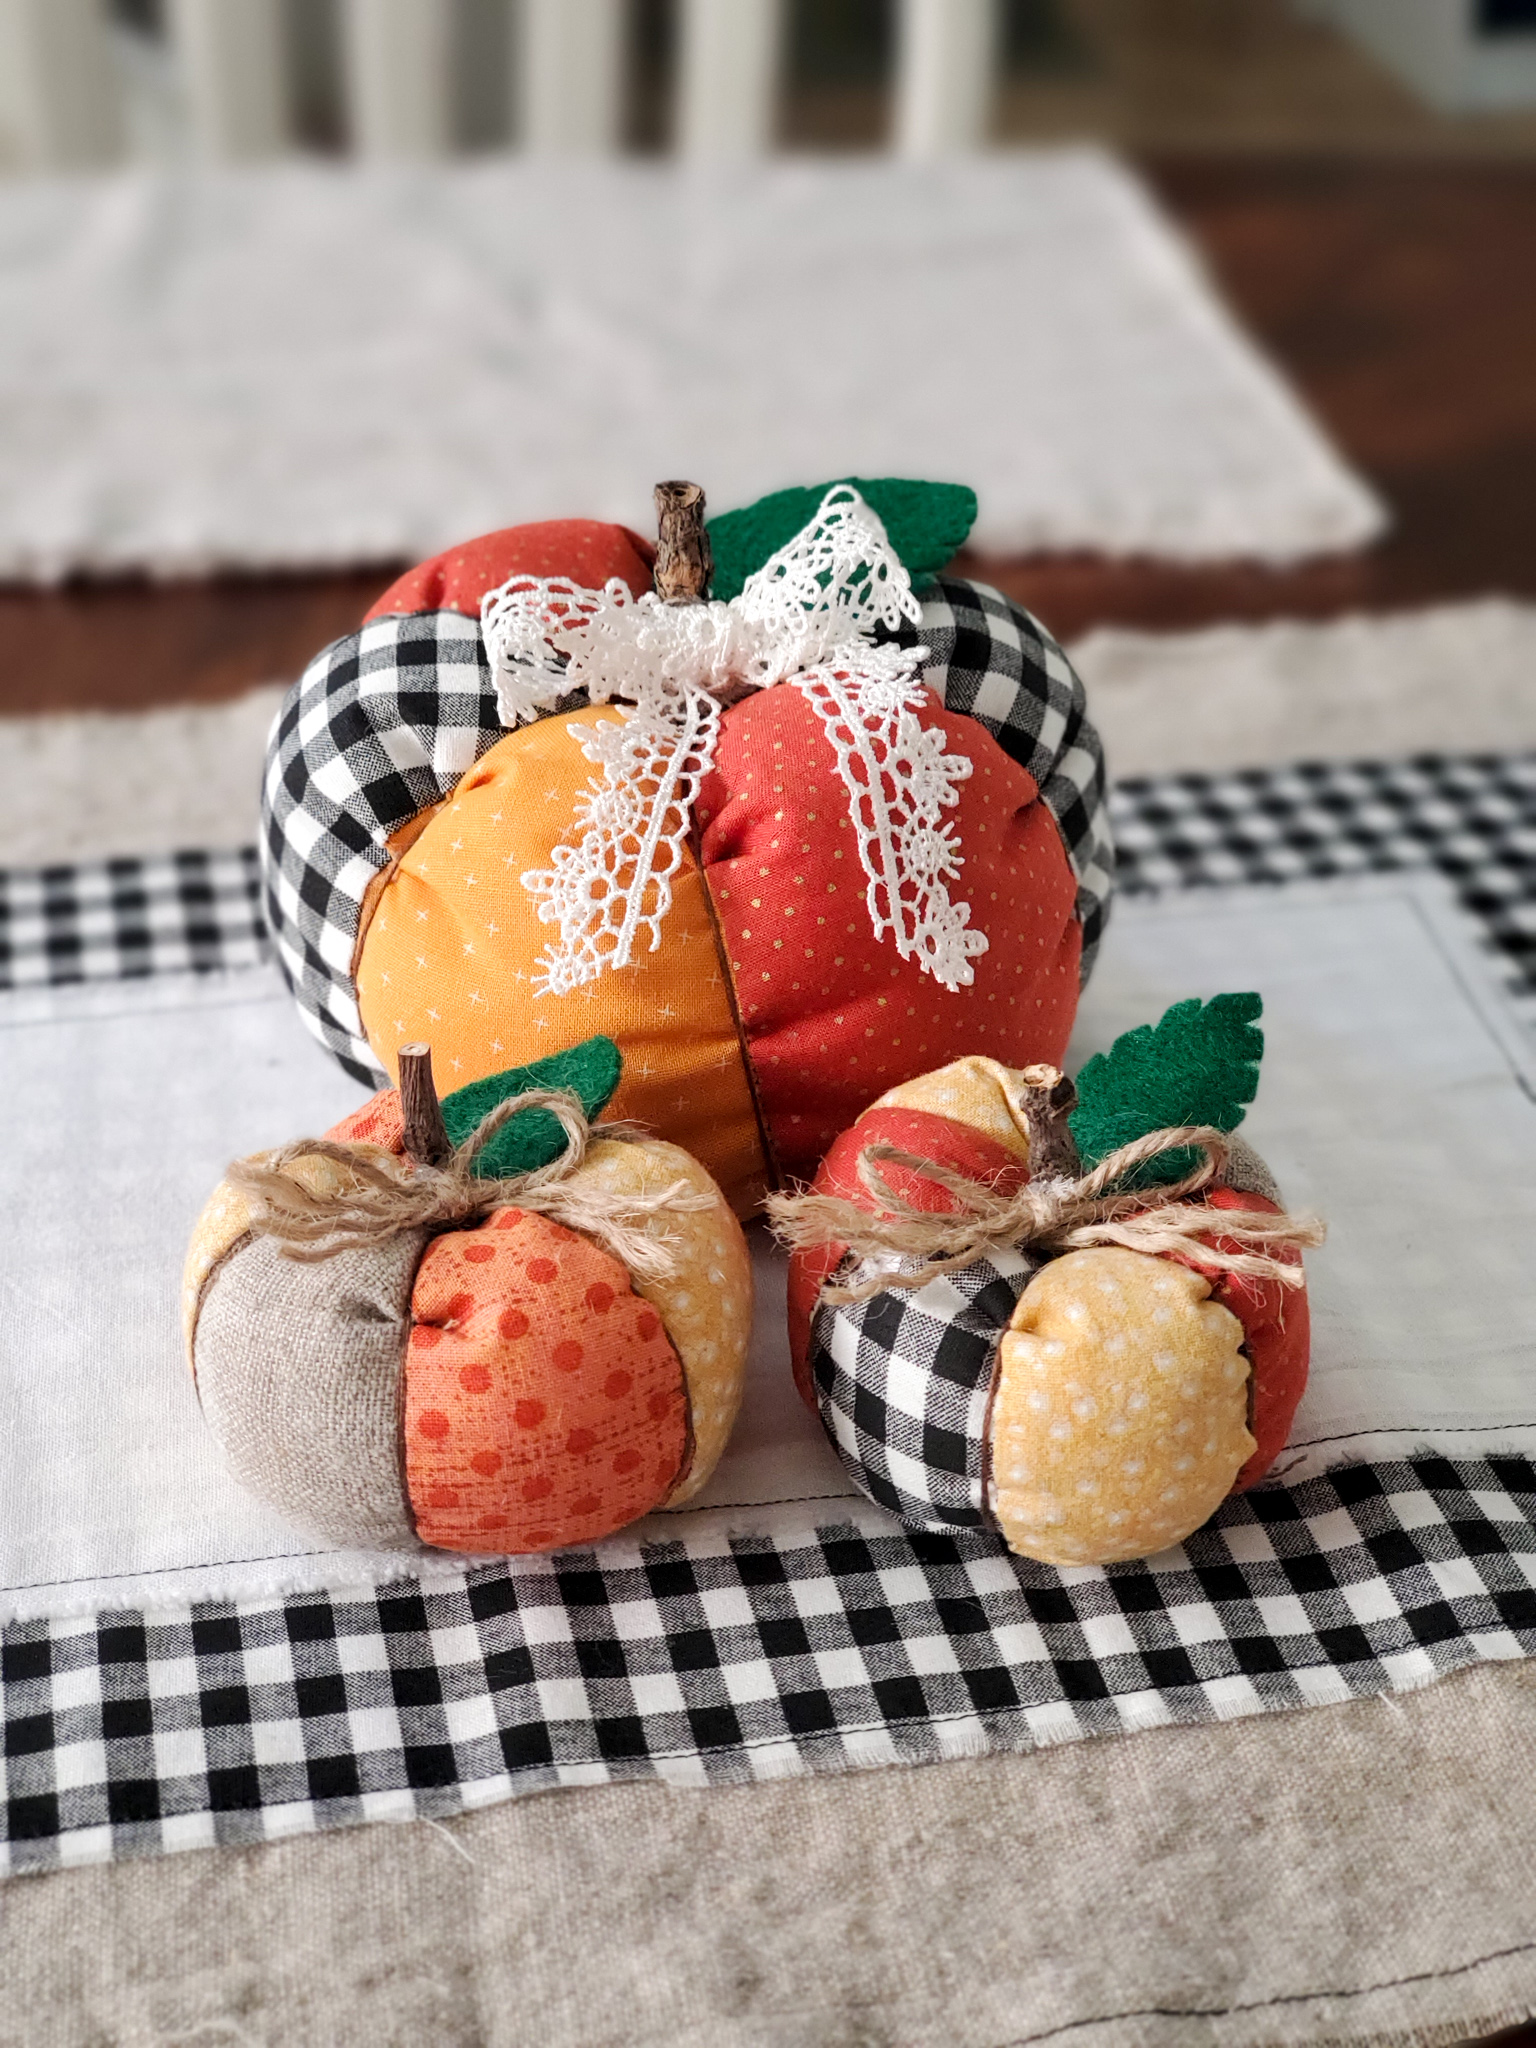
Here’s a picture of it with my cute stuffed pumpkins that I made 🙂
Hope you enjoyed this tutorial! Remember that you can use this same tutorial for different holidays and occasions! Have fun creating!
Materials used in this project:


*Sassy Cassy’s is part of the Amazon Affiliate Program, which means that if you purchase Amazon items from this website, a small commission will be earned, at no extra cost to you.
