
During the school year, I teach sewing classes at a homeschool learning center (a job that I absolutely LOVE!!) I teach both Sewing 1 (which starts at the very beginning with all the sewing basics) as well as a Sewing 2 class. The first day of Sewing 1 is always spent becoming familiar with our machines and learning all the names of the parts on our machines. But for my Sewing 2 class, I like to have a little project for them because they already know all the basics. We usually spend the first day talking about what projects they’d like to work on during the semester, reviewing (if they need a review on threading, settings, etc) and then I pick a fun, simple project for them to make and take home with them that day. I always think it’s exciting to have something they can take home on the first day so that they’ll look forward to what’s ahead in the coming weeks!
In the past, we’ve done scrunchies, fall coasters, hot/cold packs, and we’ve done a couple different variations of bookmarks (bookmarks just seem like a great thing to sew at the beginning of the school year!) The very first thing I have my students sew in Sewing 1 is a scrappy bookmark; it’s sooo simple and is basically just stitching 4 straight lines. For my more advanced sewers, I pick things that are just a little more challenging (but also still easy).
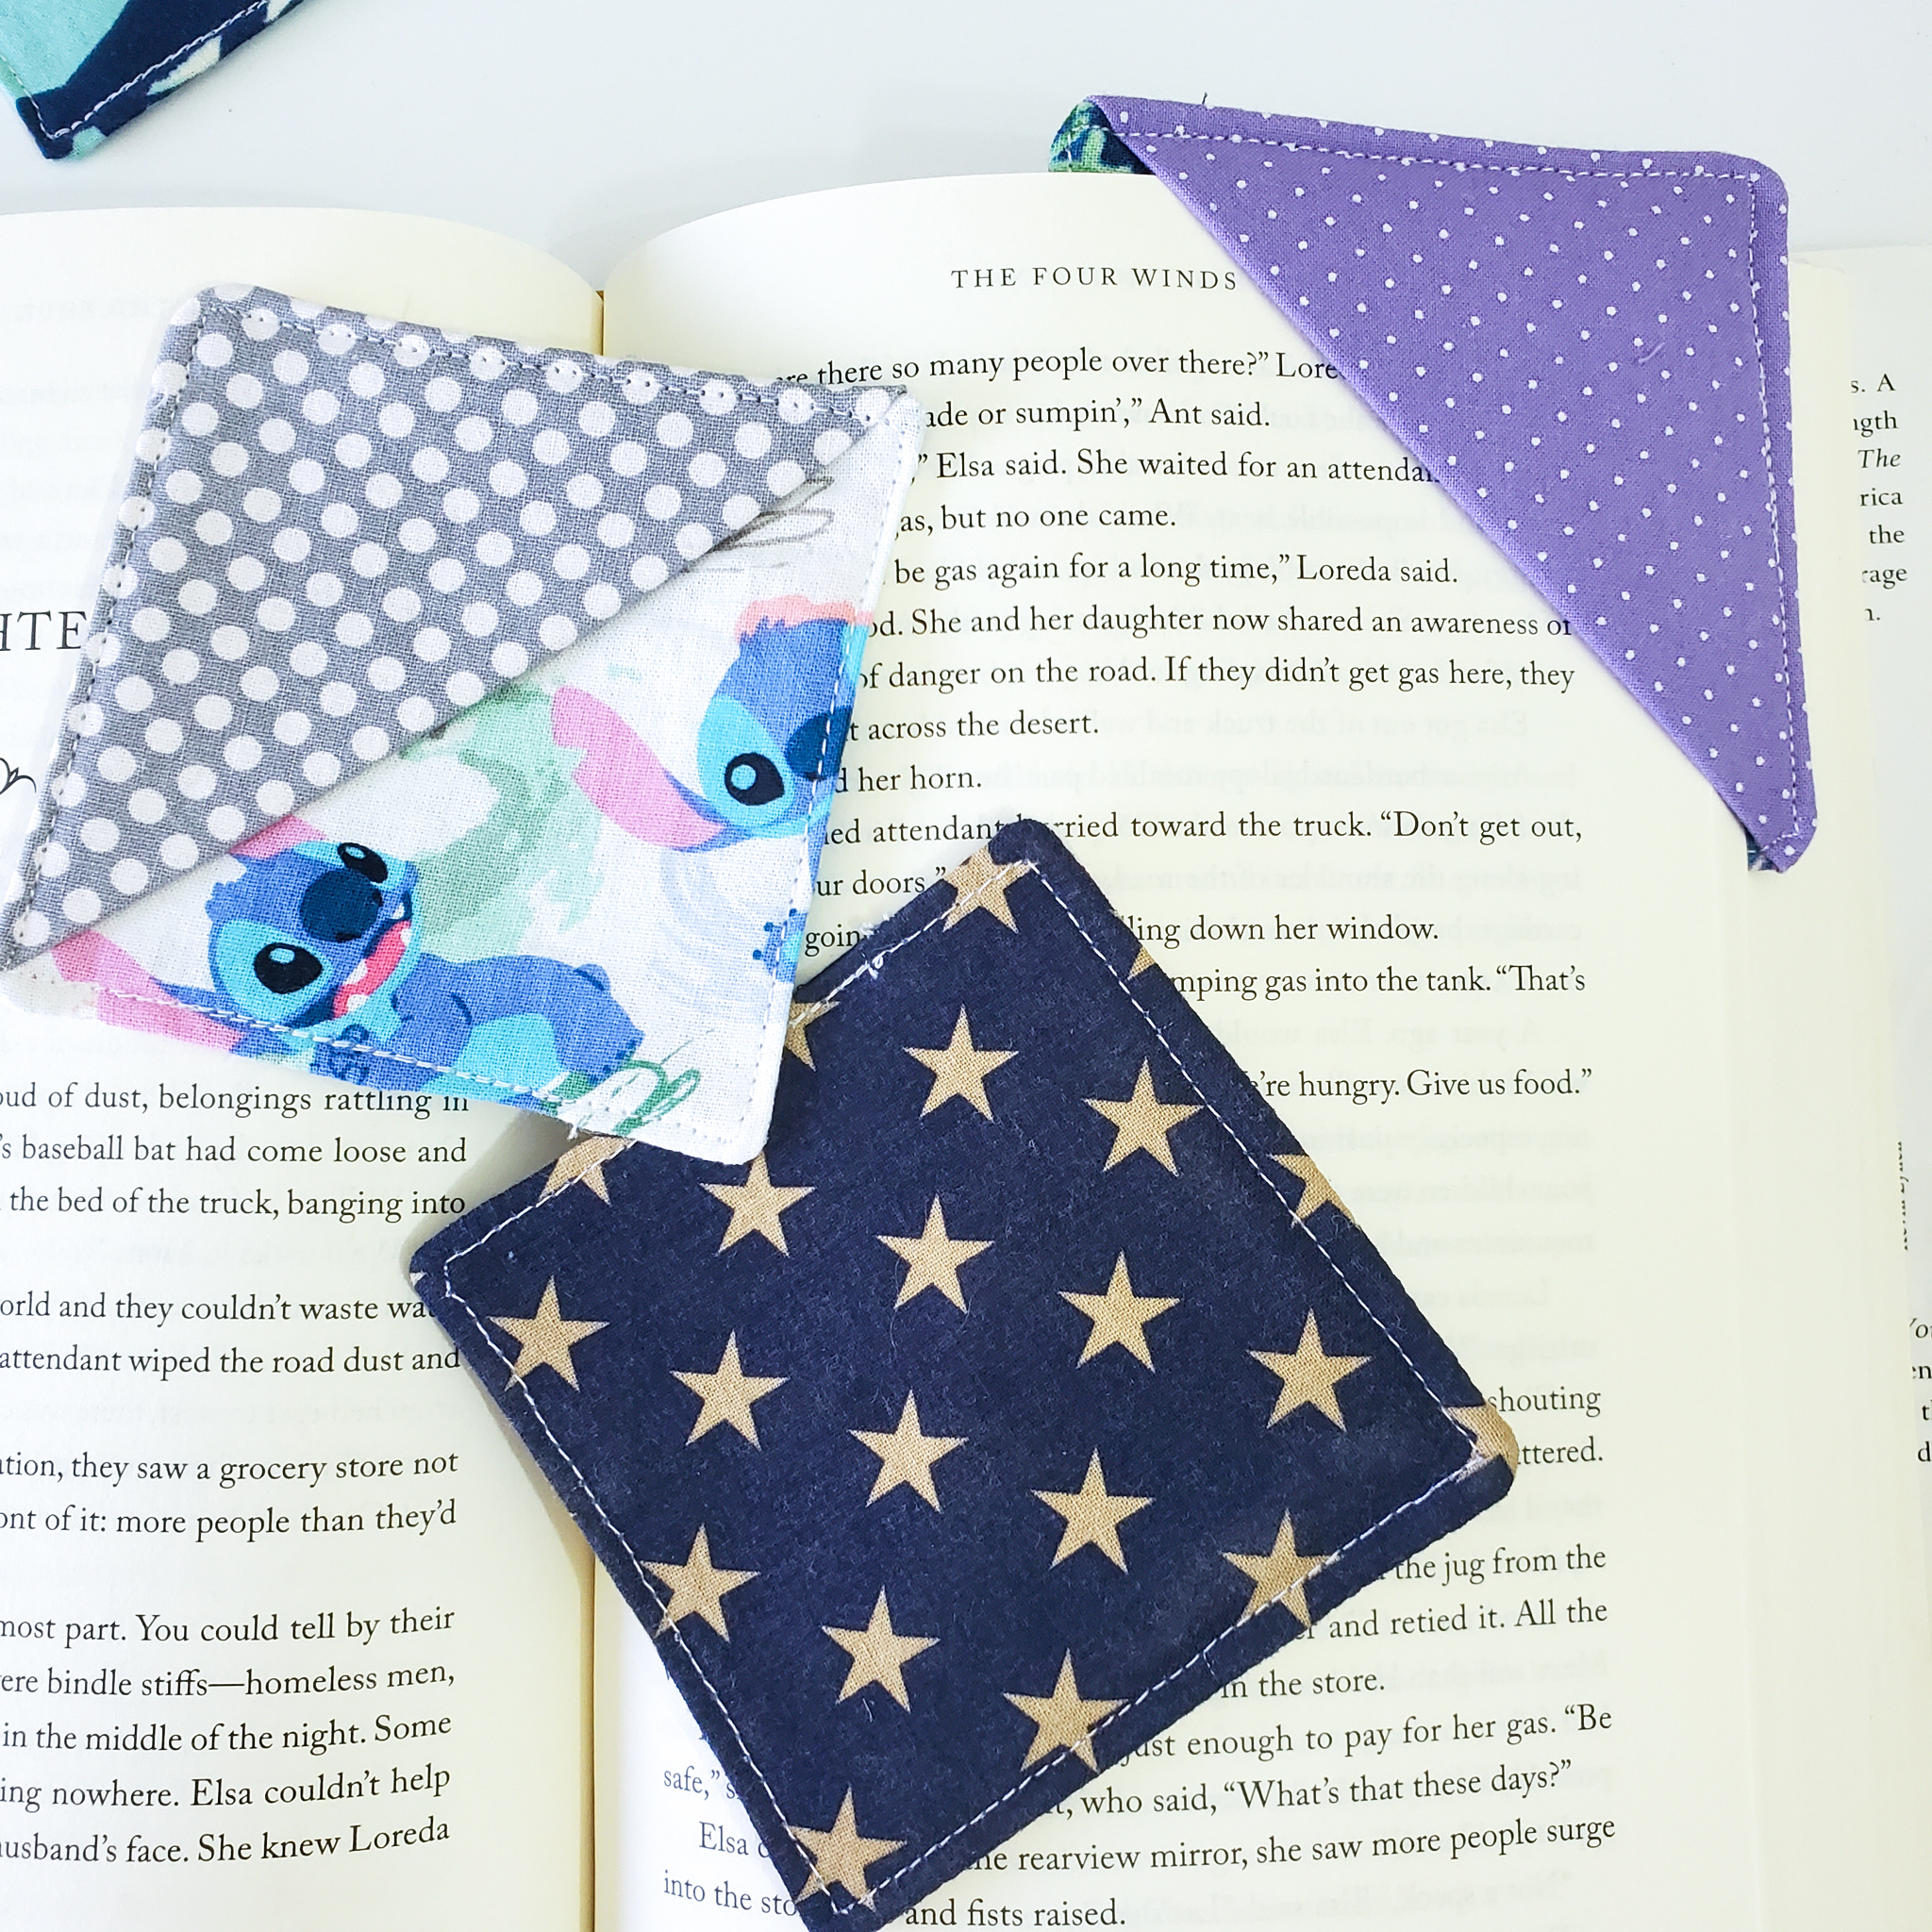
Since I have a lot of returning students in Sewing 2, I have to be creative and pick new projects each semester! This semester I chose yet another bookmark variation to make. I only have one student in this class who has done bookmarks with me, and since it’s a different style I figured it wouldn’t be too repetitive 😉 The kids loved making them! In fact, my returning bookmark-making student declared this to be her favorite “first day” project that we’ve done in Sewing 2. I’ll take that as a win.
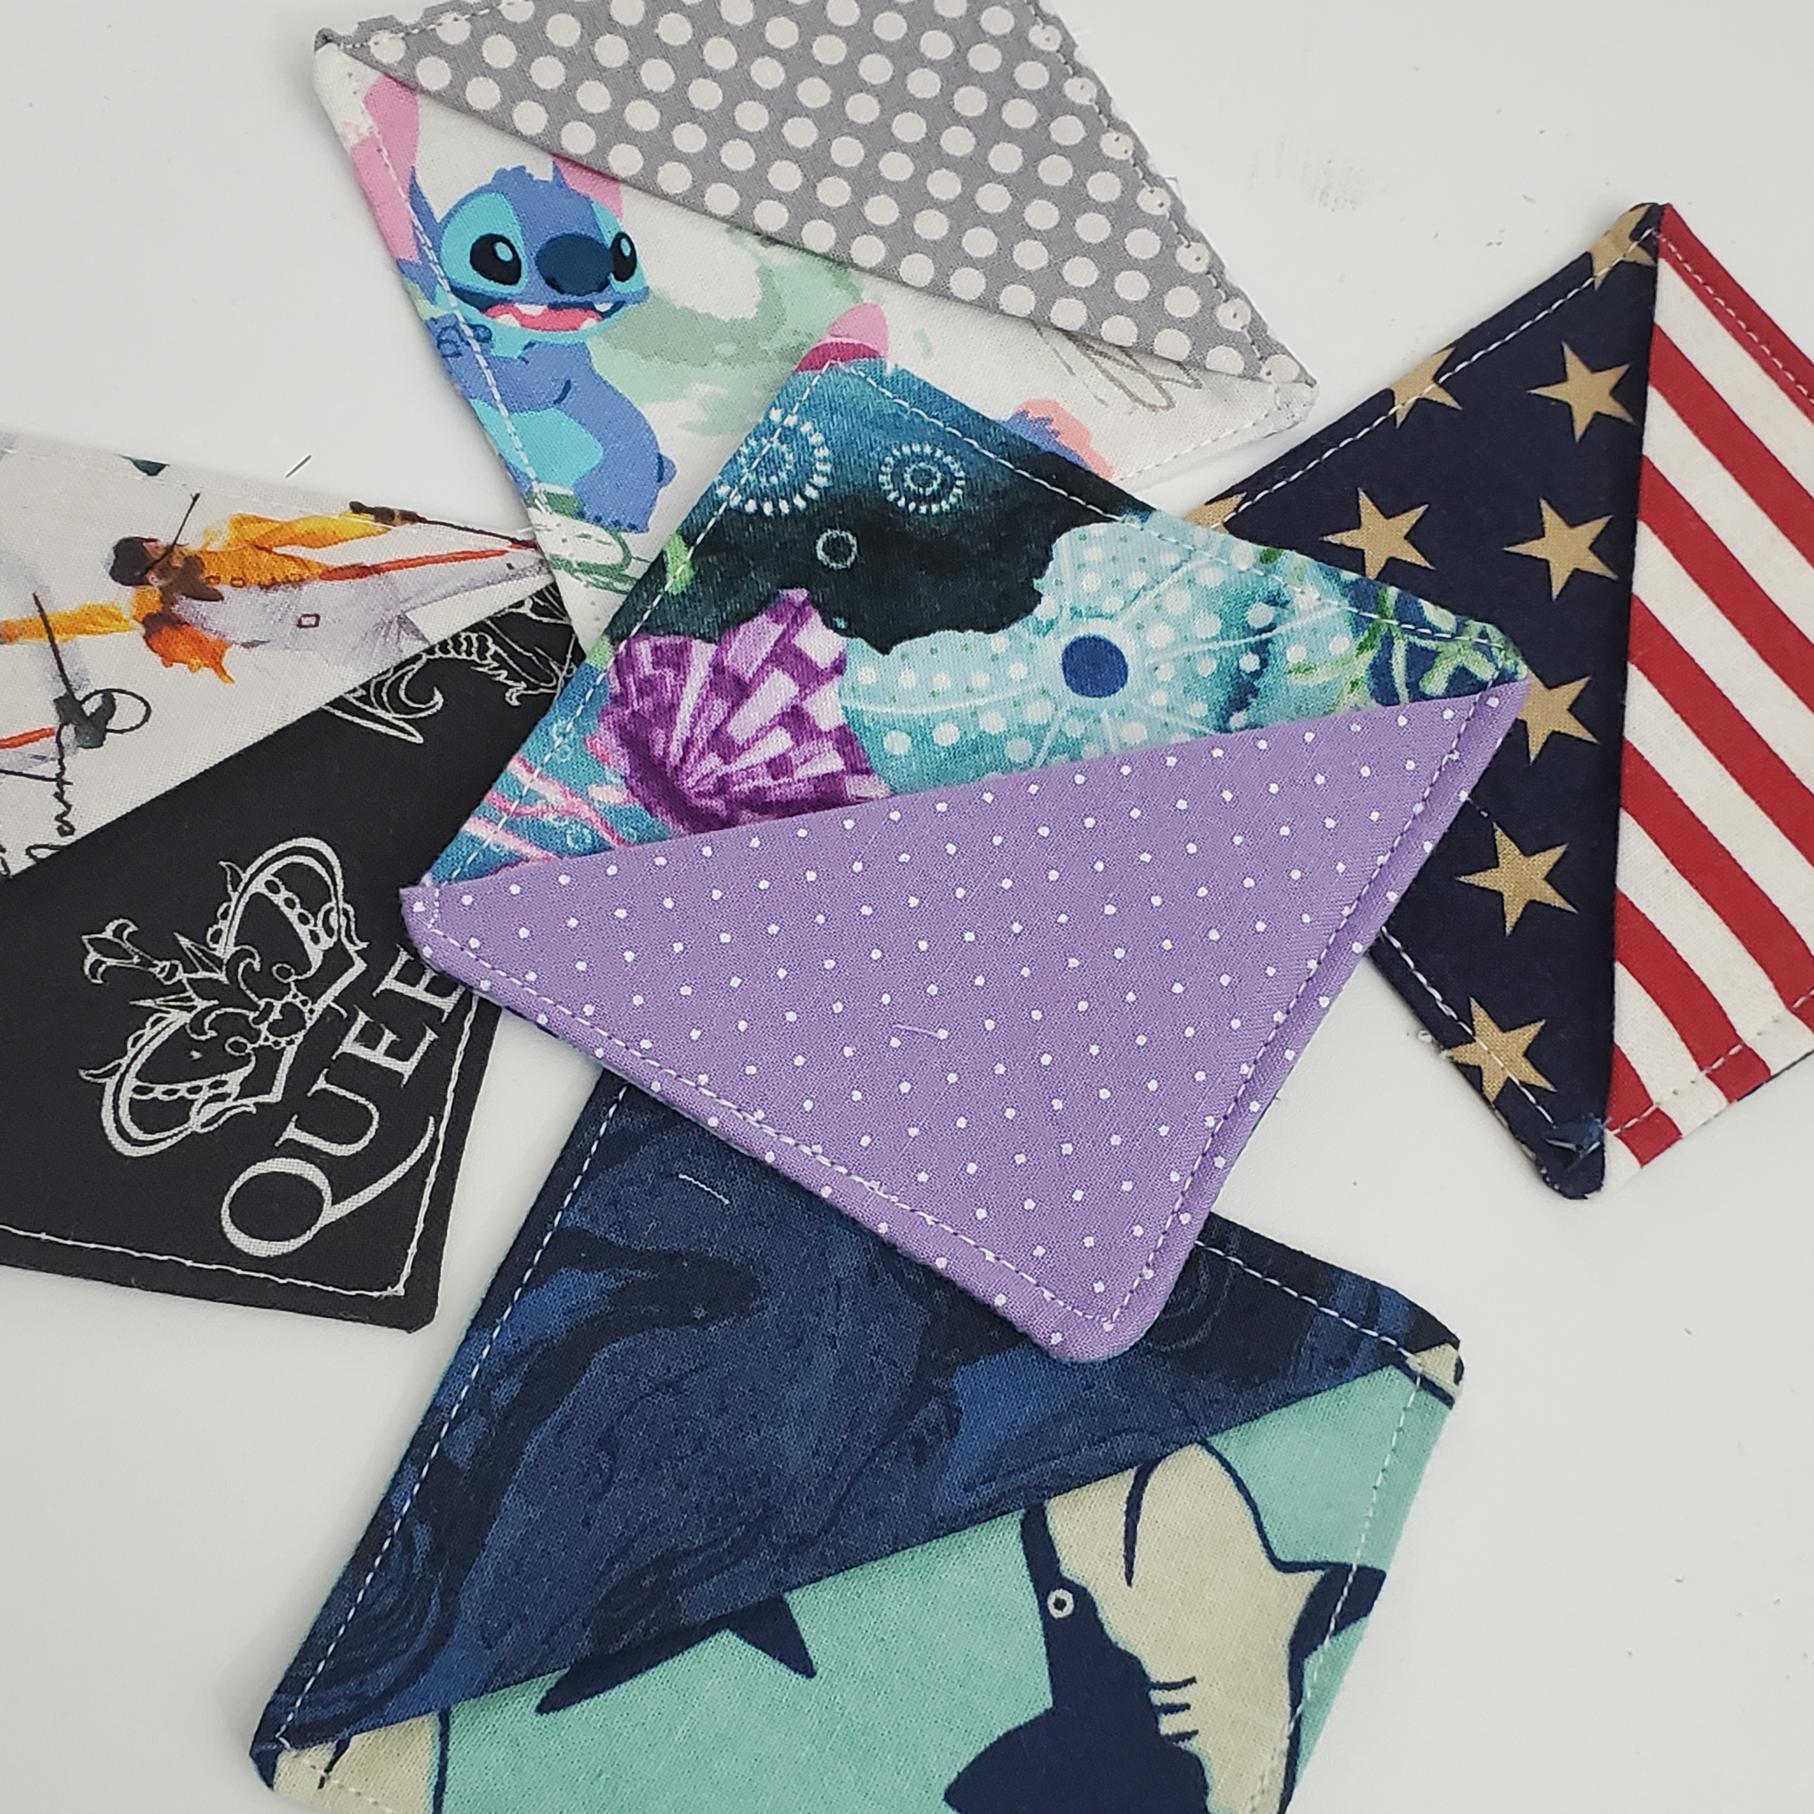
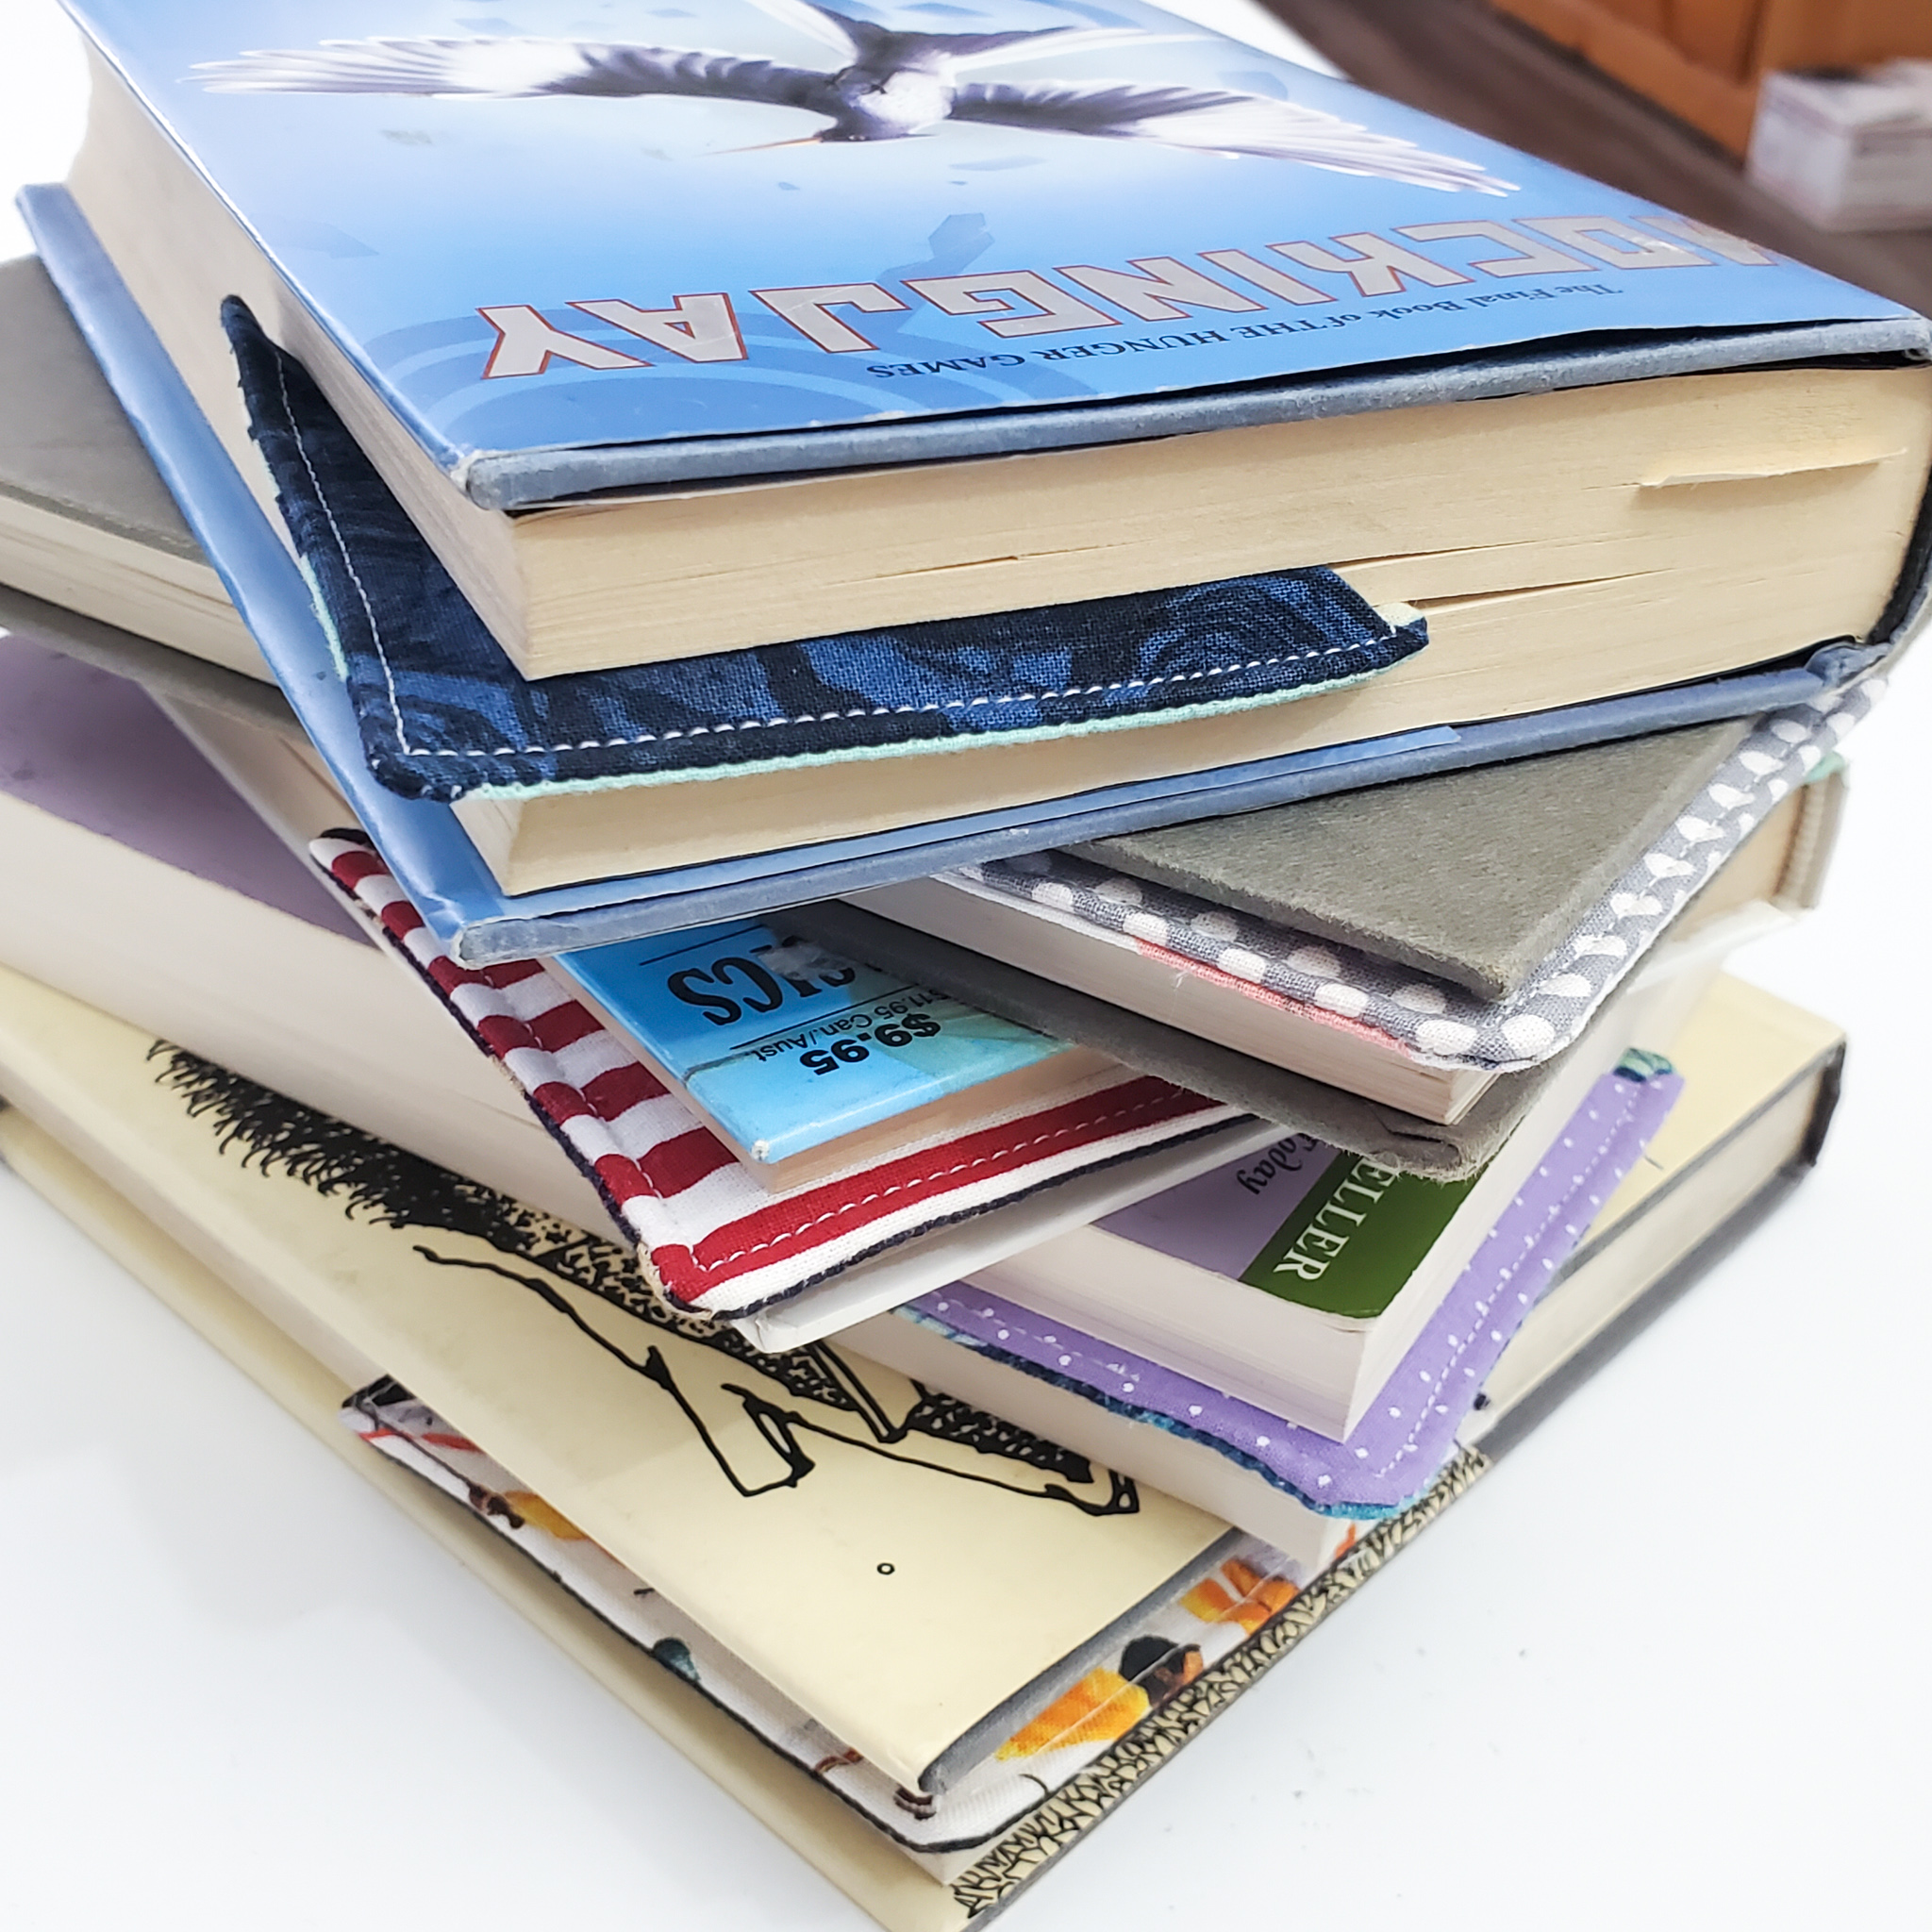
The thing that I love about this project is that it’s a great way to use up scraps! And if you know me…you know I save every little scrap. Ha ha. These bookmarks are super easy, can be whipped up quickly, and is a great little project to use as a refresher for the first day of class. I think they would make great gifts (I may have already made a few for stocking stuffers) and they would make a fun project for entrepreneur kids to make and sell!

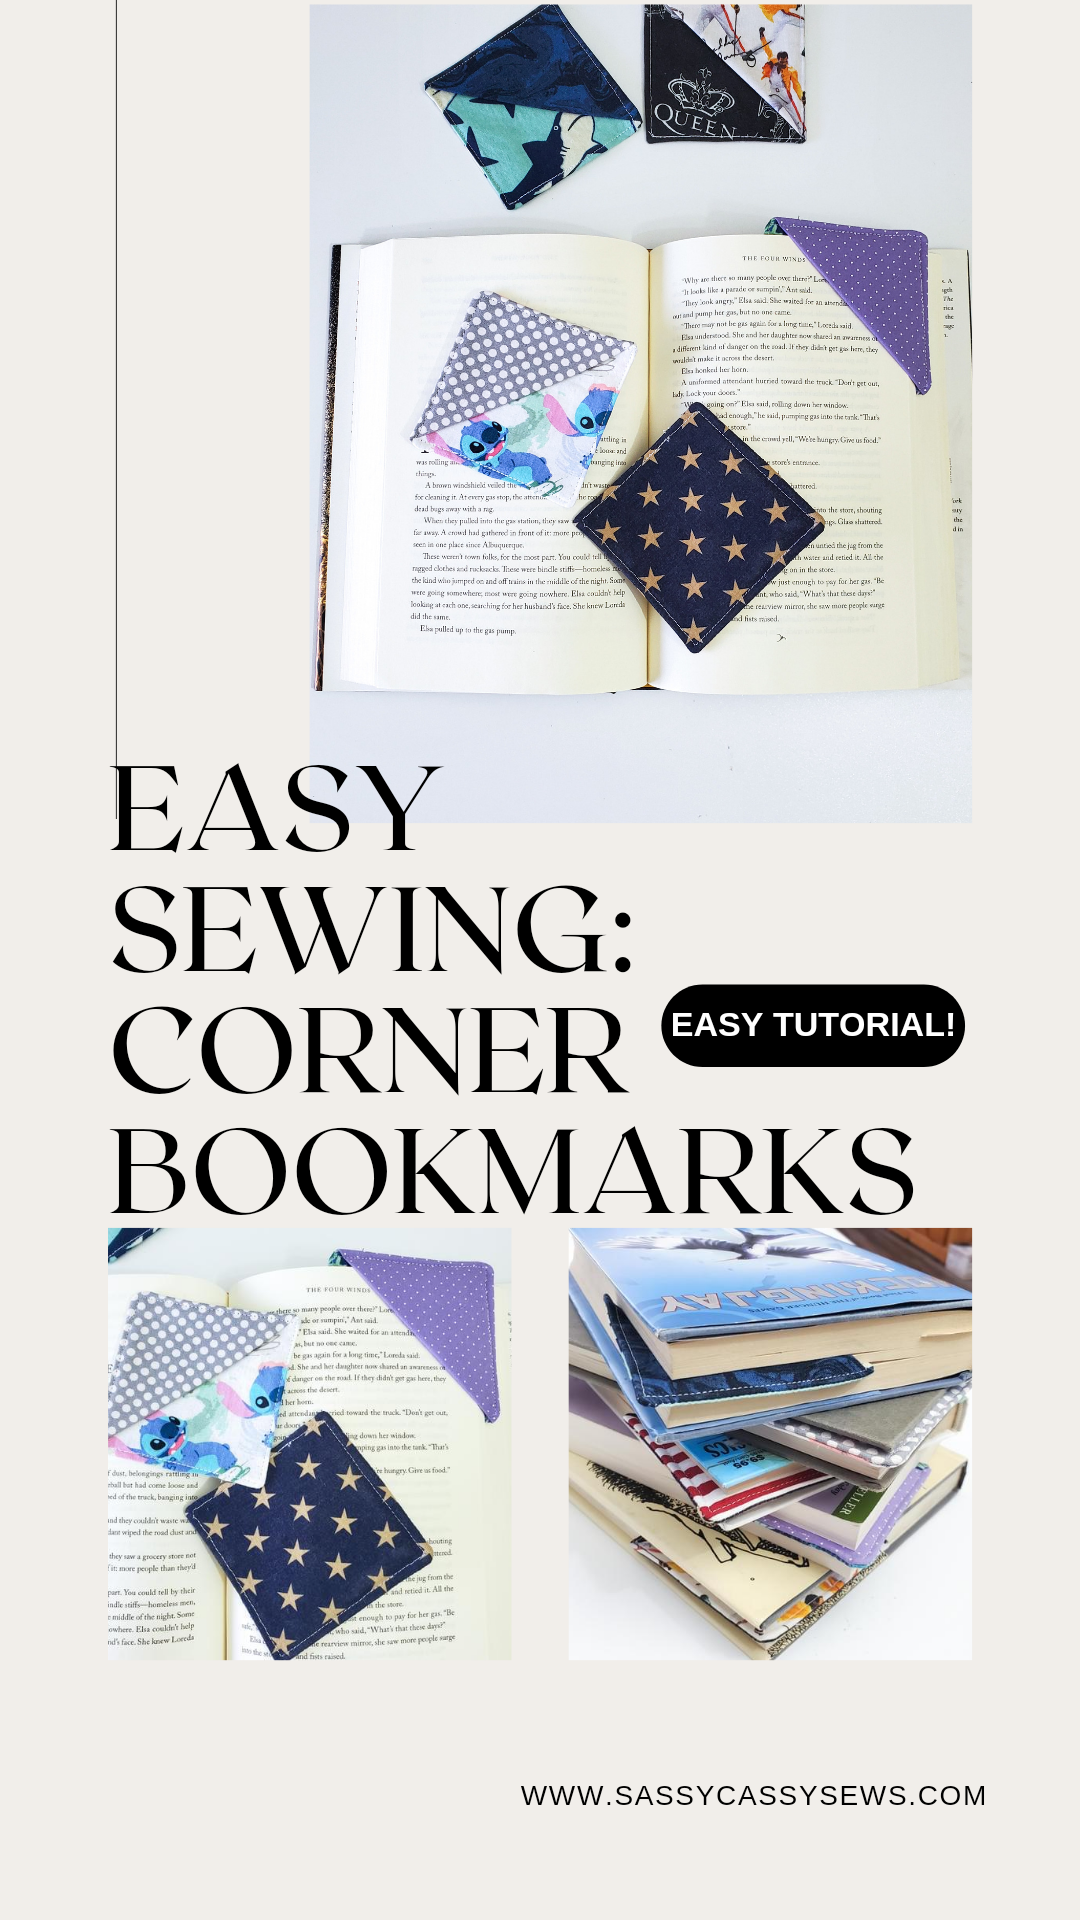
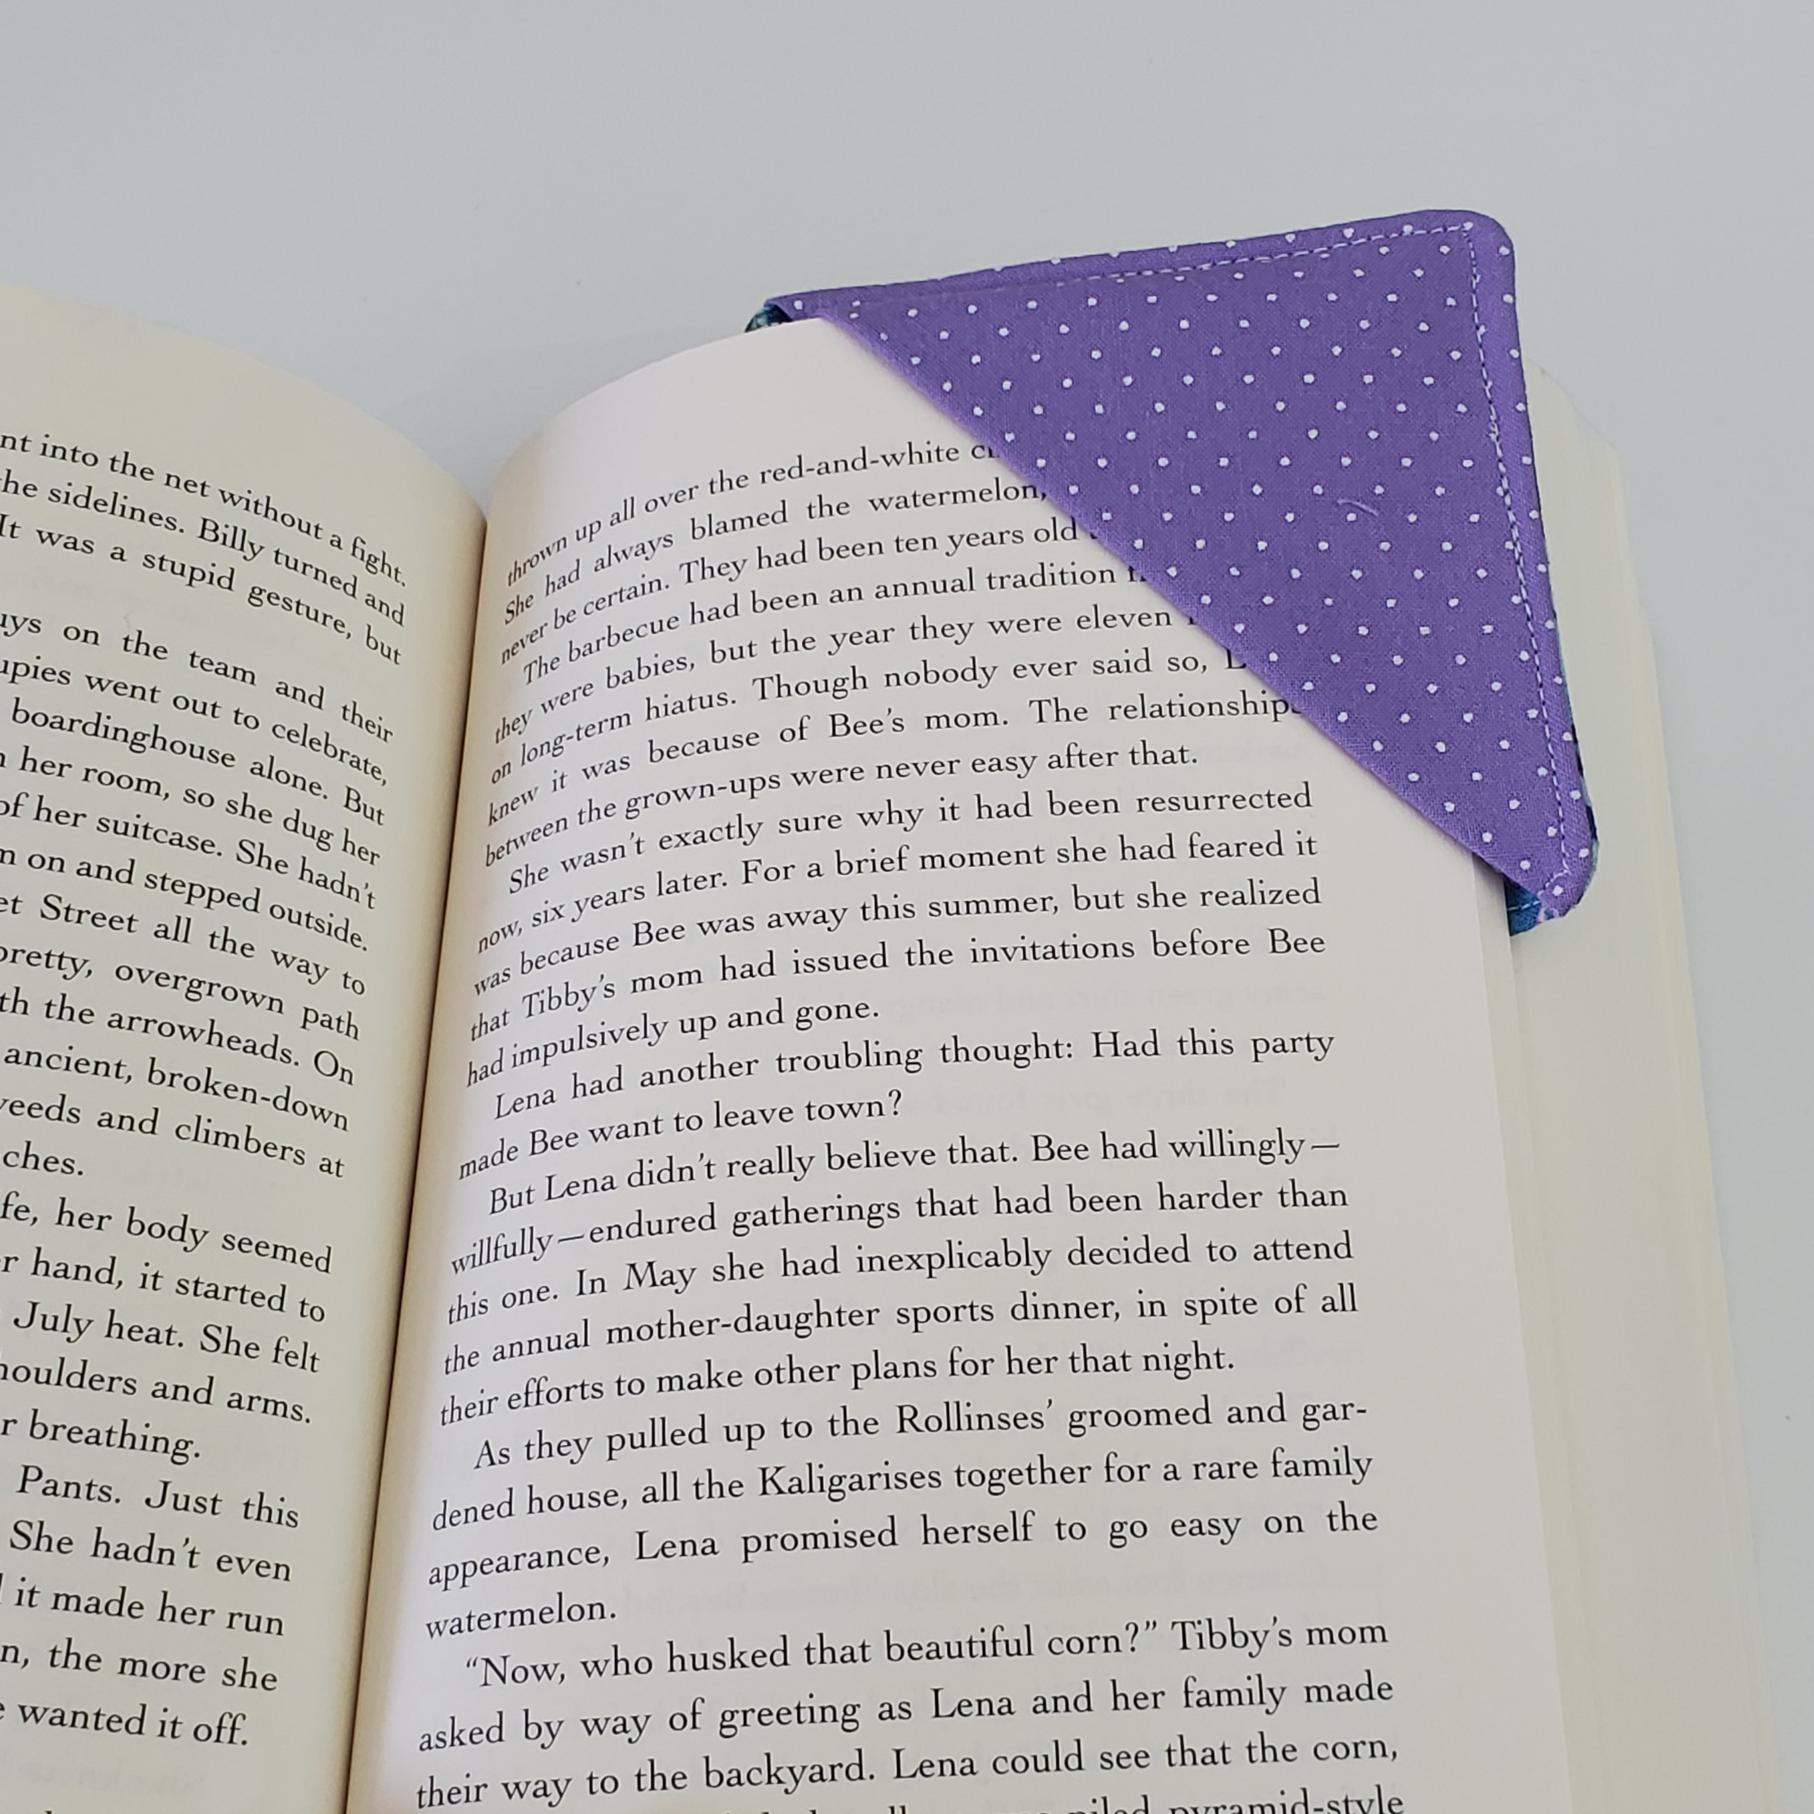
How To Sew a Corner Bookmark
You will need:
- Three 4″ squares (2 of one fabric and 1 of a contrasting fabric)
- Two 4″ squares of interfacing (one will be cut in half in the first step below)

That’s it!!
Time To Get Sewing
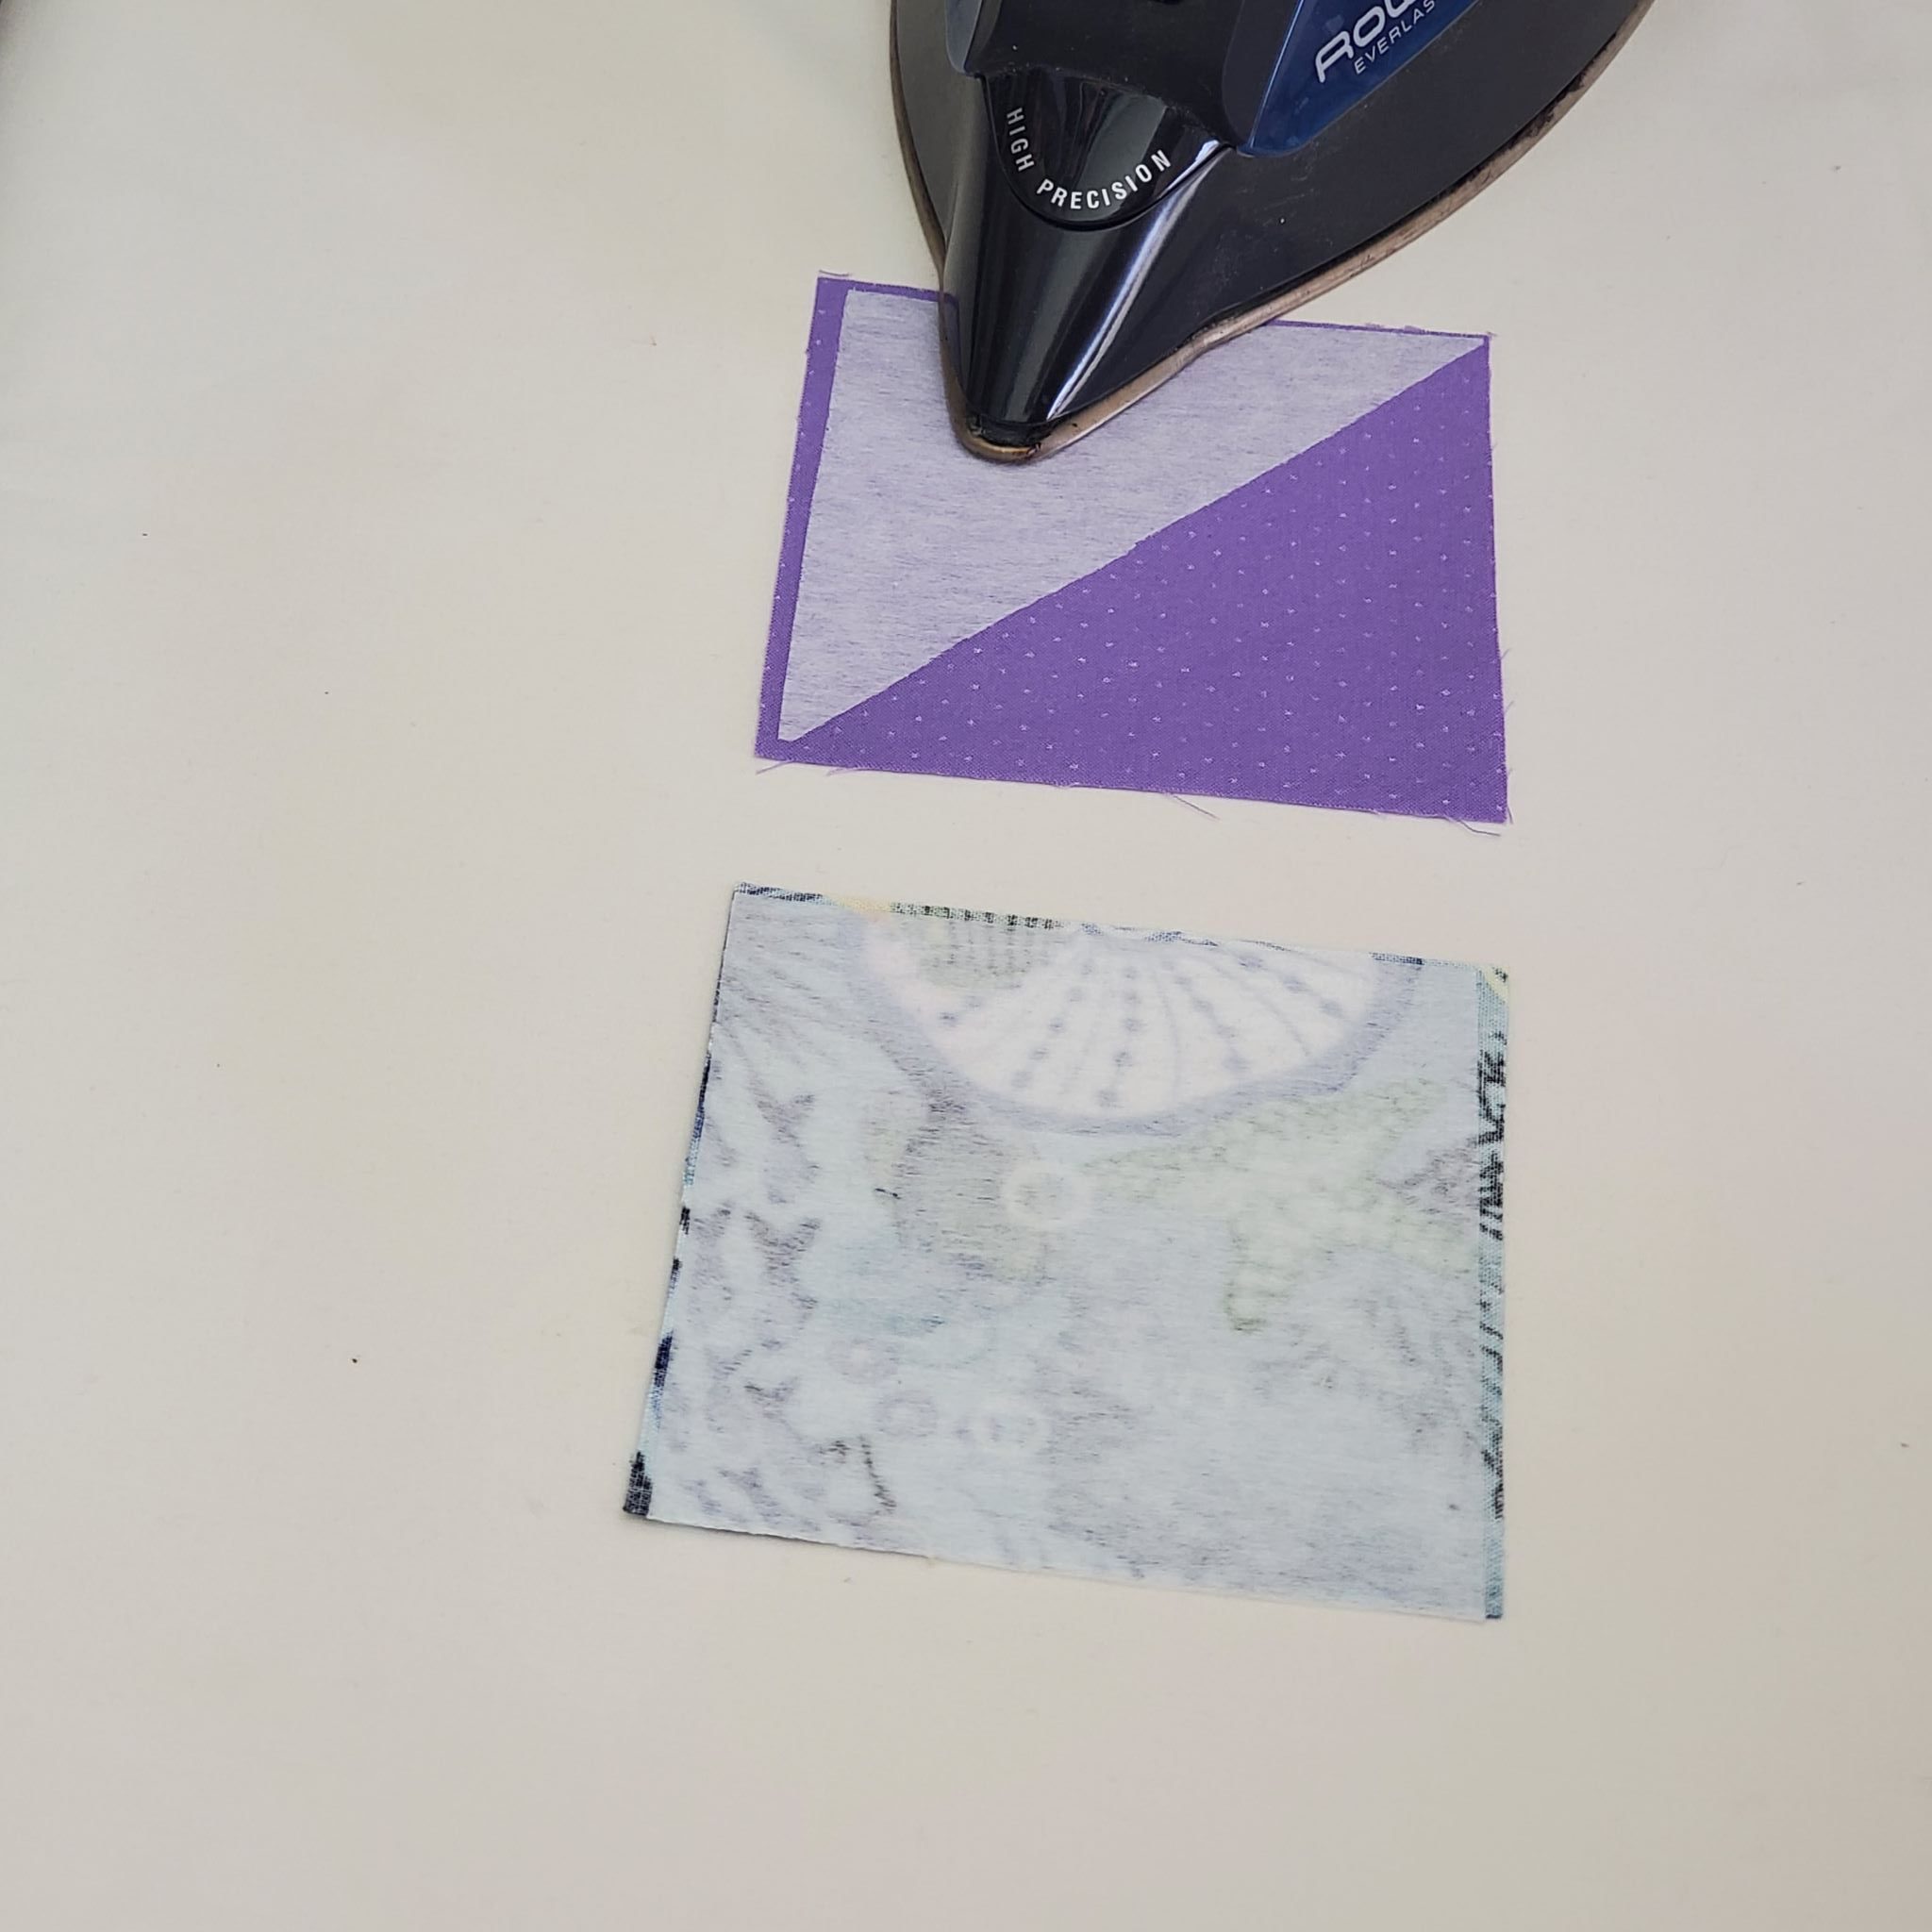
First, interface the back square piece of your bookmark (which will be one of your 2 matching pieces). Remember that the bumpy (resin) side of the interfacing goes face down on the wrong side of the fabric. Press for 10 seconds.
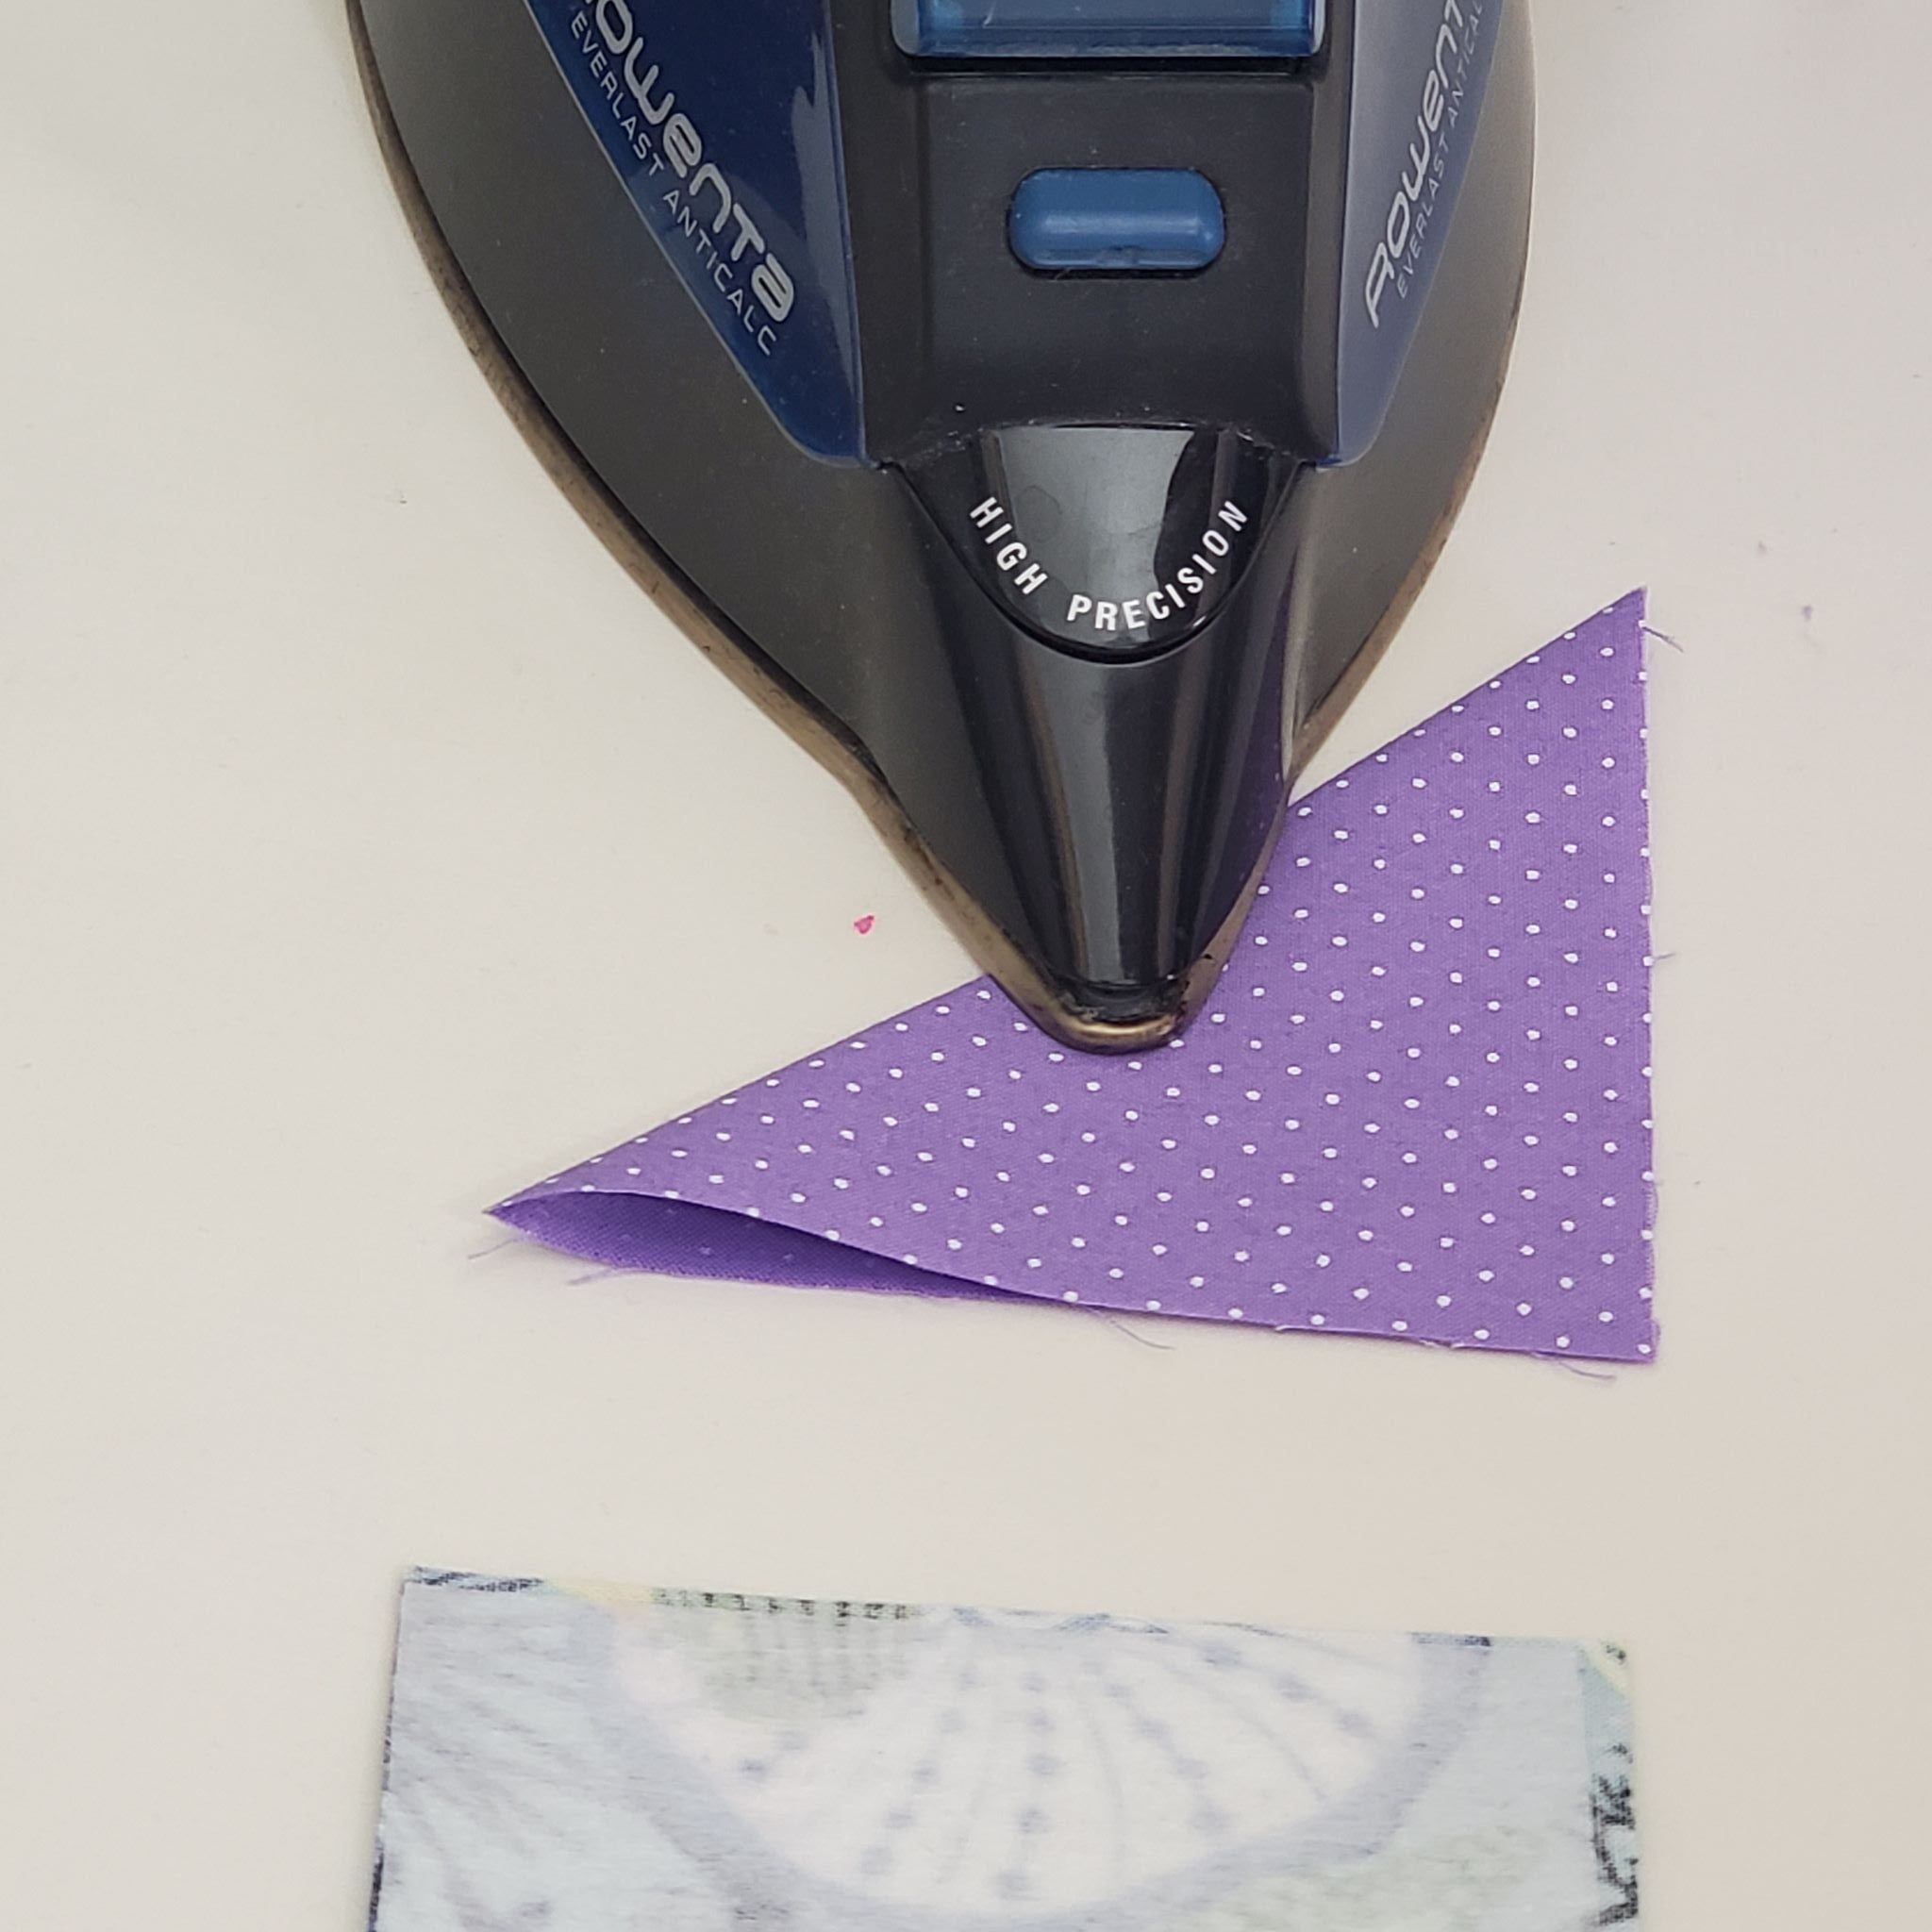
Take the second interfacing square and cut it diagonally from one corner to the opposite corner. On your 1 contrasting square, place the interfacing triangle that you just cut into one corner of that square.
Fold your contrasting square piece in half on the diagonal and press.
Now, lay down your non-interfaced piece square, right side up. Place the contrasting triangle that you just ironed on top of that square in the right corner, lining up your raw edges. The fold should be running diagonally in the center of the square.
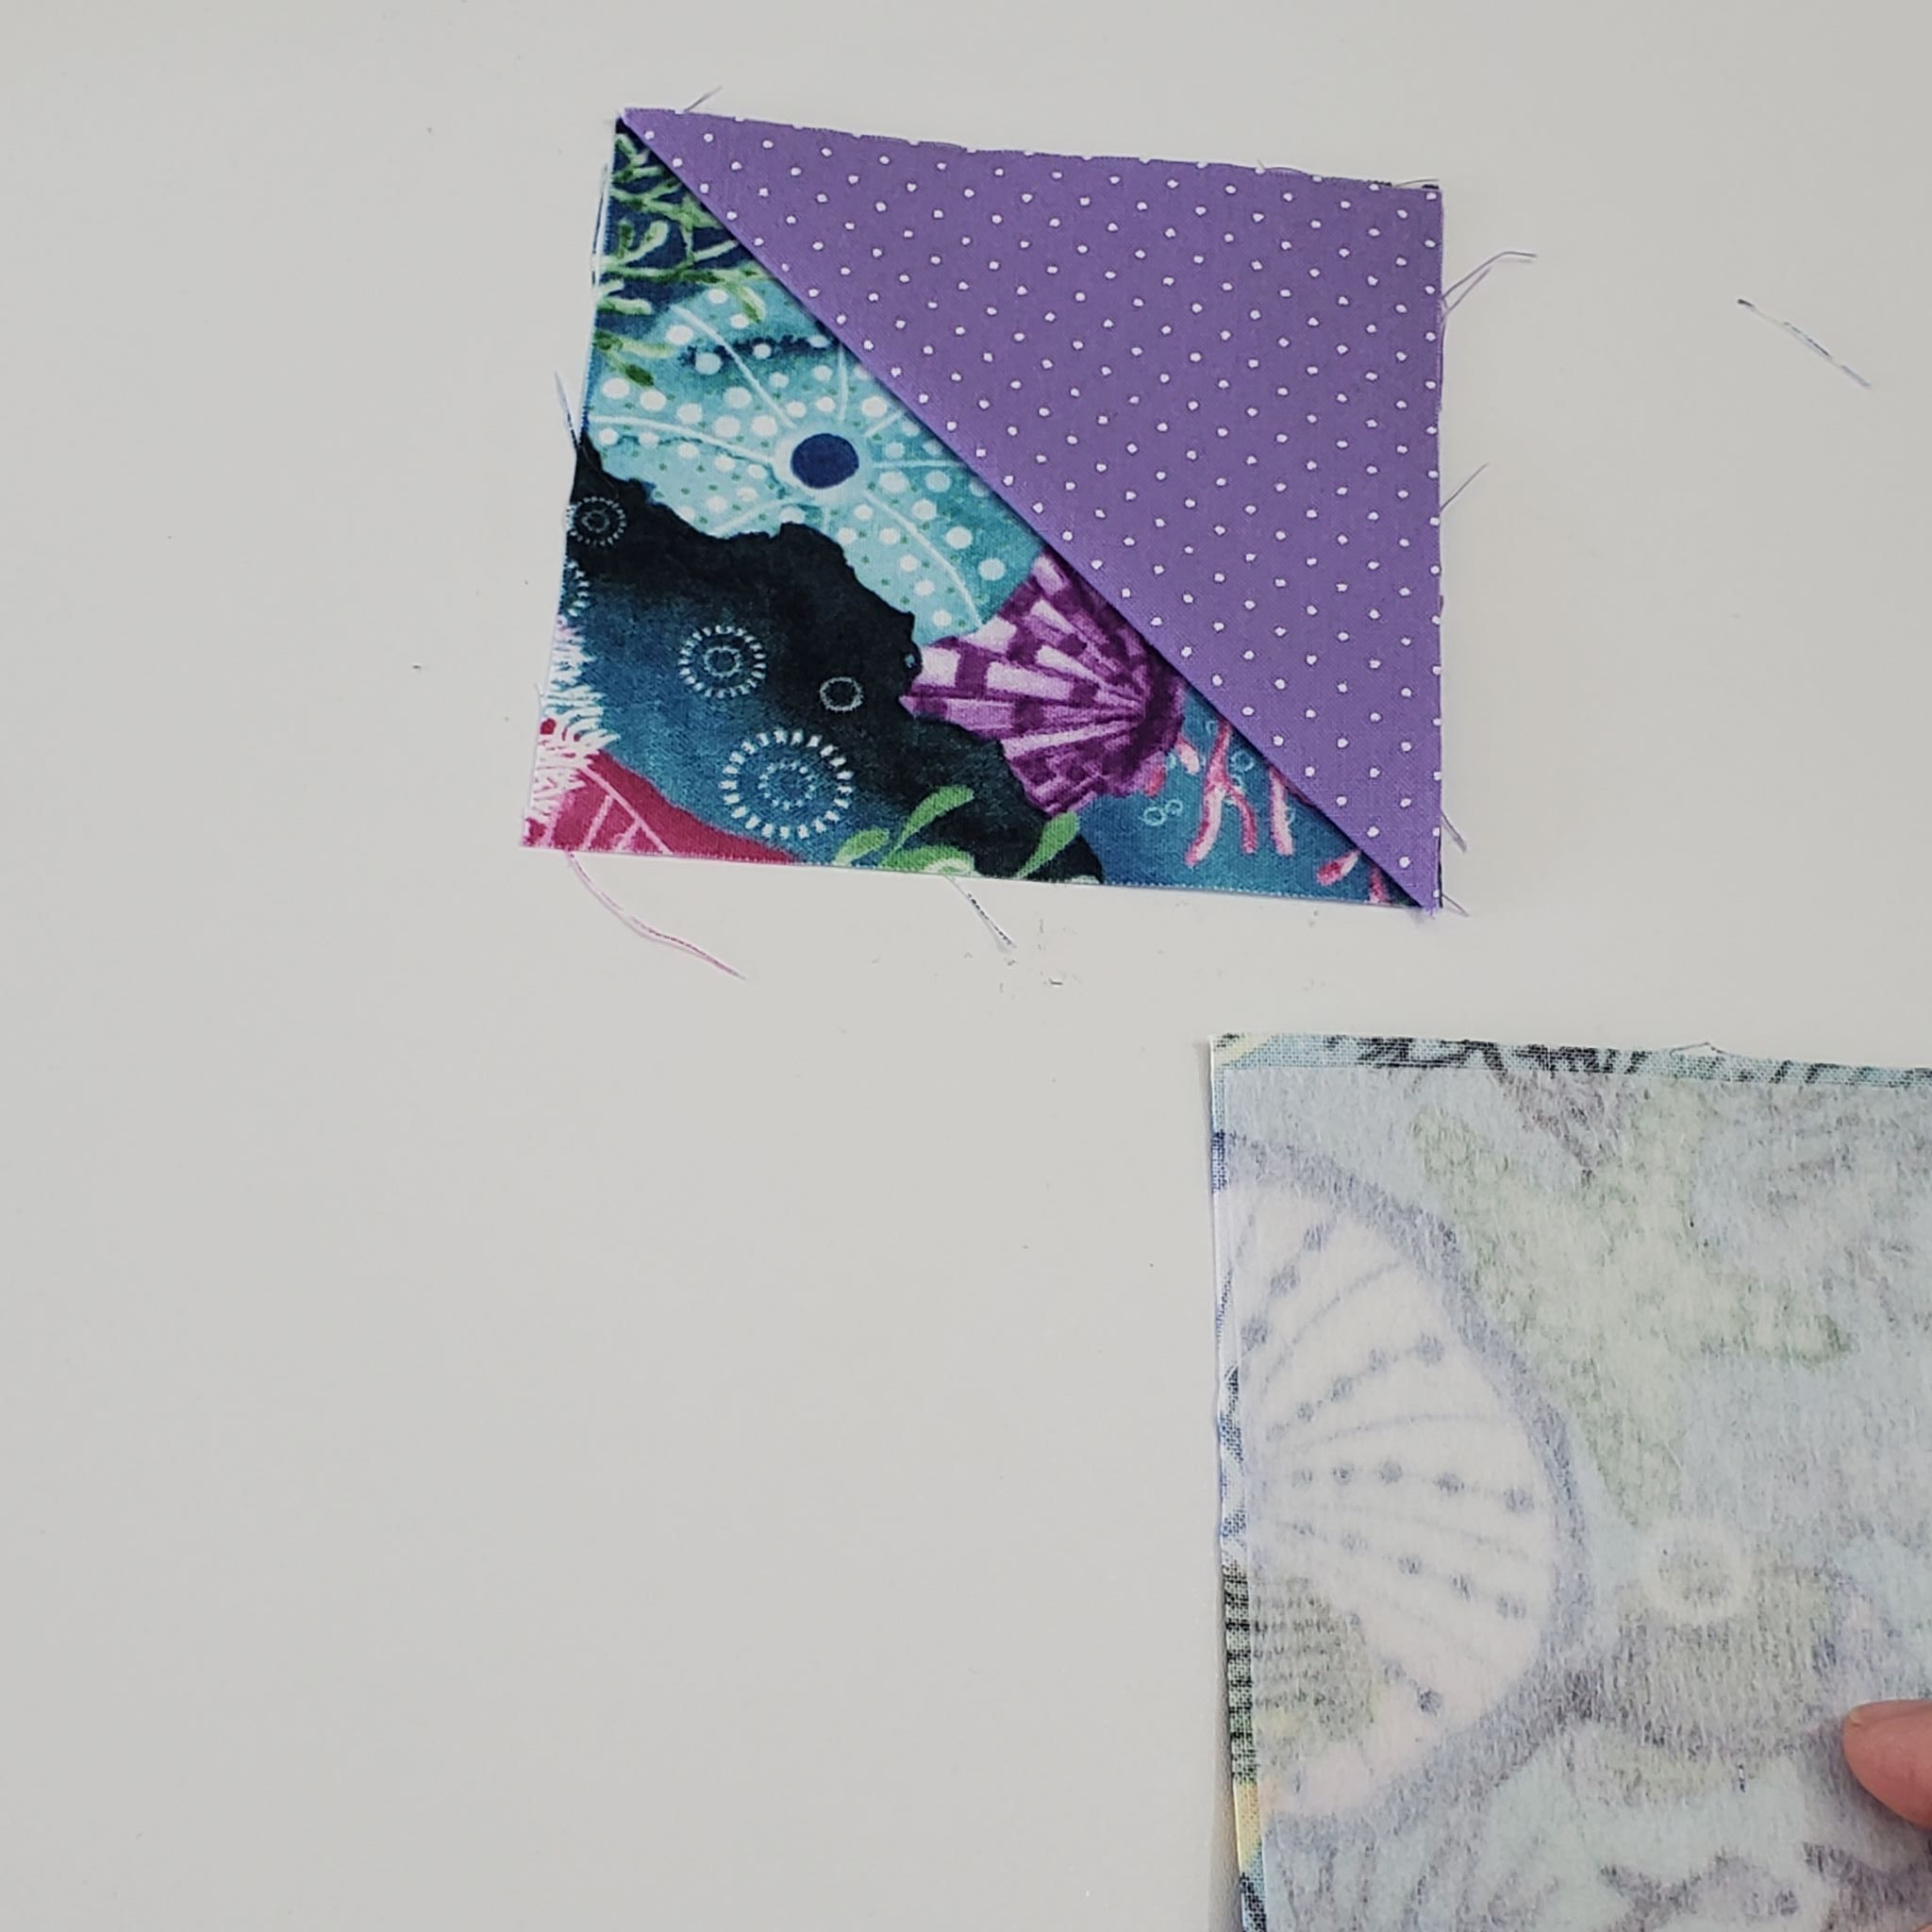
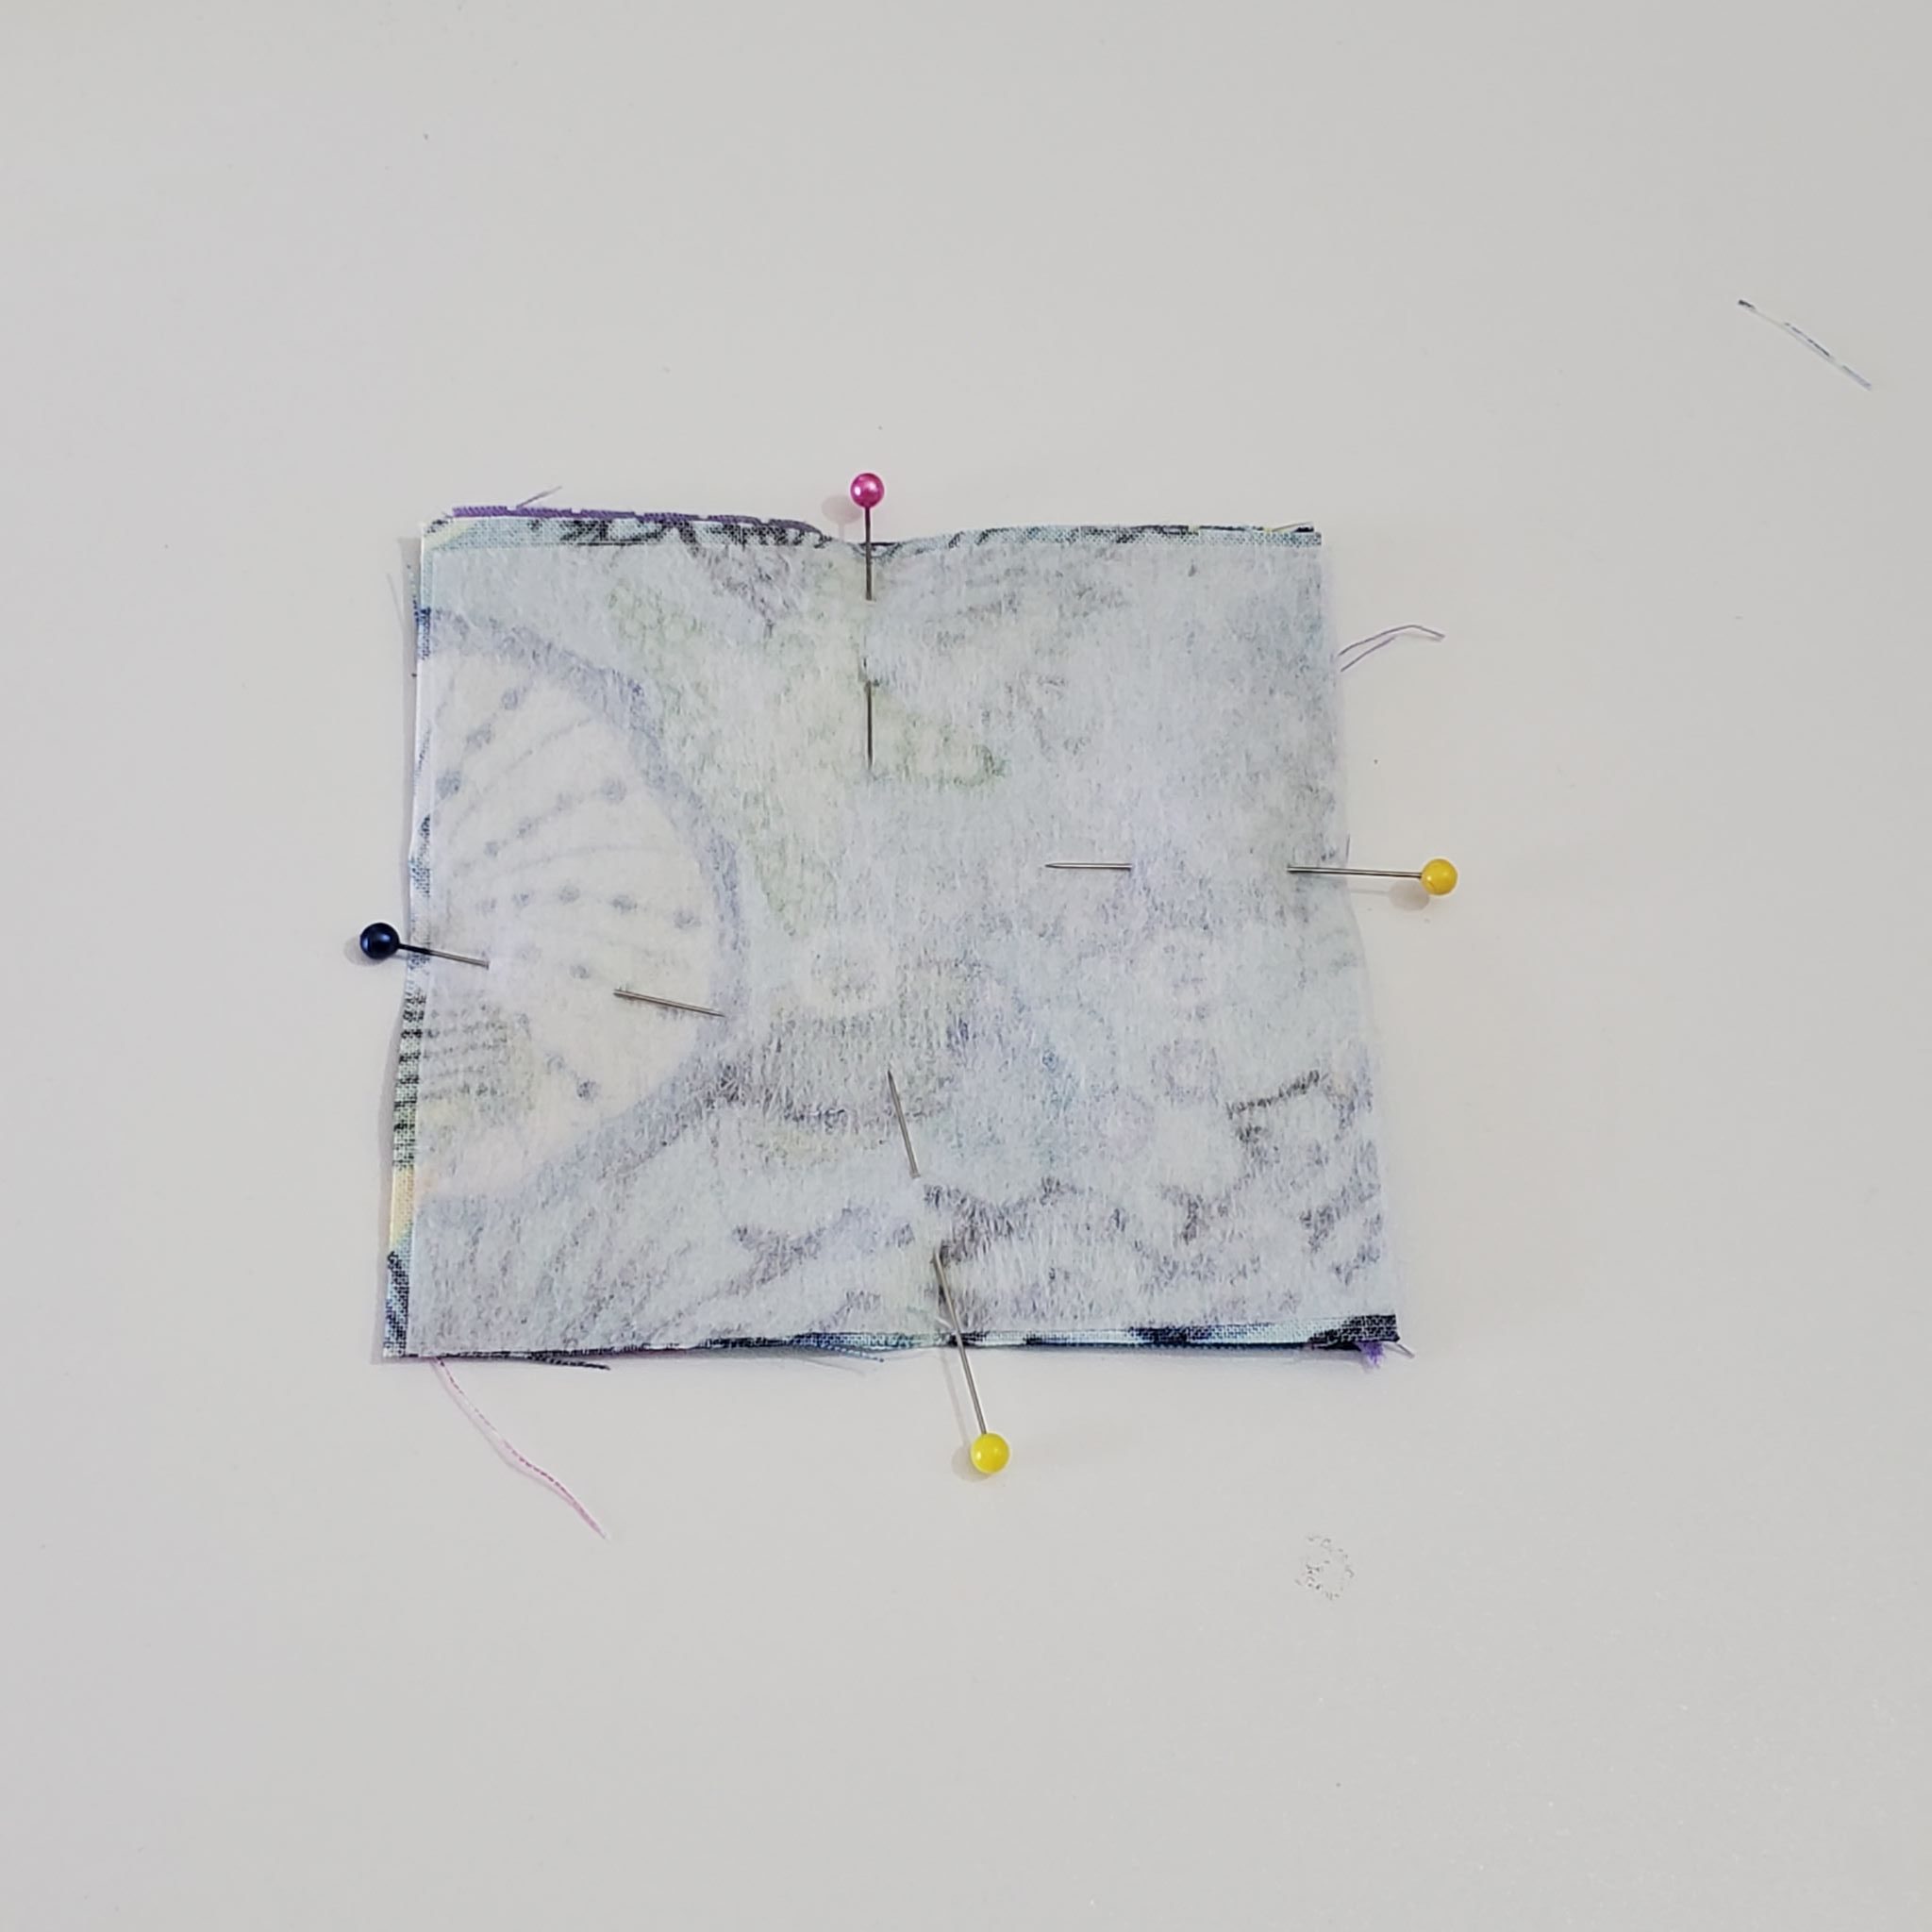
Place your remaining square (the interfaced piece) on top, right side facing down. Pin around your square.
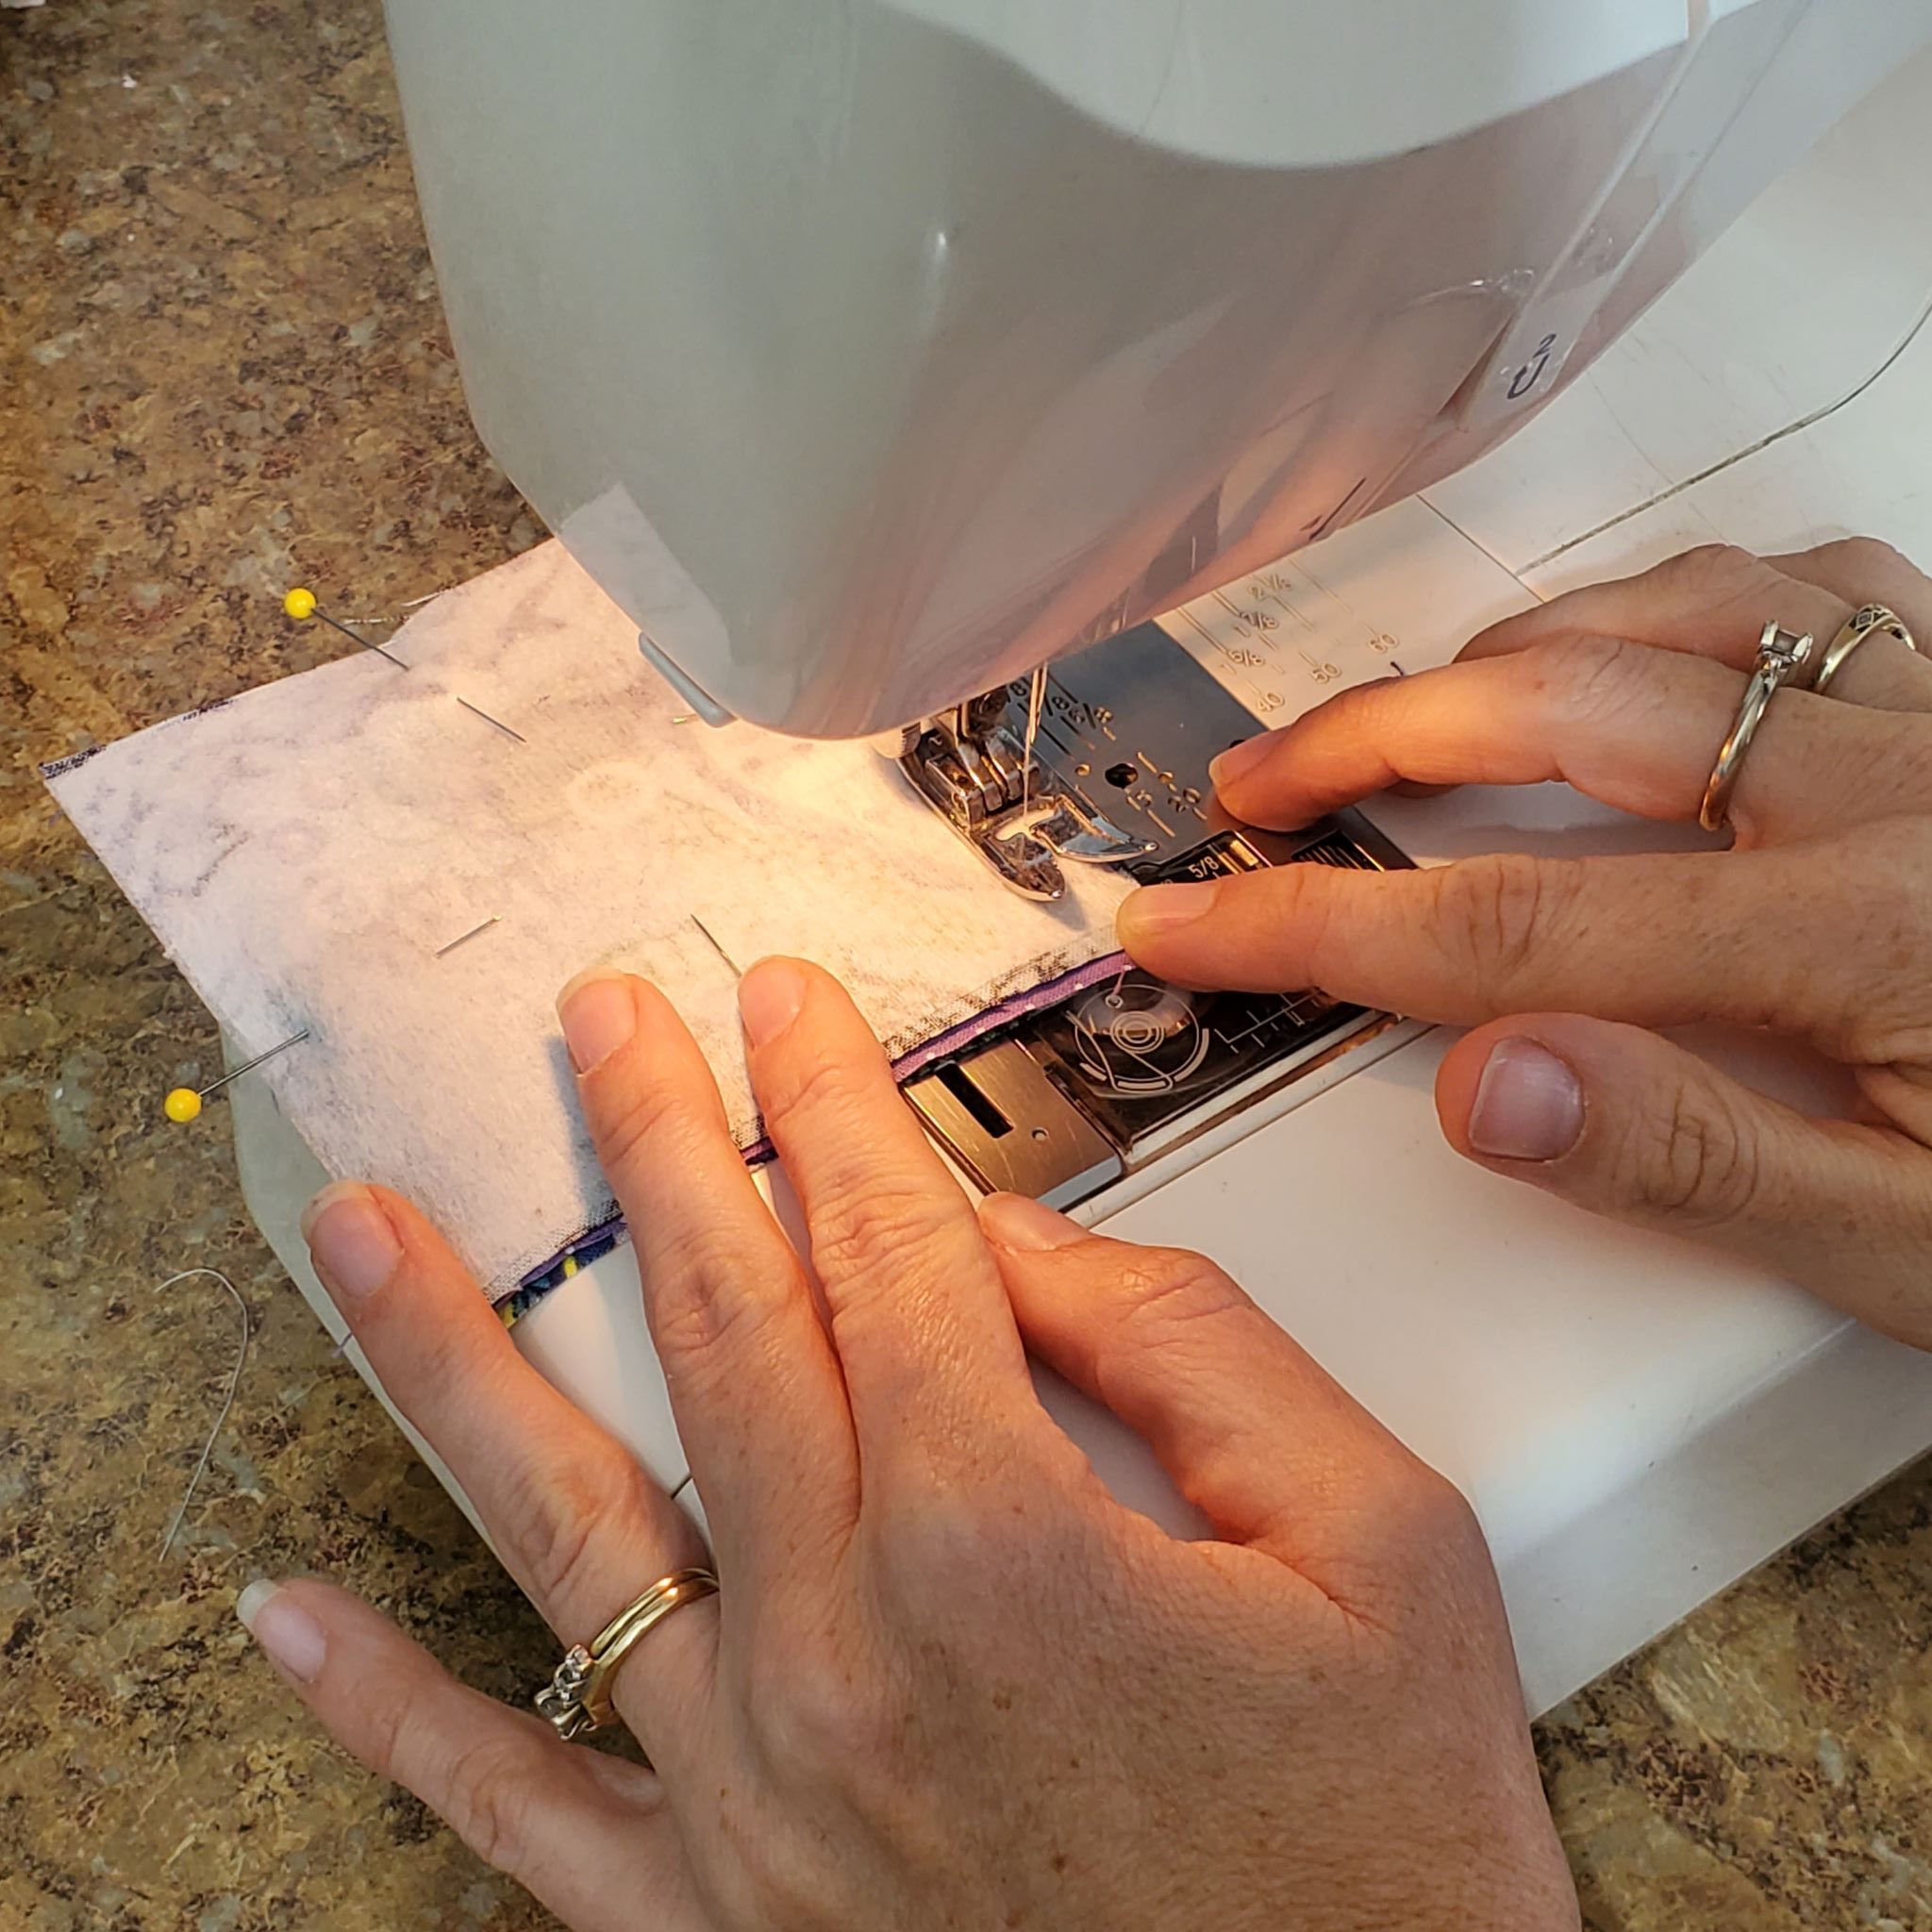
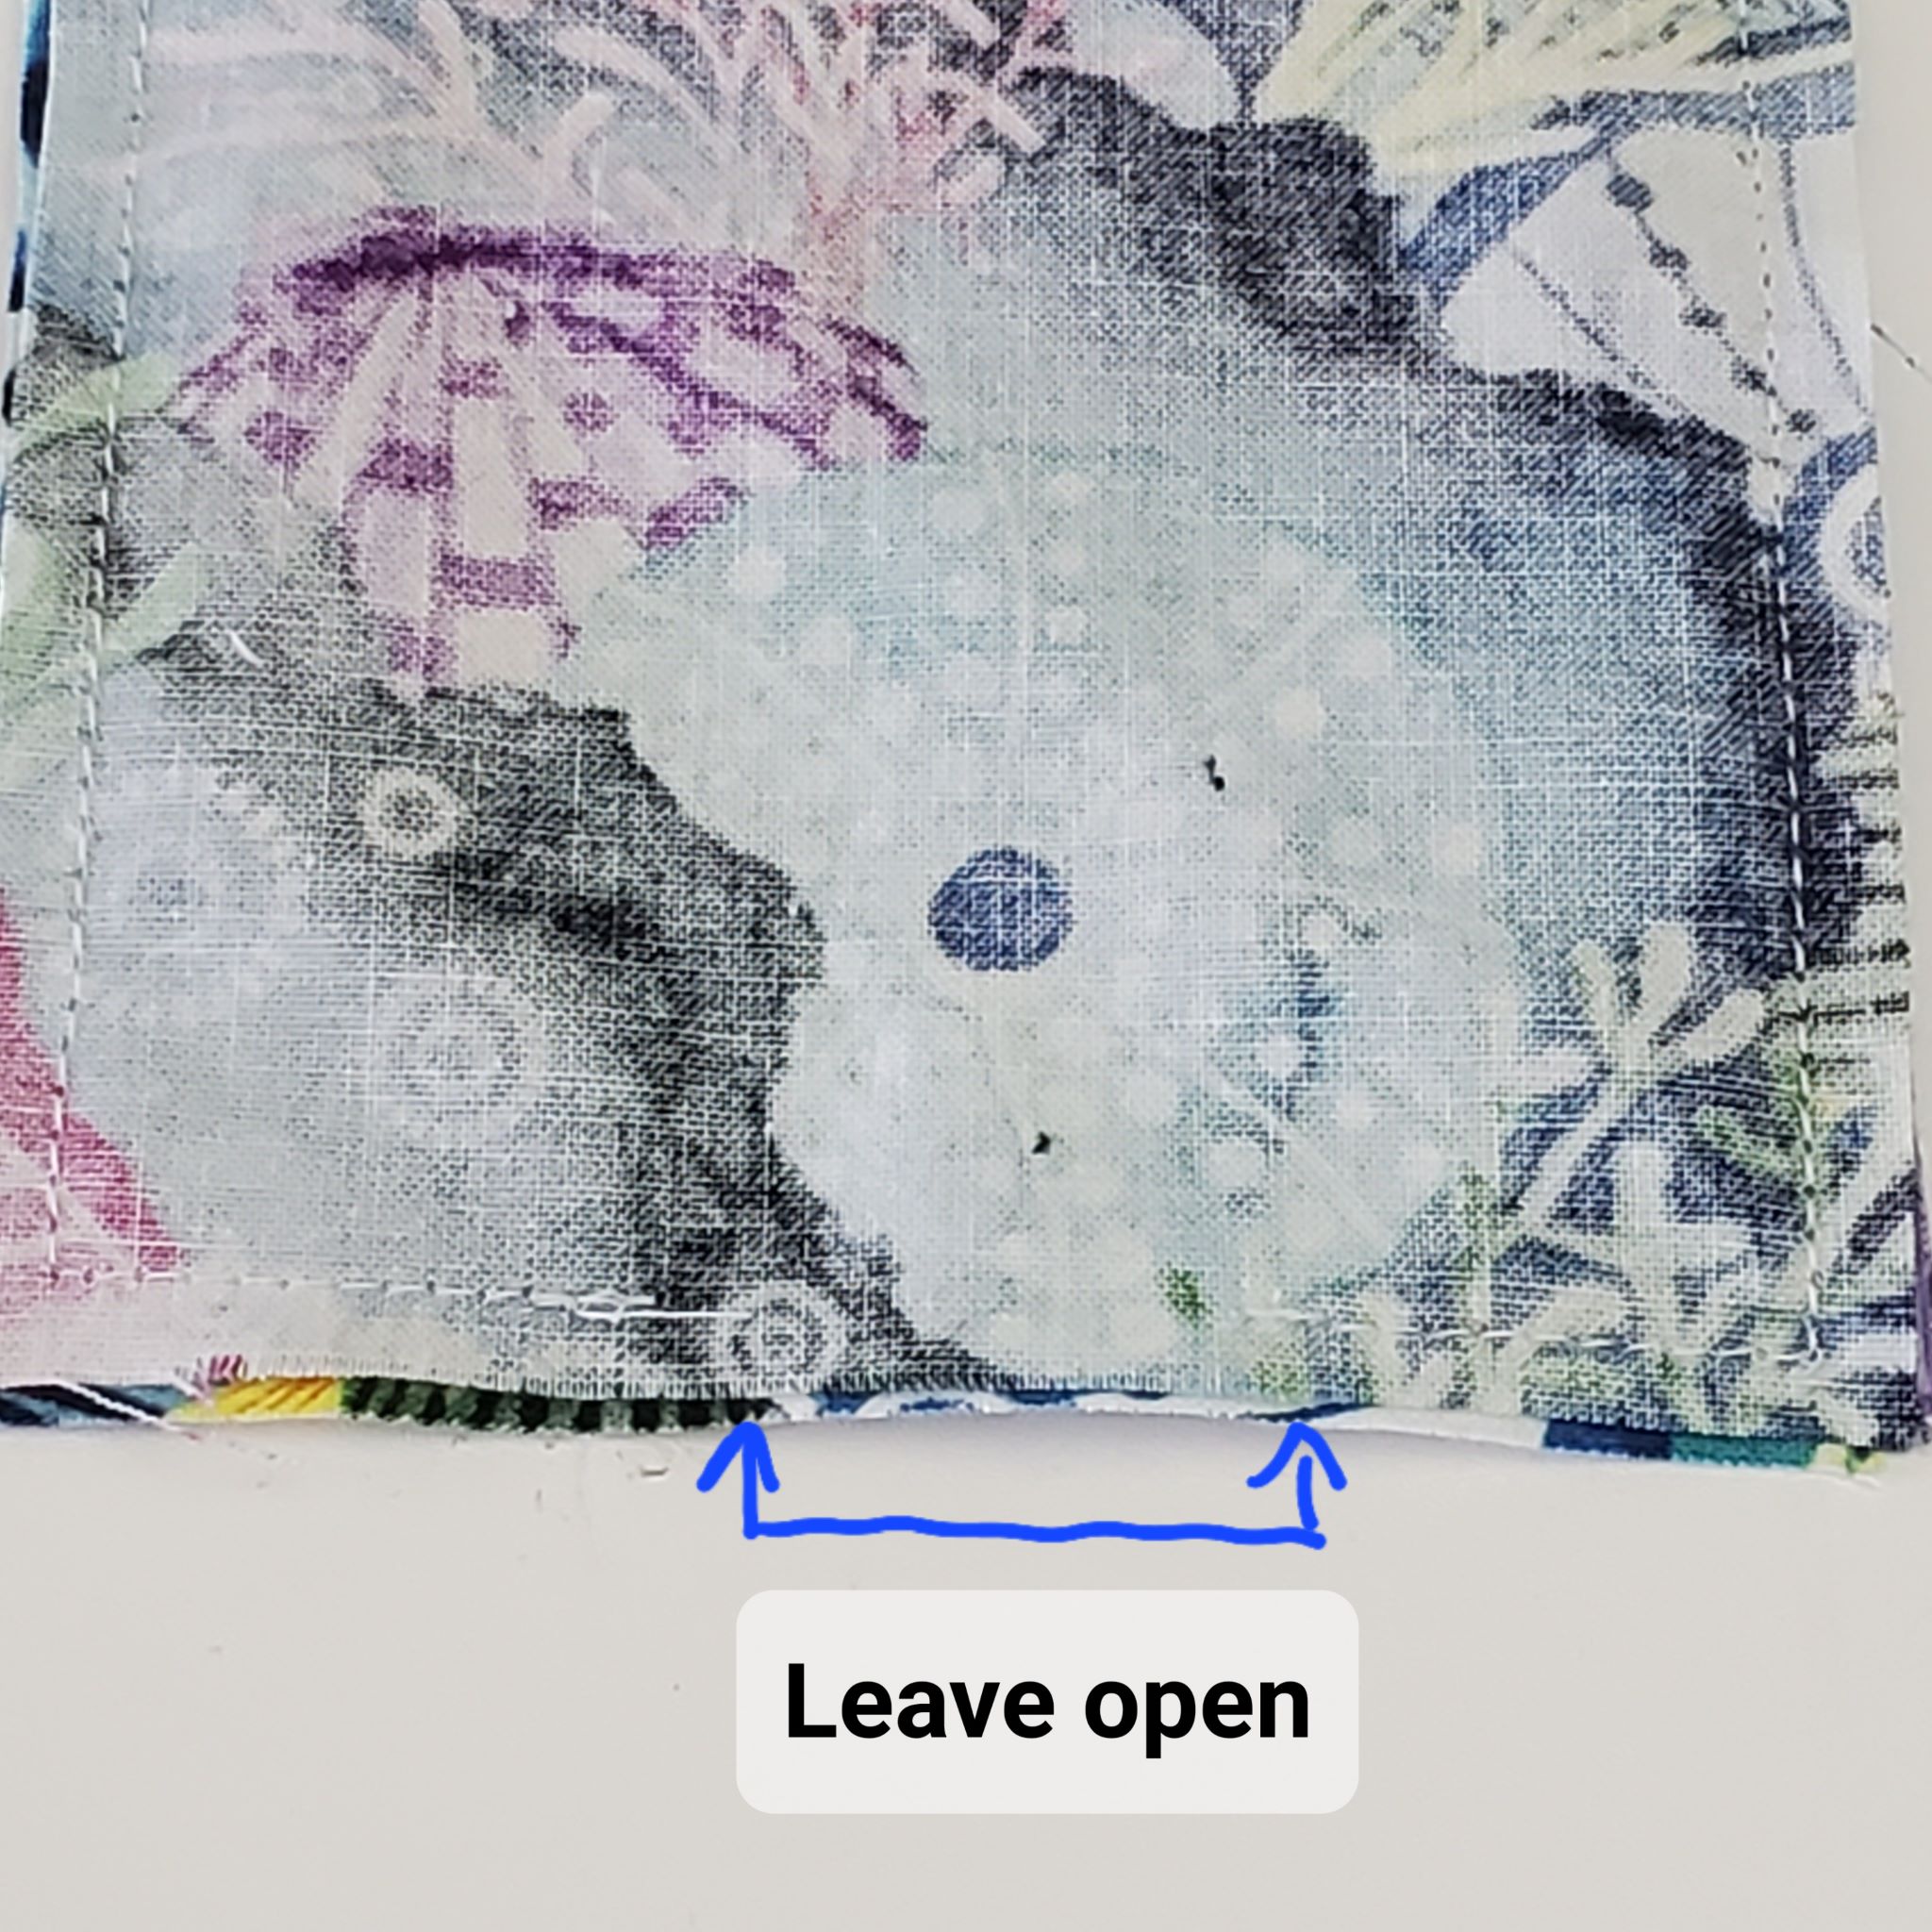
Starting in the middle on the bottom part of the square, stitch around the perimeter of the corner using a 1/4″ seam allowance. Pivot at each corner and stop just a couple of inches before you reach the beginning, leaving an opening. Just a little note about where you choose to start your stitch: I recommended starting at the bottom (the left side could work too) because you won’t want to start on the thickest part with the contrasting layer piece, the reason being that it’ll be too thick when you flip it and try to sew the opening shut.
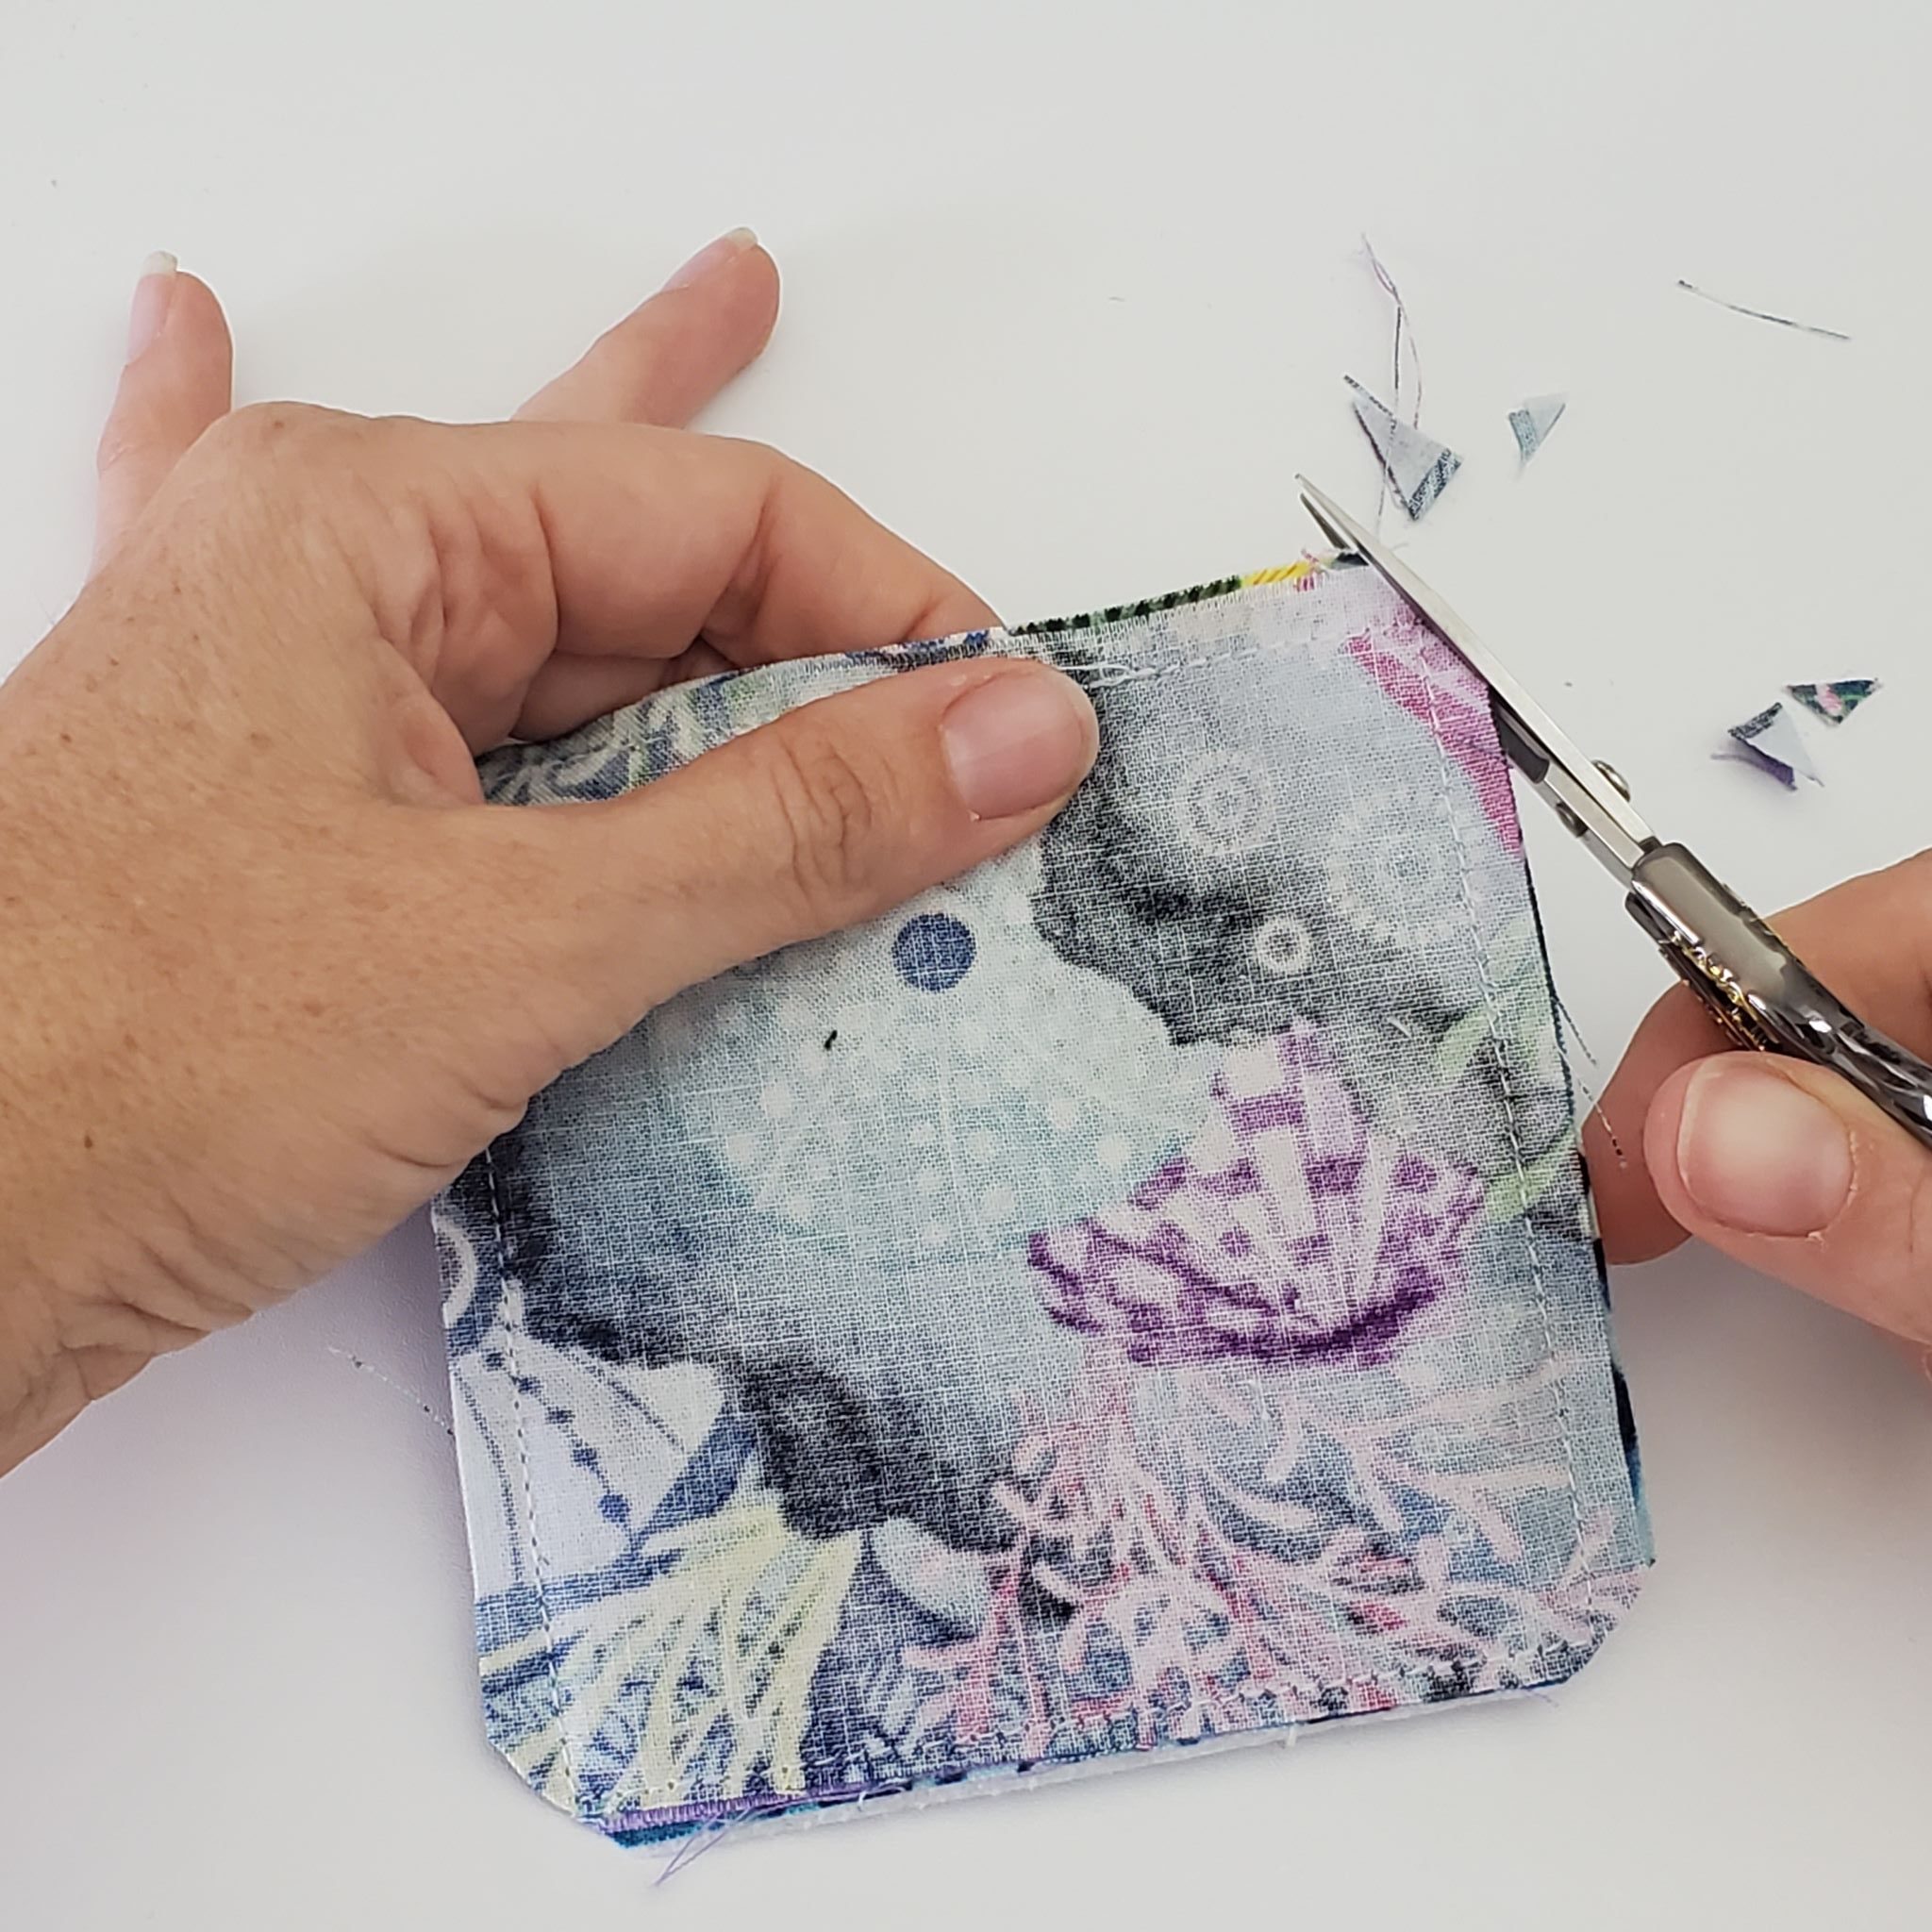
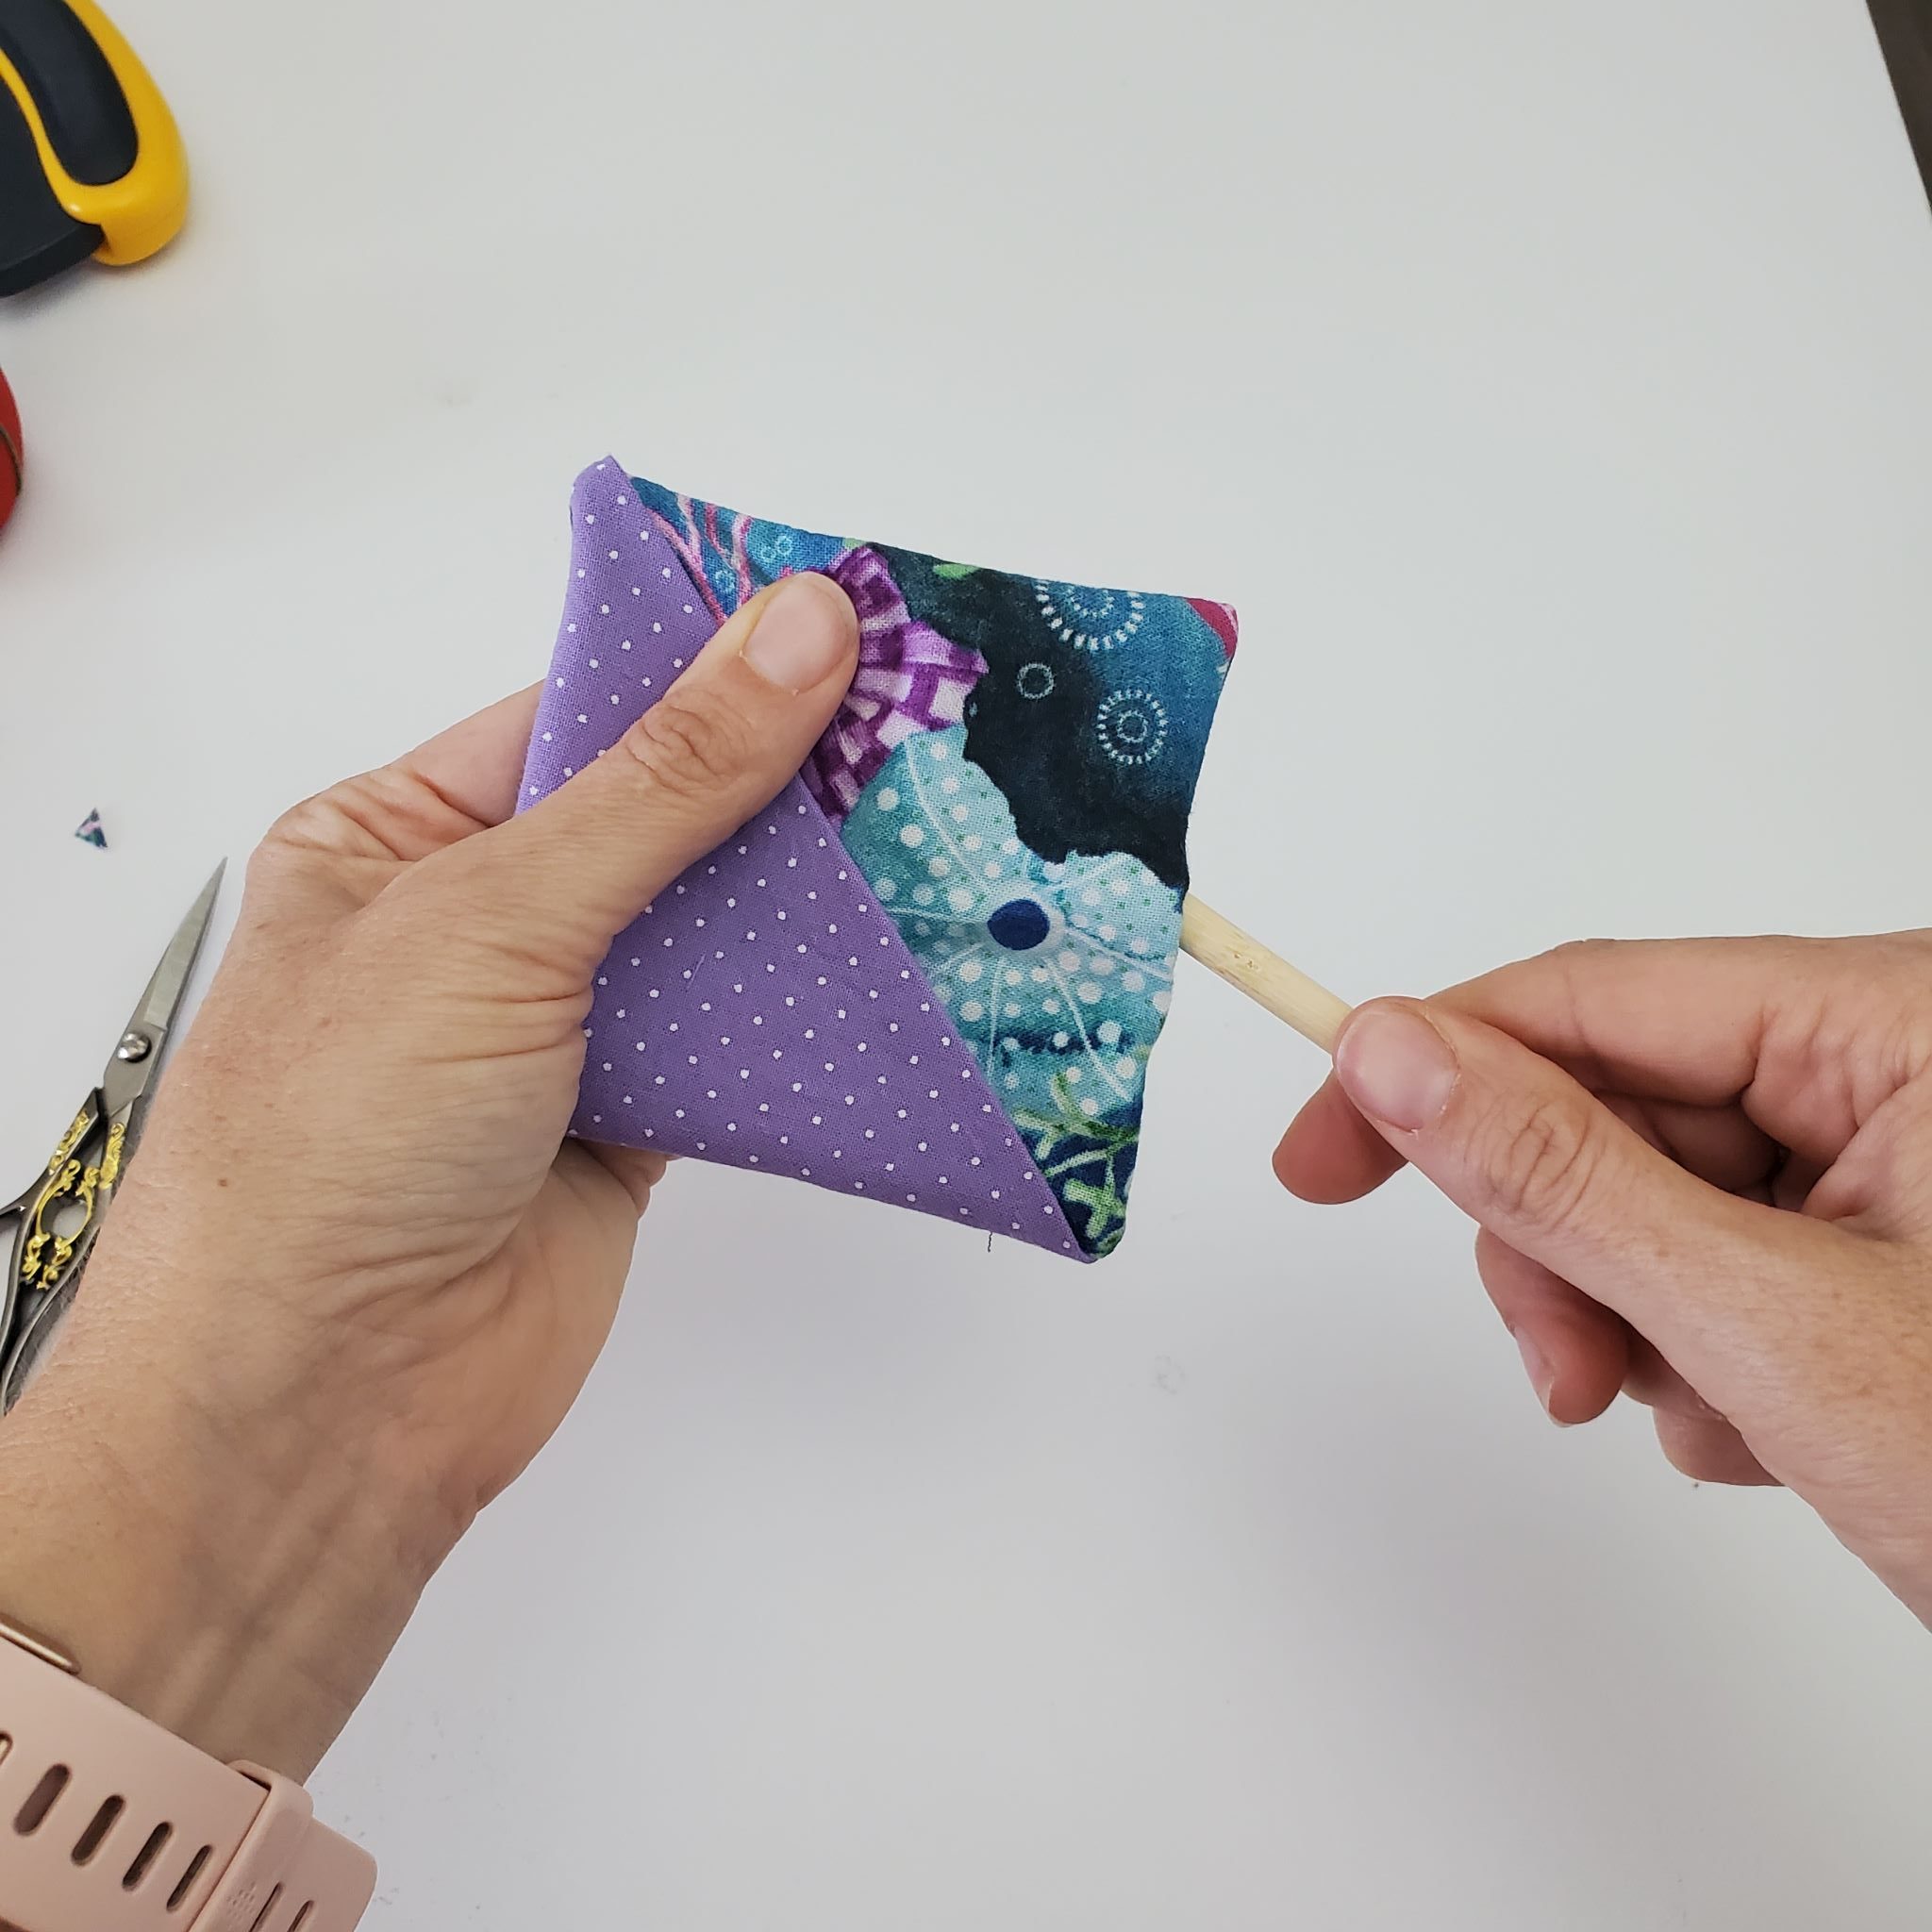
Clip your corners and then turn your bookmark right side out. Stick a chopstick or pointed edge of your seam allowance ruler into the corners of the bookmark to push out those edges.
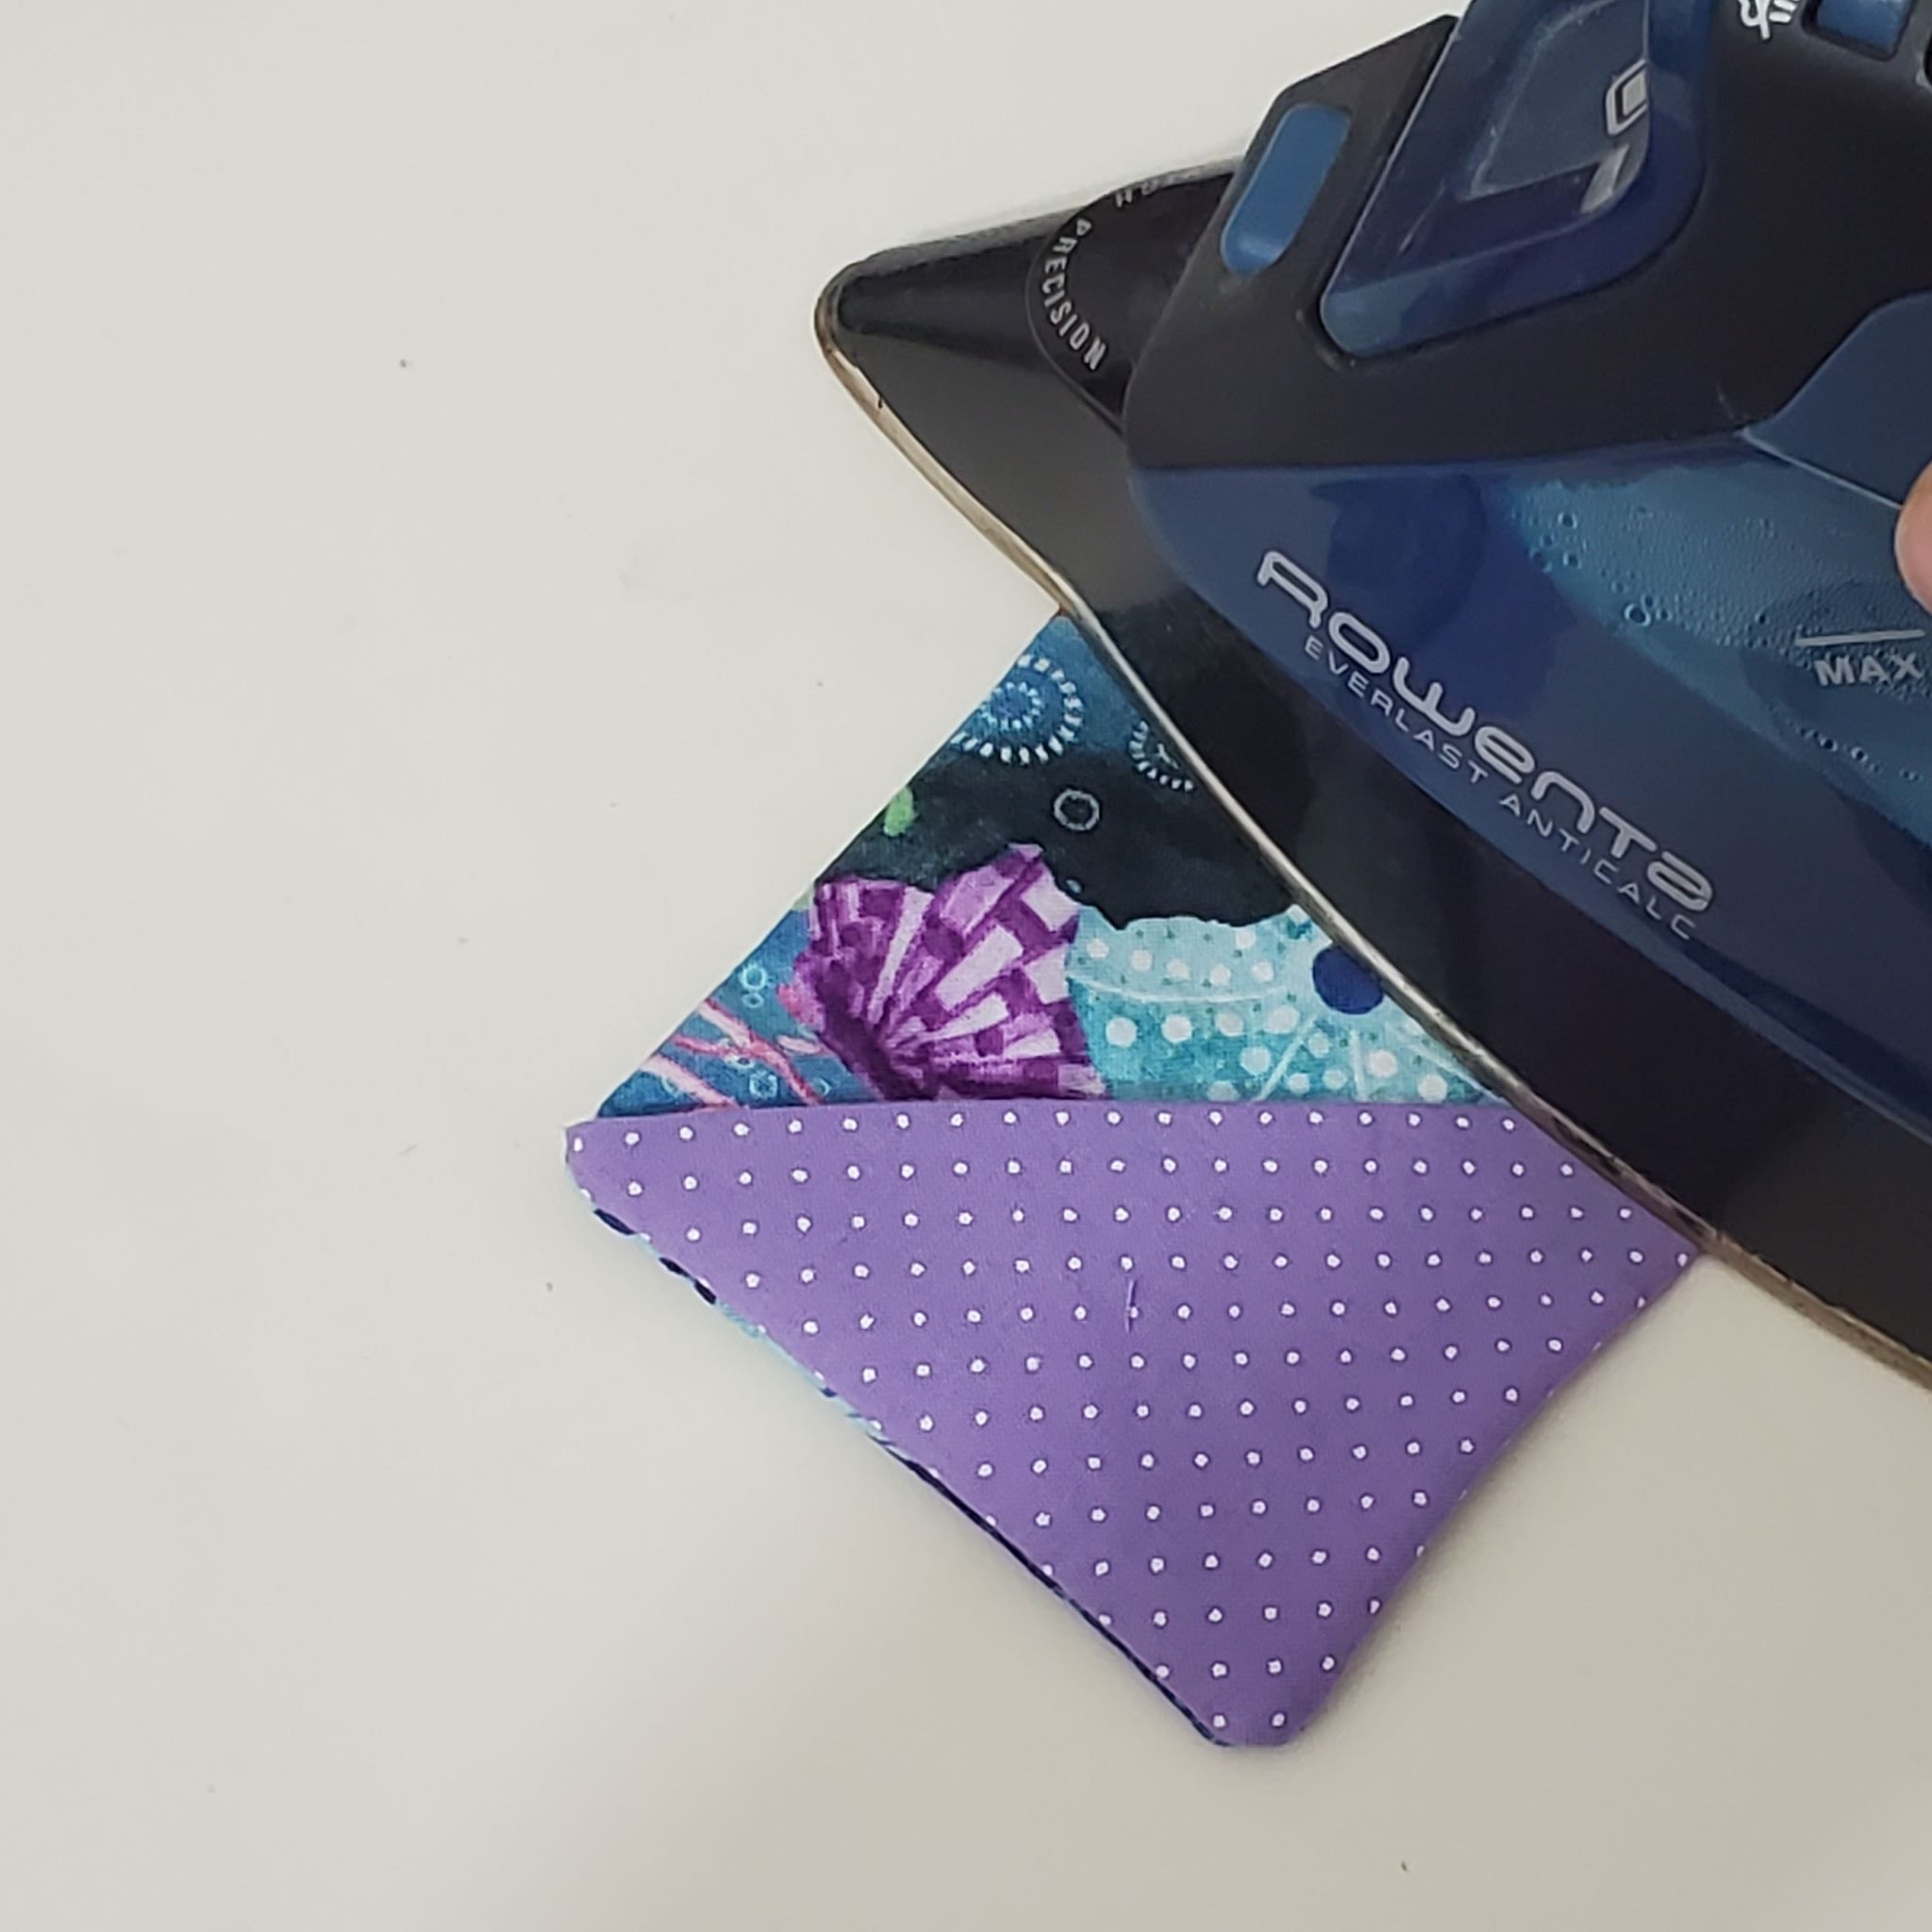
At your opening, make sure the raw edges are folded to the inside. Press the sides to get your bookmark nice and flat and crisp, and then stitch the opening closed. Topstitch the opening closed and continue around the bookmark, staying as close to the edge as possible.
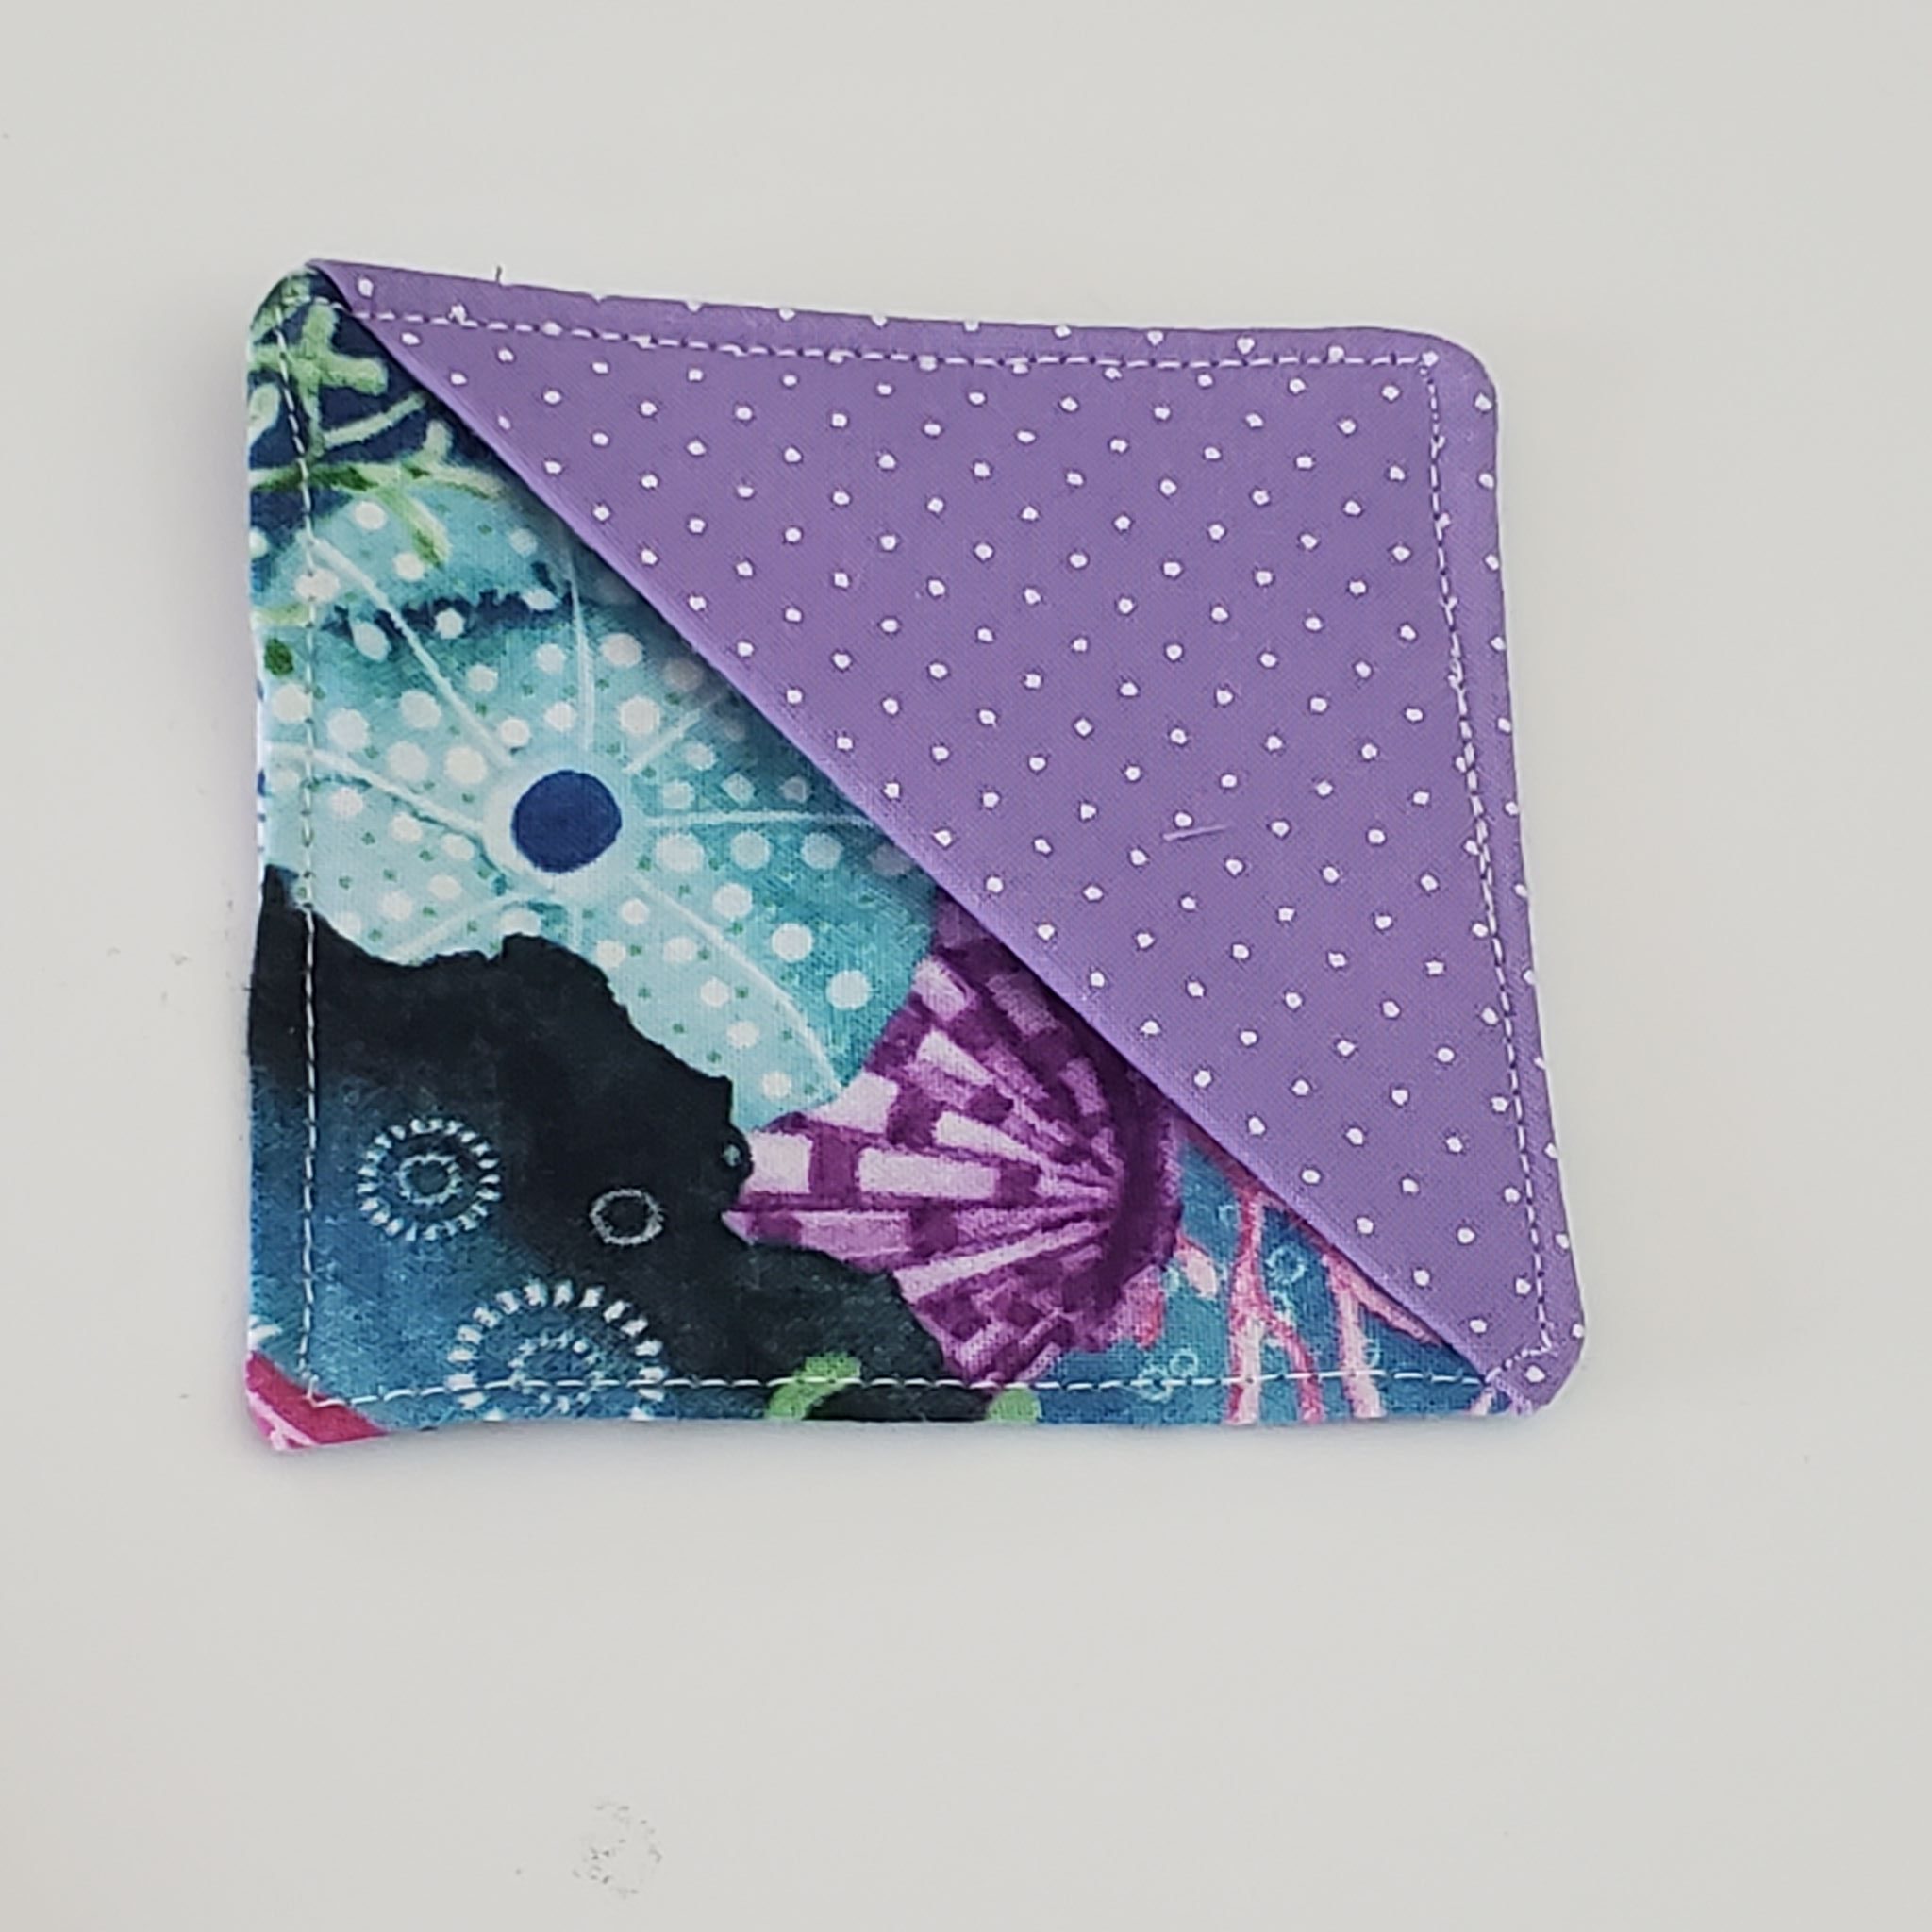
That’s it! See how simple it is?
Such a fun little project to make!!
Let me know how you liked this tutorial!
